


 Reply With Quote
Originally Posted by drivesafe

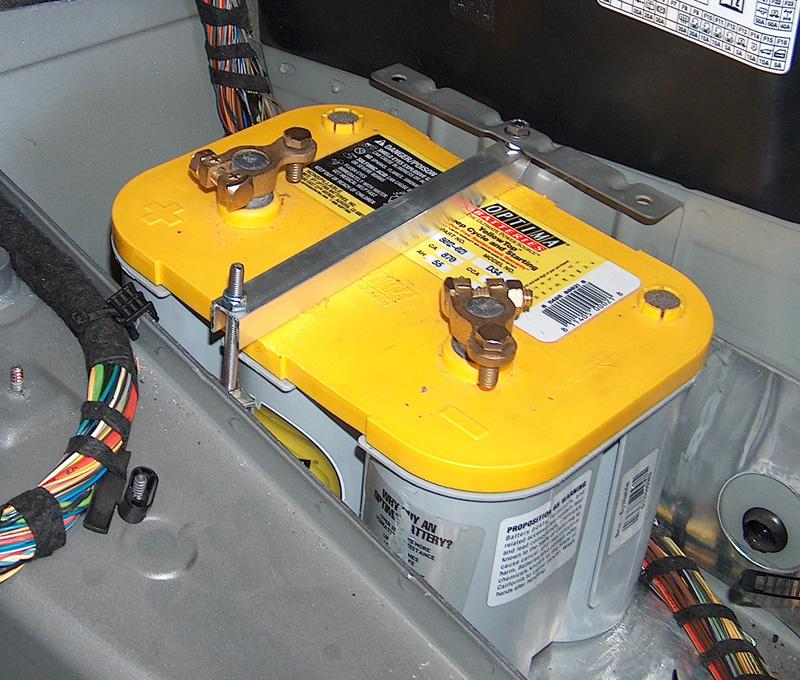
Looks great! - Will the kit include the battery terminal connectors as shown fitted to the yellow D34 or do I need to obtain them myself?
I've sent you the PM although I think you already have my email address from prior correspondence - regards, Daniel


Bookmarks