


 . Thank you for your ongoing support.
 Reply With Quote
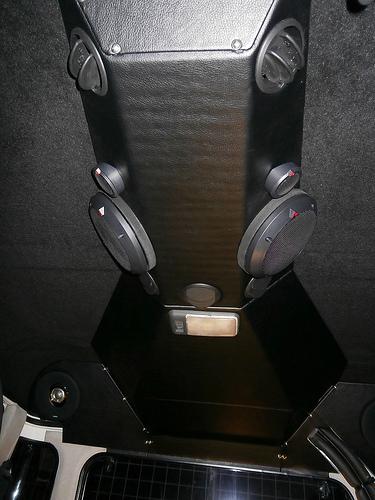
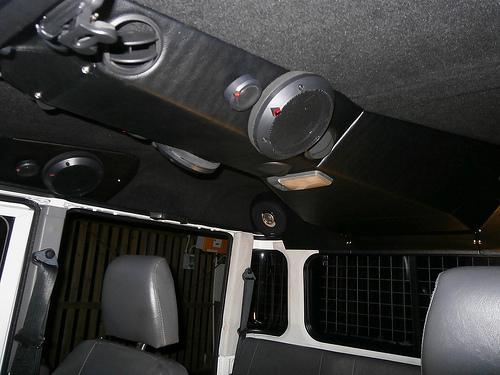
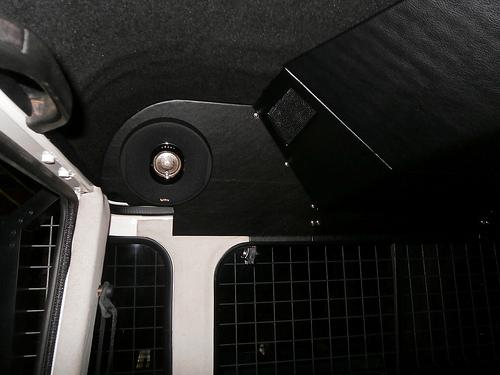
So I've decided to get my condenser fan working. The Tdi has been running a tad hot these summer days, especially on the highway with the A/C on so I'm working on doing what I can to improve air flow.
A quick test of the fan showed it was working fine so I wired it in from the feed to the compressor relay from the pressure switch, meaning that it shares the fuse and relay with the compressor. It was working wonderfully and the engine temperature was probably a little cooler, but alas it was short lived. The 15A fuse blew.
I checked the wiring (4 mm) and there is no sign of damage to the insulation so would anyone like to hazard a guess as to whether I should go to a 20A fuse? goingbush measured the current draw on his fan as over 10A and he used a 30A fuse in this location. I also haven't used diodes as he did. I'm just being extra cautious because electrics aren't my strongest skill and I'd rather not have to discharge my fire extinguisher.
James.
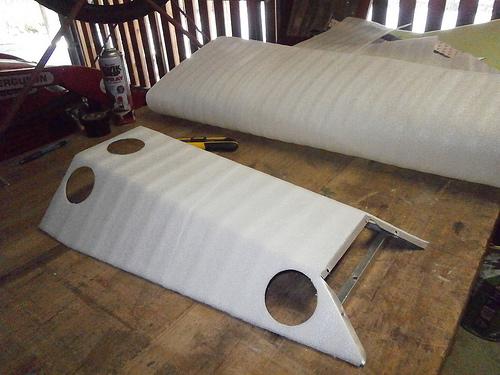
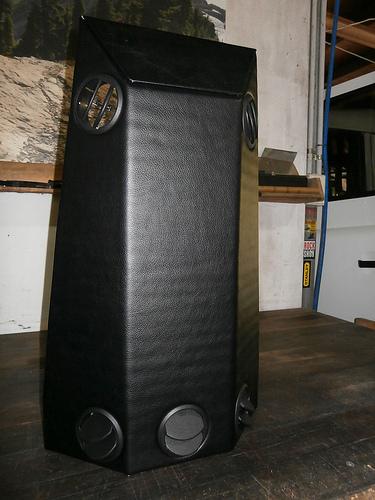
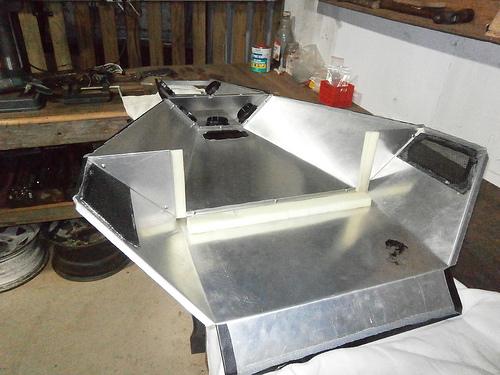
P.S. I have made some progress on the ducting in the past few days and am hoping to start upholstering it this week end so will have some pictures up shortly.
") Thanks Steve. Yeah - logical stuff that one should have thought of himself. I'm not sure if the A/C is in the diagram because it was an Australian dealer fitment on the Tdi, but I will certainly have a look.
Thanks Steve. Yeah - logical stuff that one should have thought of himself. I'm not sure if the A/C is in the diagram because it was an Australian dealer fitment on the Tdi, but I will certainly have a look.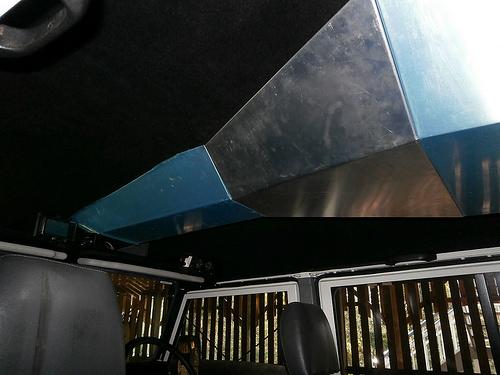

 .
.


Bookmarks