

 Reply With Quote
To prevent hanging up on the receiver you should locate it above the fairlead and use a gooseneck with a bigger step/offset. That way you can turn the gooseneck upside down when not towing.

 Wizard
Looking good - you must feel you can sense the finish line now - at least a little closer.
Are the door skins on the disco alloy or steel? Why not weld the corner if steel?
Are you going to put in any braces inside on the corners at the bottom? I would be worried the fibre glass will crack with flexing on the corner.
I am with you re the receiver - ideally not want it there BUT functionally want to be able to tow otherwise you are limited in use of the vehicle. That being the case you might want to weld a skid plate/triangle under the receiver back to the rear so that your chain tab does not take the brunt of any rocks sliding along the receiver.
The receiver will also protect your fairlead rollers from damage.
SKiboy
89 Orange Rangie UTE - our play thing - sadly now sold
75 Rangie/Series/Hybrid/LS3 - Bumblebee with a sting!!!!
2018 RRS - The new touring vehicle - replaces 2012 RRS
TopicToaster
To prevent hanging up on the receiver you should locate it above the fairlead and use a gooseneck with a bigger step/offset. That way you can turn the gooseneck upside down when not towing.
Master
SupporterThese door skins are alloy. So I have no choice but to use fibreglass to join them to the steel rear wall.Originally Posted by Skiboy

I have the exact same concern, i'm actually in the process of cutting up the pieces for the bracing of the corner to minimize the chance of cracks forming.
Thanks for the suggestion. I'll look into this!
I suppose that could have been a way to go, but it would need to be a long way up to clear the winch body. That will mean the loads will be applied at a large distance from the centreline of the chassis rails which results in increased stresses. I'm happy with where it is. As it is, i'm raising the vehicle and I did shorten the chassis, if I get hung up, it will be because I was asking for it. Thanks for the tip though!
Progress today:
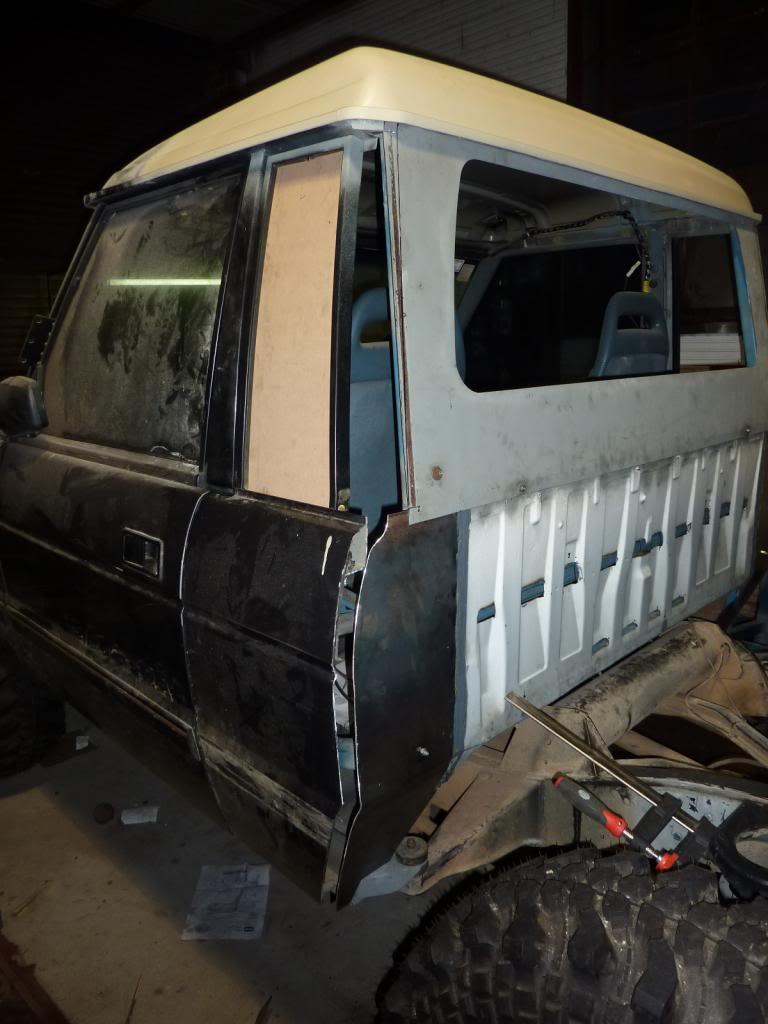
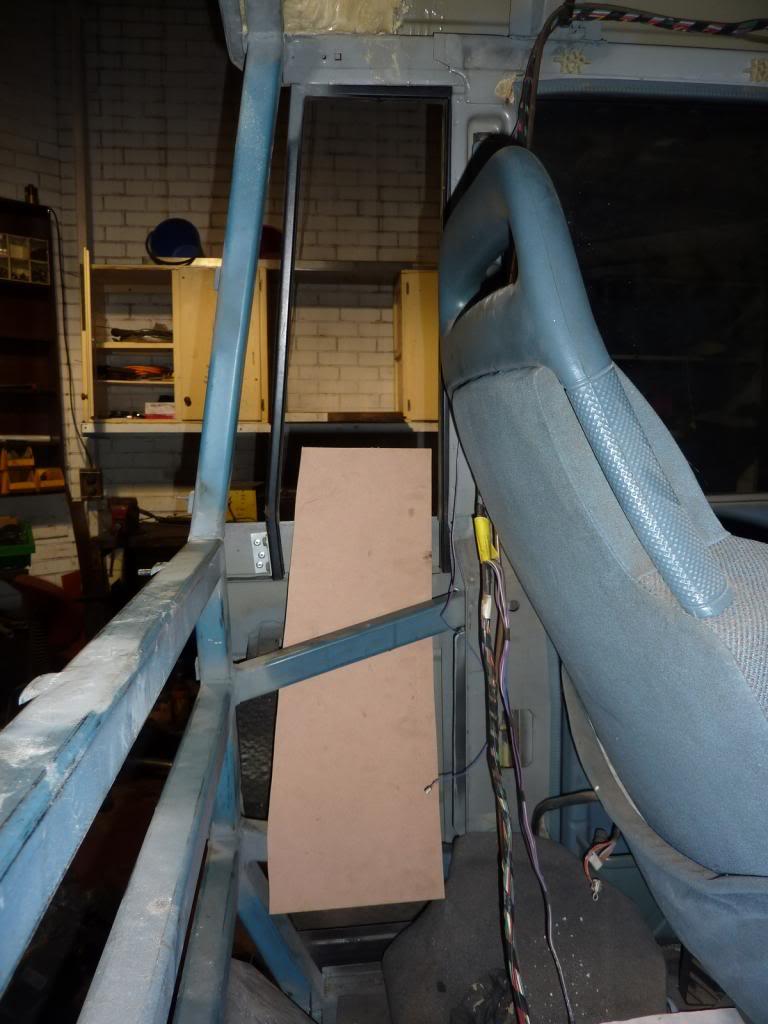
I dummied up a window to test if I can insert and remove it from the frame. I'm very happy to report that I can slide the panel in and out in-situ!
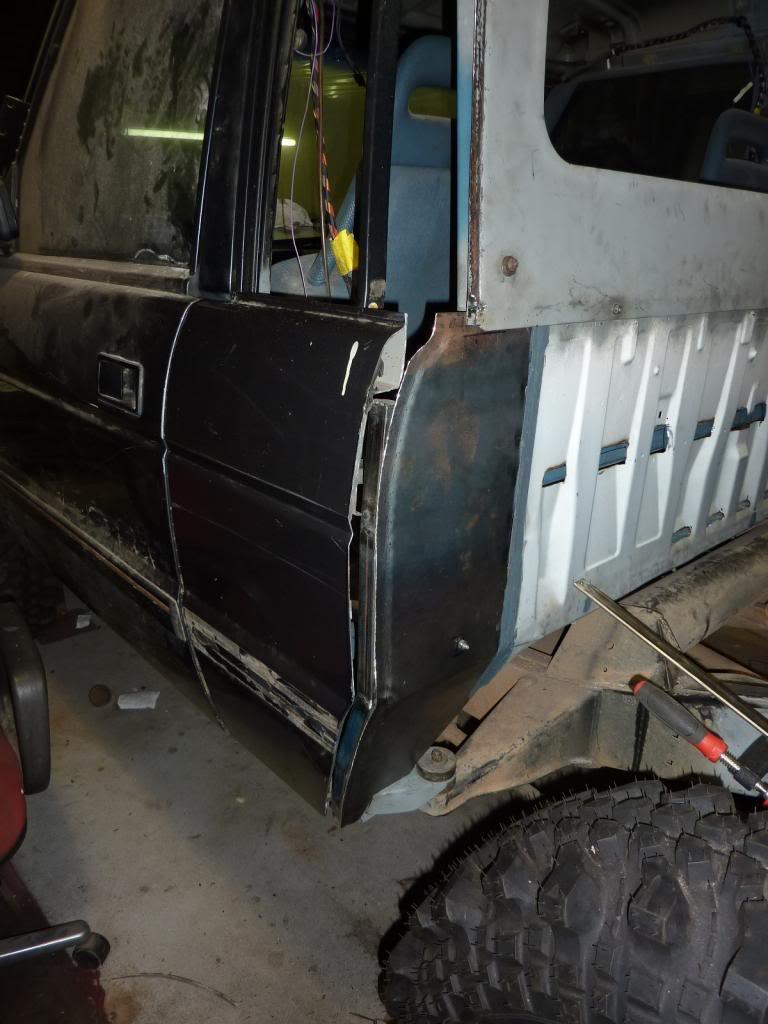
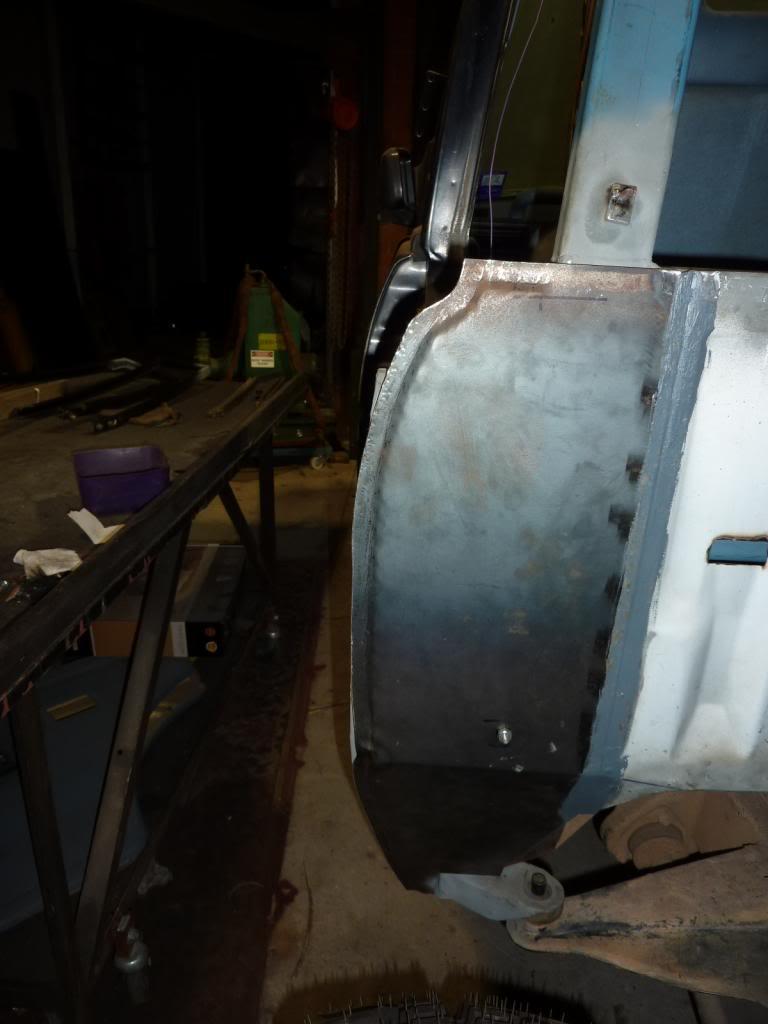
More preparation work for joining the rear quarter to the rear wall. I've now profile cut both the rear quarter panel and rear wall. I'll be needing to foam and fibreglass this gap after I jog the free edge of the rear wall to make a landing for the fibreglass.
Stirling
Master
SupporterA further update for this weekend.
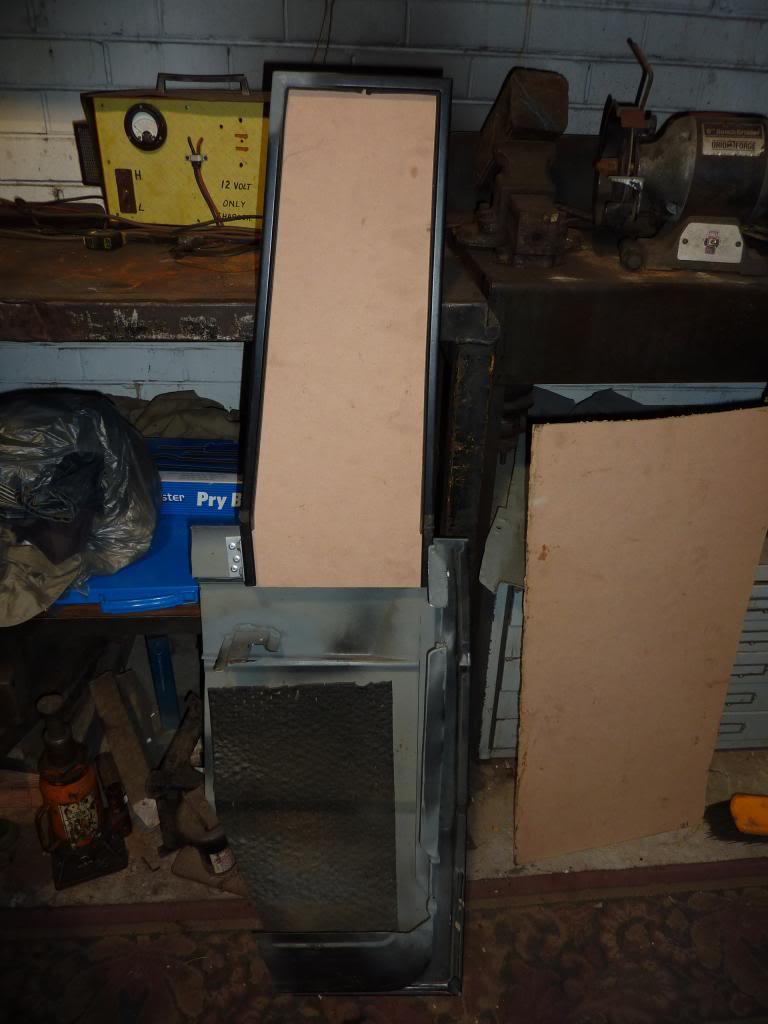
I made the MkII of the jig to jog the free edges of the panels. And this time I added an extra feature to jog a curved profile.
After hours and hours with a mallet, I finally finished both sides. Another step closer to getting this rear wall done.
Next step is the reinforcement of the corners!
Stirling
Wizard
This is really starting to look great - windows worked well and are going to look so factory people will think they wind up and down!
The indents on edges - nice technique - I will use that at some stage
Have you looking into industrial strength bonding agent to bond the braces? I think some of my orange ute panels are simply bonded on - in fact I am sure of it as saw the guy making another Ute and our wall looks like that is what they did. Otherwise you could use some sort of countersunk rivet then fill and paint over the top.
Are you indenting the edges of the door - ok if doing that then can rivet under the glass. I would be tempted to bend sections of corners that form the backing for the glass - will make it very strong and very unlikely to crack.
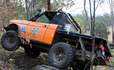
You are going to love wheeling this when done - I took my new Stage one/Rangie hybrid for first run in weekend - great - great to have rangie/disco chassis functionality without half the body in the way. Makes the hard work worth it.
Skiboy
89 Orange Rangie UTE - our play thing - sadly now sold
75 Rangie/Series/Hybrid/LS3 - Bumblebee with a sting!!!!
2018 RRS - The new touring vehicle - replaces 2012 RRS
YarnMaster
SubscriberWell, I can see the amount of man hours that have gone into this!! Truck cabs are always hard to get right, that's why I'm keeping quiet! What I did pick up on is that your tray design will need front guards that tie in with the same angles as the rears.... When I built my rear tray on the 130, I spent hours in the workshop trying to get it right... I think it works... Like mine, you have limited room for anything between the front of the rear wheel and the back of the cab. At least mine was all flat or at 90deg!! Keep up the good work
Last edited by Sitec; 29th August 2016 at 09:38 PM.
Master
SupporterFirst - Just need to fix a problem with links being broken in my 283 post above. Below is the content with the links fixed:
Progress today (17th March):
I dummied up a window to test if I can insert and remove it from the frame. I'm very happy to report that I can slide the panel in and out in-situ!
More preparation work for joining the rear quarter to the rear wall. I've now profile cut both the rear quarter panel and rear wall. I'll be needing to foam and fibreglass this gap after I jog the free edge of the rear wall to make a landing for the fibreglass.
Using countersunk rivets is a good idea, thanks for that. However, I think i will stick with bonding the rib to the aluminium to minimize galvanic corrosion.
It will be too hard to jog the free edge of the door because it is a curve, what I plan to to is run the glass the full length of the door so that I don't have to deal with blending the fibreglass into the aluminium. Between the fibreglass, the steel ribs and the polyeurathane foam, I think it will be strong enough. Besides, have a look below at the stiffening I've added this weekend.
Thanks for the tip. I see what you mean, I do have the back wall of the body going at a bit of an angle, but in reality what I plan to do is simply cut down and re-shape some truck trailer wheel arches (which i've been given). Hopefully between an angle grinder and a hot air blower I will get the shape I need to suit my application!
Ok, for an update:
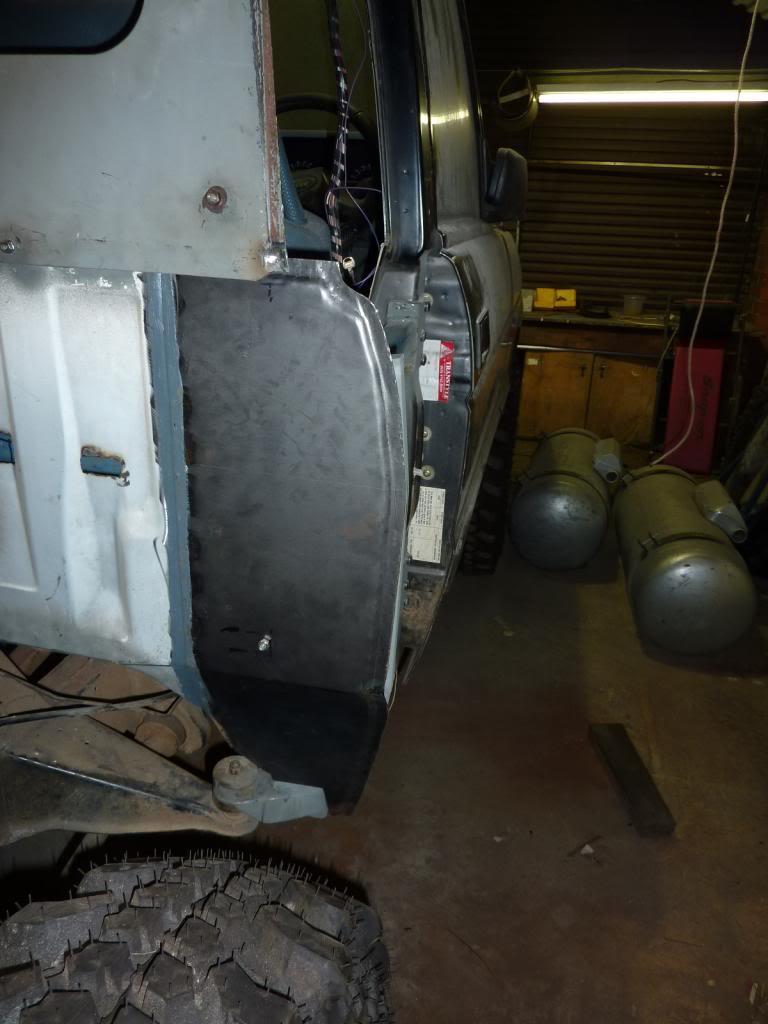
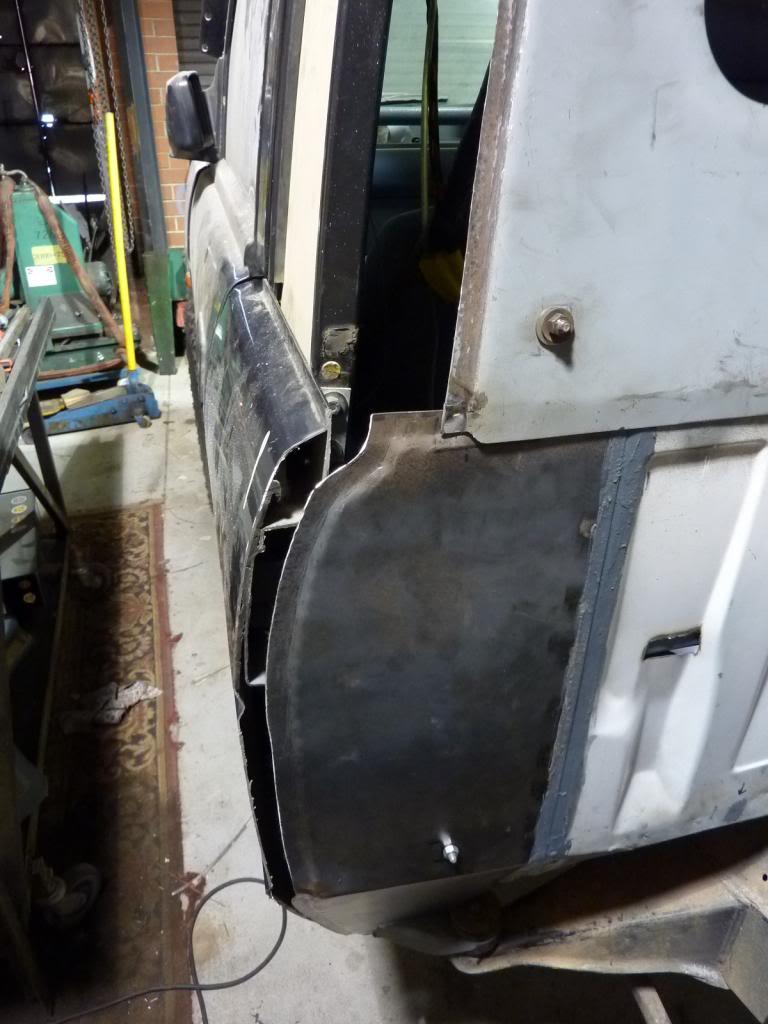
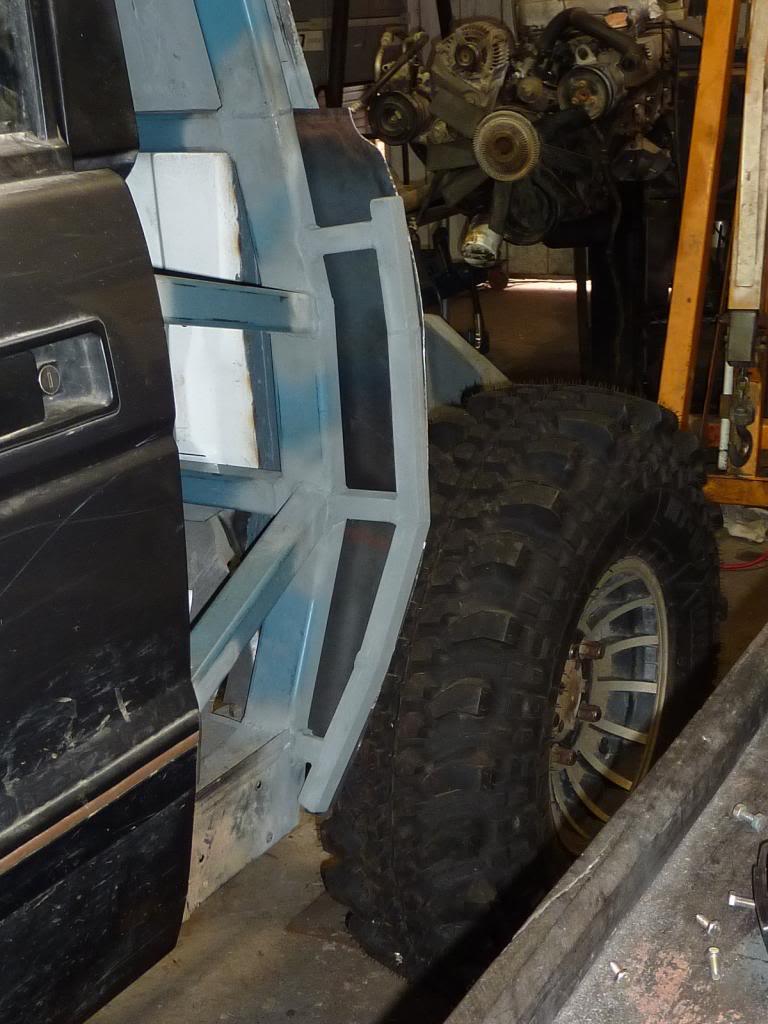
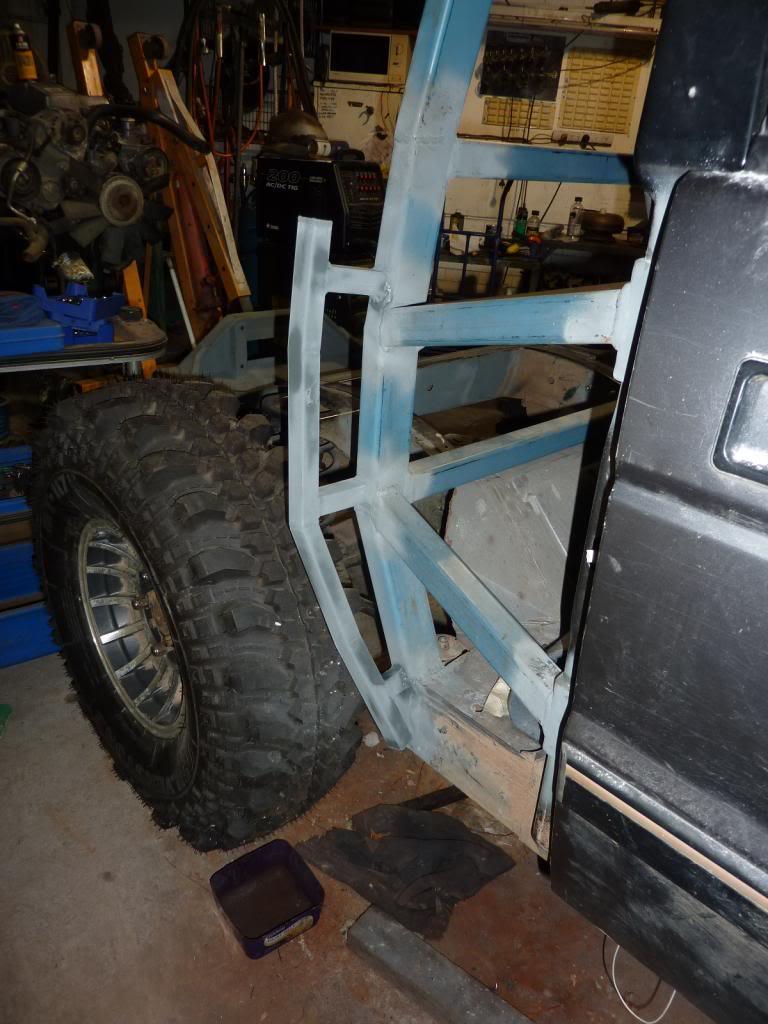
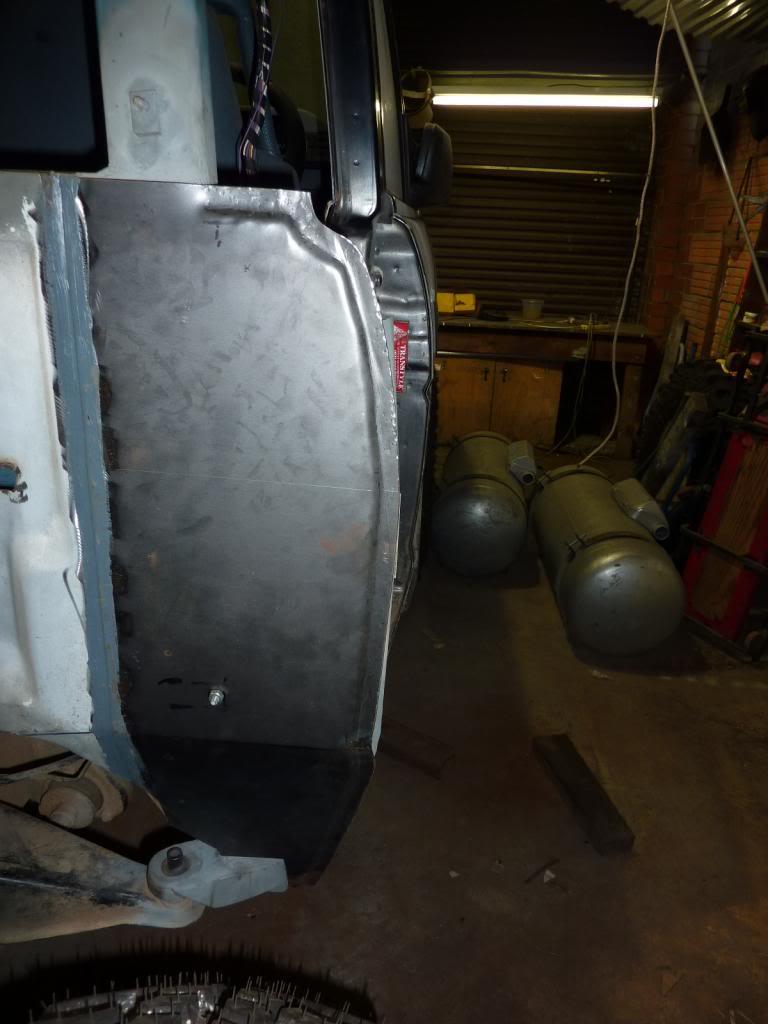
I was in the workshop again over this weekend. And the work that was done was to add in some sections that follow the profile of the rear corners closely. I was worries about 2 things. Cracking of the fibreglass due to flexing of the body, and also light impacts into the rear corners and the rear quarter panels. So the sections I have added below will have the rear wall tack welded and then be an intergral part of the corners through the foam and ribs that I will add later.
Stirling
Wizard
The bracing is a really nice fit to the contour and will provide good bracing - your bar work looks sronger than the original body would have been.
Coming along nicely.
89 Orange Rangie UTE - our play thing - sadly now sold
75 Rangie/Series/Hybrid/LS3 - Bumblebee with a sting!!!!
2018 RRS - The new touring vehicle - replaces 2012 RRS
Master
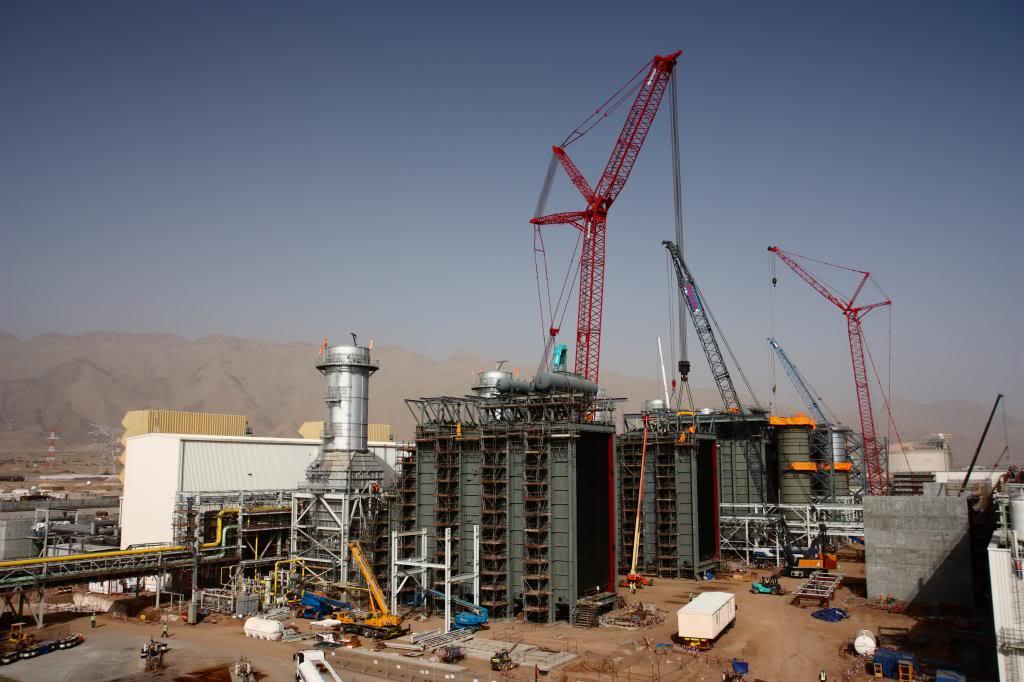
SupporterRighto I'm back guys. I had to do a 10 day work trip over to Oman. I went to help some of our guys commission the bypass exhaust system on the turbines of this power station:
Anyway, while I slowly work through some jetlag I spent some time in the workshop yesterday and today.
The reinforcement on the corners had 2 areas where it protruded past the skin. So I ground these areas back and welded in angled plates so they don't interfere with the fibreglassing that I will be doing soon. Admittedly the photos don't really show what I did... but the work is there!
I also made templates for the plates that I need to patch up the butchery I did when I cut the back off the car. These parts are all ready cut out and ready to be welded in.
In addition I cleaned up some of my ordinary welds that I did right at the start of this project using the TIG. No photos of this.
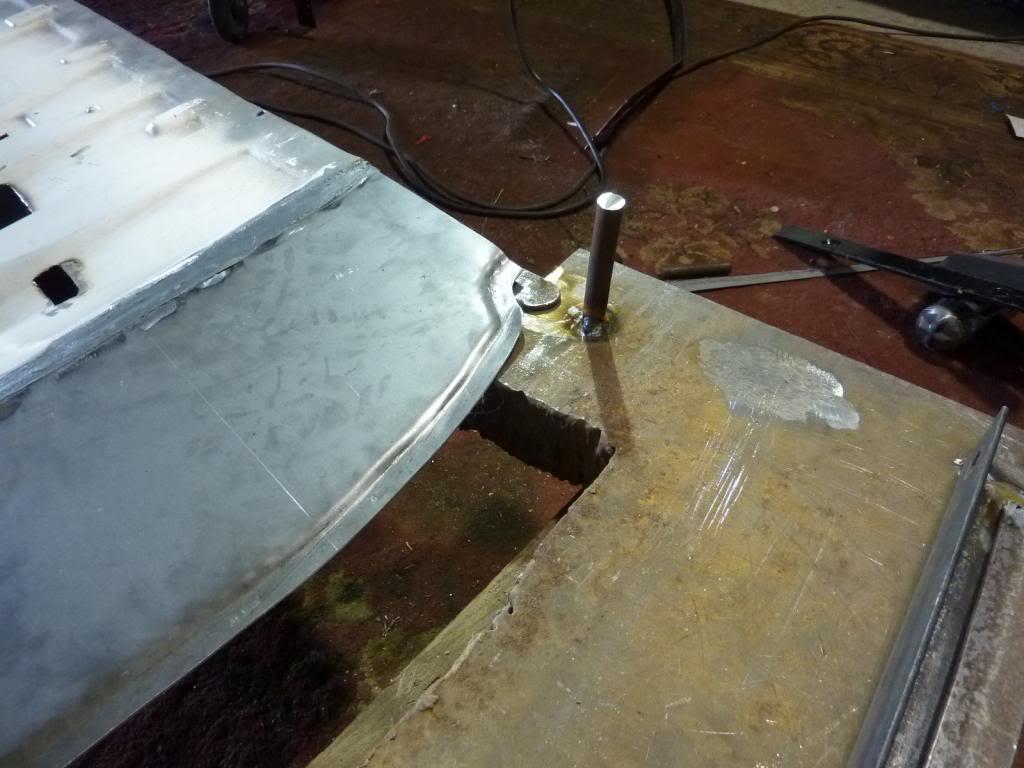
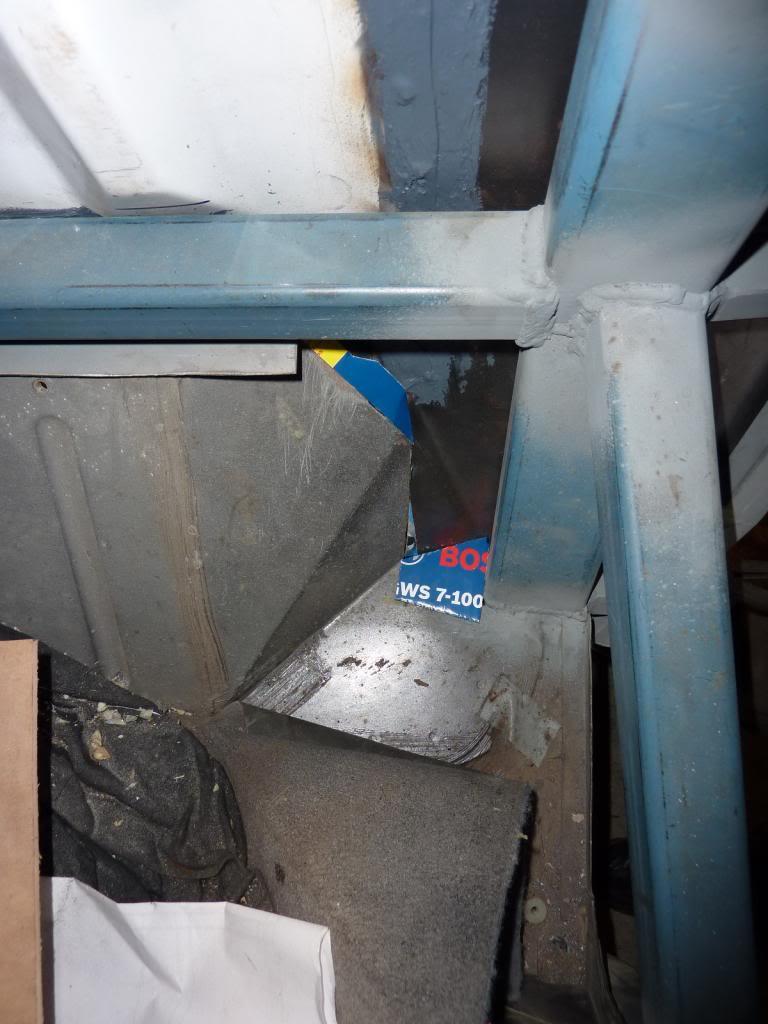
Finally, I screwed up a cut... This is what happens when you measure once only and the straight away cut. I now have a gap in a real PITA location that I need to fill to join the car floor to the rear wall... Such an irritating mistake, but not impossible to sort out.
And that is the end of the weekend!
Stirling
Master
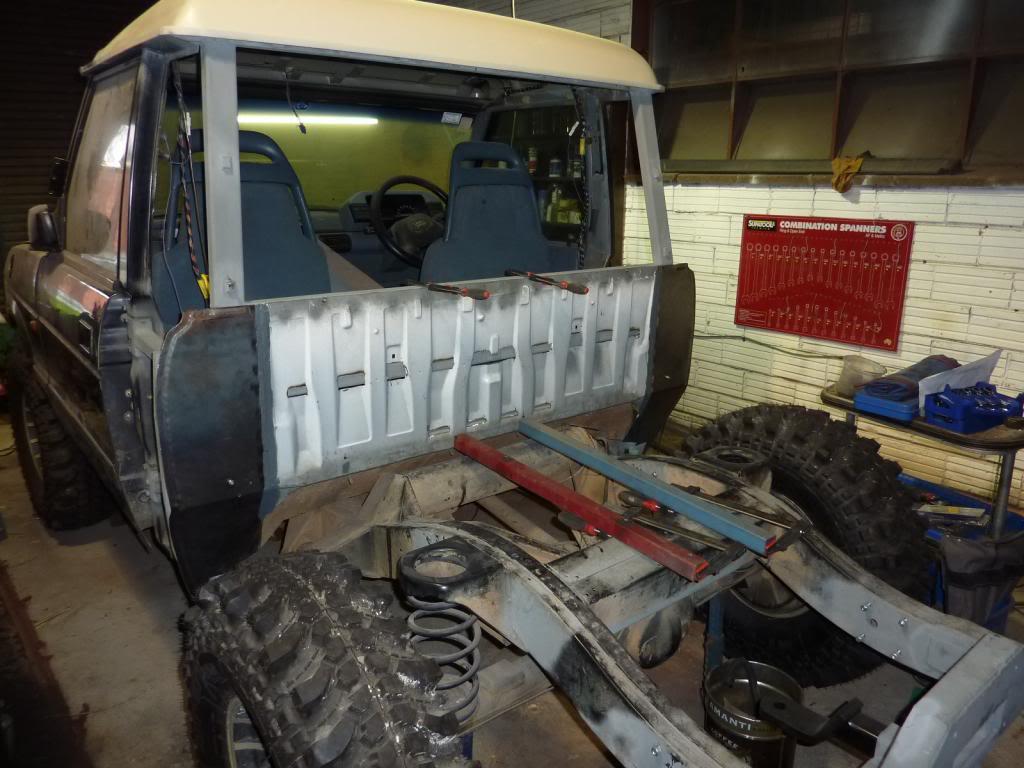
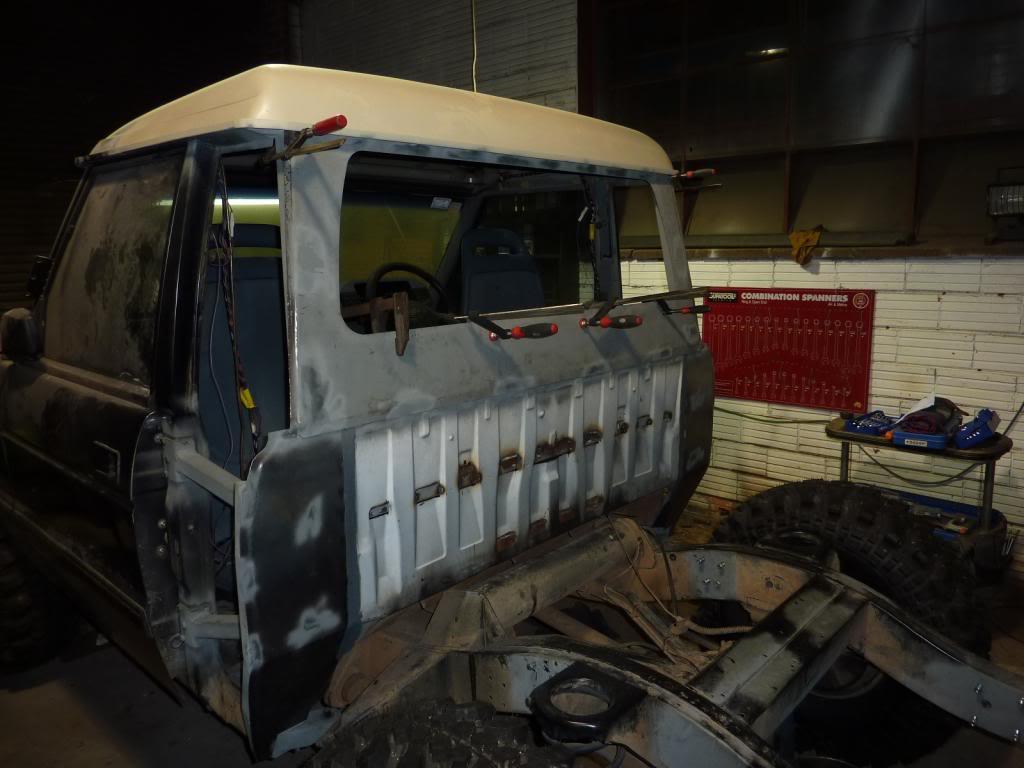
SupporterHello all, time again for the weekly update on activities.
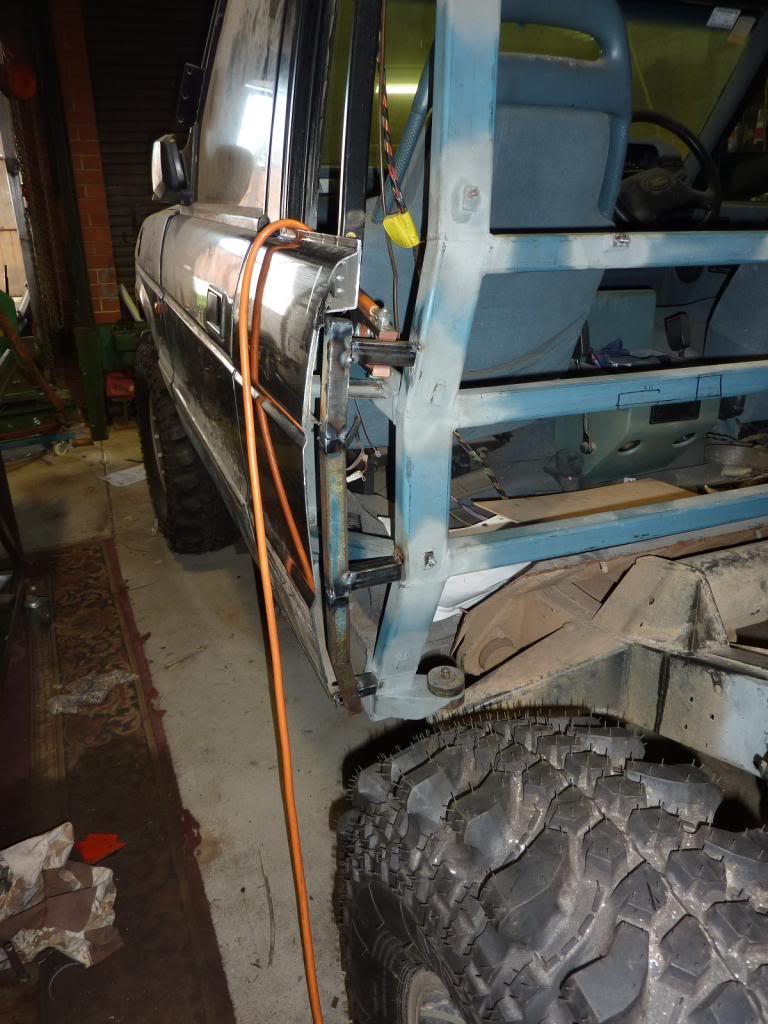
The main work done was mainly to start permanently attaching the rear wall onto the frame.
The rig to hold everything in place. Very sophisticated, as you can see.
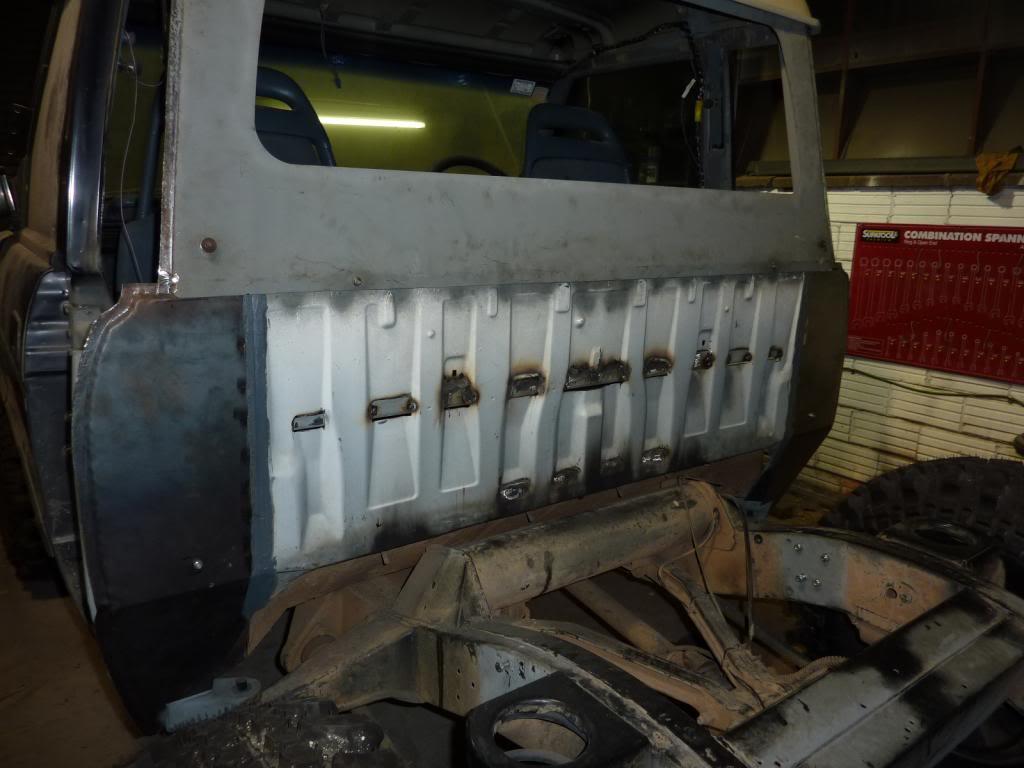
I quickly discovered that it was very difficult to weld the thin sheet steel to the frame. I was making quite a bit of a mess and ended up taking the grinder and removed the majority of my welding. I just left enough to hold everyting in place firmly, I'll epoxy the rest next weekend hopefully.
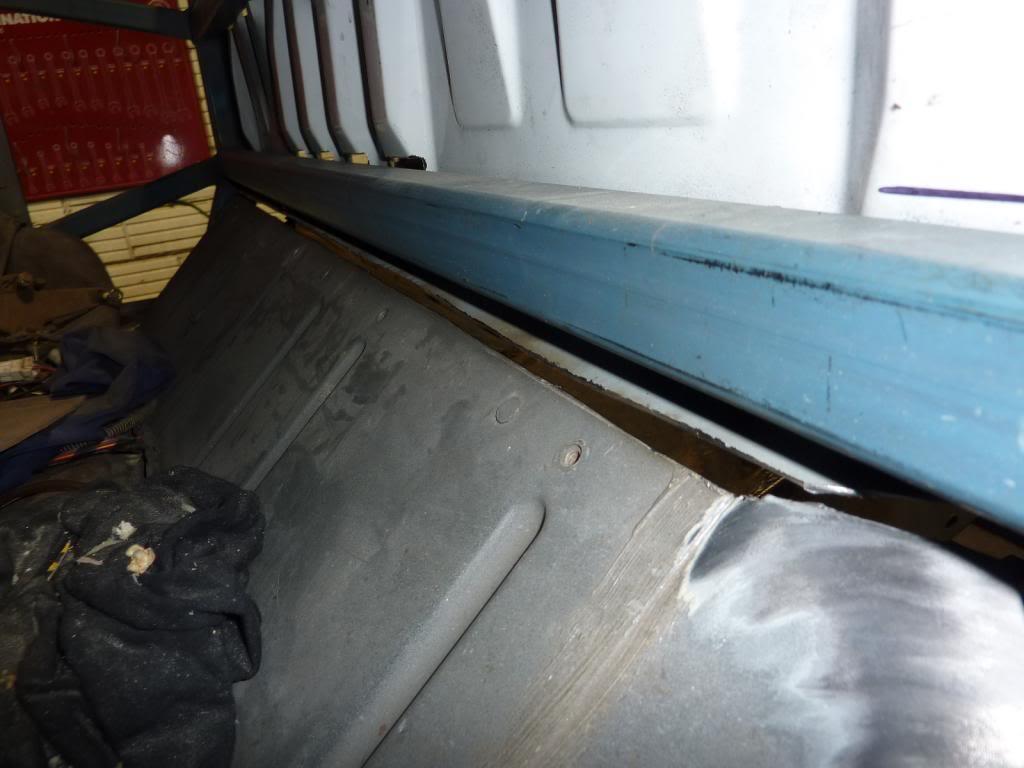
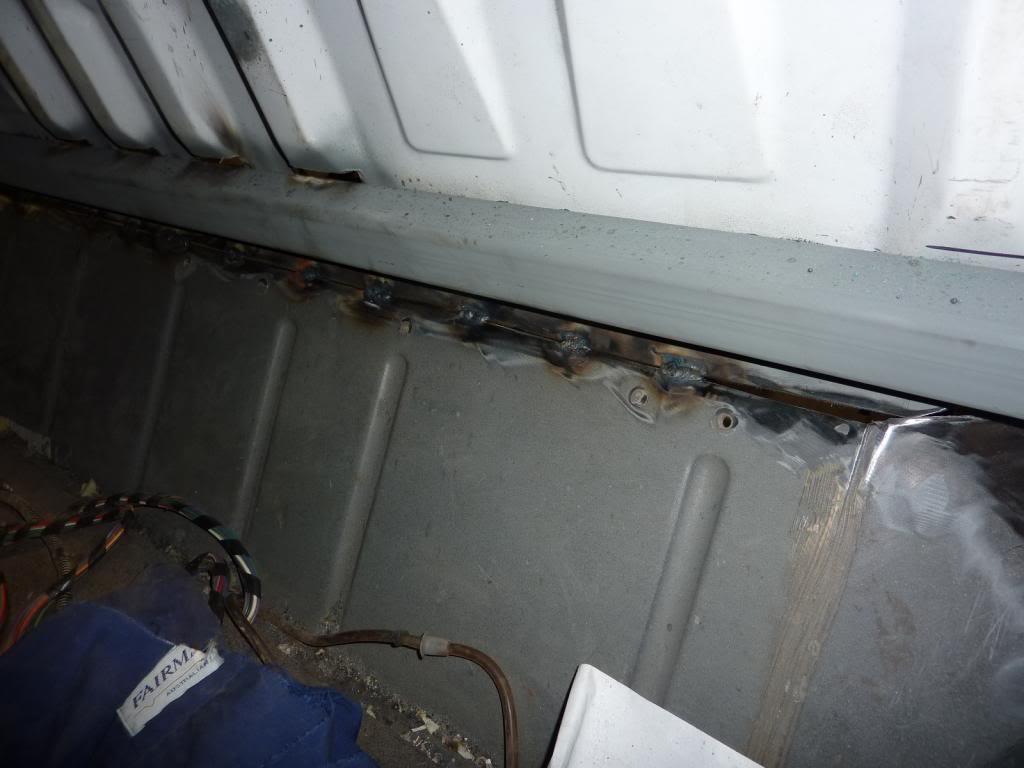
I was able to stitch weld the rear wall onto the floor using the TIG welder. I'll run a strip of expoxy and fibreglass over this area also.
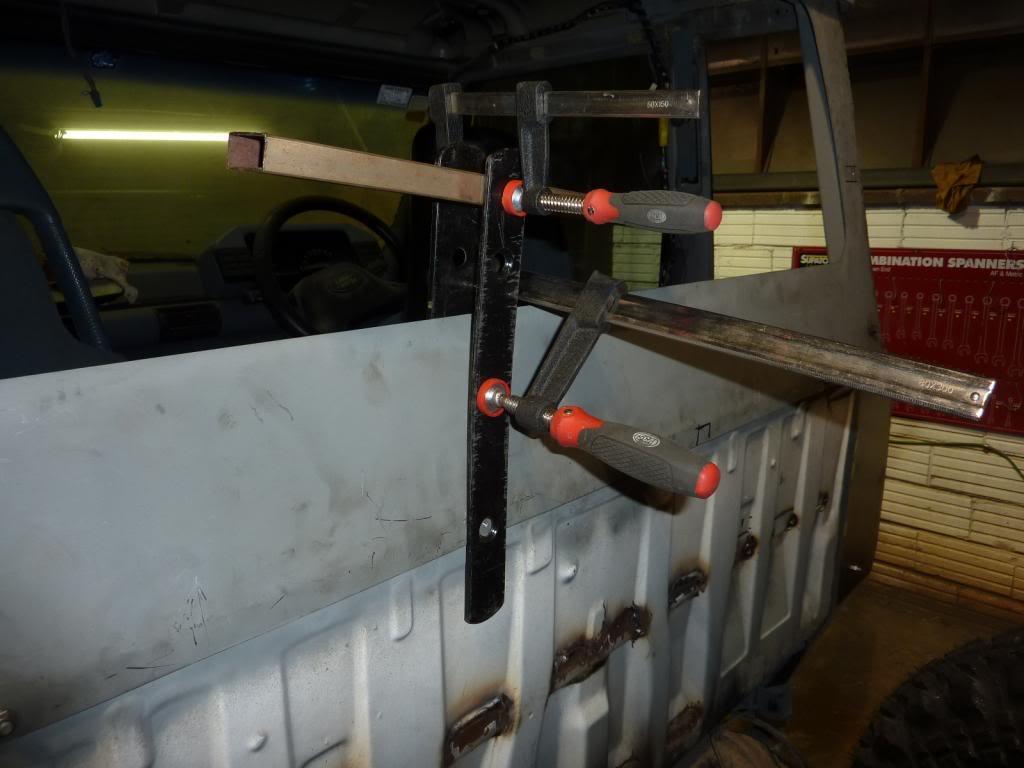
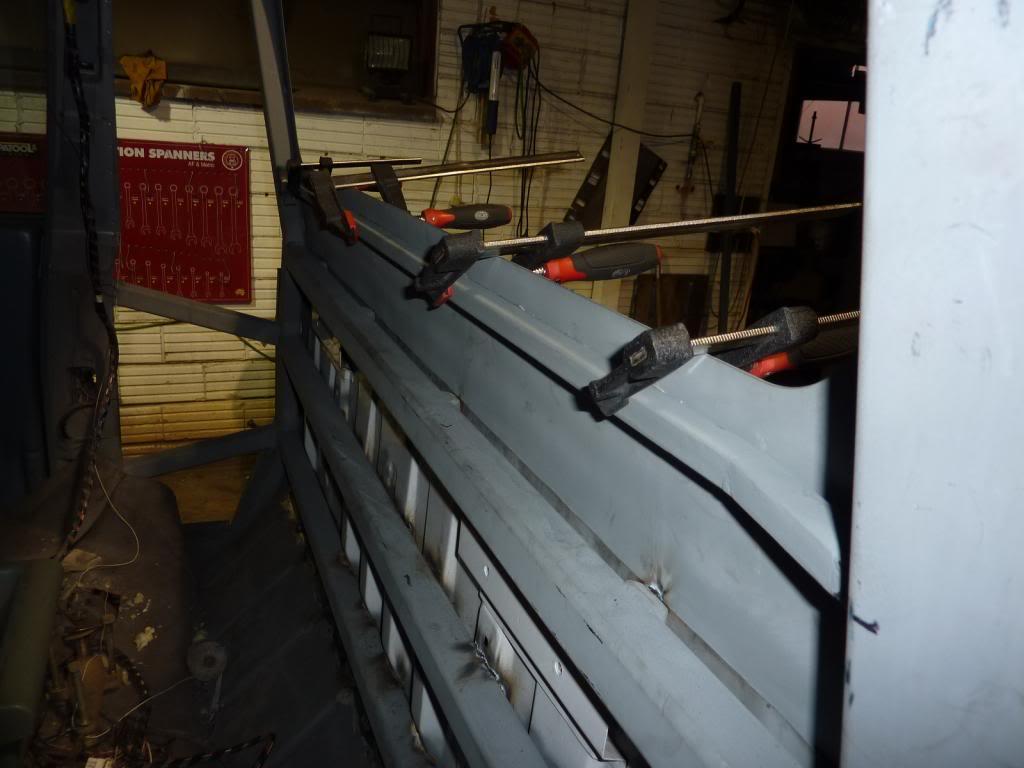
Another sophisticated rig to hold the panels together while I do the plug welding.
One thing I forgot to think about. The weld shrinkage effect on free edges on the flat panel.
The solution to hold everything in place, square hollow section glued to the panel 30mm below the window edge. Even if I didn't get any movement in the panel from welding, I was going to do this anyway, I figured with the window in the panel would vibrate quite a bit since the panel was quite flimsy.
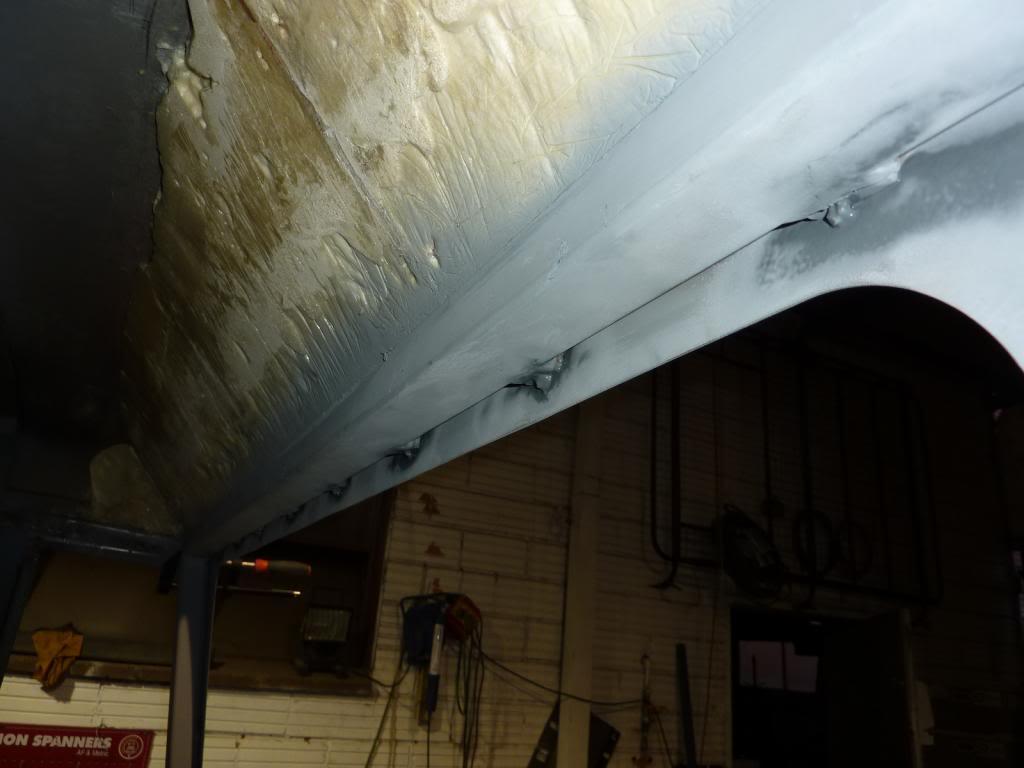
The tack welds across the top, nothing pretty, the zinc paint makes welding with the TIG harder and being over head didn't help at all. But it will hold, besides later I'll be running some glue on the outside between the panel and gutter.
The majority of the welding is done, all that remains is the lower sections near the corners and then patching the holes in the floor.
Next step is fibreglassing over the various places on the rear wall and the connection between the rear wall and the floor. Then moving onto installing the sides.
Stirling
 Posting Permissions
| Search AULRO.com ONLY! |
Search All the Web! |
|---|
|
|
|


Bookmarks