Page 27 of 82 FirstFirst ... 1725262728293777 ... LastLast
Results 261 to 270 of 812

Thread: Stirlsilver's Disco Ute Project

  1. #261
    Join Date
    Jun 2007
    Location
    Oatley, NSW
    Posts
    974
    Total Downloaded
    0
    Thanks Chris, I am really trying to get this finished as quickly as possible. But the amount of work is huge!!

    Today I spent the whole day on the donor car, preparing the engine to be pulled out.


    A hell of a lot of work is needed just to get the engine out! I've run into a problem trying to get two of the bolts that connect the engine to the bell housing at approximately the 2 O'clock position (when facing forwards). I simply cant turn a ratchet in that space. Does anyone have tips on how to remove these bolts on a series 1 auto discovery?
    Stirling

  2. #262
    Join Date
    Jan 1970
    Location
    Forty minutes closer to the hills in a house the bank is kind enough to let me live in
    Posts
    1,532
    Total Downloaded
    0
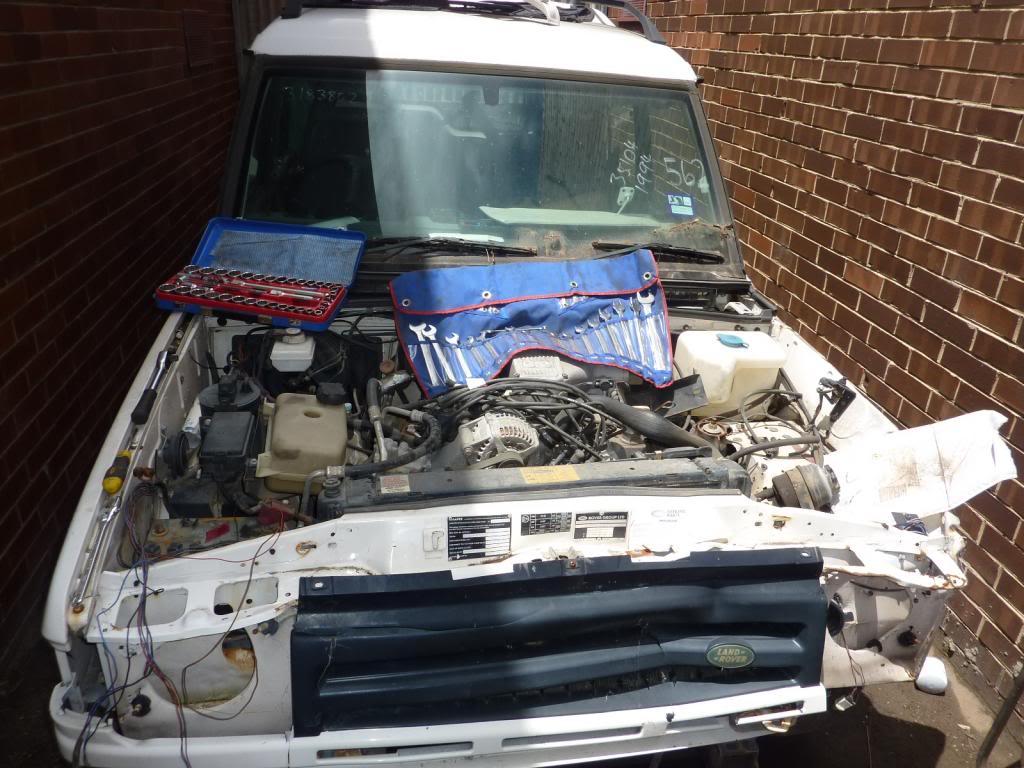
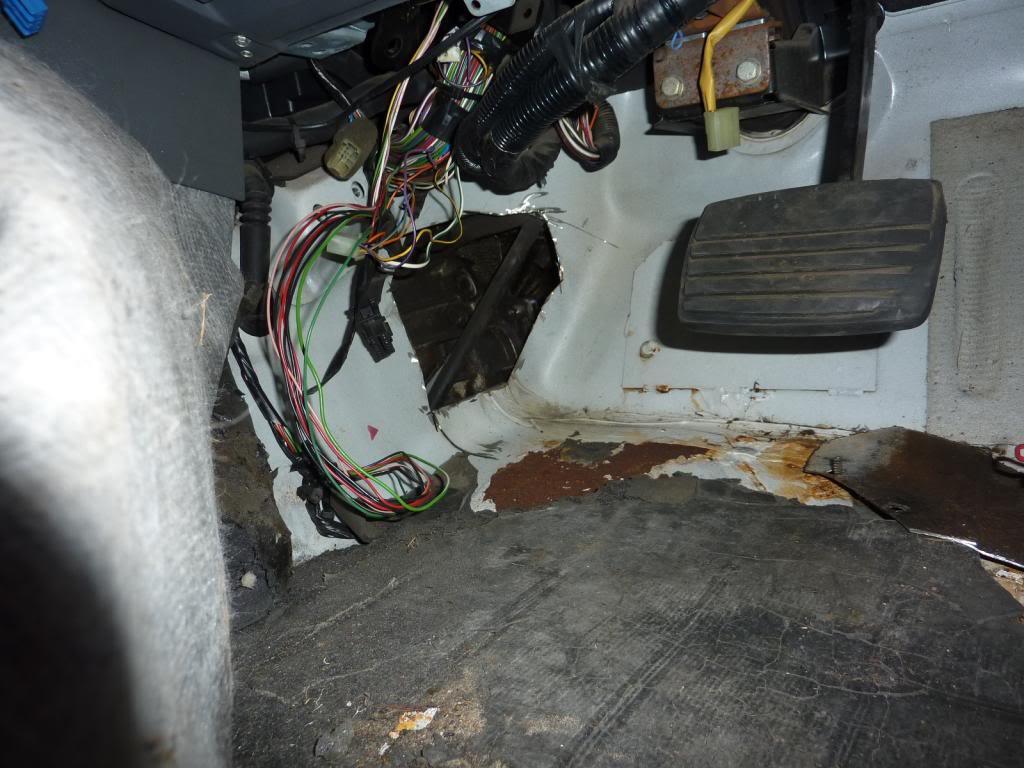
    I can't speak for the auto because I've never done one but the LT77 bellhousing was still a fiddle when I did my rebuild. Most of the top bolts were removed using a series of extension bars to allow the ratchet to work from behind the transfer. These were all wobble bars. They had to be offered up in pairs and joined in place. Fiddly but effective.

  3. #263
    Join Date
    Nov 2012
    Location
    Woolgoolga
    Posts
    92
    Total Downloaded
    0
    Just spent 3 hours following this from the start. I commend you on your work thus far!! Now cant wait to see it completed. You are one patient man...i couldnt do it. Cheers, Goose

  4. #264
    Join Date
    Jan 1970
    Location
    Gold Coast
    Posts
    1,938
    Total Downloaded
    0
    What macMan says - get a whole heap of socket extension bars and run back along the top of gear box/transfer to where you can get your breaker bar on - I think I use 2x long and 2x medium bars - and buy some of the extensions which allow side movement (I presume that is what MacMan means by wobble bars - don't know the correct term)

    These wobble bars are simply wonderful where you can't get correct line up - get a short and medium wobble connectors - the short one is handy to put half way along so the long extensions can flex.

    Alternate is to cut a hole in the fire wall - given a donor car might be quicker esp if ceased.

    Note - one HUGE advantage of a body lift is access to the bell housing bolts - so another alternate approach is undo the front body mounts and jack up the body - block it then use access to get to the bolts.

    Skiboy

    89 Orange Rangie UTE - our play thing - sadly now sold
    75 Rangie/Series/Hybrid/LS3 - Bumblebee with a sting!!!!
    2018 RRS - The new touring vehicle - replaces 2012 RRS

  5. #265
    Join Date
    Jan 1970
    Location
    Gold Coast
    Posts
    1,938
    Total Downloaded
    0
    Quote Originally Posted by stirlsilver View Post
    Thanks for some great input Skiboy, I really appreciate it!

    Just while typing this I've actually thought of an idea that may actually address this in a better way actually - When I finish the car I might take it to a fibreglassing place and get them to make some nice molds of the rear quarters, rear wall and roof. That way if any of these panels get damaged they could just be cut out and fibreglass replacement panels used instead. I could perhaps then sell the panels to anyone interested in doing a similar build perhaps?
    Definitely do this - it was a thought I had too (as I fixed the damage to our unique panels) - it would have been great to have a set of glass molds/panels from before damage to the rear panel - a glue on replacement would make life so much easier and driving less stressful. Repairs a quick and easy that way.

    Also I would consider making the bottom curved panel a glue on job into a recess like you did on the rear wall panel. This was a very neat trick and one I noted for any future work I do on the alloy Stage One/Rangie ute (the yellow one in my sign on).

    You could make the curve fit over the rear panel and under the door skin and be glued in place. Cut glue to remove and replace.

    I am sure you could sell these sections - and possibly one of your roof if you had a mold made. Or if not interested in selling panels see if someone wants to make and buy the molds from you to offset your build costs.

    Given prices of D1s and in the future D2s more and more people will want to build one of these now good rangies getting hard to come by. So a market for the panels or a kit.

    Skiboy

    89 Orange Rangie UTE - our play thing - sadly now sold
    75 Rangie/Series/Hybrid/LS3 - Bumblebee with a sting!!!!
    2018 RRS - The new touring vehicle - replaces 2012 RRS

  6. #266
    Join Date
    Jul 2007
    Location
    Auckland, NZ
    Posts
    2,278
    Total Downloaded
    0
    Just to extend that. On my boat I have toughened glass in the front and wise screens. I have accurate plywood templates so they can be replaced easily if the glass is broken.

    You might want to consider that for the rear window, etc.

    Alan
    Alan
    2005 Disco 2 HSE
    1983 Series III Stage 1 V8

  7. #267
    Join Date
    Jun 2007
    Location
    Oatley, NSW
    Posts
    974
    Total Downloaded
    0
    Thanks for the input everyone. I opted for taking an angle grinder to the car:


    I then proceeded with pulling the engine out of the car. Now there is an easy way to do this............ Or the hard way:


    After struggling for ages to get the engine into the workshop, I finally got there:
    Stirling

  8. #268
    Join Date
    Jan 1970
    Location
    Gold Coast
    Posts
    1,938
    Total Downloaded
    0
    Note you will face same bell housing bolt issue on reinstall (just done one in the weekend).

    Do you have a body lift on the new cab (sorry can't remember) if so then will have more room to get to bolts but will still need to use same technique to do bolts up.

    SKiboy

    89 Orange Rangie UTE - our play thing - sadly now sold
    75 Rangie/Series/Hybrid/LS3 - Bumblebee with a sting!!!!
    2018 RRS - The new touring vehicle - replaces 2012 RRS

  9. #269
    Join Date
    Jun 2007
    Location
    Oatley, NSW
    Posts
    974
    Total Downloaded
    0
    Quote Originally Posted by Skiboy View Post
    Do you have a body lift on the new cab (sorry can't remember) if so then will have more room to get to bolts but will still need to use same technique to do bolts up.
    At this stage, there is no lift on the body. Though it is looking like that wil change. Before I decide on how much is needed, I have to start looking at guard clearances at the front.

    I was in the workshop again this weekend, and in hindsight it wasn't an overly productive use of my time. I went ahead and tidied up the rear wall so it fits around the rear wall horizontal beam and I also put steps down each edge of the panel:


    The rest of my time went basically into unbolting the toque converter off the back of the flex plate. That was a bit fiddley because I didn't want to pull the sump off. But I got there in the end. So the engine is now sitting on the engine stand:


    This evening I was spending some time looking at the rear quarter window frames. Currently the way I have made them it is like they form a small door which would seal against some rubber door seals. I think it will look strange to have the same arrangement as the front door window frames. So at this stage I think I will be fibreglassing the rear quarter window frame to the B pillar so that it looks like one continuous piece.

    Also, I'm now starting to think about engine and gearbox work. At this stage I'm thinking of getting the ZF 4HP22 overhauled and upgraded with 4HP24 internals (which are supposedly much stronger). Have a look here to see what I mean:

    Ashcroft Transmissions - ZF4HP22

    The costs of the overhaul and upgrade are pretty staggering though!

    On the engine side of things, I now need to start thinking about turbos, exhaust manifolds and inlet manifold modifications.
    Stirling

  10. #270
    Join Date
    Jan 1970
    Location
    Gold Coast
    Posts
    1,938
    Total Downloaded
    0
    2inch body lift is usually enough with some guard cutting - that is all we have plus 2 inch springs on our rangie ute

    What ever you decide remember you want to minimize the weight up high for max stability.

    Side windows - if worried about the door look (and that may be an issue) then why not rethink the whole side windows. My suggestion is to think about complexity - my son keeps reminding me to KISS - keep it simple stupid as I like to make it too complex.

    So a suggestion might be to use sheet metal just like the rear with a fold (maybe rounded) and the corner. Then cut and rubber the side windows in as per the rear. Like on defenders etc.

    Auto
    Did you unbolt the auto from flexi plate via the hole in bottom or the front plate? You may know all this but I made up a socket on a bent steel bar so can use socket from front to undo flexi plate bolts. Done 3 auto conversions with this now. Works a treat.


    In use


    And a tip for holding torque converter in place while installing (so not slip out and then stuff oil pump lugs when bolting in (experience 
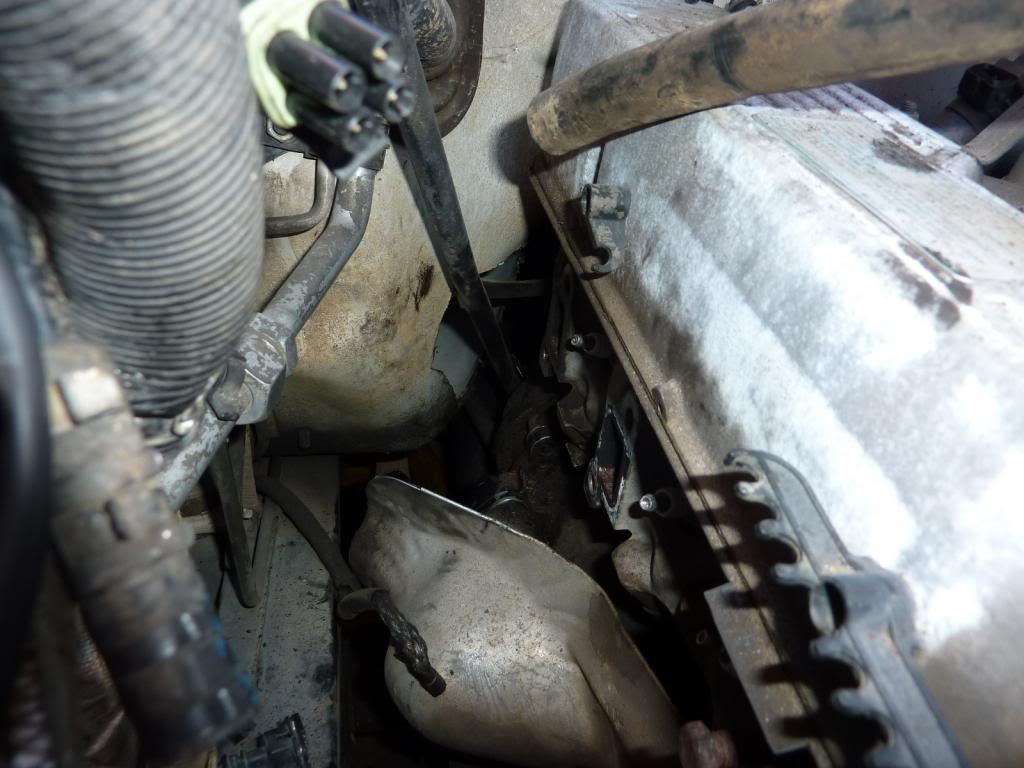
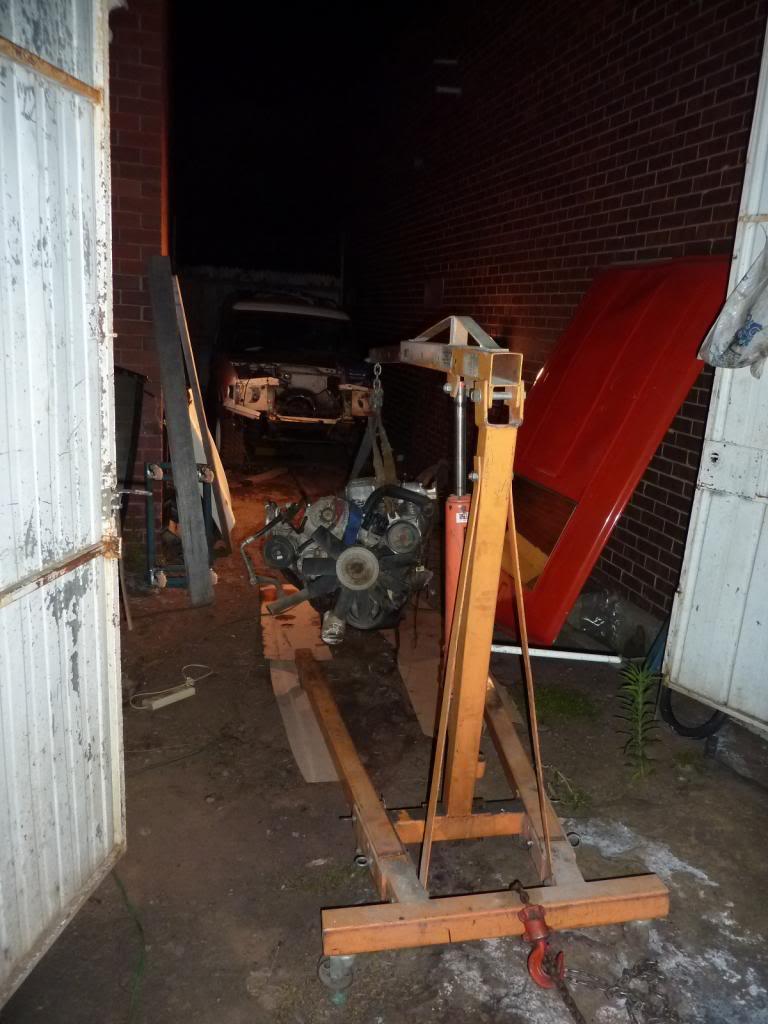
) - bolt an alloy bracket bent to hold torque converter in place - see below


    Bolted to inspection hole


    Looking good.
    Skiboy

    89 Orange Rangie UTE - our play thing - sadly now sold
    75 Rangie/Series/Hybrid/LS3 - Bumblebee with a sting!!!!
    2018 RRS - The new touring vehicle - replaces 2012 RRS

Page 27 of 82 FirstFirst ... 1725262728293777 ... LastLast

Bookmarks

Bookmarks

Posting Permissions

  • You may not post new threads
  • You may not post replies
  • You may not post attachments
  • You may not edit your posts
  •  
Search AULRO.com ONLY!
Search All the Web!