

 Reply With Quote
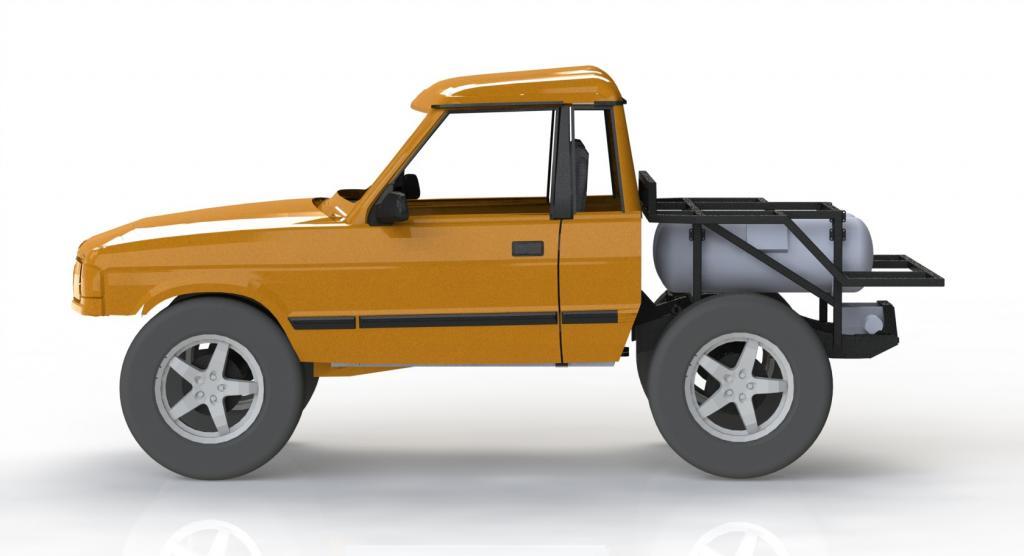
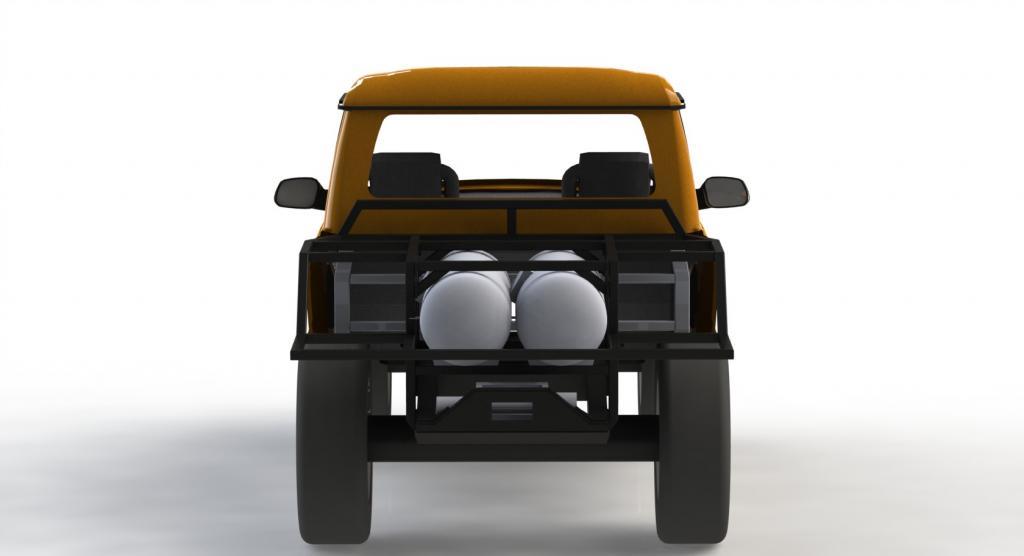
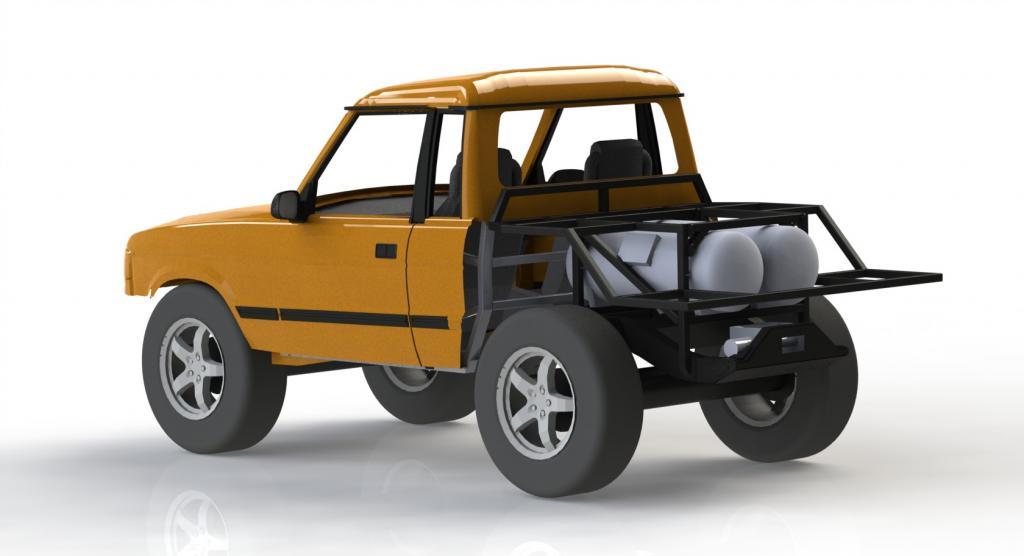
Does anyone have any suggestions on the shape of the rear windows? I went to the effort of rendering the model this time

 Master
Supporter
Master
SupporterAnother short update:
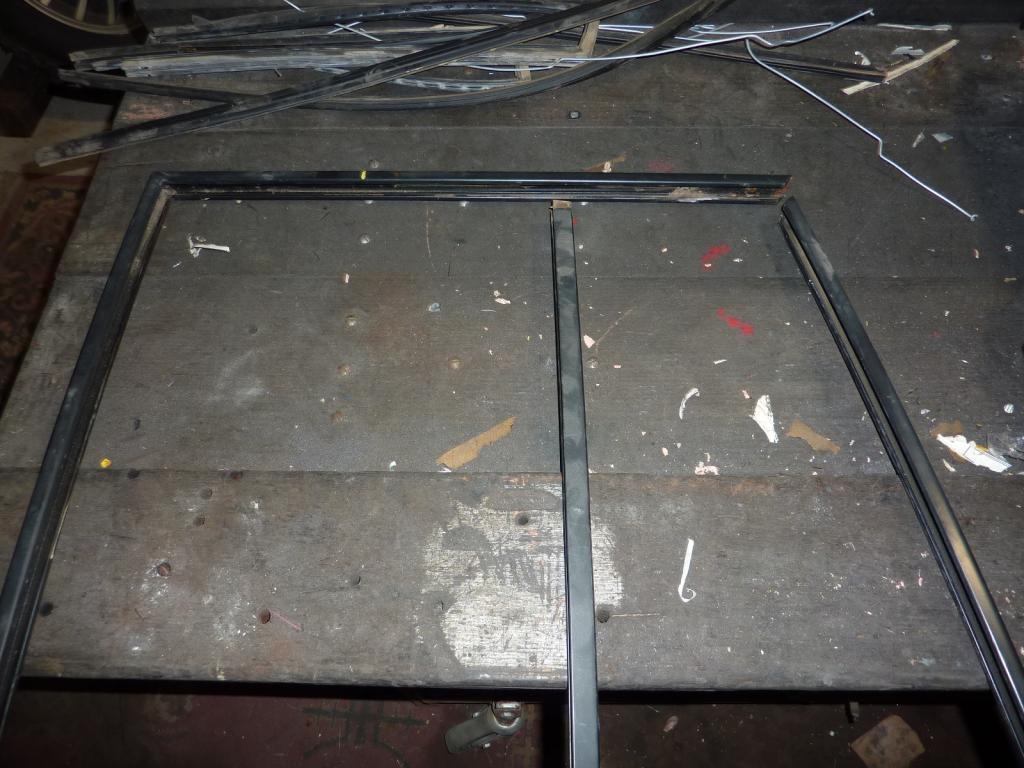
I sliced up the original rear door window frames into the useful pieces:
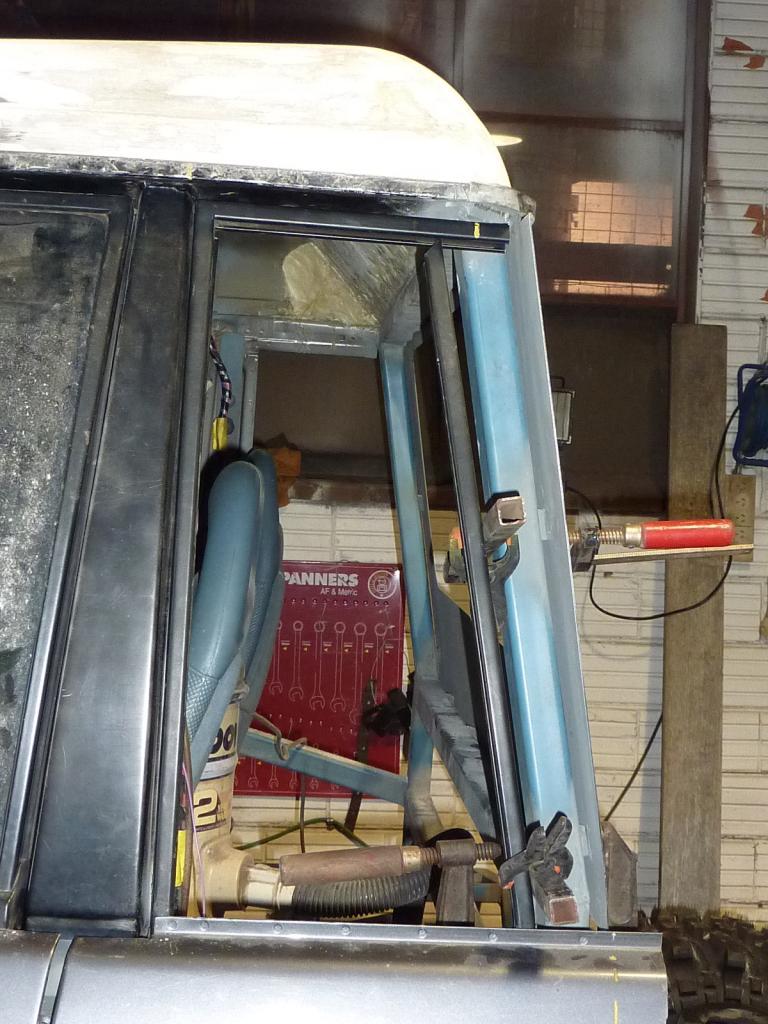
And have started trialling the positioning of the window frame. Initially I was thinking spacing the rear frame 20mm off the rear wall structure (as shown below), but I think having the window line parallel with the rear wall line will look a bit strage. So i'm going to hop on to solidworks and play with some arrangements to see what I will be most happy with:
I then moved on to some more tidying up work on the roof. I've discovered an air bubble in the original fibreglassing I did so I've had to cut that part out and i'm going to have to patch it with some new glass and fill over the top of it.
Stirling
Master
SupporterDoes anyone have any suggestions on the shape of the rear windows? I went to the effort of rendering the model this time
Stirling
TopicToaster
looks ok, lift the bottom line 50-75mm. I thought you had the panel already made?
The wheels look huge.
Master
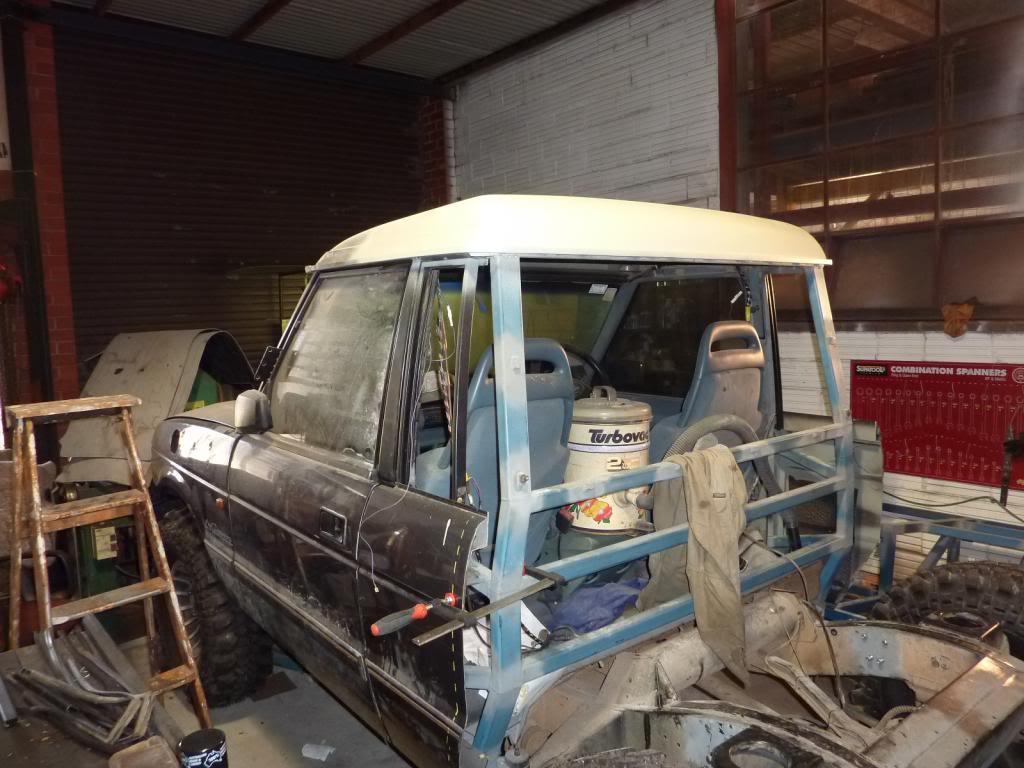
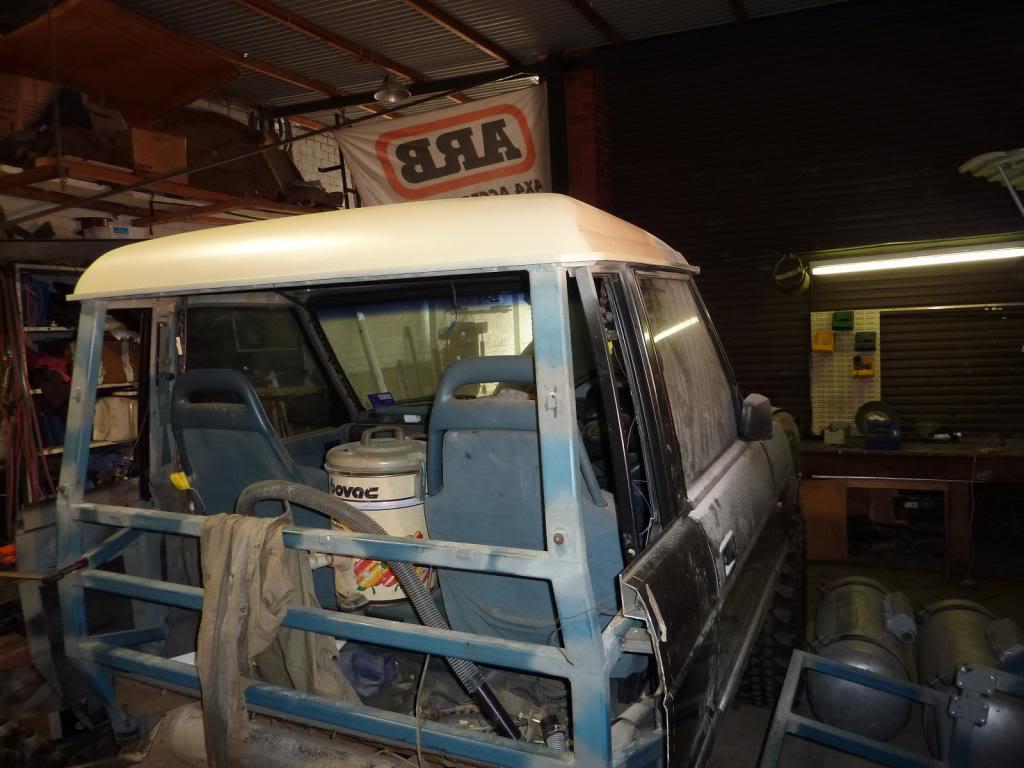
SupporterRight, i'm back!
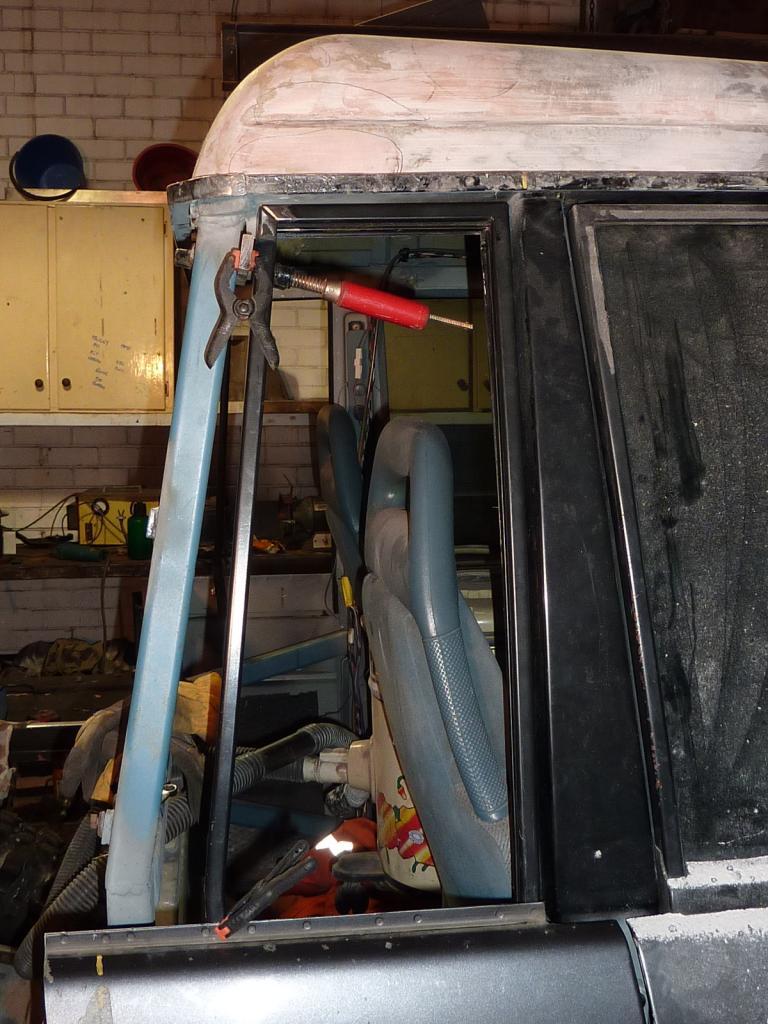
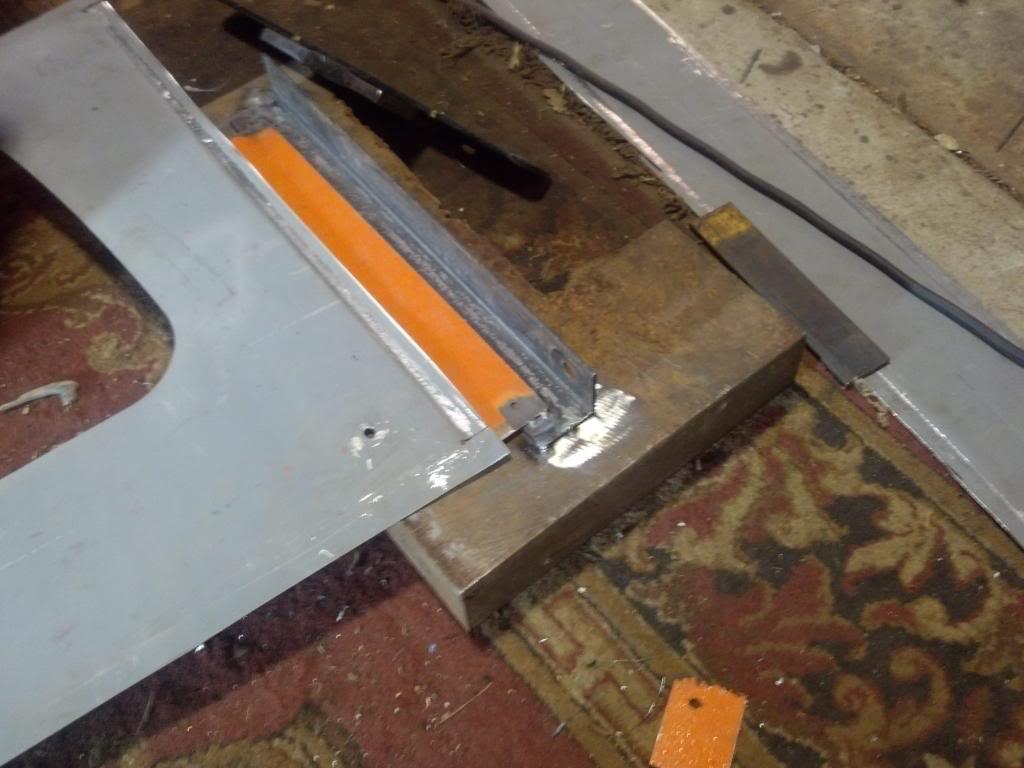
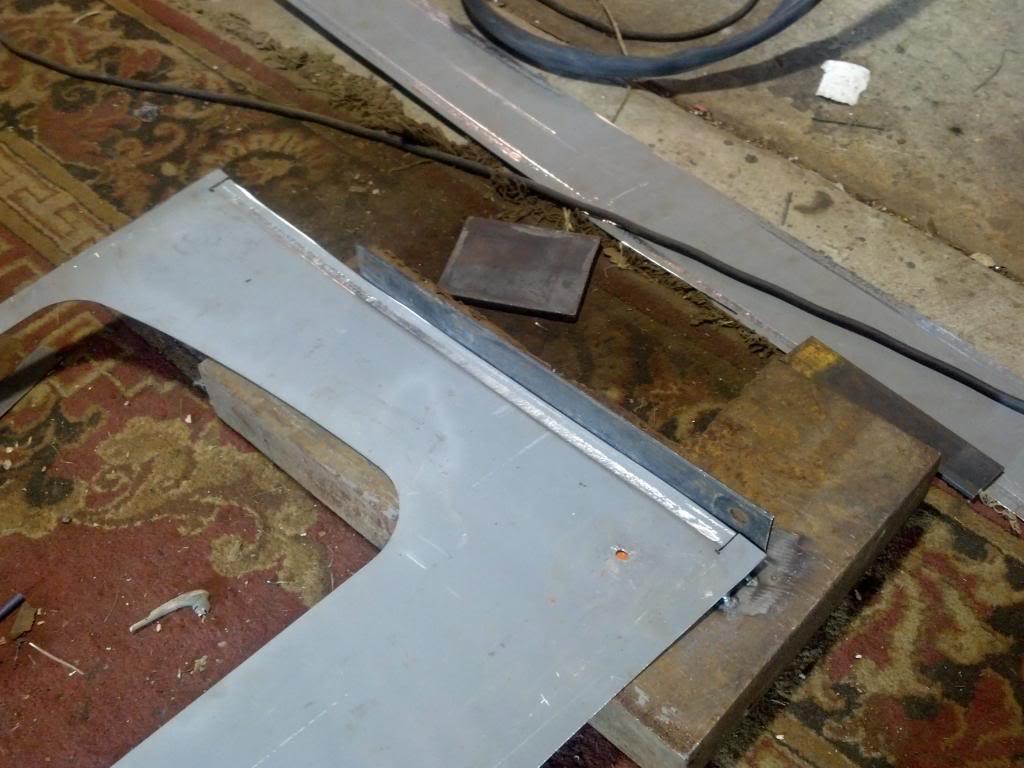
Spent a day today in the workshop welding up the rear window frames (both sides) and also doing some more bogging and sanding of the roof!
Stirling
Master
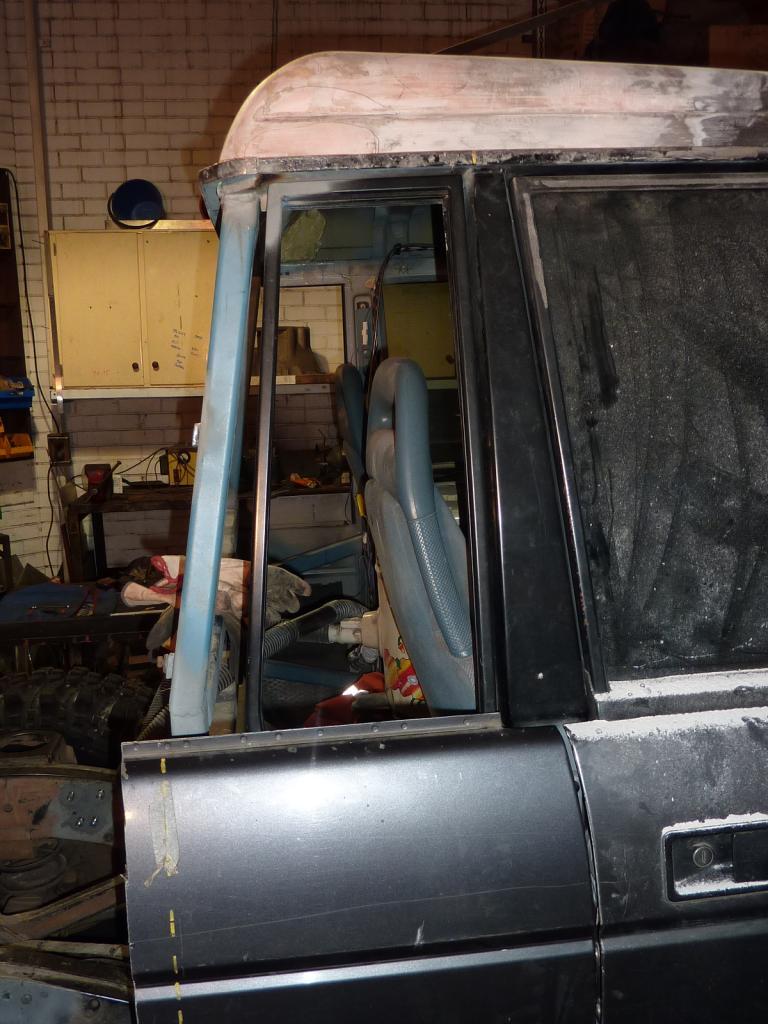
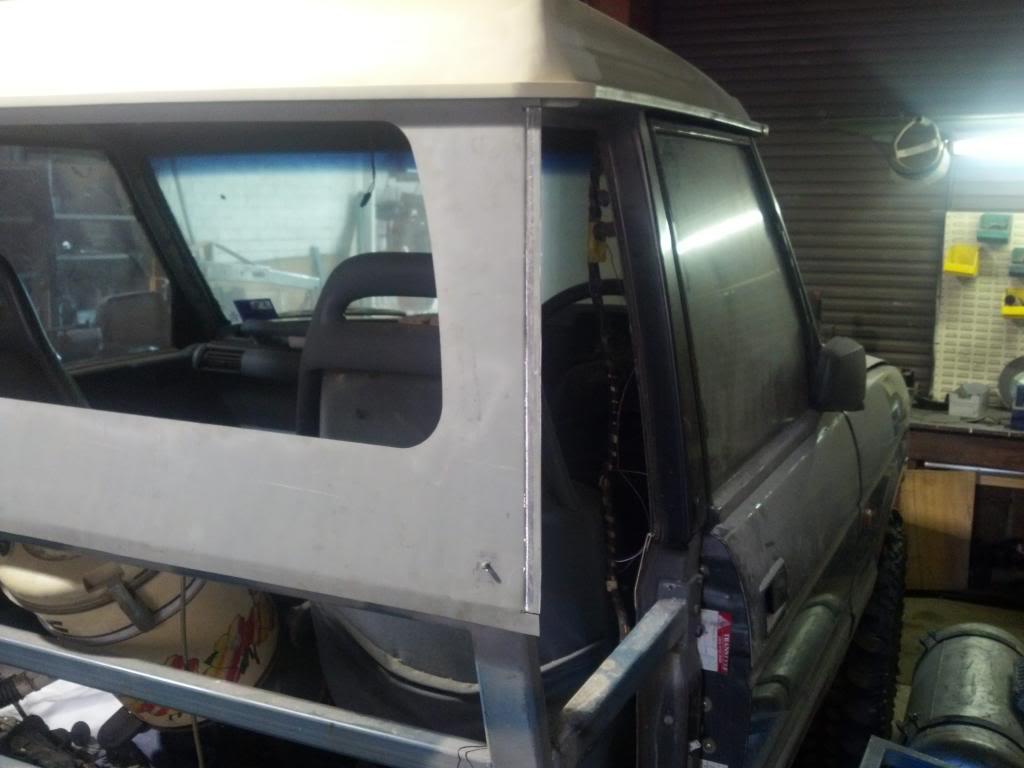
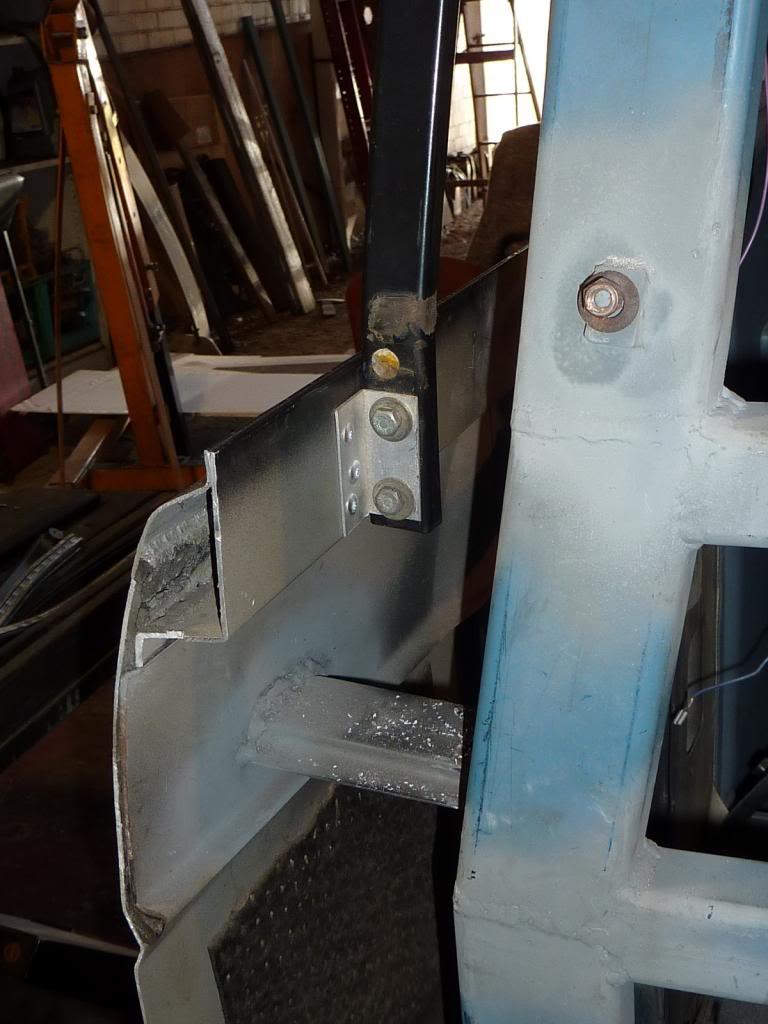
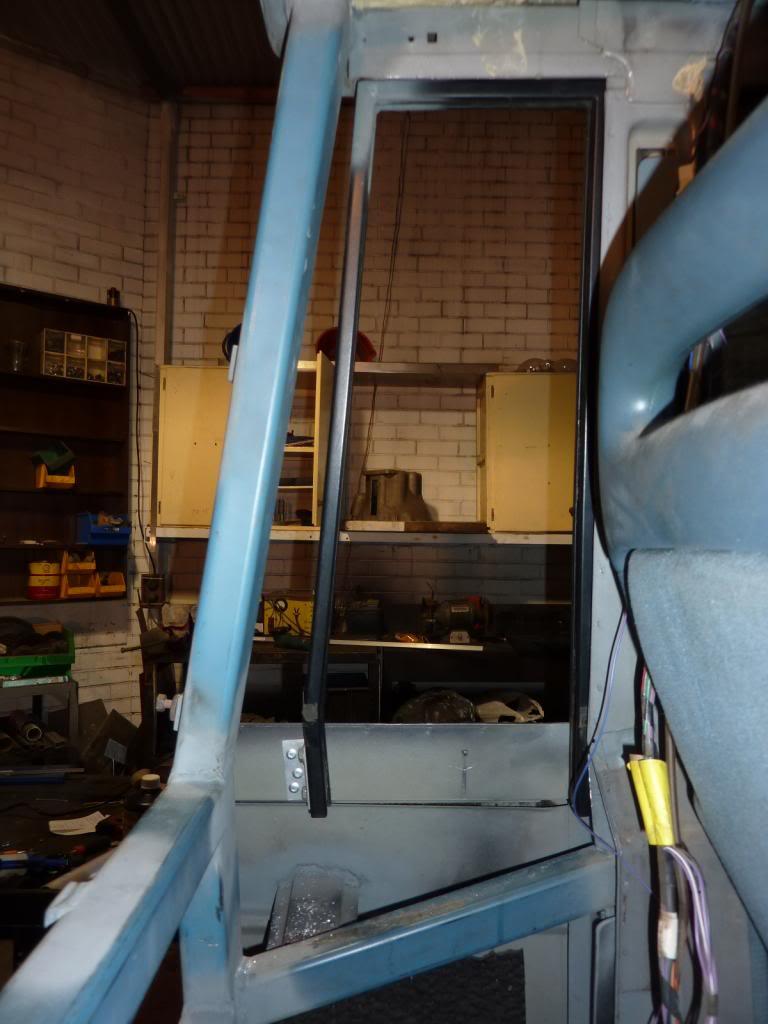
SupporterSettled on the method to attach the window frame to the panel skin, I managed to get the right hand side done:
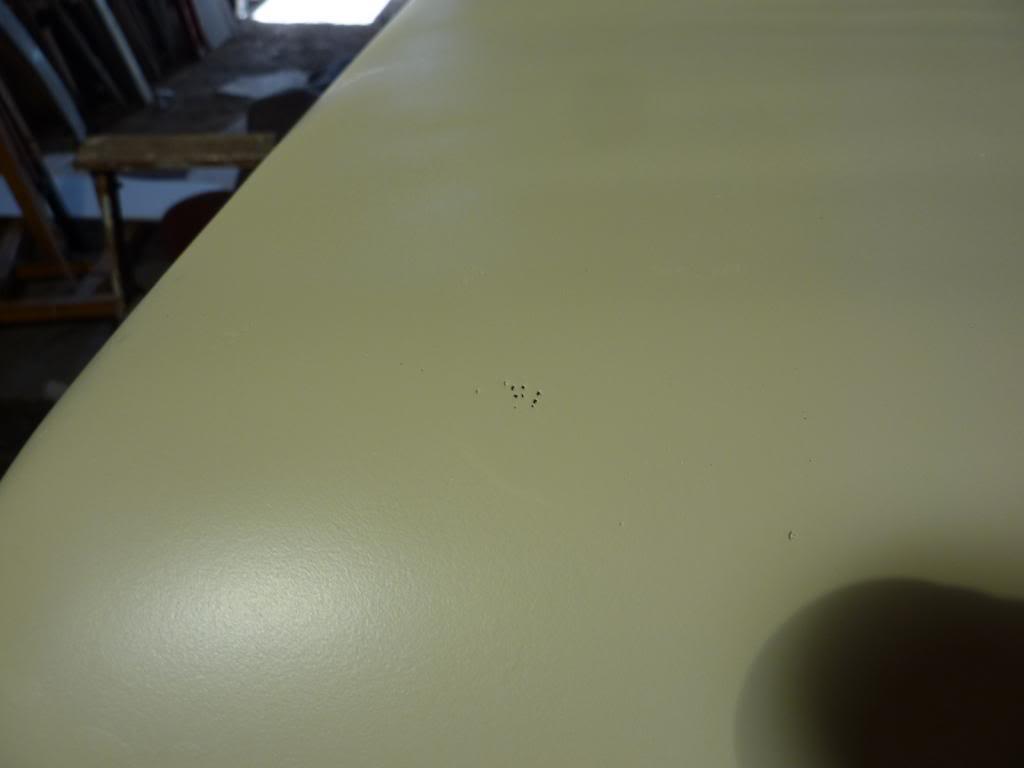
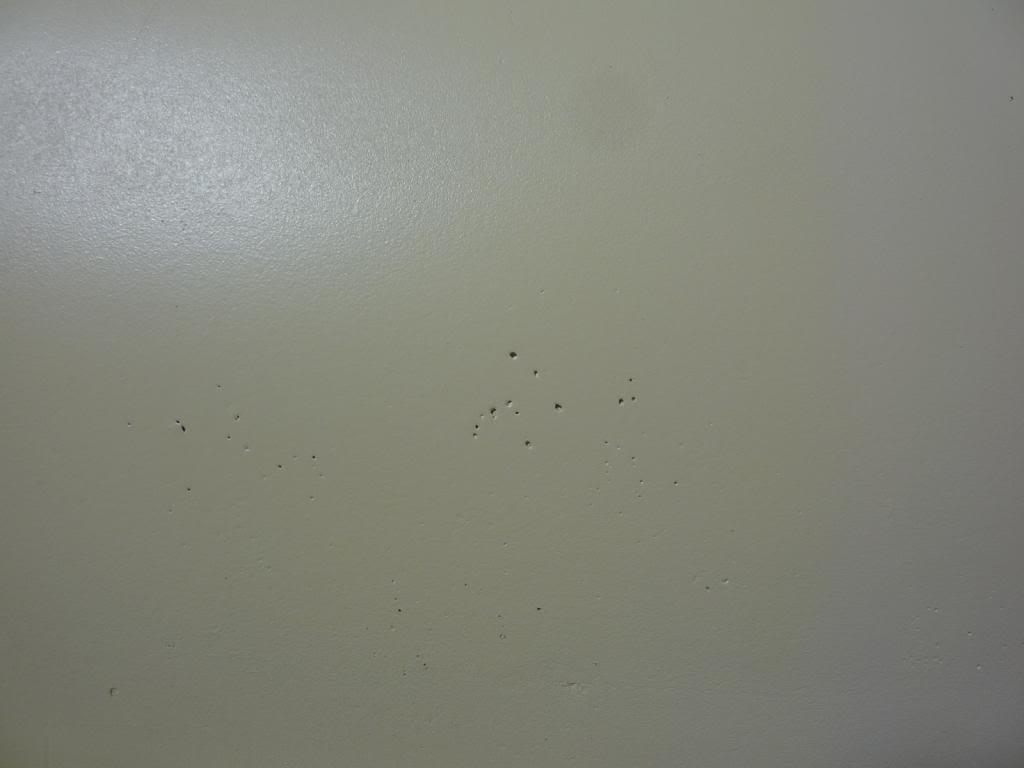
I also primed the roof with a few coats of primer filler:
Imperfections!!:
Looks like more bog and sanding is needed!!
Stirling
Super Moderator & CA manager
SubscriberLooks like it has been a lot of hard work, but that roof really looks the goods!")
If you need to contact me please email homestarrunnerau@gmail.com - thanks - Gav.
Wizard
A quick observation - how are you planning to insert the glass in the side panels?
The bottom of the frames attached to the door 'appears' to be narrower than the widest part of the glass. Also the 'door' side panel support looks like it might get in the way of sliding the glass up and in.
And dare I say this once finished will the glass be removable in case of repair?
I am sure you have thought this out as everything else has been well thought out. The reason I am asking these types of qu is that in my series/stage one/rangie build (yellow truck as avitar above) I ended up redoing stuff when I found I could not easily remove and reinstall parts I had made that needed to come in and out as the build progressed.
Also having had to repair a custom made ute (our orange rangie ute - signature below) you soon realize that custom made parts also mean custom repairs. Keep this in mind when you do your rear wall and attach it to the sides.
The side panels (cut down doors) are the most likely to get damaged and need repair and /or broken side glass hence you might want to ensure your construction can be undone if needed.
I don't know how you plan to finish the ends of the door and attach to the rear wall but one option might be to cap the ends of them and screw them from the inside to tabs so they butt against the corner of the rear wall filling/sealing the join with sealant. That way the whole side panel/door can be removed if needed.
Looking forward to more pics in due course
SKiboy
89 Orange Rangie UTE - our play thing - sadly now sold
75 Rangie/Series/Hybrid/LS3 - Bumblebee with a sting!!!!
2018 RRS - The new touring vehicle - replaces 2012 RRS
Master
SupporterThanks for some great input Skiboy, I really appreciate it!
I was wondering when someone would ask how I am going to get the glass into the frame with the bottom being the narrowest point. And to be honest that is something I still need to look into into more detail.Originally Posted by Skiboy

My way of thinking at this stage is that since I am going to be using the original window rubber seal, it fills approximately half the depth of the channel, and if i don't go too far down, I may be able to have the width of the window narrower than the clear width at the bottom. Like I say, I need to look in to this in more detail, especially since there is a threaded block which the bolts screw into right at the bottom of the channel. If it fouls, I have an option to grind the block and bolts down to get the necessary clearance I need. And if that doesn't work, i'll cut some of the bottom section off until I get the clearance I need. It would have been nicer to have cut the channel at the angle and then reweld it vertical, but that is too much fiddling around in my opinion!
For the window, you make a very good point regarding the fouling of that brace with the path the window would need to follow to be removed with the frame in situ. Actually that isn't the only fouling point, the lower beam that runs from the rear frame down the B pillar will also foul.
What I have been thinking up until this point is to make the window out of Polycarbonate since I need to have a curved profile to the window (getting a custom curved tempered window panel is probably a bit over the top!). If I notch out the small upper brace I may have enough flexibility to extract/insert the polycarbonate panel by bending it around the inside of the lower brace and through the notch into the guide.
You raise some very good points here and of course having the panel removable would definitely be a benefit, but it certainly will add a lot more complexity especially when trying to get a factory finish! At this stage I am thinking of finishing the rear quarter panels in a similar fashion to how I did the roof. Make up some steel ribs, weld them to the vertical column of the rear frame and the rear wall and bond them to the aluminium door skin. Then fill the cavity with Polyurethane foam and then expoxy glass over the top.
This construction method is basically going to make the whole thing permanent and unable to be removed. Of course an impact to this area is quite literally my worst nightmare because the epoxy will crack and panels would bend. But the thing is even if I made the panels with a seam to allow them to be removable, it is still quite likely that the damage from a reasonable the impact to the side will extend into the rear wall. And since everything is custom I will still have to hand make the repairs again. In the instance of local dents, well they could be bogged and painted I suppose.
Just while typing this I've actually thought of an idea that may actually address this in a better way actually - When I finish the car I might take it to a fibreglassing place and get them to make some nice molds of the rear quarters, rear wall and roof. That way if any of these panels get damaged they could just be cut out and fibreglass replacement panels used instead. I could perhaps then sell the panels to anyone interested in doing a similar build perhaps?
Stirling
Master
SupporterWHOA! 40,000 views of this thread!! Thanks to everyone following and helping out with input on the build
Today I had Taro in the workshop lending me a hand which was a great help. The right hand side window frame is now done (in the same manner as shown previously), the roof has been tidied up and given another coat of primer and the rear window panel has been trimmed down and then with some input from Wayne, we put together a jig that allowed for some creases to be made down the edges of the panel.
I opted to add the creases so that it makes the future fibreglass work easier because I can now layup the fibreglass on a landing and spend less time blending the fibreglass into the steel (I spent hours with blending the fibreglass into the steel on the roof!).
Sorry about the blurry shots... I forgot the camera so I had to use my phone.
The jig just after finishing a run along the edge of the panel.
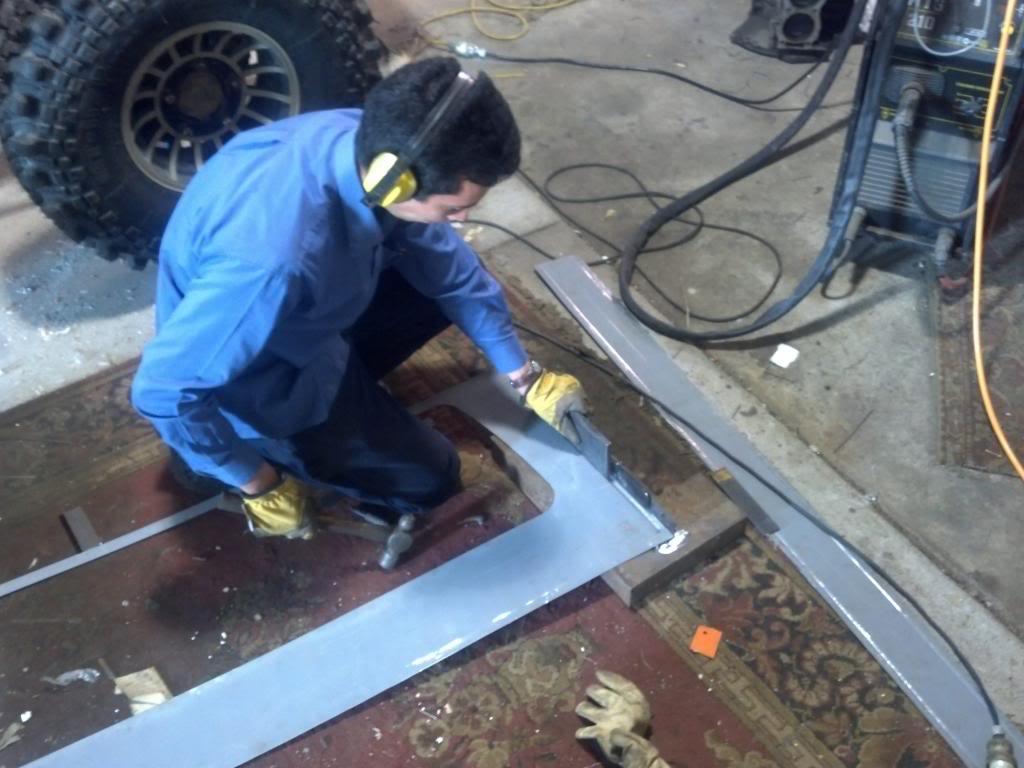
Taro showing how it is done. Blocks of steel and a big hammer!
The finished result
Stirling
Swaggie
Well done mate looking realy goodNow extract the digit and get this beast out on the tracks
")
 Posting Permissions
| Search AULRO.com ONLY! |
Search All the Web! |
|---|
|
|
|

Bookmarks