

 Reply With Quote
Nice work Stirling! Cant wait to hit the track with you to see how it goes...

 Master
Supporter
Master
SupporterAlright, some very good progress made yesterday in the workshop. I guess that is to be expected considering I was there from 12pm till 1am and for some of that time my friend Donovan was helping me out!
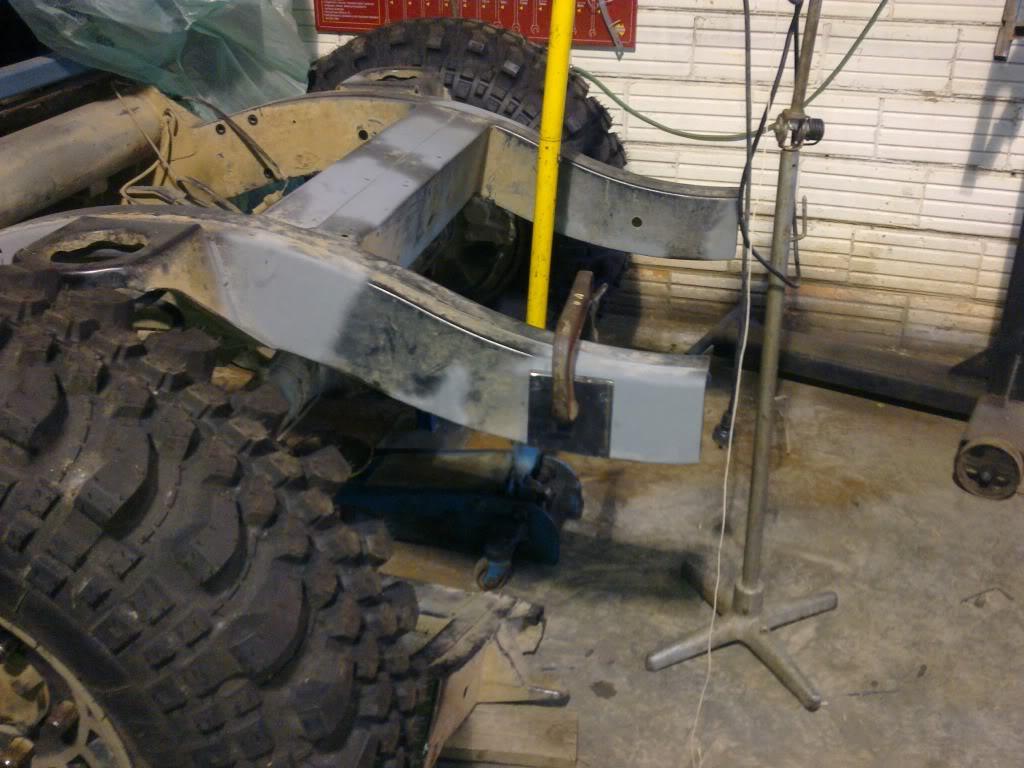
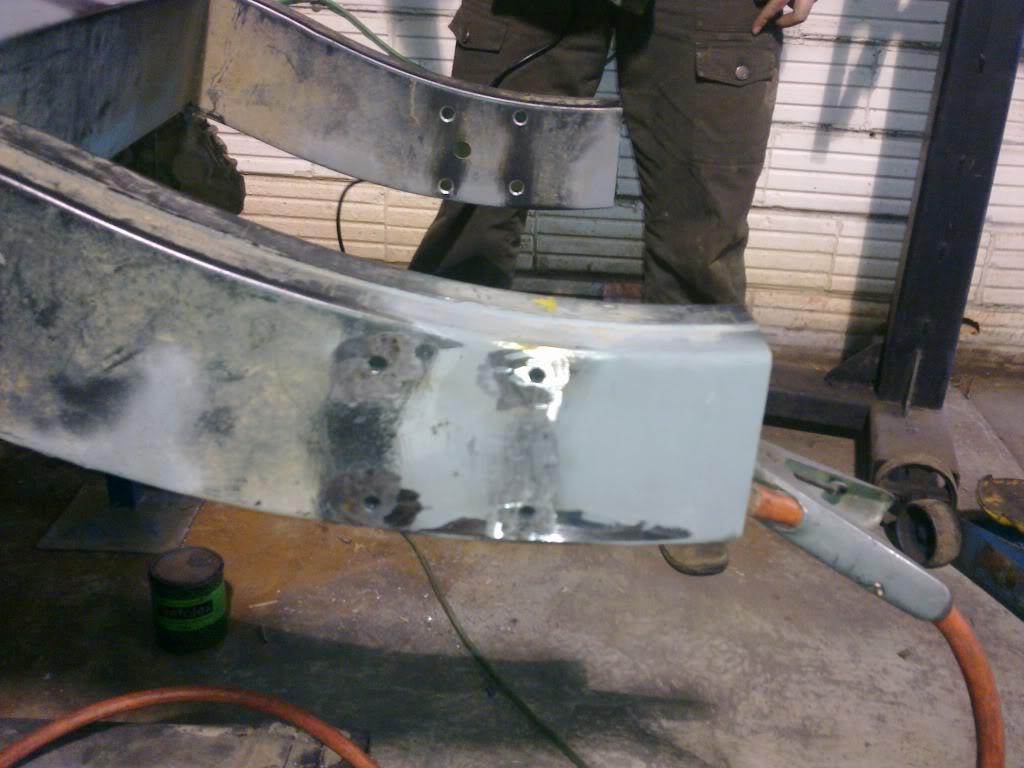
The flanges which are to be bolted on to the chassis were made and drilled with pilot holes so they could be used as a template when making the holes on the chassis:
In each of the four locations the holes were drilled out to the size of the crush tubes, the crush tubes inserted and welded in, as you can see below (sorry for the rubbish photos, I forgot the camera again!):
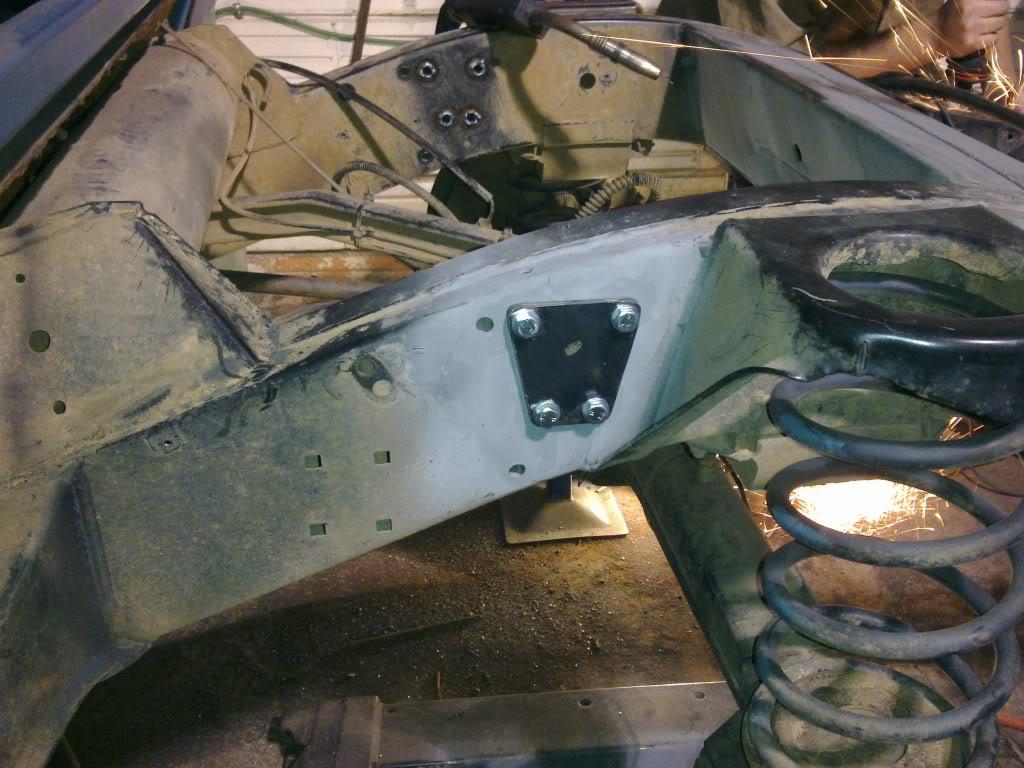
Starting to bolt in the flanges along the way. I was very happy how neatly it was all going together. In the background of the photo below you can see the other side welded up and Donovan grinding away:
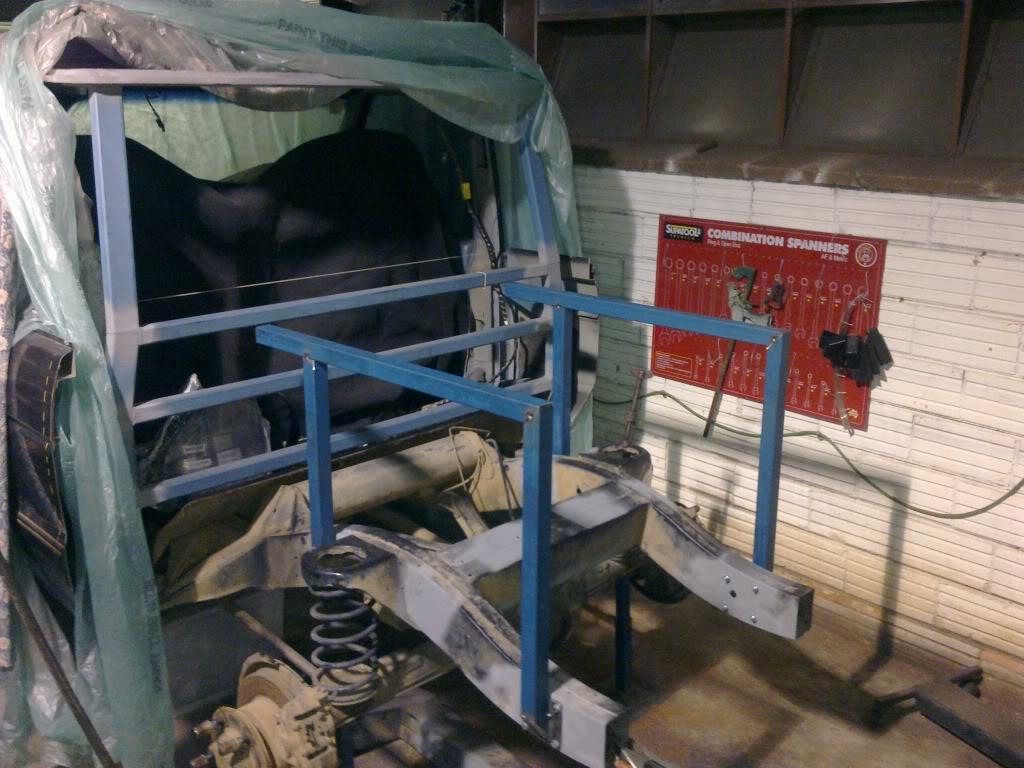
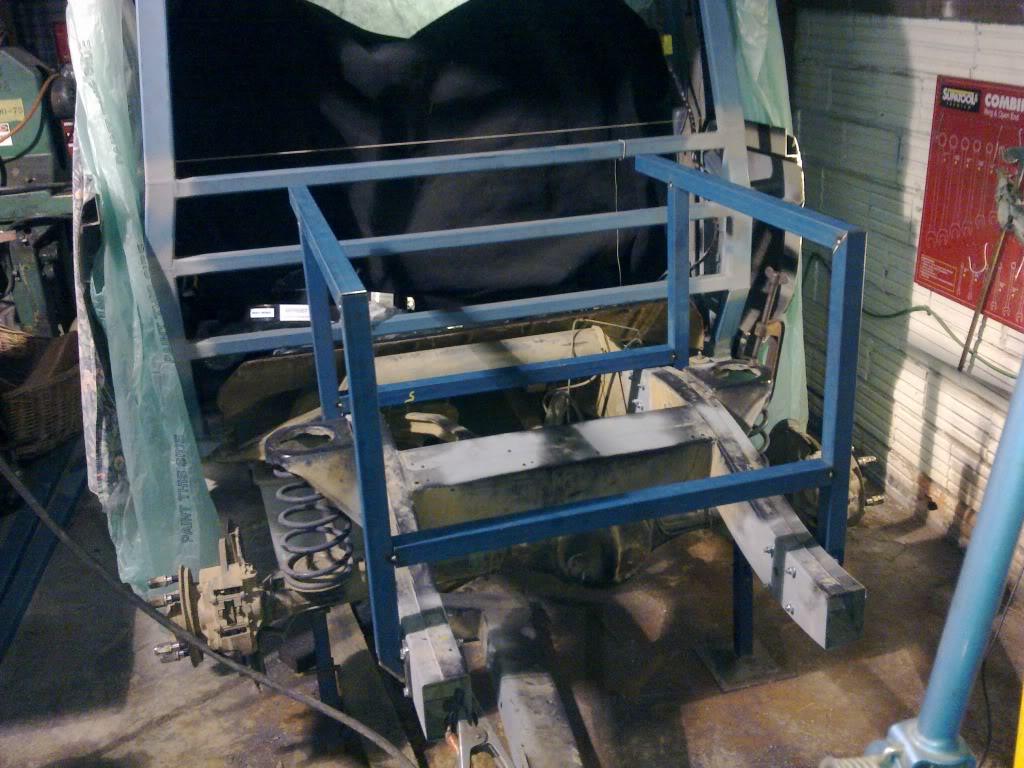
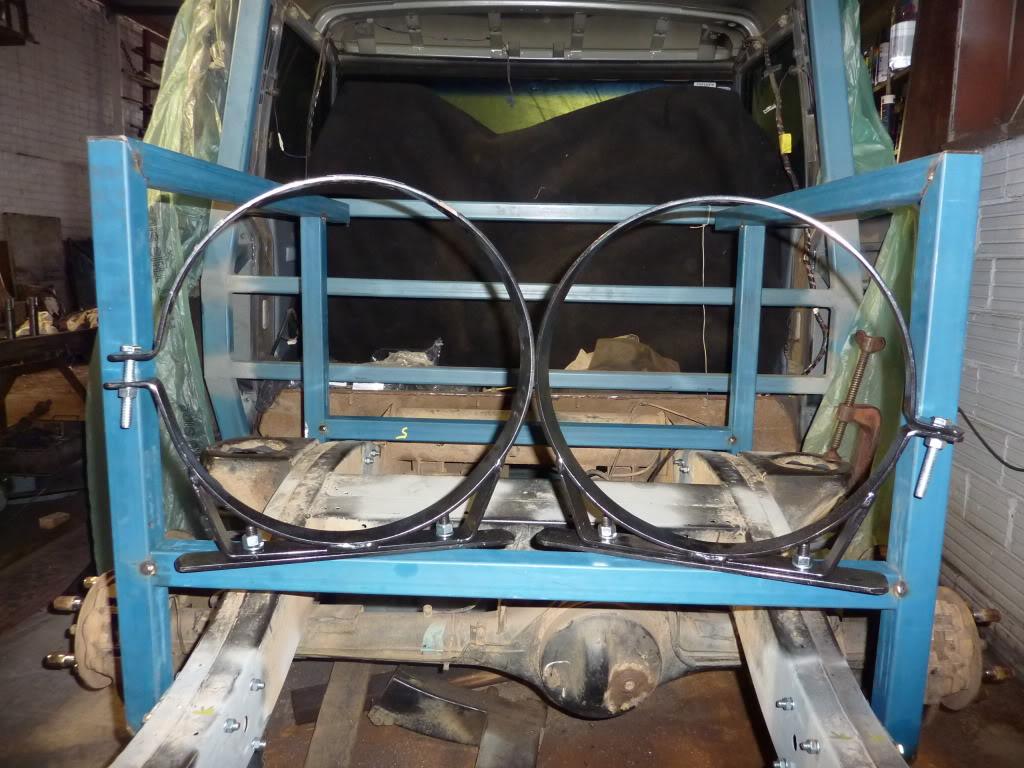
I then continued on with the fitup of the inner frame which supports the LPG tanks. The dimensions in my drawings were pretty close which was nice to see:
The lower beams were fitted in:
And finally for good measure I slid in the tanks and was very happy with how things are coming together:
That's it for this weekend!
Stirling
Nice work Stirling! Cant wait to hit the track with you to see how it goes...
Master
SupporterThanks Angus! More time in the workshop today, though not quite so much progress.Originally Posted by McDisco

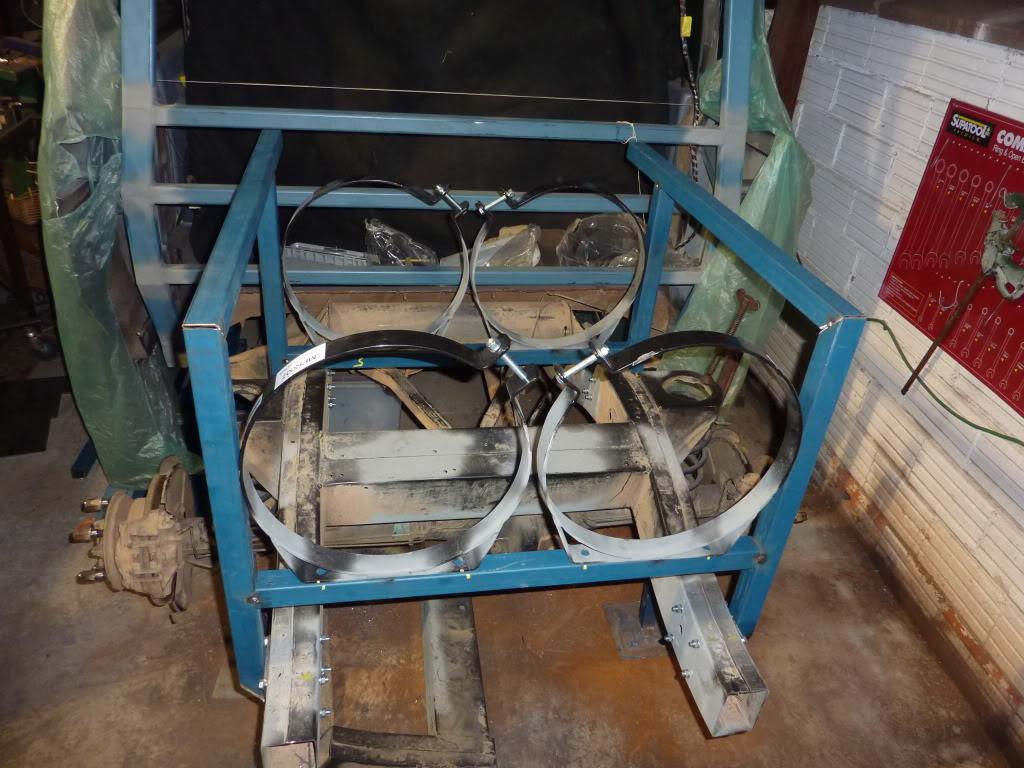
The tank clamps I purchased had the bolt at 90degees and wouldn't fit in the columns of the frame.
So I had to go around and slice all the welds and spin the clamps around so they would all fit. A fairly fiddley process.
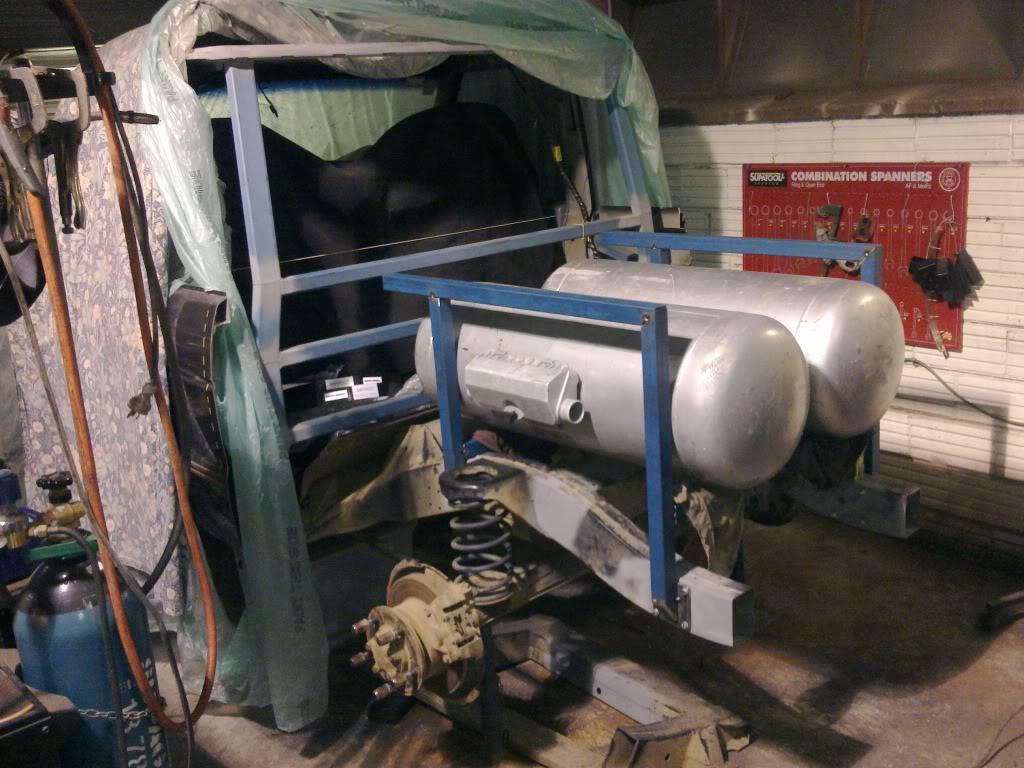
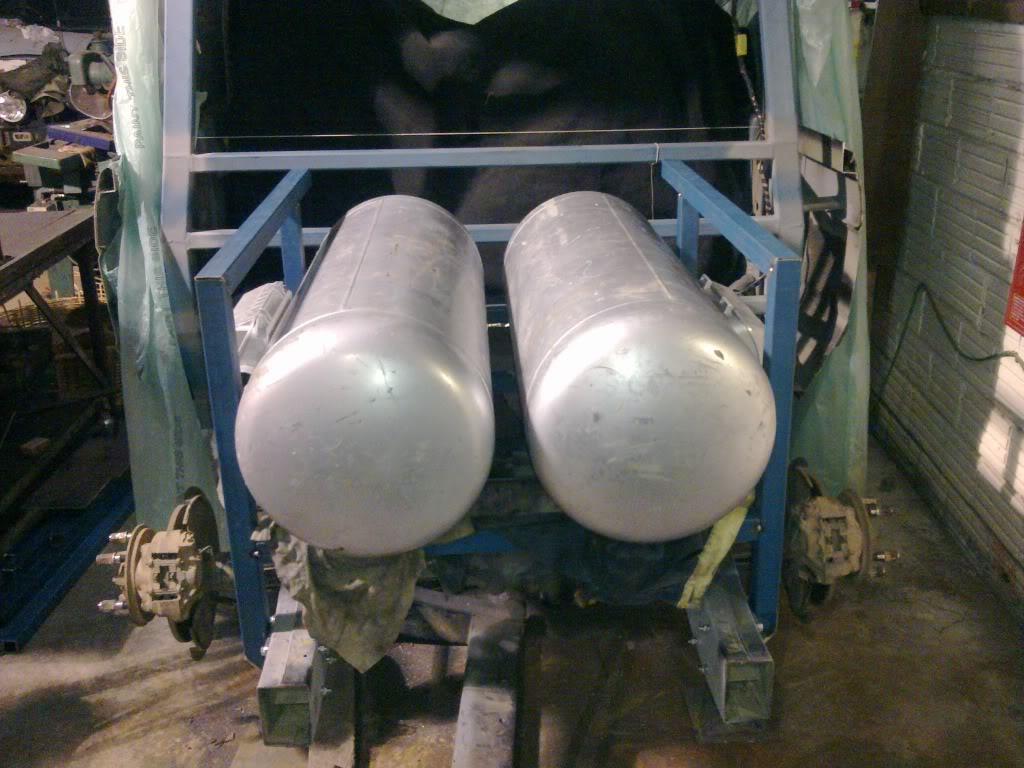
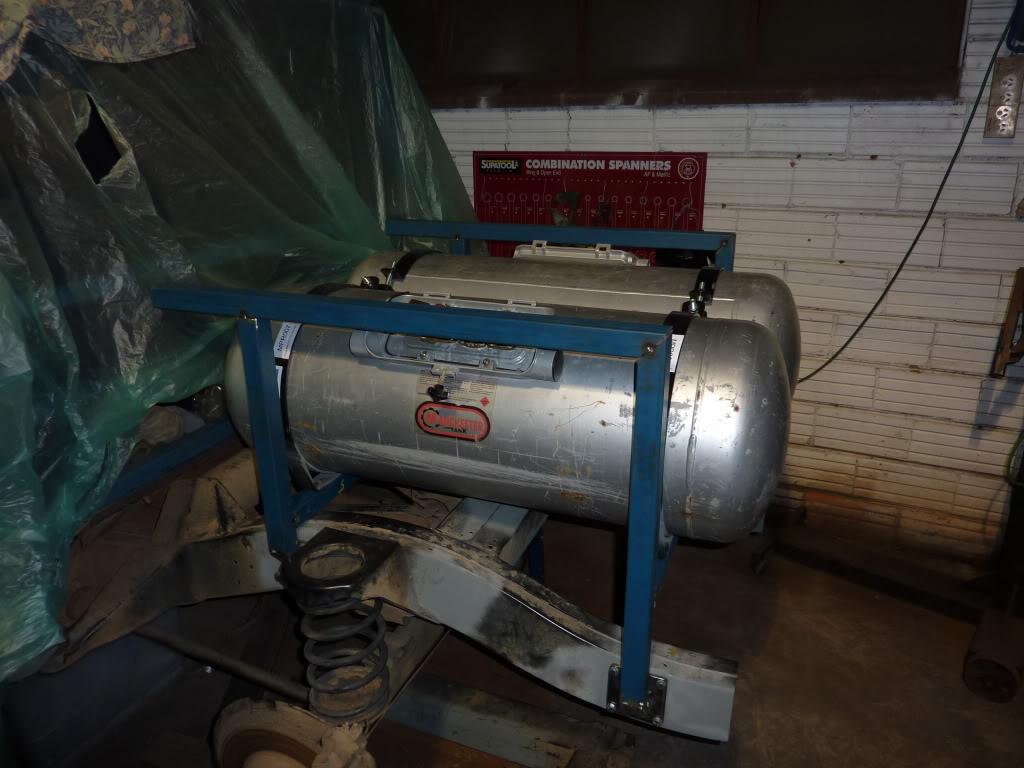
Slipped the tanks tanks in to see how it was all fitting up and quite happy with the results.
One problem i've also found is that the valve covers foul on the frame. I had figured I would simply take the covers off along with the base and just have the valves exposed. The issue with that is that the serial number parque is on the bases... So, going to have to think a bit more on what to do about that.
Stirling
Swaggie
Looking good mate , Will have to catch up soon Now you have a bike maybe a ride
Master
SupporterHey Chris! Good to hear from you, and yep definitely should arrange something, it's been AGES! Maybe when I get back from Argentina (I leave next saturday) I'll ride down your way and we can do a bit of a cruise.
Anyway, back on topic. A few more hours spent in the workshop.
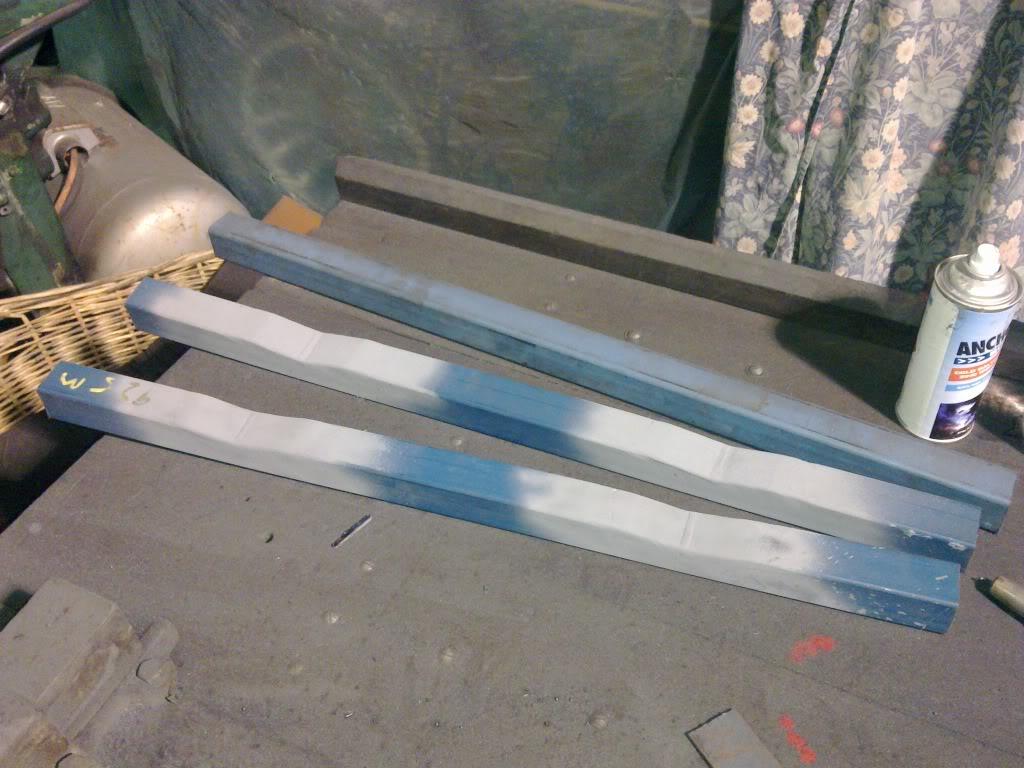
I did some of the welds for the frame and got started on the removable top braces that go over the top of the tanks.
I had forgotten to account for the thickness of the straps on the tanks so I found myself with the pieces sitting a bit too high... So I had to go and notch out the areas and then close them up again.
Also, I got started on the flanges of the braces... I have to make 16 of the damn things! Below is as far as I got. 2 sets of 4 stacked ready to be drilled and a whole lot more waiting for the same.
This will be the last update for a few weeks as I won't get back from Argentina until 30th of July.
Stirling
Wizard
Looking good Stirlo. Been very busy by the look of it. Cheers Brett
Master
SupporterThanks Brett, it's been in the process for a long time... and I have a long way to go!
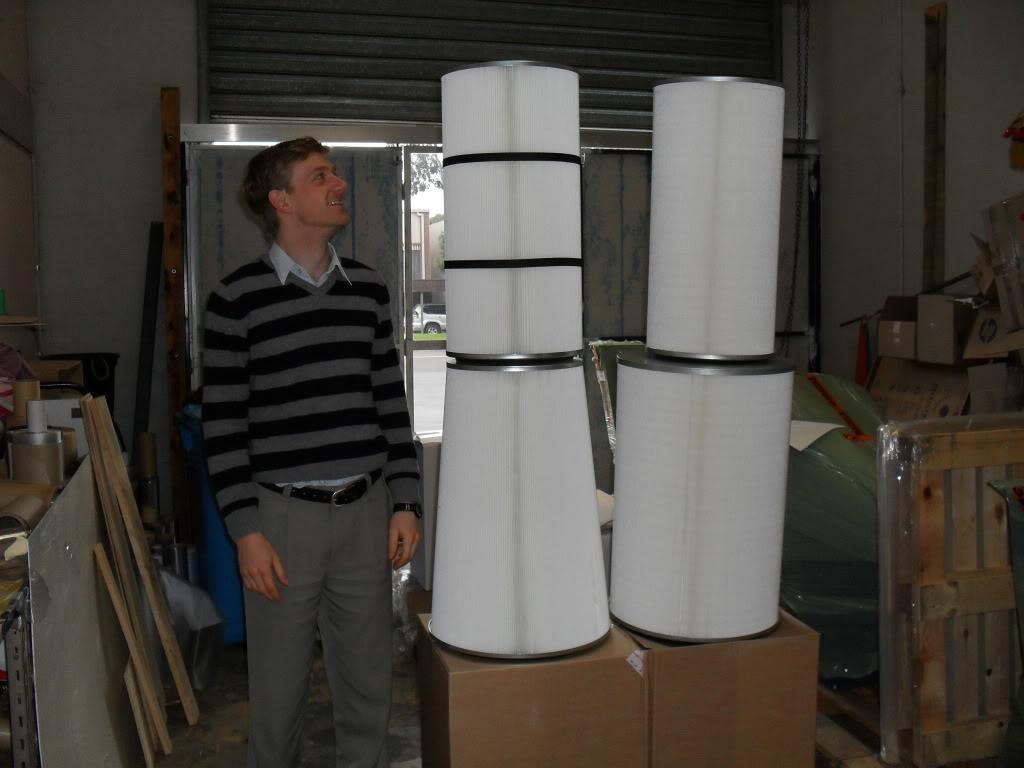
I was wondering if anyone can think of how I can use some sample air filters we got in at work today. They are a two piece filter which attach end on end for gas turbines (you need around 500 of them for a gas turbine!).
I think if I figured out a way to use them I would never have to change the air filter in the car again!
Stirling
Admin
Cool lamp shade
Our Land Rover does not leak oil! it just marks its territory.......
Master
Just poke it out of the bonnet like the ricers do....Maybe not...
Lay one across the back of the cab and run the air intake down the centre consul.
You shouldn't need a snorkle and it won't suck in much dust there
No really, don't")
ChatterBox
SubscriberI figure that if someone can do this to their car then you ought to have no difficulty with fitting it in somehwere.

Alan
2005 Disco 2 HSE
1983 Series III Stage 1 V8
 Posting Permissions
| Search AULRO.com ONLY! |
Search All the Web! |
|---|
|
|
|


Bookmarks