


 Reply With Quote
Just a thought but will you have any protection for the rear window.

 Master
Supporter
Master
SupporterThanks for the info on that bracket guys, it did the job nicely.
Progress Update:
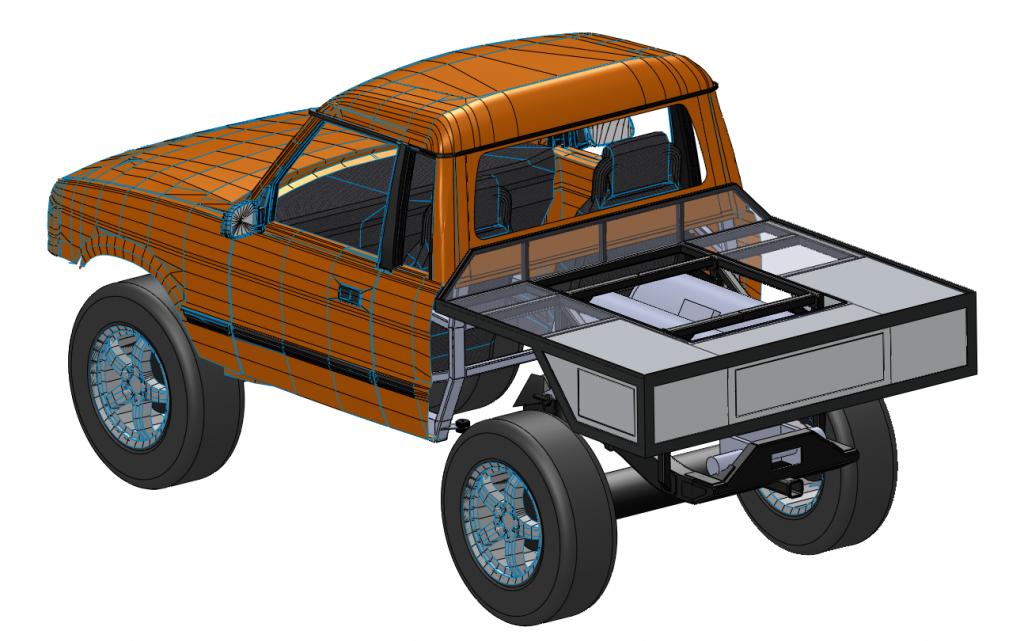
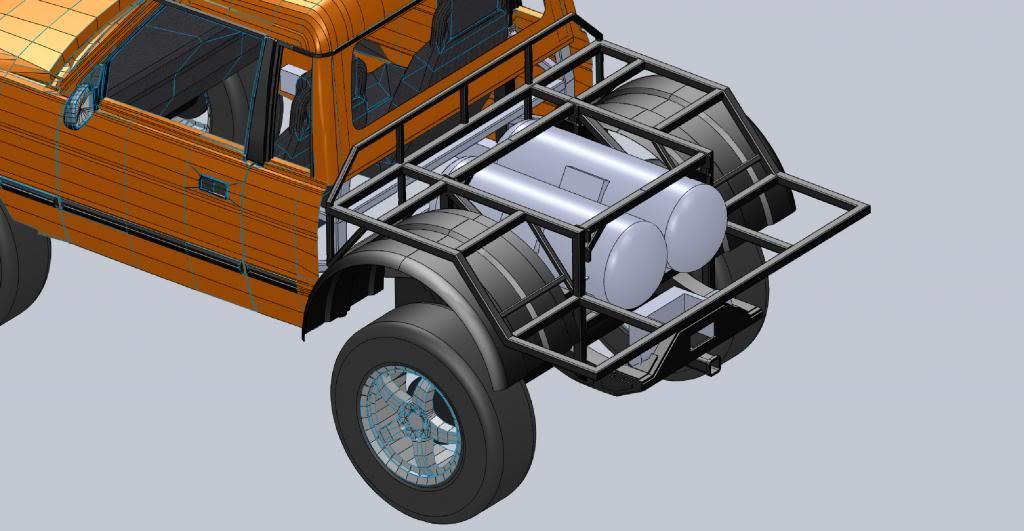
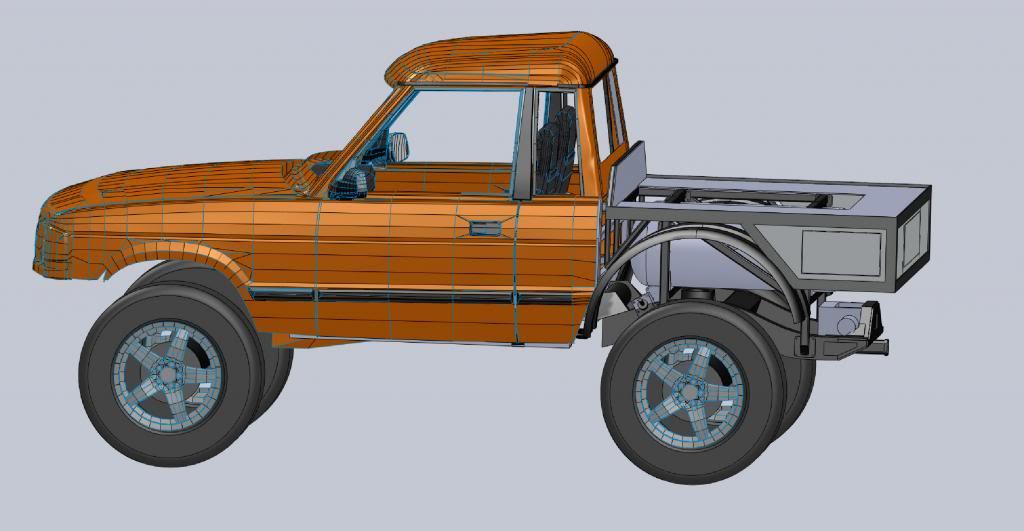
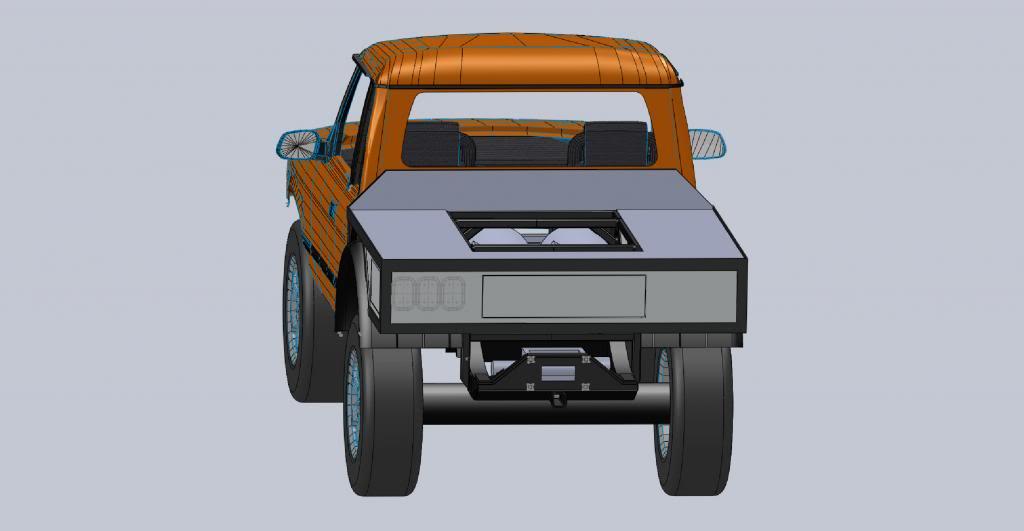
Updated the SolidWorks model to incorporate the latest design of the tray wall.
The tray wall was then added.
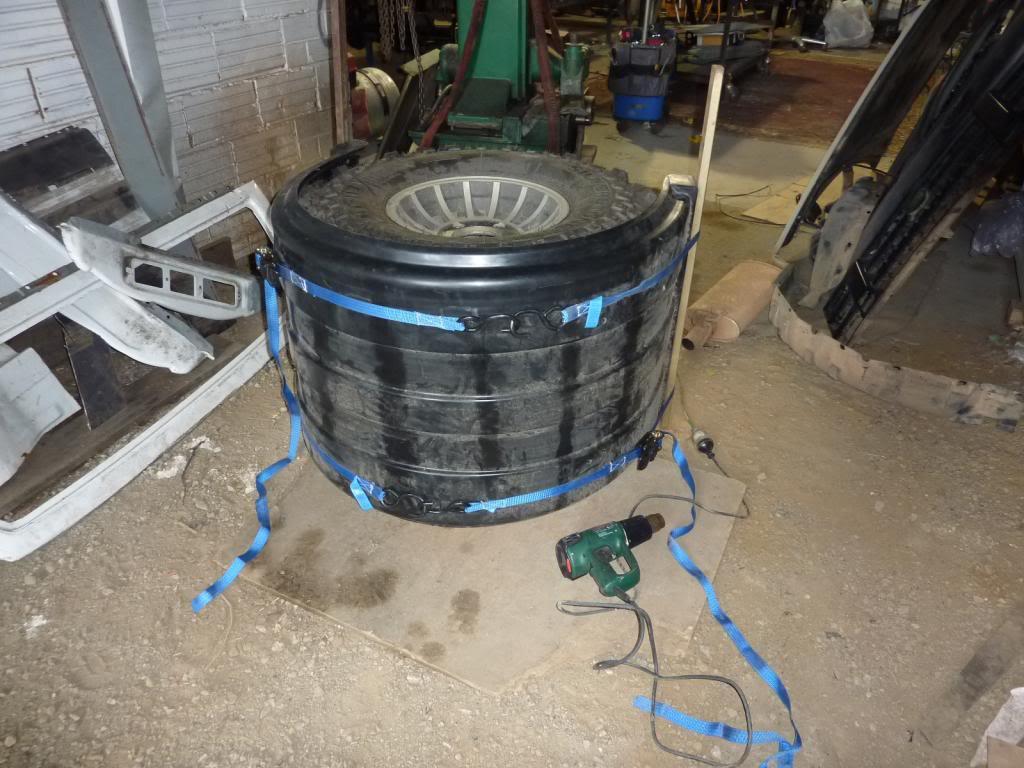
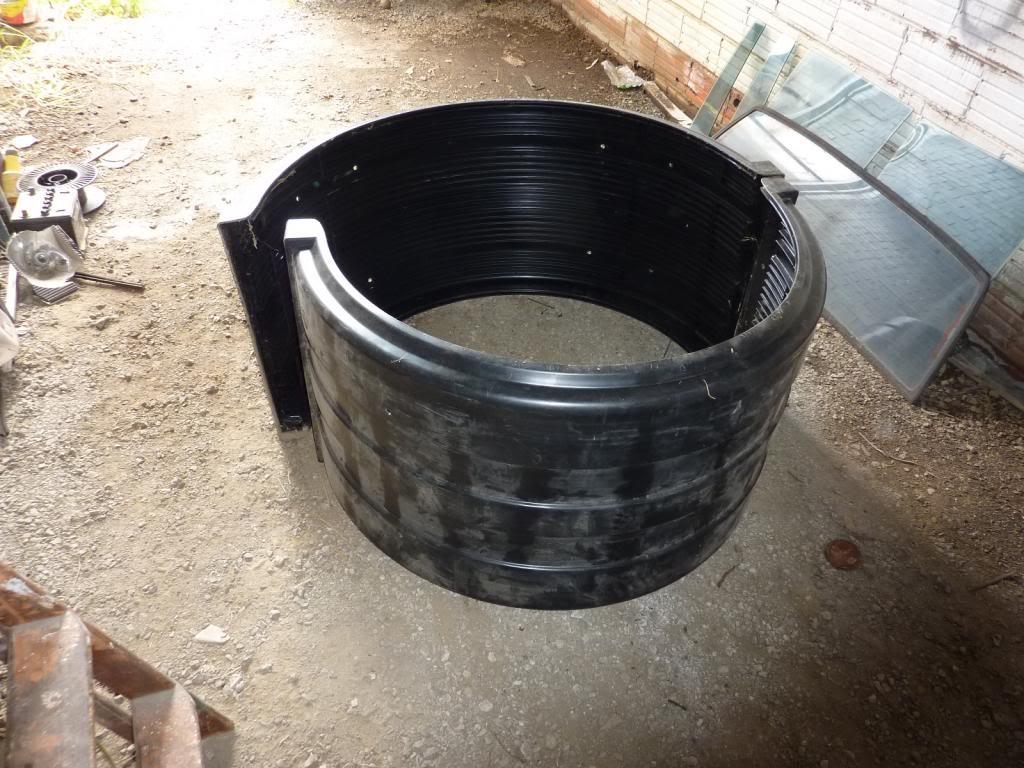
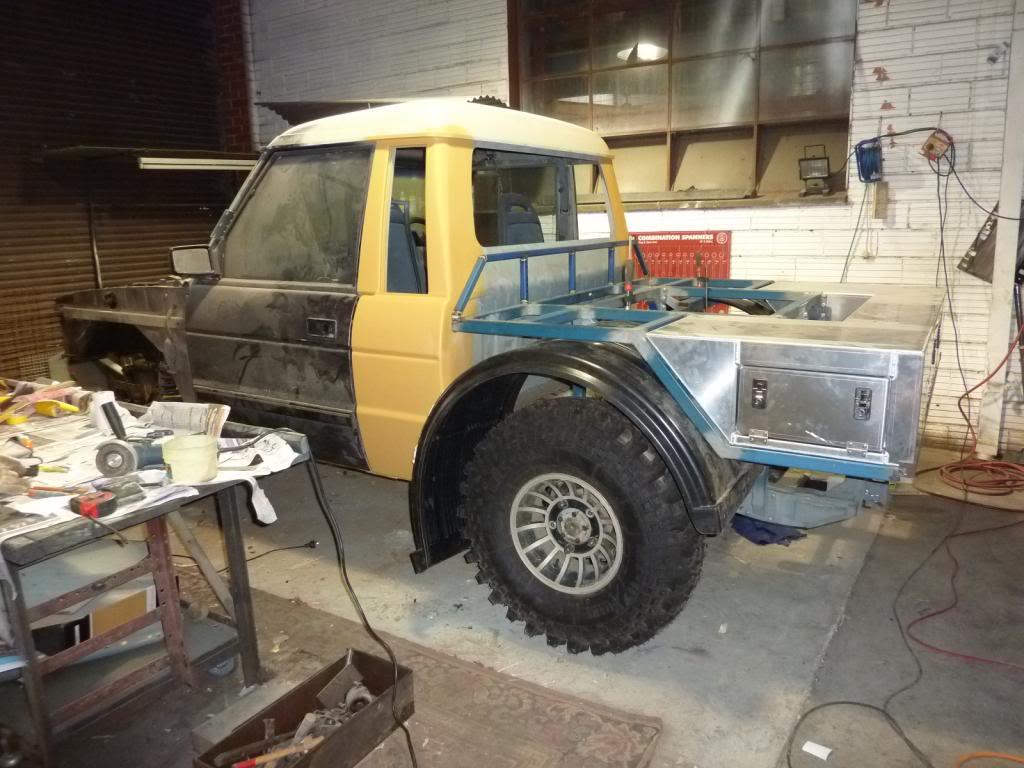
I was given a set of Semi Trailer mud guards, which were HUUGE. So I set about reshaping them down to the size I needed using a couple of the tyres, rachet straps and the hot air gun.
Thankfully the 1.5 hours of work paid off.
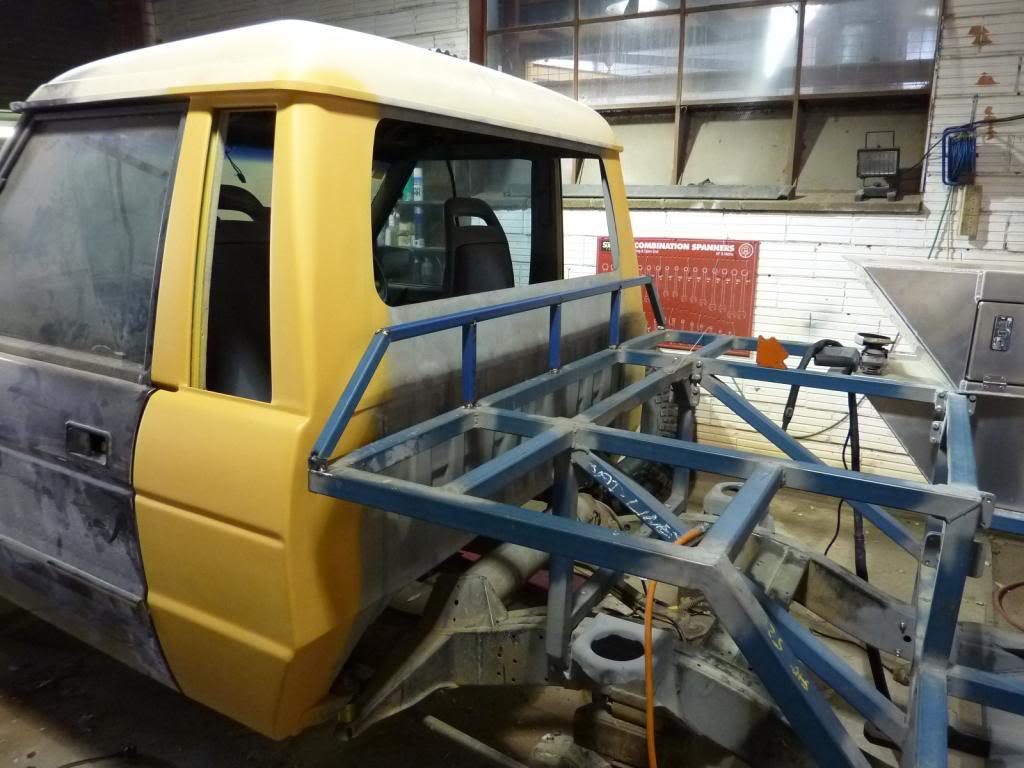
Starting the process of trial fitment. And yes they will be cut down, they won't be left sticking out like this.
Next step is to cut the guards down to the size I need and fabricate the backets to hold it in place. Then I'll be ready to pain the tray frame!!
Stirling
Wizard
SubscriberJust a thought but will you have any protection for the rear window.
Wizard
Ditto re rear window also thanks for pics on re shaping truck guards I have to do this too and was looking for ideas
Are the dark vertical lines in the pics where you did the heating? Any tips on technique?
Skiboy
89 Orange Rangie UTE - our play thing - sadly now sold
75 Rangie/Series/Hybrid/LS3 - Bumblebee with a sting!!!!
2018 RRS - The new touring vehicle - replaces 2012 RRS
Master
SupporterOriginally Posted by 33chinacars
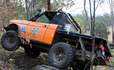
 I don't really intend to be carrying any large loads on the tray, obviously you do have a point the window is at risk. What I will be doing is making some attachment point to fit a canopy over the tray. Looking back through the records, I was thinking something along these lines:
Yes, the vertical lines are where I did the heating, I had the gun set to 410degC and went back and forth until I saw the plastic change colour.
If you can, cut the guard to the width you need before starting the reshaping process.Or as a mininimum cut off the lip on one side because it is impossible to heat when it is sitting on the ground.
In terms of the order of doing things I suggest the following:
- Tighten the straps to pull the guard tightly onto the tyres.
- The lips on the guard will buckle outward, use the hot air gun over the lip, warm it up so that it is soft and then push it down evenly to remove it.
- Heat the guard in vertical strips working from the middle outwards.
- Return back to the lip and repeat by softening it again and pressing any remaining buckles out.
- Allow to cool completely and then release the straps.
I had to shift the straps around while doing the vertical strips so that I wouldn't burn them with the hot air gun.
I hope this helps!
Stirling
Wizard
SubscriberSounds like you have it all sorted. Good work.
Gary
TopicToaster
Make a higher headboard, but a piece of mesh in to safeguard the rear window and you will have something to attach your canopy as well.
Master
SupporterThanks for the input, I'll keep it in mind
A short update, I've been a bit under the weather this weekend.
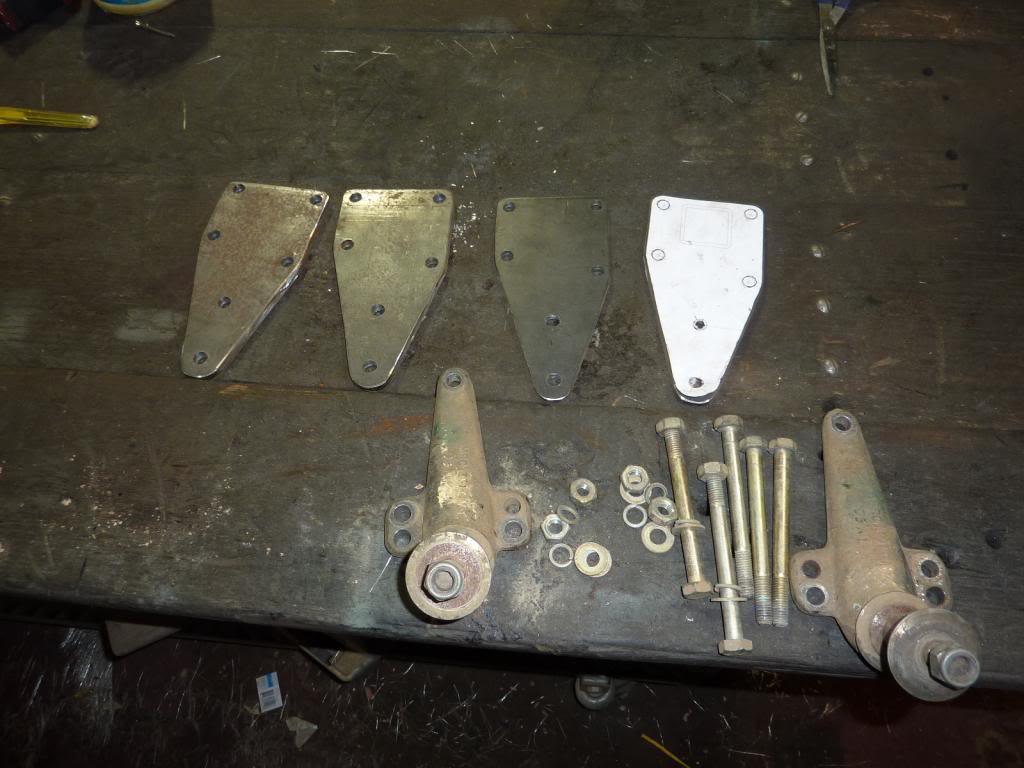
The rear shock extension plates are ready. Now I need to weld them together with some SHS steel.
Stirling
Master
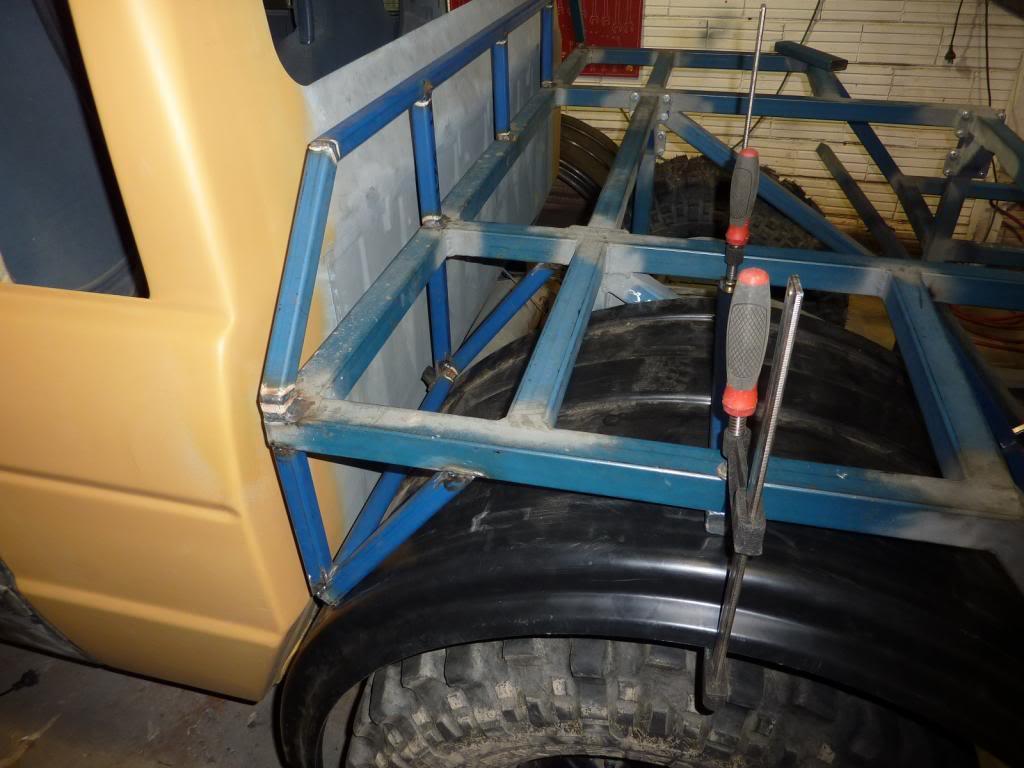
SupporterI think I've settled on the mounting system of the guards, a few pieces of 25mm SHS should do the trick.
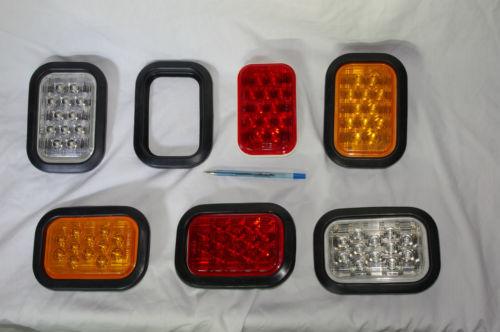
Also, I've purchased the tail lights I'm going to be using. You might spot where I plan to place them in the image above.
Stirling
Master
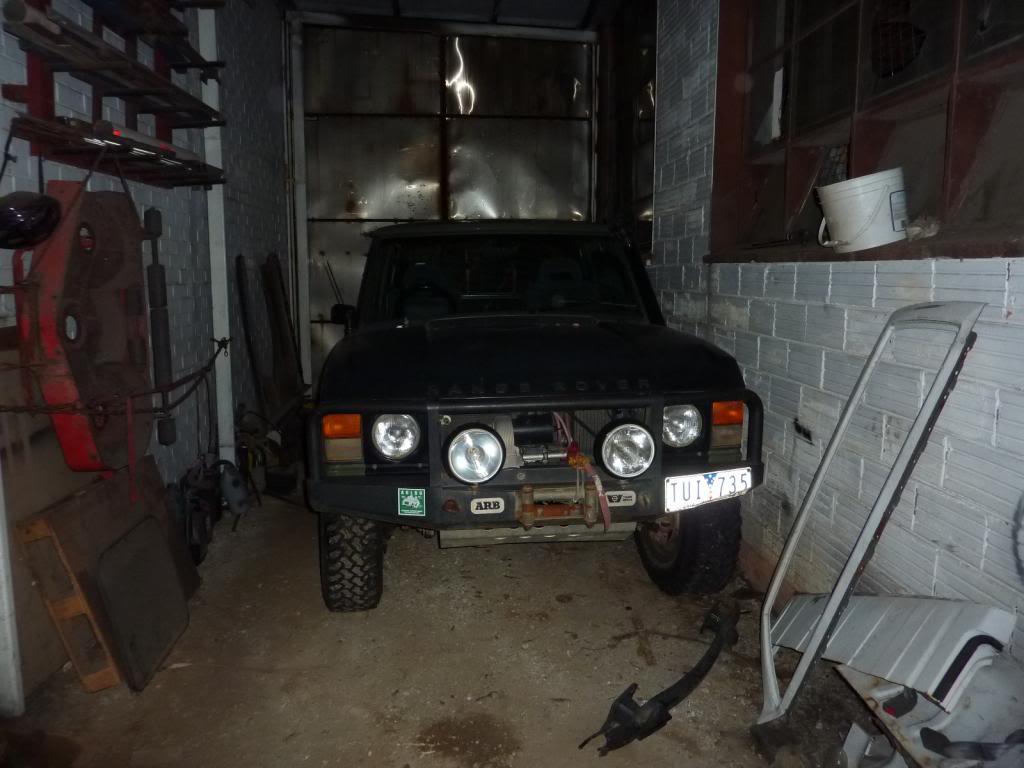
SupporterHello again everyone. Time again for my usual update.
First off. I bought Wayne's 1972 range rover. He no longer wanted it and it has quite a number of parts which were going to help my build. Parts such as:
High mount winch
Bull bar
Front Locker
Rear Locker
Toughened Axles front & rear
Slotted & rotated swivels
5 off 35"x10.5 Simex Centipedes on flipped rover steel rims
5 off 33"x10.5 BFG Mud terrains
3.9L serpentine V8
5 speed borg warner gearbox on a LT95 transfer case (I'm toying with installing this instead of using a ZF auto)
LPG system (I'm toying with fitting a 3rd LPG tank for even more capacity)
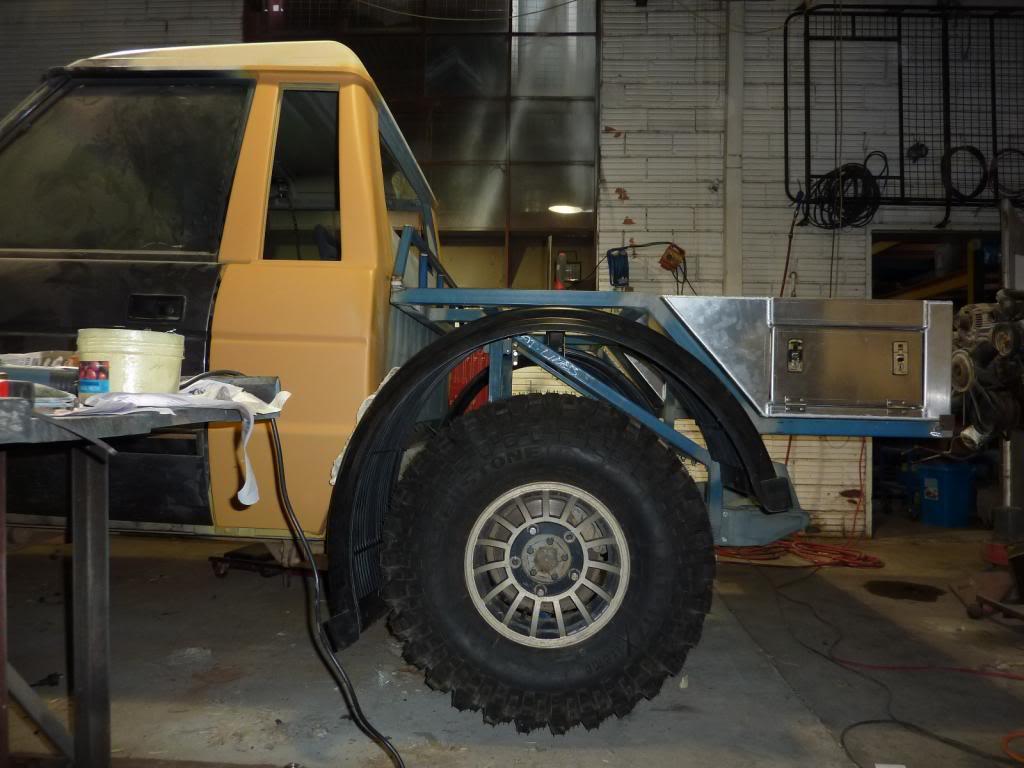
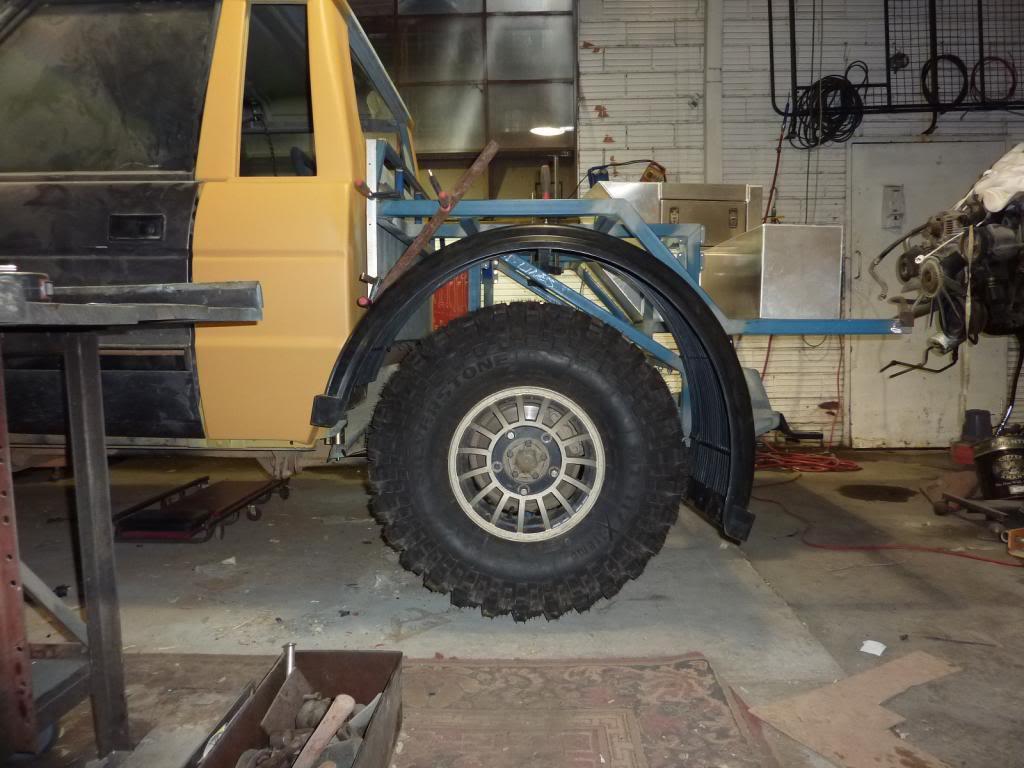
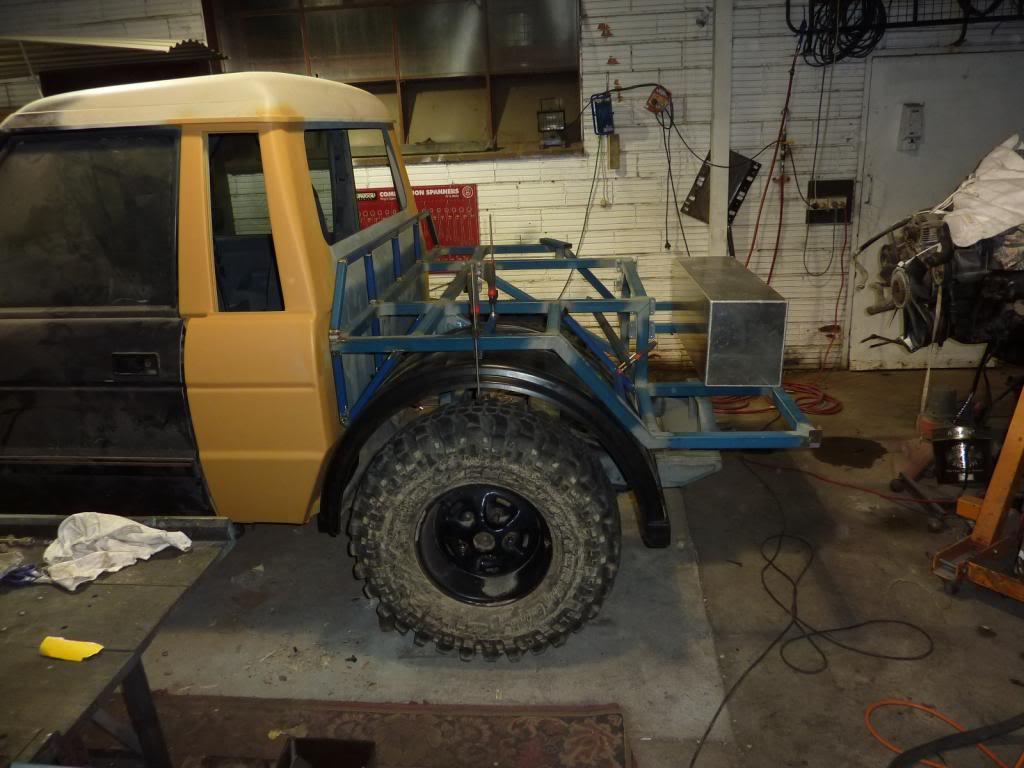
I started dummying up the bracket that will hold the guard in position. This is what it looks like with the axle on the bump stops:
And this is what it looks like at the expected ride height:
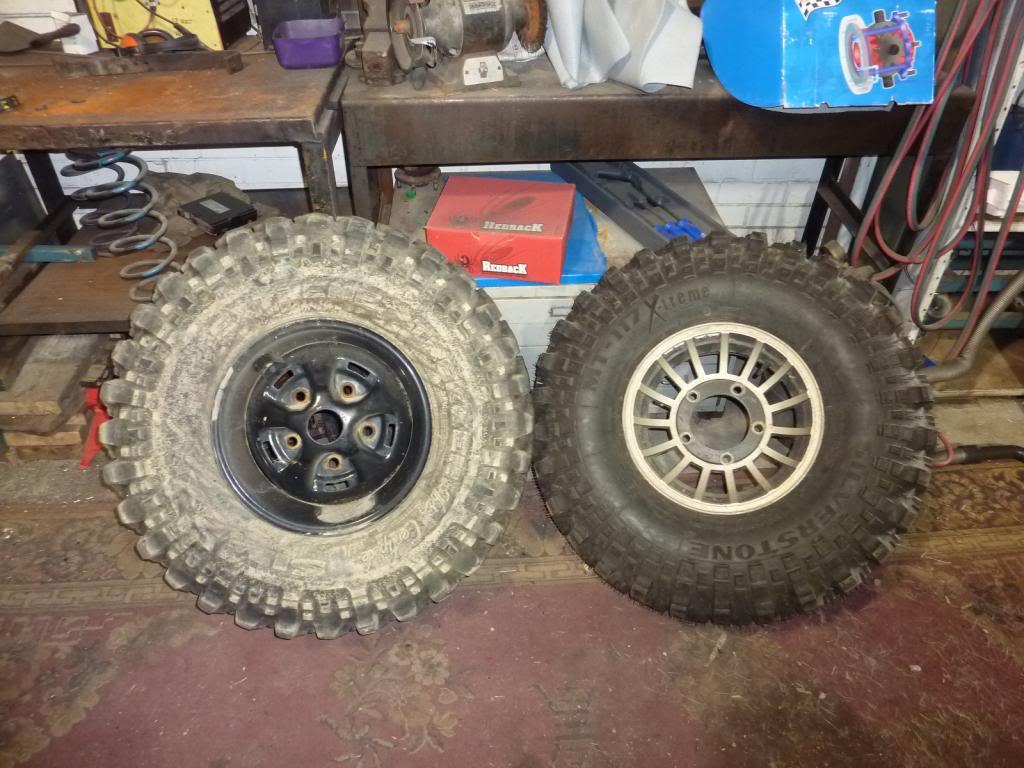
Comparison between the tyres I bought and the ones that came with the rangie. The 35" Simex tyres are actually a bit taller than the 35" Silvertones:
I think I will go with the Simex tyres since they are on bullet-proof rims which even have valve guards fitted on them.
I managed to basically finish and tack weld the whole left hand side and trial fit the guard. I still need to trim back the guard a bit more and also make it a bit narrower, but it is getting close to the final fit. Keep in mind the car is back sitting on the bump stops here.
That's it for this weekend. I'll get on to the right hand side next weekend and then weld everything up. That will essentially be the completion of the tray frame and it will then be off for painting and getting the aluminium surfacing done.
Stirling
Master
SupporterBy the way, if anyone has any ideas on how to achieve the mud guards not fouling with the tyres as full flex and avoiding the silly guards up in the air look, let me know your thoughts.
Stirling
 Posting Permissions
| Search AULRO.com ONLY! |
Search All the Web! |
|---|
|
|
|


")


Bookmarks