

 Reply With Quote
Mick, is 90mm the height? or 45mm? And I assume that is with 35s?Originally Posted by disco_ute


 Master
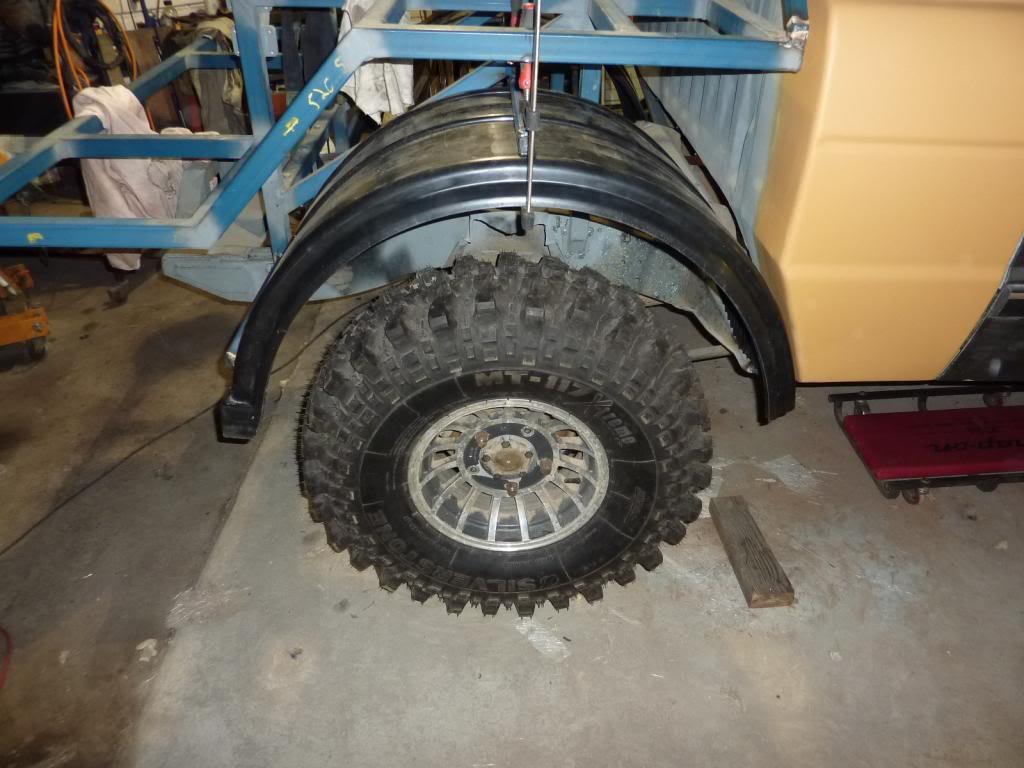
When I set mine up I put a 45 x 90mm block on top of the tyre while sitting on the bump stops. have seen signs of slight rubbing after some extreme flex but never been a real issue. Unfortunately they flex a lot so you will end up with a large gap.
Mick
Sent from my GT-N7105 using AULRO mobile app
Master
SupporterMick, is 90mm the height? or 45mm? And I assume that is with 35s?
Stirling
Master
45mm and 35 simex
Sent from my GT-N7105 using AULRO mobile app
Master
Might be a stupid idea but what about mounting them off the axle??
TopicToaster
Stirlsilver,
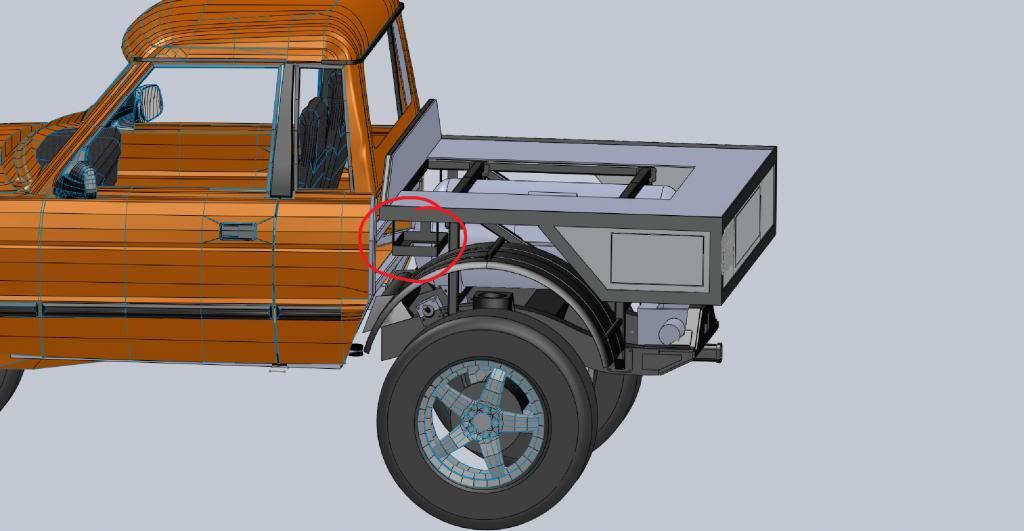
I think you need to reduce the space between tyre and guard when on the bump stops, the 4x2 suggested might do the trick. Secondly when using circles, as per tyre and guard, you need for them to be concentric for them to appeal to the eye, which is what I would aim for at normal ride height. Alternatively you would need to reshape the guard so it is not round in shape by trailing the rear end, cutting the guard and introducing a new section for the rear end of the guard or go to some bent sheet metal keeping the sections straight so you don't have the issues of getting the circles to be concentric. Probably more work than you had intended but you could also consider fiberglass using the plastic guards to help you build the mould, that way you could bend the plastic without having to worry about making the bends permanent and the resin and glass will hold the shape in the long run.
Use a graphics package to try shapes on an edited photograph after looking at some photos of how stylists have shaped guards in cars you like the look of.
Good luck.
Master
SupporterI had thought about this, but I was certain whatever I fitted would rattle to bits when you hit corrugations! The vibration levels on an axle are huge.
I completely agree with you on your points and I appreciate the input. However, I am running out of time on the build and I need to get it up and running. While concentric circles is the best outcome I can't really get that to work with the parts I have.
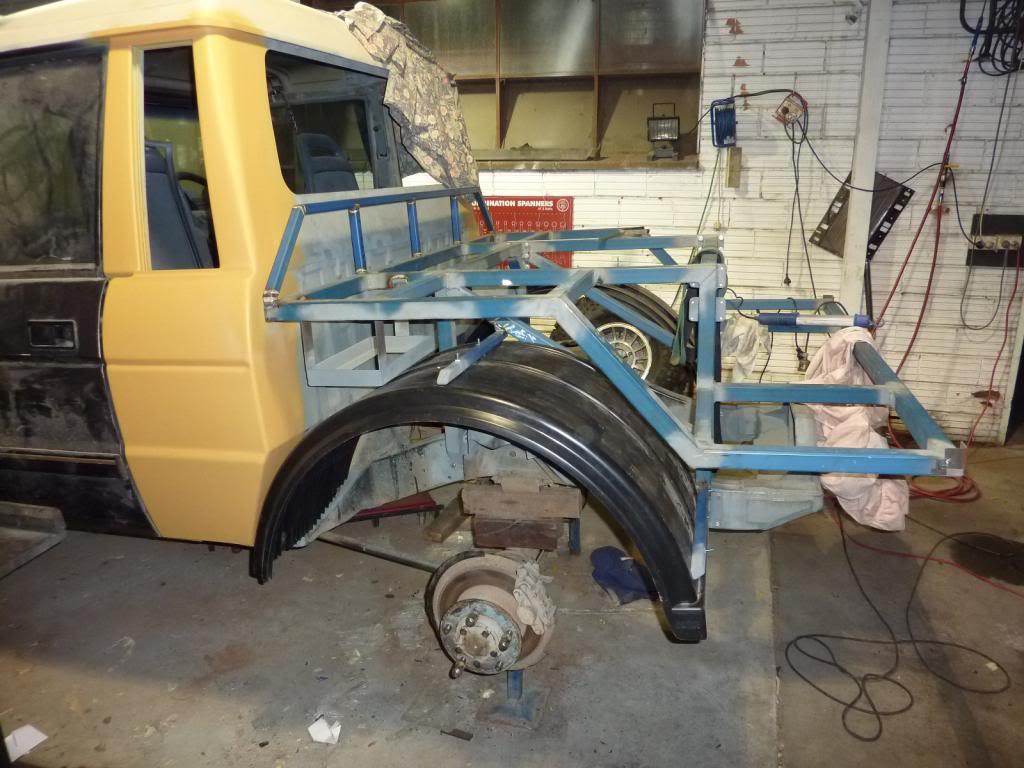
I spent time with Solidworks again and more time in the workshop and I have finally settled on this arrangement.
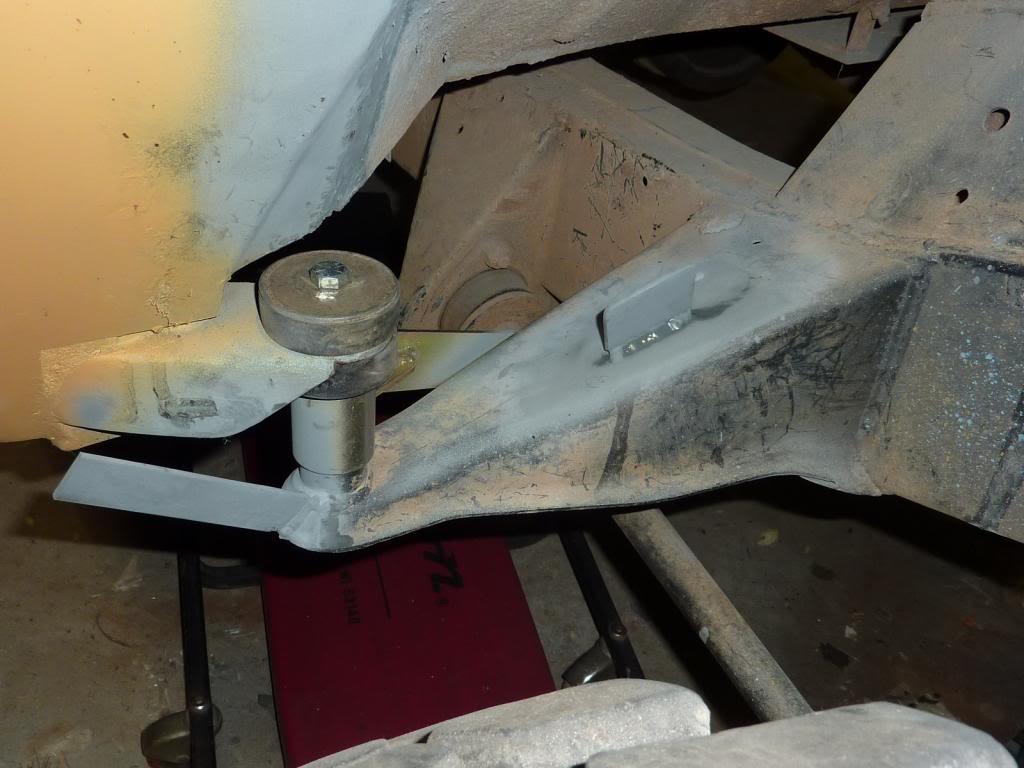
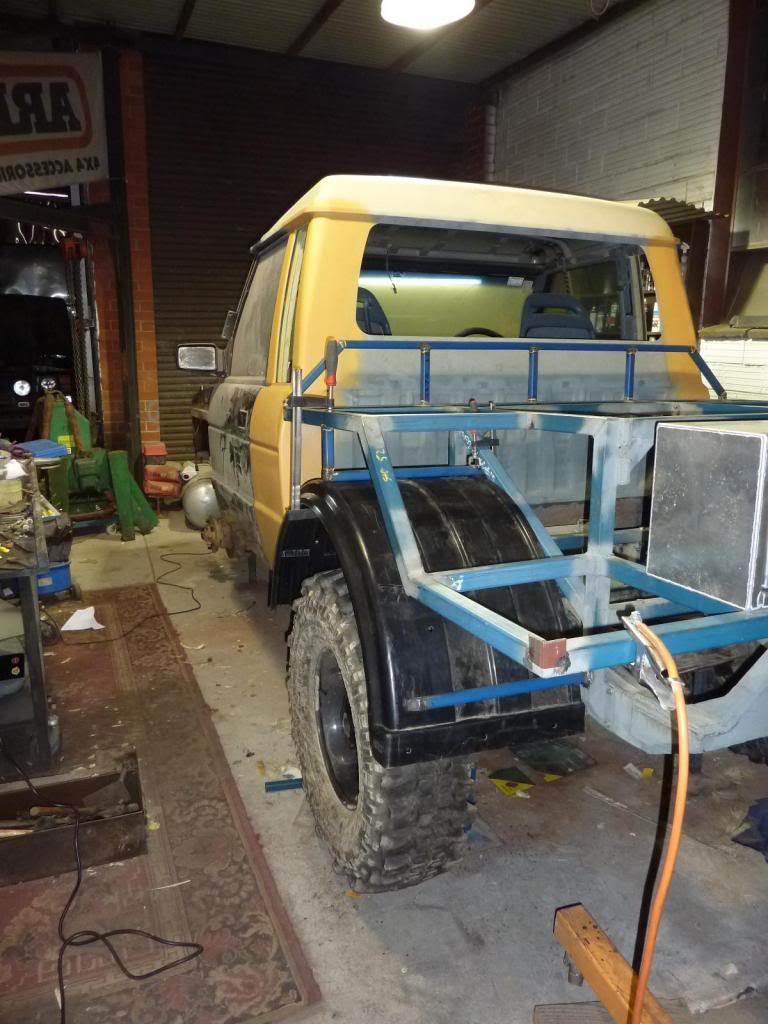
You might notice I simplified the brackets that hold the guards in place. I was going overboard with the previous design. I didn't want to attach the front part of the guard to the body because I figure it will lead to vibration of the panels and more noise. So I settled with placing some simple tabs off the outrigger which works quite well.
Stirling
TopicToaster
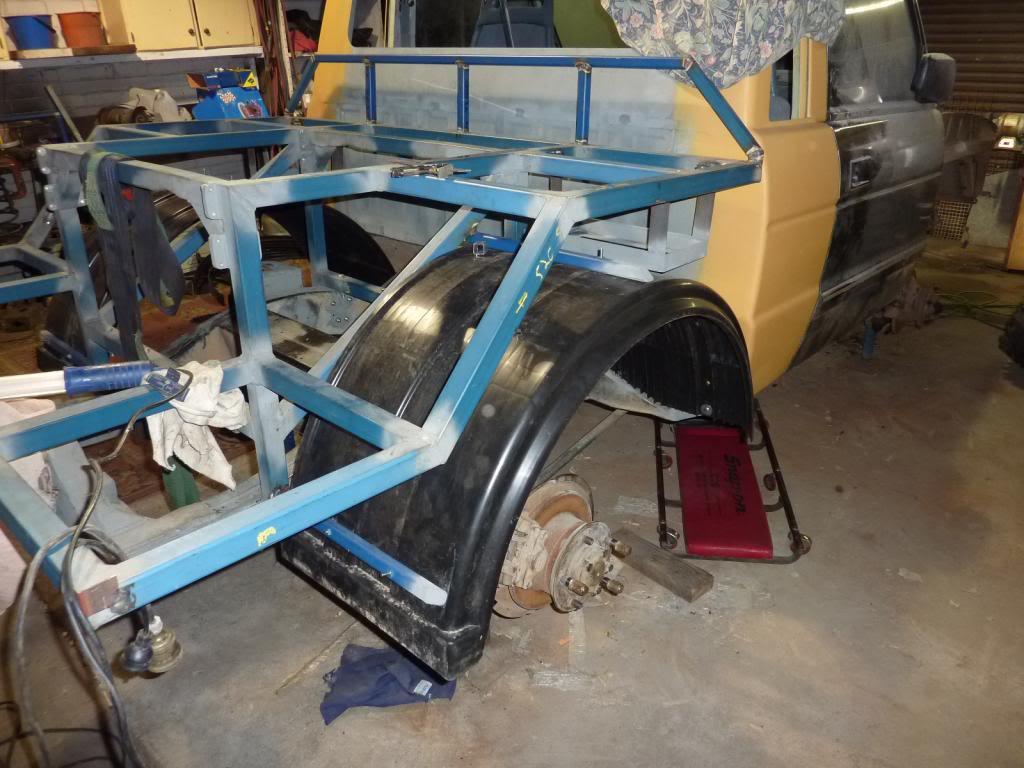
That looks ok. Is it an oval shape now?
Master
SupporterThey are slightly ovaled but not too noticeably.
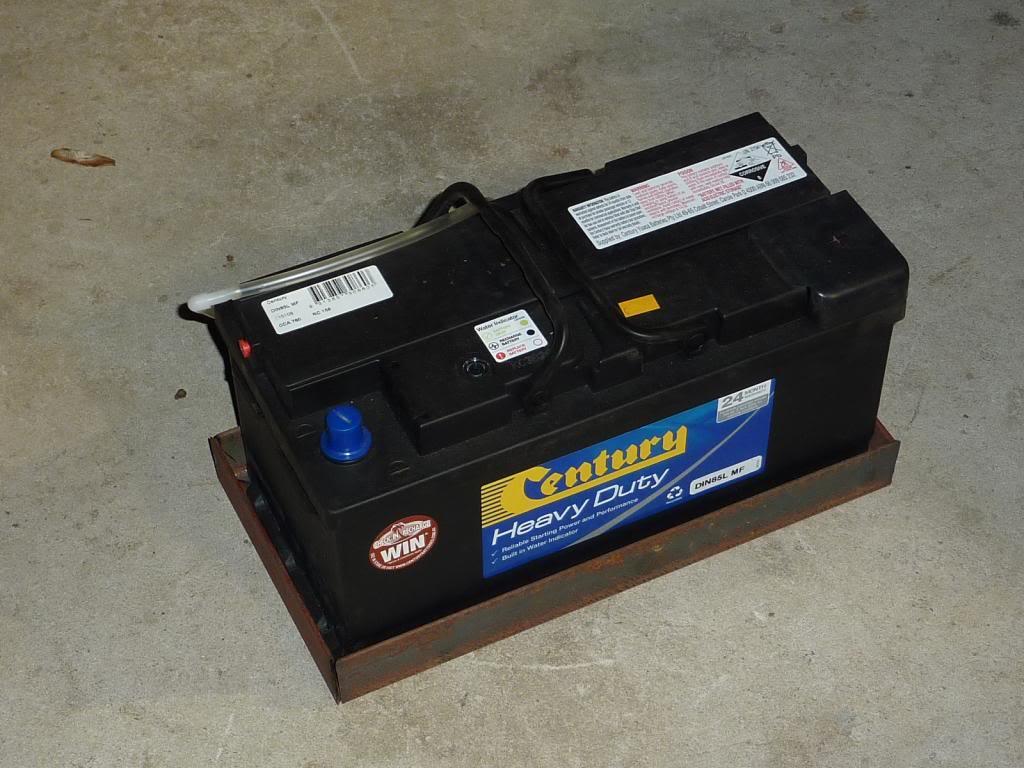
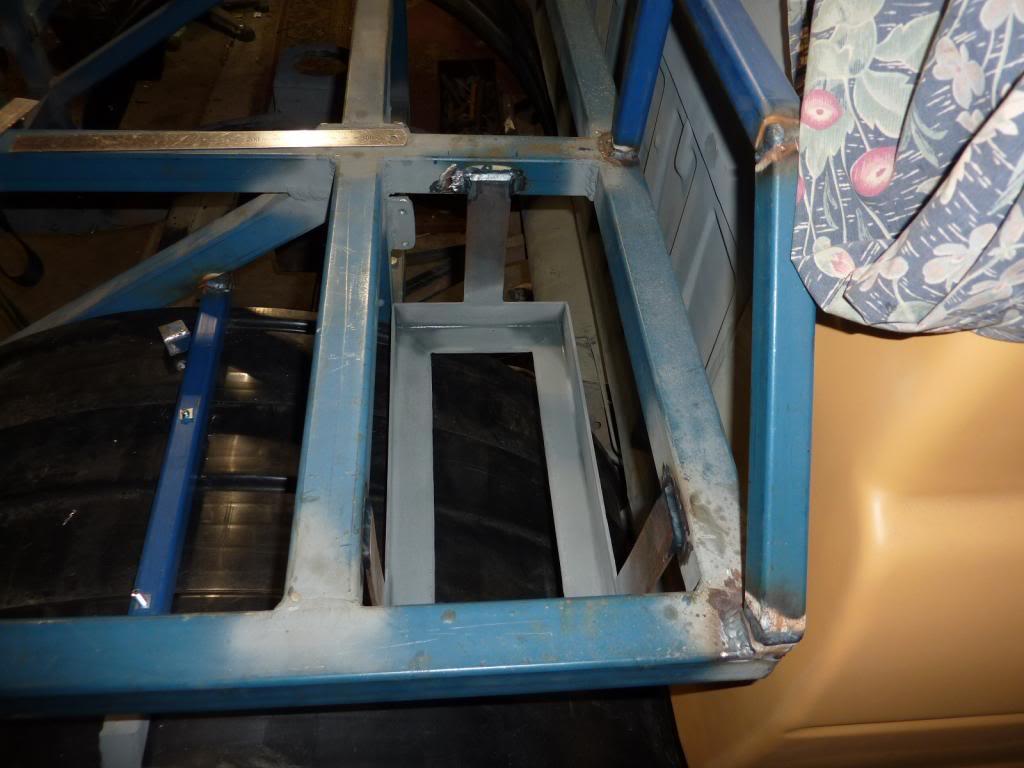
I did some other minor modifications to the mounting brackets to the guards (I removed the piece that came down from the underside of the tray) and I also designed the battery compartment.
The right hand side guard is almost finished, I just need to add one more tab for the front.
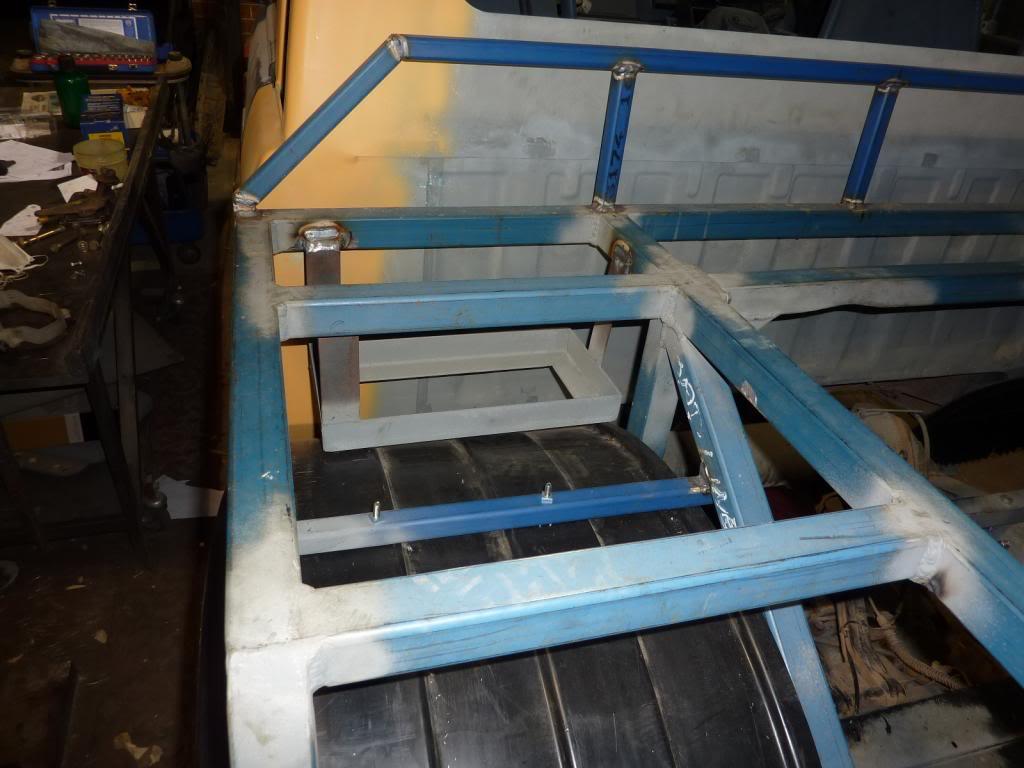
And I made a start on the battery holder. The plan is to use two of these batteries, one on either side of the tray.
Stirling
Master
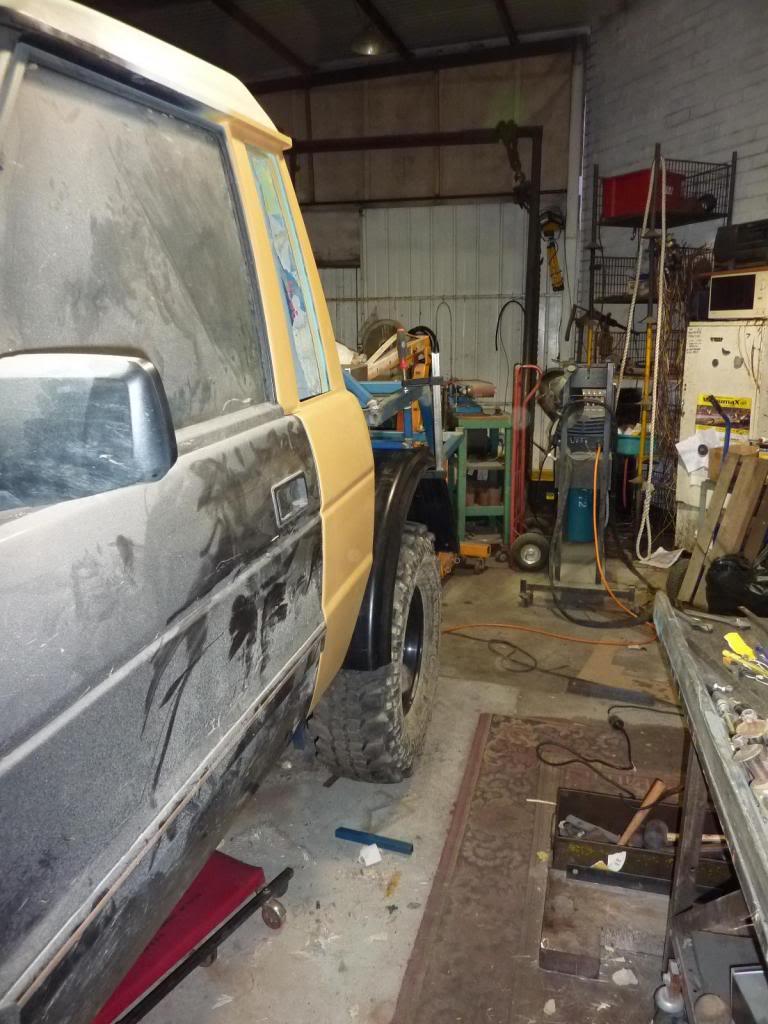
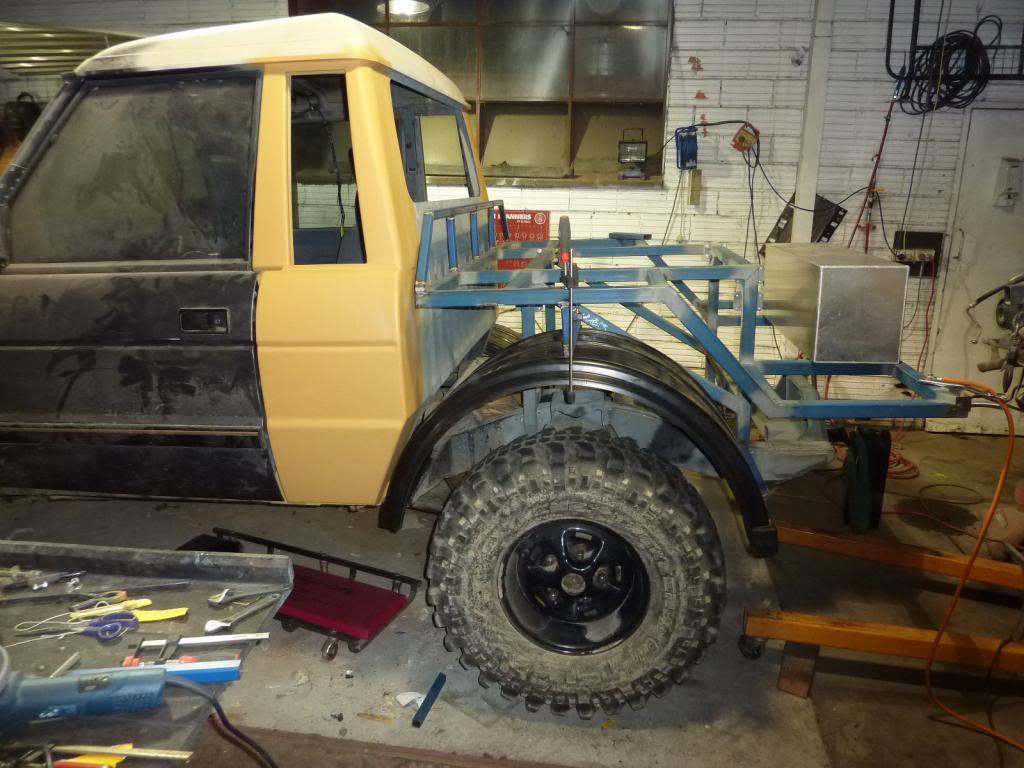
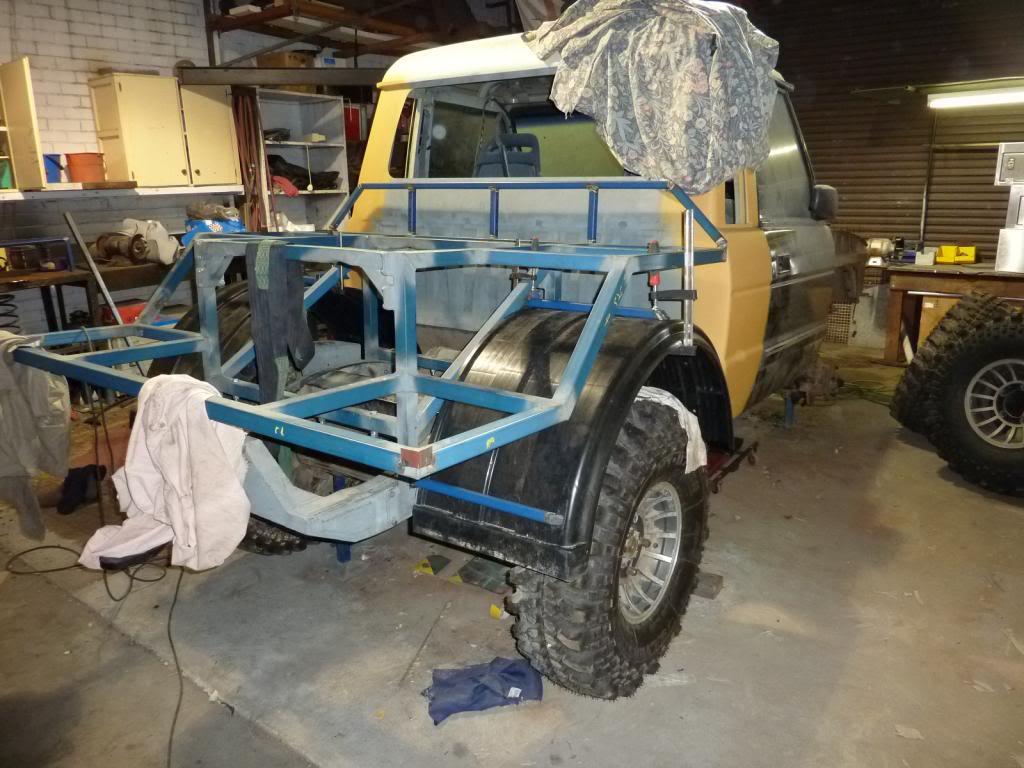
SupporterThe guards are finally finished & mounted! Also the battery holders are now in place, it's going to be a bit tight to get the cables up to the battery terminals, but I'll work something out when I get to that point.
Off to Korea on Monday and I'll be away for the week, so no playing in the workshop next weekend.
Stirling
Swaggie
Well done mate looking good . Your welding has realy improved")
 Posting Permissions
| Search AULRO.com ONLY! |
Search All the Web! |
|---|
|
|
|


Bookmarks