


 Reply With Quote
The 1" pipe looks too small. Turbo diesels use a log manifold. Is there a reason why you would not do the same? That way you don't have to do the header design of a four into one, which is used with N/A extractors to get scavenging happening.

 Master
Supporter
Master
SupporterI hope everyone enjoyed the Christmas & New Year period! I'm straight back into it:
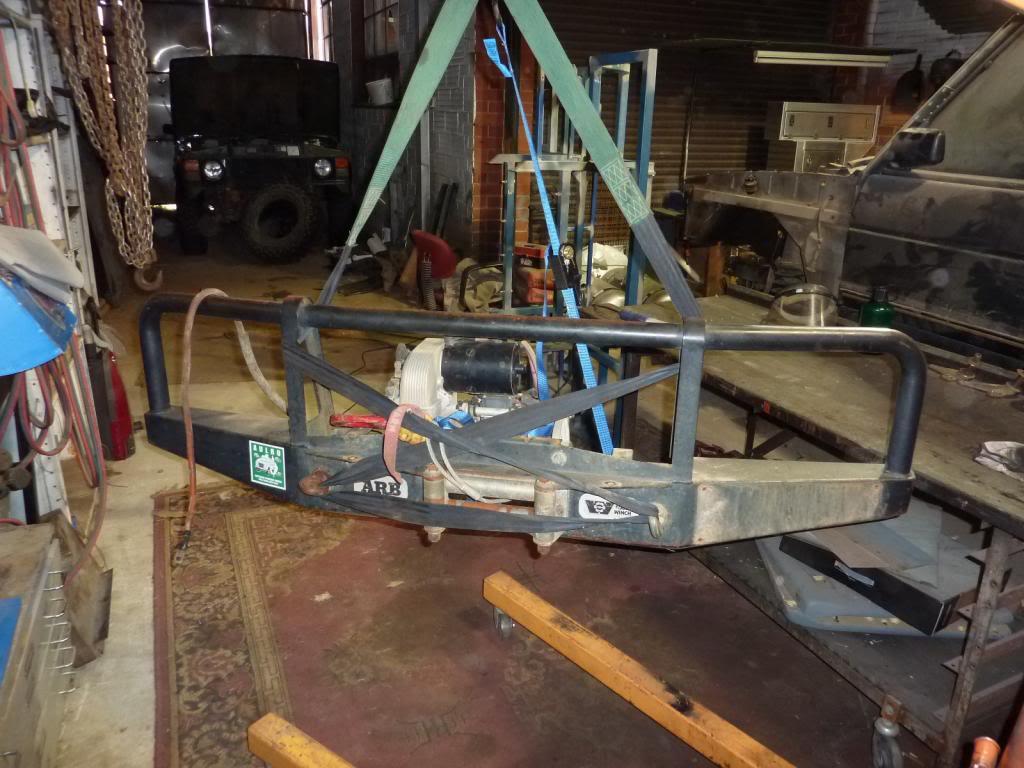
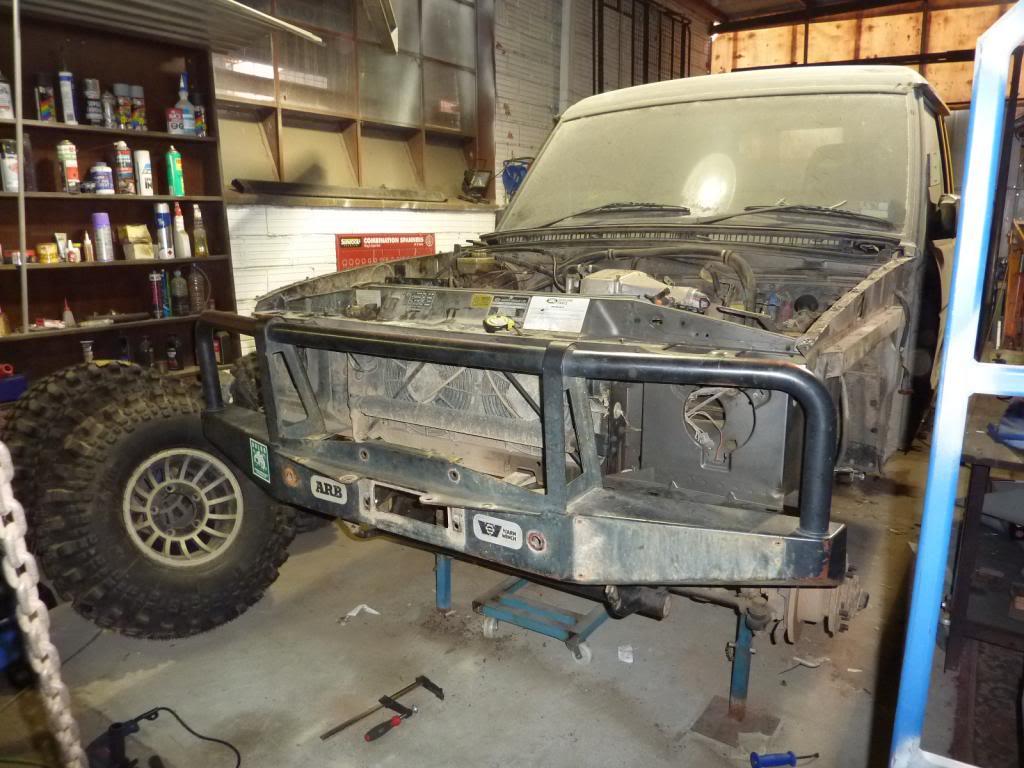
Bullbar pulled off the range rover:
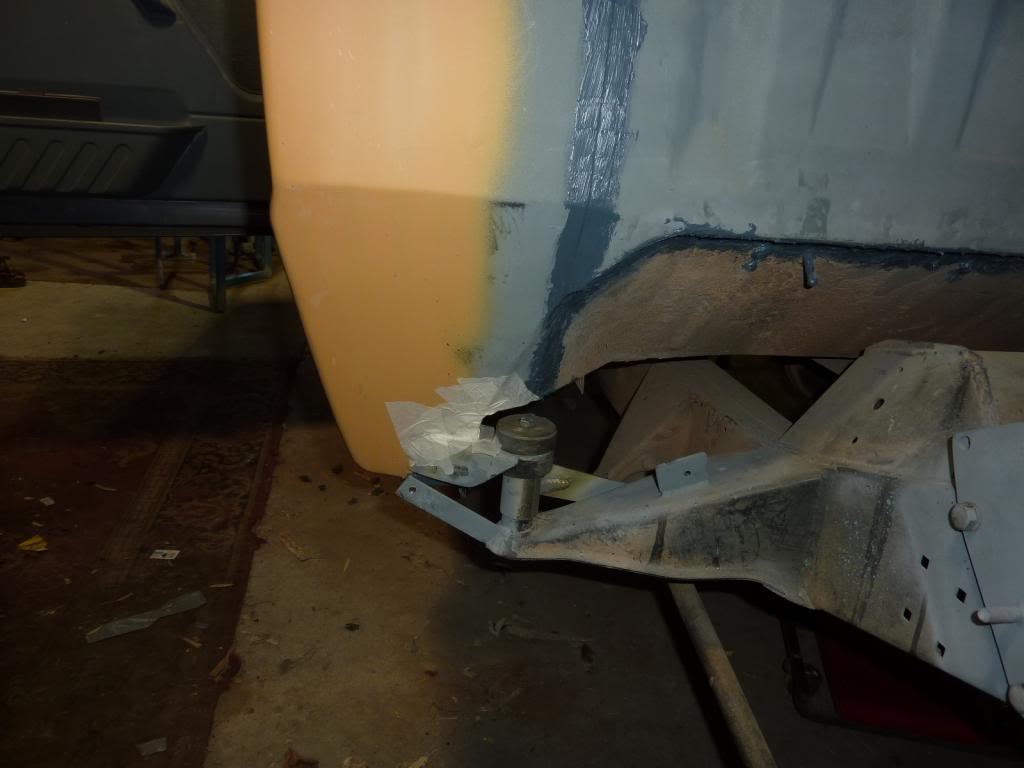
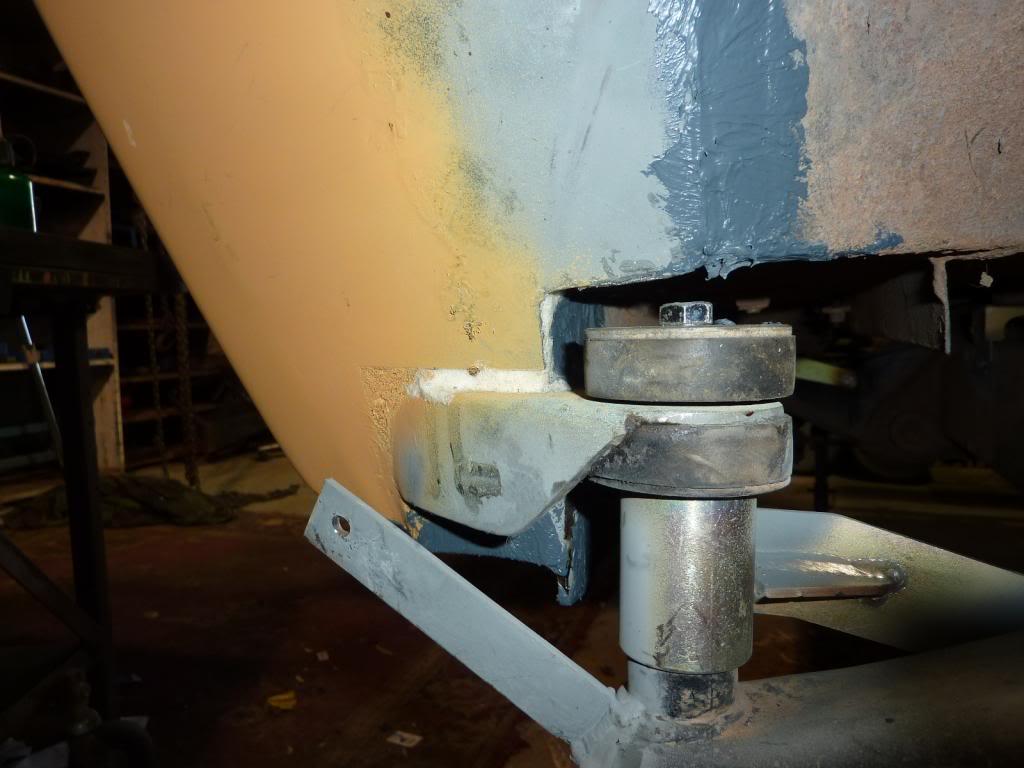
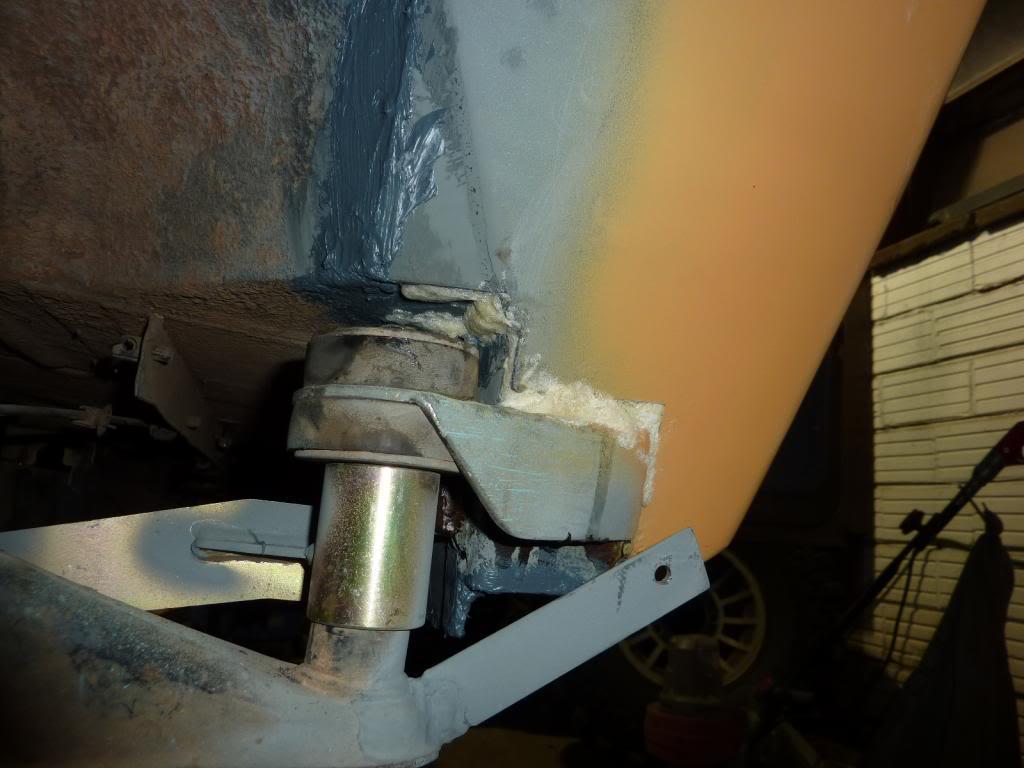
The necessary adaptations were done to allow the bullbar to mount with the body lift kit:
The bullbar is now ready to be sent off for a blasting and powder coating along with the tray frame.
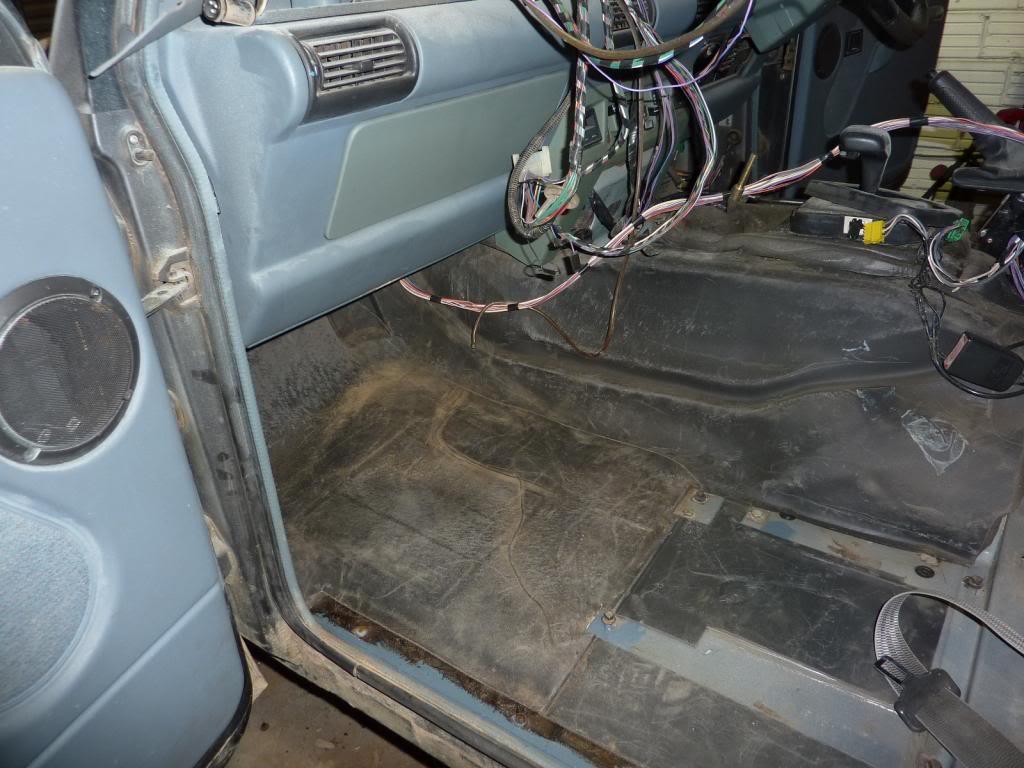
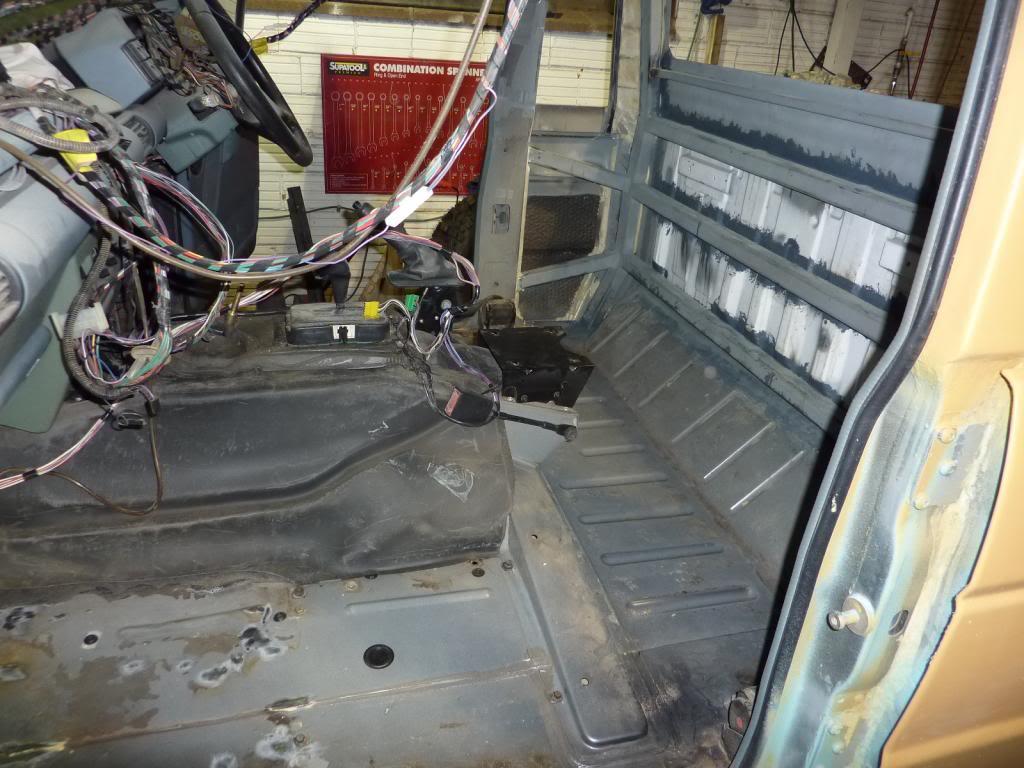
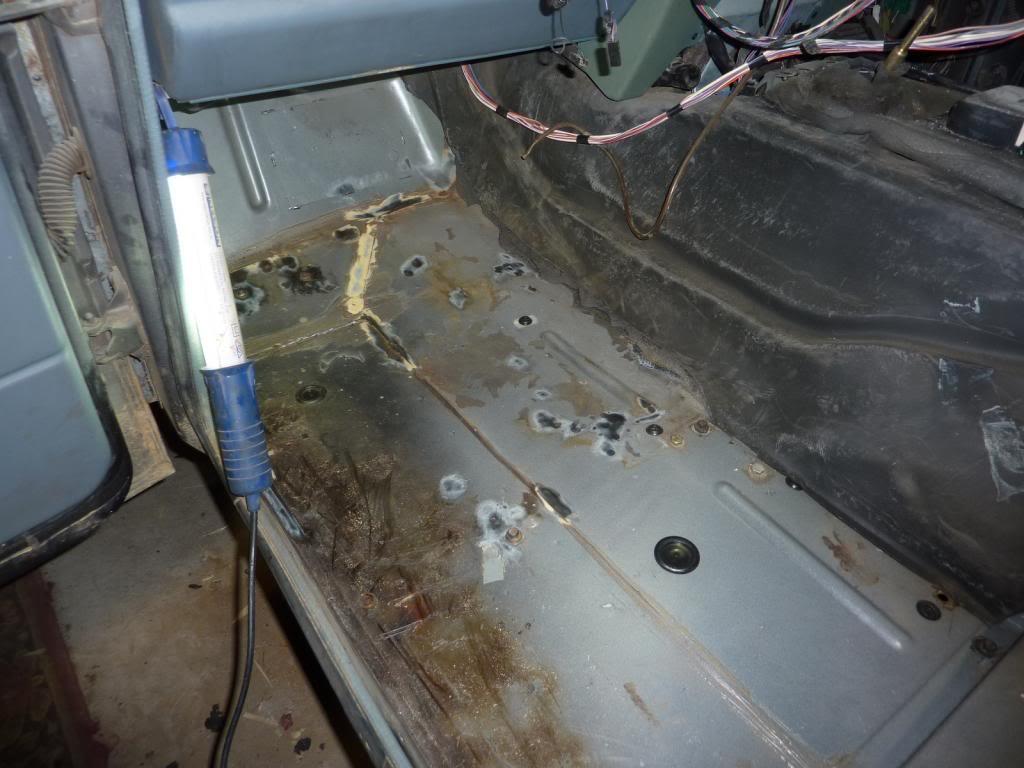
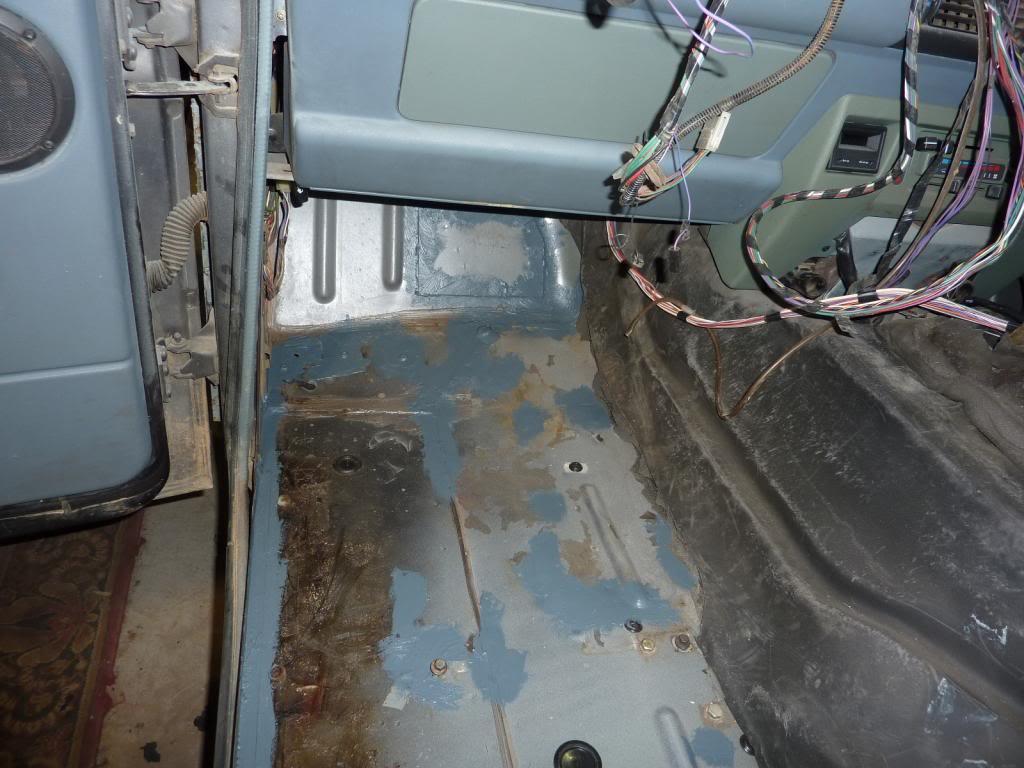
Some interior work was done. Seats & carpet were pulled out to deal with any rust. Considering the car is 20 years old it is in surprisingly good condition with only some minor rust present in the passenger foot well:
There were some small remaining gaps on the body which I hadn't filled when I did the bulk of the work earlier, so I got that over and done with:
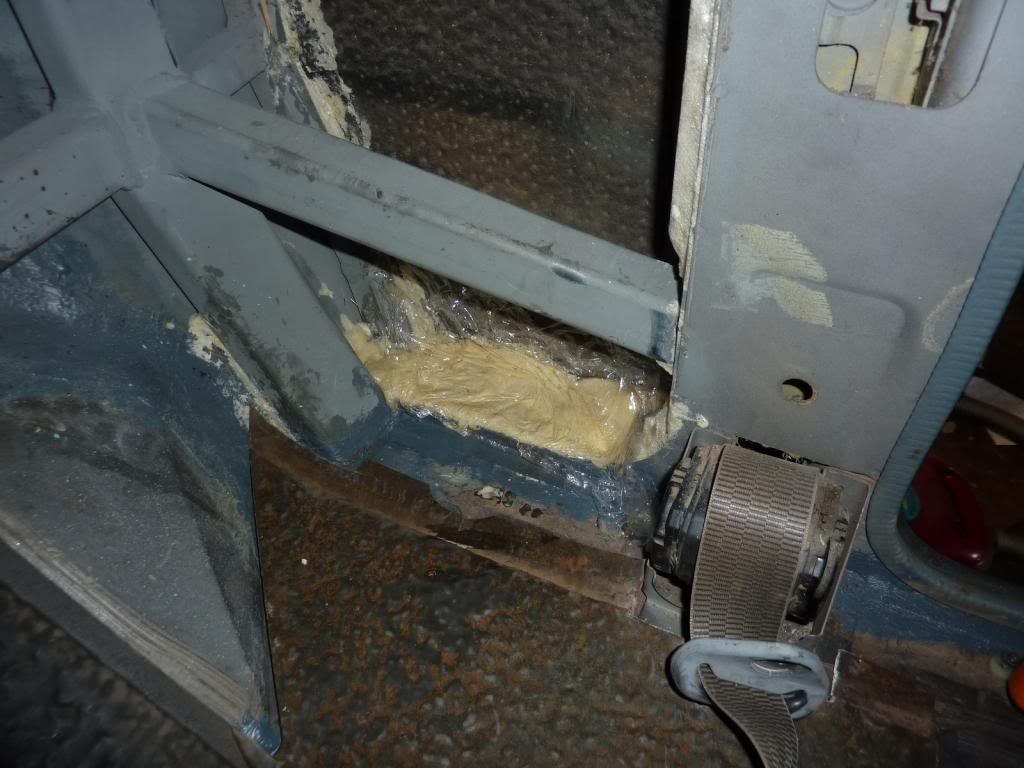
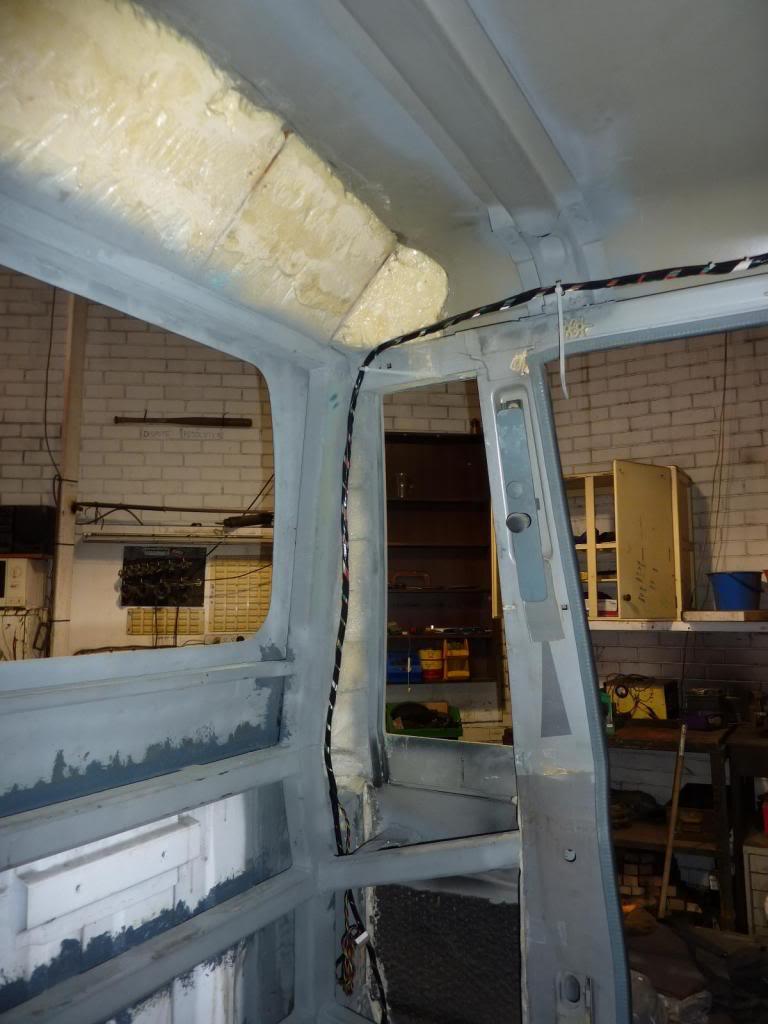
The foam flowed into all the places I wanted:
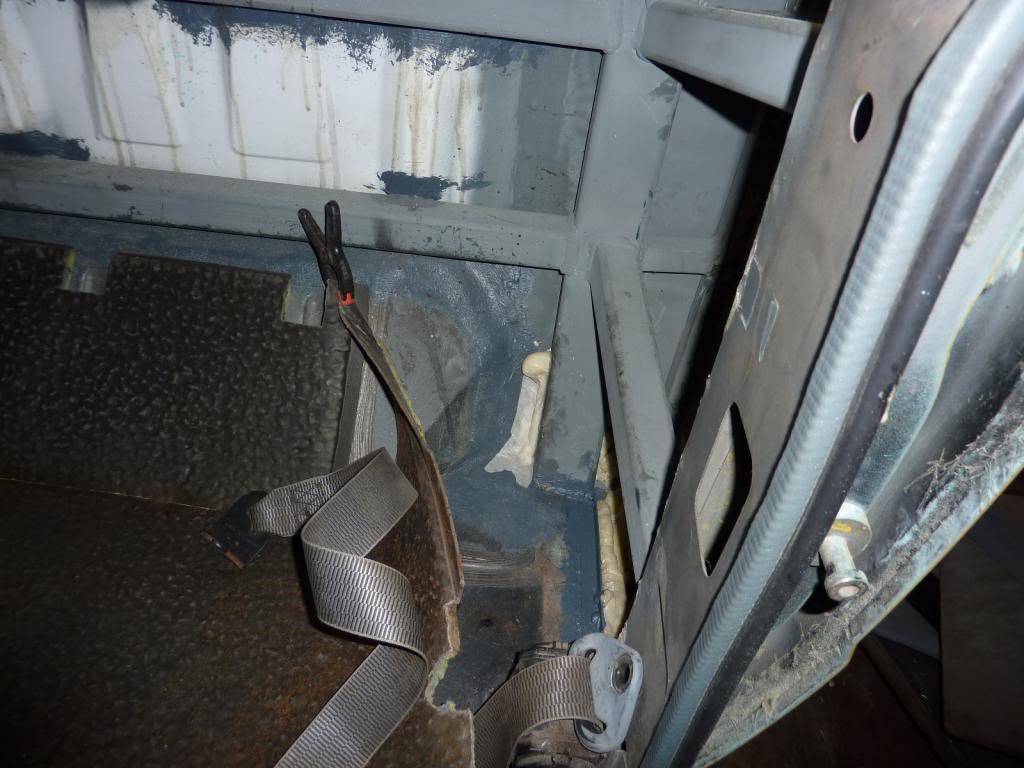
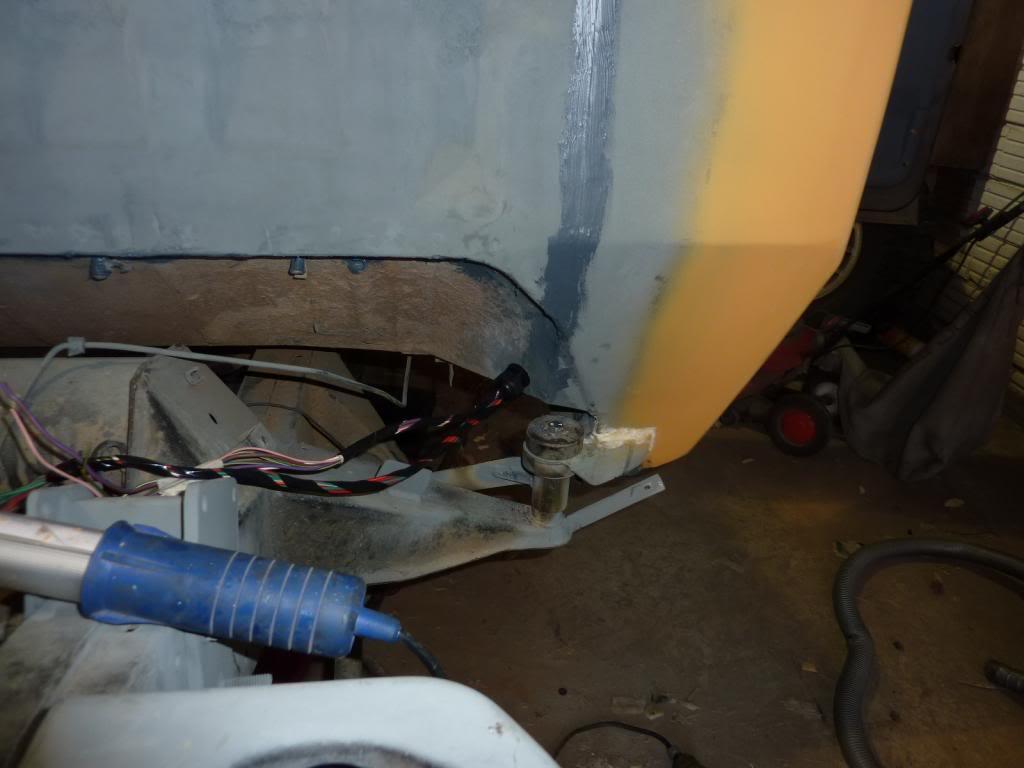
I was concerned that at the bottom of the rear quarter panel (ex rear door), moisture would accumulate and cause the steel to rust out. So I filled these areas with foam:
The loom that will run to the rear of the car was sorted and the cables identified. I also left all the un-needed cables that ran to the rear door in as spare wires. I may need them later!:
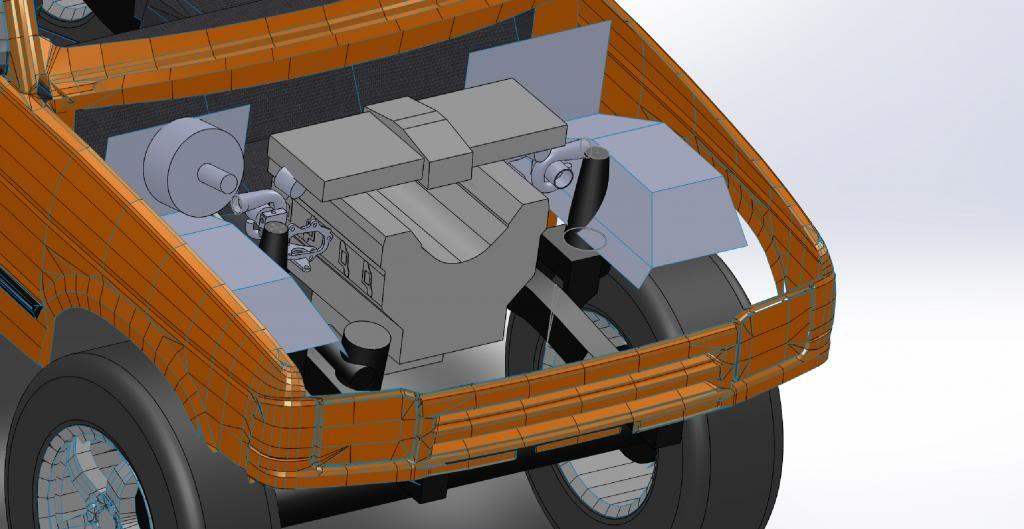
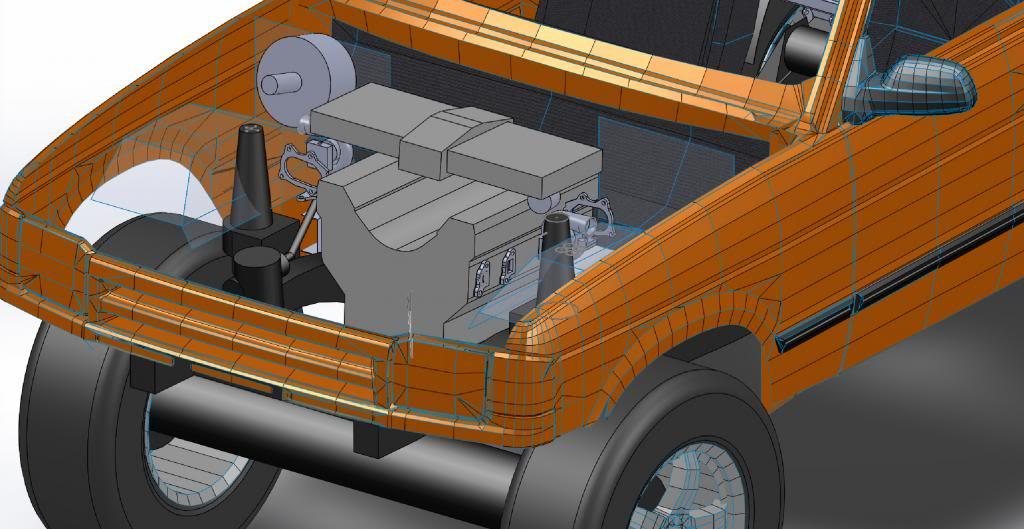
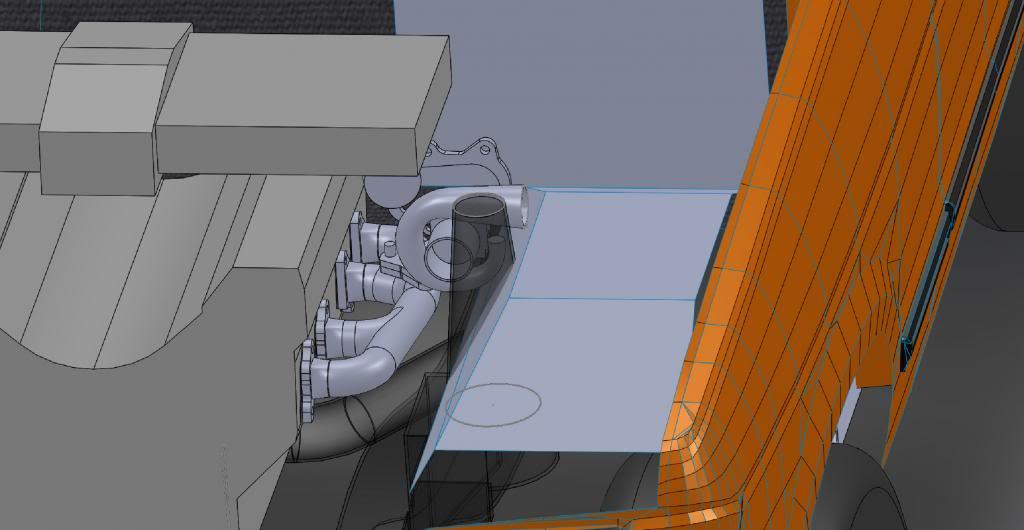
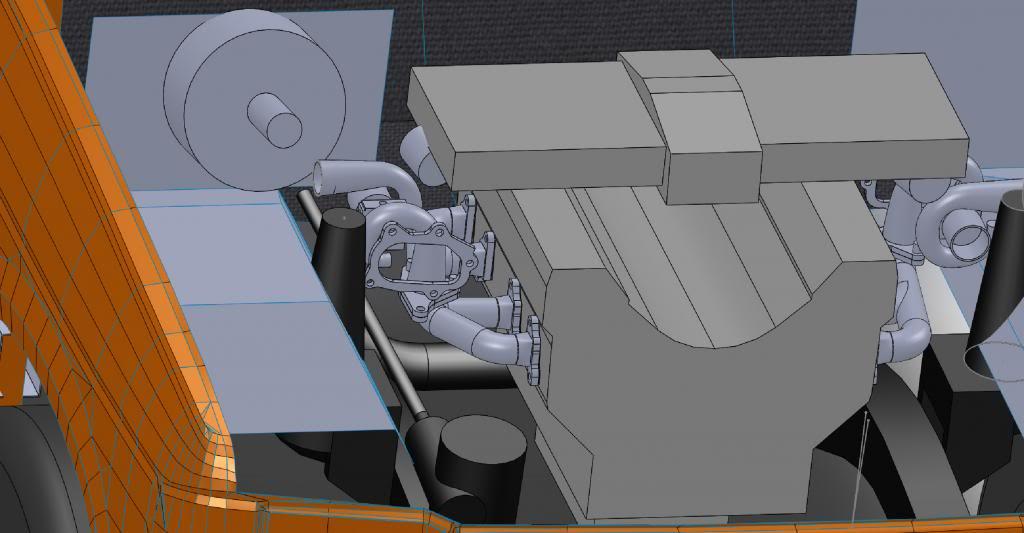
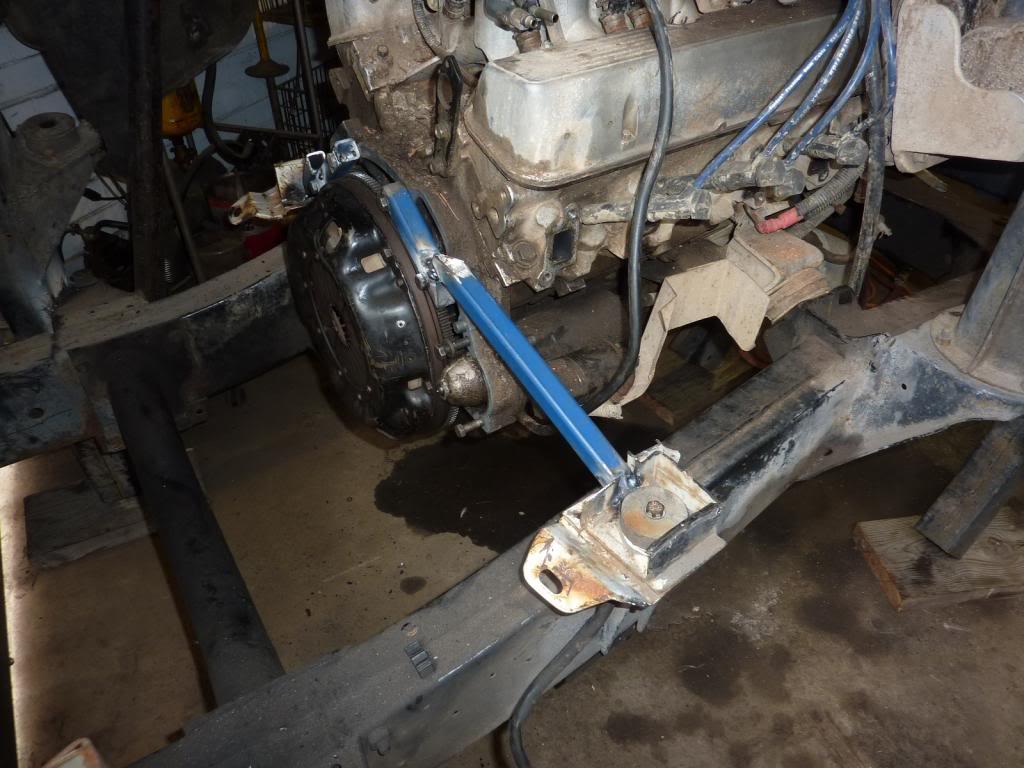
With the help of taking one of the turbos into the workshop and sitting it in the car, I finally settled on the final placement of the turbos:
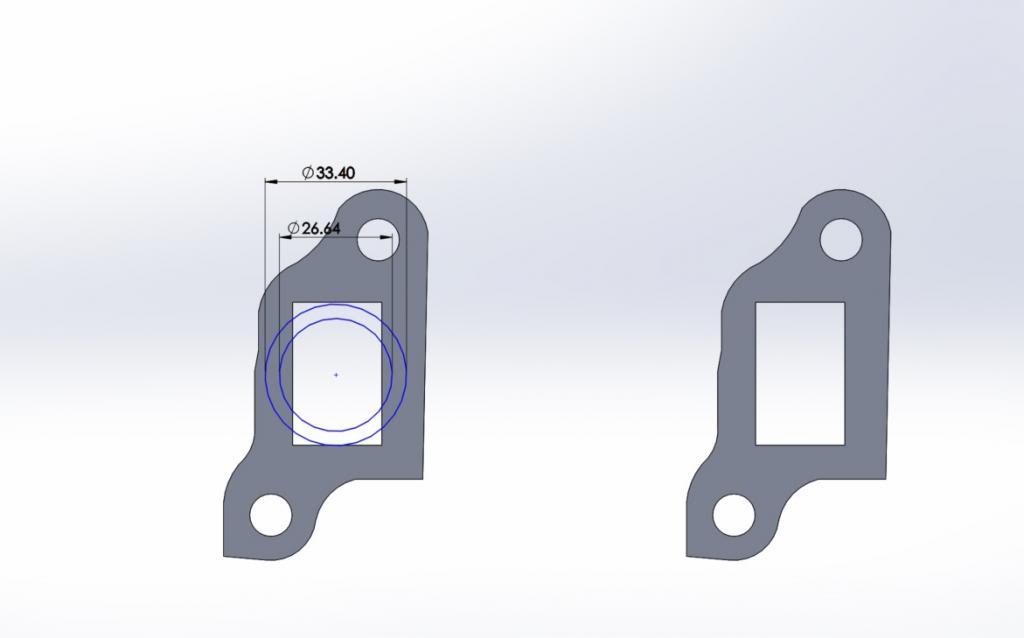
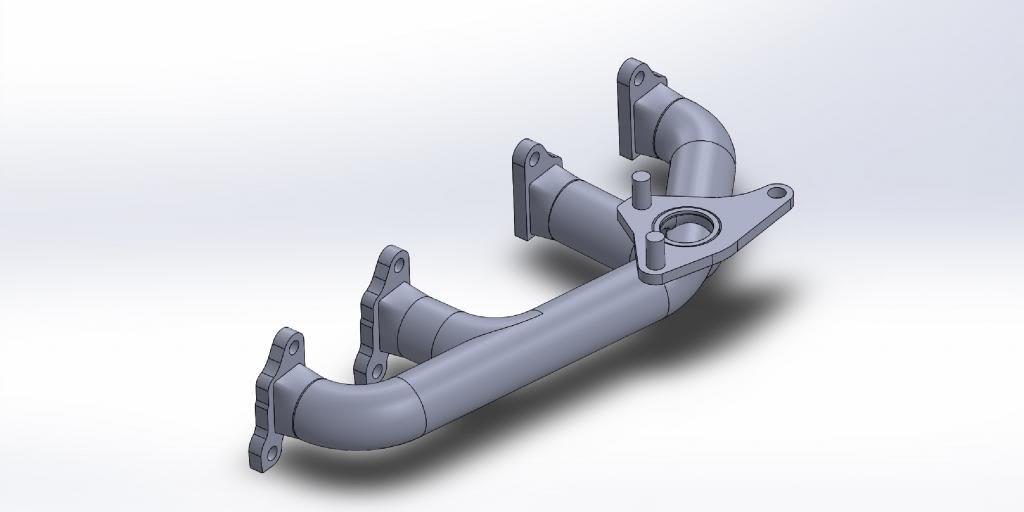
I've also started working on designing the exhaust manifold. I think I will need to use 1" schedule 40 pipe. 1 1/4" was simply way too big and would be very difficult to do a 4 to 1 transition. Below shows the 1" schedule 40 pipe against the exhaust flange and turbo flange:
Stirling
TopicToaster
The 1" pipe looks too small. Turbo diesels use a log manifold. Is there a reason why you would not do the same? That way you don't have to do the header design of a four into one, which is used with N/A extractors to get scavenging happening.
Originally Posted by benji

Master
SubscriberQUOTE I was concerned that at the bottom of the rear quarter panel (ex rear door), moisture would accumulate and cause the steel to rust out. So I filled these areas with foam: QUOTE
I was wondering what to do about those two areas in my rangie ute project. That's a good idea except I would be worried the foam might hold moisture if it gets wet?
Did you rust proof the area before you put the foam in?
Are you gonna fibreglass over the top to stop water ingress?
Is that the cheap foam in a can or the stuff you mix together just before use?
Your build is great, I have been following for a while now. Can't wait to finish my disco and get onto the ute project.
Looks like Wayne's rangie is coming in handy for parts. He told me ages ago that he would never sell it, what changed his mind?
Neale
Neale
85 Range Rover Ute (Project in pieces)
89 Range Rover Classic (Black Thunder)
93 200tdi Disco,(OGRE)
96 300tdi Disco, DEAD MOTOR
04 Nissan Patrol with ALL the fruit
09 Cub Daintree Kamperoo
12 VE II Commodore Ute DD
Master
SupporterThe foam I used is a 2 part Polyurethane foam which I purchased from Dalchem, it is excellent stuff, the foam sets hard and it is closed cell so it doesn't absorb moisture. Of course it is possible for water to seep down in areas where the foam hasn't bonded perfectly. What I plan to do is brush on seam sealer over the top of the foam to make sure it is all nice and water tight. The seam sealer stays flexible and it is VERY sticky.
Thank you very much Neale, I appreciate the compliment. Good luck when you start yours!! It certainly is a MUCH longer process then I could have ever imagined, but then again I'm trying not to let myself be sloppy.
Yes, it is very handy for parts, he wasn't using it anymore and wanted to get out of four wheel drives/ Land Rover's completely. He's now enjoying going nuts on Methanol RC cars.
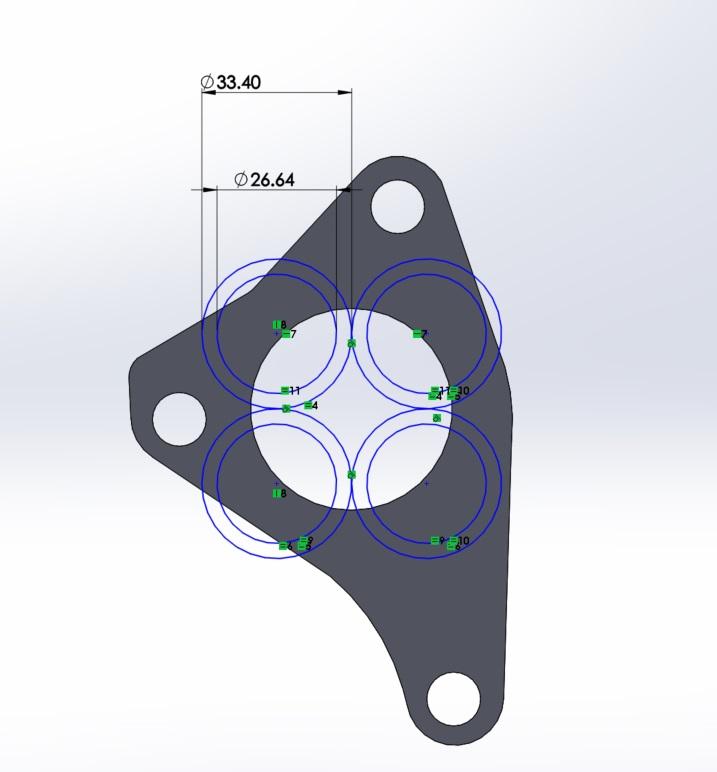
Thanks for the feedback slug. You are absolutely right, my background is Aeronautical Engineering so I was going a little crazy from a flow perspective and then I also remembered that one cylinder fires at a time so you don't really need 4 pipes to handle the exhaust gas. With some small transitions the 1 1/4" pipe fits quite nicely.
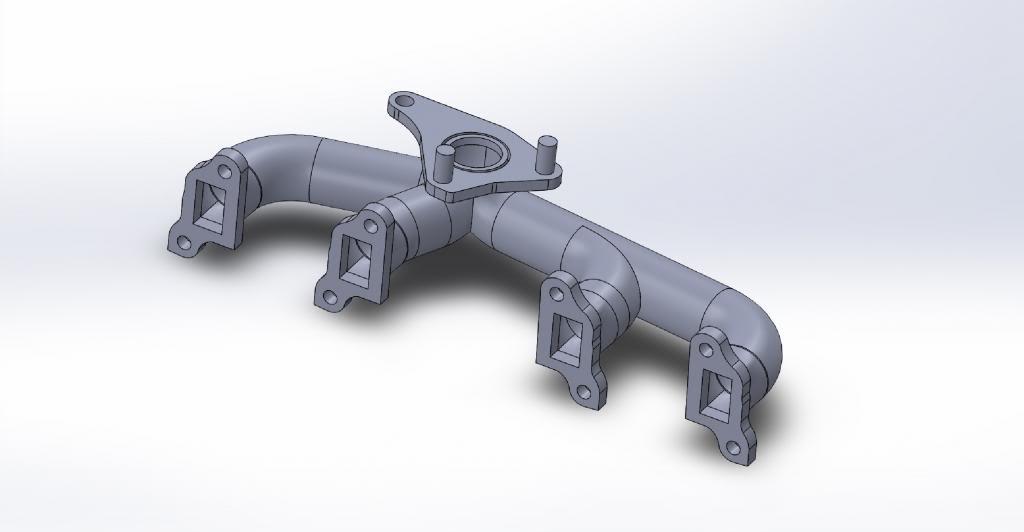
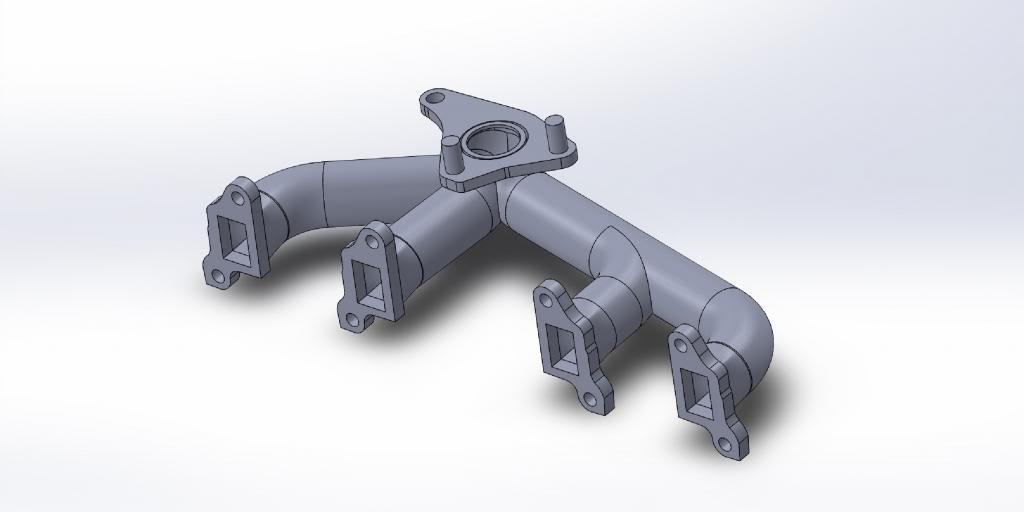
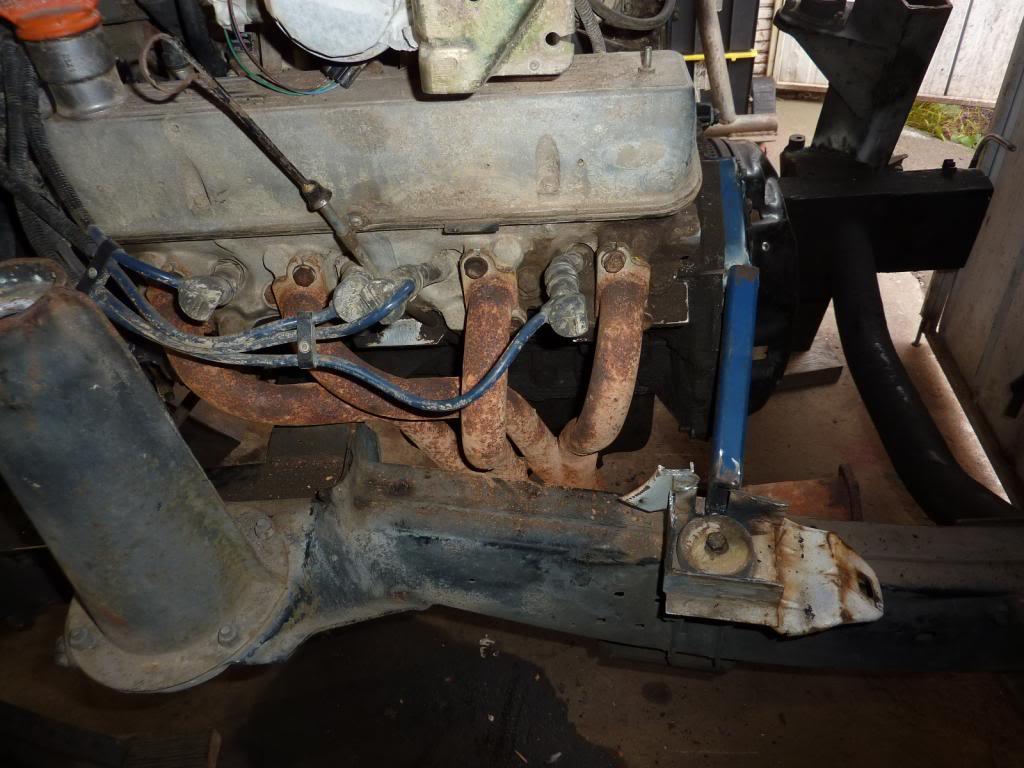
Here is the left hand manifold done, I should be able to make it entirely from long radius and short radius butt weld fittings from Onesteel which is a bonus, I have also had to add 2 studs to the flange since two of these locations aren't accessible to insert the bolts. Any more comments welcome!
Stirling
TopicToaster
That looks good.
I don't know how much of a difference it makes that diesels rev out to a bit more than 4000 rpm. That looks fancier than most log manifolds made up of schedule steam pipe.
Master
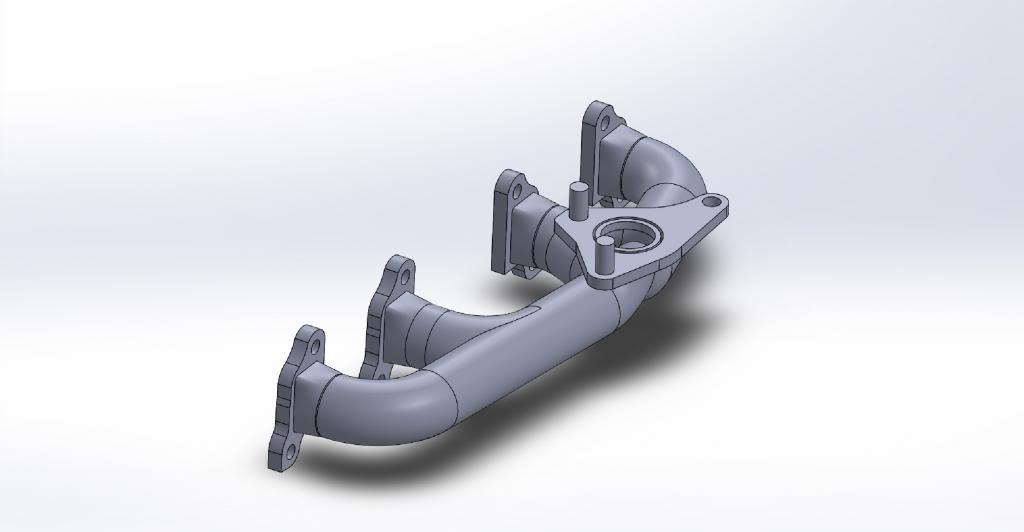
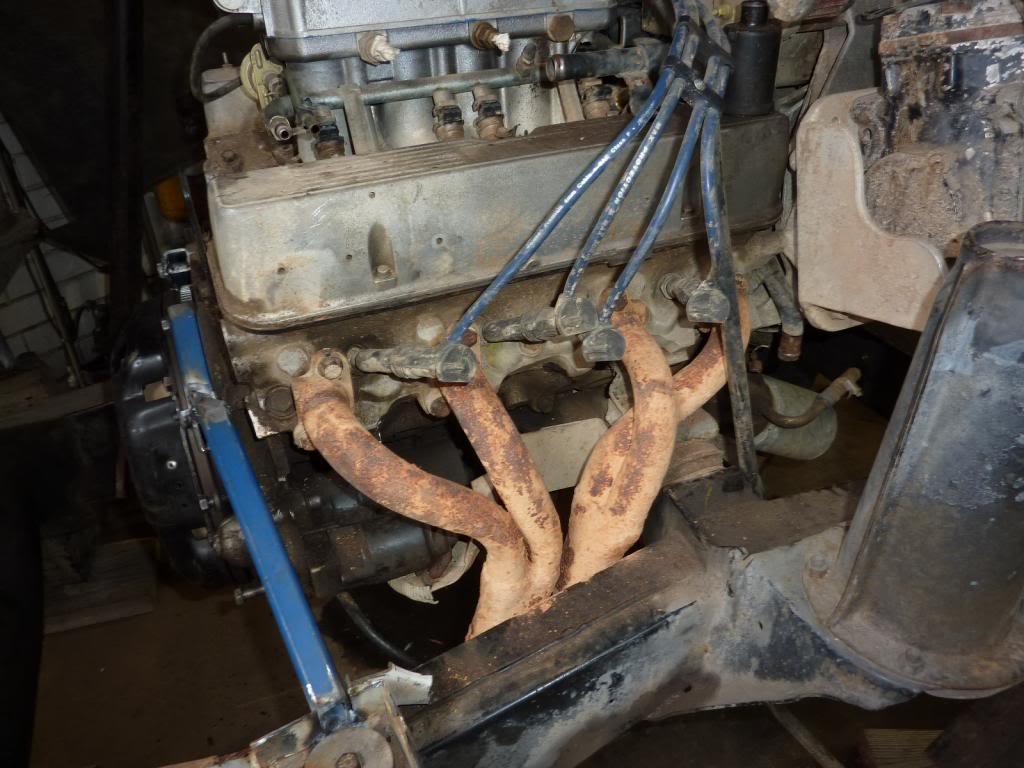
SupporterRight hand manifold done in a similar fashion:
Stirling
Master
SupporterAnother productive weekend
The cables that are to run onto the tray were bundled together into the new looms and run out the back of the cabin:
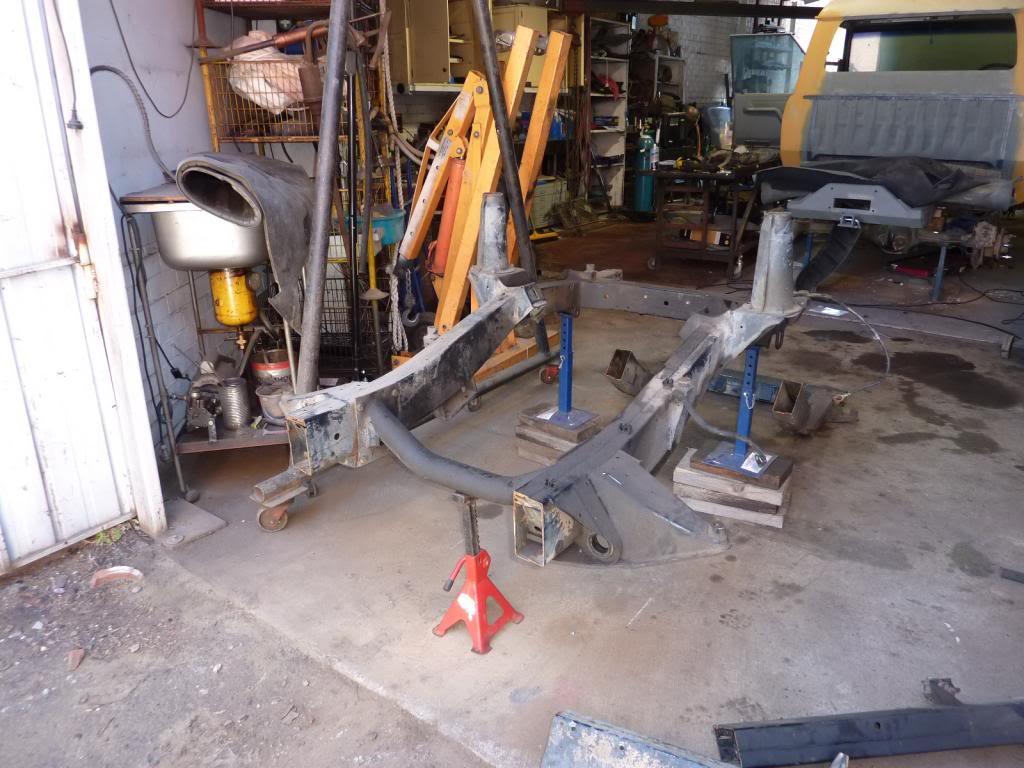
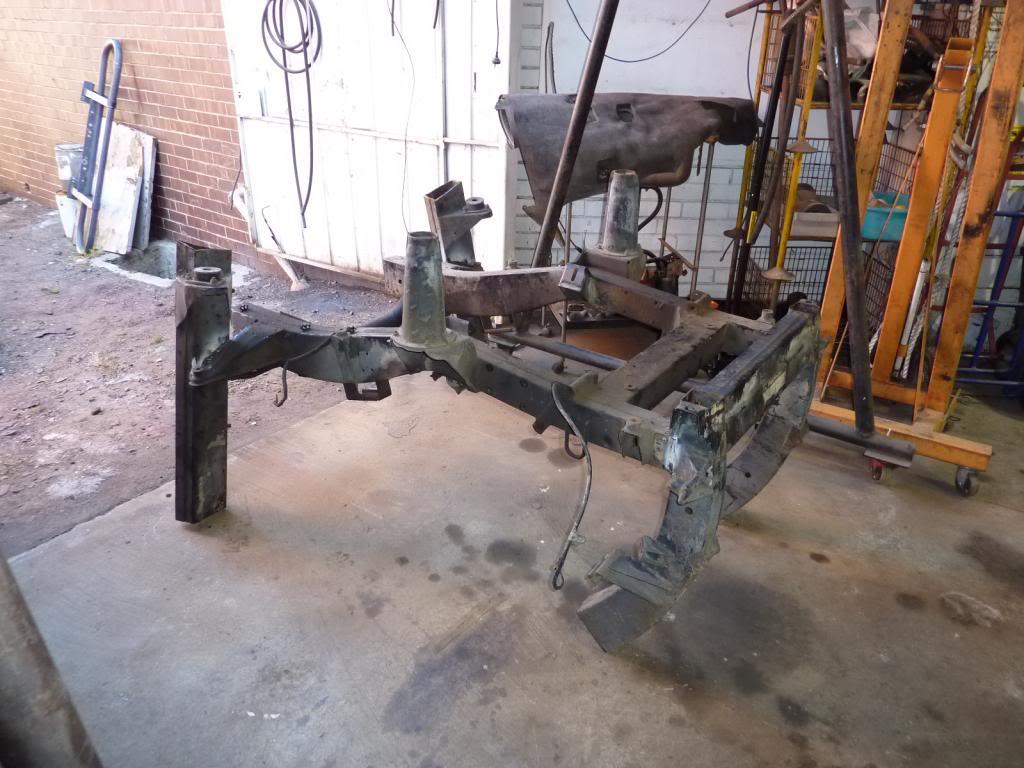
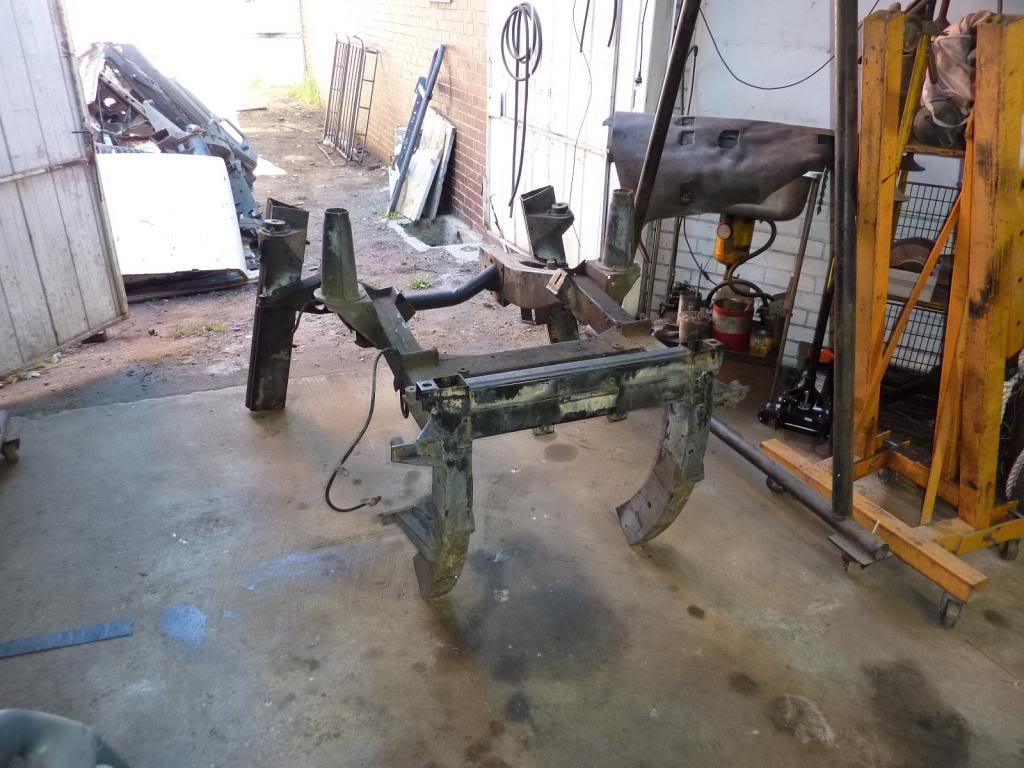
I assembled the engine 'test bed' basically I like to think of it as a creative way to recycle an unneeded chassis from a 96 Discovery! I used the opportunity to get in some badly needed practice on stick welding. And the results are that I really need to get a lot more practice in because I am shocking with a stick welder!
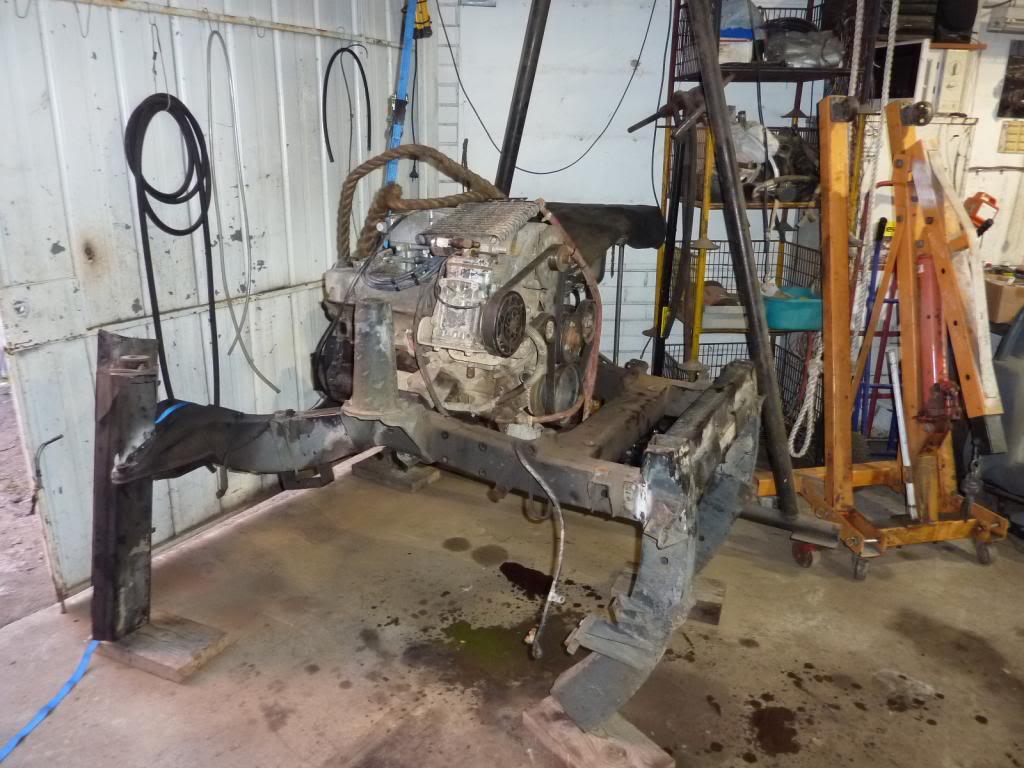
On Sunday I hit the Range Rover hard and got the engine out and mounted on my test bed in 8 hours:
Pretty happy with the progress
Stirling
Master
SupporterA quick update for this weekend.
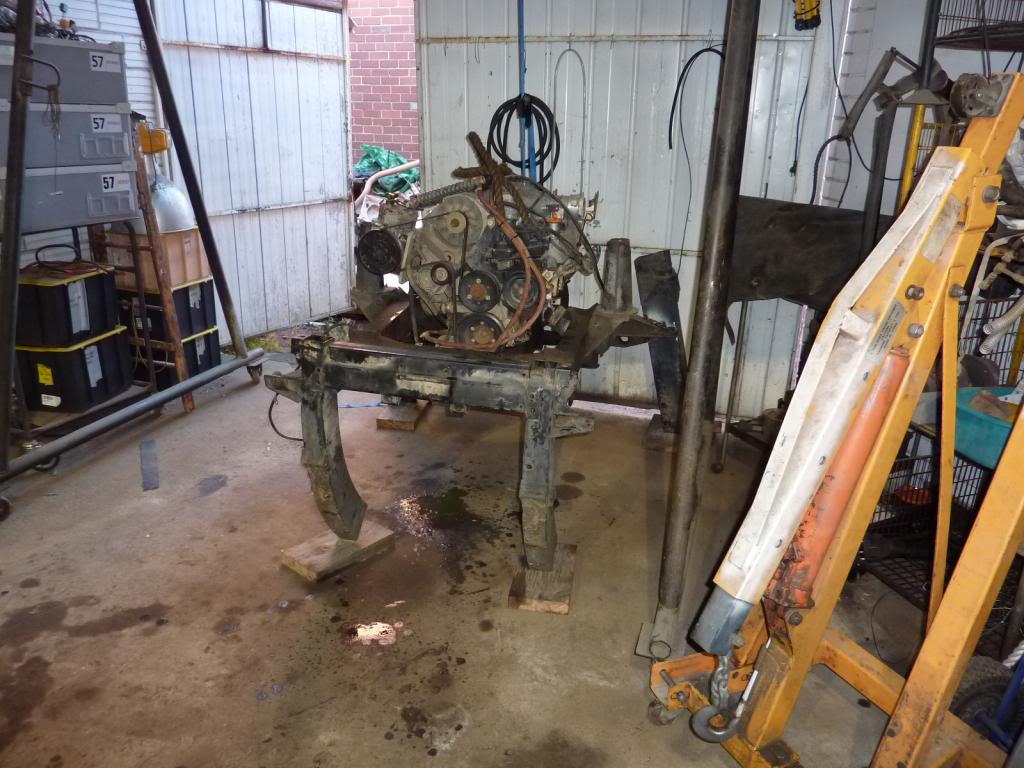
Rear support for the engine was made up. Nothing pretty at all, I re-used some more bits from the discovery I cut up:
Exhaust manifolds were fitted:
That's all I could squeeze in. Now I'm off to a wedding and then Japan in the morning for a business trip. More progress when I'm back in a week.
Stirling
ForumSage
If you haven't decided on an intercooler yet. The Cosworth RS500 aftermarket parts have dimensions that are looking very good:
All over ebay.
Master
SupporterThanks for the suggestion Doug, I appreciate it. I've actually been emailing ARE in Brendale QLD about the intercoolers. I asked them about what options I have available to weld two cores on to either side of the plenum. Below was the response:
There is not a perfect pair of intercoolers that will fit in your vehicle. I did some quick computer modeling & with a 3.9 L engine, 4500 rpm & 12psi boost you have 563cfm & 26 kw (1509btu) of heat to get rid of to work at good efficiency.
With 2 of 255 x 300long x 55mm cores the air speed through the core is 64.2 kph for 0.017 secs. 400mm long gives the same speed for 0.022 secs.
With 2 of 255 x 300 x 73mm cores the air speed is 46.7 kph for 0.023 secs.
As a very generalized, average, ball park figures 70 kph for 0.025 secs. id good. You need a 73mm core or 300x300x56mm core.
So I need to think if I want to go to all the hassle to fit in a thicker or wider core. Because the way the plenum is at the moment, I think I only have an area of 60mm x 255mm to weld on a core. I could go all out and get a new plenum welded up, but that is going to add more $$ and I'm not sure how much more performance going from a 255 x 55mm to 255 x 73mm core will add? I need to think about it some more.
Anyway, as for actual progress:
The engine setup was completed.
The ECU was wired up to the EDIS module and the various sensors.
And the engine was started. It's a bit different for me to be in the shot for a change. Dexter was giving me a hand which was very much appreciated!
Rover V8 first start on test rig - YouTube
Stirling
 Posting Permissions
| Search AULRO.com ONLY! |
Search All the Web! |
|---|
|
|
|


Bookmarks