Page 55 of 82 FirstFirst ... 545535455565765 ... LastLast
Results 541 to 550 of 812

Thread: Stirlsilver's Disco Ute Project

  1. #541
    Join Date
    Aug 2012
    Location
    Adelaide
    Posts
    2,757
    Total Downloaded
    0
    Found your thread via facebook and youtube. WOW! 6years and still no car... THAT is commitment. I would have given up by now.

    Puts my build to shame


    I'll keep checking back on this one!

  2. #542
    Join Date
    Jun 2007
    Location
    Oatley, NSW
    Posts
    974
    Total Downloaded
    0
    Quote Originally Posted by wrinklearthur View Post
    Really? I wish I could do stainless welding as tidy as that.
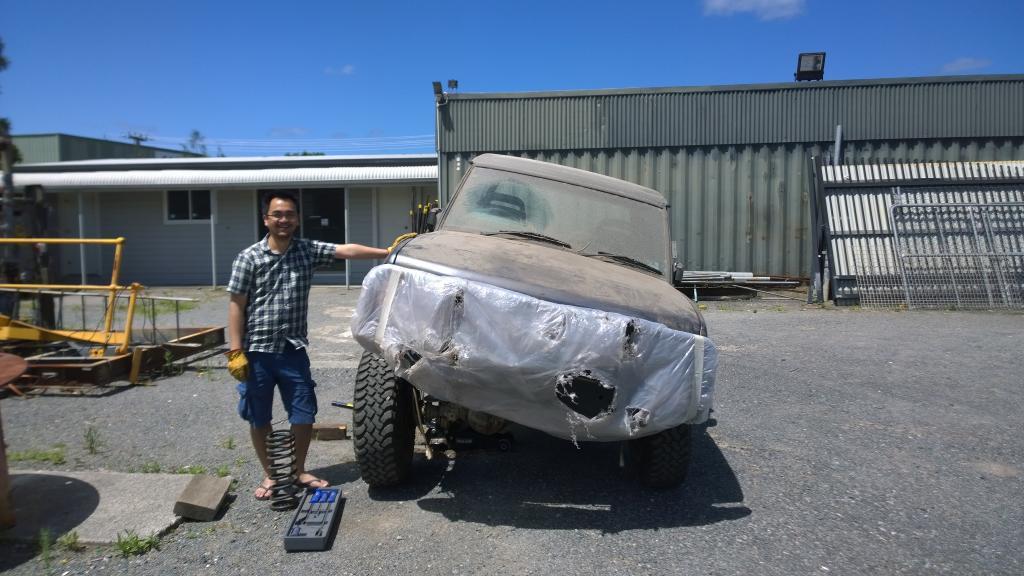
    I did some research on YouTube before doing the other side. It was recommended to avoid using filler and it did improve the look significantly!


    Quote Originally Posted by debruiser View Post
    Found your thread via facebook and youtube. WOW! 6years and still no car... THAT is commitment. I would have given up by now.

    Puts my build to shame


    I'll keep checking back on this one!
    Thanks for dropping by! Though I haven't posted anything on facebook about this build?? That does remind me though that I am due to make up another video because there is probably enough progress to talk about now!

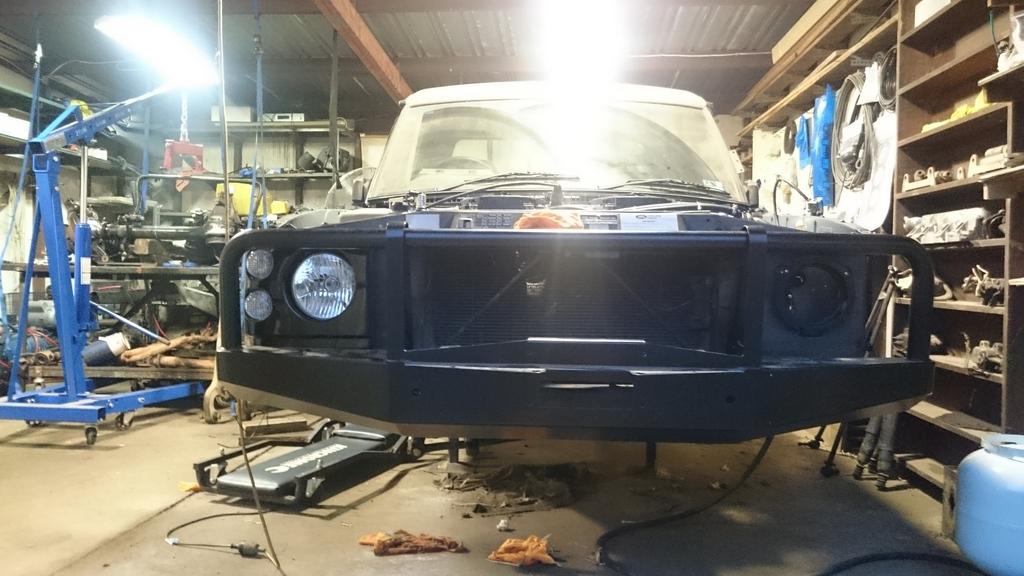
    Anyway, I've been dabbling on the build whenever I had time.

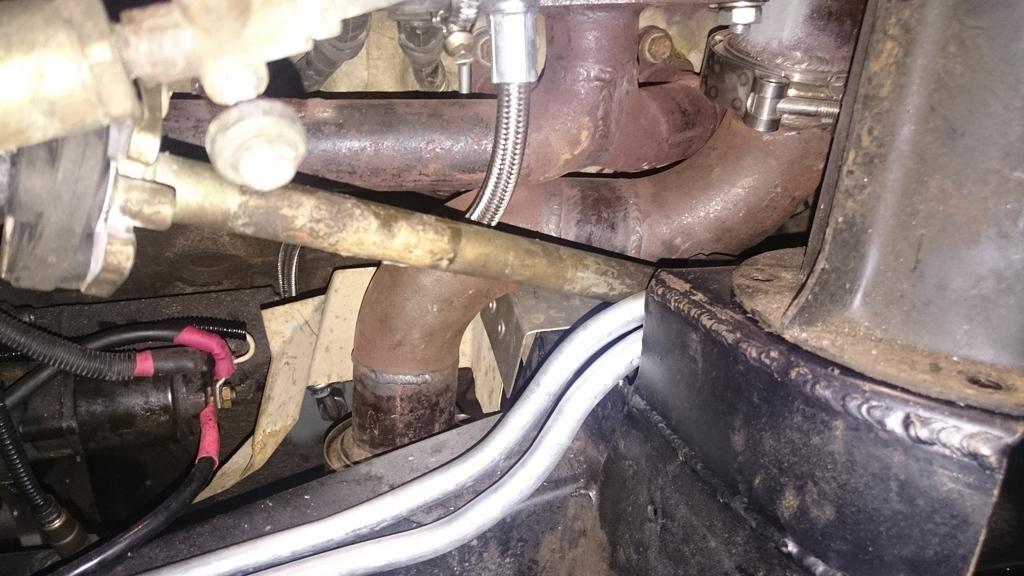
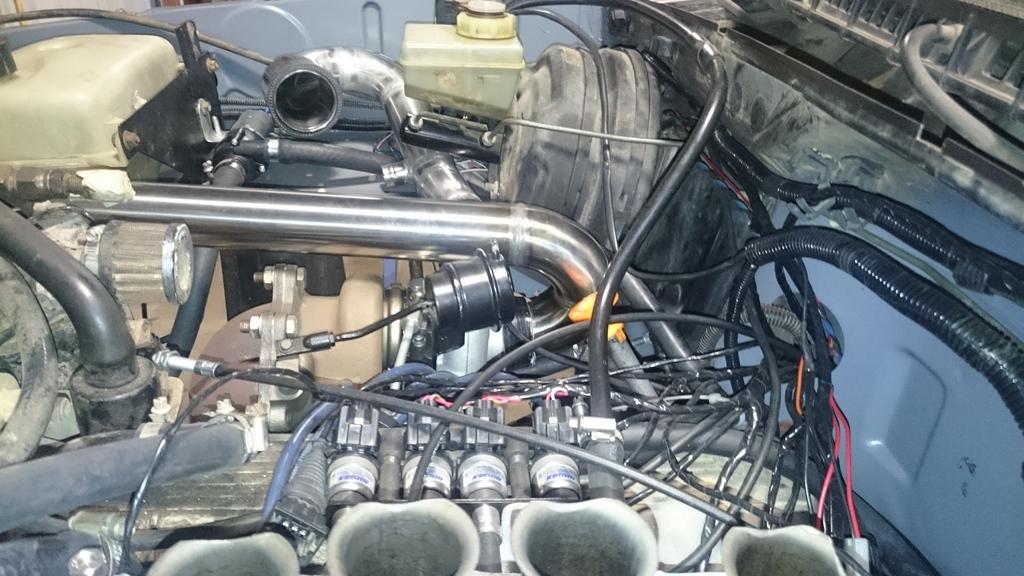
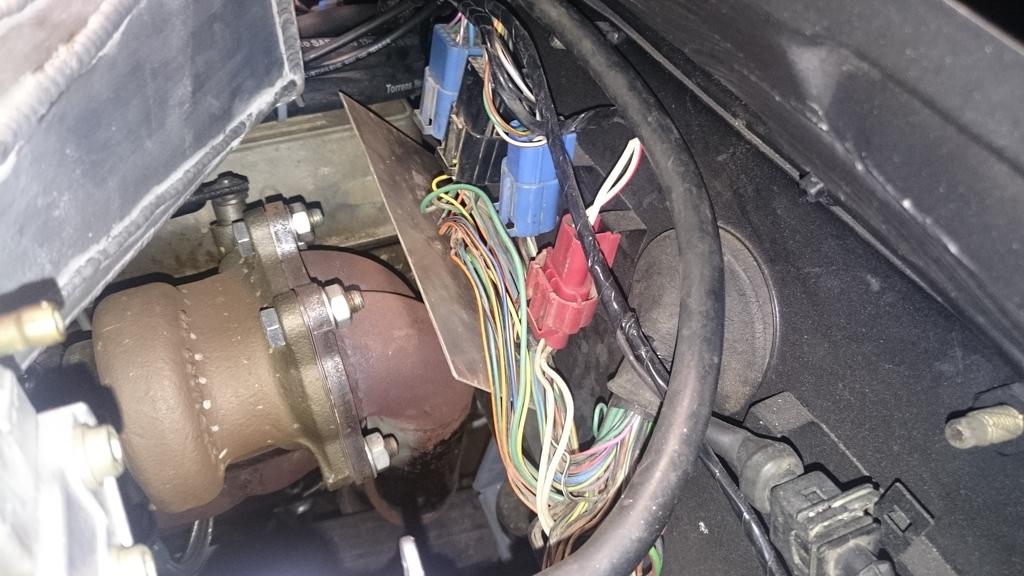
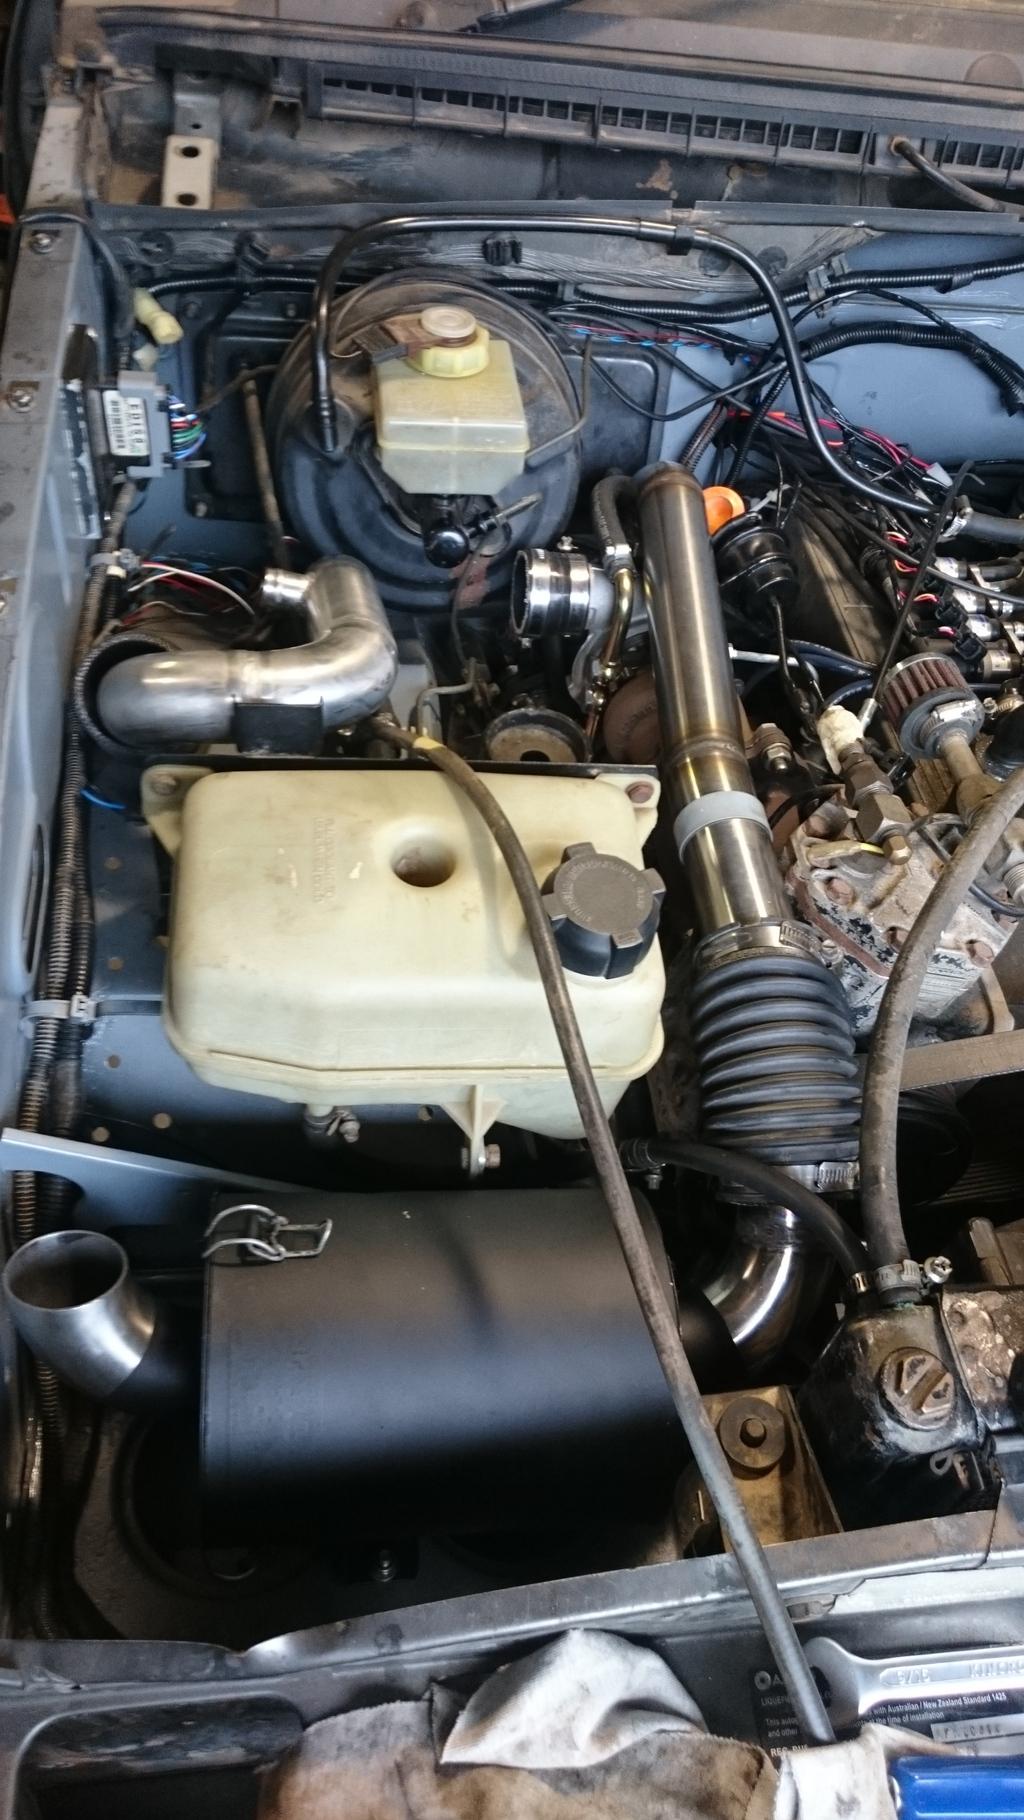
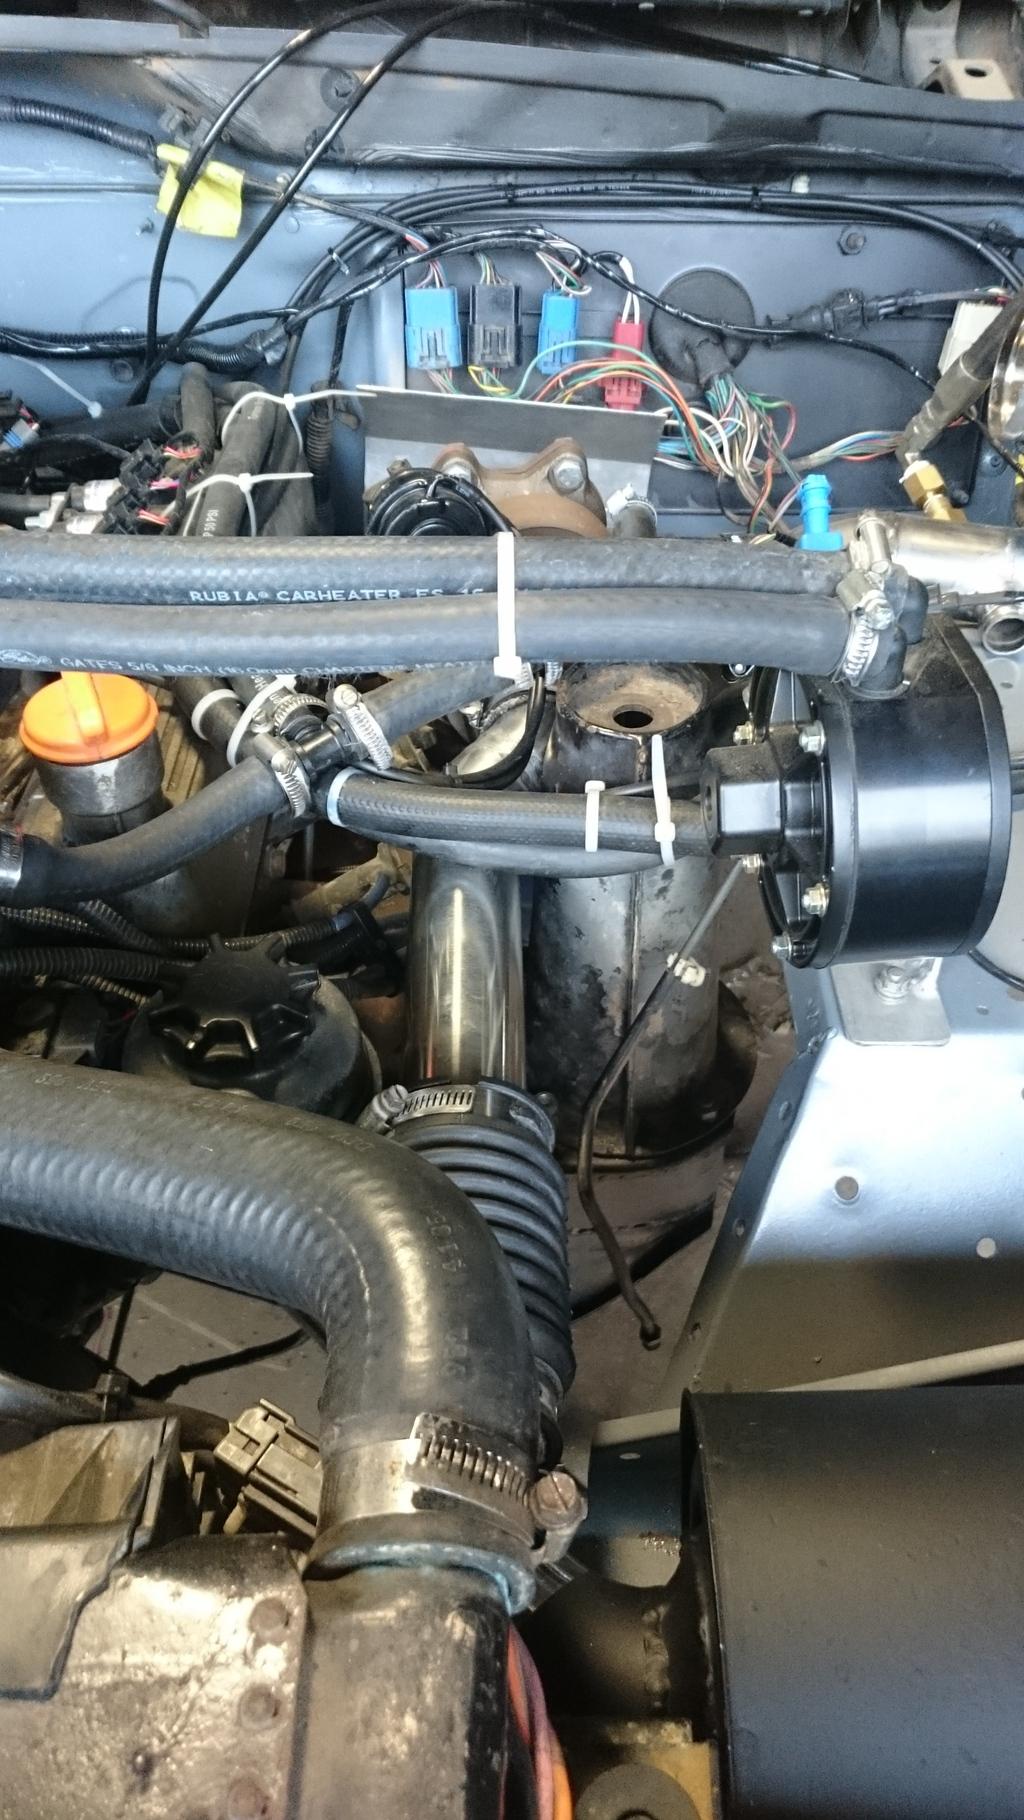
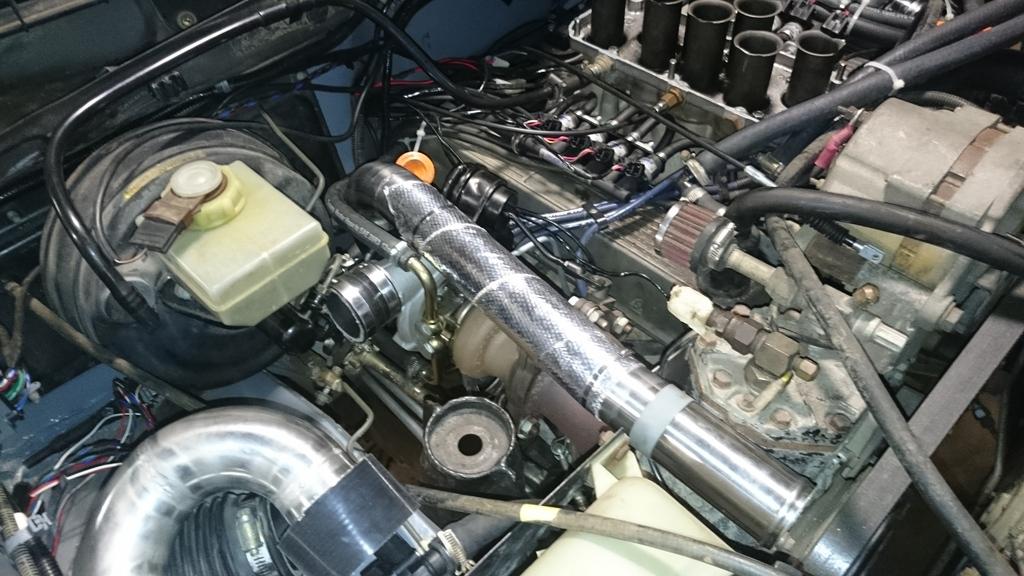
    Steering shaft has been put in. It JUST clears past the engine oil coolant lines I installed.


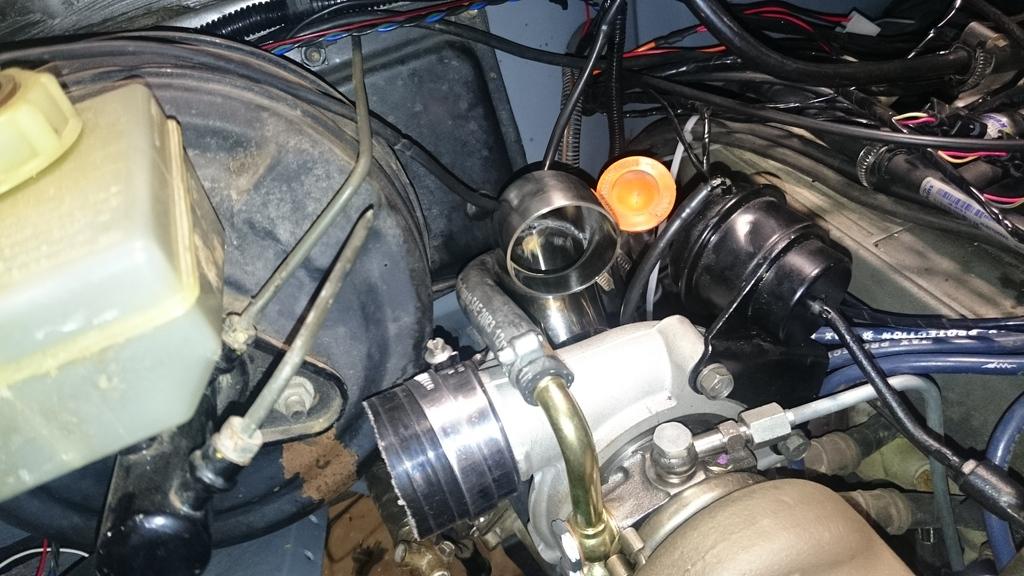
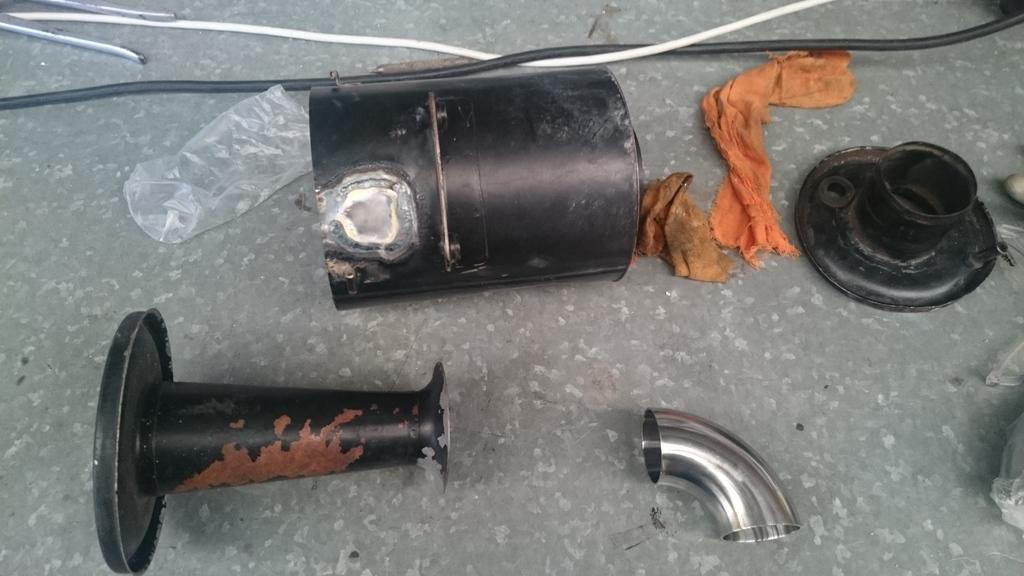
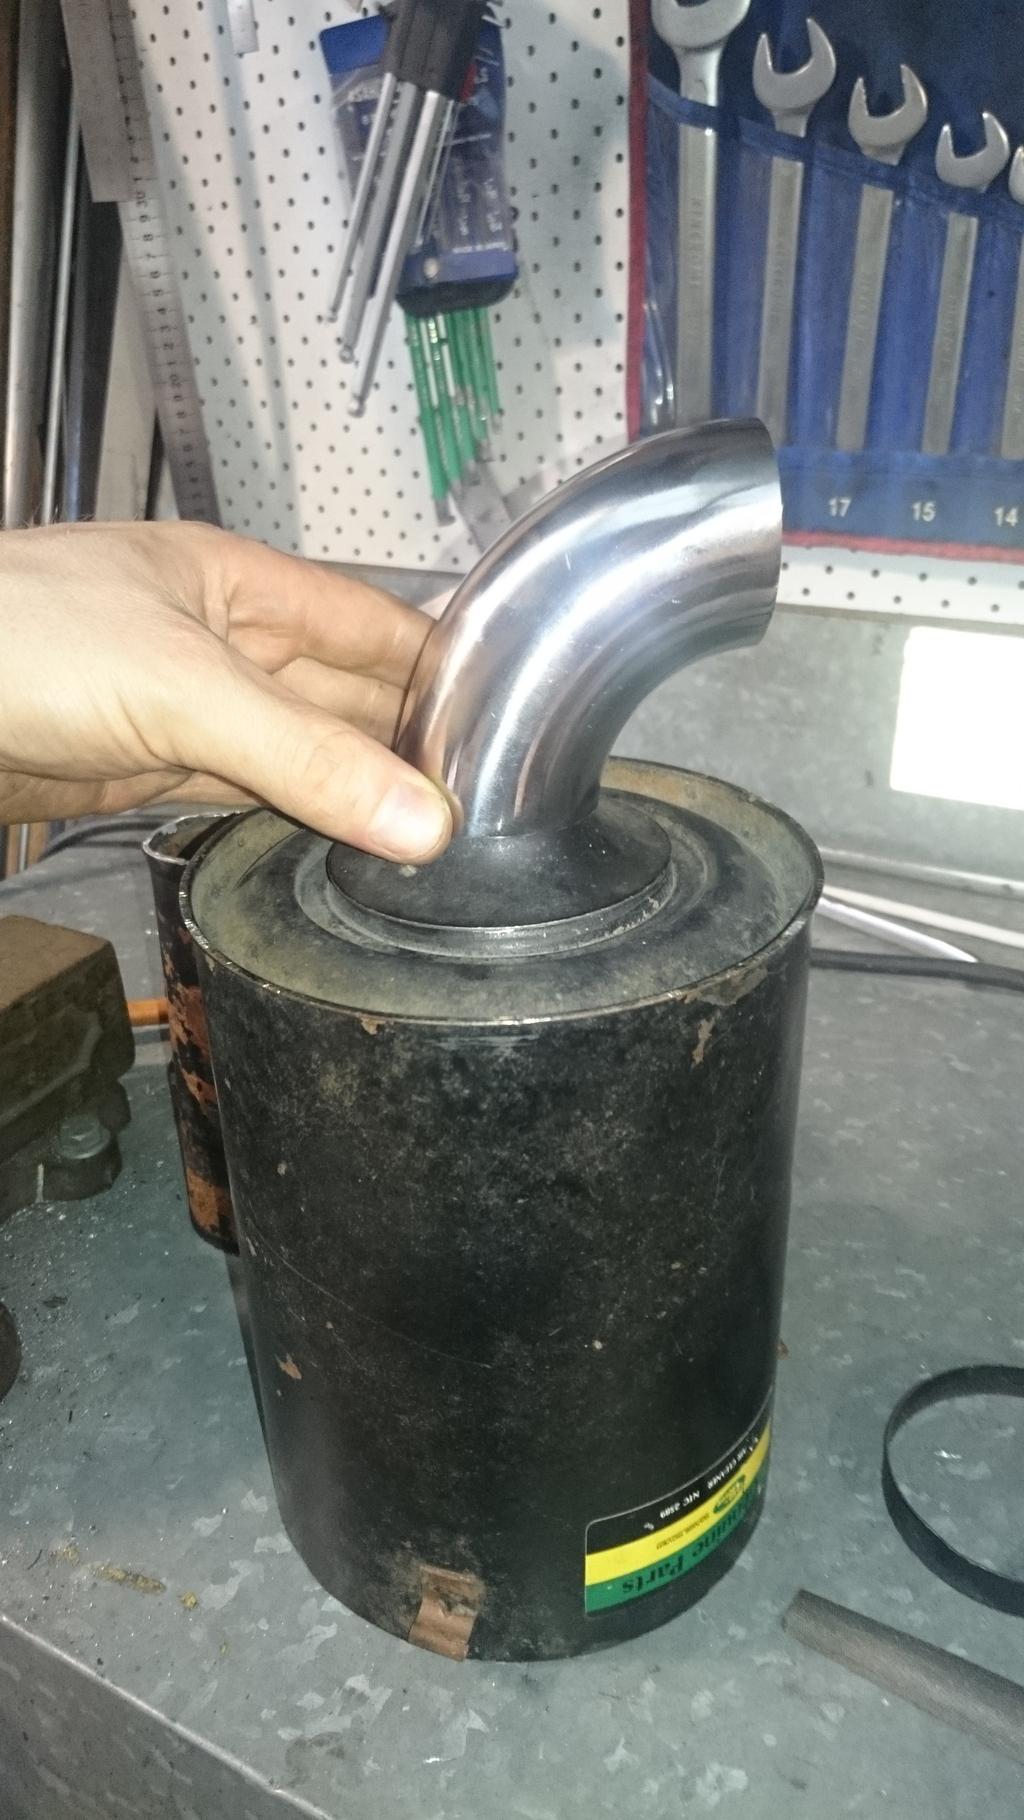
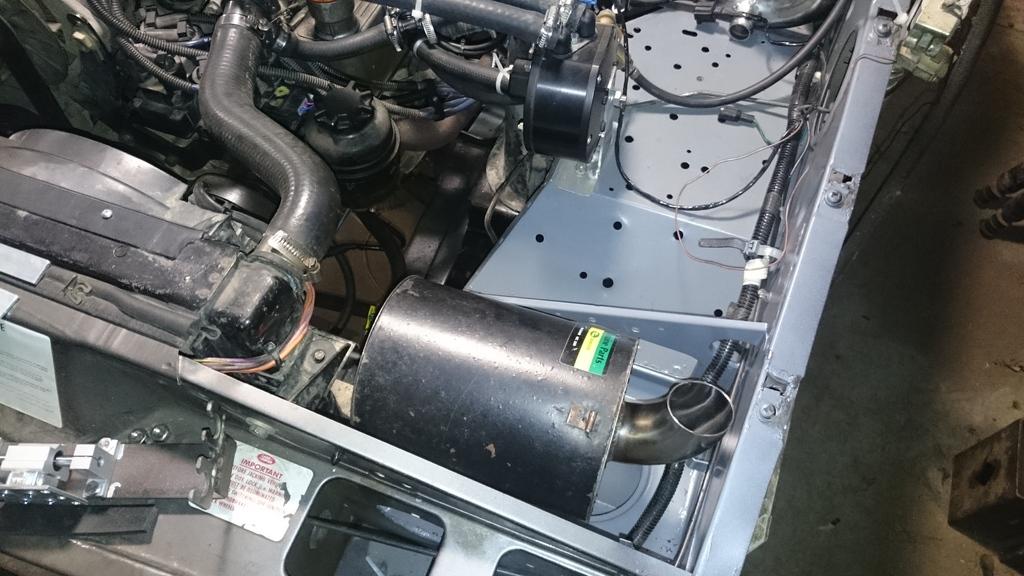
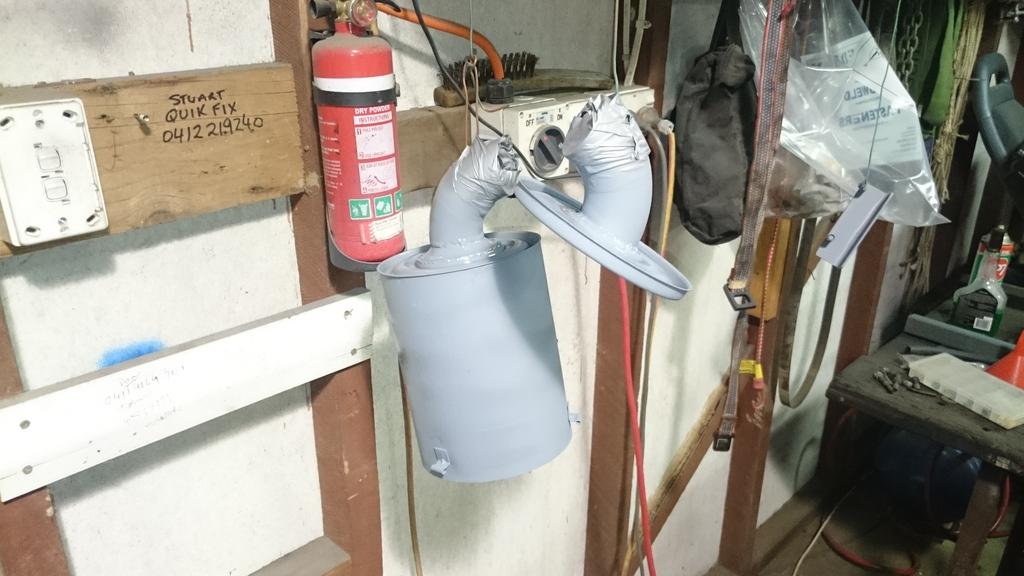
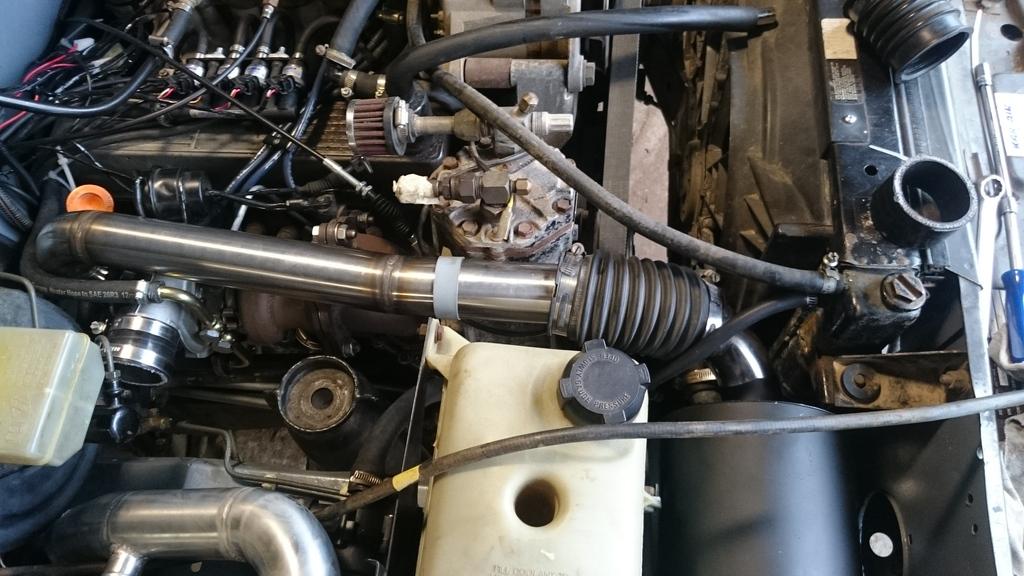
    Then I had to deal with the headache which was trying to get the 2" stainless ducting from the front of the engine bay to the inlet on the RH turbo which is at the BACK. By tightly wrapping the 180 deg bend and hugging it to the turbo I could get it all to clear. I'll wrap some heat insulating tape later when I fit the final engine in.

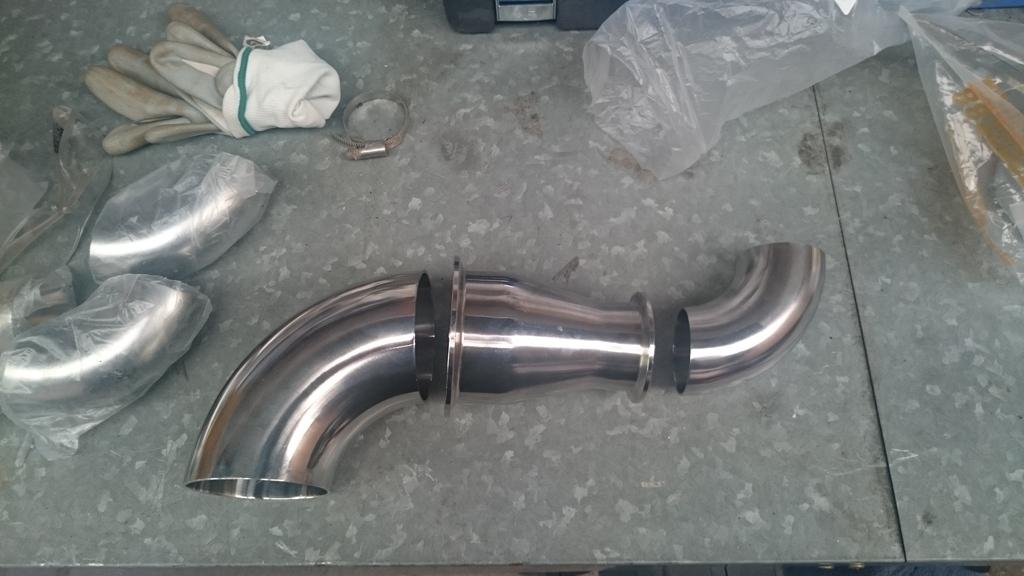
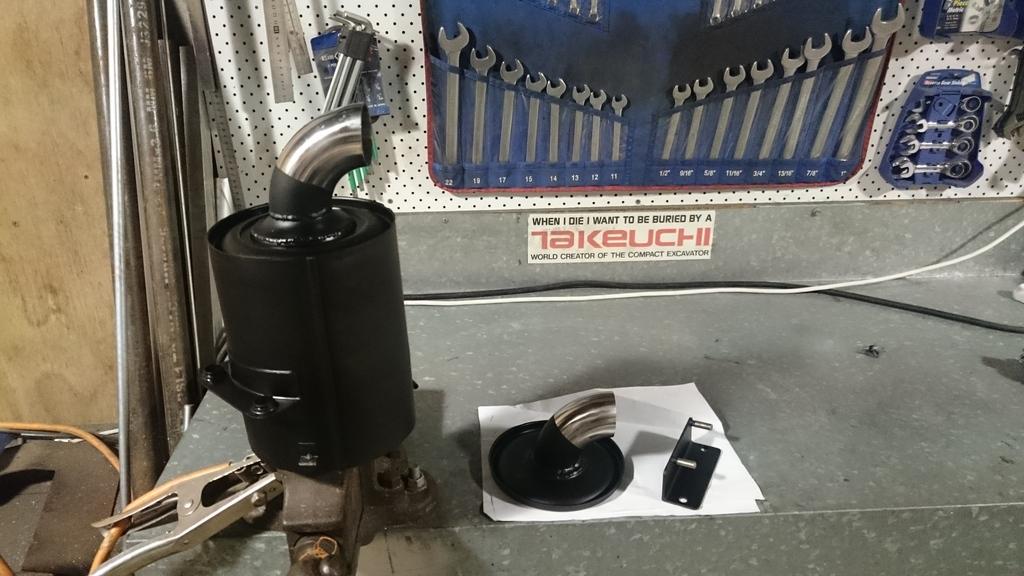
    The trimmed down 180deg bend. Not particularly aerodynamic but not too bad.


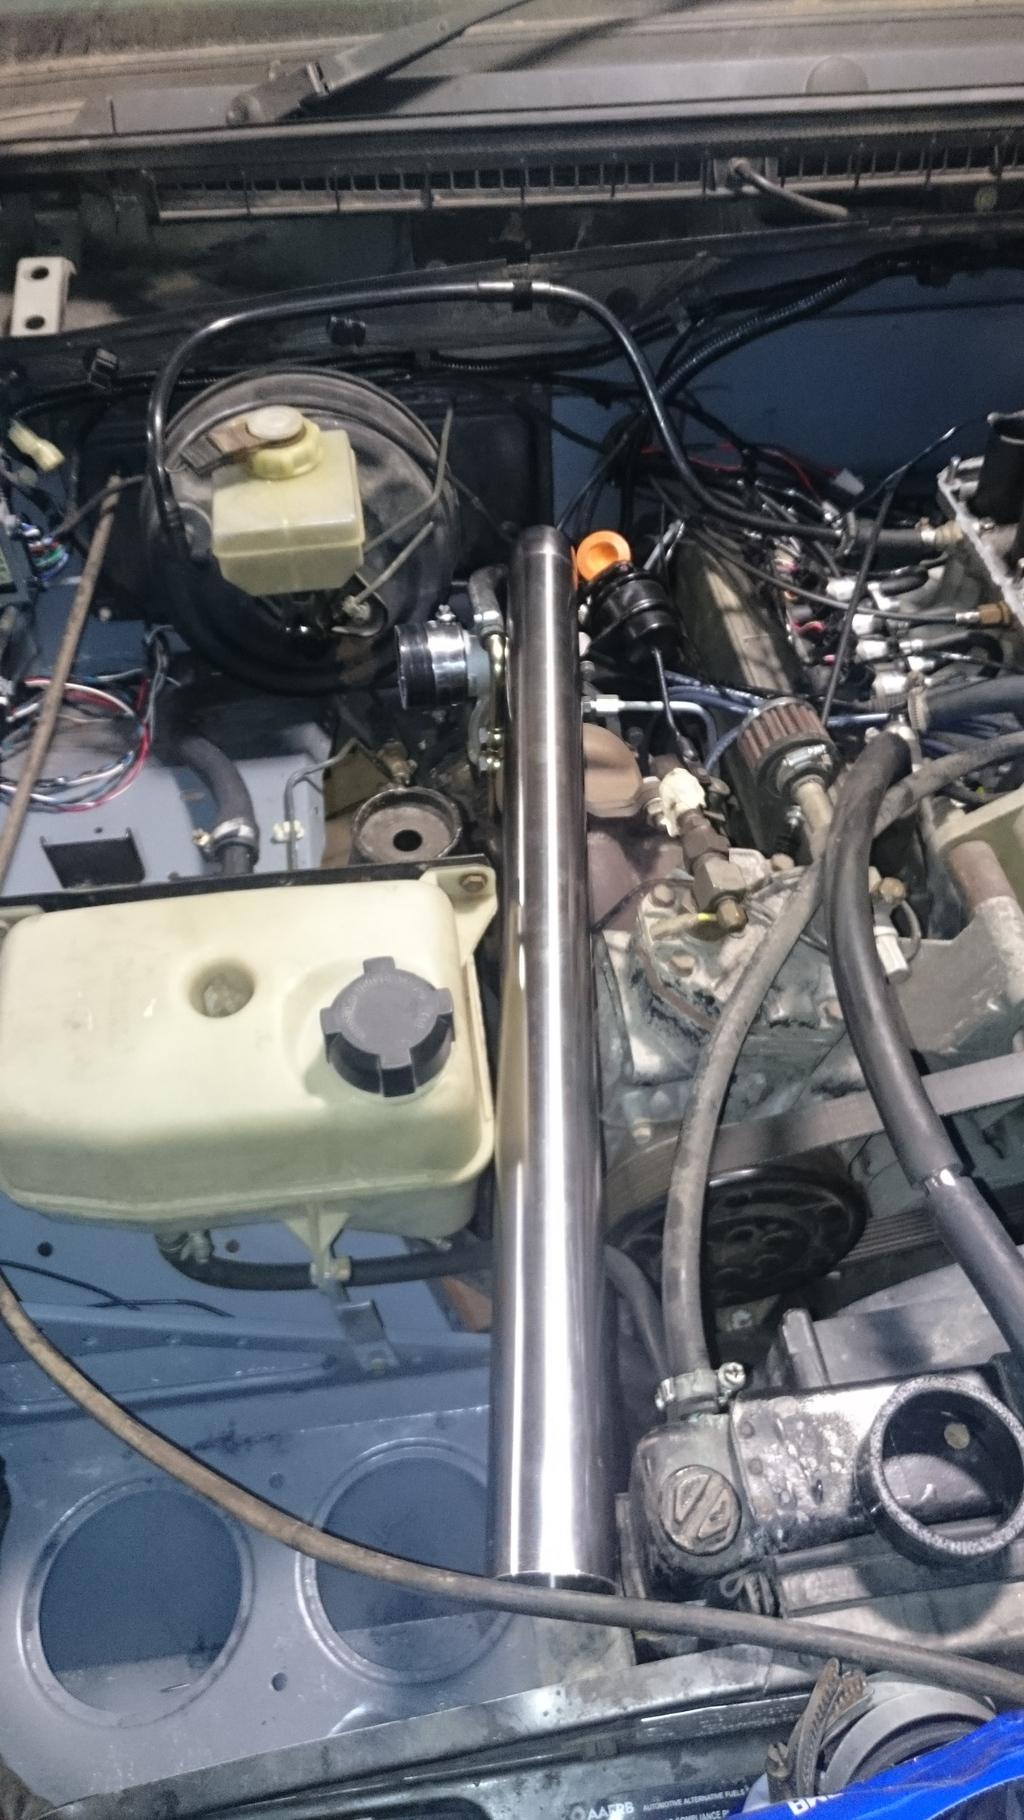
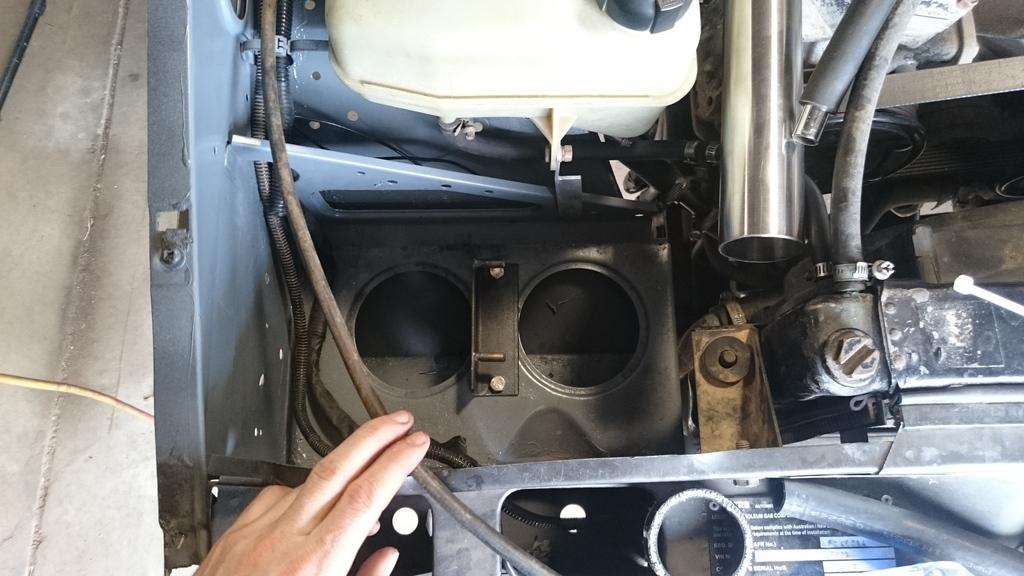
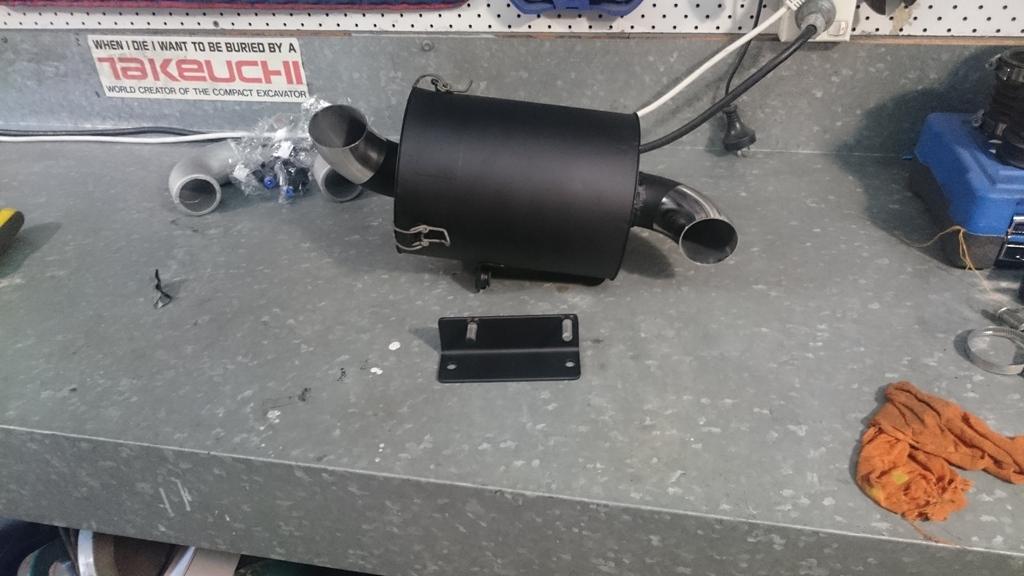
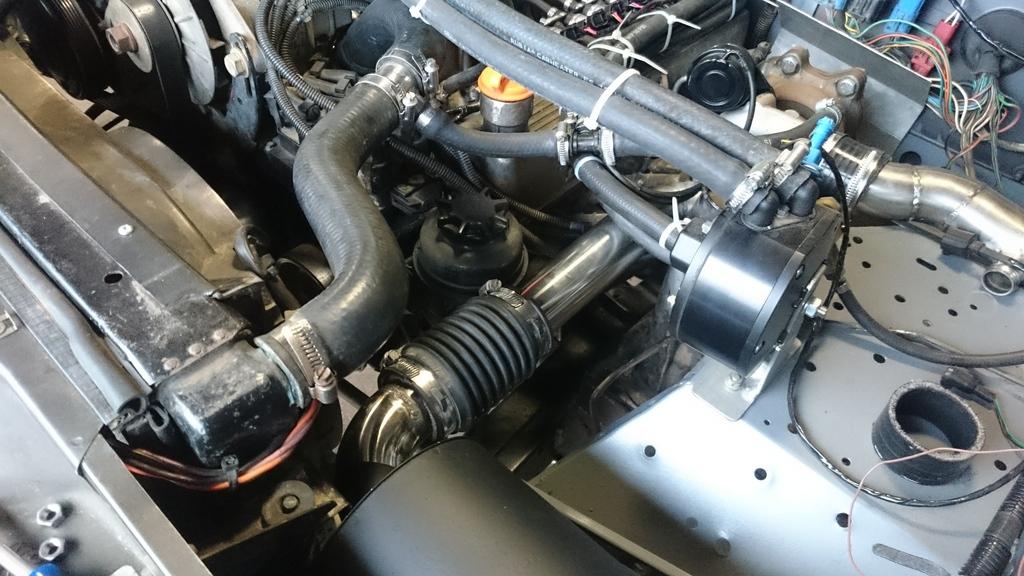
    Mock up of the straight run from where the air filter is located to the turbo inlet.
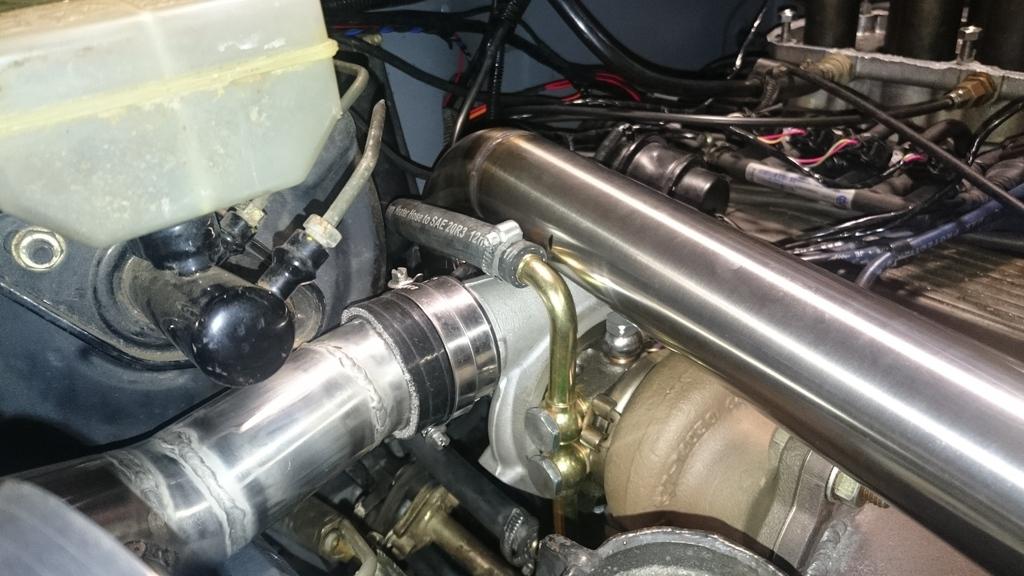
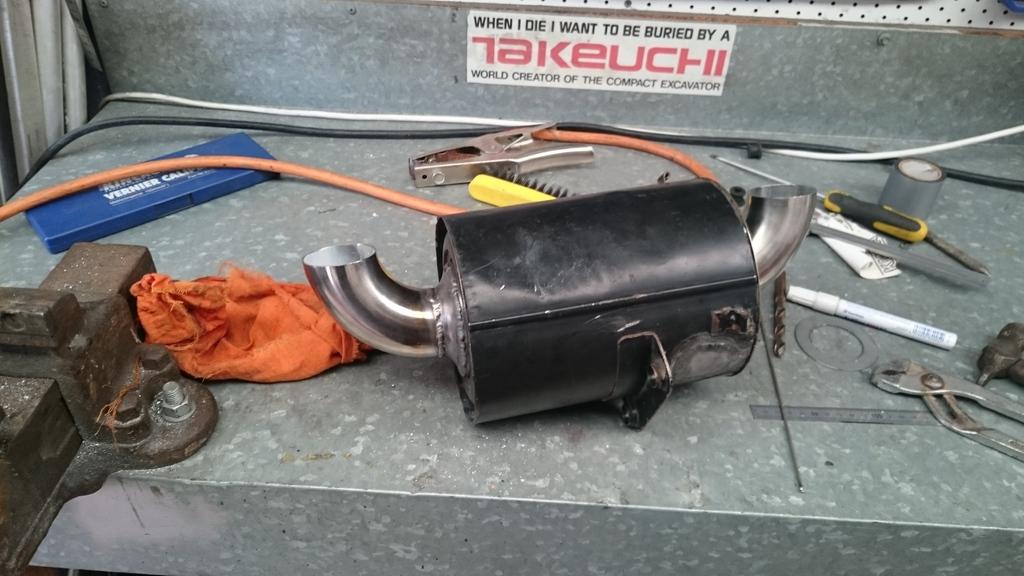
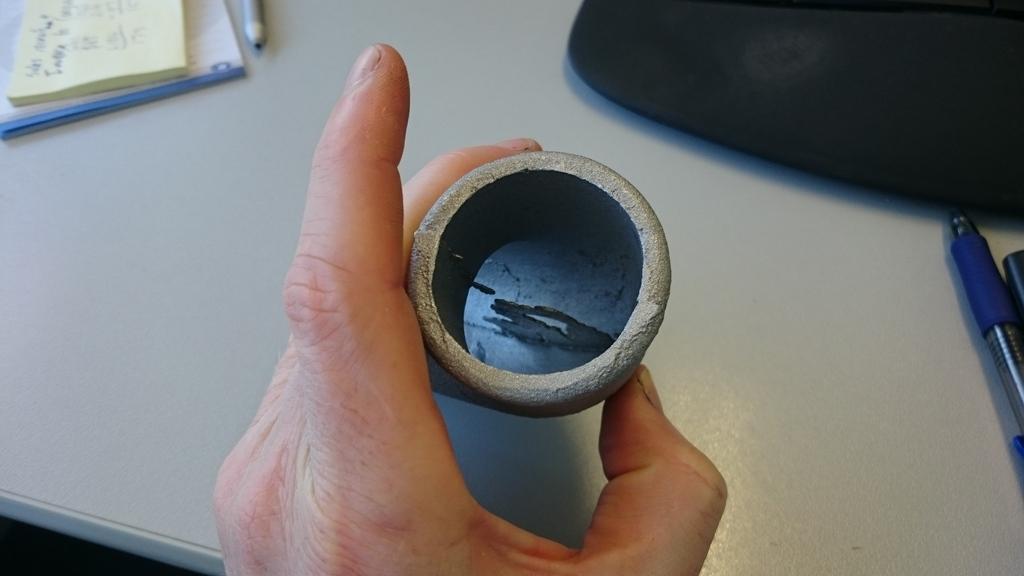
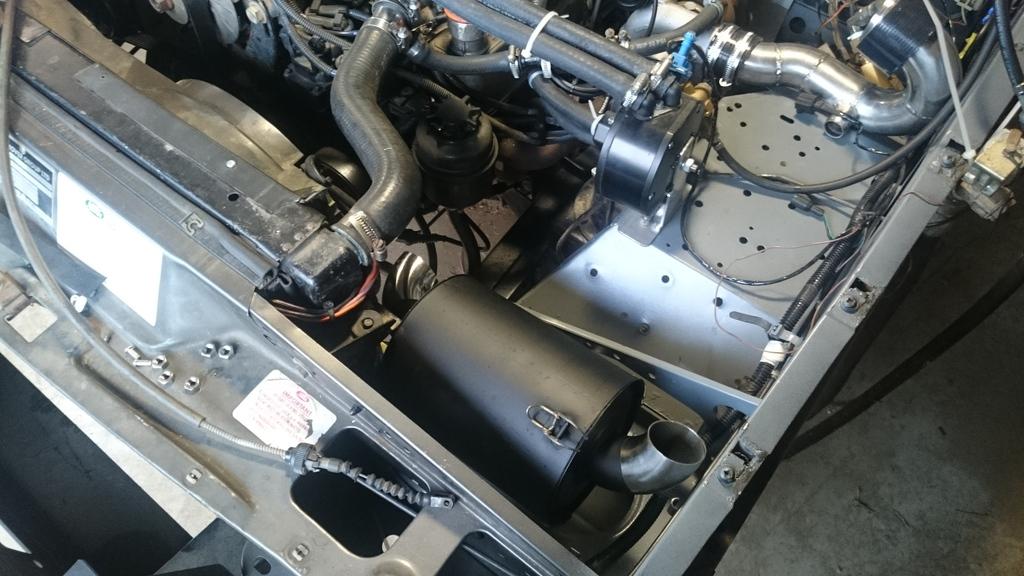

    All welded up.


    Now I need to wait for more 2" elbows to arrive so I can finish the rest of the inlet ducting.

    Made a start on the throttle linkage. For the first time ever, I decided to scrap the SolidWorks model I made and simply mock it all up as I went. I chopped original brackets and tack welded the following up. It works very nicely so I'll pull some measurements and get the bits laser cut. I now need to weld on some aluminium strips to the plenum so I can bolt the linkage down.


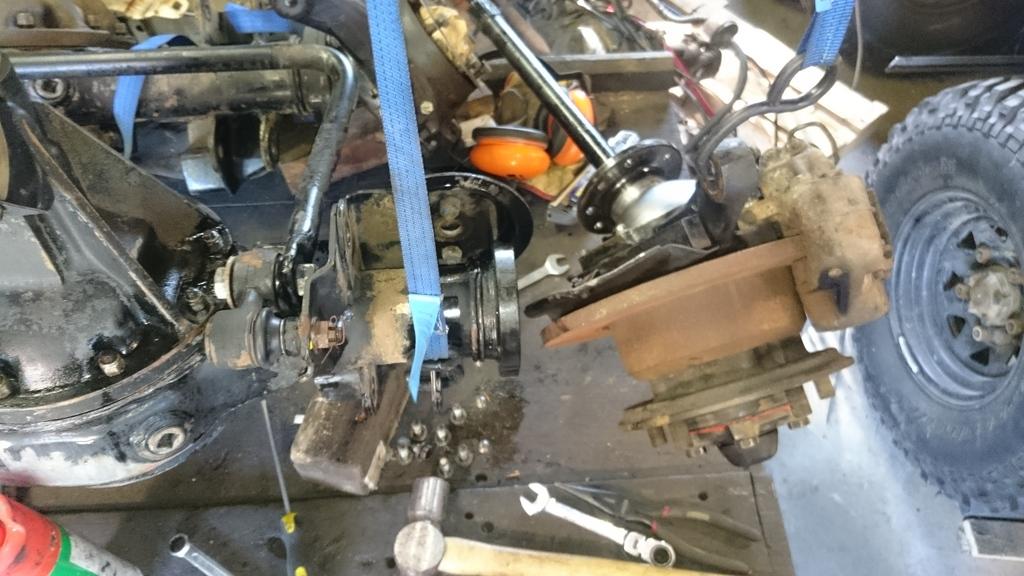
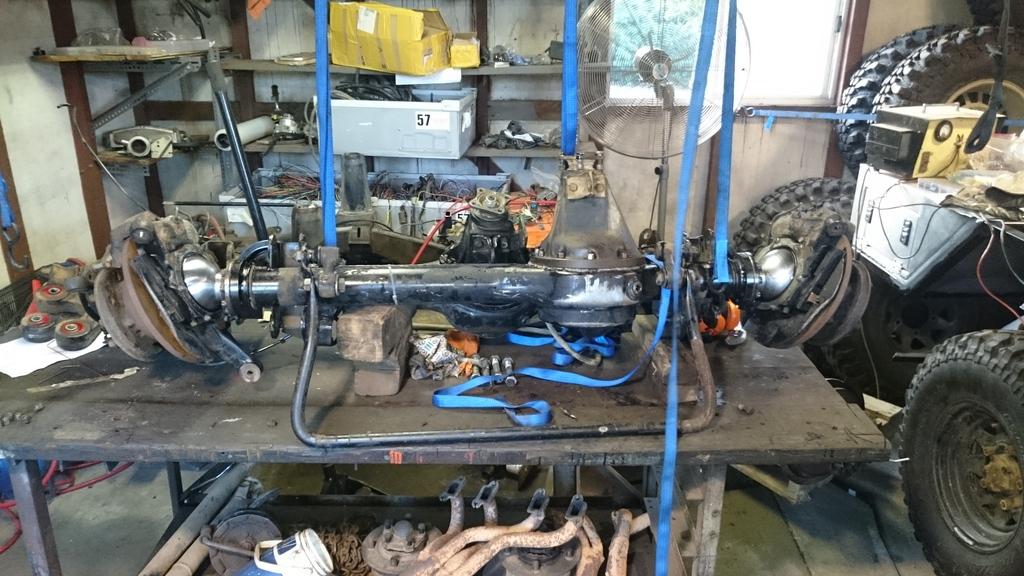
    Getting close to moving onto fitting the axles onto the car!
    Stirling

  3. #543
    Join Date
    Aug 2012
    Location
    Adelaide
    Posts
    2,757
    Total Downloaded
    0
    Quote Originally Posted by stirlsilver View Post
    Thanks for dropping by! Though I haven't posted anything on facebook about this build?? That does remind me though that I am due to make up another video because there is probably enough progress to talk about now!
    Sorry I wasn't clear... I watched some shared youtube clip about something, at the end it suggested your video.

  4. #544
    Join Date
    Jun 2007
    Location
    Oatley, NSW
    Posts
    974
    Total Downloaded
    0
    Another status update:
    I went ahead and ordered 15 3" 90Deg elbows and some 2" to 3" transitions thinking that I would go Snorkle to Filter 3", Filter to Turbo 3" -> 2". However after ordering all the bits I realized how big 3" 90Deg elbows were and that I had no hope of being able to fit 3" stainless steel tube in my already crowded engine bay!! So... I had to order a bunch more 2" elbows which I am waiting to arrive.


    Most of the work this weekend was on the air filters. I had bought two second hand Land Rover canister filters and went about modifying them to suit my needs. I still can't understand how one of these filters was big enough for a 3.5L engine! The photo below shows one of the filters which I had already started modifying (I chopped off the water drain and welded it shut).


    I had to reduce the inlet and the outlet of the filter to suit the 2" elbows, so the chopping started.


    It's nice when bits marry up the way you want! The bell mouth suited the 2" piping almost perfectly which should give nice flow from the filter into the tube which goes to the turbo.


    I grabbed some angle and some stainless rod and welded up the mounts for the air filter. Conveniently there were two holes where the battery used to be which were perfect for bolting to.


    Below is the completed RH air filter. The air inlet to the filter doesn't have a fancy bell mouth unfortunately but should do the trick. According to my calculations 2 x 2" is better than 1 x 3" so hopefully I shouldn't have much pressure drop having two parallel intakes on the engine.


    And the final step, painting.


    While the paint was drying to got onto the LH filter, below is as far as I got before having enough for the day, as you see it is mounted identically to the RH one.


    As an aside, at one point through the week I ran out of gas. So I made a heat shield which should save the connectors from the heat off the LH turbo.
    Stirling

  5. #545
    Join Date
    Jun 2007
    Location
    Oatley, NSW
    Posts
    974
    Total Downloaded
    0
    Well, I think this is the last bit of progress for 2015. Flying out to Queensland for a 2 week holiday with the family up there and I have social things to attend to between now and then!

    Just before I jump into the progress, I received an aluminium elbow from an Ebay supplier with the idea of welding it onto the inlet of the LH turbo. Only to find there casting wasn't the highest quality!!


    Anyway, the LH air filter was prepped and painted.


    And I welded on the mounts to hold the throttle linkage onto the plenum. Note the ratty looking linkage is just temporary, I'll get a nice one laser/water cut next year.


    And that's it for 2015!
    Stirling

  6. #546
    Join Date
    Jun 2007
    Location
    Oatley, NSW
    Posts
    974
    Total Downloaded
    0
    I thought it would be interesting to look back and see where I was a year ago. And then I realised that a year and 2 days ago I had just moved into the workshop after my move from Melbourne! That's after the car sat in the container for most of 2014!

    Quote Originally Posted by stirlsilver View Post
    Hello everyone. I'm back!

    Today the car moved into its new home in Annangrove. At long last I managed to find somewhere to keep working on the car!

    Prior to loading the car onto the trailer, we needed to pull out one spring that was still mounted in the car. The other side had shot out when the car was bouncing around loose in the container when it was moved from Melbourne to Sydney! Thanks to my buddy Isaac for giving me a hand today!


    The new home. A bit smaller than what I had in Melbourne, but workable.


    Next step is to get the engine moved into the workshop, and all my tools, benches and so on.
    Stirling

  7. #547
    Join Date
    Jun 2007
    Location
    Oatley, NSW
    Posts
    974
    Total Downloaded
    0
    Happy 2016 everyone! I'm back and have already spent some time tinkering in the Workshop.

    If you have 23 minutes free check out the next summary video I made of the build

    [ame]https://www.youtube.com/watch?v=tbENDMHp83M[/ame]
    Stirling

  8. #548
    Join Date
    Jun 2007
    Location
    Oatley, NSW
    Posts
    974
    Total Downloaded
    0
    And now for a REAL update:

    The inlet ducting from the air filters to the turbos was completed. Because the RH duct runs so close to the turbine, I wrapped it in some heat shield wrap.


    The axles which I purchased from a wreck had a rear locker, but not a front so I went about swapping the arb locker from another different housing I had. I wanted to fit the toughened drive shafts I had also but I couldn't pull them out of the swivel housing like the guys at TRS suggested. So I'll leave that for some future date when I'm ready to slot the swivels and change the Cvs to toughened ones.


    Finally, because I need to buy some new suspension bushes, I moved on to mounting the headlights and shrouds I bought. However, I think I might need to modify the shrouds a bit so they align with the light better.
    Stirling

  9. #549
    Join Date
    Jun 2007
    Location
    Oatley, NSW
    Posts
    974
    Total Downloaded
    0
    Slowly coming to life.
    Stirling

  10. #550
    Join Date
    Jun 2007
    Location
    Oatley, NSW
    Posts
    974
    Total Downloaded
    0
    Not a whole lot of progress to show in this update because I didn't end up getting the radius arm bushes so I couldn't install the front axle. Instead I did a variety of bits and pieces.

    I tackled the air recirculation problem on the intercooler thermo fans I pointed out in the YouTube video. Below you can see the gap which caused it.


    Using some 5mm closed cell foam I shimmed the perimeter of the thermo fan housing.


    One of those times I wished I had a nice BIG lathe, anyway I made do with the battery drill and sand paper to bring the fan down to a diameter that would fit within the housing.


    The result.


    The first photo below shows the shimmed up fan, the second is unmodified.


    I tested the performance of the fans after modification. There is a significant increase of flow through the cores, and by using some cotton thread I could observe the flow patterns into the fan. After shimming, some air recirculation still occurs, but only on the very edge (it was over 50% of the fan area before!). The Thermos are working much harder now, hopefully I haven't exceeded the power rating of the motors!

    On to other items, aside from tightening up a whole load of loose bolts, I finished the wiring of the side lights and indicators.


    Finally, the second hand set of front shocks were fitted, ready to hook onto the axle.


    That's it for this update.
    Stirling

Page 55 of 82 FirstFirst ... 545535455565765 ... LastLast

Bookmarks

Bookmarks

Posting Permissions

  • You may not post new threads
  • You may not post replies
  • You may not post attachments
  • You may not edit your posts
  •  
Search AULRO.com ONLY!
Search All the Web!