


 Reply With Quote
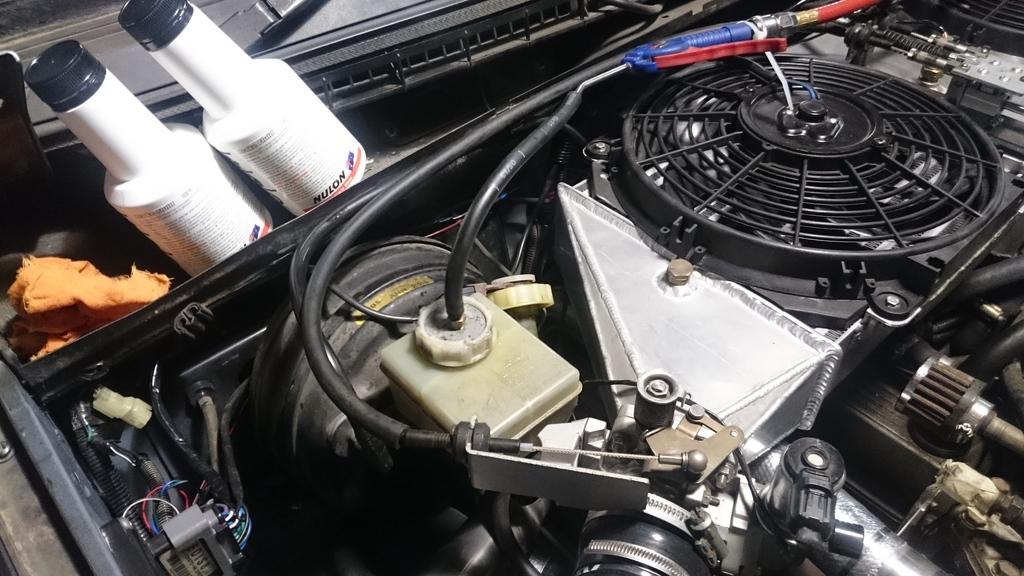
The fans don't need to run continuously, they are mostly there to keep the cores cool when there is low/no air flow available through the scoop to prevent heat soak. My plan is to have them turn on/off with respect to speed (i've run the cables now to pick up a shaft speed sensor). Below a certain speed they are on, and above off. But that is for the future as I'm just trying to get this thing on the road!Originally Posted by Phat-Customs

So for the latest update:
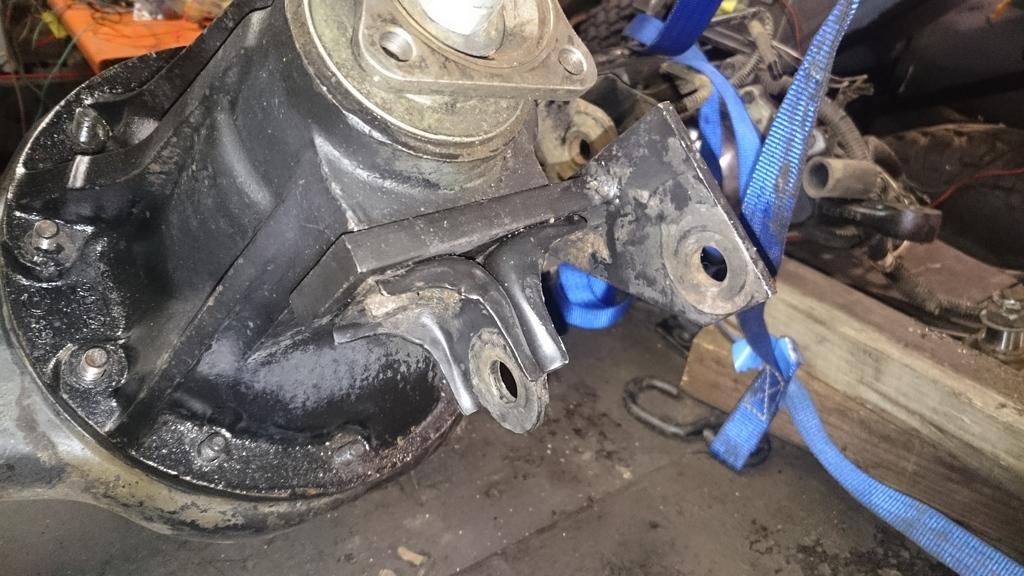
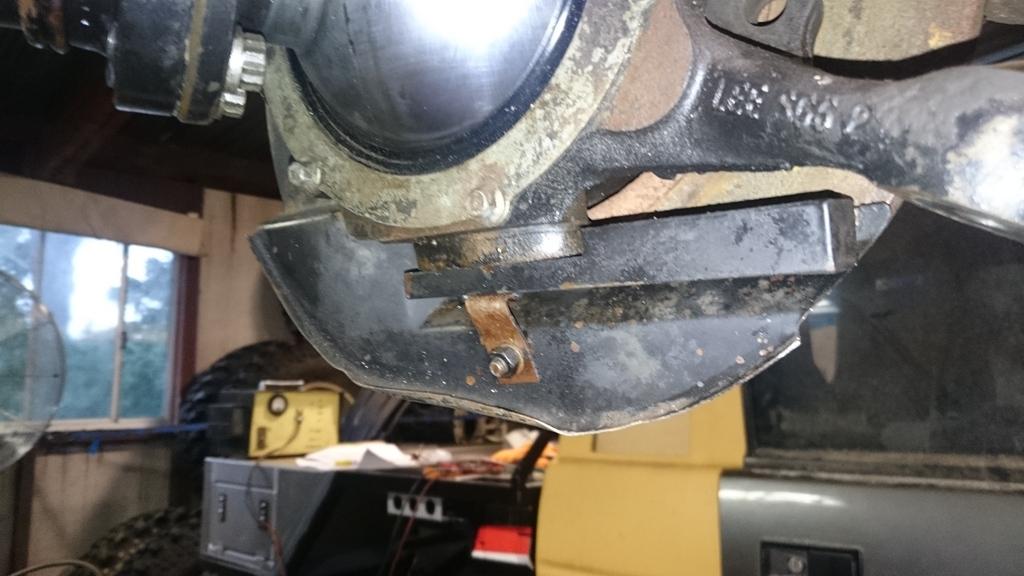
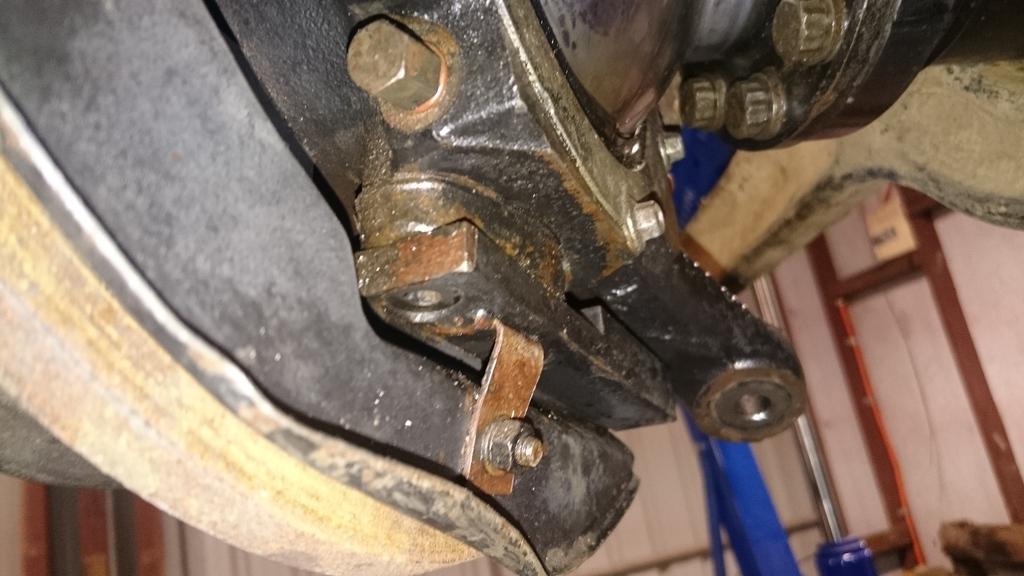
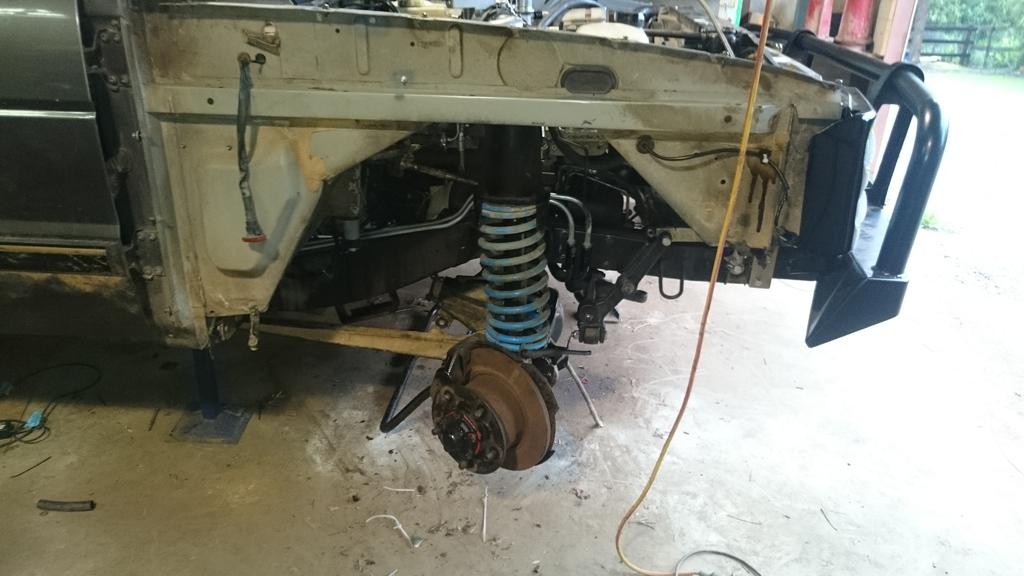
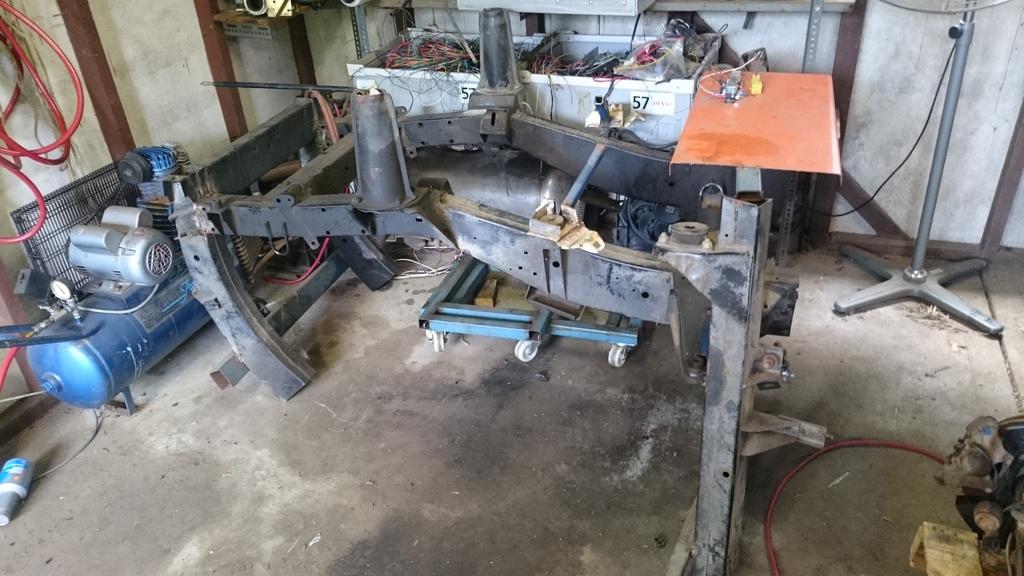
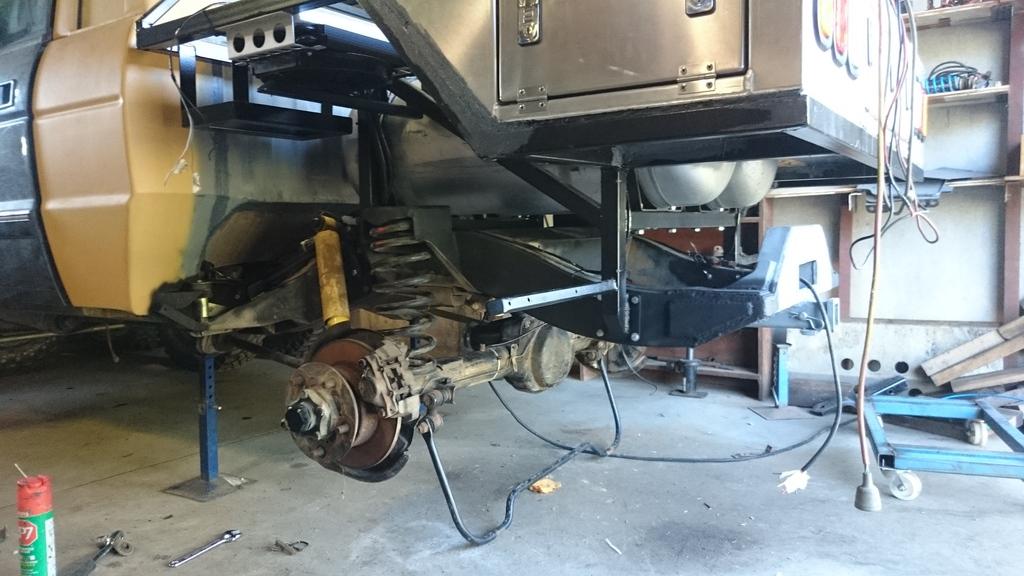
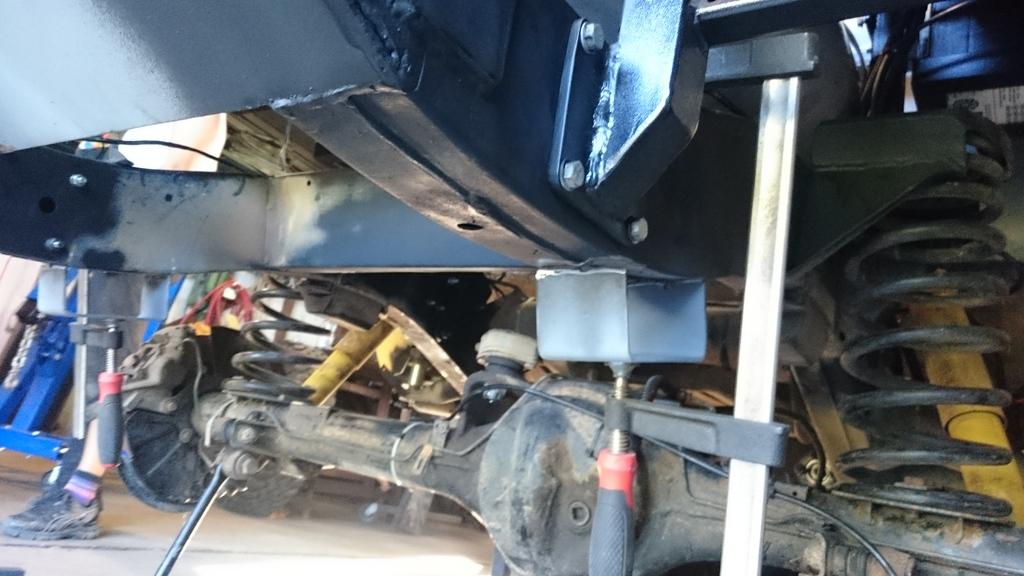
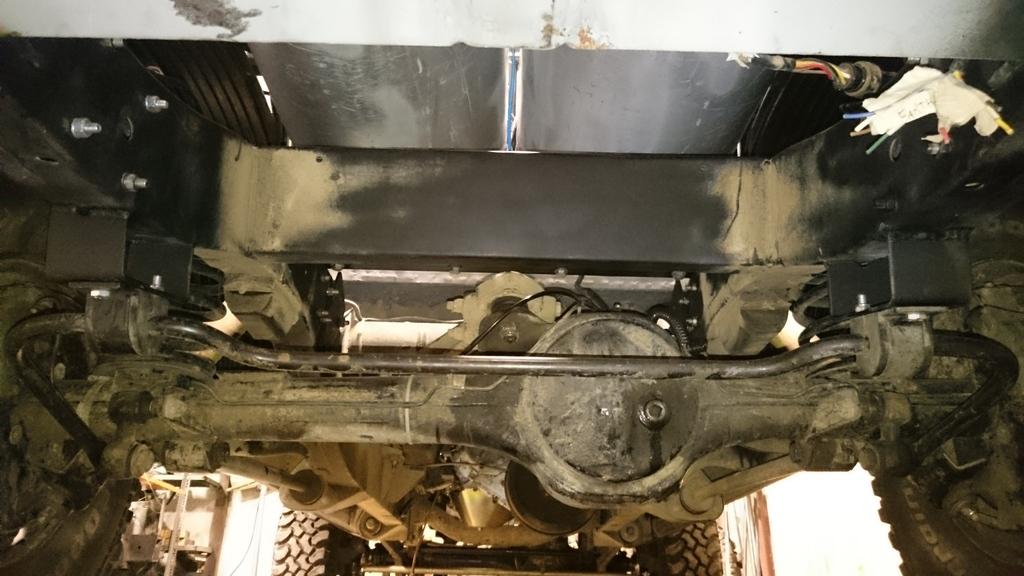
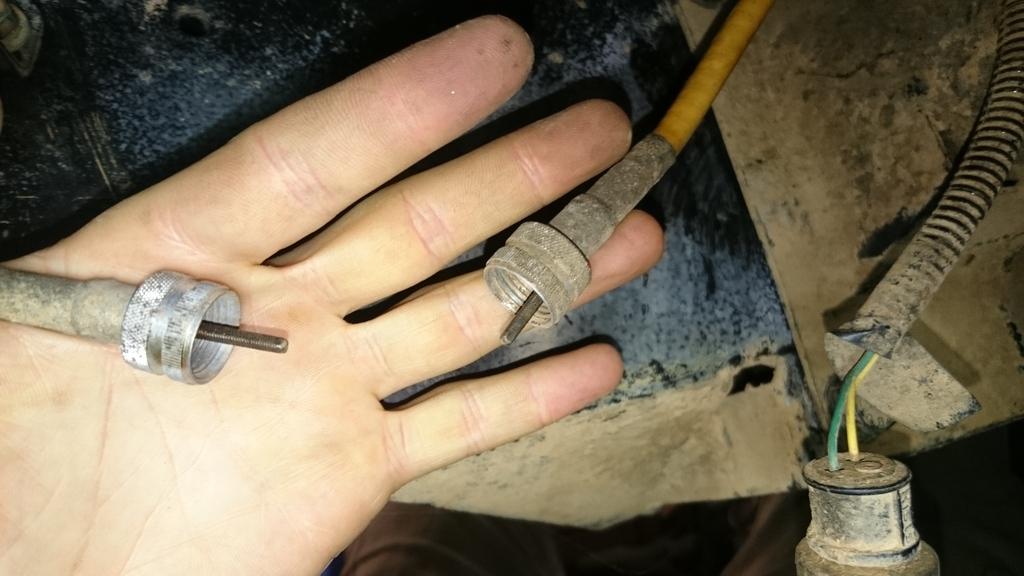
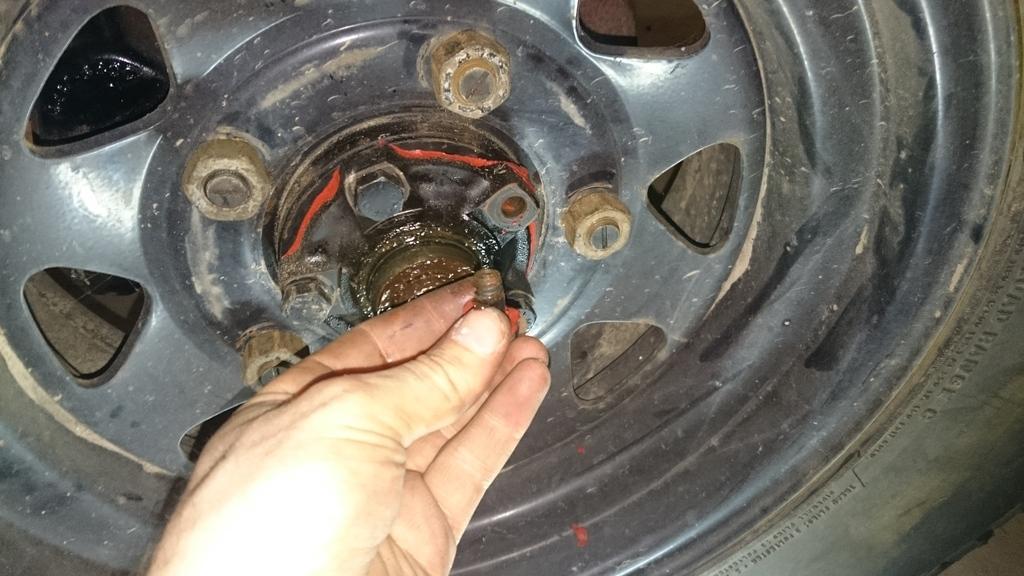
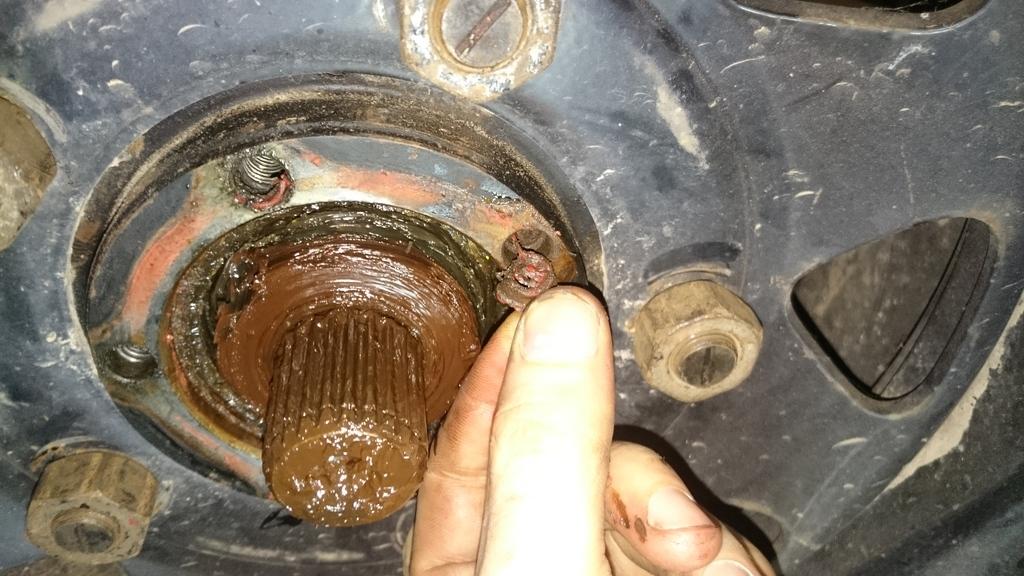
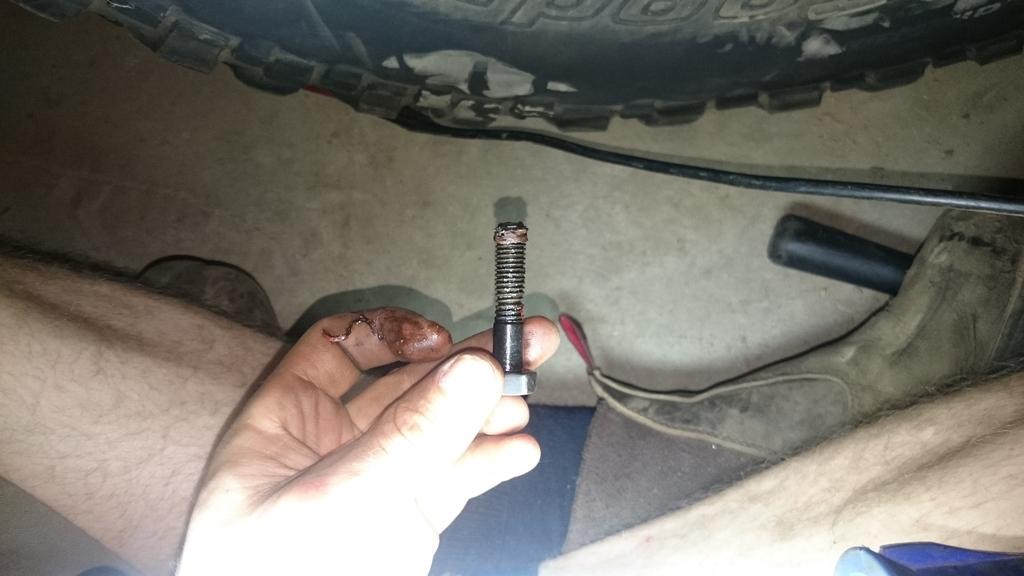
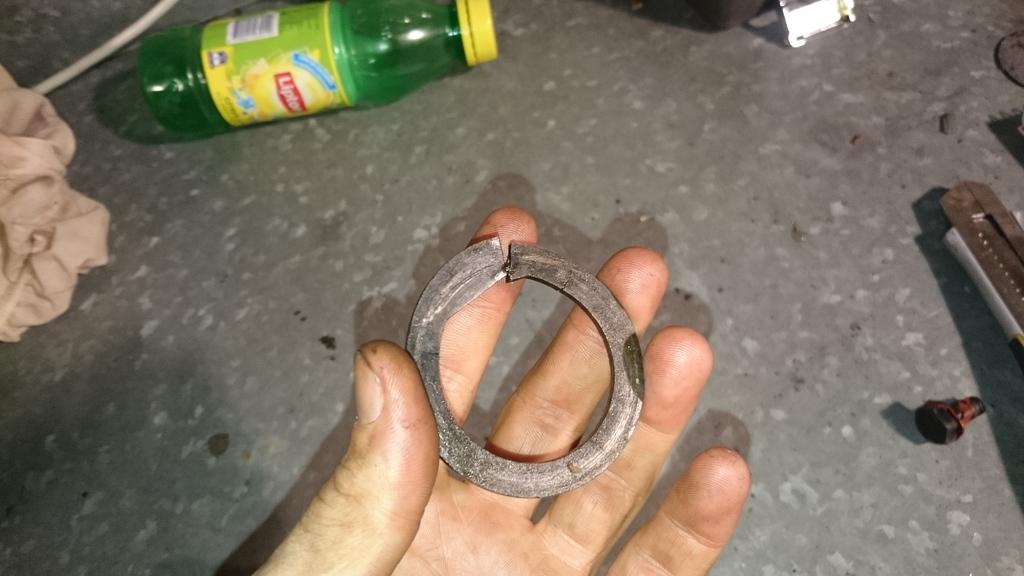
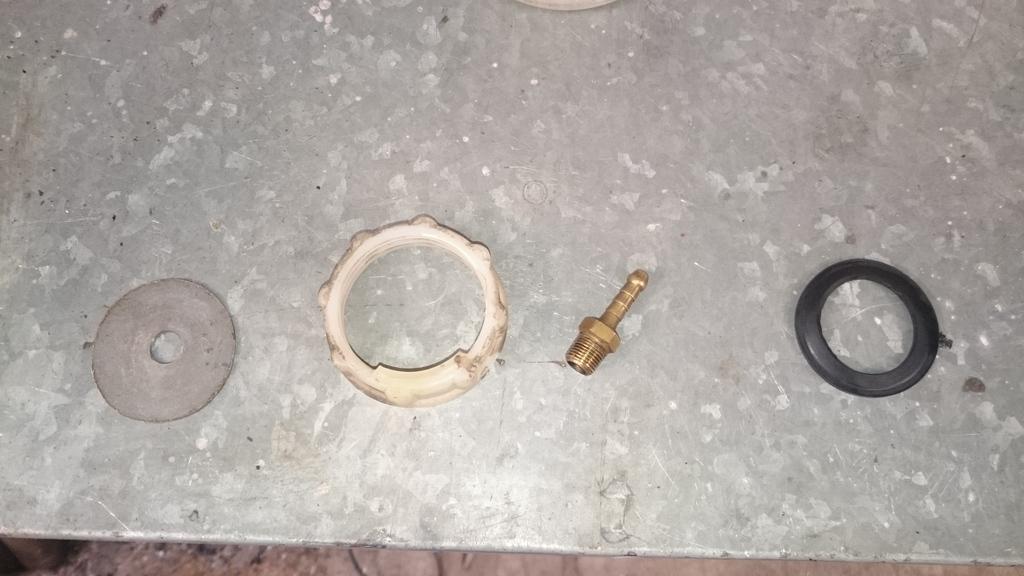
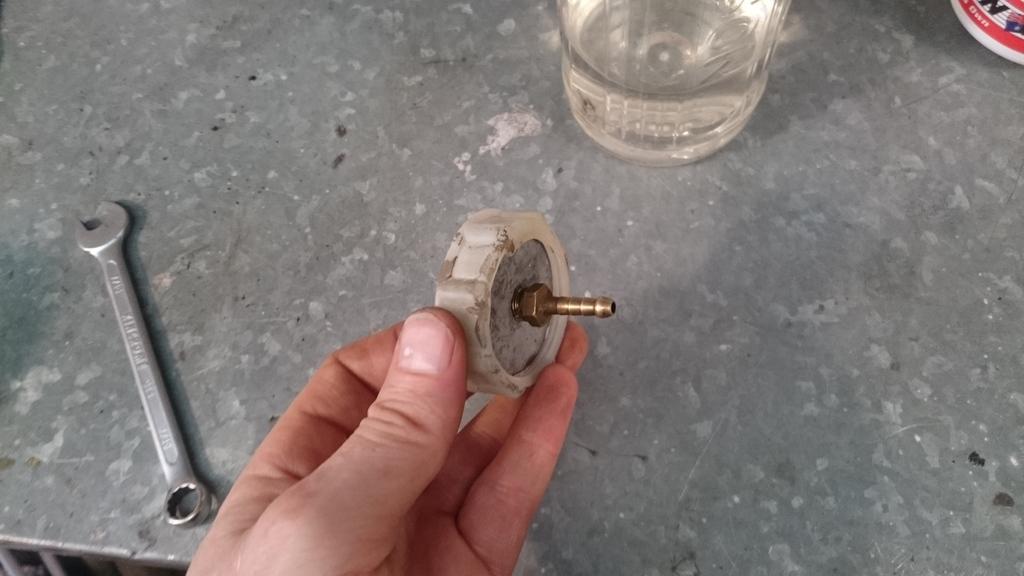
After finally getting hold of some new radius arm bushes, the front axle was ready to go in, but before I get onto that. Does anybody recognize what the plate spacers shown in the 3 photos below are all about? They were on the front axle from the wreck. The car had caster correction bushes, but I can't work out what the parts are supposed to be for??
Anyway, with the bushes in hand, the front axle went in.
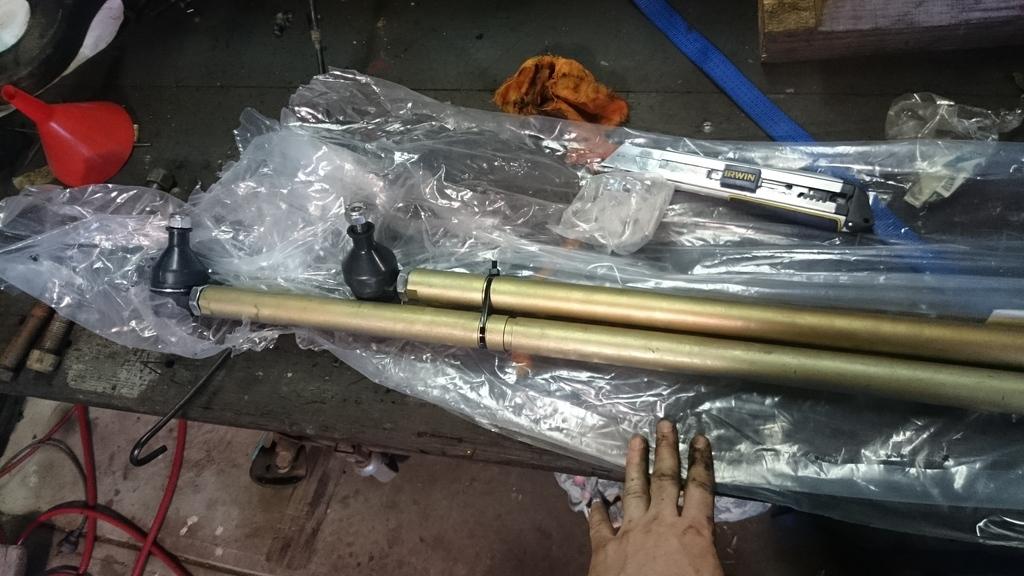
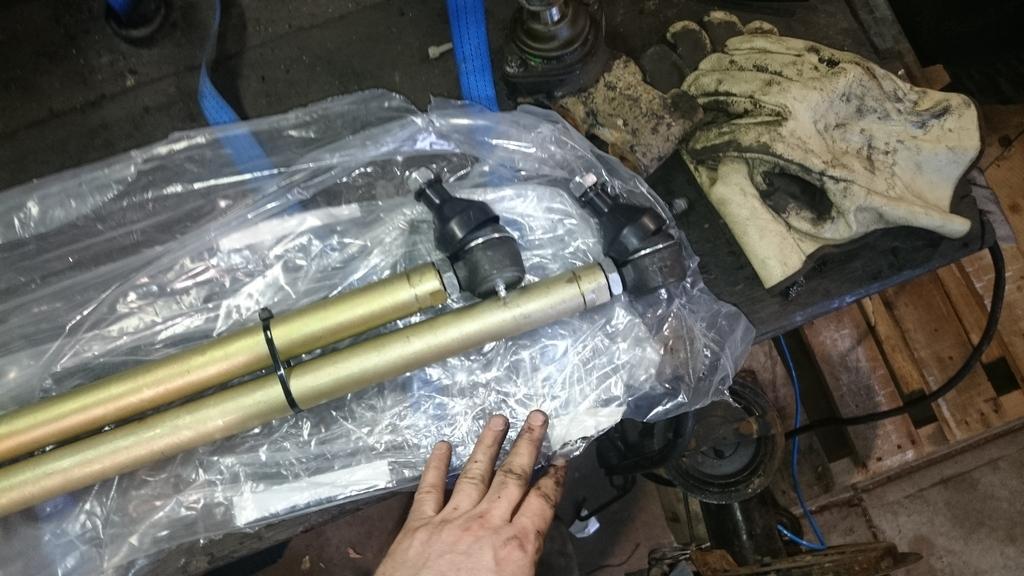
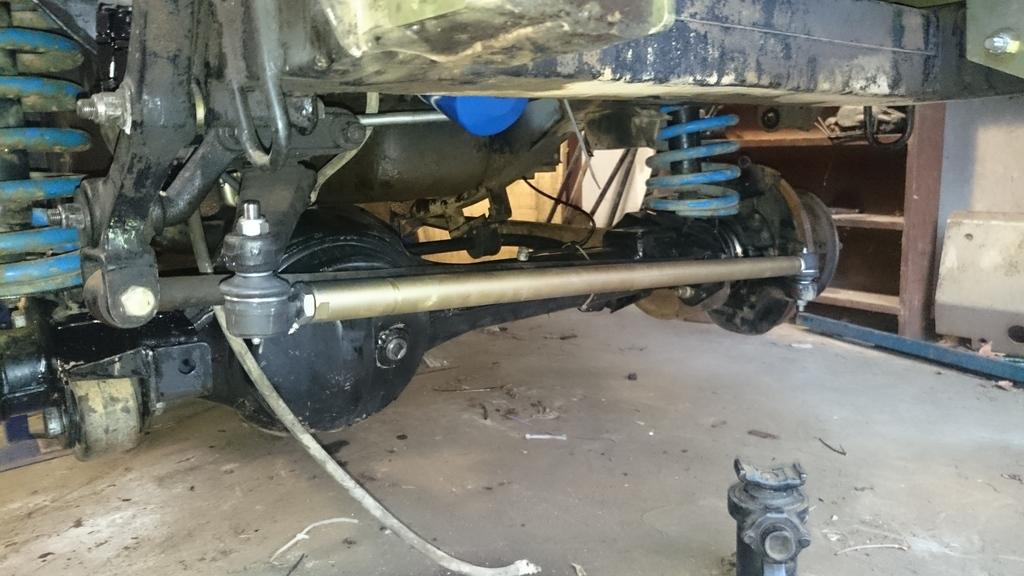
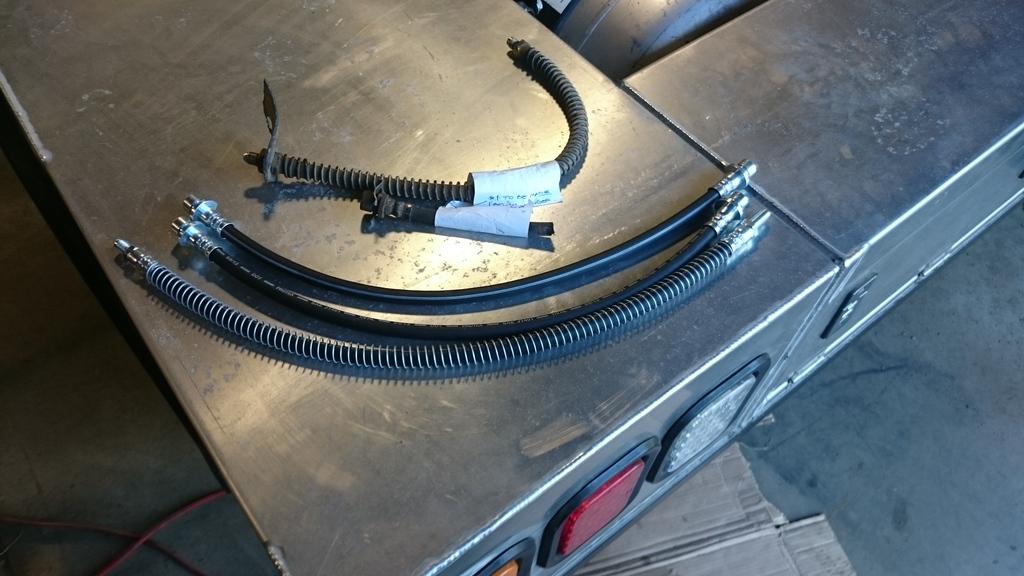
I bought and fitted a Terrafirma toughened steering rod and track rod kit because the ones I had were bent.
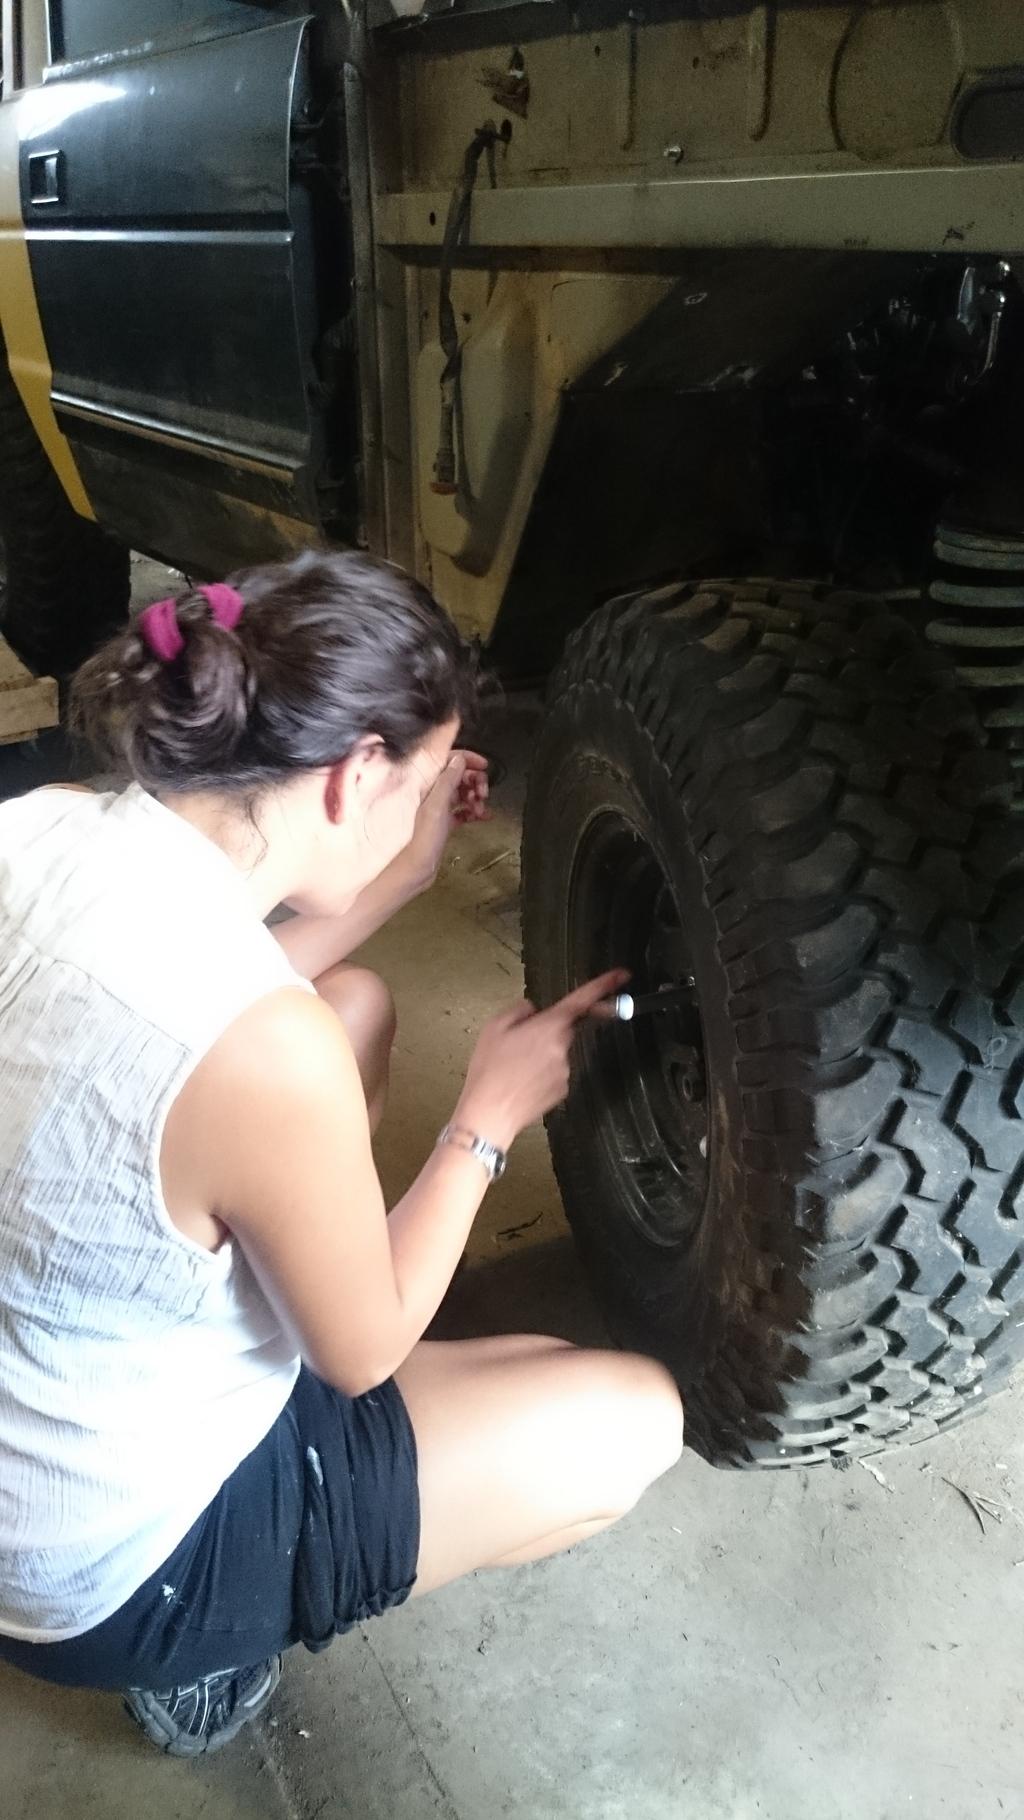
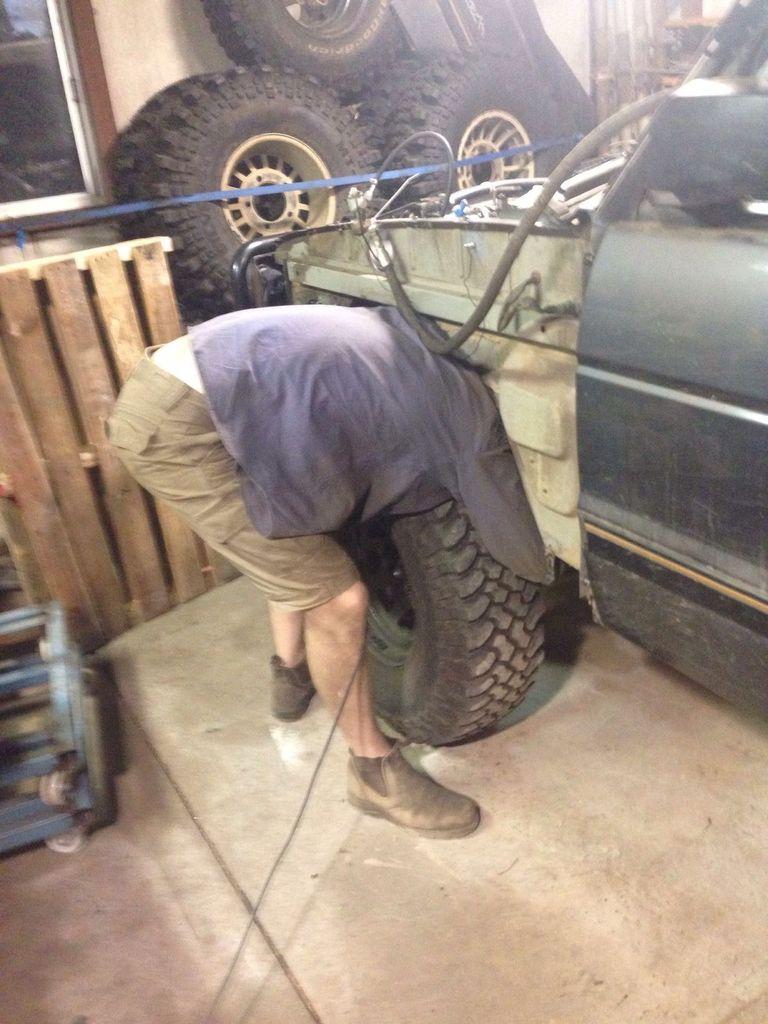
The final preparations were done to at least get the car able to drive on the front axle. The workshop had a pretty serious layer of dirt on the ground by now and I wanted to get in and clean it. Here is Ana giving me a hand fitting a wheel.
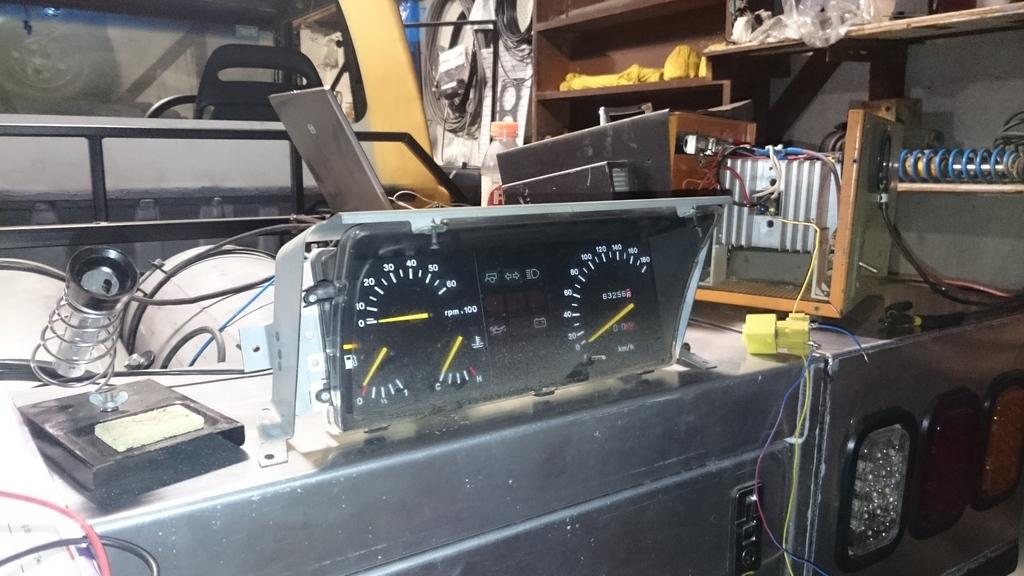
A video was shot of the FIRST time the car moved under its own power in over 6 years. Pretty rough trying to do it with the handbrake only and the fact I couldn't shut the passenger door with the LPG line running into the cabin! Oh, and yes all the squeaks and noises are:
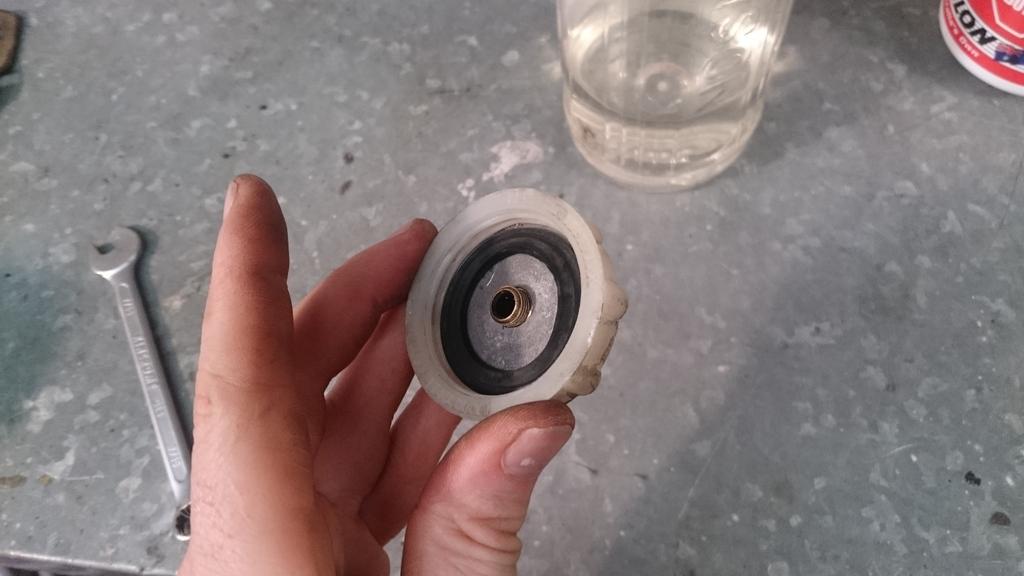
1. Shot water pump bearing
2. The power steering system isn't properly bled.
Here is the video.
[ame]https://www.youtube.com/watch?v=AmPt0FcgRLs[/ame]
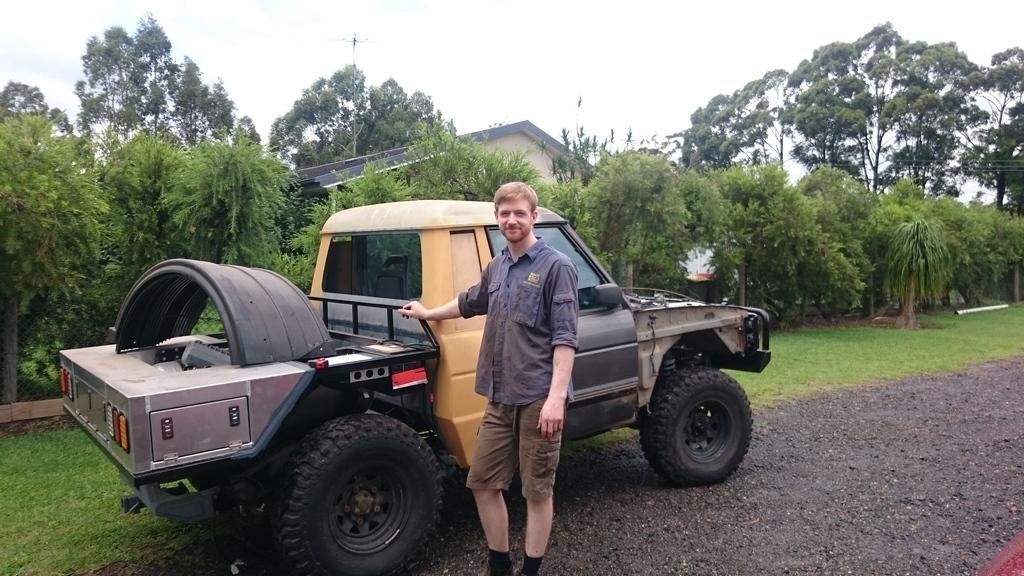
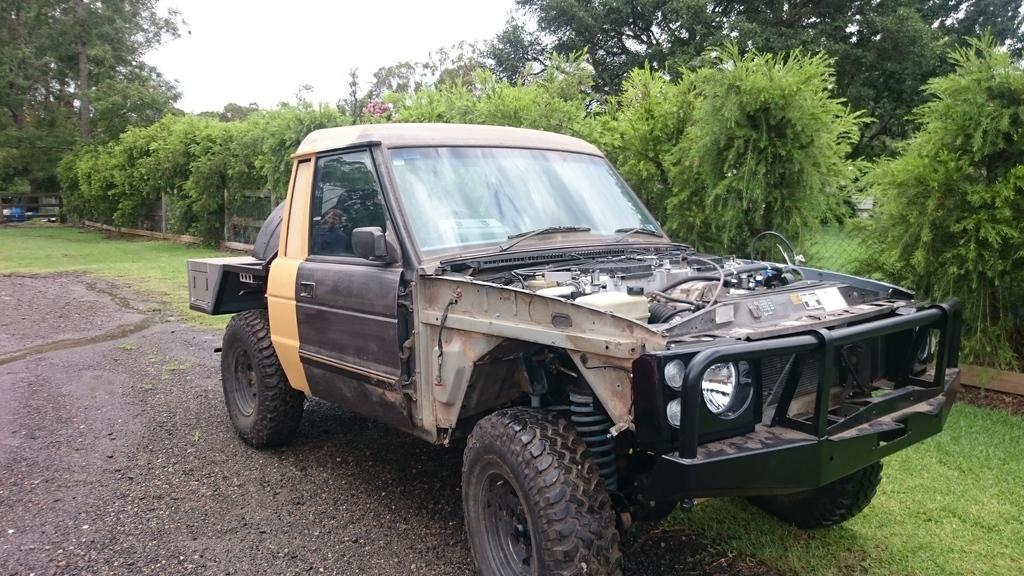
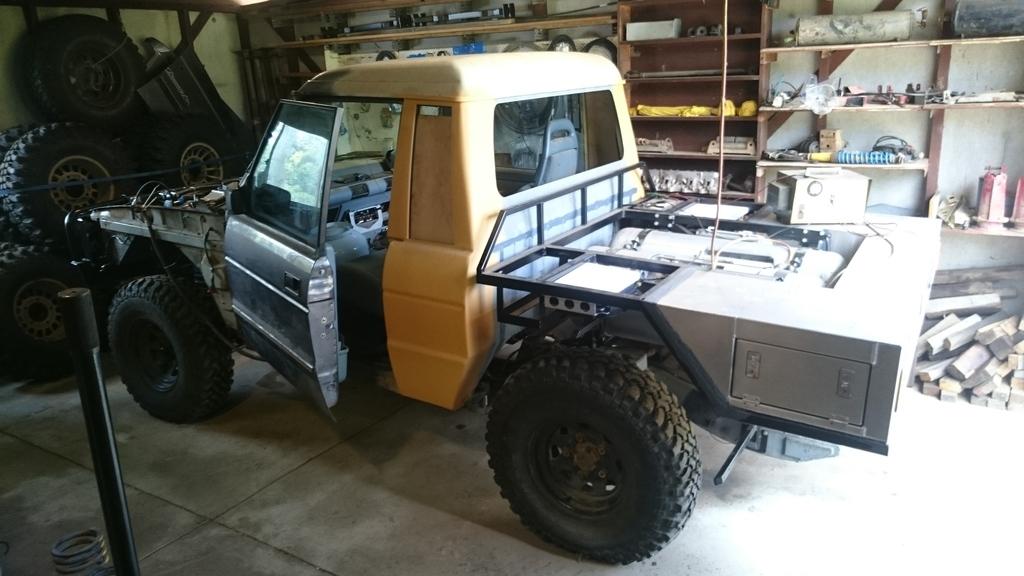
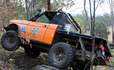
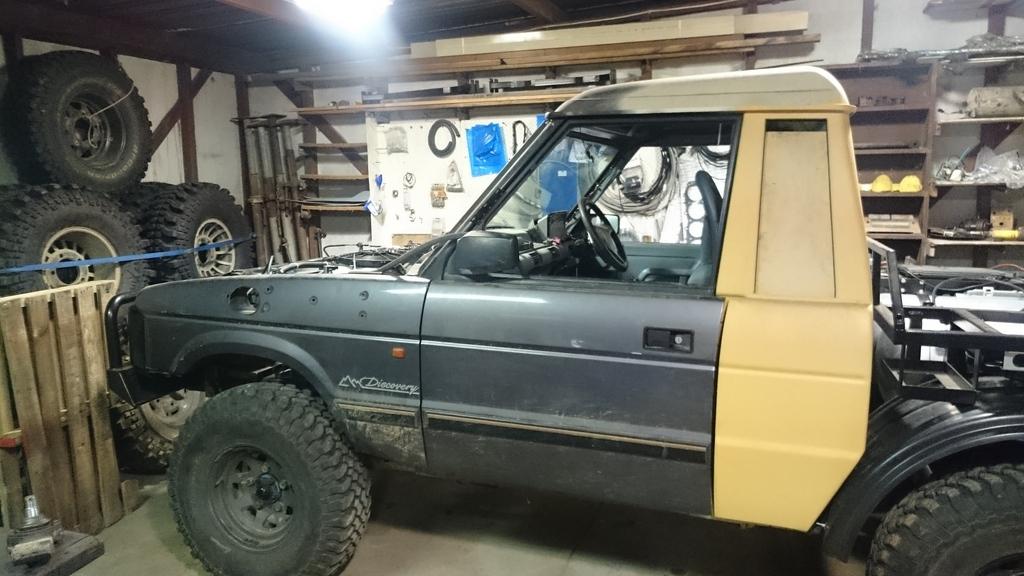
A couple of shots with the car outside.
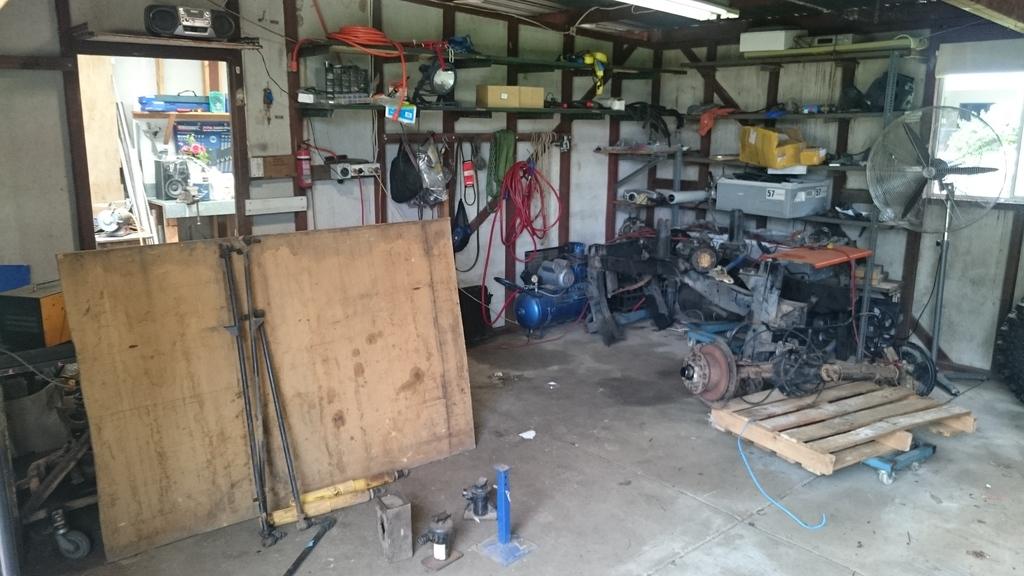
And the workshop clean up began. Before shots. P.S. I did help with the cleaning despite what this photo looks like!!
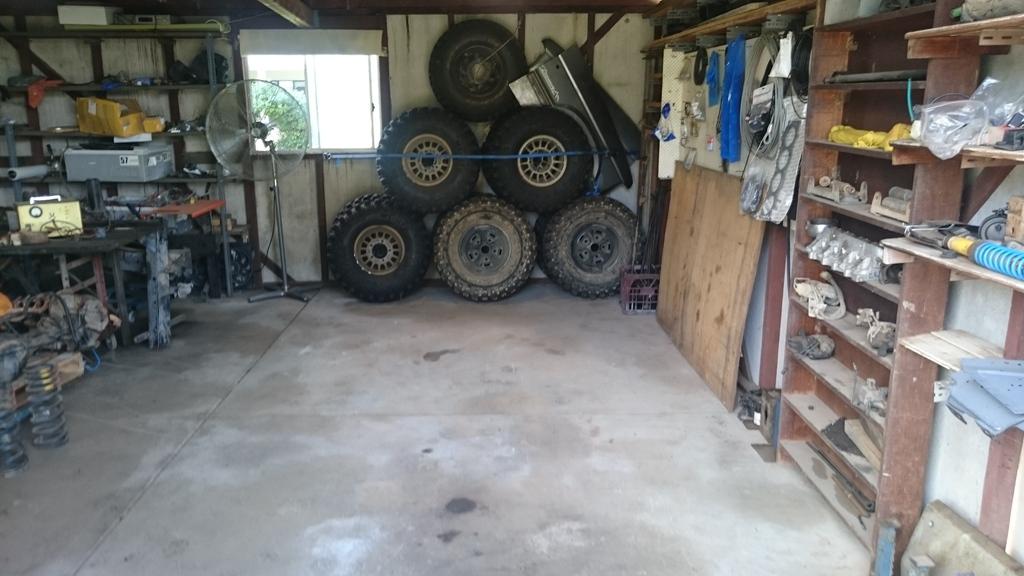
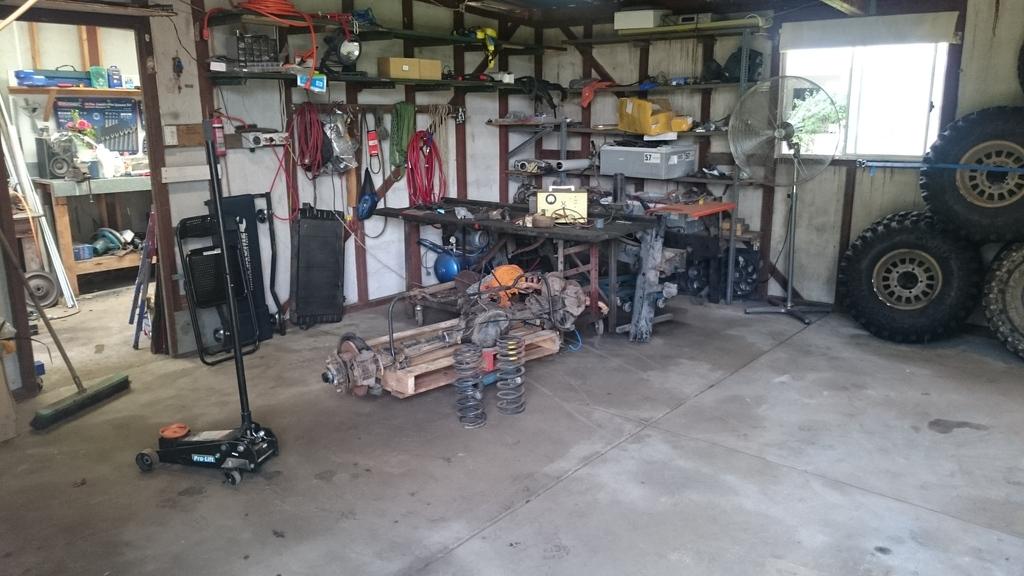
And after.
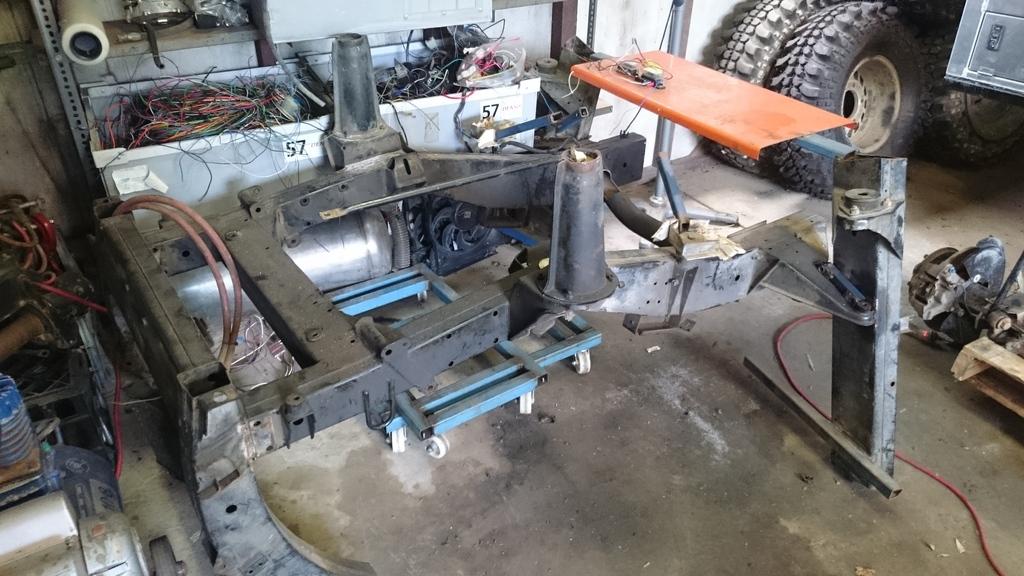
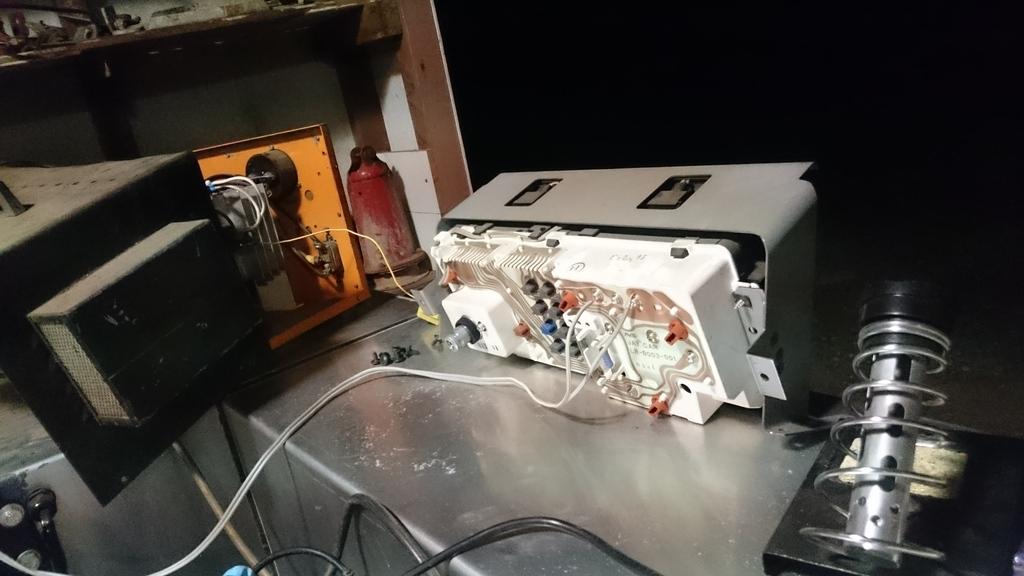
I realized that I no longer need the test stand I built very early on in the build. If anyone wants it, let me know.
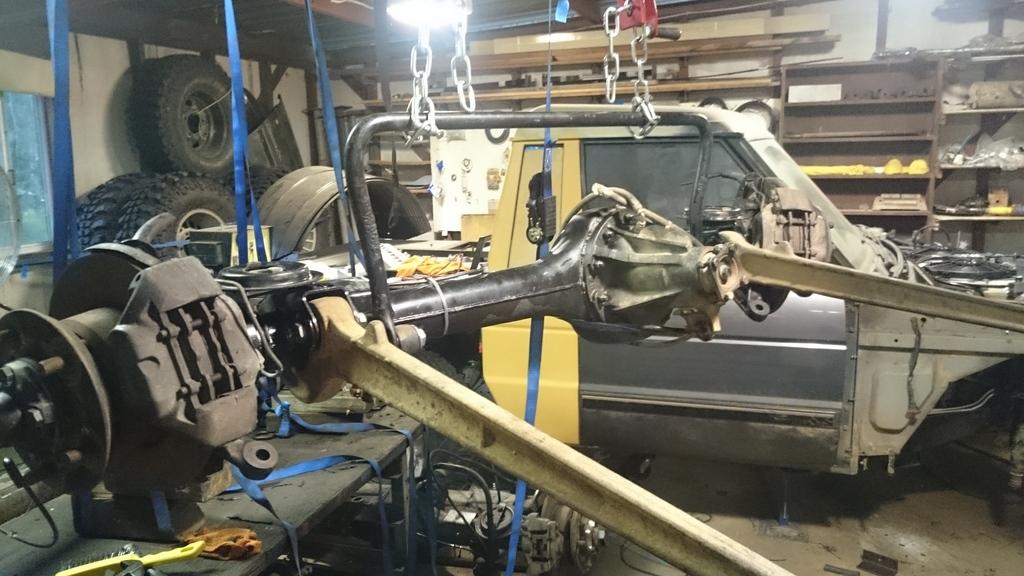
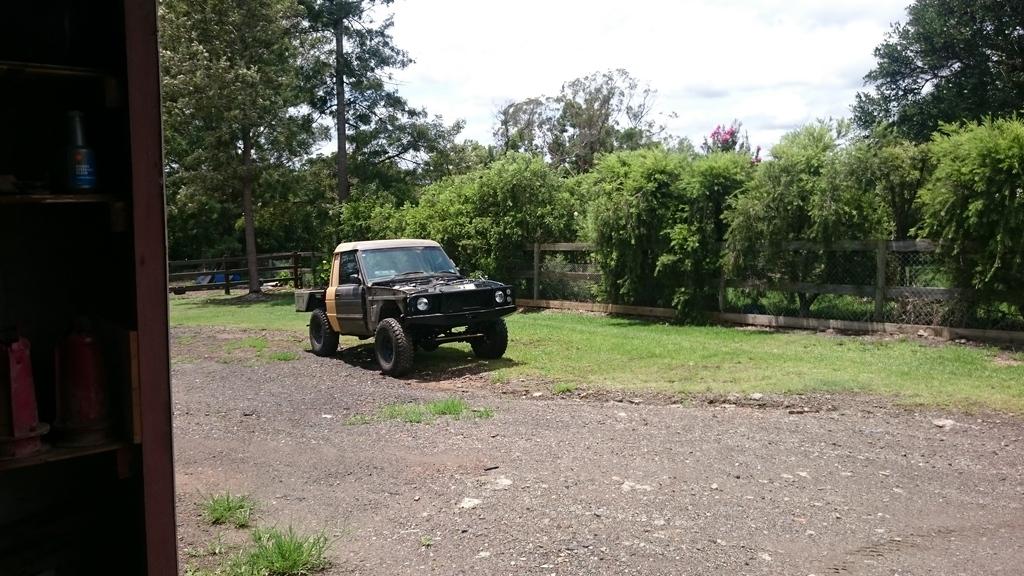
With the clean up done, the car was put in nose first so that we could get to work on the back.
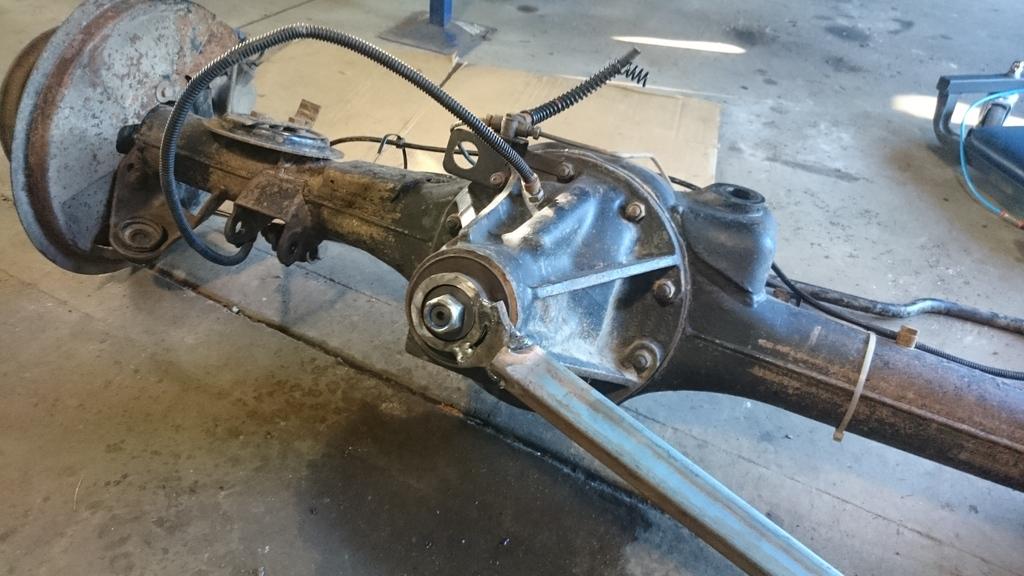
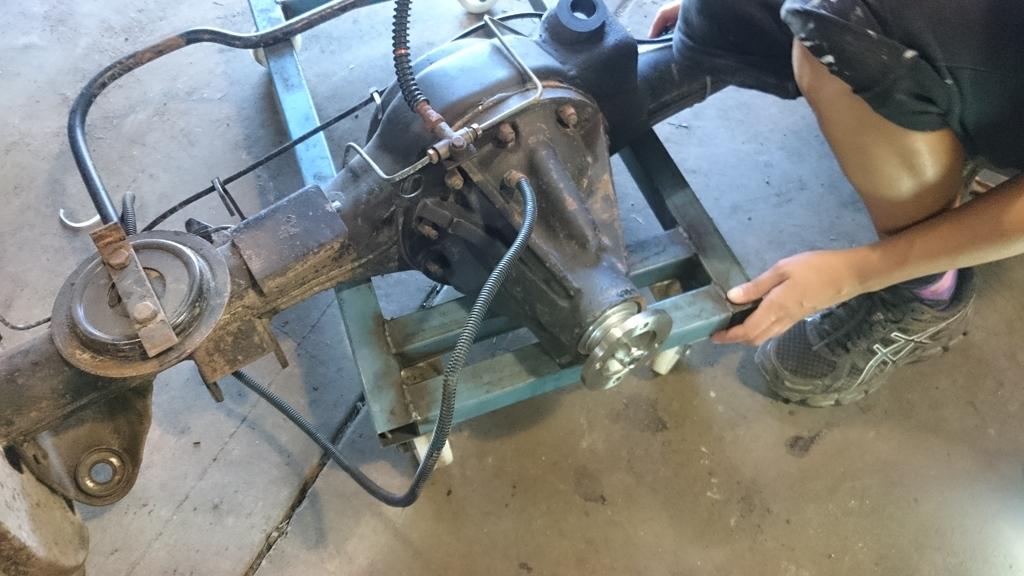
The rear diff I got with the locker was a 3 bolt flange and I needed a 4 bolt flange diff. So after a lot of mucking about trying to get the alignment spigot off the 3 bolt flange, we resorted to cutting it off. Anyway, I had planned on simply swapping the flanges between diffs, but then I realized that the 3 bolt flange is longer than the 4 bolt flange internally so that scrapped that idea. I'll need to get the kit and then resume putting in the rear diff.
Below is the shot of the diff with the locker and the cut off input flange.
That's it for this update! Stay tuned for more.


") .
.


Bookmarks