Thanks Davo, and I appreciate the feedback. Do you have any idea what the outlet pipe fitting is for the pump? I'm struggling to find the right part and currently driving around using an aluminium air conditioning fitting which isn't supposed to be used!!
Anyway, a quick update, last few weeks have been very disruptive with Easter and the trip overseas.
The liquid lines onto the gas tanks were hooked up by a autogas company nearby. So no more need for the 9Kg LPG bottles!

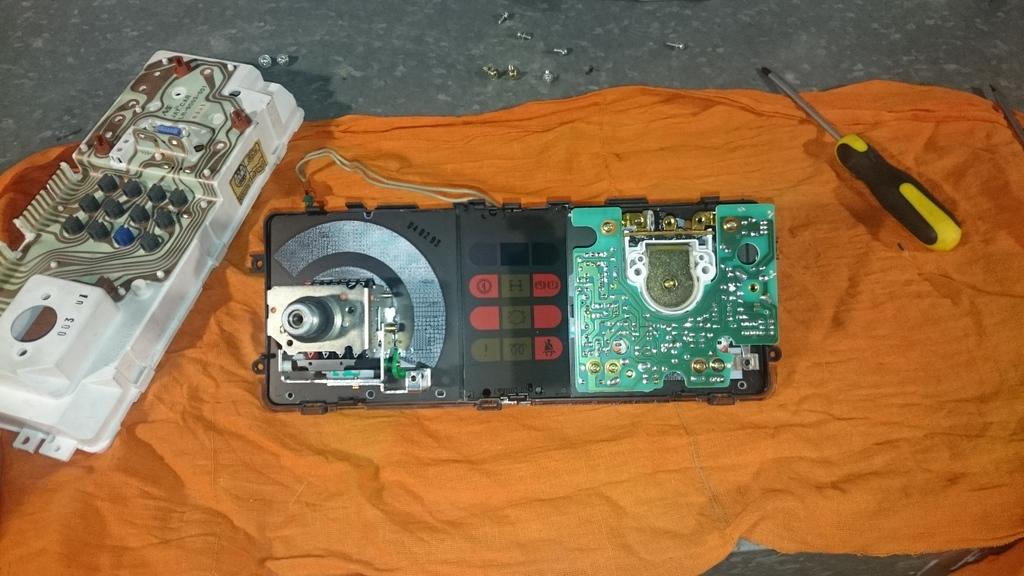
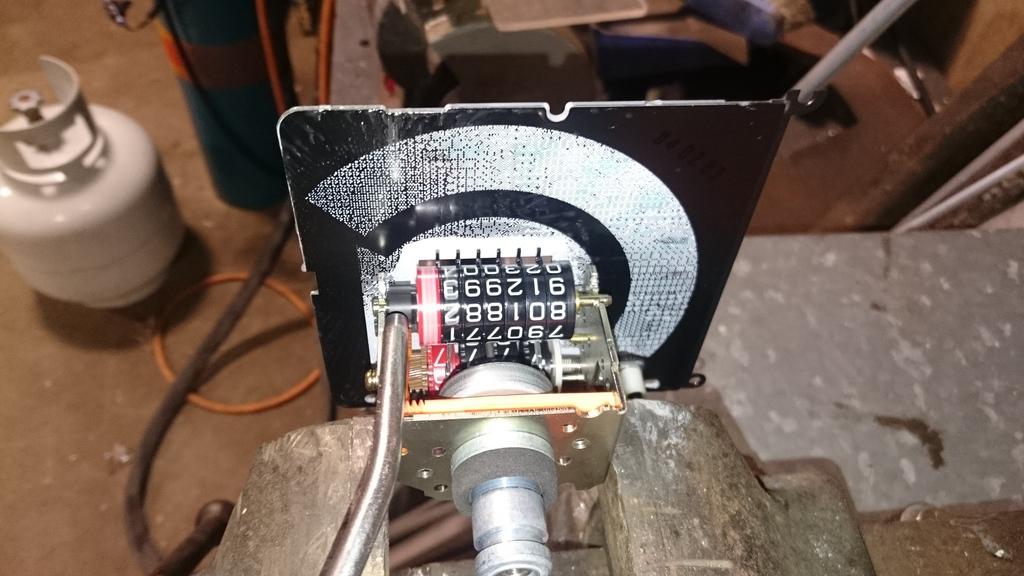
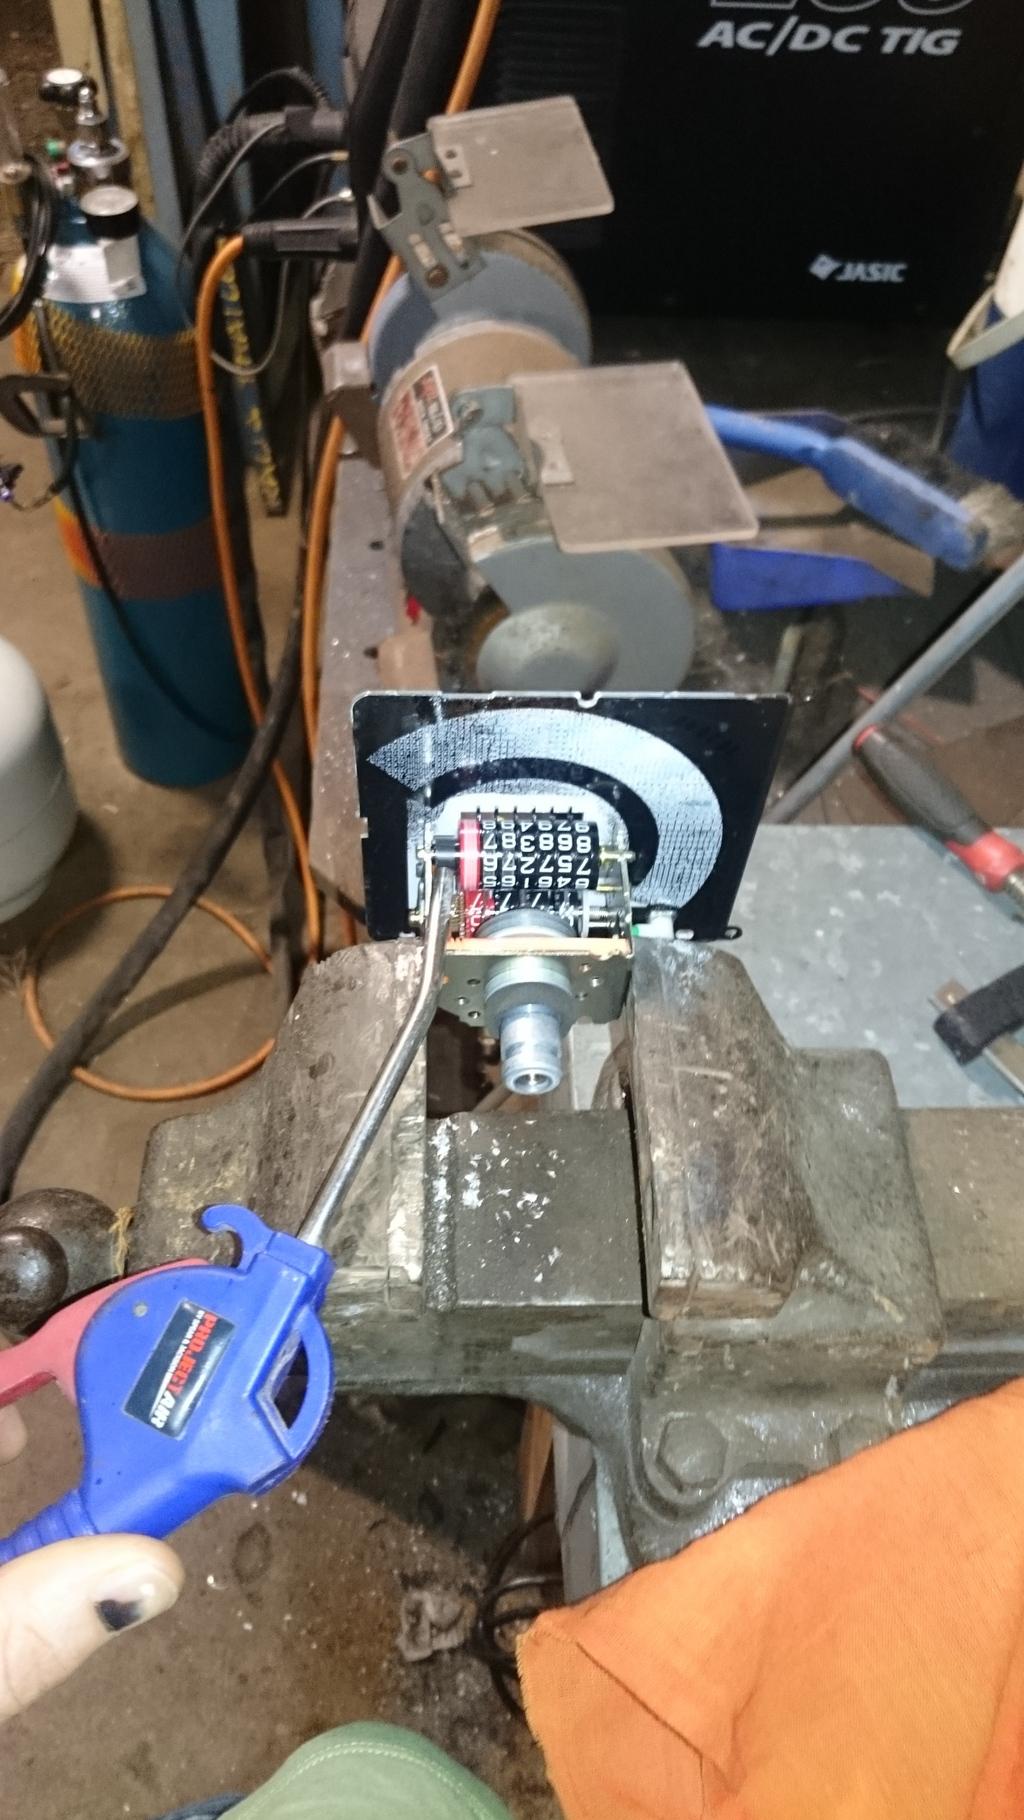
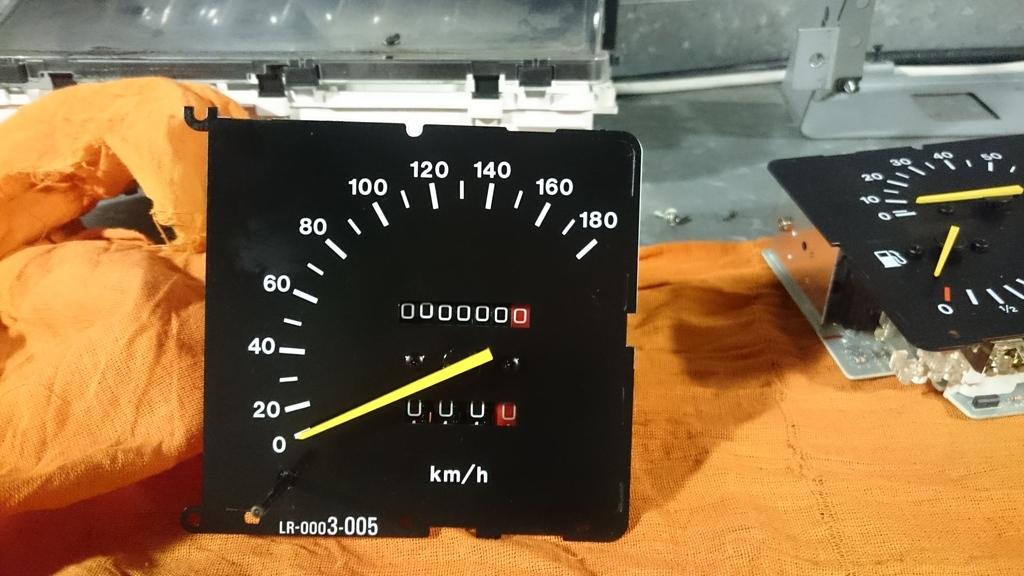
And I took a stab at A) trying to rewind the Odometer back to zero and
")
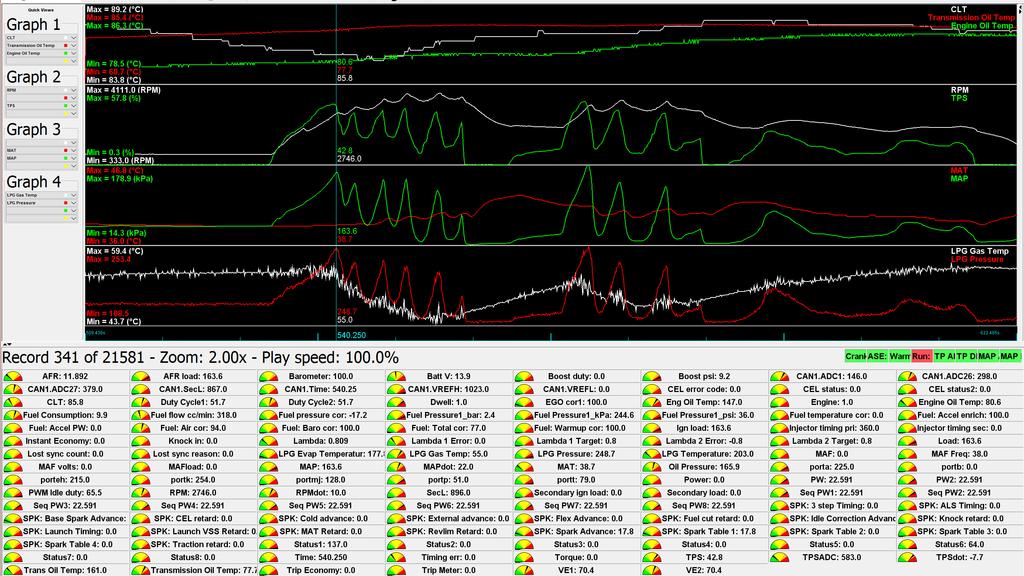
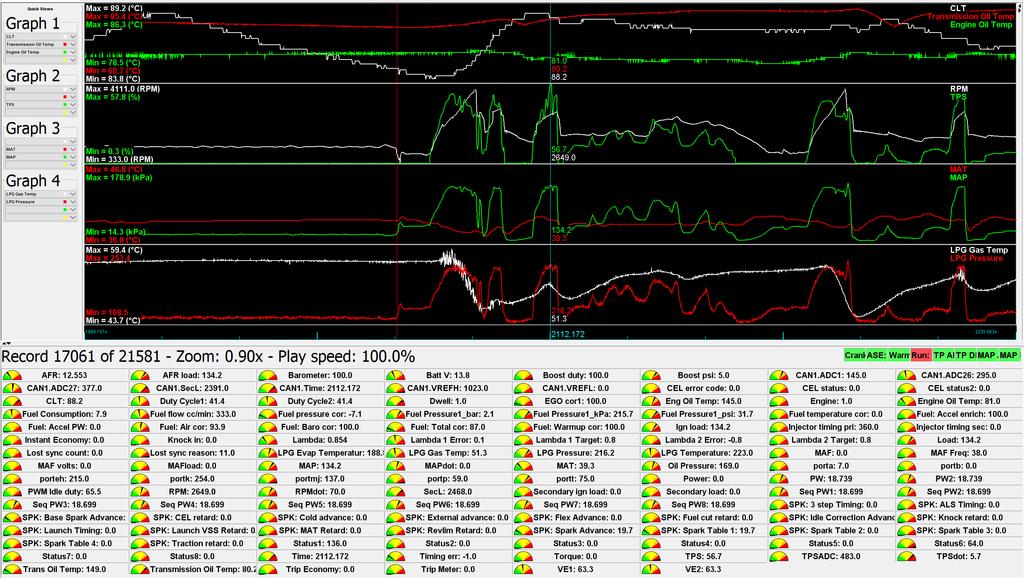
_ get the tacho working using a signal from the ECU.
Regarding A) I can't see any easy way of re-setting the Odometer without pulling the whole mechanism apart. Has anyone tried this?
For
, the Tacho was driven by the Alternator, which as far as I can tell produces a signal at a much higher frequency than the ignition pulses. Looking inside I did find a trim pot which I tried adjusting to see if I could get the needle to work on the signal from the ECU, but no joy yet...


")


 Reply With Quote
Originally Posted by disco2hse


Bookmarks