

 Reply With Quote
Have you checked the exhaust gas temp? May be running too lean with boost and getting hot that way... piston melty fun!

 Master
Supporter
Master
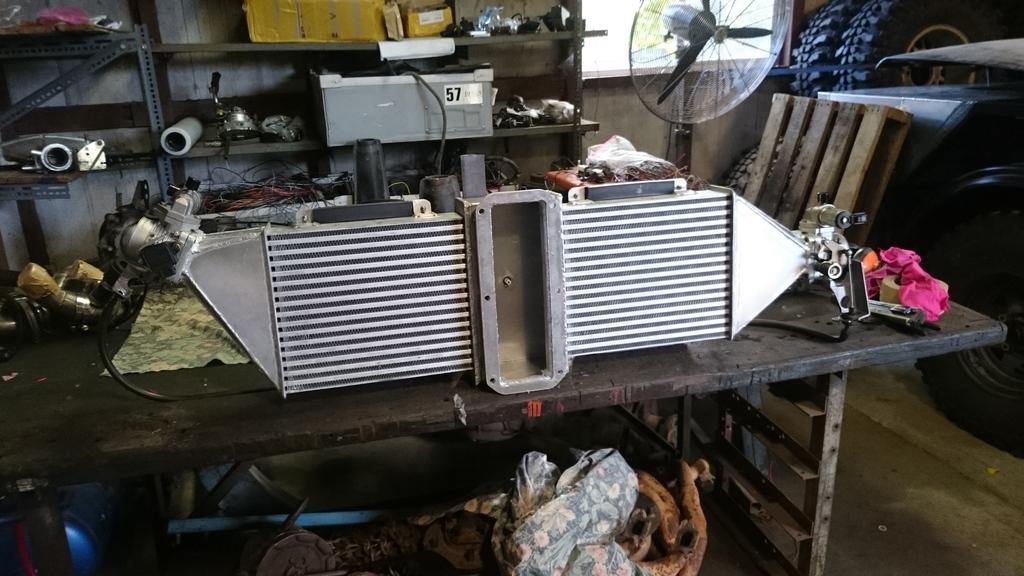
SupporterThank you very much DieSchnelleKafer for the comment! To connect two LPG tanks together you need what is called a hydrostatic valve. As I understand it, it is basically two non return valves (one for each tank). You can see it in the photo towards the front of the tray.Originally Posted by DieSchnelleKafer

I had a bit of fun today, I changed the ignition map to the one ChimpOnGas gave me and boy oh boy does the car have some poke now!
[ame]https://youtu.be/SG7tId6VktA[/ame]
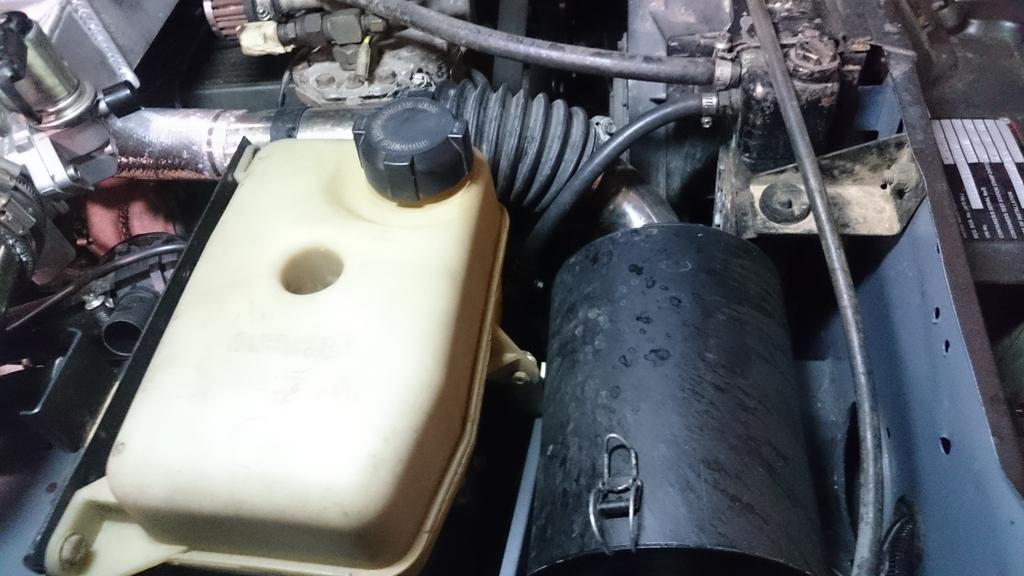
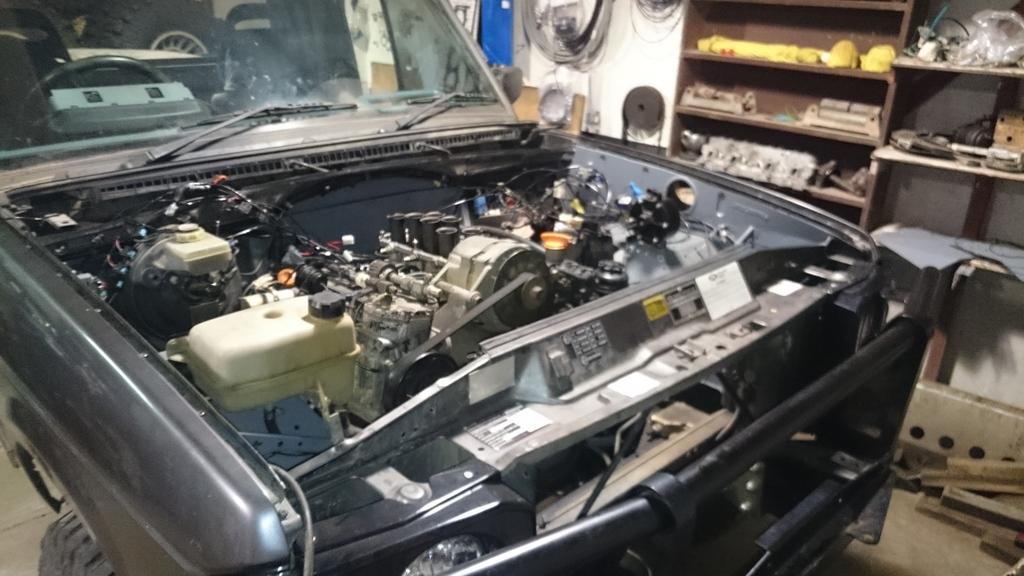
I do have one problem though. Everytime the car goes into boost, I'm getting the coolant boiling, which I suspect is from the coolant lines that run over the turbo casings. When the turbo's get hot the coolant boils. I'm pretty sure it is due to a combination of the coolant system not pressurizing properly and incorrect placement of the electric auxillary coolant pump - I think it is too high and keeps getting an air lock.
The photo below shows the dry coolant over the air filter.
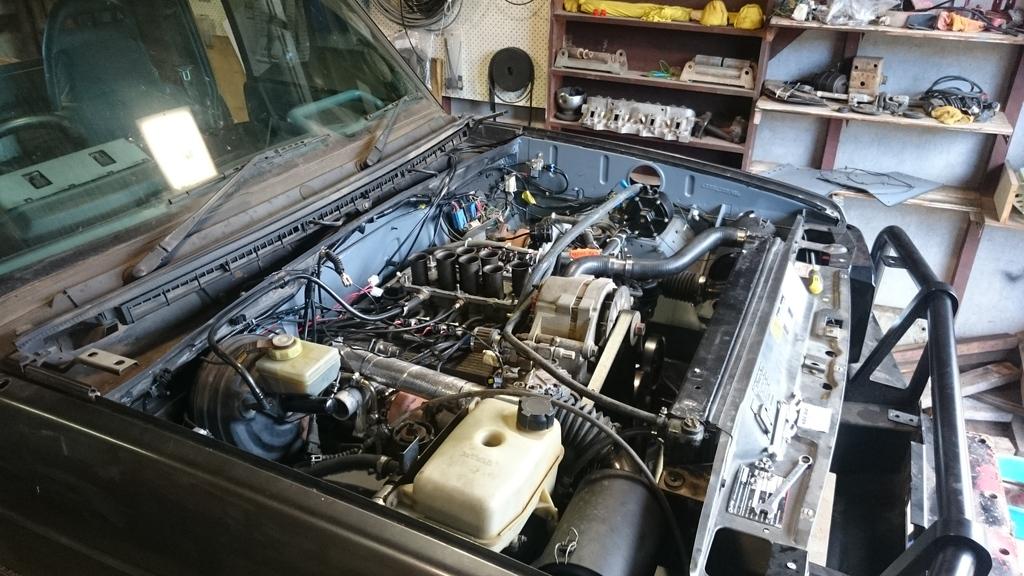
I think I might be ready to rip out the test engine and prepare the new one?!? The tune is definitely close enough now I think to safely run in the new engine.
Stirling
ChatterBox
Have you checked the exhaust gas temp? May be running too lean with boost and getting hot that way... piston melty fun!
Master
SupporterI haven't checked the exhaust gas temperatures. However, I have a wide band exhaust oxygen sensor and I haven't noticed the mix leaning out. I'm pretty sure, I simply need to relocate the the electric coolant pump so that it does not run dry on me.
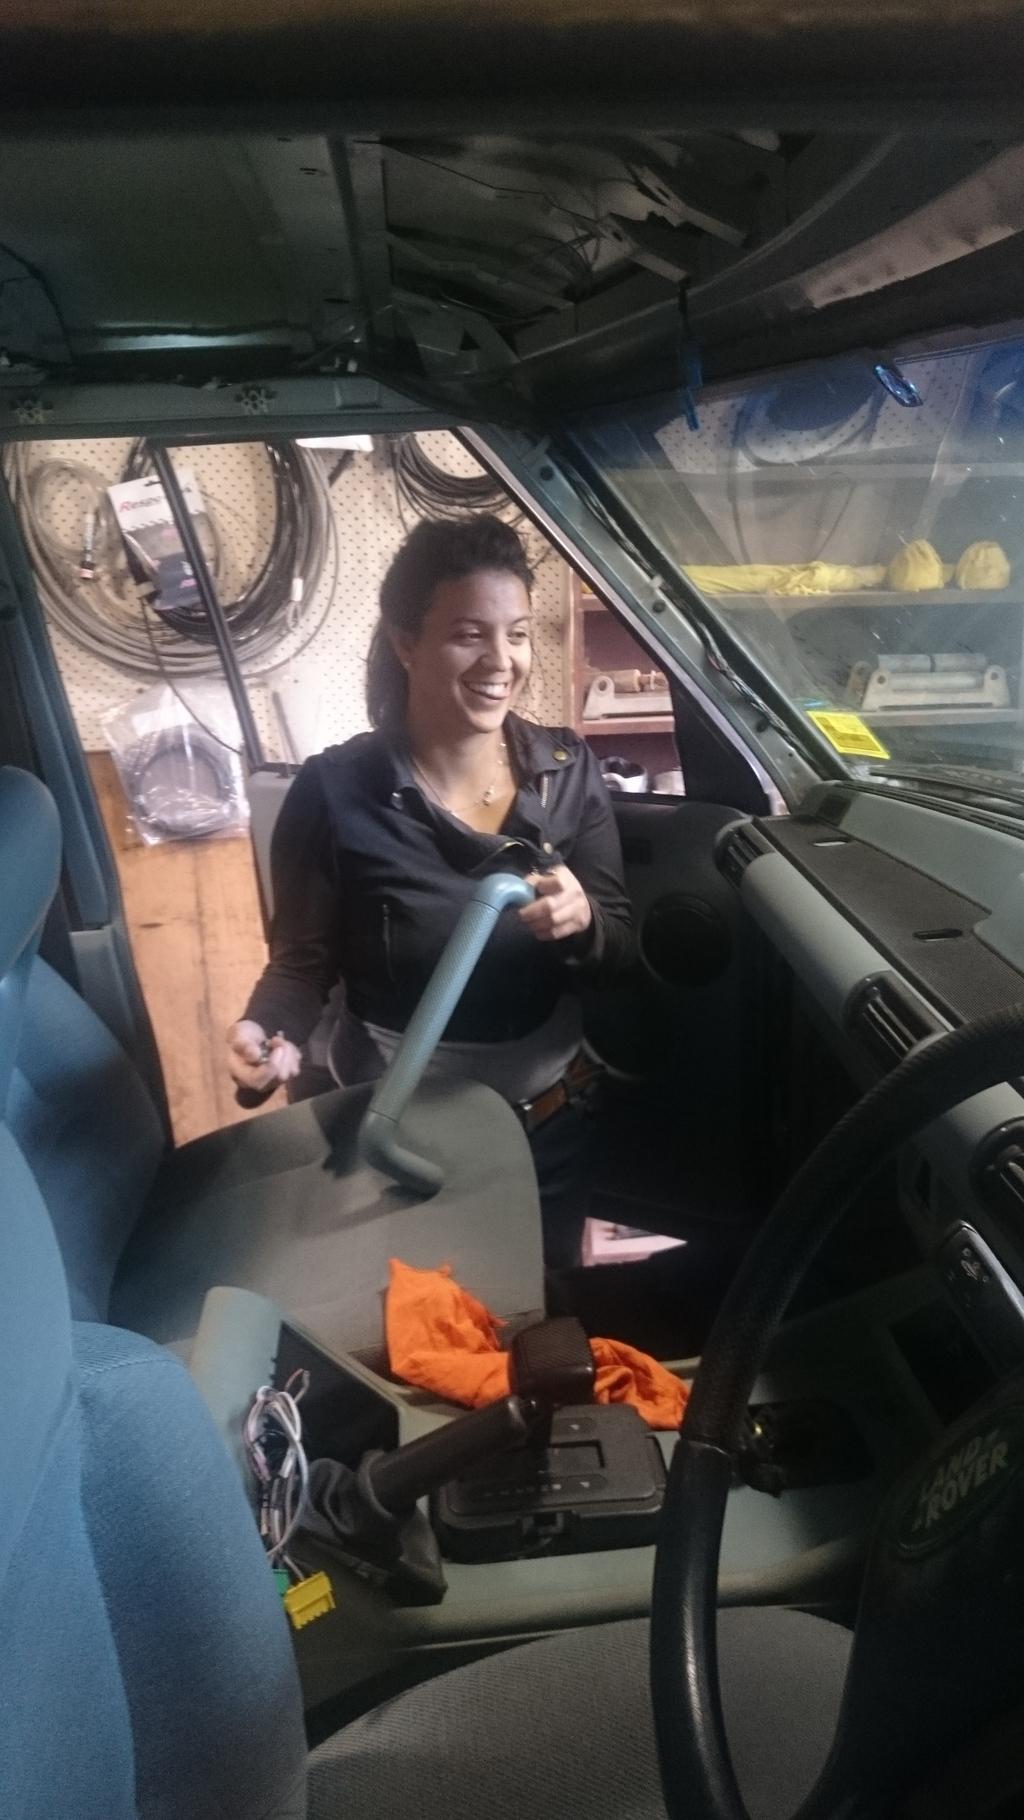
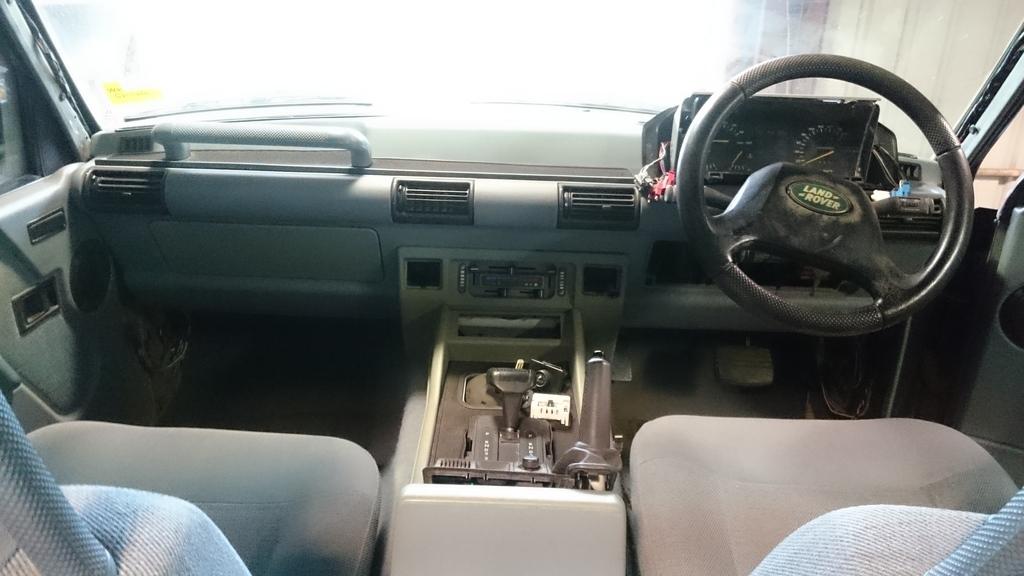
Ana helped me out again this weekend. We got into the interior of the car, because it was an utter mess.
Made a major difference having some of the interior put back in.
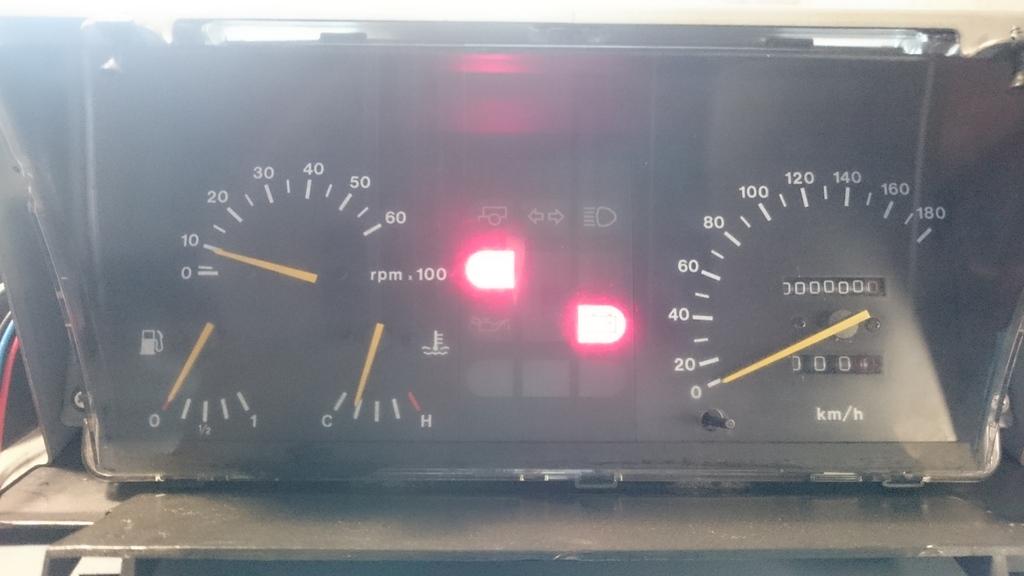
After having enough with the interior, I loaded on the latest version of the code into the ECU, I was particularly interested in the update because it allowed me to have a scale-able tacho output. So after setting it to 750% (7.5 times faster than the spark plug firing frequency) I got the needle to work and show the right RPM! Happy days!
The last thing that was necessary was another tuning runSome of the photos here appear in the video, just so you are aware.
[ame]https://youtu.be/c8yeT1pn8l4[/ame]
On Wednesday I'm taking the car for a preliminary inspection with an engineer. If that is positive, I'll start pulling out the engine in the coming weekend to start work on the bonnet scoop and new engine. The home stretch!
Stirling
ChatterBox
Ahhh, it must be love . . .My wife, (while in fiancee mode), once spent a long time helping me tape up the Landie before spraypainting. Mind you, these days she would murder me on the spot if I contemplated painting the Rangie at the moment.
Anyway, though I'm sure you have a plan, I just wanted to mention that when I had the engine out of my Range Rover I put two layers of Dynamat Xtreme on the engine bay side of the bulkhead and one layer on the inside, covered with a layer of Dynaliner. Sooooperb is the only worthwhile description of how this keeps heat and noise out.
At any given point in time, somewhere in the world someone is working on a Land-Rover.
Master
You have incredibly high standards compared to me, I would just call it done there and keep wearing the ear muffs!
Haha, awesome work
Master
SupporterBelieve it or not Ana was again helping me out today! I think she enjoys the challenge of it which is niceThanks for the suggestion on the product, probably something I should have put in when I had the gearbox out! But I'll definitely look the product up when the engine comes out.
Thanks Wicks, my standards **** me off sometimes. I do wish I could call the project done, but I never can bring myself to actually do that!
This week I drove the car to the Engineers for the first inspection. Overall the engineer was pretty happy with what he saw. Although there was a lot of deliberation around the tow hitch I welded on. Particularly since it was a part I manufactured very early on when I was very much a hit or miss welder. But we found a way around that that didn't mean having to have the part completely re welded.
The biggest problem is the tyres, given that the discovery from the factory had ~29" tyres and I want to go to 35", that is very difficult since you are only allowed to go 50mm larger than standard. If we put the argument together that defenders and discoveries share the same axle (just with larger brakes), I could get the 50mm taken from the defender standard tyre size. But that only gets me to about 33"... So We'll need to see what can be done there. If anyone has any tips, or if they know if there were some land rovers that used the same early axles on cars with much taller tyres, that would be a great help!
During the inspection the car was weighed:
Front Axle 1,000Kg
Rear Axle 800Kg
So the car is currently weighing in at 1.8 tons! A lot more than I expected, and that was with the fuel tanks empty and no winches. I also need to be careful about the front axle because it is limited to 1,100Kg, so Pretty much the winch will go on and that will be about the load limit when 2 people are in the car!
When the car is finished it will need to go down to a test track for a lane change test at 100km/hr at the rated weight of the car, so I will need to decide how much carrying capacity I want in the tray between now and then.
I was also given a punch list which is as follows:
1. Red rear reflectors
2. Front ADR 6 complying blinkers either on bar or side or headlight surround.
3. Defender vented brake system installed with master cylinder if different.
4. Evidence that axle were even fitted to defender from factory and what tyre size they ran with offsets.
5. Holes drilled in tow bar lower plate for safety chain/s.
6. Blow off valves into air intake.
7. Lifted springs fitted, must keep top of headlight under 1200mm.
8. Labelled glazing installed.
9. Sunvisors
10. Snorkels fitted behind pillars from drivers line of sight.
11. Speedo calibration.
12. Inhibitor switch and illuminated gear indicator.
13. Rear number plate light, must see plate 45 degrees from above and side.
14. Inspection cover over flywheel.
15. Front brake hoses may need attention as to not get caught in coils?
16. When purchasing longer shocks, adjustable items may help stability lane change test.
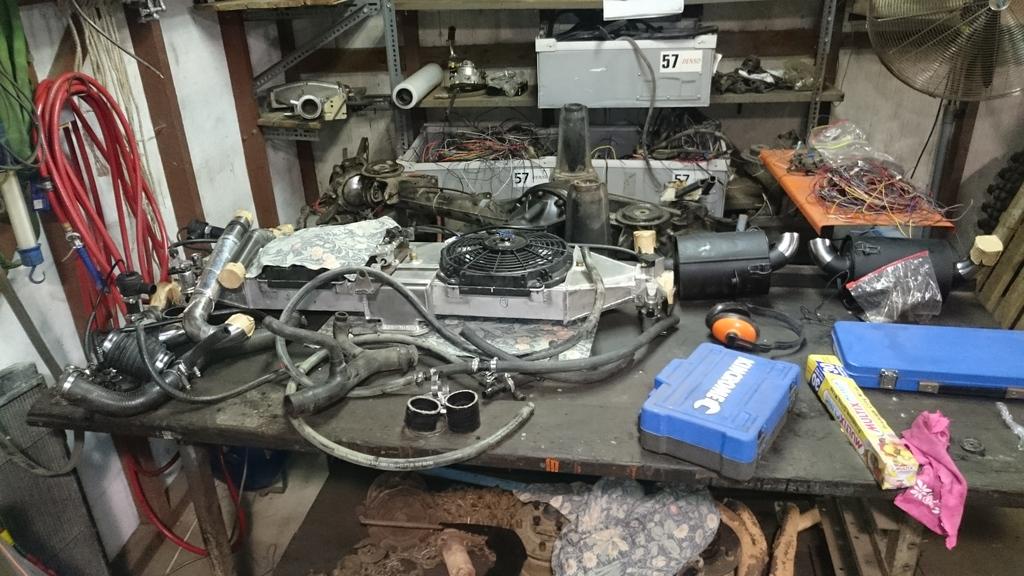
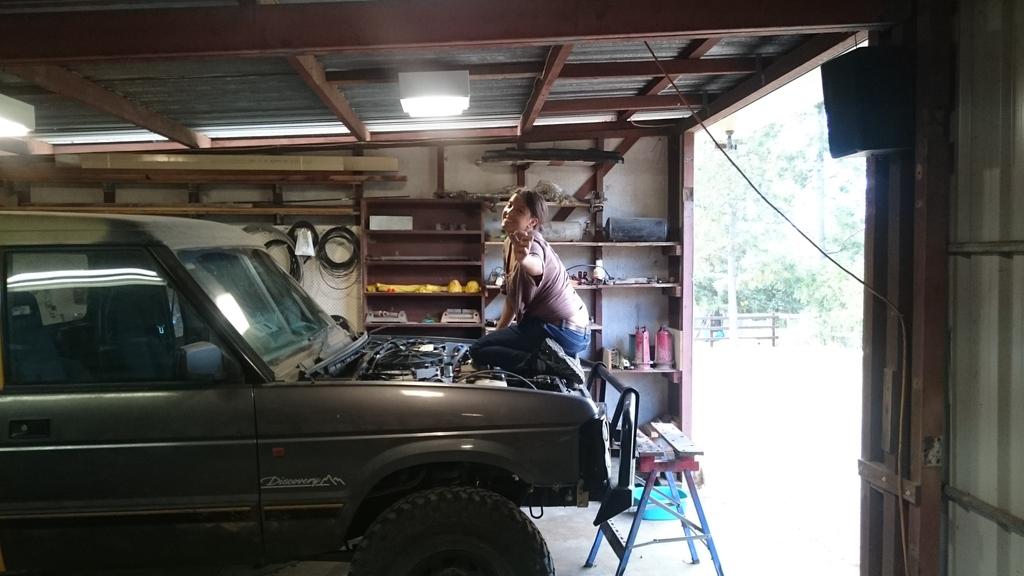
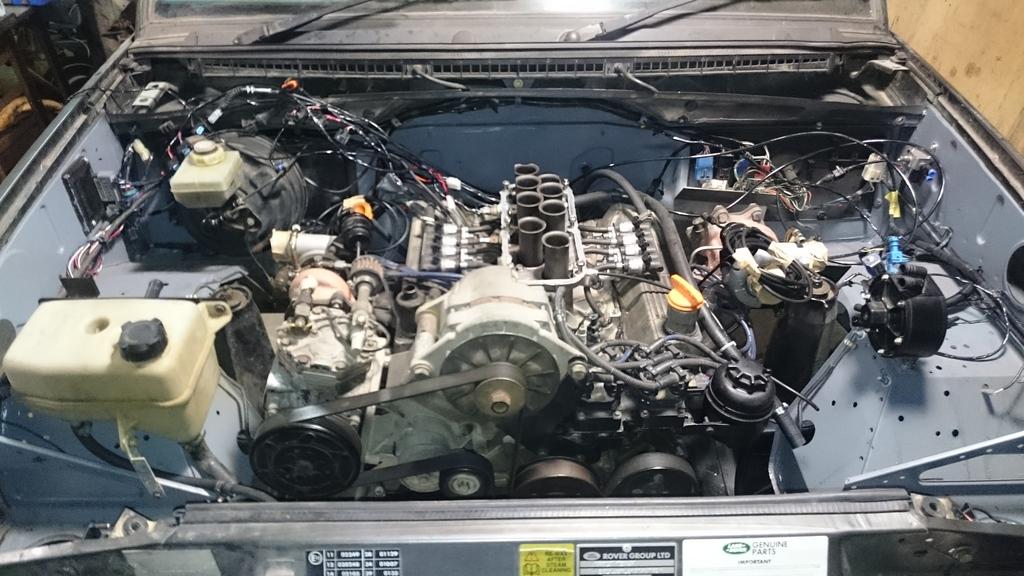
Anyway, moving onto other items. I've now started the process of dismantling the engine to prepare the new one to go in. Ana helped me out again
Stirling
Master
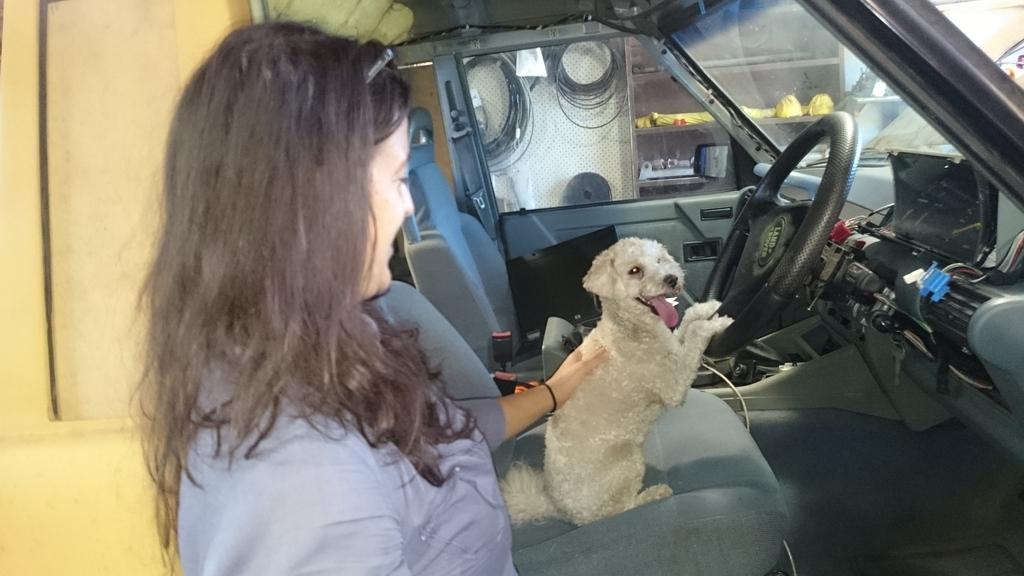
SupporterOh and one thing I forgot, part way through pulling the engine apart, we were visited by Max, who is owned by the lady I rent the workshop from. I don't think I need to explain what is going on in the photo below
Stirling
Super Moderator & CA manager
Subscriber101's ran 900/16's as standard but convincing an Engineer that those axles were used in later vehicles may be a stretch...
Hope you sort something out there.
If you need to contact me please email homestarrunnerau@gmail.com - thanks - Gav.
Master
I had the same tyre issues with my engineering so i settled for 33"
LRA are engineering all the builds they do on 35" might be worth a vhar with Andrew and see how he does it.
ChatterBox
I see you've got a York aircon compressor converted to pump air - I've got the same thing. Works extremely well.
At any given point in time, somewhere in the world someone is working on a Land-Rover.
 Posting Permissions
| Search AULRO.com ONLY! |
Search All the Web! |
|---|
|
|
|

")
Bookmarks