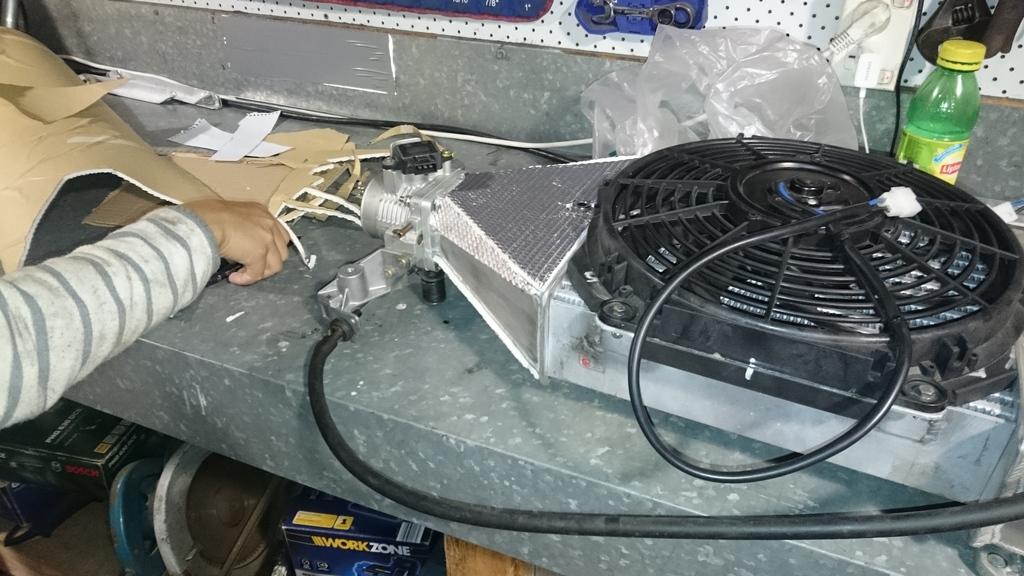
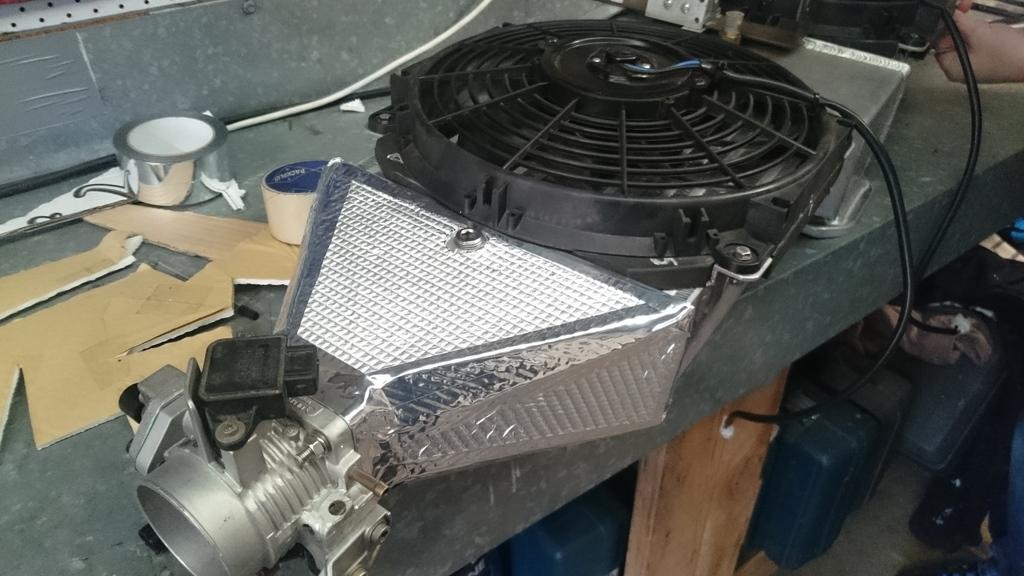
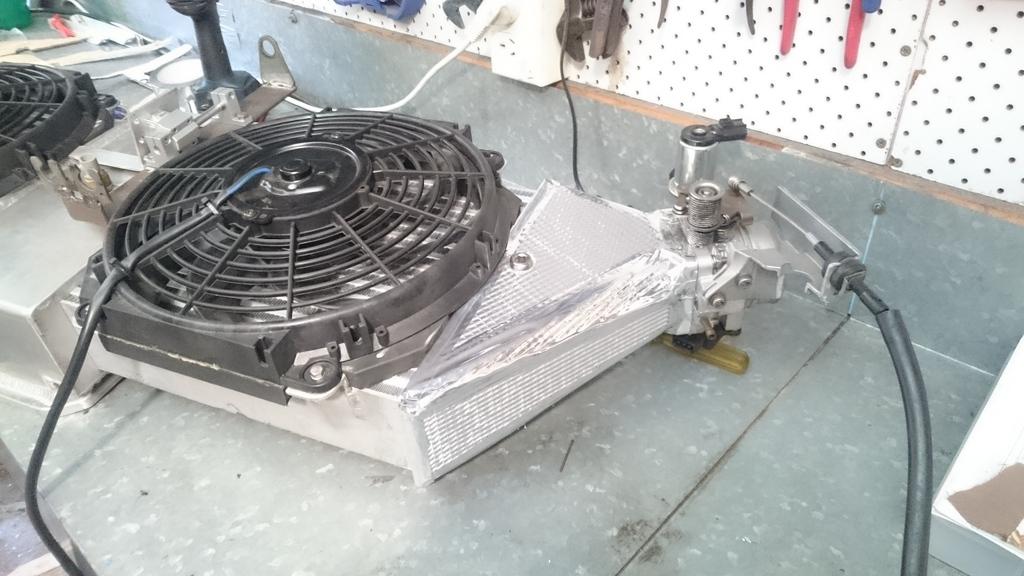
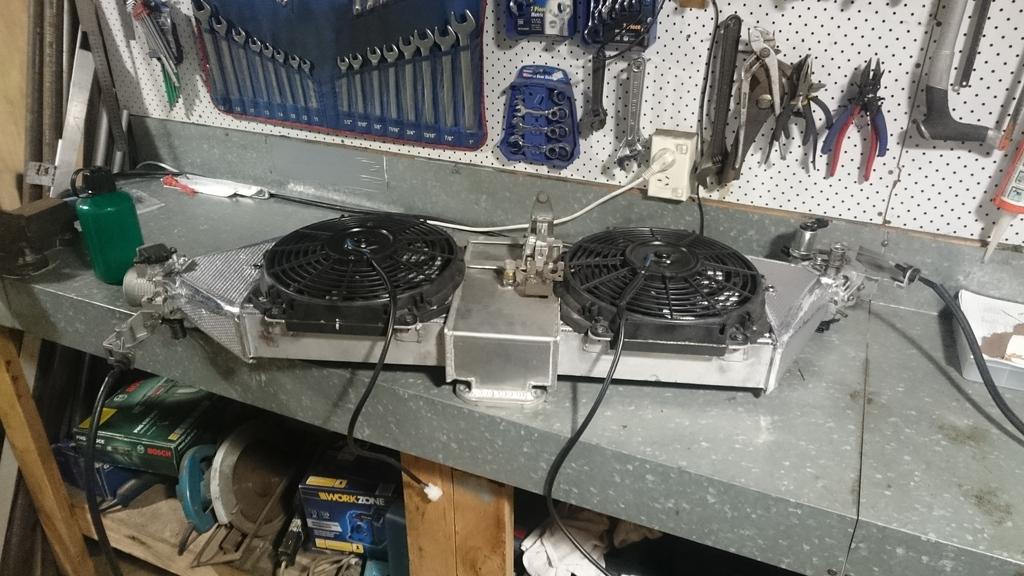
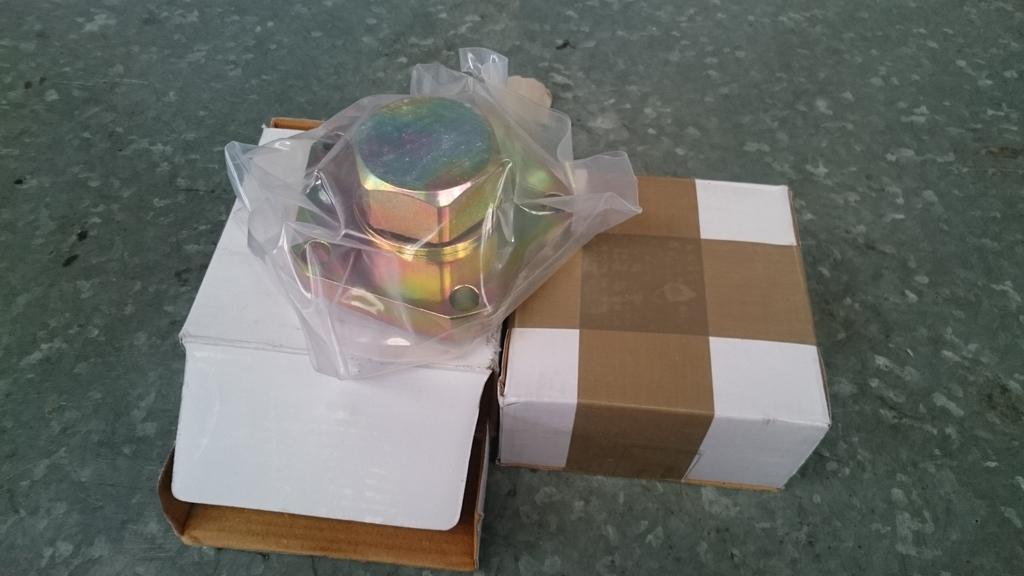
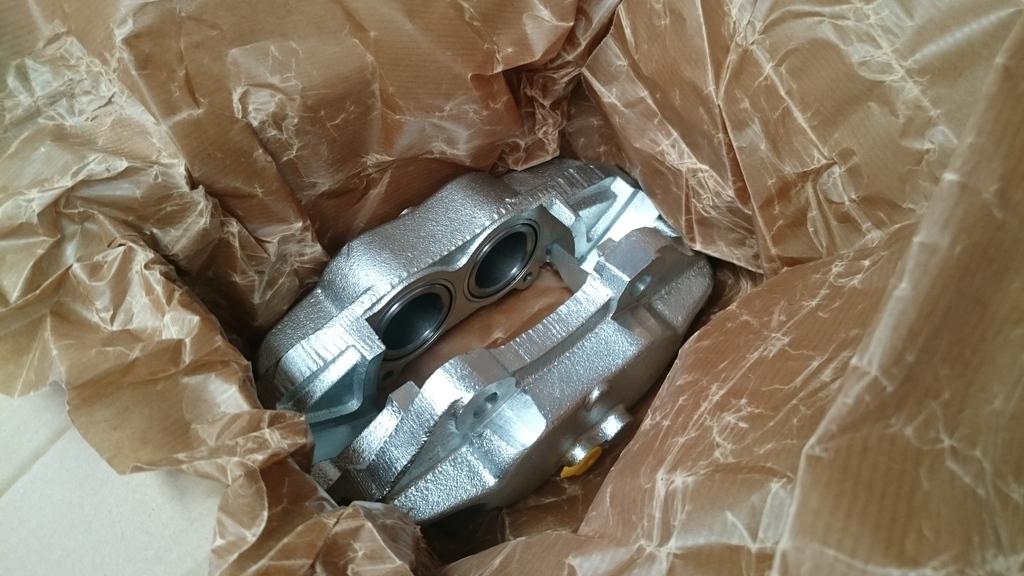
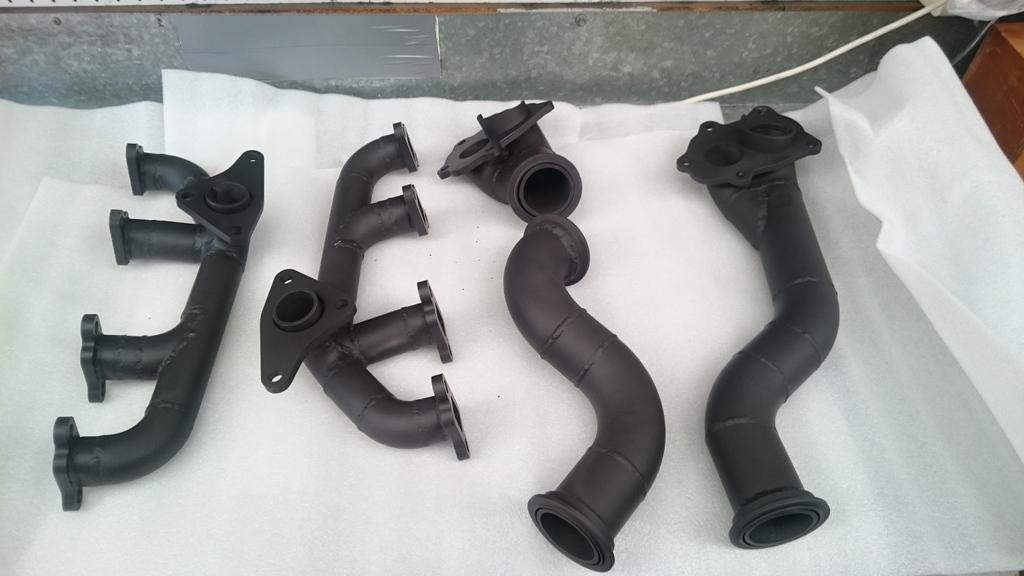
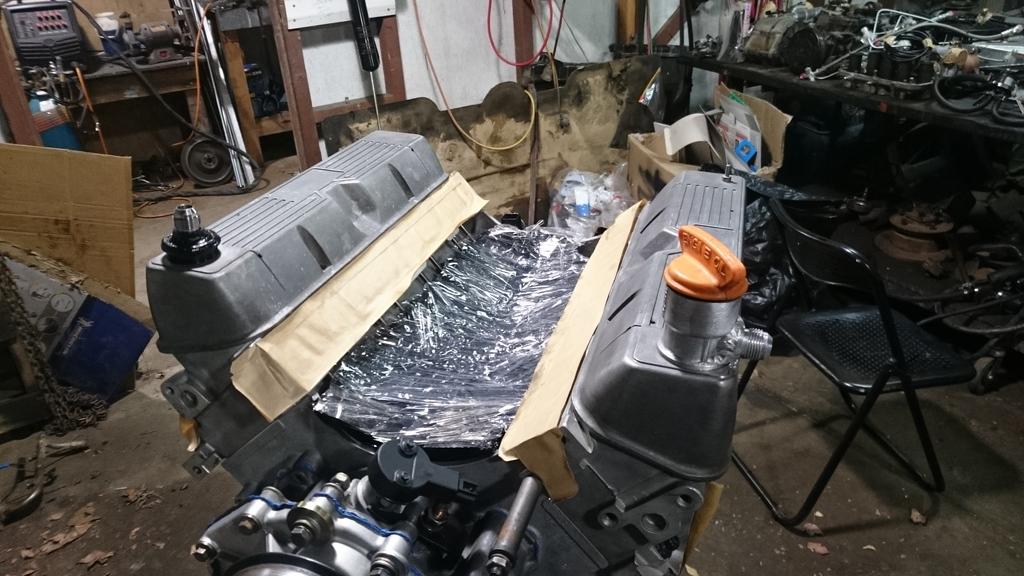
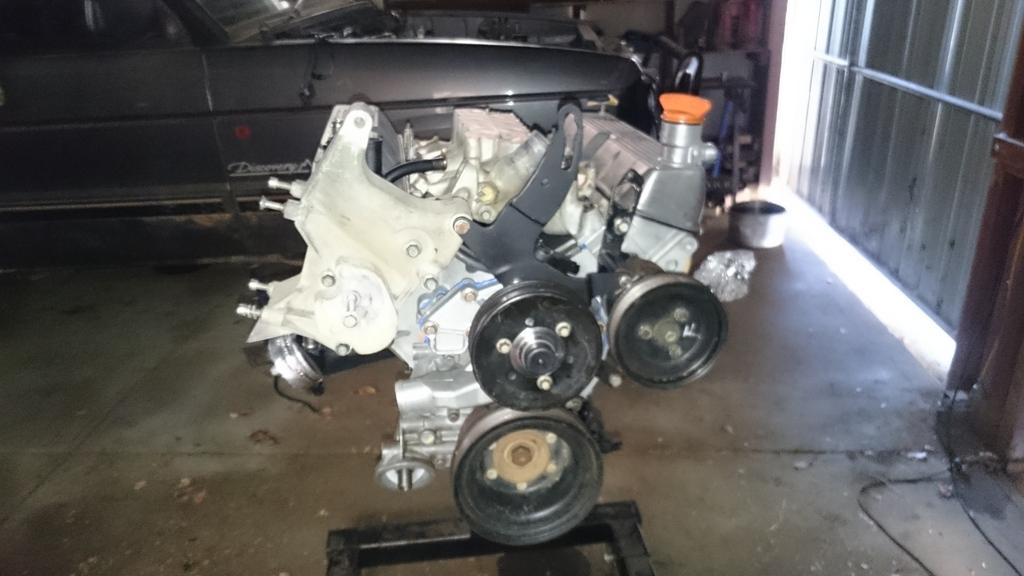
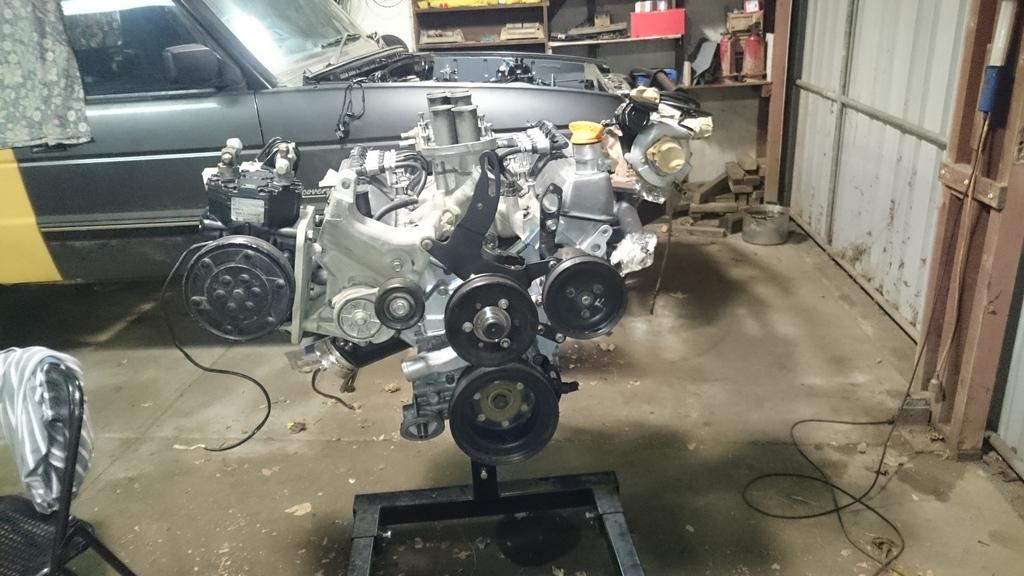
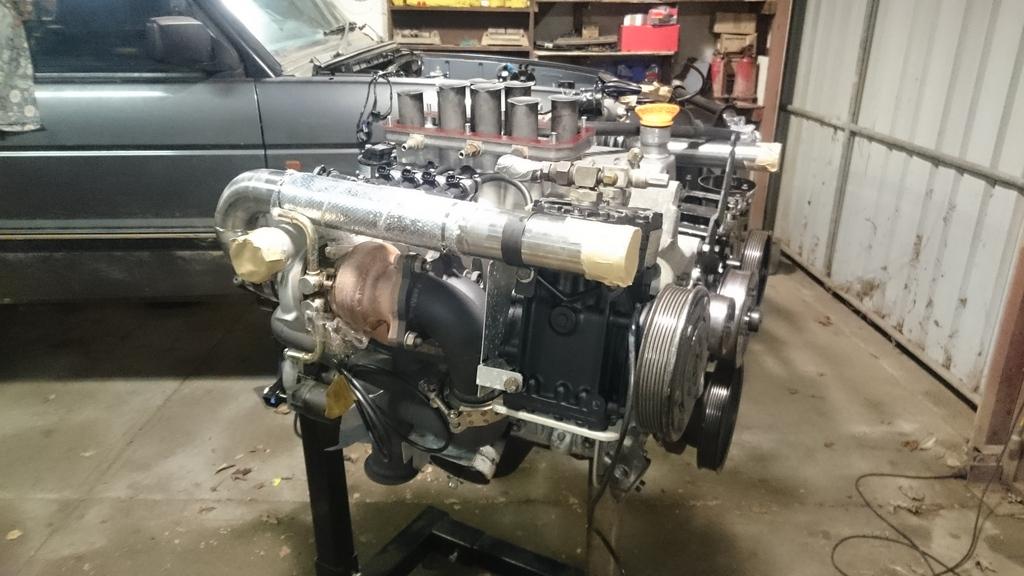
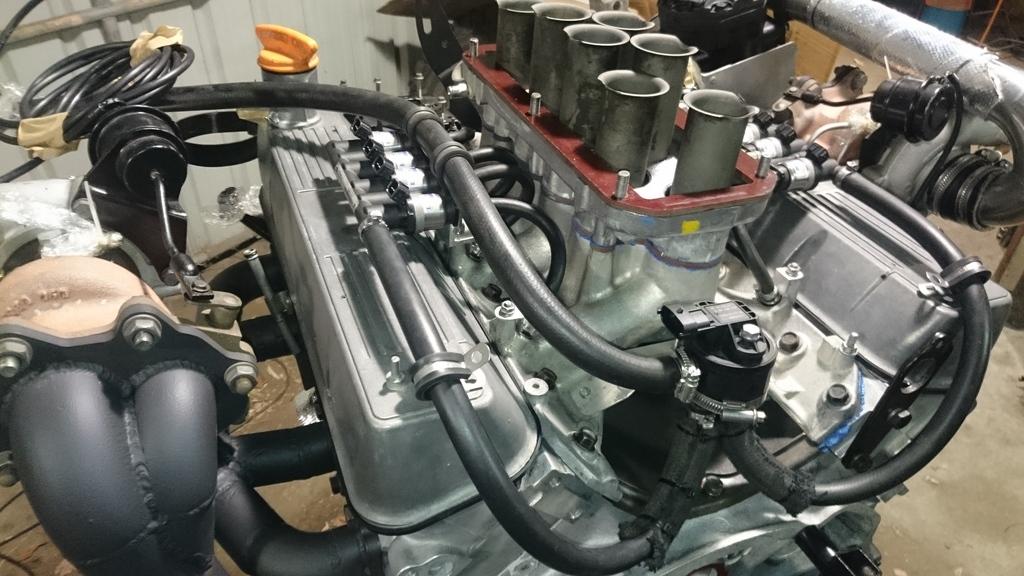
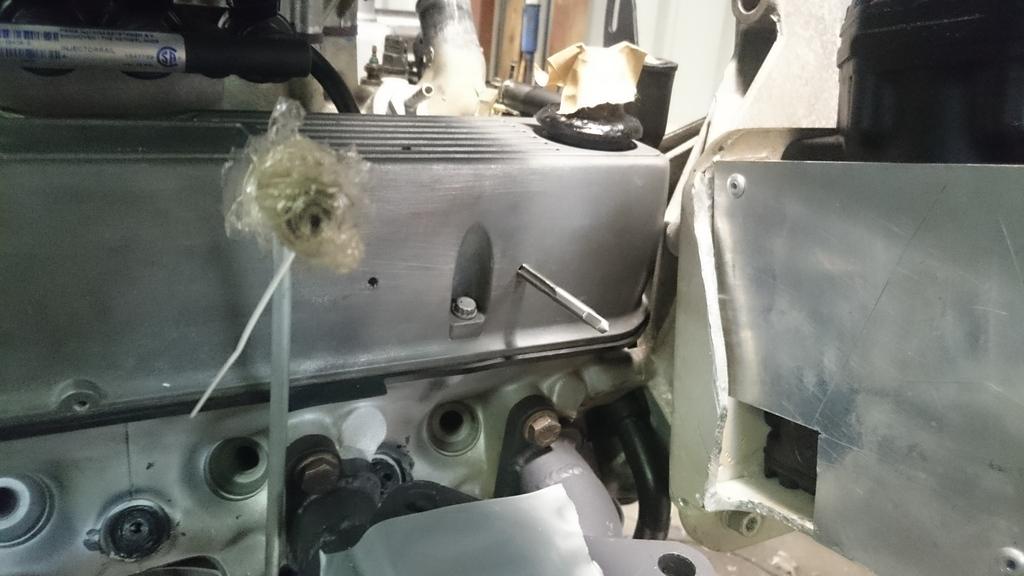
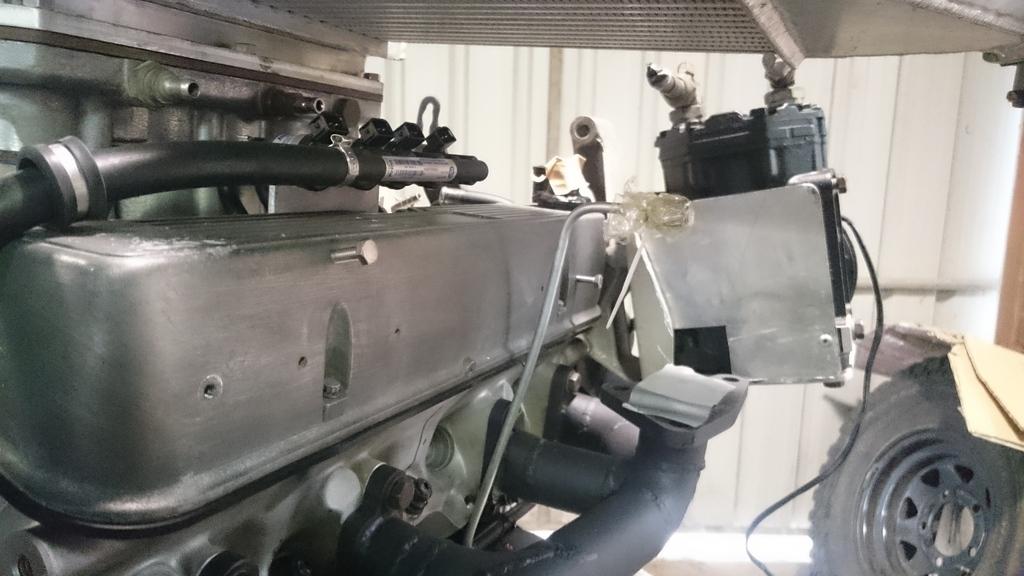
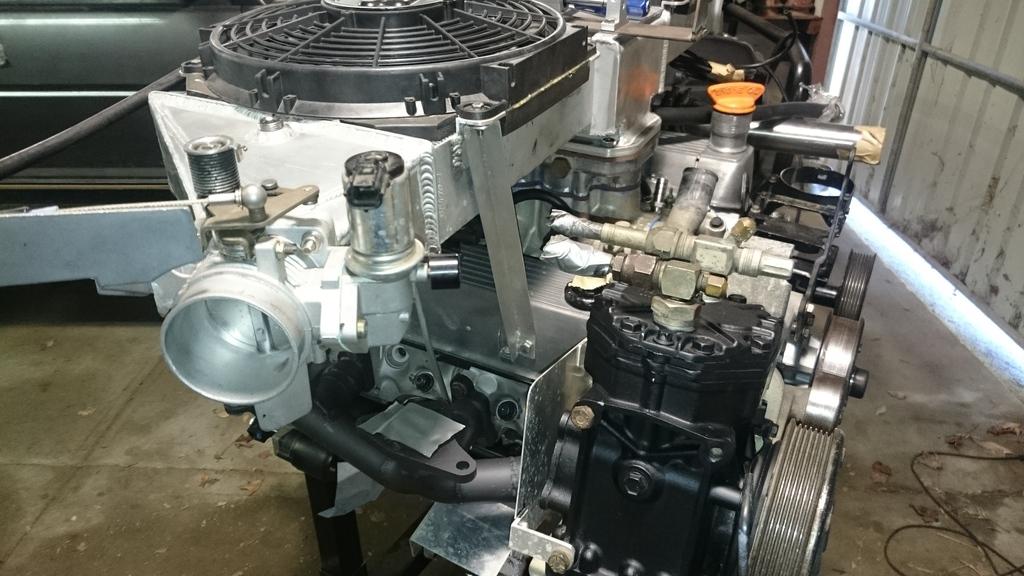
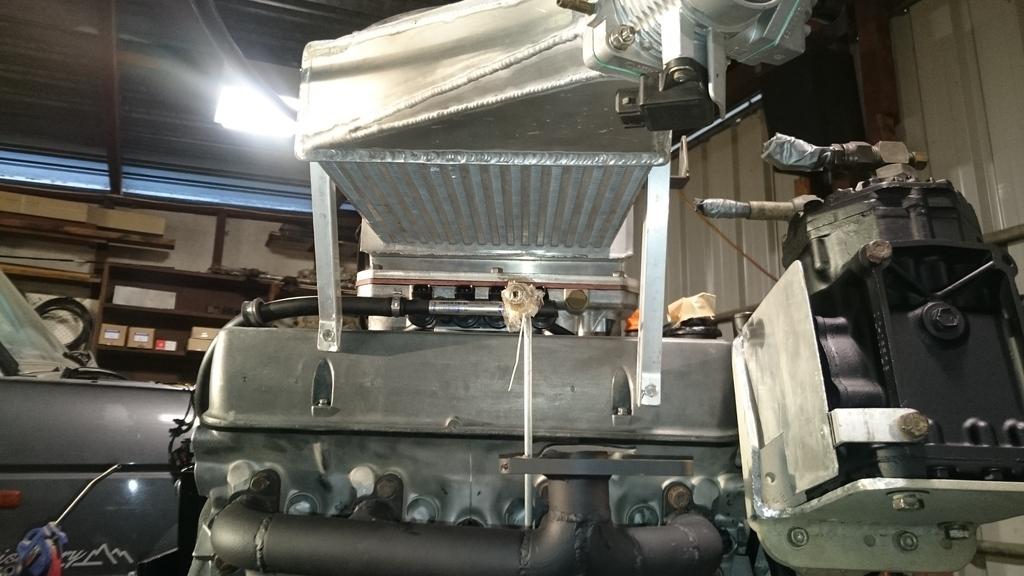
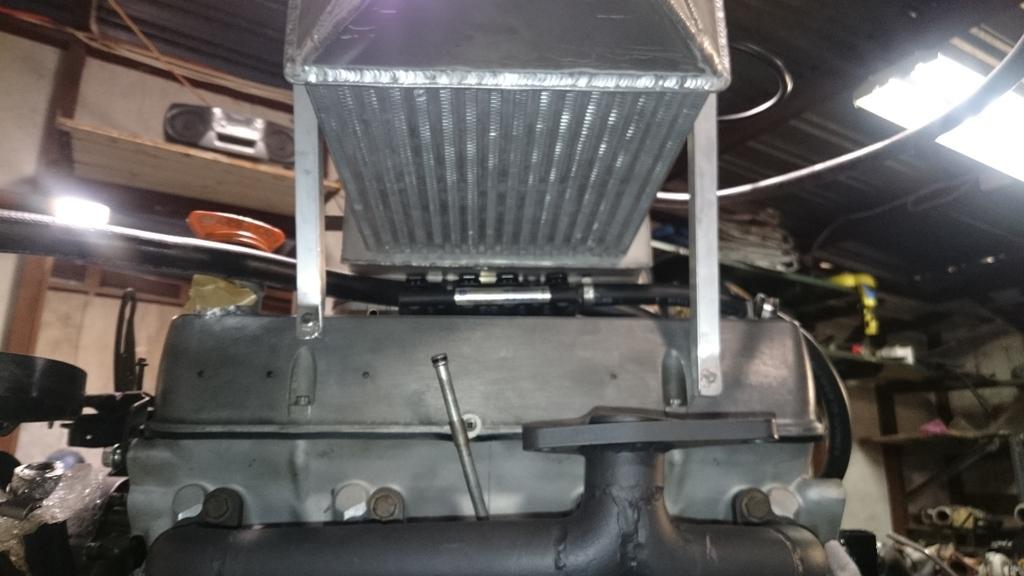
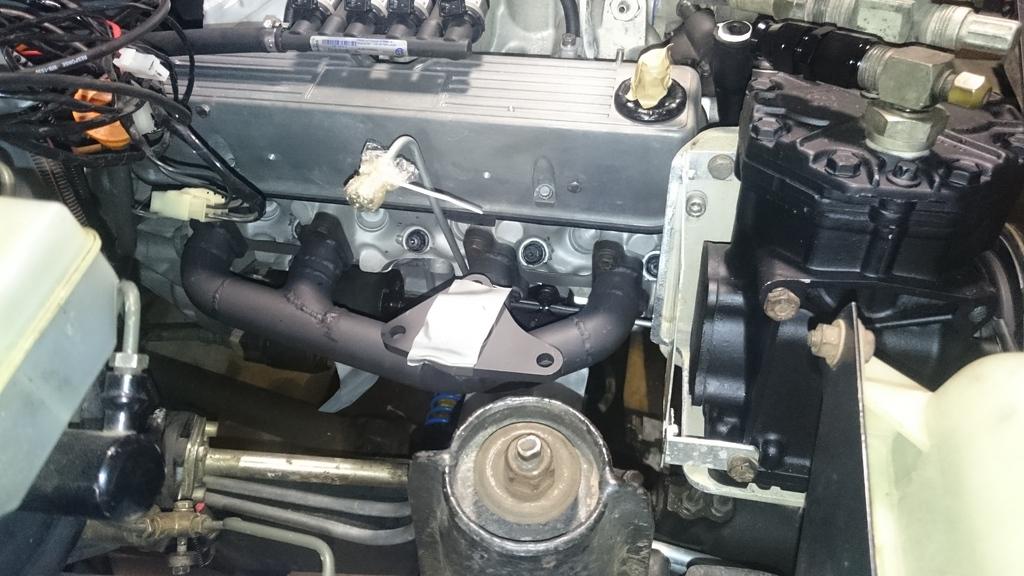
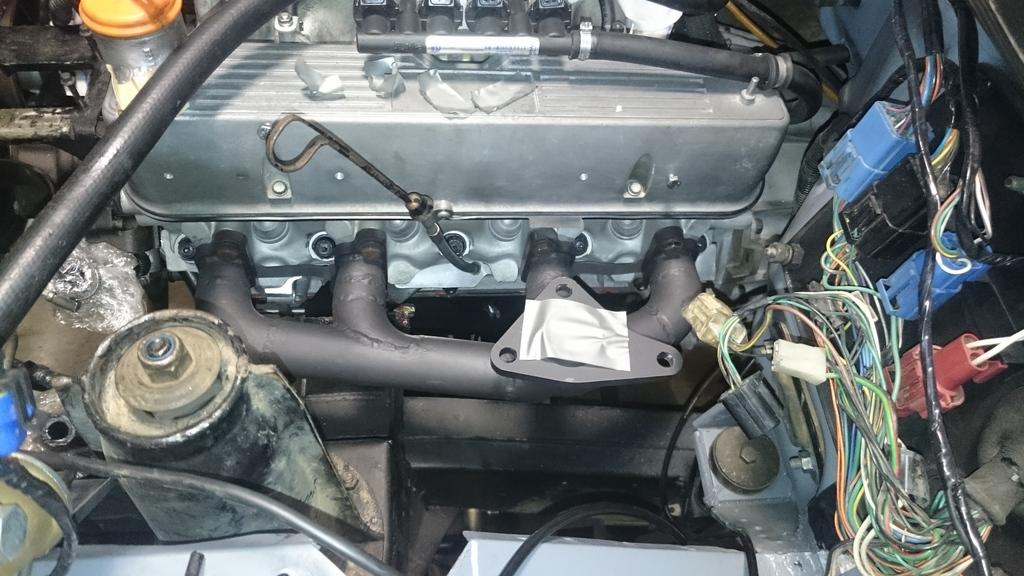
Page 61 of 82 FirstFirst ... 1151596061626371 ... LastLast
Results 601 to 610 of 812

Thread: Stirlsilver's Disco Ute Project

  1. #601
    Join Date
    Jun 2007
    Location
    Oatley, NSW
    Posts
    974
    Total Downloaded
    0
    Quote Originally Posted by banarcus View Post
    I see a Ford cam sync sensor there.
    Yup! Bottom half is a Rover distributor, top half is a Ford cam synchroniser

    So there is plenty to report on this week!

    Firstly, Christmas came early this year. Or at least, I paid for it to be early! Below are some of the items that came in.

    Ashcroft CVs and heavy duty drive flanges:


    Some larger defender front brake calipers and brake shoes:


    Adjustable panhard rod and a set of wide angle and long yoke drive shafts:


    Radiator hoses and some swivel housing rebuild kits:


    The ceramic coated manifolds and dump pipes:


    As for progress, I finished with the rocker cover breathers. An AN12 fitting on each side, aluminium on one and stainless on the other. You can see how I cut down the original breather down.


    I ended up tapping a larger thread into the intake manifold to fit a 3/8"NPT threaded fitting for the hot water takeoff for the LPG evaporator. I actually stuffed up the first time round because the tap filled up with aluminium and ended up destroying the thread as it went. So I had to weld it up and start again... Got there in the end though.


    Lots of care was taken with applying sealant over the rocker cover gasket, and then bolting the intake manifold on:


    Fitted the Jag V12 engine mounts on. Below you can see the size difference and also how I wrapped the mounts with fibreglass insulating wrap to prevent the rubber being damaged by the heat from the exhaust system:


    Next up was modifying the coolant line for the LPG evaporator return. I decided to only run a short way with hard line so I can at least remove the intake manifold without having a clash with the steel pipe. I also re-used the old NPT vent plug housing to allow me to connect the cabin heater if I want to. (The heater was disconnected when I got the car, so I suspect it leaks?)


    More brackets going on:


    Right hand turbo assembly put on temporarily to ensure everything was fitting the way it should:


    My lovely assistant Ana, helped me out for a bit with putting on the intake trumpet assembly onto the engine. You will see the heat insulator going on which I designed:


    I gave the York compressor a bit of a scrub with some degreaser and masked it up to give it a new coat of paint. Not sure how long it will hold though. Below is the primer coat:


    I've got to remember to take a photo BEFORE turning off the lights. Anyway, this is where it is all at:


    Phew!
    Stirling

  2. #602
    Join Date
    Apr 2009
    Location
    South Sydney
    Posts
    2,499
    Total Downloaded
    0
    I like the shiny bits and the extractors came up great!

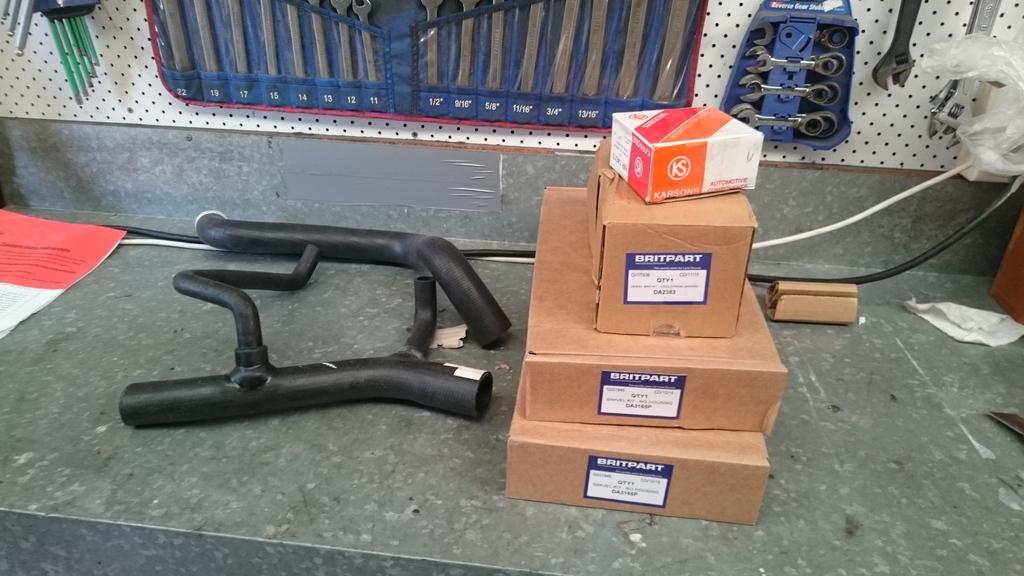
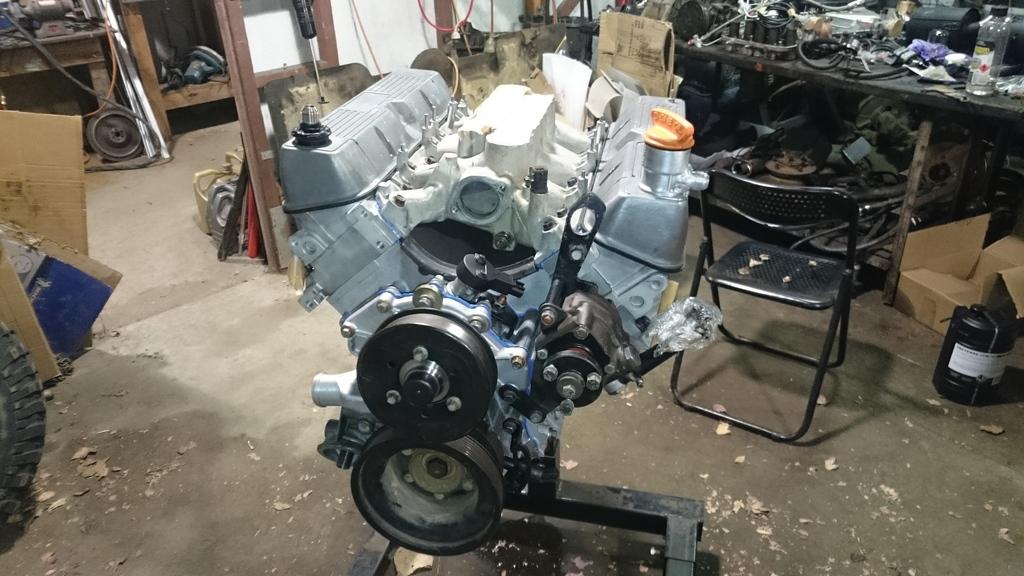
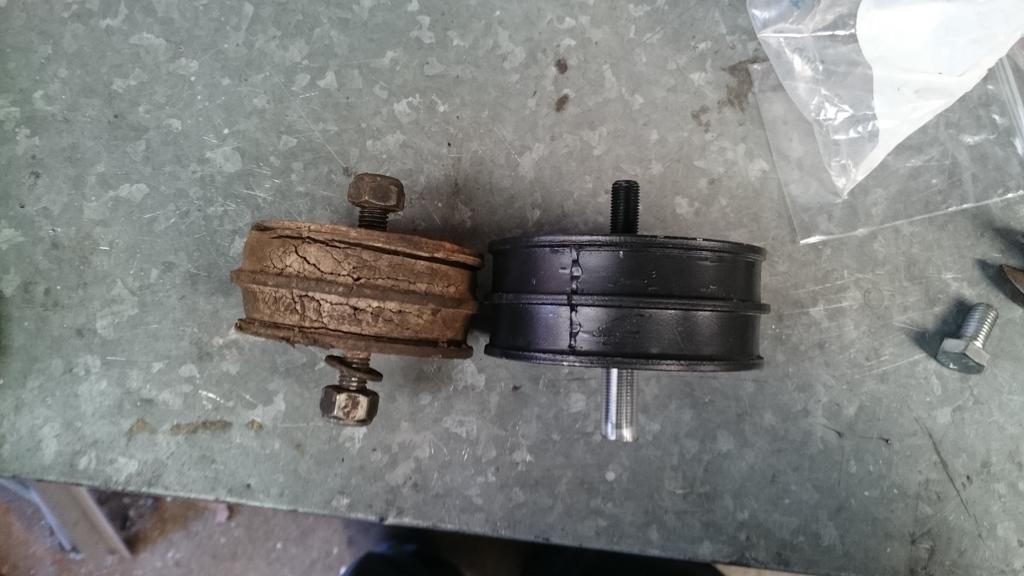
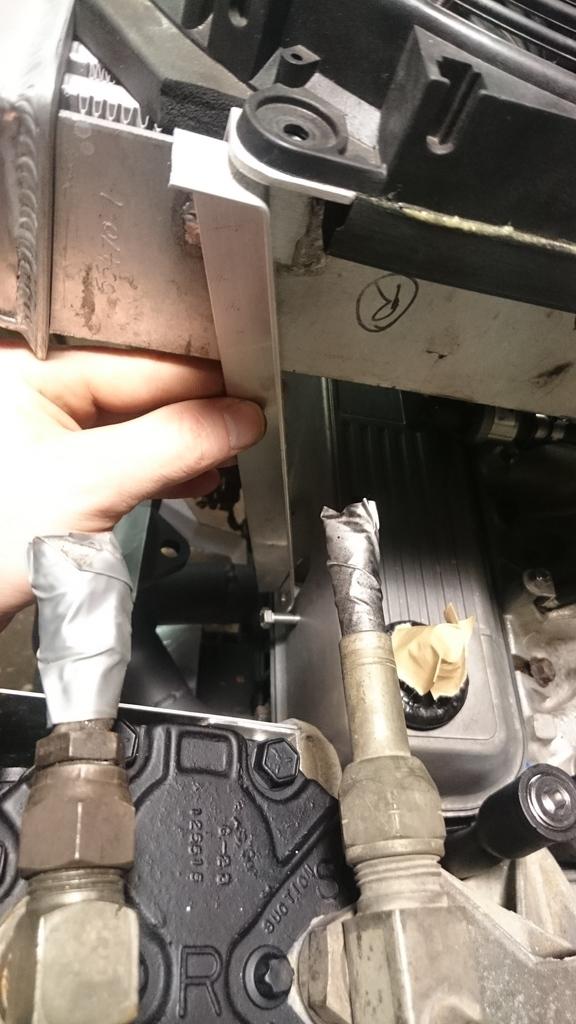
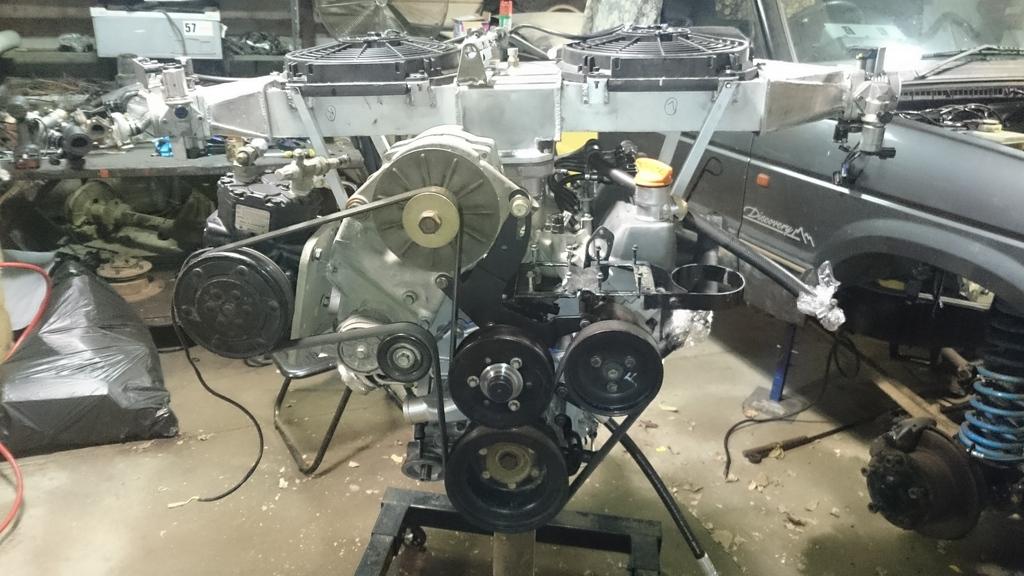
    But before you bolt it all together... I'd honestly suggest taking back anything with Britpart written on it and replacing it with OEM/Genuine.

    For all the years of research, development and hard labour you've put into this machine, the last thing you want to be doing is using rubbish parts for important jobs.

  3. #603
    Join Date
    Sep 2010
    Location
    Branxton NSW
    Posts
    581
    Total Downloaded
    0
    I saw those blue boxes too Will, I was hoping they were only the swivel hub kits.

  4. #604
    Davo is offline ChatterBox Silver Subscriber
    Join Date
    May 2007
    Location
    WA
    Posts
    2,595
    Total Downloaded
    0
    I've had Britpart bits on an axle . . . they made the usual leaks look natural by comparison.
    At any given point in time, somewhere in the world someone is working on a Land-Rover.

  5. #605
    Join Date
    Jun 2007
    Location
    Oatley, NSW
    Posts
    974
    Total Downloaded
    0
    This last week hasn't been particularly productive as Thursday-Friday I was in Melbourne again and now I am in Austria to attend a meeting.

    With regards to the Britpart stuff. Yes I know they are lower quality, but I have now poured so much cash into this project that I need to try and be economical where I can. I think to date I've spent about $60,000 on this project alone, particularly because I have to rent a workshop for it. So it is all really starting to pinch.

    When I was placing the seal kit order I was deliberating between the OEM and the Britpart prices and I chose Britpart because this isn't going to be a daily driver. It will be the occasional weekend car which will probably do 1,000Km per year. That being said, I'll take your advice and look into it again and see how I go.

    With what I was able to get done:

    The LPG injectors were mounted. I'm going to have to pull them off again however so that I can remove the rocker covers to drill and tap the holes to hold the pipe clams in location.


    The York compressor was finish coated and mounted.


    Where it is all at.
    Stirling

  6. #606
    Join Date
    Mar 2013
    Location
    Perth
    Posts
    140
    Total Downloaded
    0
    Mate your attention to detail is superb. i love how you have still managed to keep the top of the engine clean whilst still incorporating the lpg injectors. You should definitely upload more videos to youtube once its running again, the sound of that v8 spooling down the road is killer.

  7. #607
    Join Date
    Jun 2007
    Location
    Oatley, NSW
    Posts
    974
    Total Downloaded
    0
    Quote Originally Posted by DieSchnelleKafer View Post
    Mate your attention to detail is superb. i love how you have still managed to keep the top of the engine clean whilst still incorporating the lpg injectors. You should definitely upload more videos to youtube once its running again, the sound of that v8 spooling down the road is killer.
    Thanks for the comment I'll definitely post up some more videos soon!
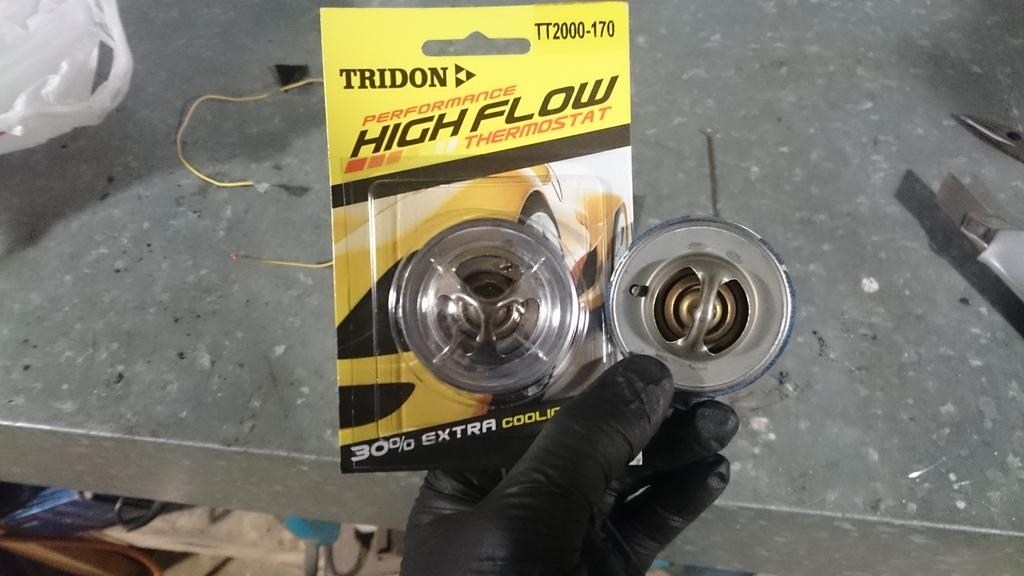
    I only spent one night on the project this week. I didn't get back until the weekend from Austria, Thursday I am in Melbourne and then over the weekend I am in QLD visiting family. Weekend after that and my 3 week holiday in Japan starts, so it's not going to be a productive few weeks!

    Anyway, moving on.

    Some more parts came in such as another set of swivel kits (british this time) and some adhesive thermal insulation. Also a high flow thermostat which is set to 77degC. Should definitely help to keep the engine cool enough.


    The RH turbo inlet duct was trial fitted on. Next thing I need to do here is run a connection from the duct to the suction side of the compressor. First I need to figure out how to do the adaptor onto the compressor fittings!


    The line between the LPG evaporator and filter was mounted. I'm very happy with the way this turned out actually, nothing will rub here!


    The LH turbo inlet duct needs a bracket made for it, but I've decided to do that when it is in the car, because I'm not sure if I will make my life difficult if I get the position wrong! Also the plenum/intercooler assembly was put on again. This is after I had to re-tap the NPT fittings which had shrunk to properly install the air temperature sensor.


    A few more shots on how it all comes together. I was lucky to get away with being able to fit the 2" inlet duct between the RH turbo and the intercooler!


    Finally the oil lines for the turbos were mounted. I'm pretty happy with the way they ended up also, I had to drill and tap one hole into the block to get the P clip you see on the side. I don't think there will be any problems with cracking of the lines with this mounting. But we will have to see.


    Next up, the alternator has to go on after I clean it. And then I need to rebuild and slot the swivels on the front axle. Then it can all go back together.

    Till next time.
    Stirling

  8. #608
    Join Date
    Jun 2007
    Location
    Oatley, NSW
    Posts
    974
    Total Downloaded
    0
    Hello again everyone, I'm back from the 20 day holiday in Japan with Ana. It was a great trip and a much needed break. Today I managed to spend a few hours in the workshop before getting back into work tomorrow...

    The main objective was getting the brackets that support the ends of the intercooler cores made up. I ended up electing to make some brackets out of thin angle aluminium that connect the intercoolers to the rocker covers.

    First up, tapping M6 threads into the cast in holes that were already existing on the rocker covers. Amazingly the holes lined up perfectly with where I needed them.


    One side tapped with the M6 bolts trial fitted (the lengths of the bolts were trimmed down later).


    Forming up the bracket between the two points.


    One bracket done, 3 to go.


    All brackets finished.


    Next up, the rocker covers were pulled off to allow me to tap threads for studs to bolt down the P clamp to hold the LPG lines in position.


    The alternator was cleaned up and the belt fitted.


    There are lots of small miscellaneous bits and pieces yet to do, but I think I can now move onto installing the engine into the car! Which means I need to get the radiator done... and the scoop... and slotting the swivels. A number of weeks yet to go!

    Stay tuned.
    Stirling

  9. #609
    Join Date
    Jun 2007
    Location
    Oatley, NSW
    Posts
    974
    Total Downloaded
    0
    Another weekend down and another late night update.

    With Ana's help, we got the engine into the car after hoisting it up and fitting the flex plate.


    I may have been a little bit happy.


    Once the engine was in and bolted up, we moved onto insulating the intercooler assembly using some adhesive high temperature reflective insulation.


    Then it was on to the manifolds with some help from my mate Will who dropped by for a visit.


    And some of the wiring and plumbing, it's still a bit messy, but should get neater as I go along and finish all the bits and pieces.


    I'm aiming to get the radiator re cored this week. Hopefully that can happen!

    Till next time!
    Stirling

  10. #610
    Join Date
    Jan 2013
    Location
    Mt Barker SA
    Posts
    1,841
    Total Downloaded
    0
    i have just spent a little bit catching up on your build! wow what a beast!! cannot wait to see a video of it running with the new engine! great to see a fellow lady who loves to be in the shed working on cars too!
    love how clean and how important al the little details are throughout your project too. it is really awesome!

Page 61 of 82 FirstFirst ... 1151596061626371 ... LastLast

Bookmarks

Bookmarks

Posting Permissions

  • You may not post new threads
  • You may not post replies
  • You may not post attachments
  • You may not edit your posts
  •  
Search AULRO.com ONLY!
Search All the Web!