


 Reply With Quote
PM sent, thanks Mick.Originally Posted by disco_ute

Thanks for the comment
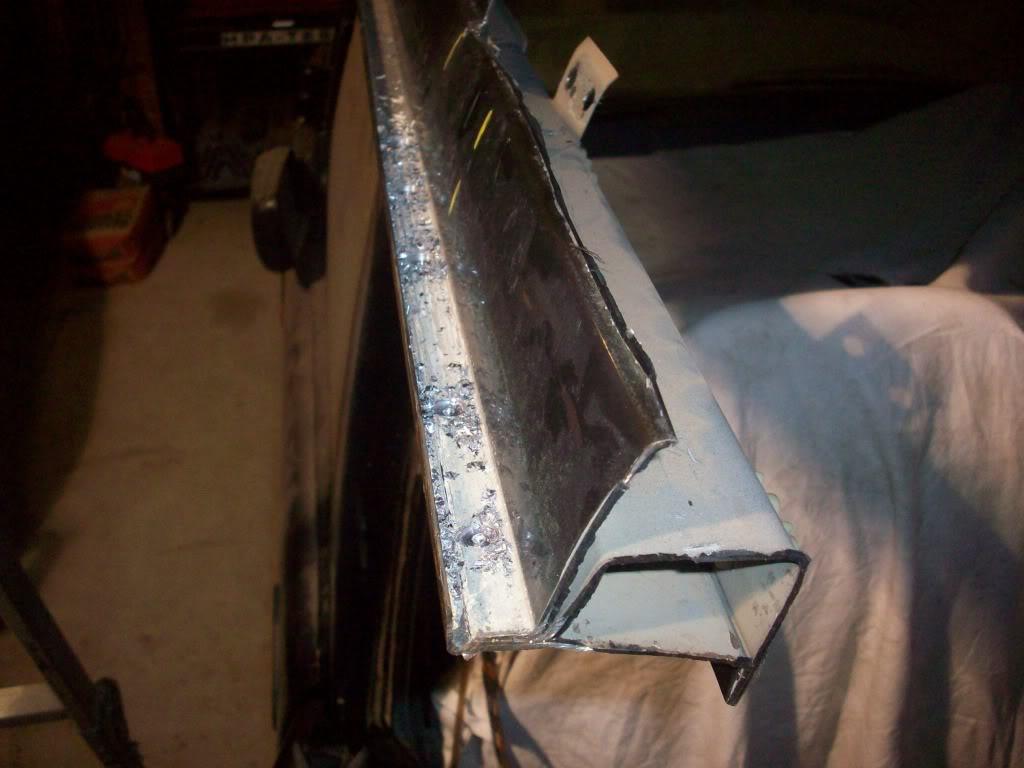
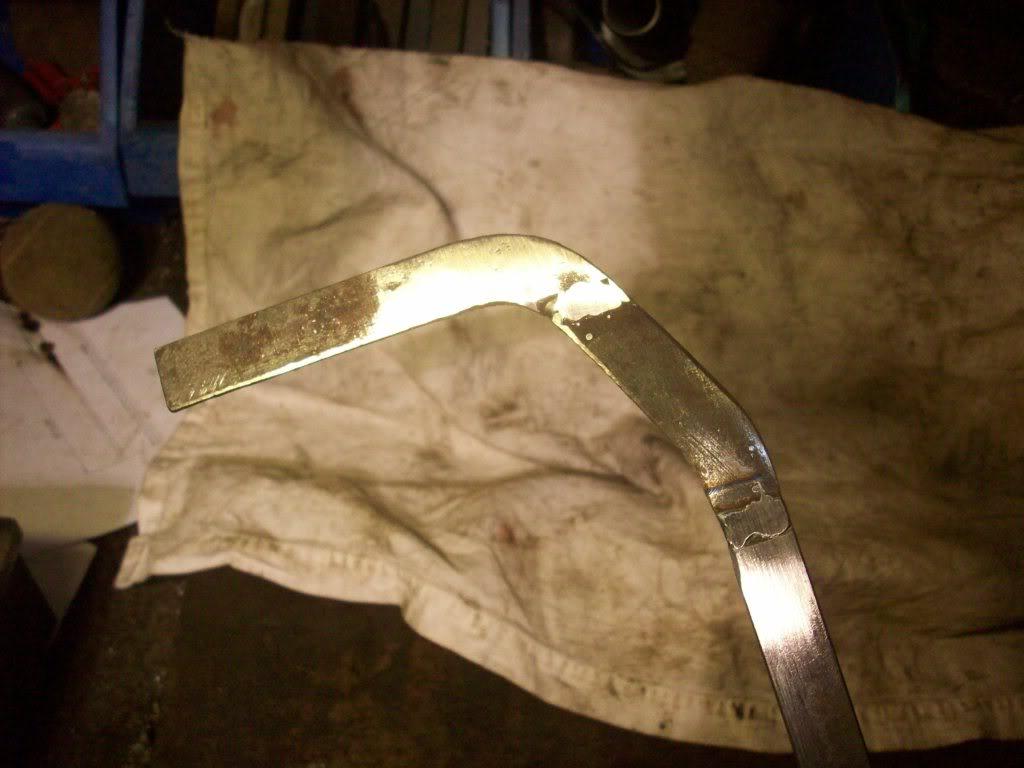
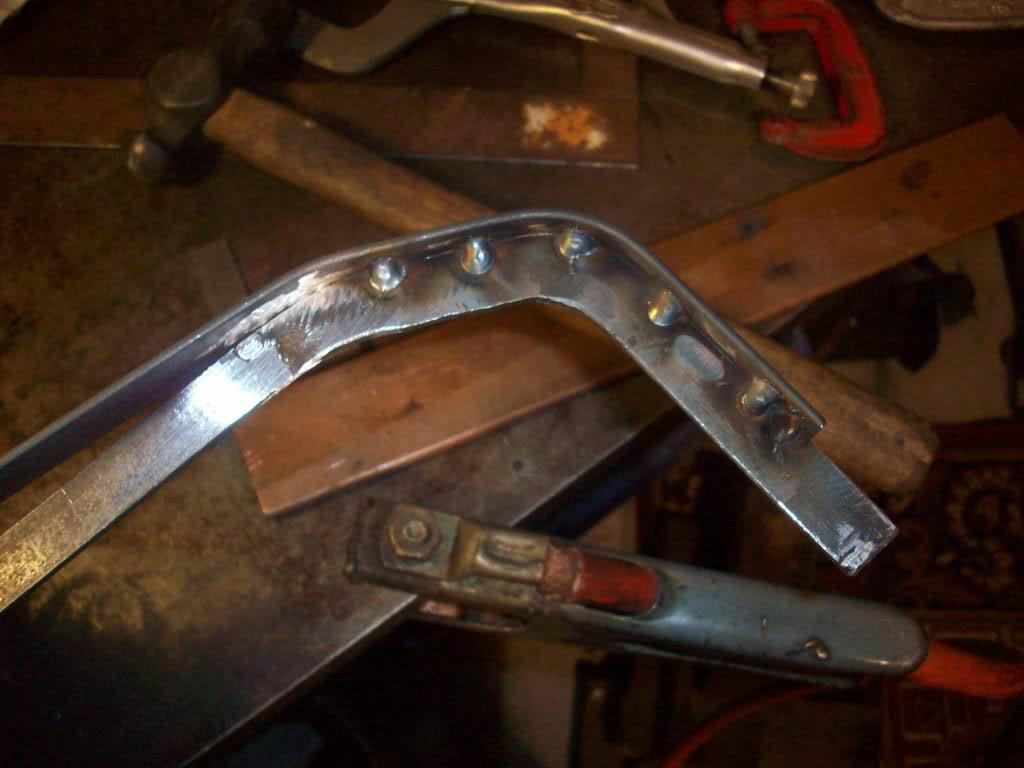
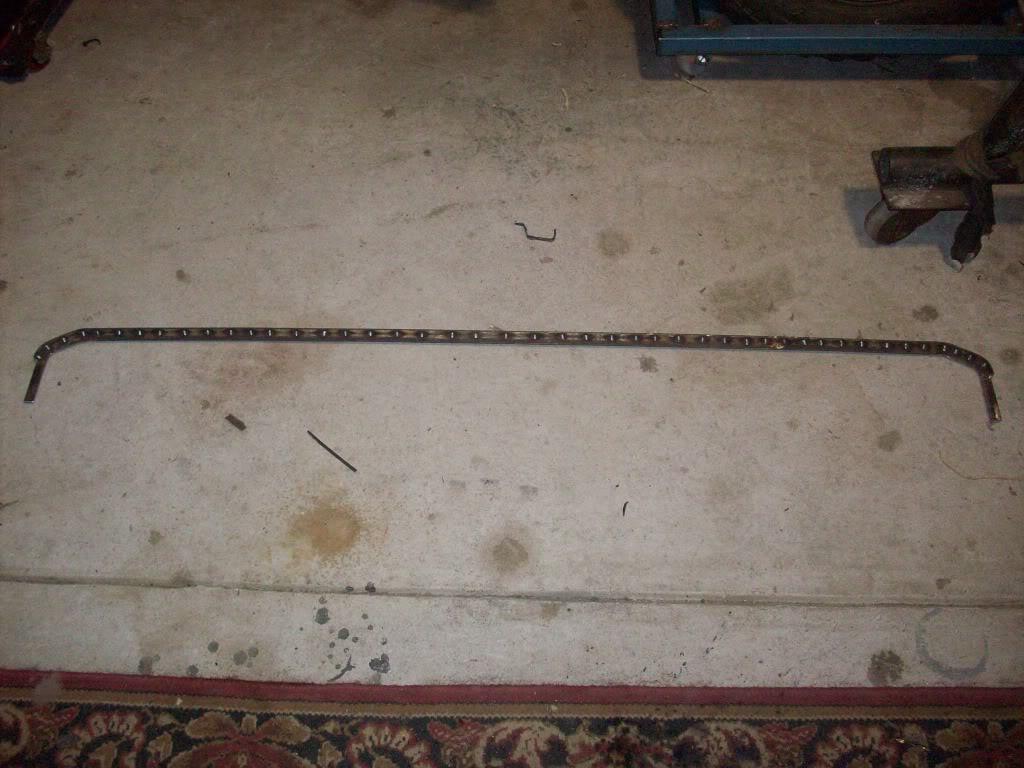
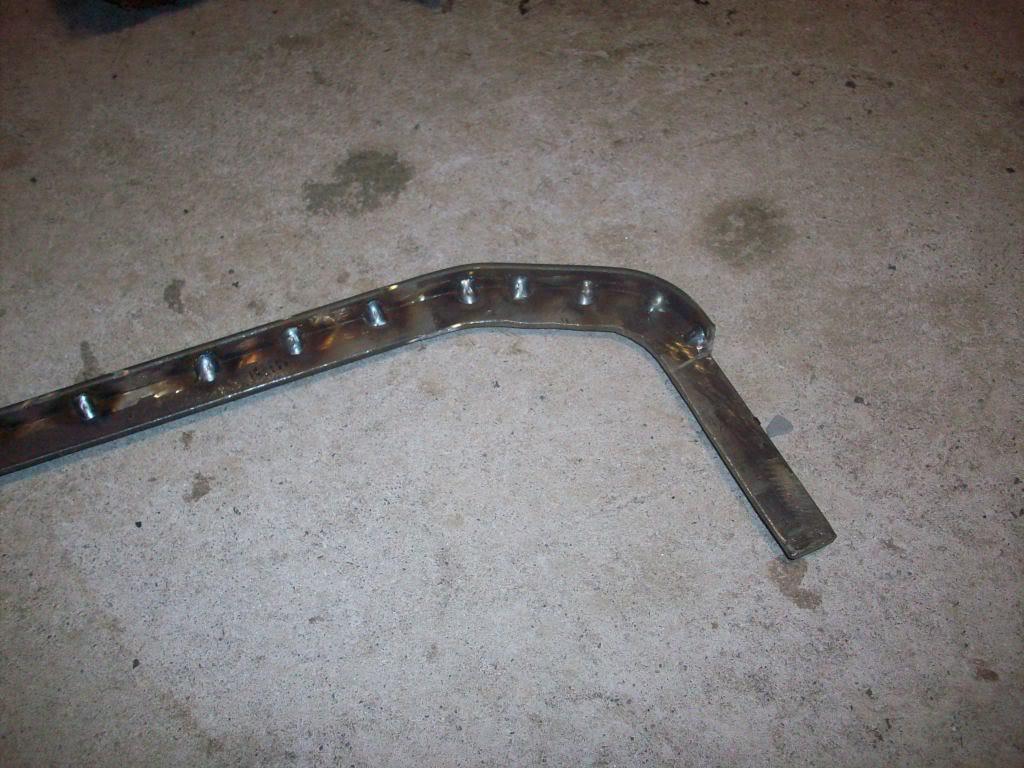
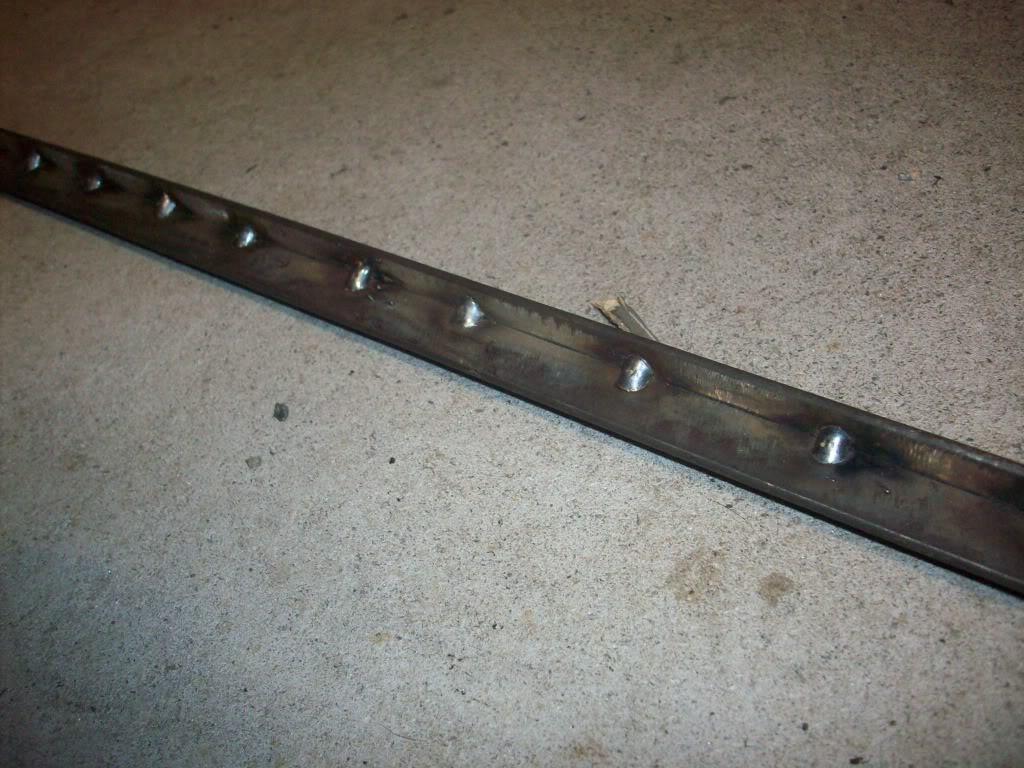
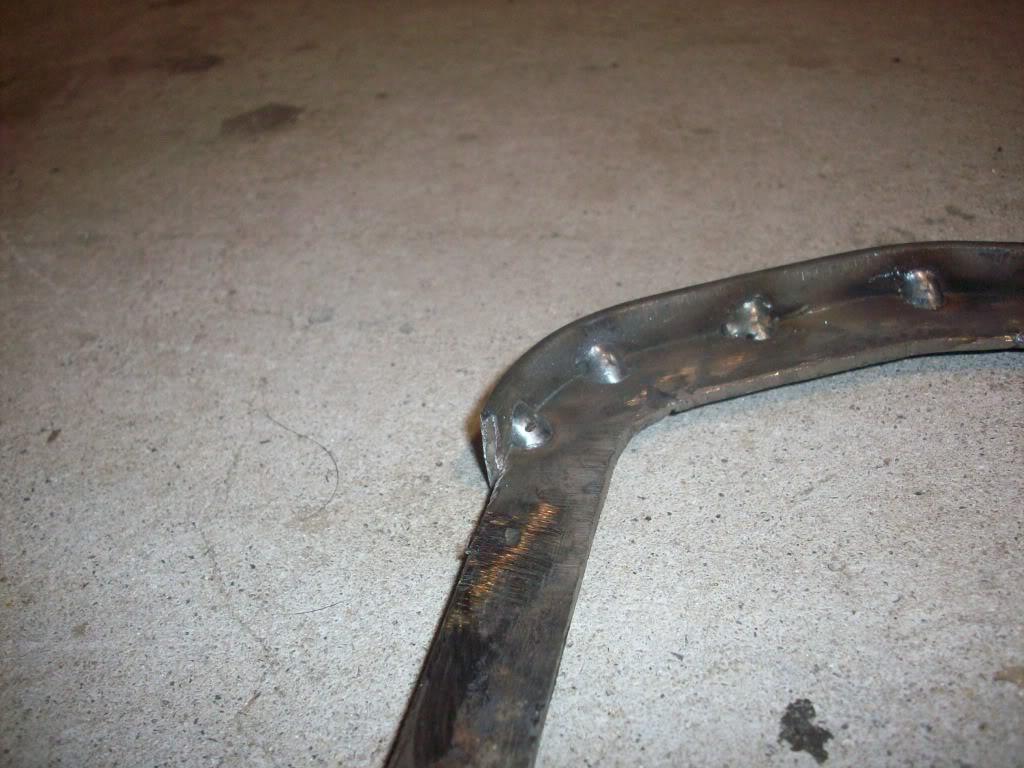
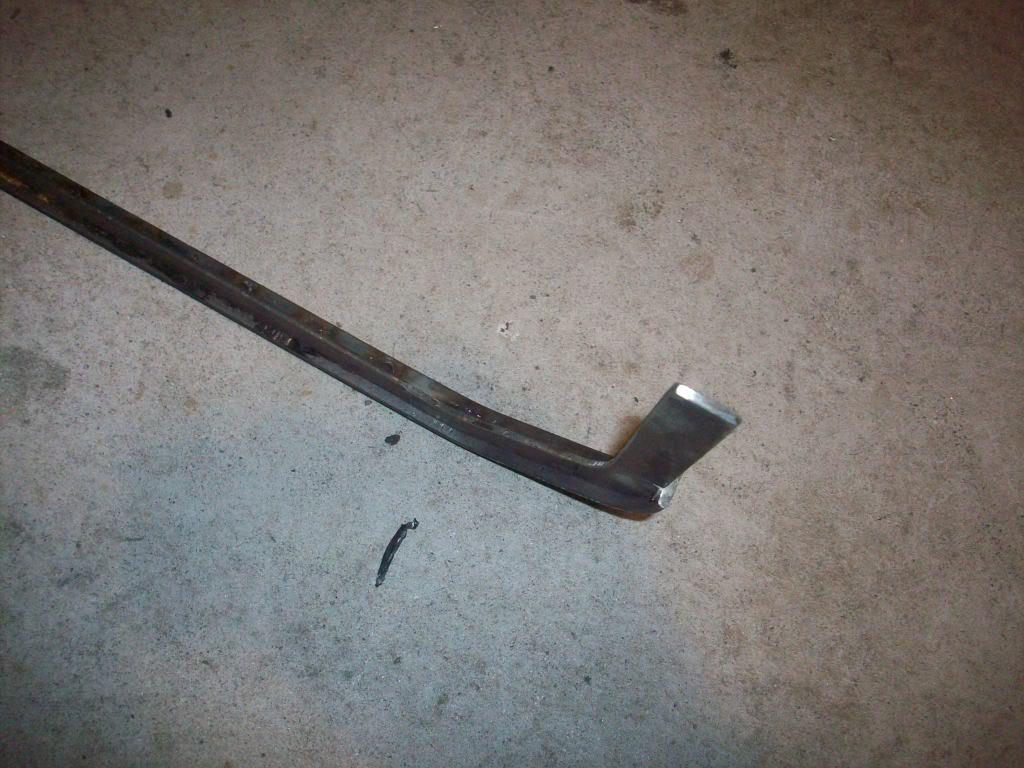
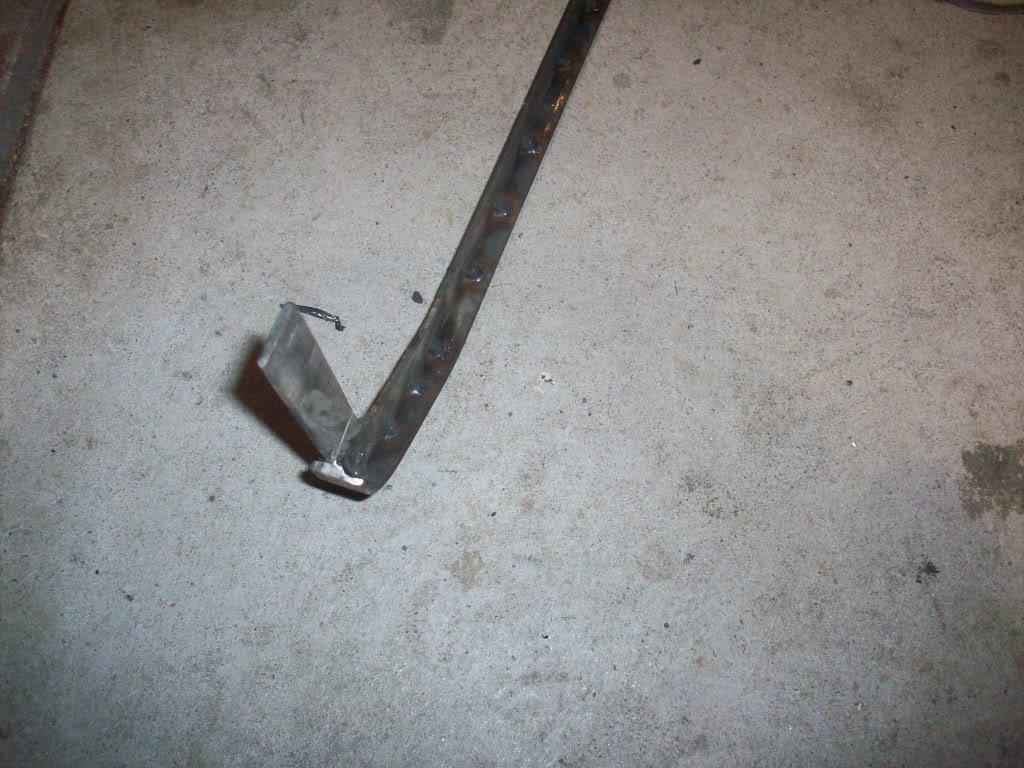
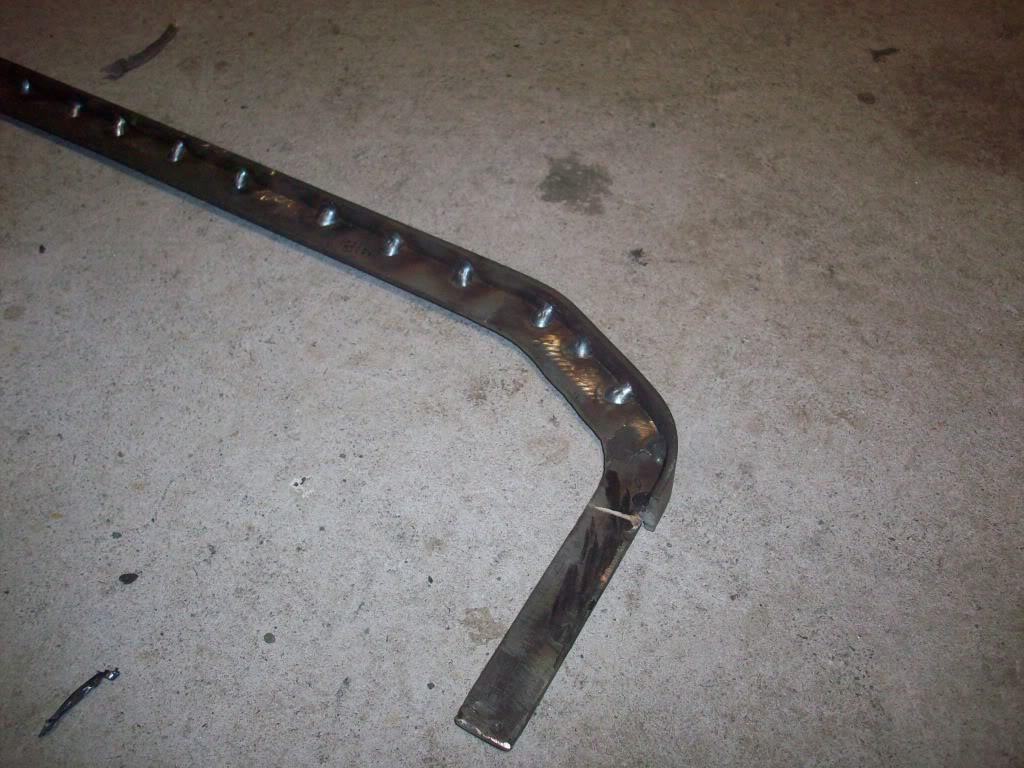
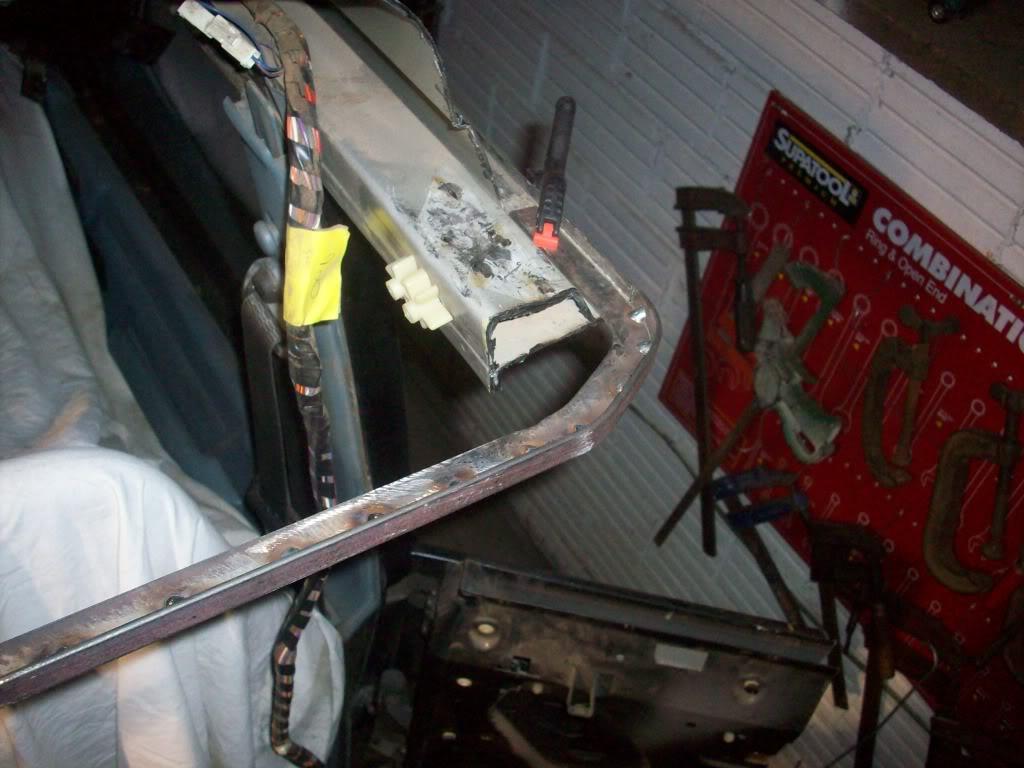
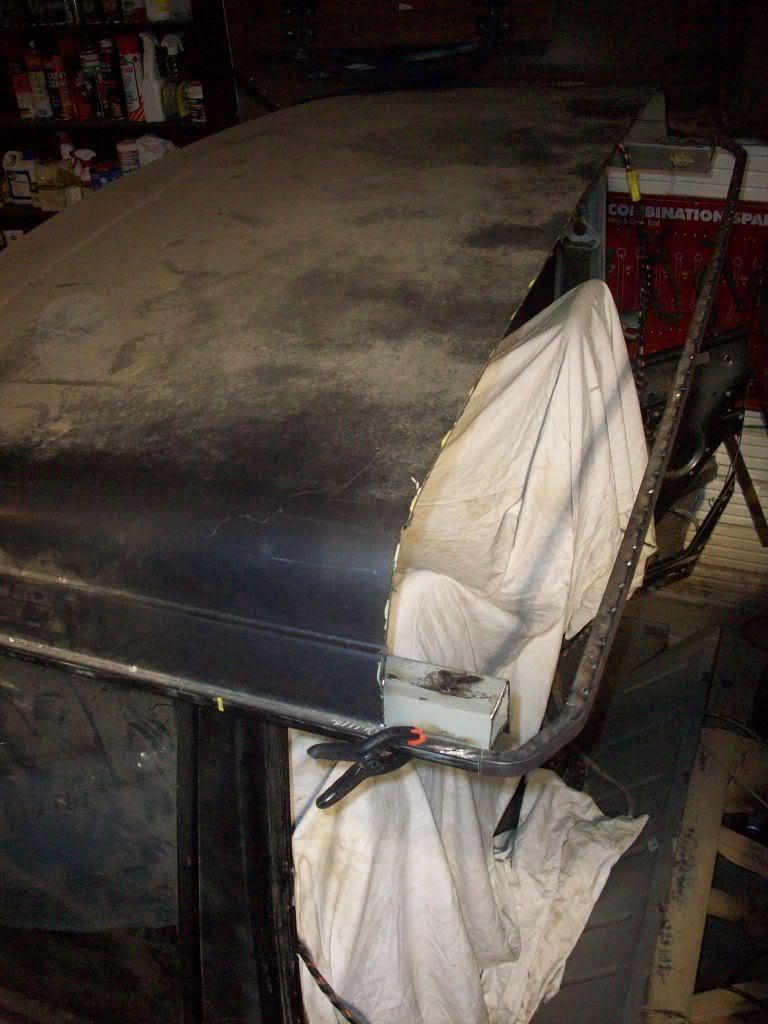
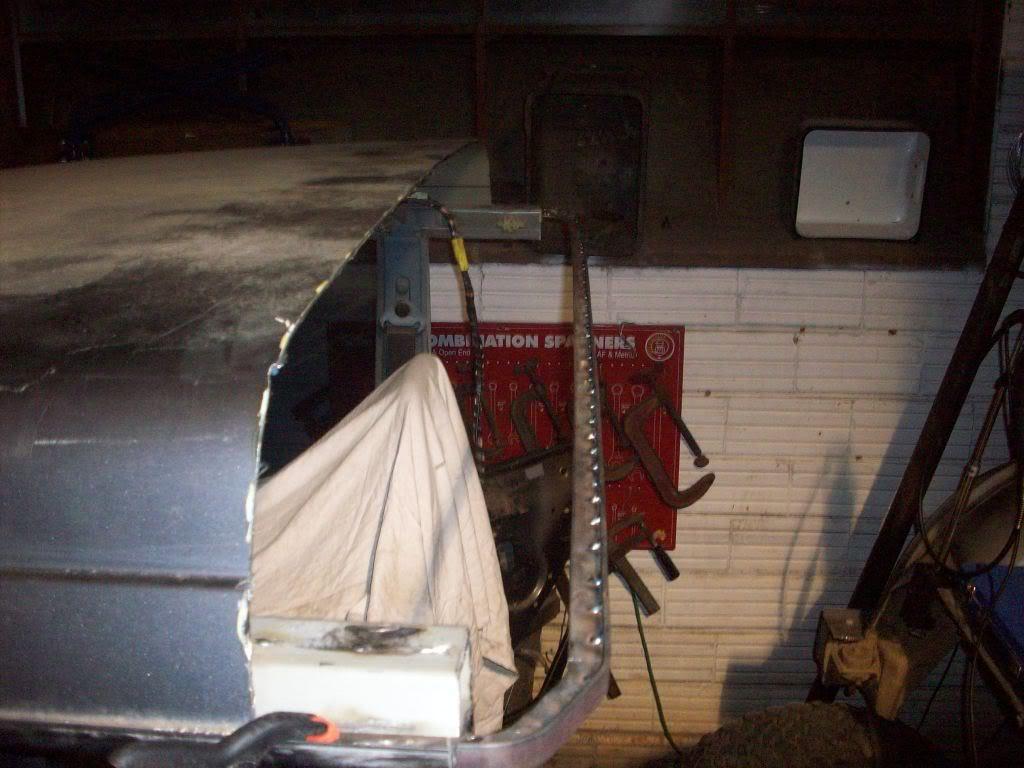
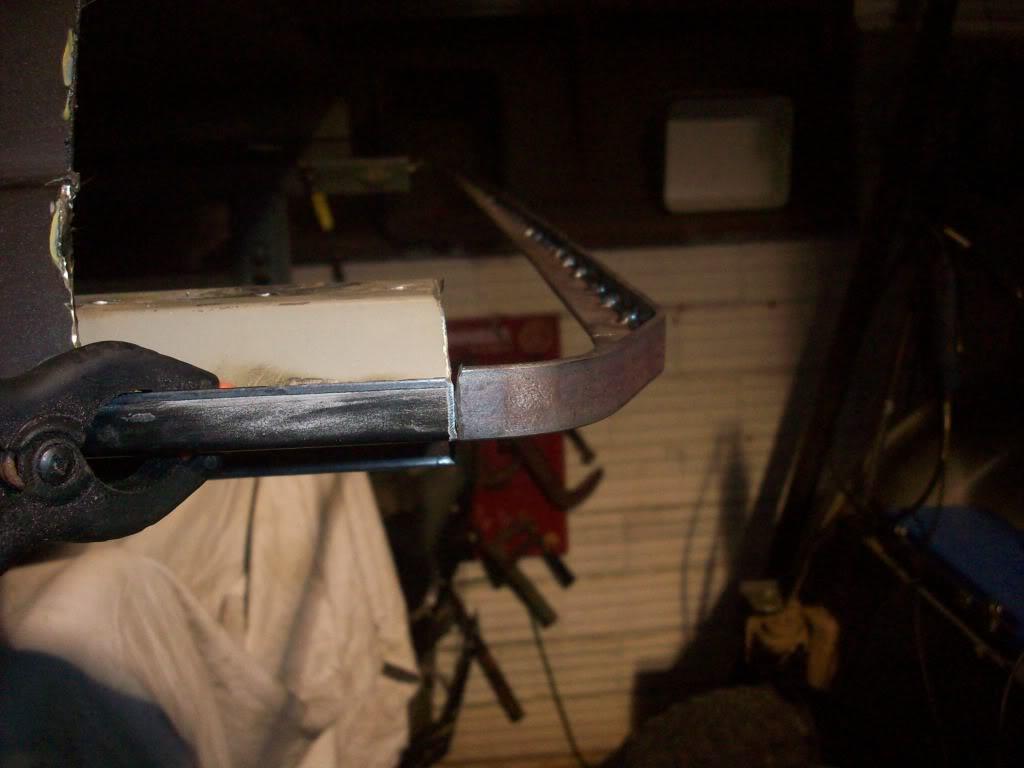
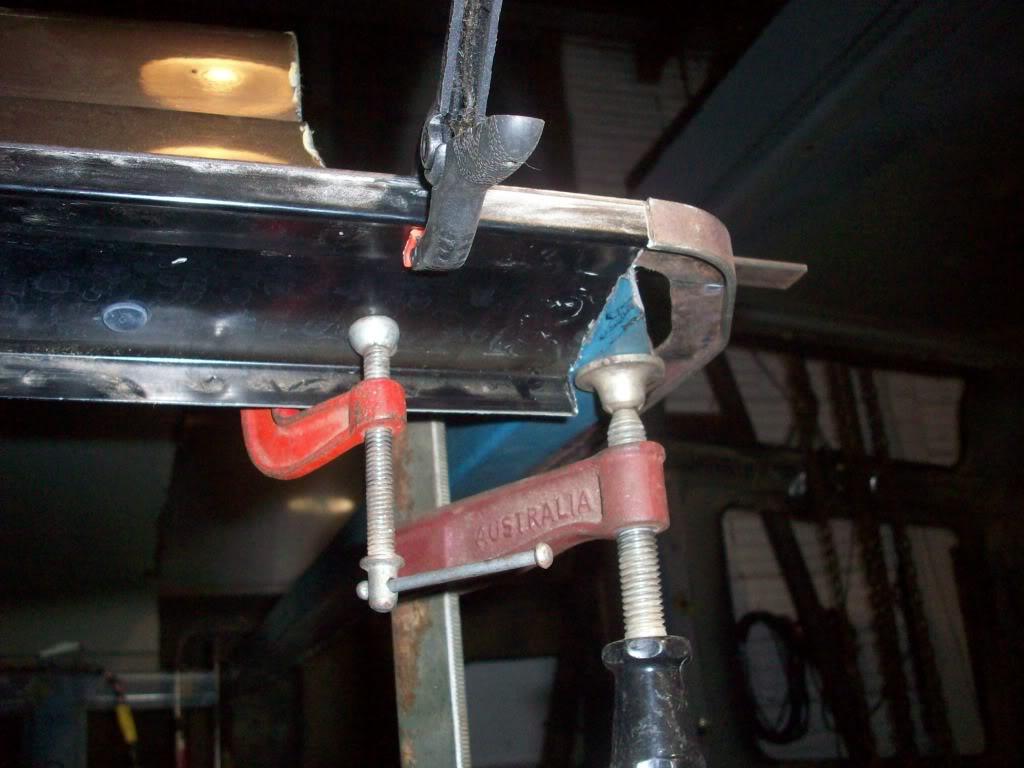
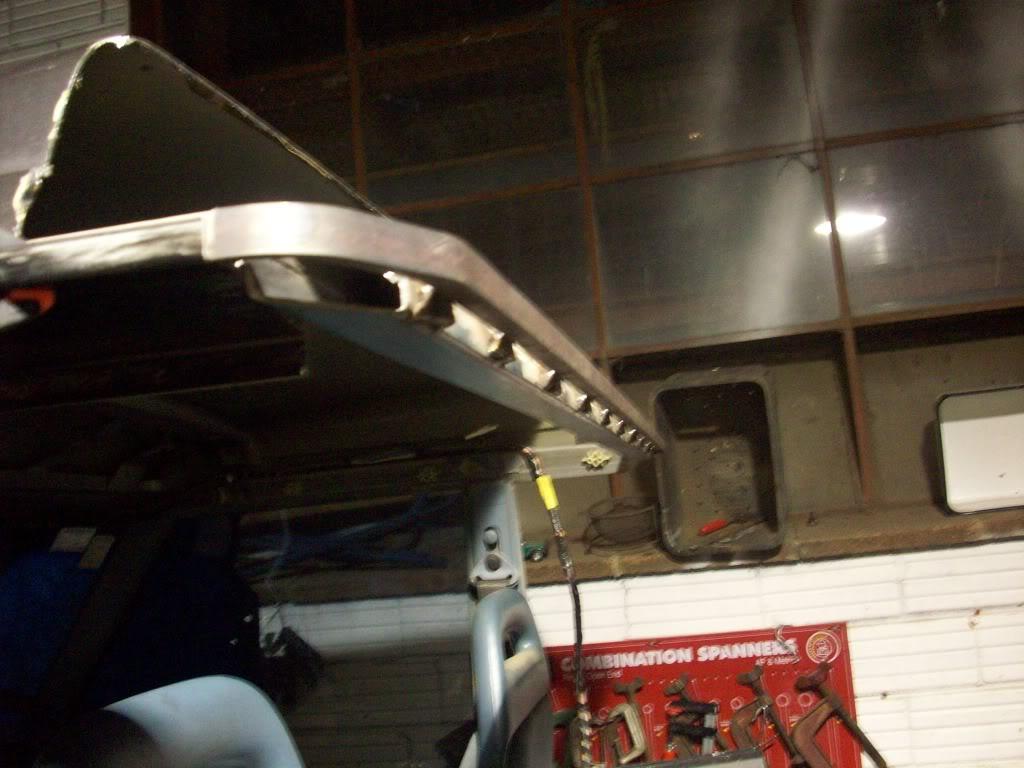
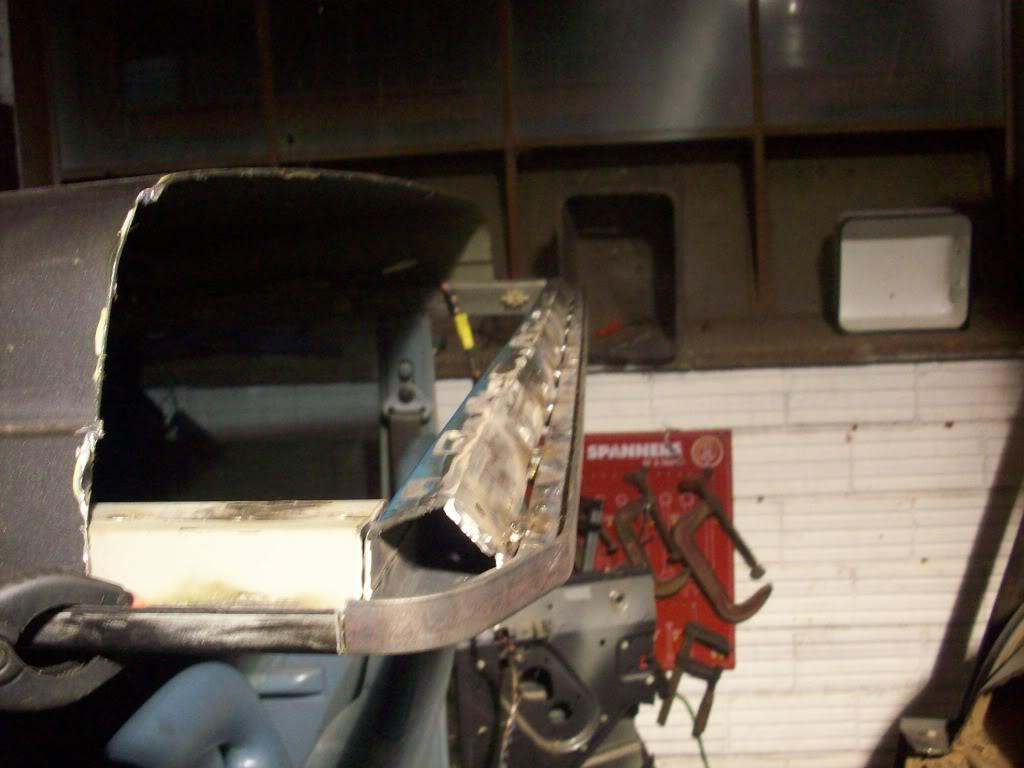
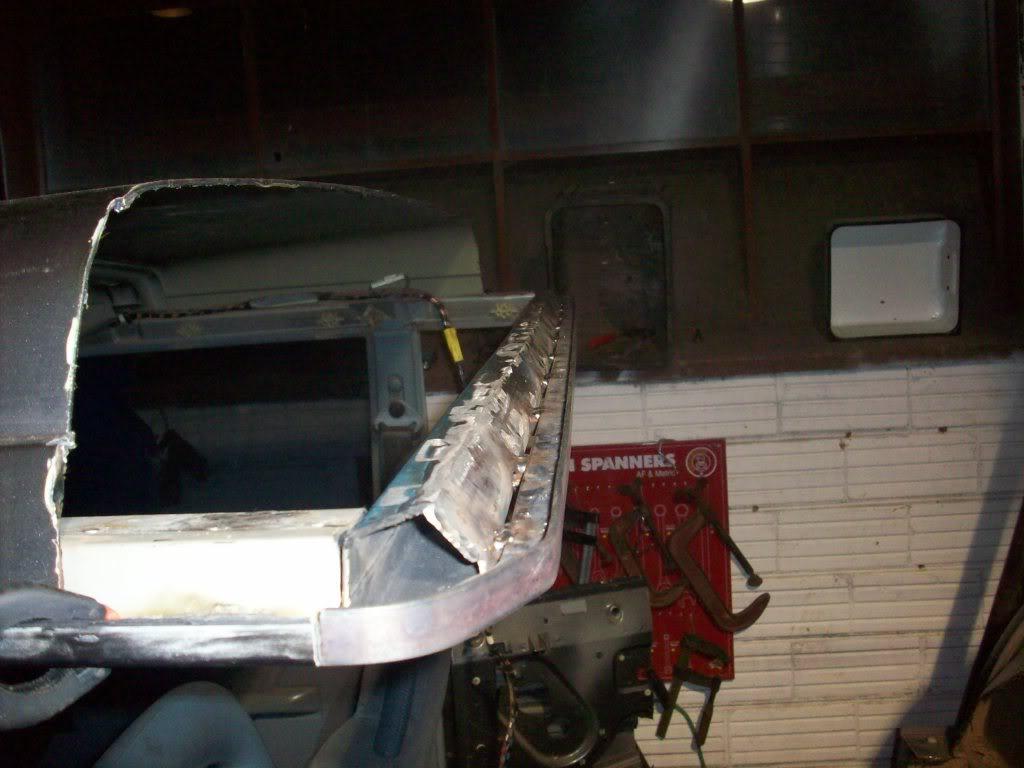
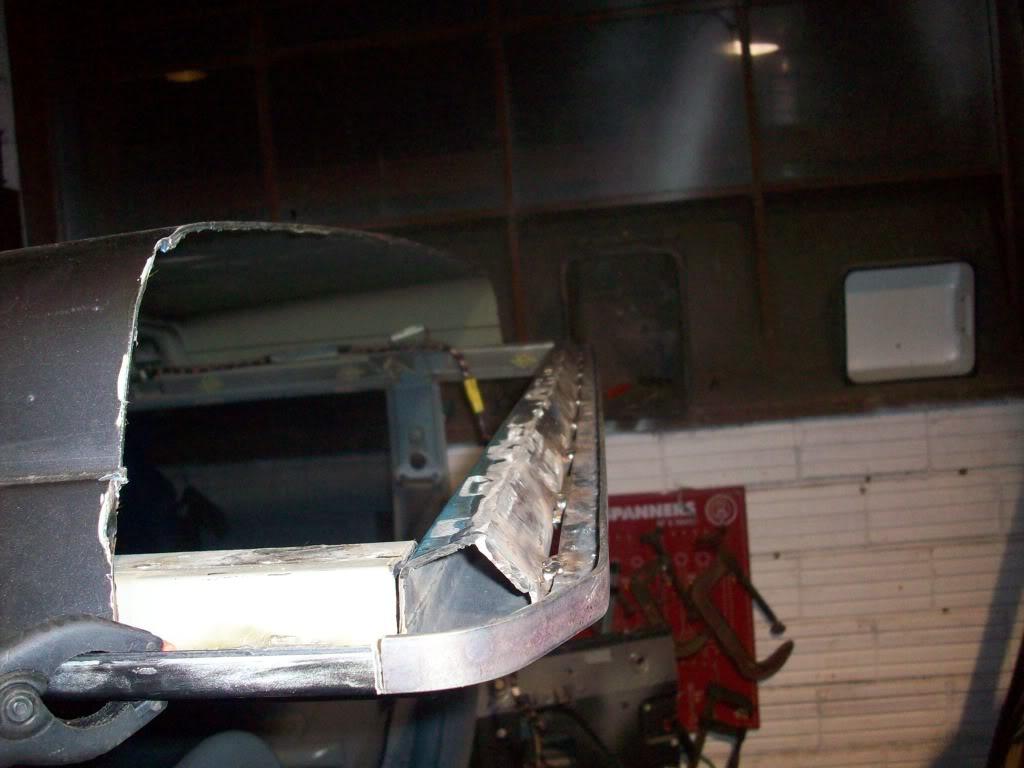
I saw that guys thread on some forum, the way that he could manipulate panel steel was amazing! I practically read the whole thread when I found it.
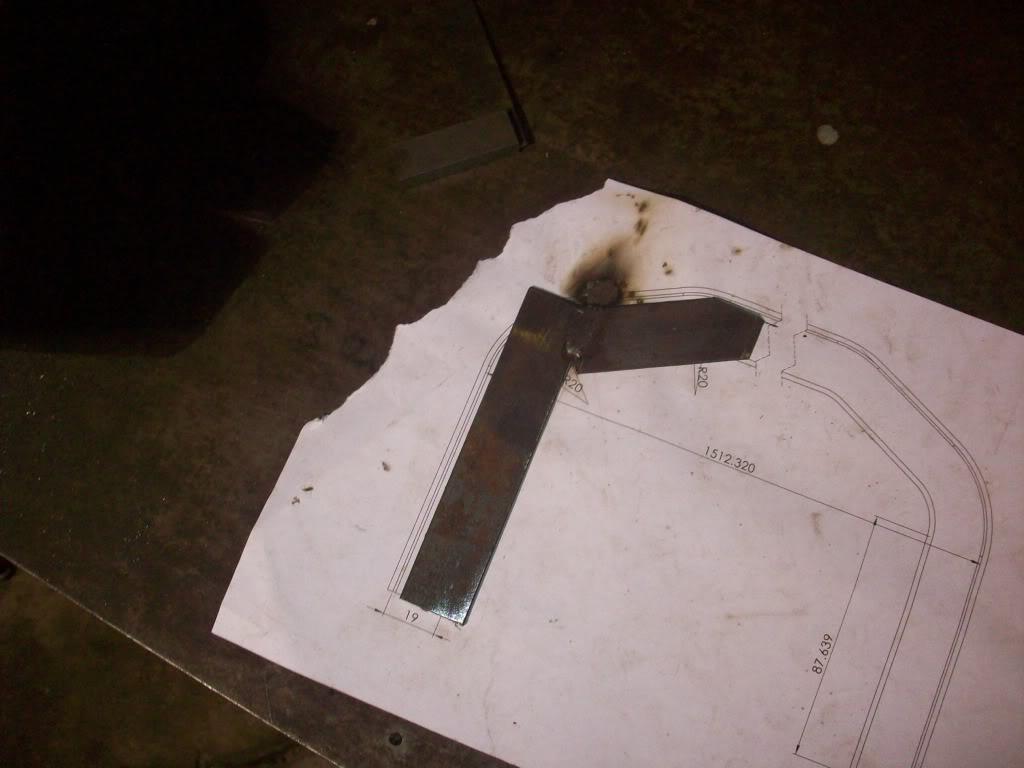
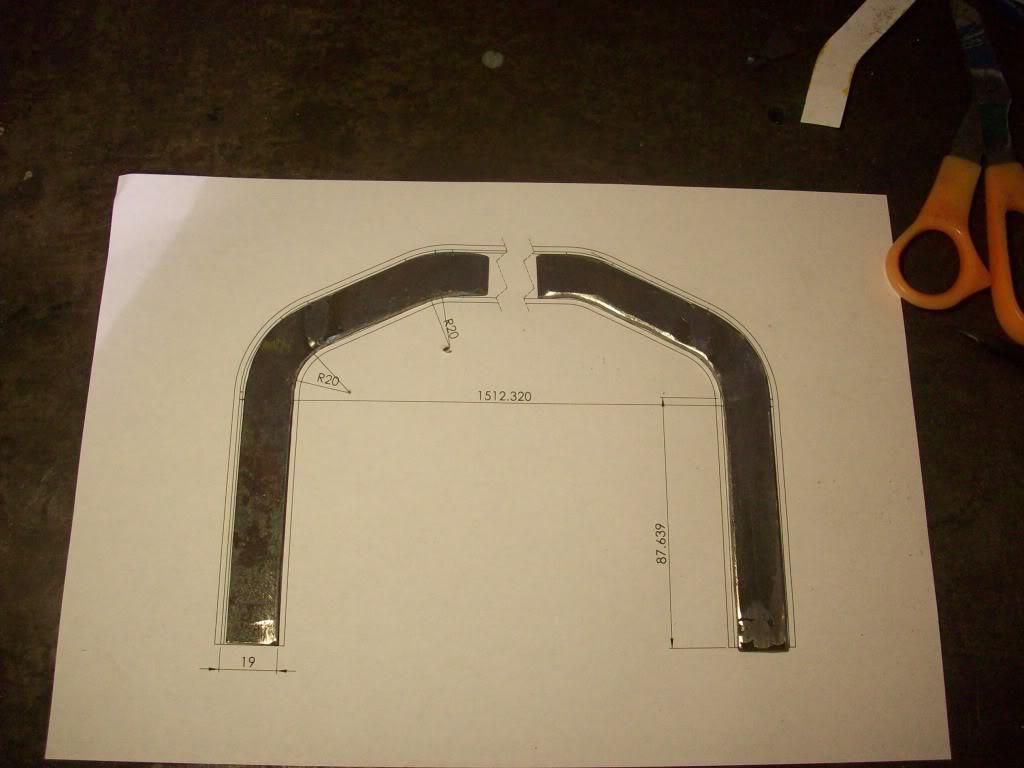
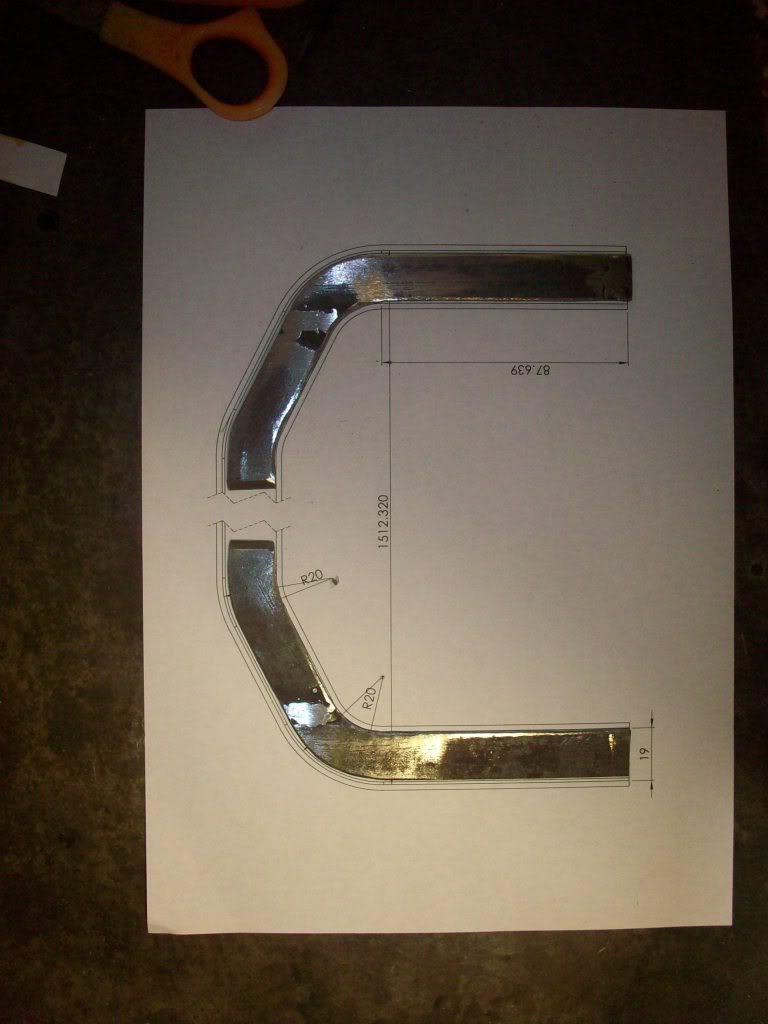
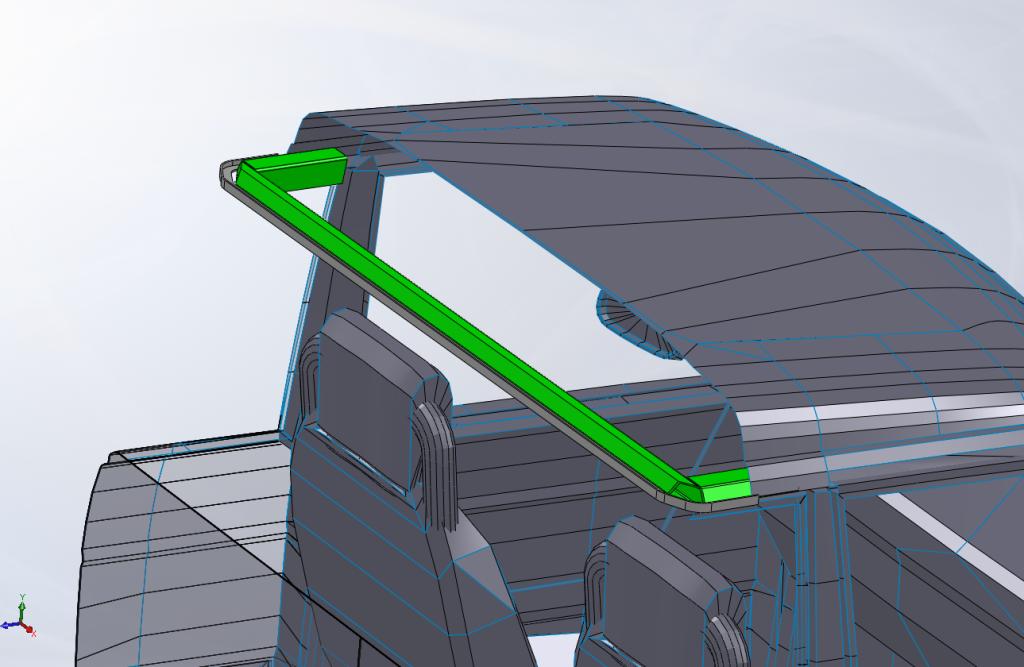
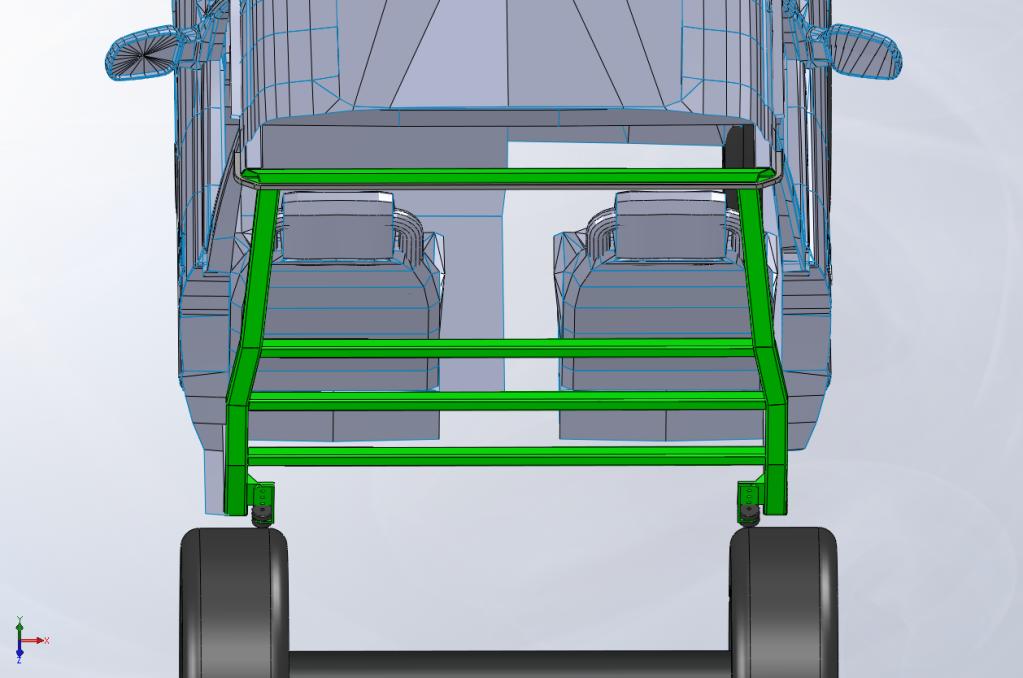
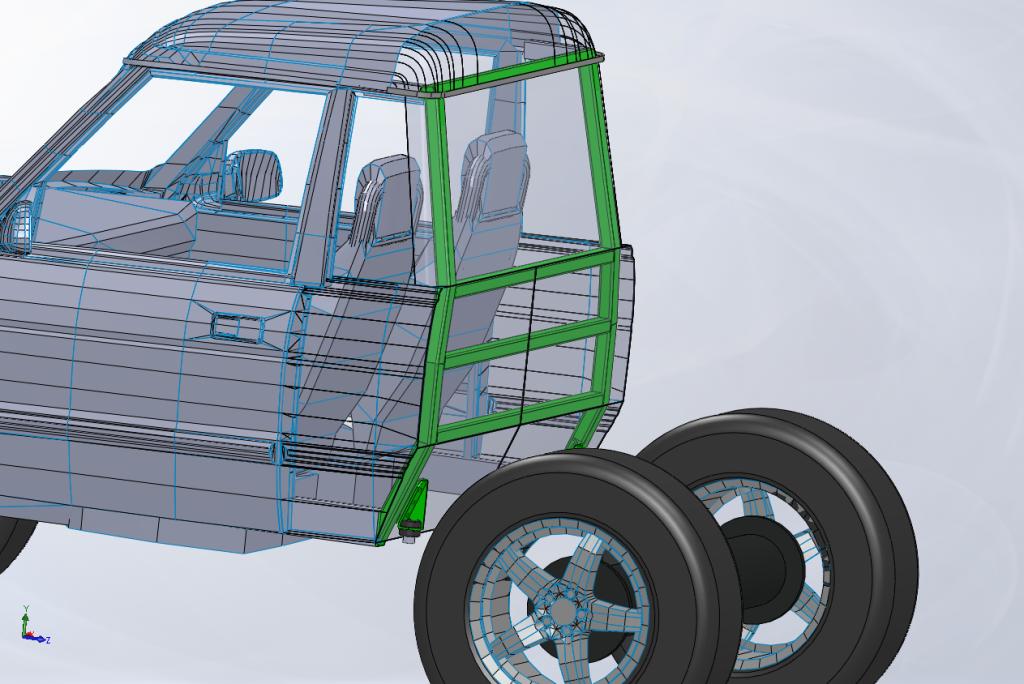
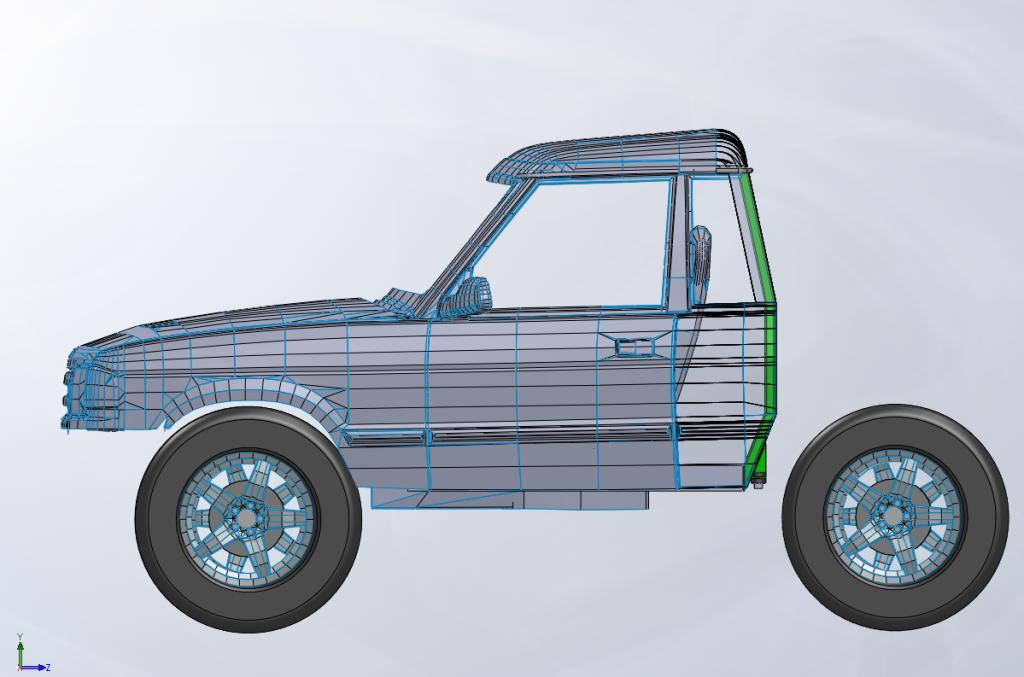
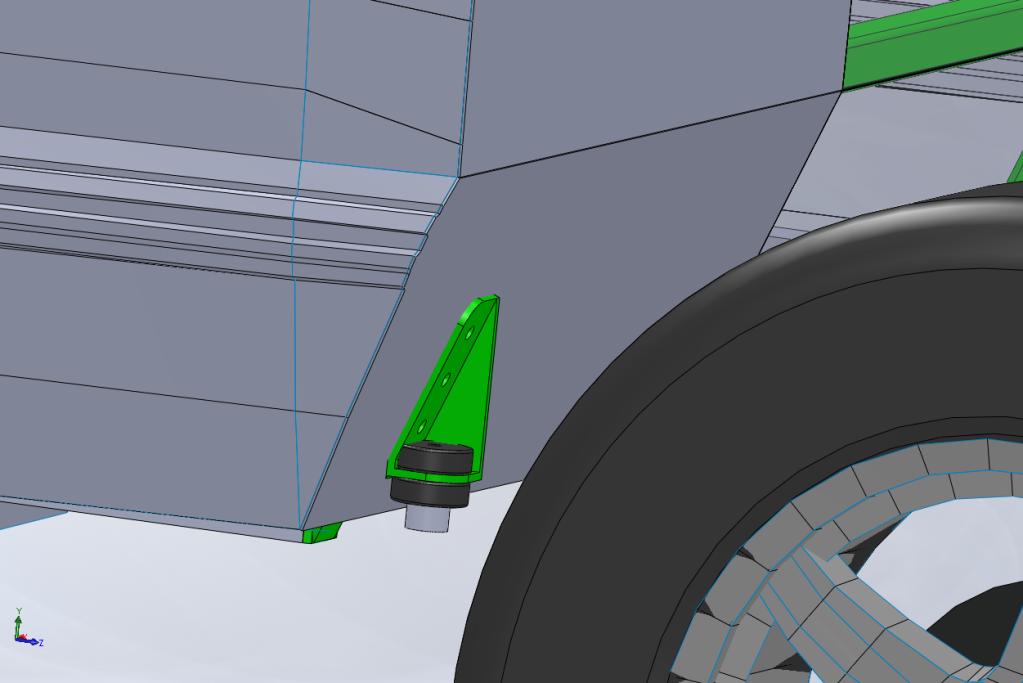
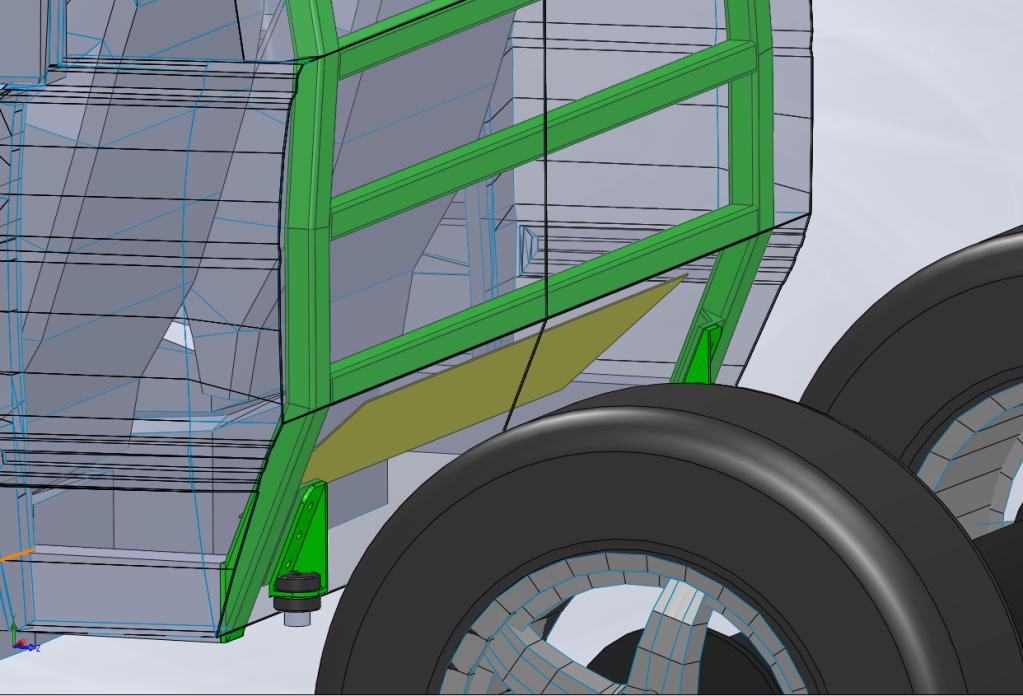
 , Will be watching with interest, also you seem to be very proficient with Solidworks.
")


Bookmarks