
Originally Posted by
dobbo

or as tall.
255/85/R16 really do rob the power out of a na 4BD1 LT95 combo, dunno about a 4BD1T the turbo might just be enough. I wasn't impressed. Also rubbing issues at the rear if your on standard offset rims.
I drove some down from Newie to Yass, around town and therefore offroad they are fine, get them on the freeway and they are not a nice combo.
235/85/R16 or 7.50R16 are the best sizes on my setup for any type of distance driving.
I agree that an NA engine would struggle a little in some instances, but mine struggled with over revving on 235/85/16 so went to the taller tyre. I would prefer a narrower one in that diameter, as you say they will rub on full compression. I have just bought some tubeless wolf rims and a Flatdog 50mm flare kit to finally fix the offset and rubbing issues with the 255/85's.
JC
The Isuzu 110. Solid and as dependable as a rock, coming soon with auto box😊
The Range Rover L322 4.4.TTDV8 ....probably won't bother with the remap..😈


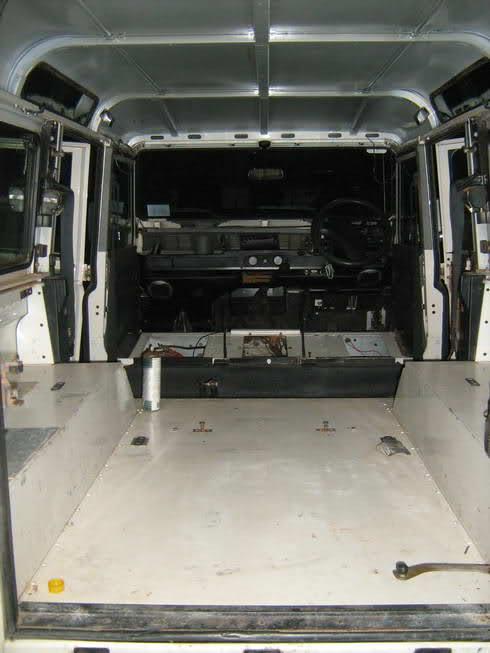
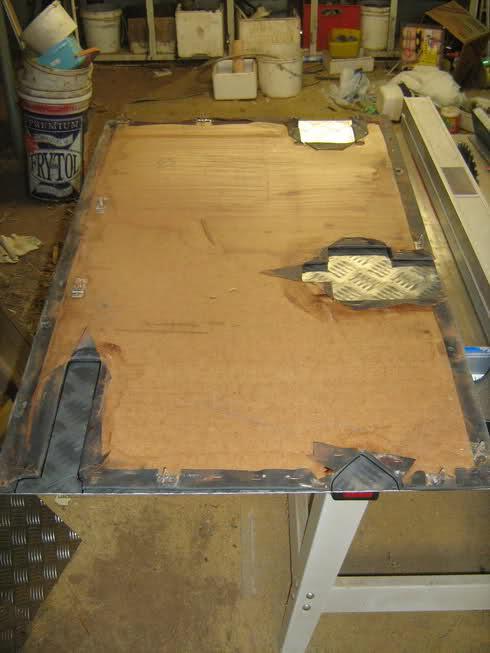
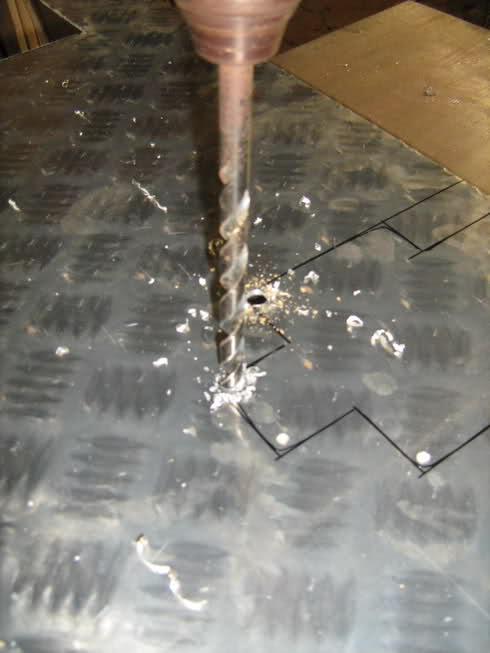
") I was unsure as to whether people would want to be subjected to death by photo, but at the same time if even a section of this thread helps the next person, then it'll be worthwhile. But if people tire of photos, let me know and I'll cut back on them.
I was unsure as to whether people would want to be subjected to death by photo, but at the same time if even a section of this thread helps the next person, then it'll be worthwhile. But if people tire of photos, let me know and I'll cut back on them. 
 Reply With Quote


Bookmarks