


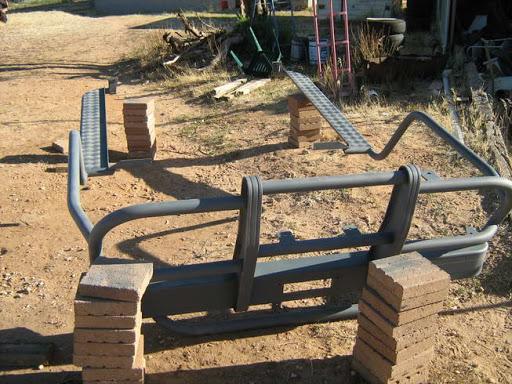
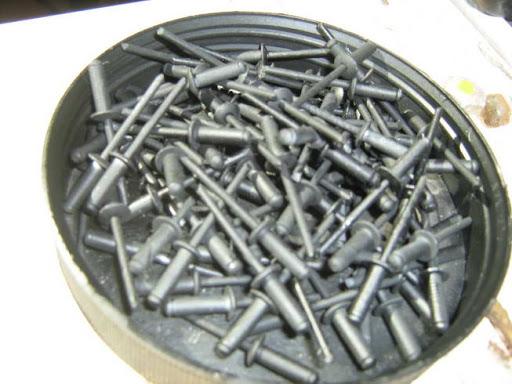
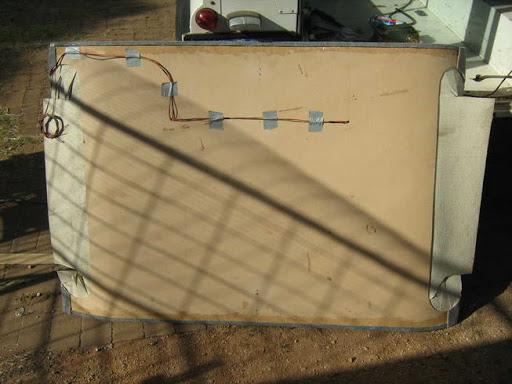
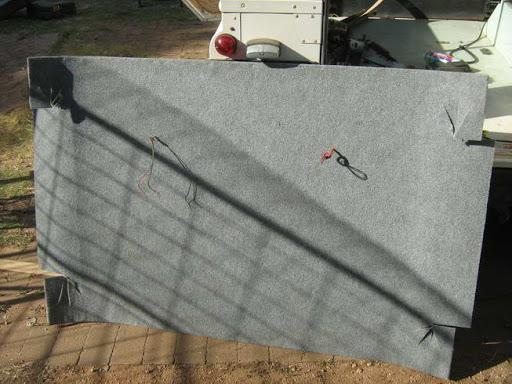
") As much as a pain in the ass as it is, the key is preparation. Poly Abrasive discs are your friend here - $10 a piece from Bunnings, but they will literally save you hours....
As much as a pain in the ass as it is, the key is preparation. Poly Abrasive discs are your friend here - $10 a piece from Bunnings, but they will literally save you hours....

 Reply With Quote
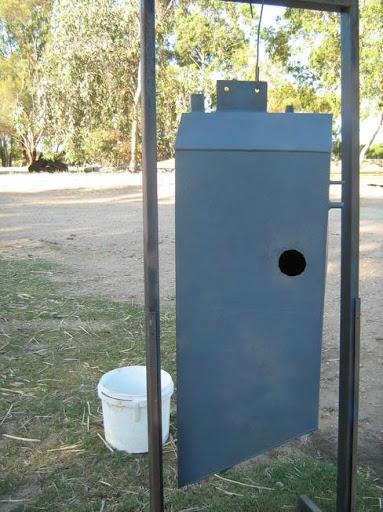
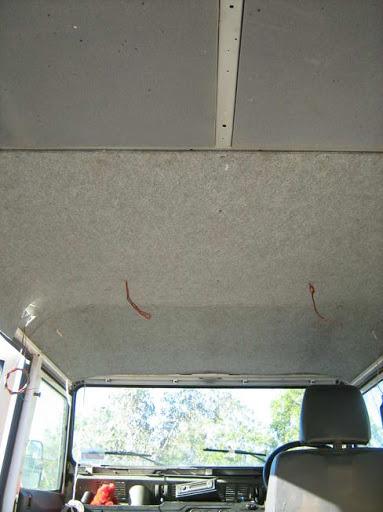
Great Job mike, been looking at the same GULLWING DOORS myself just dont have the dollars at the moment.
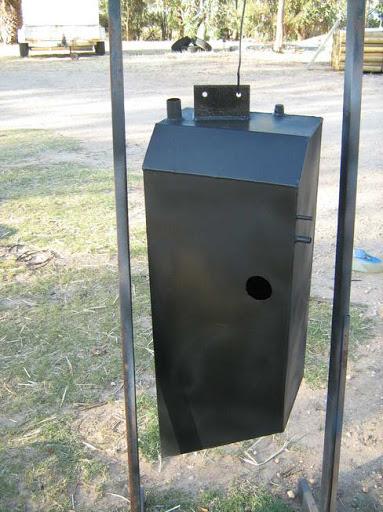
I want to install one myself so I have access to our 80lt waeco fridge so I dont have to keep opening the rear door.Also good tips always good to learn from others who do it first.
She's gunna be one nice decked out defender mate keep the pics coming


")

Bookmarks