
Originally Posted by
phin

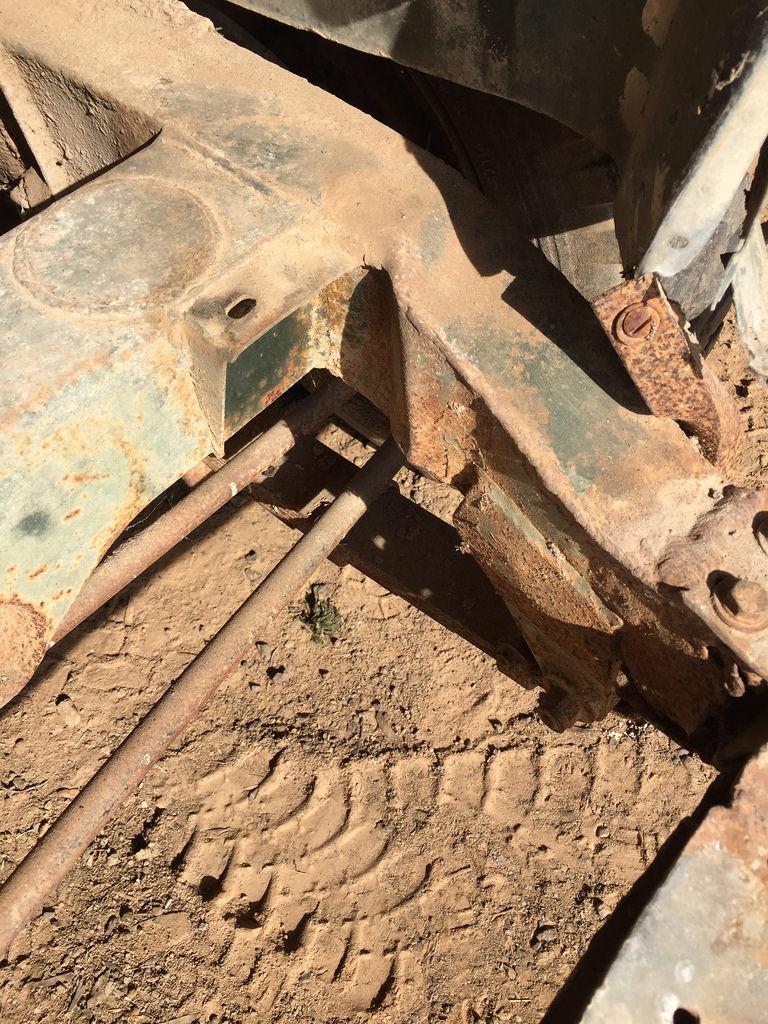
Many thanks all. Looks like the plan is to get the engine out and how it looks after a good clean and strip down. Might take the front guards off at the same time and see how the front chassis looks too.
The other complicating factor is that a few bits (carby, a piston and conrod, distributor, generator) are missing. Of these, only the piston and conrod are an issue. I can source a replacement but it feels like bad practice trying to mix a random odd piston in with the others if I'm going to the trouble.
cheers
Phin
Taking the guards off will make it easier to get the engine out.
If you do fit an odd piston you need to balance the piston/rod assemblies.
John
John
JDNSW
1986 110 County 3.9 diesel
1970 2a 109 2.25 petrol


 Reply With Quote
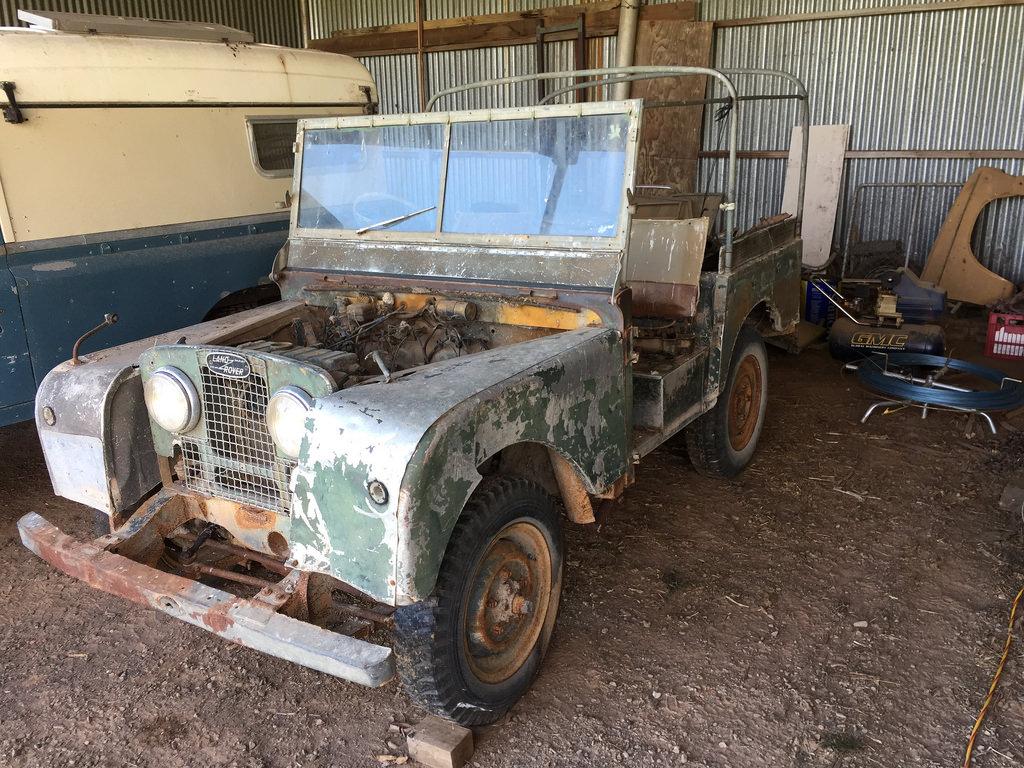

Bookmarks