

 Reply With Quote
Looks like you've got your self a good starting point
And lot of hours of hard work to come.
But stick with it as it will be worth it in the end

 Fossicker
Just a few more...
Looks like you've got your self a good starting point
And lot of hours of hard work to come.
But stick with it as it will be worth it in the end
Fossicker
Hello,
It has been a while. Slowly chipping away at things.
Got the engine out, solid little unit. Looks good, has good compression, lots of leaks though...
Starting to strip away the body now. Question I have is when removing the steering shaft between the steering wheel and steering box what is the correct procedure?
Do I need to remove the firewall first?
If so what is involved with removing the firewall?
The pedal boxes, throttle linkages, wiring and all fluid lines have already been removed. Front fenders have also when removed.
I'll try and post some update pics if I get a chance.
Cheers all.
Sean
*EDIT* Also how do you remove the wiper motor assembly? Including the cable and 2 actuators.
Last edited by Spalm89; 30th March 2012 at 05:55 PM. Reason: Missed a Q
Wizard
SupporterHey Sean,Originally Posted by Spalm89

I've added a few things above which I hope are of some help to you.
Cheers,
John
ChatterBox
Hey Sean,
If you need any help on site, there is a great group of series specialists around here that just love to do this sort of thing.
Johnno has you covered with his reply, and we could give you some helping hands and knowledge on site.
Cheers
CC
ForumSage
SubscriberI would suggest you have a look through REMLR (is under the AULRO banner) in there are specs and photos of original vehicles and also in service photos etc.. (military vehicles)
If you have a reasonable chassis etc on the ex mil vehicle, Dont write it off if you can help it, they are rarer (and therefore of more historic value) than your standard vehicle, then I'd suggest opting for that path,,, (hopefully most of the body is good too!)
Can do the swb as mil spec then add roof for comfort etc (they bolt straight on/off!)
meanwhile, here is what the CHASSIS Number you have given comes up as:
CalVIN, the Land Rover VIN CALculator
24319006G
243 Model: Land Rover, Series IIA
Body type: Basic or Station wagon
Wheel base: 88in
Engine: petrol
Model years: 1962-1971
Destination: Completely knocked down (CKD), right-hand drive (RHD)
19006 Serial number
G Design: Six significant design modifications
(Suffix used from April 1969 till October 1971)
as said by everyone else, enjoy, ask if you have any questions, there are lots of people here who can help.
cheers ,
Digger
(REMLR 235/MVCA 9) 80" -'49.(RUST), -'50 & '52. (53-parts) 88" -57 s1, -'63 -s2a -GS x 2-"Horrie"-112-769, "Vet"-112-429(-Vietnam-PRE 1ATF '65) ('66, s2a-as UN CIVPOL), Hans '73- s3 109" '56 s1 x2 77- s3 van (gone)& '12- 110
Fossicker
Hello,
Thanks for the replies and information. Got the firewall and steering out today, starting on seat boxes and rear tub next weekend.
However, I got over zealous with the pulling apart and removed the steering shaft from the steering box. Are these boxes able to be rebuilt? It looks like the side unbolts exposing the inner workings.
Have ordered a workshop manual and restoration manual form the book depository. USA and UK sites are available. Went for the USA site since we have a stronger dollar. Links are below
Land Rover Series 2, 2A and 3 1958-85 Service and Repair Manual (Haynes Service and Repair Manuals) : J.H. Haynes, Marcus Daniels : 9781859601471
Land Rover Series I, II and III Restoration Manual (Restoration Manuals) : Lindsay Porter : 9781859606223
Cheers for all the offers of advice, may have to take you up on them sometime
Cheers,
Sean
The AULRO Shop has a pretty good CD, too:
Dave's Interesting Things - SERIESIICD
Really good for step by step procedures when pulling things apart and putting them back together.
Fossicker
Cheers for that. Will be ordering that for sure
Cheers,
Sean
Fossicker
Hello again,
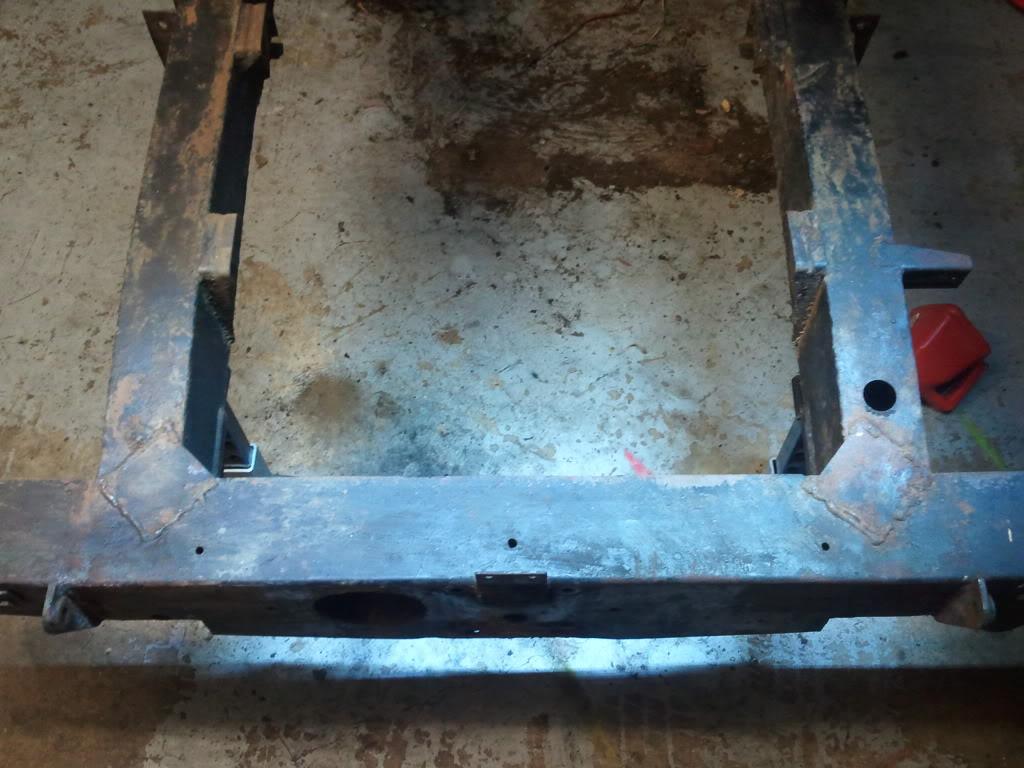
Finally finished stripping the rover. Next step is to repair, sand blast and galvanise the chassis.
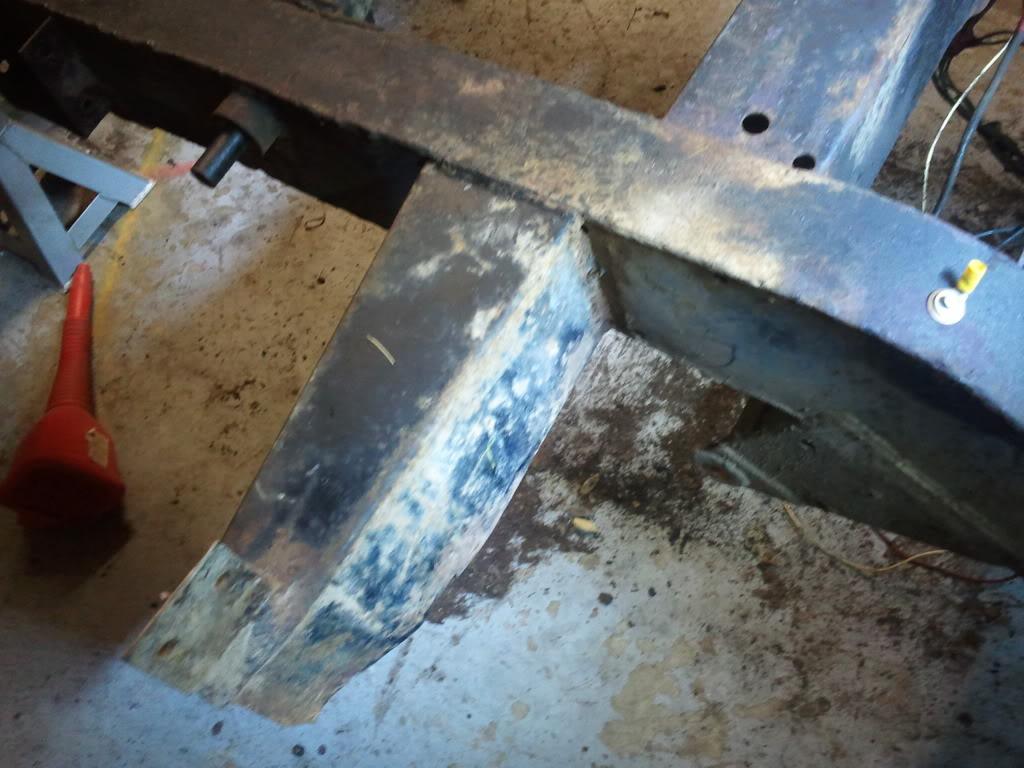
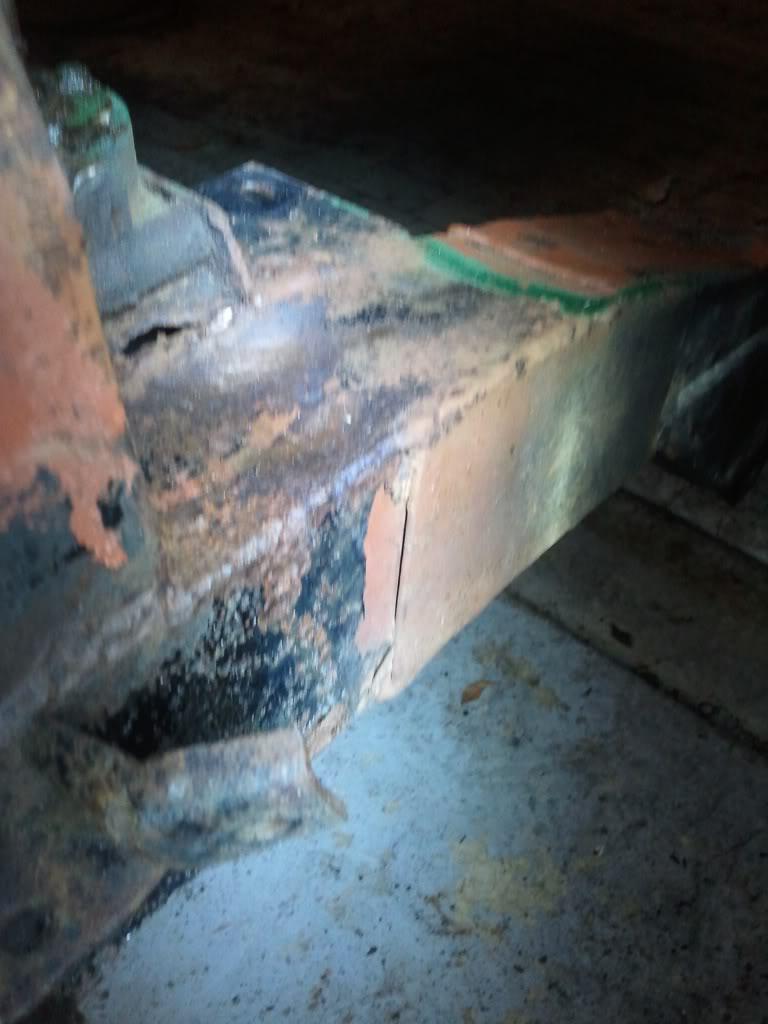
I have some photos of the various rusty patches of the chassis. My question is how do I correctly repair the rear crossmember and the firewall outriggers (which dont look standard at all)?
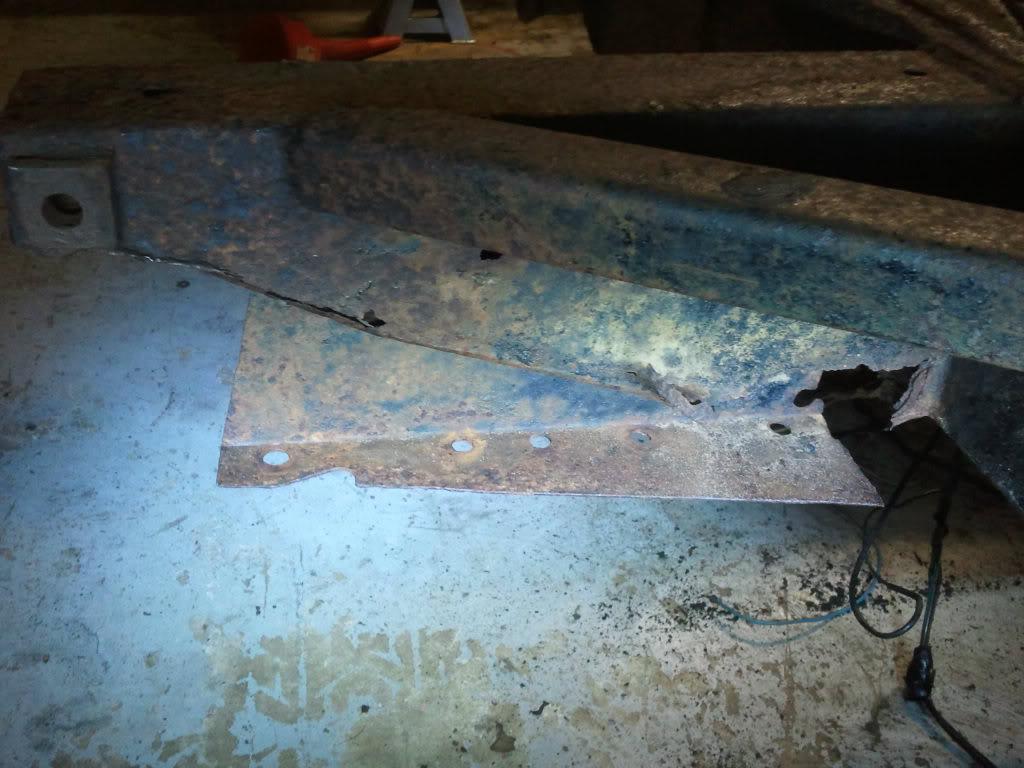
Should there be seperate outriggers for the fuel tank?
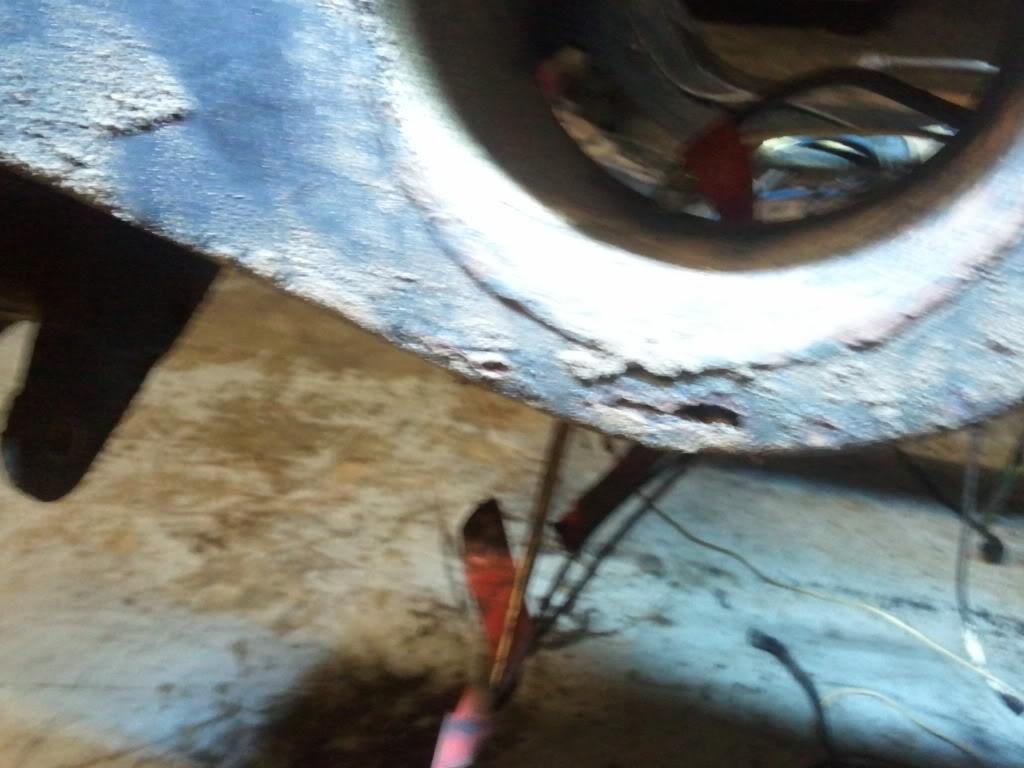
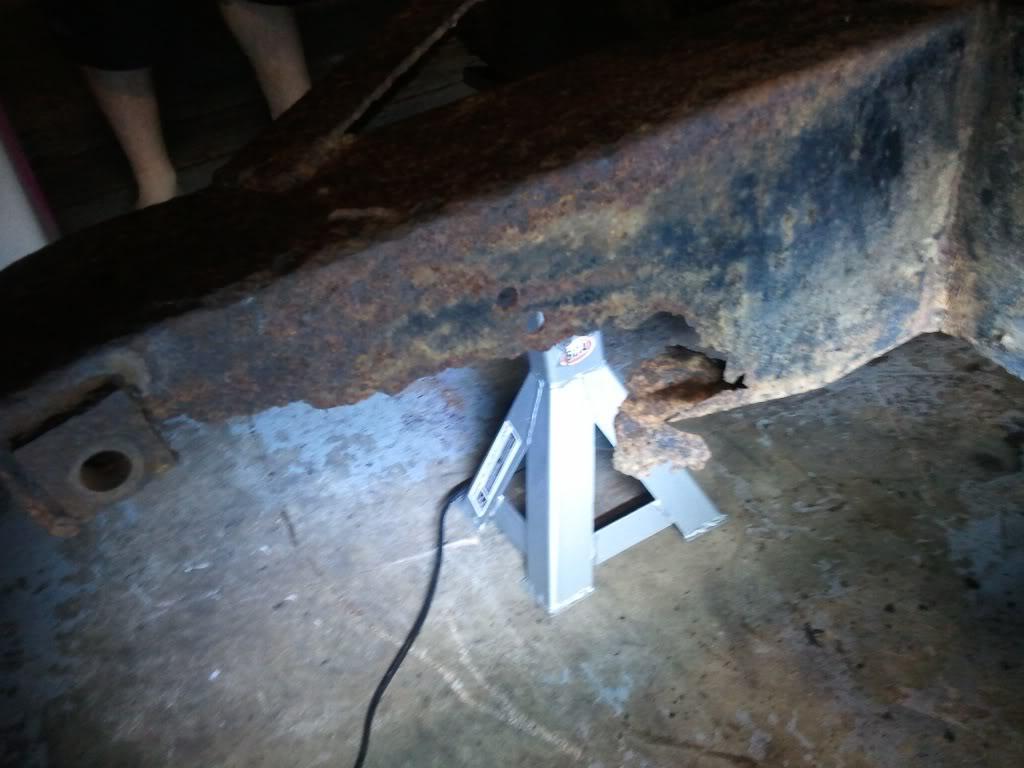
What is the best way of repairing the now missing front dumb irons?
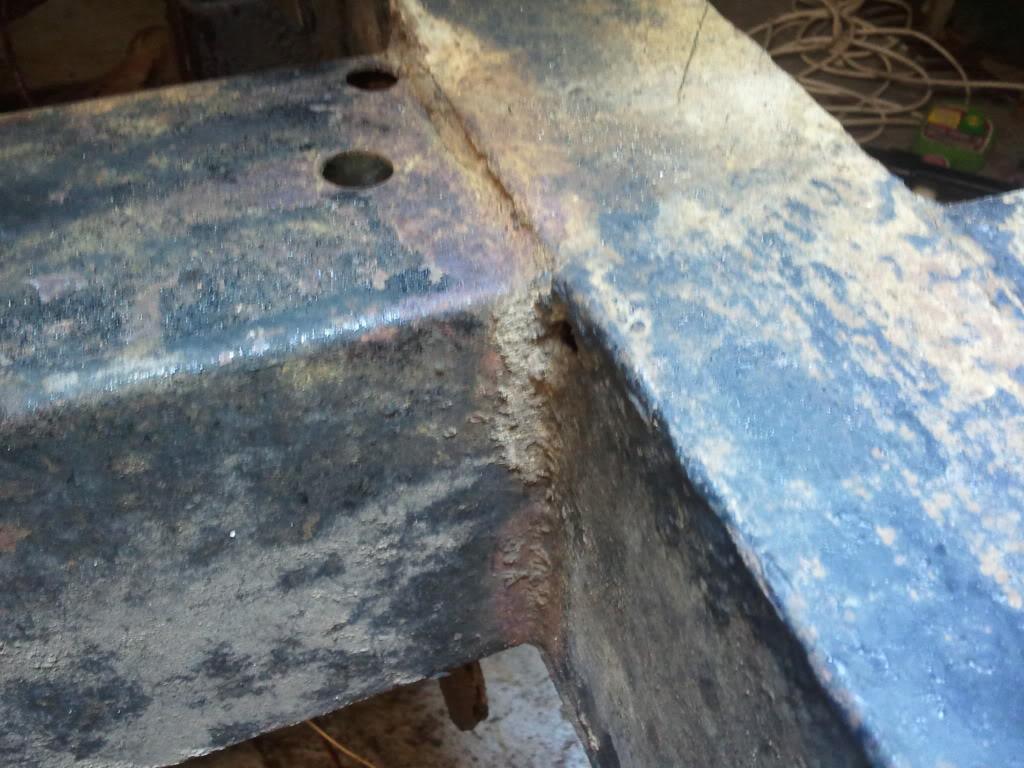
The rear crossmember, with what looks like previous repairs?
The second to last crossmember
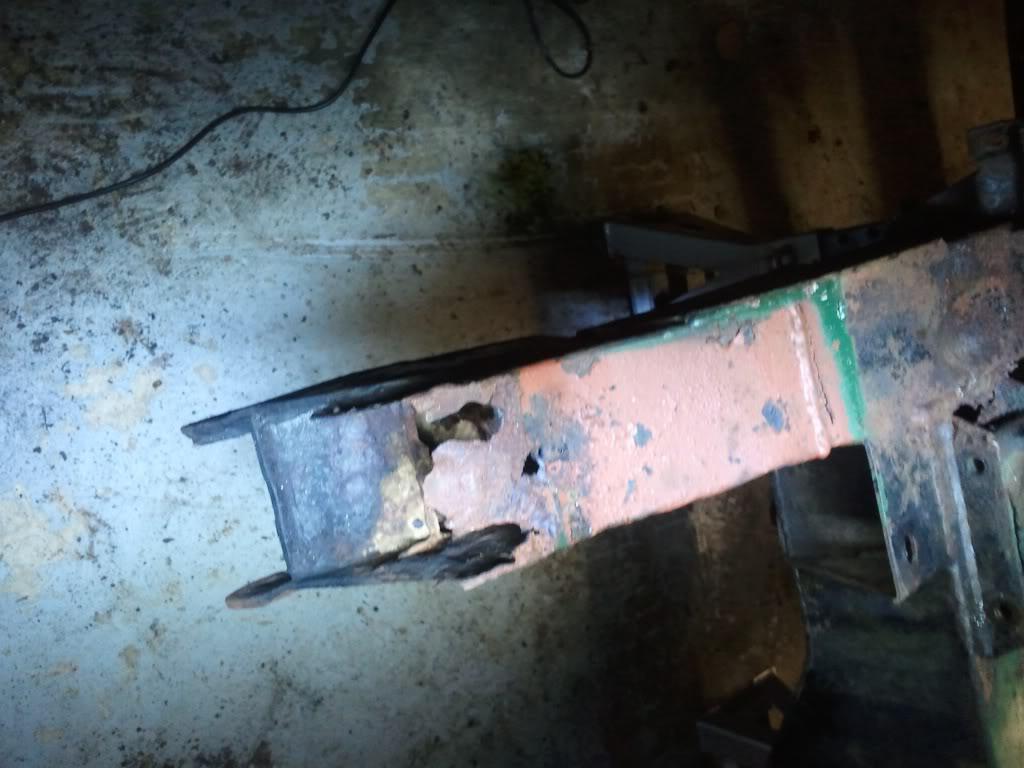
The D/S firewall outrigger with integrated fuel tank mounts. Is this standard?
the rear fuel tank mounting outrigger
The D/S dumb-iron, possibly had a repair previously?
The P/S firewall outrigger
So let me know what you think!
Cheers,
Sean
 Posting Permissions
| Search AULRO.com ONLY! |
Search All the Web! |
|---|
|
|
|
")


Bookmarks