


 Reply With Quote
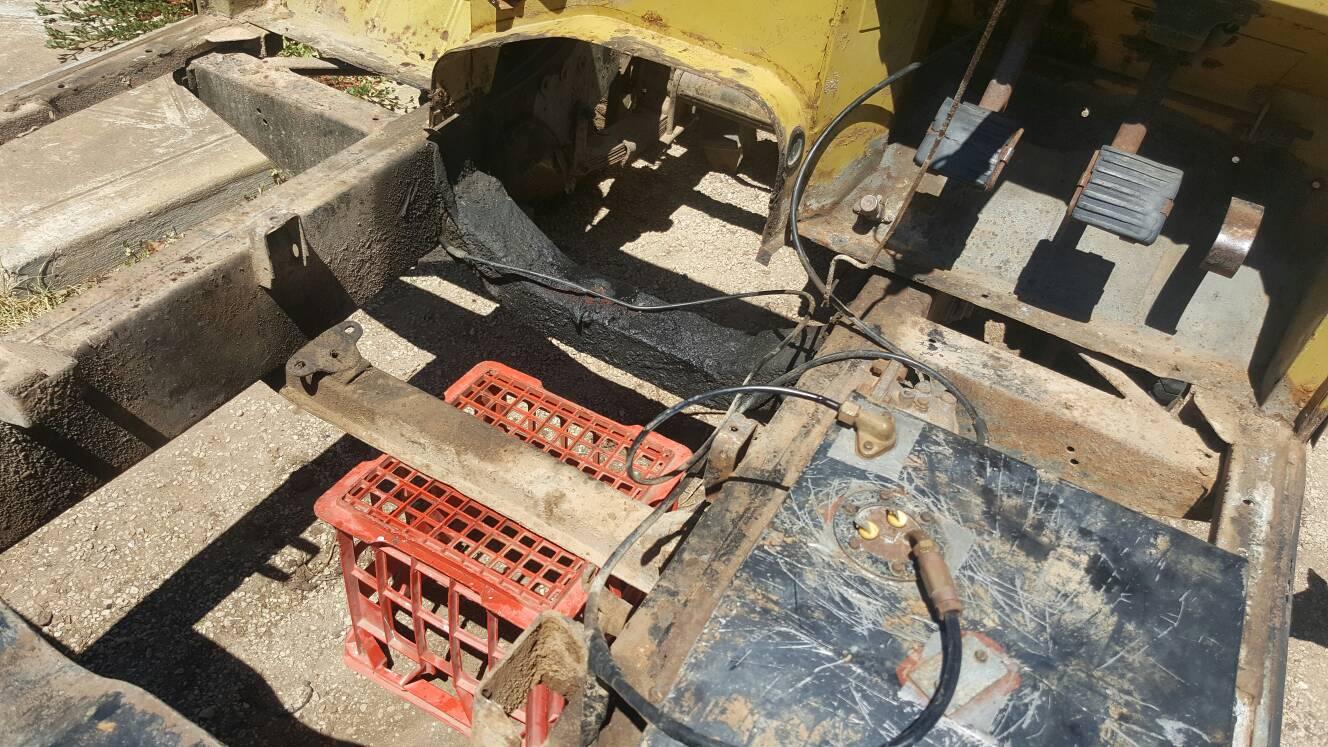
Does anyone know what a $500 paper weight looks like? Well here is a pic...
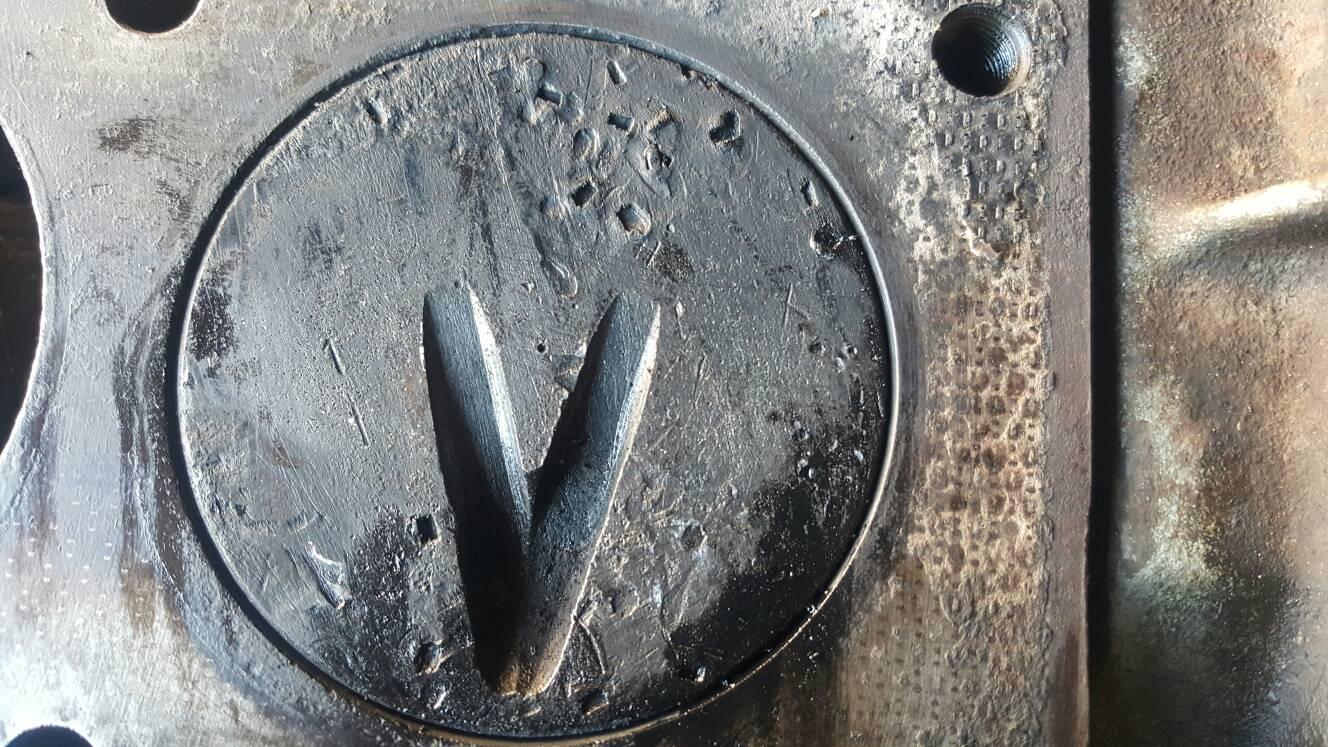
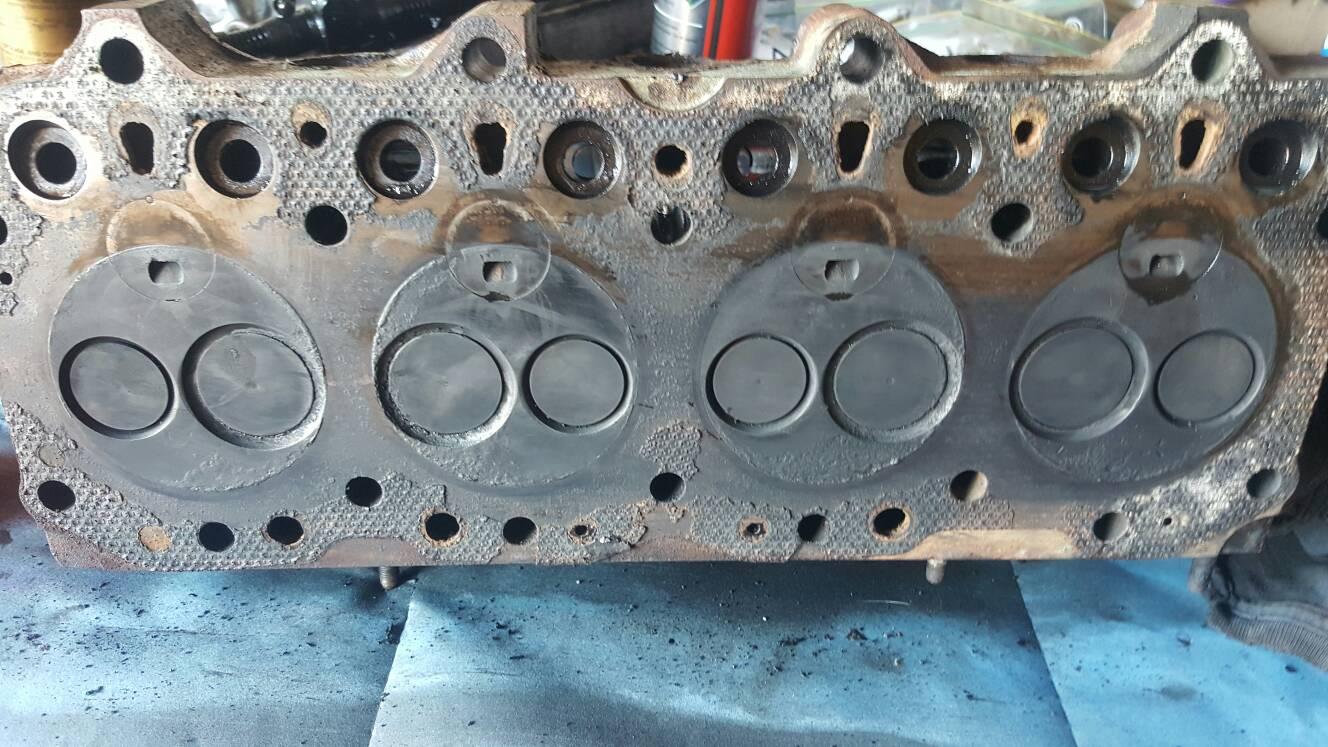
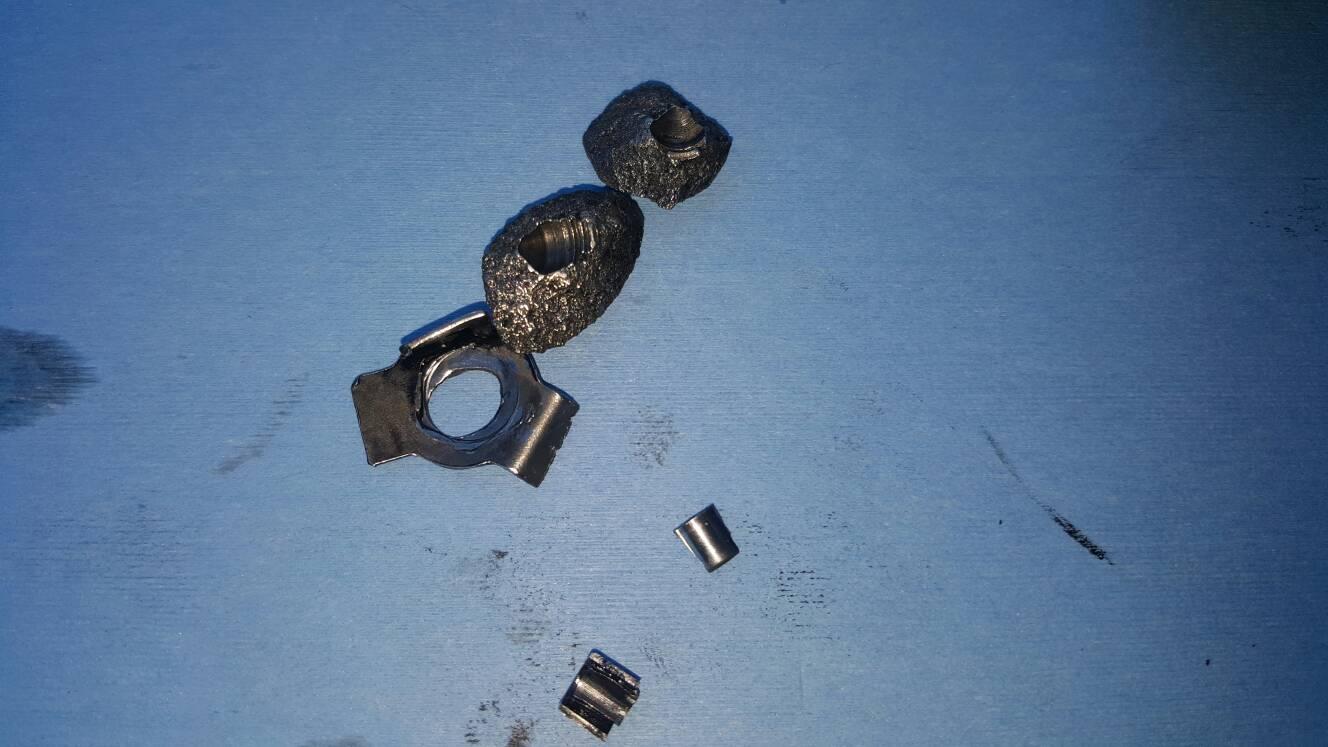
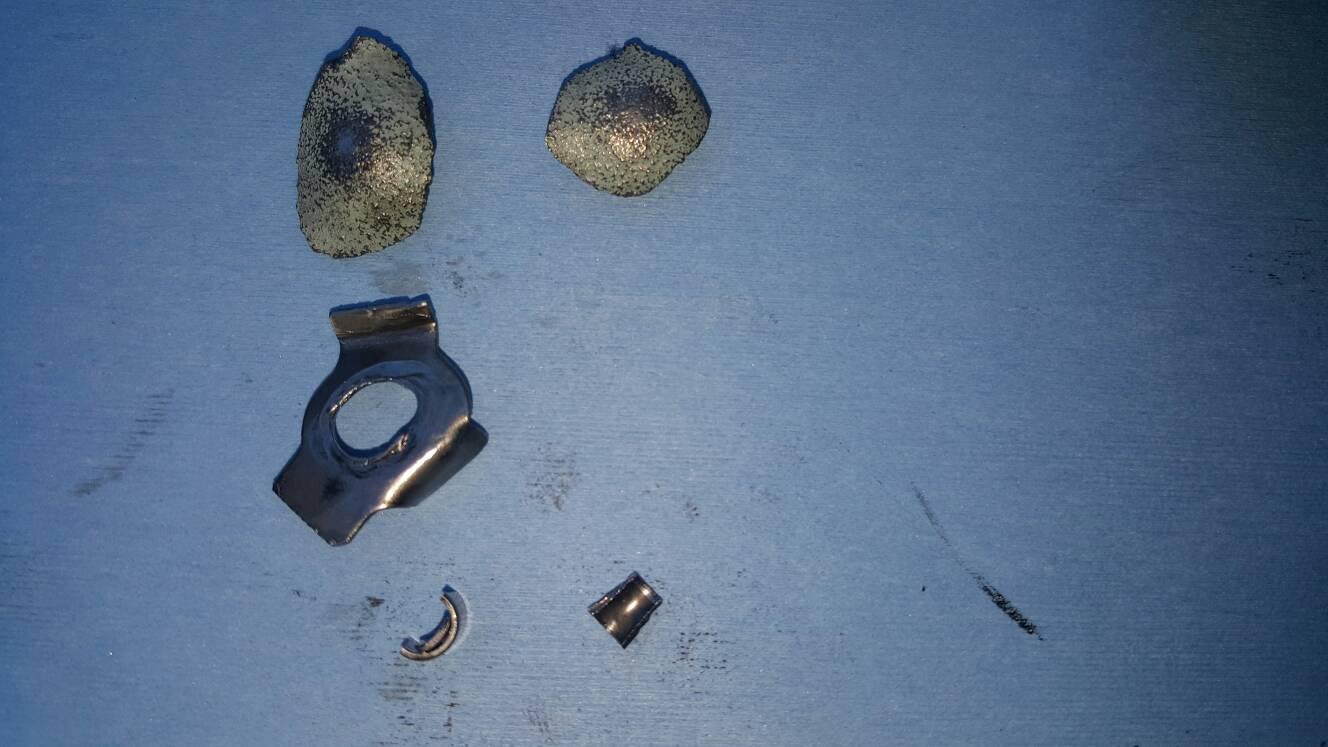
I put the diesel motor on the engine stand today. I pulled the rocker cover off and fuel injector pipes. I pulled 3 injectors out. I couldnt budge no 4 injector. I sprayed around the base where it goes into the head. I tried to move it. No way it was coming out easy. So i sprayed it some more then using a brass drift and a small hammer i tried to turn it in the head after removing the 2 studs. It moved a tiny bit. I suspected it was starting to screw itself apart inside the head. So i moved it back and forth spraying it as i went. Still not coming out. So i got a bit rough. I got the ball joint splitter and started forcing it under the sides of the injector. It finally started it upward journey. When i reached the end of the wedge i grabbed a BIG spanner and added it under the splitter as a spacer. Got a bit more out of it. Then got the 18" shifter and put that under the splitter and out she came. Man was that tight. I even tried a slide hammer but that injector wasnt coming out. With all the injectors out and filed away in clean plastic bags i pulled the head off. I wasnt prepared for what i found. Something has been bouncing around on top of no 1 and 4 pistons. Nos 2 and 3 are not too bad. There is no damage to the head but i noticed that all 4 precombustion chambers are loose fitting in the head. It had a composit gasket fitted where the new gasket kit i have has a copper one. I suspect that the PO before the guy i bought it from had the head replaced when the pistons were damaged, and just reused the pistons instead of replacing them. See attatched pics of pistons and head...
No1
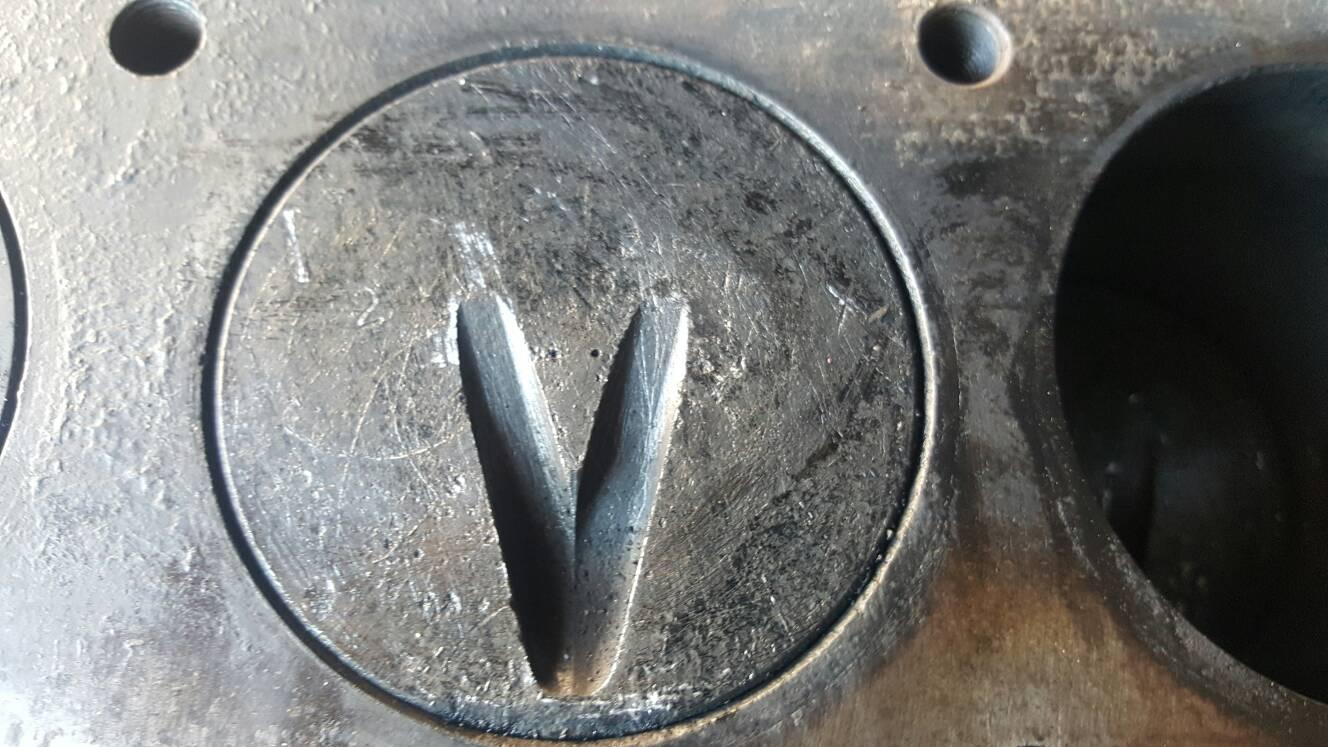
No2
No3
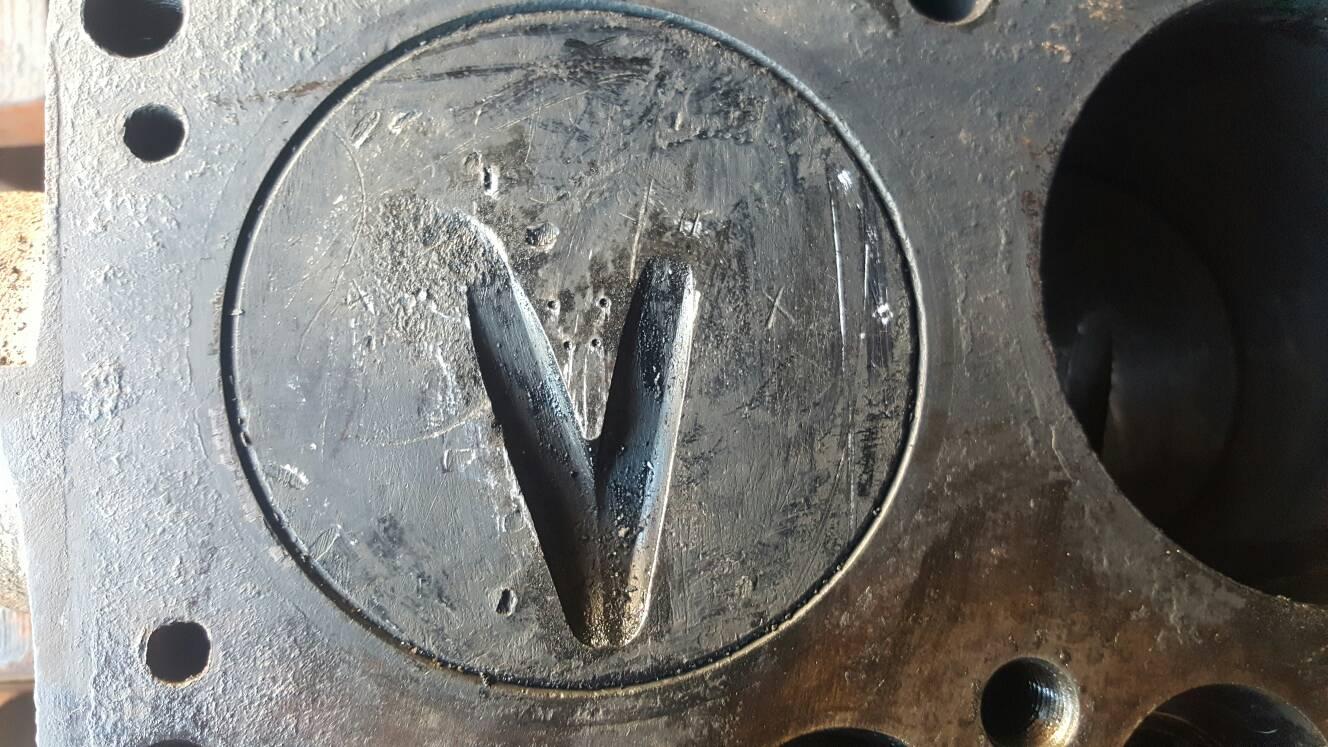
No4
Cyl head.
Im almost over this rebuild

Im getting really peed off with it...
Cheers Rod


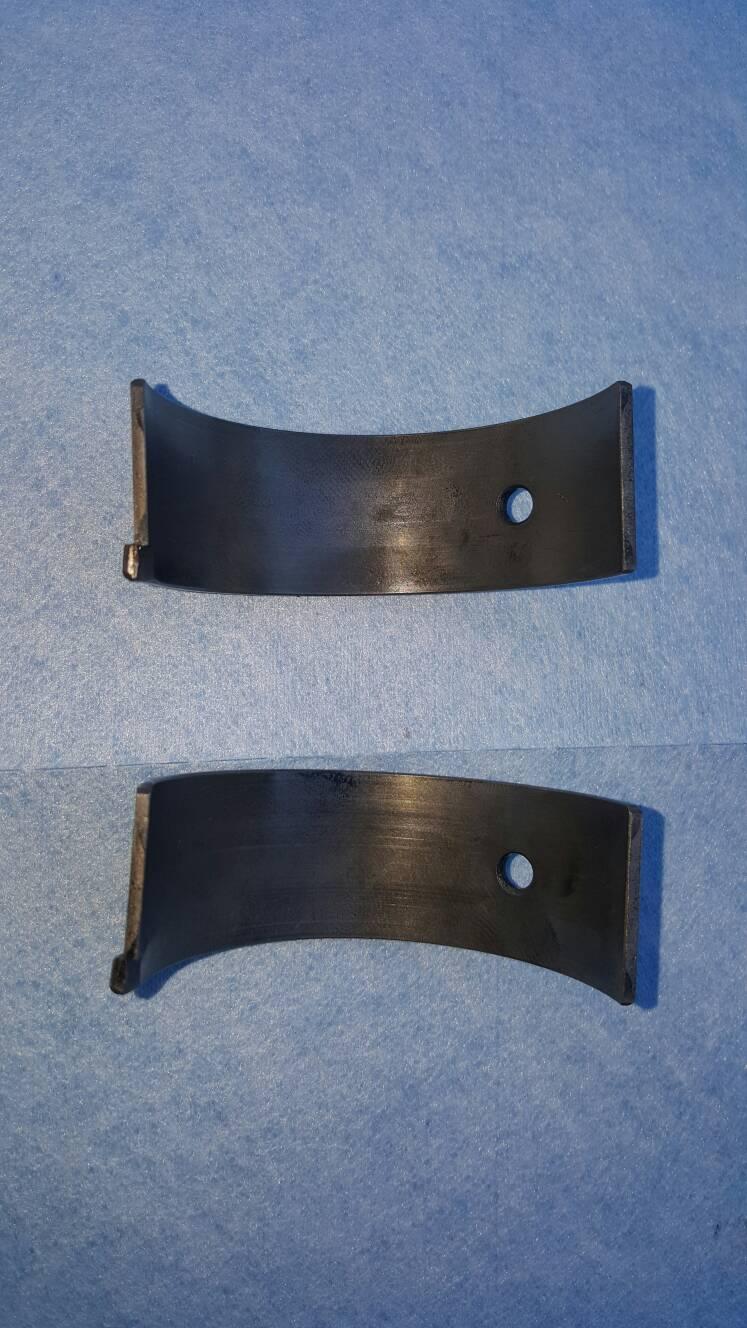
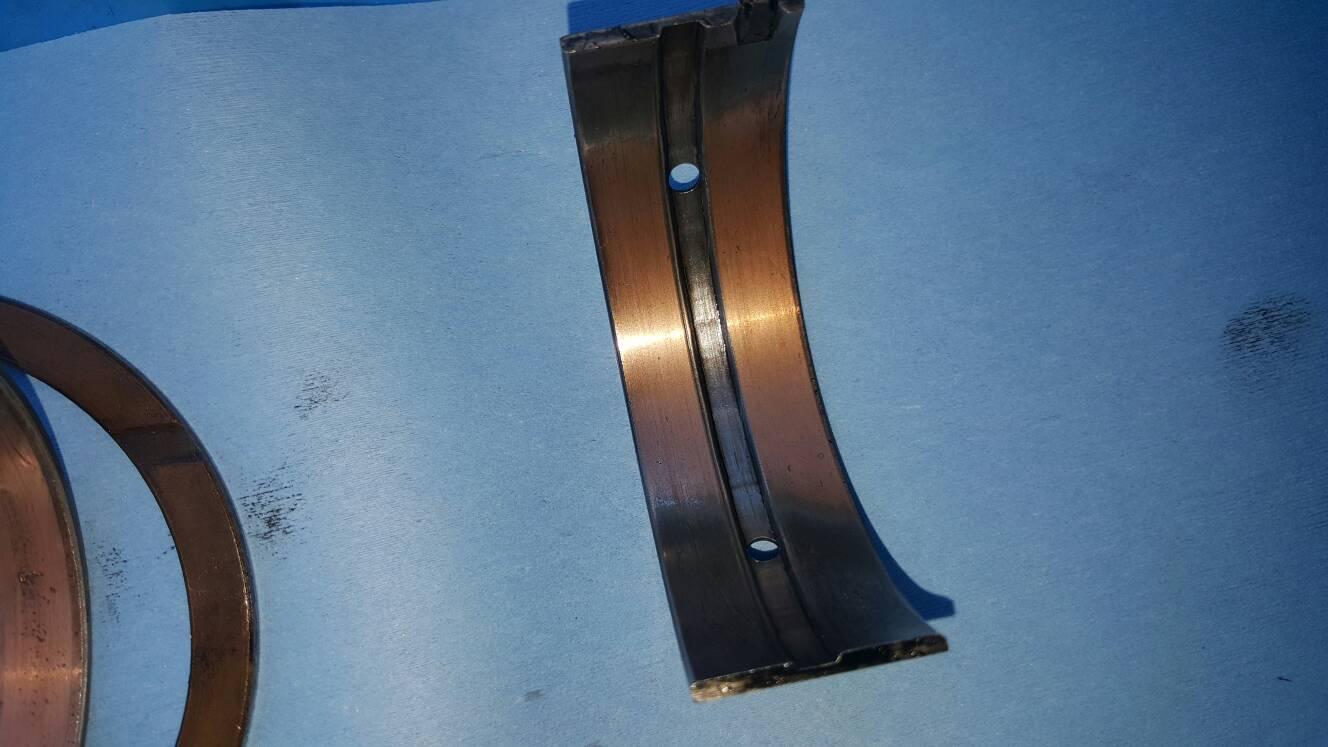
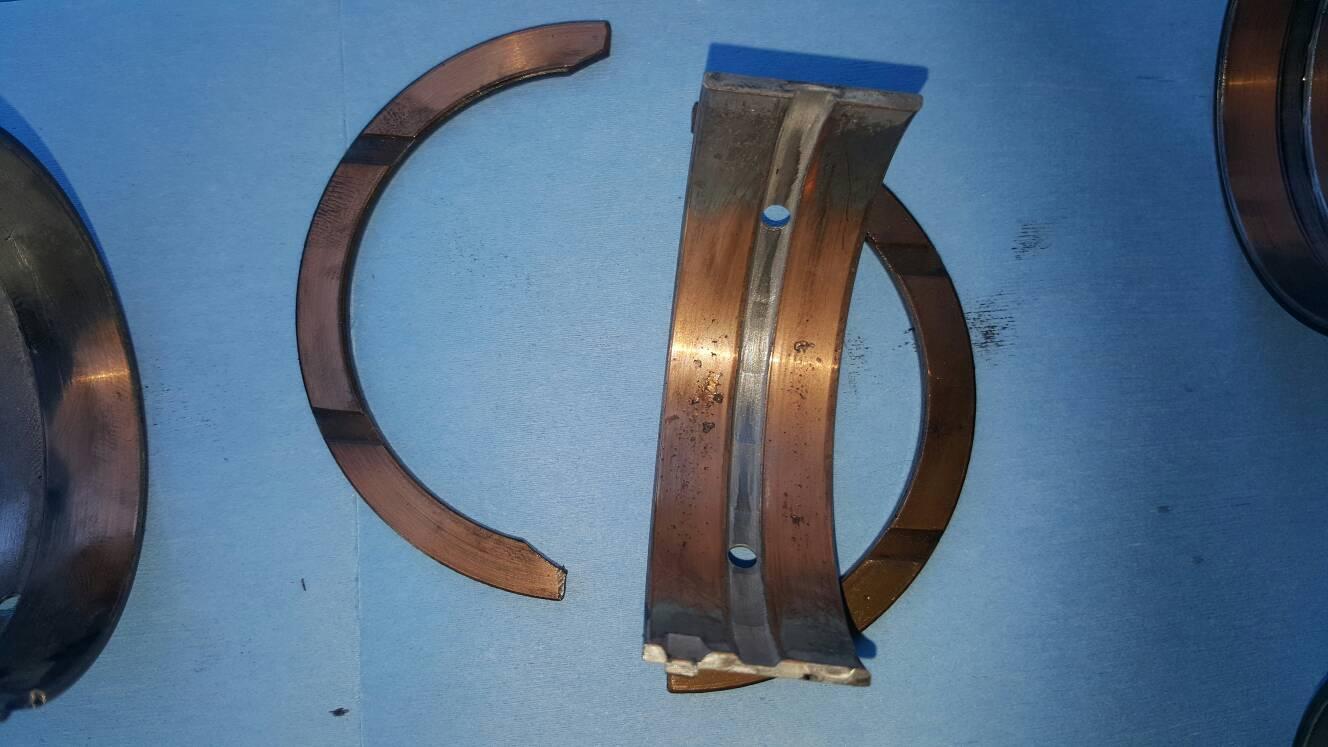

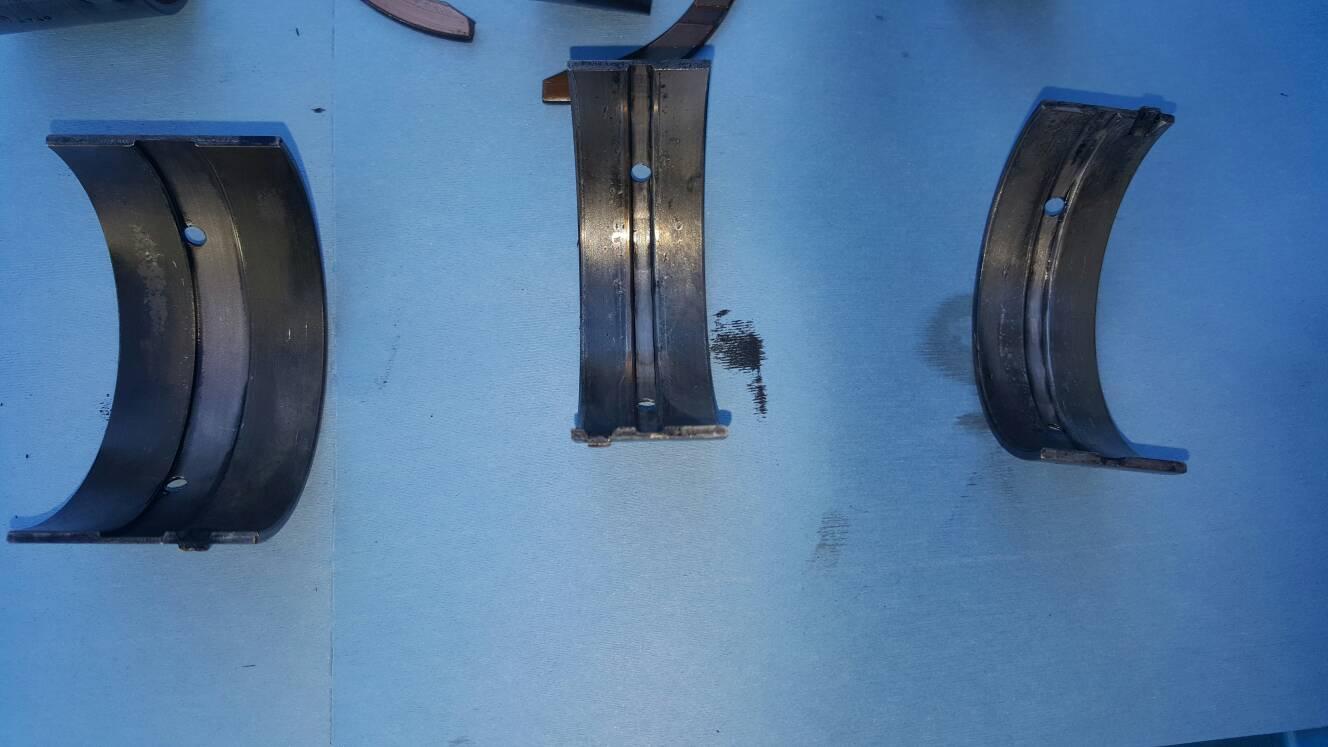
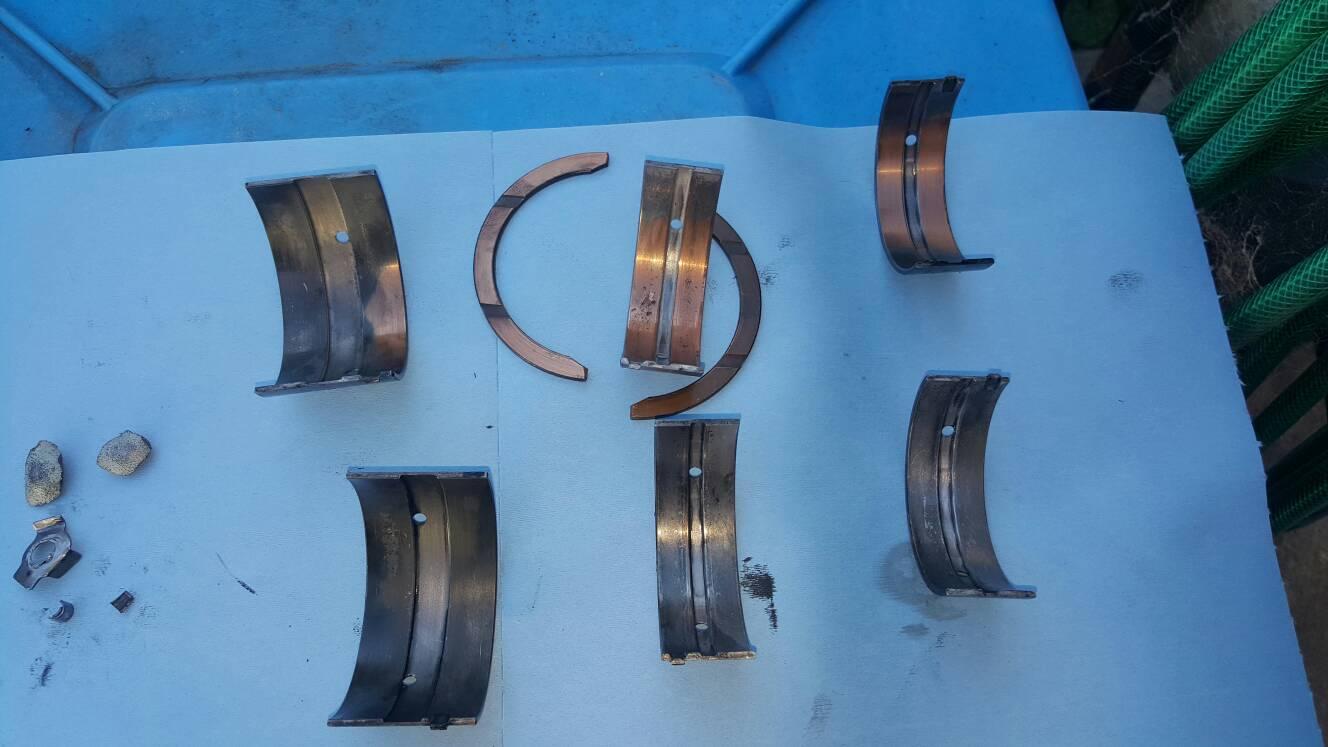
 . Its an expense i can ill afford but i will be putting new main bearings in it and new thrusts. I will probably pull the pistons out now and re ring it too.
Bookmarks