

 Reply With Quote
Thought about it........ but they are unlikely to ever come out again in my lifetime.Originally Posted by Mettalique

Colin

 Fossicker
Just a thought.
Has anyone thought of adding an o’ring at the top as you slide it back in the prevent most of the grit getting in?
ForumSage
SupporterThought about it........ but they are unlikely to ever come out again in my lifetime.
Colin
'56 Series 1 with homemade welder
'65 Series IIa Dormobile
'70 SIIa GS
'76 SIII 88" (Isuzu C240)
'81 SIII FFR
'95 Defender Tanami
Motorcycles :-
Vincent Rapide, Panther M100, Norton BIG4, Electra & Navigator, Matchless G80C, Suzuki SV650
Fossicker
Well day two.
Back to levering it from side to side. I cleaned it out a bit but noticed what looked like the tube has broken the weld.
The problem being if it’s jammed, it moves easily when I lever it so nothing ‘solid’ to work against.
Kept at it but it seemed to slow down at about this point
I thought I’d try heating it again after a couple of hours and that seemed to do the trick
It cracked a couple of times then broke free…well when I say broke free, it literally did that. It’s broken the tube off and bought it up too.
So now it’s a different sort of job.
The chassis doesn’t seem rusty it’s just broken around the weld. I measured the other side hole (for LHD) and the ID seems to be 2 3/4” so I’ll have to find something to fit in there. 65NB pipe with a 3.2mm wall will be very close.
Cut the tube off the housing and left it in the cleaner to soak.
It shouldn’t be too difficult to repair the chassis. Not the hardest steel fab job I can imagine
ChatterBox
Mine did the same.
I just welded up the cut. Push it back it and welded it back in place.
whitehillbilly
AT REST
SubscriberApologies for the delay in responding but you seem to have had plenty to keep you busy.
In answer to your question, I was thinking of 40 or 50 dollars each for the rims ex Sydney.
Roger
Fossicker
Yeah that’s a thought 👍
ChatterBox
Lots of anti seize grease.......Its coming out next time needed.
whitehillbilly
Fossicker
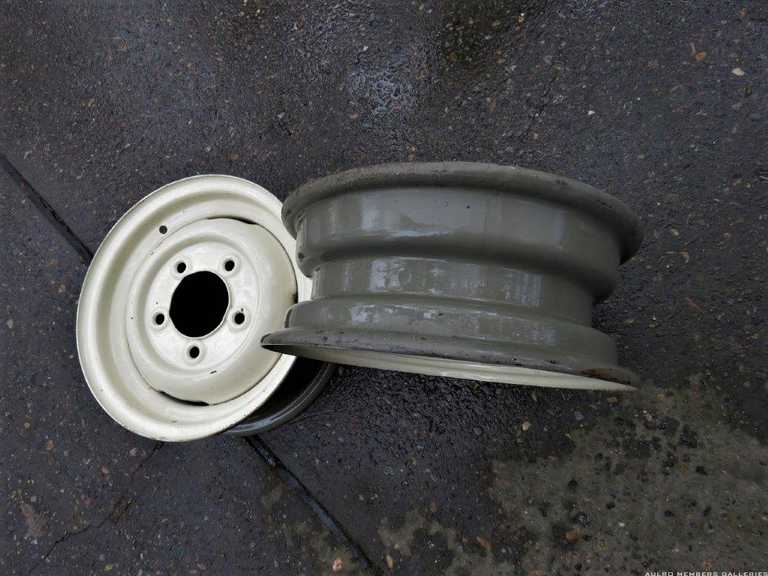
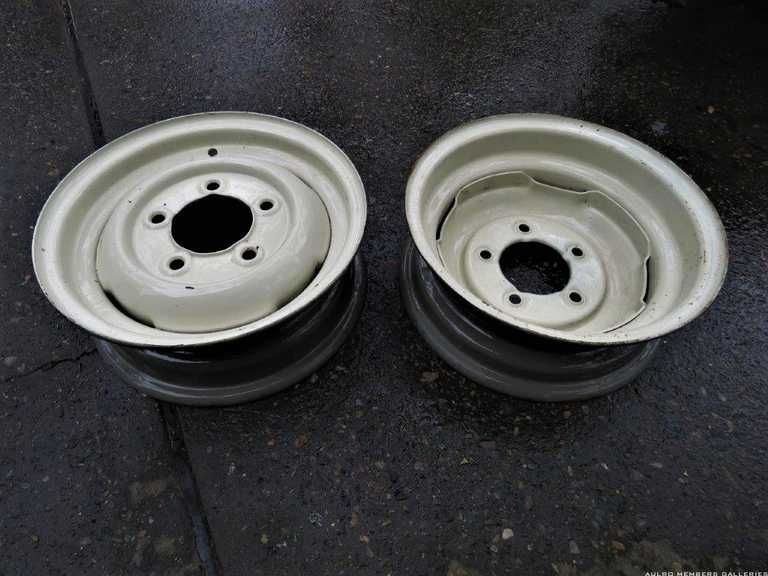
Work has turned the corner into the usual summer madness run to Xmas so it’s taken my time but I’ve been able to source some Disco 1 wheel rims. I also had tyres to suit them…I’d done a deal for some Wolf wheels for my Defender 90 and got 10 tyres….so these have been fitted and the rims painted an off white.
Today I tackled the broken tube for the steering relay. After quite a bit of filing, and welding the cut, it fitted back in and I welded the joins. Very thin in places. I wasn’t able to mig the bottom so that was stick welded back in. Lots more filing done and painted it.

Fossicker
Next the steering relay. Replaced the seals, cut new gaskets, there were none when I pulled it apart. The bottom retaining plate was fitted upside down by whoever put it back together last so the thrust washer and seal did nothing. And it had been packed with grease which really just hardened and did nothing.
So now I had to make a tool to fit the spring.
But came to a screaming halt because I don’t have a file small enough to finish it off, so that’s tomorrow’s job.
It’s not in brilliant condition but at least now I’m confident it will be a lot less tight than what it was.
Fossicker
Finished off the tool to compress the spring
I had to relocate the handle because when I compressed it the first time, there wasn’t enough space around to fit the tapered bushes.
But it worked the second time.
Quite fiddly to get it to sit in as the bushes weren’t sitting down quite far enough but eventually I worked it out and it all went back together and then into the chassis. But even that was a bit of work because of the amount of movement the chassis took removing it in the first place.
I’m slowly filling the oil in it. It takes a while to seep down in the grooves. The book I have just says inject oil but doesn’t say how much so I’ll maybe just guess.
| Search AULRO.com ONLY! |
Search All the Web! |
|---|
|
|
|


Bookmarks