


 Reply With Quote
Additional, (as Holly used to say):
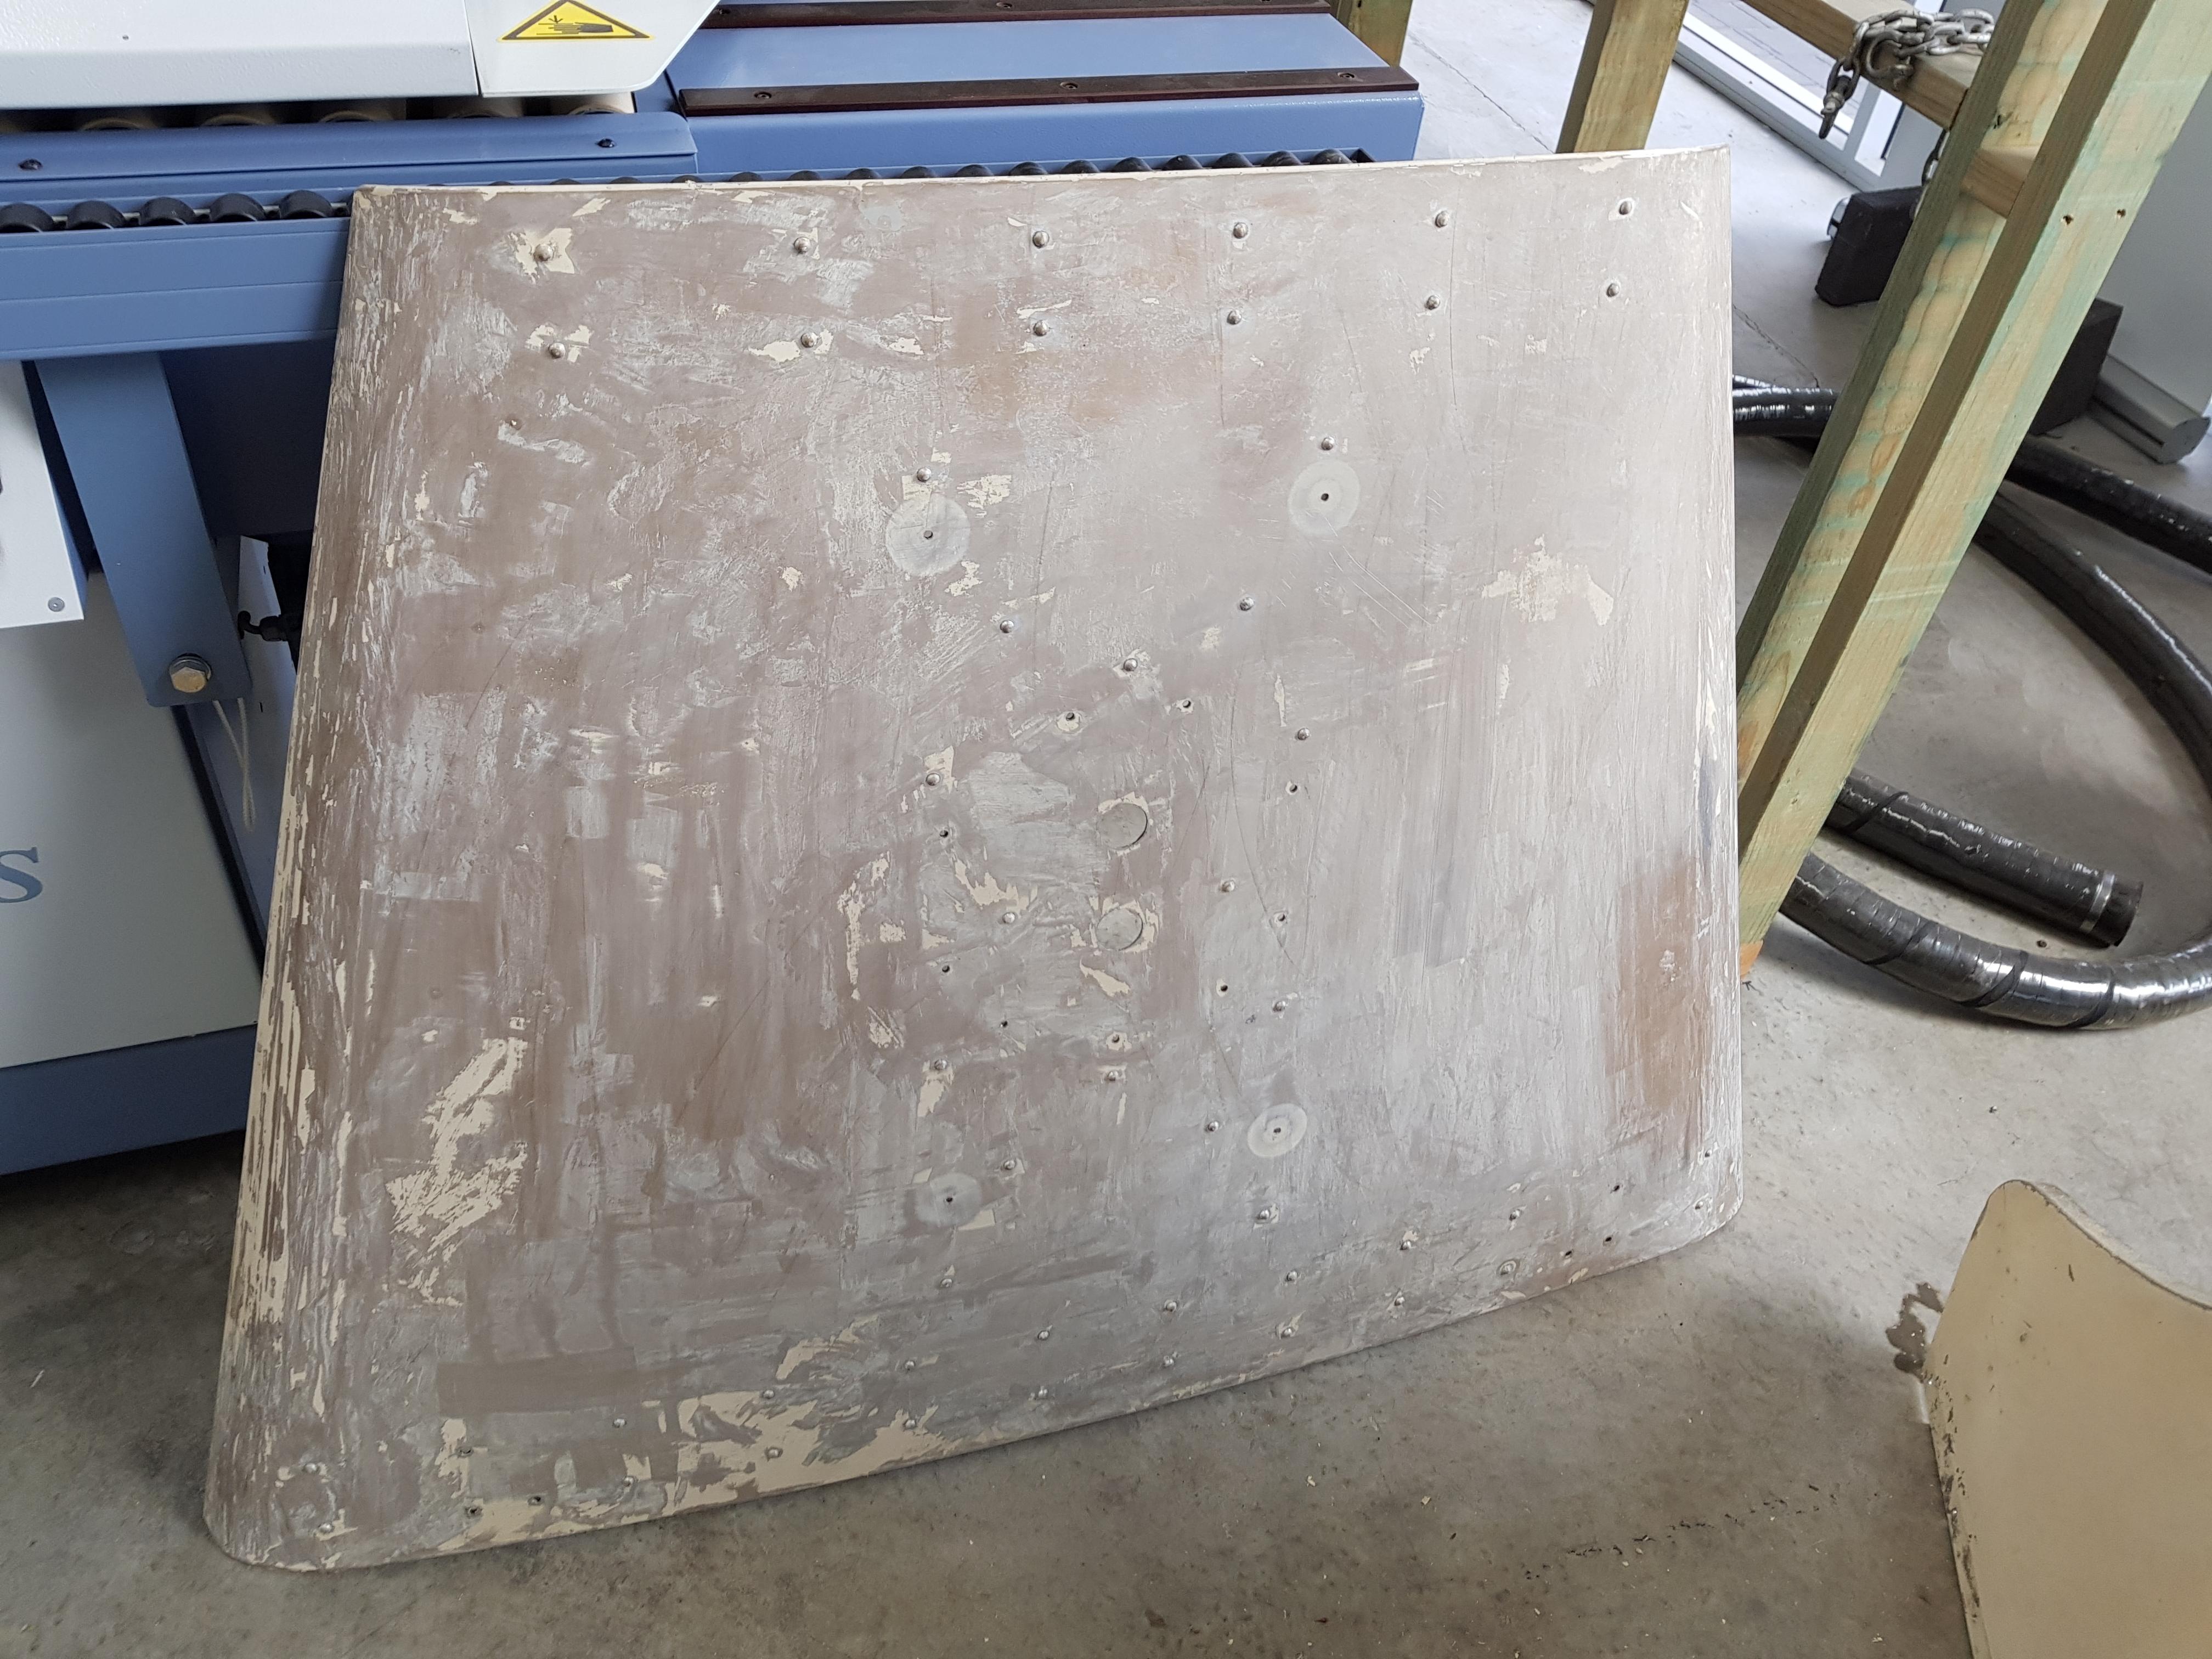
Wonder whats hiding under here?
Bog!
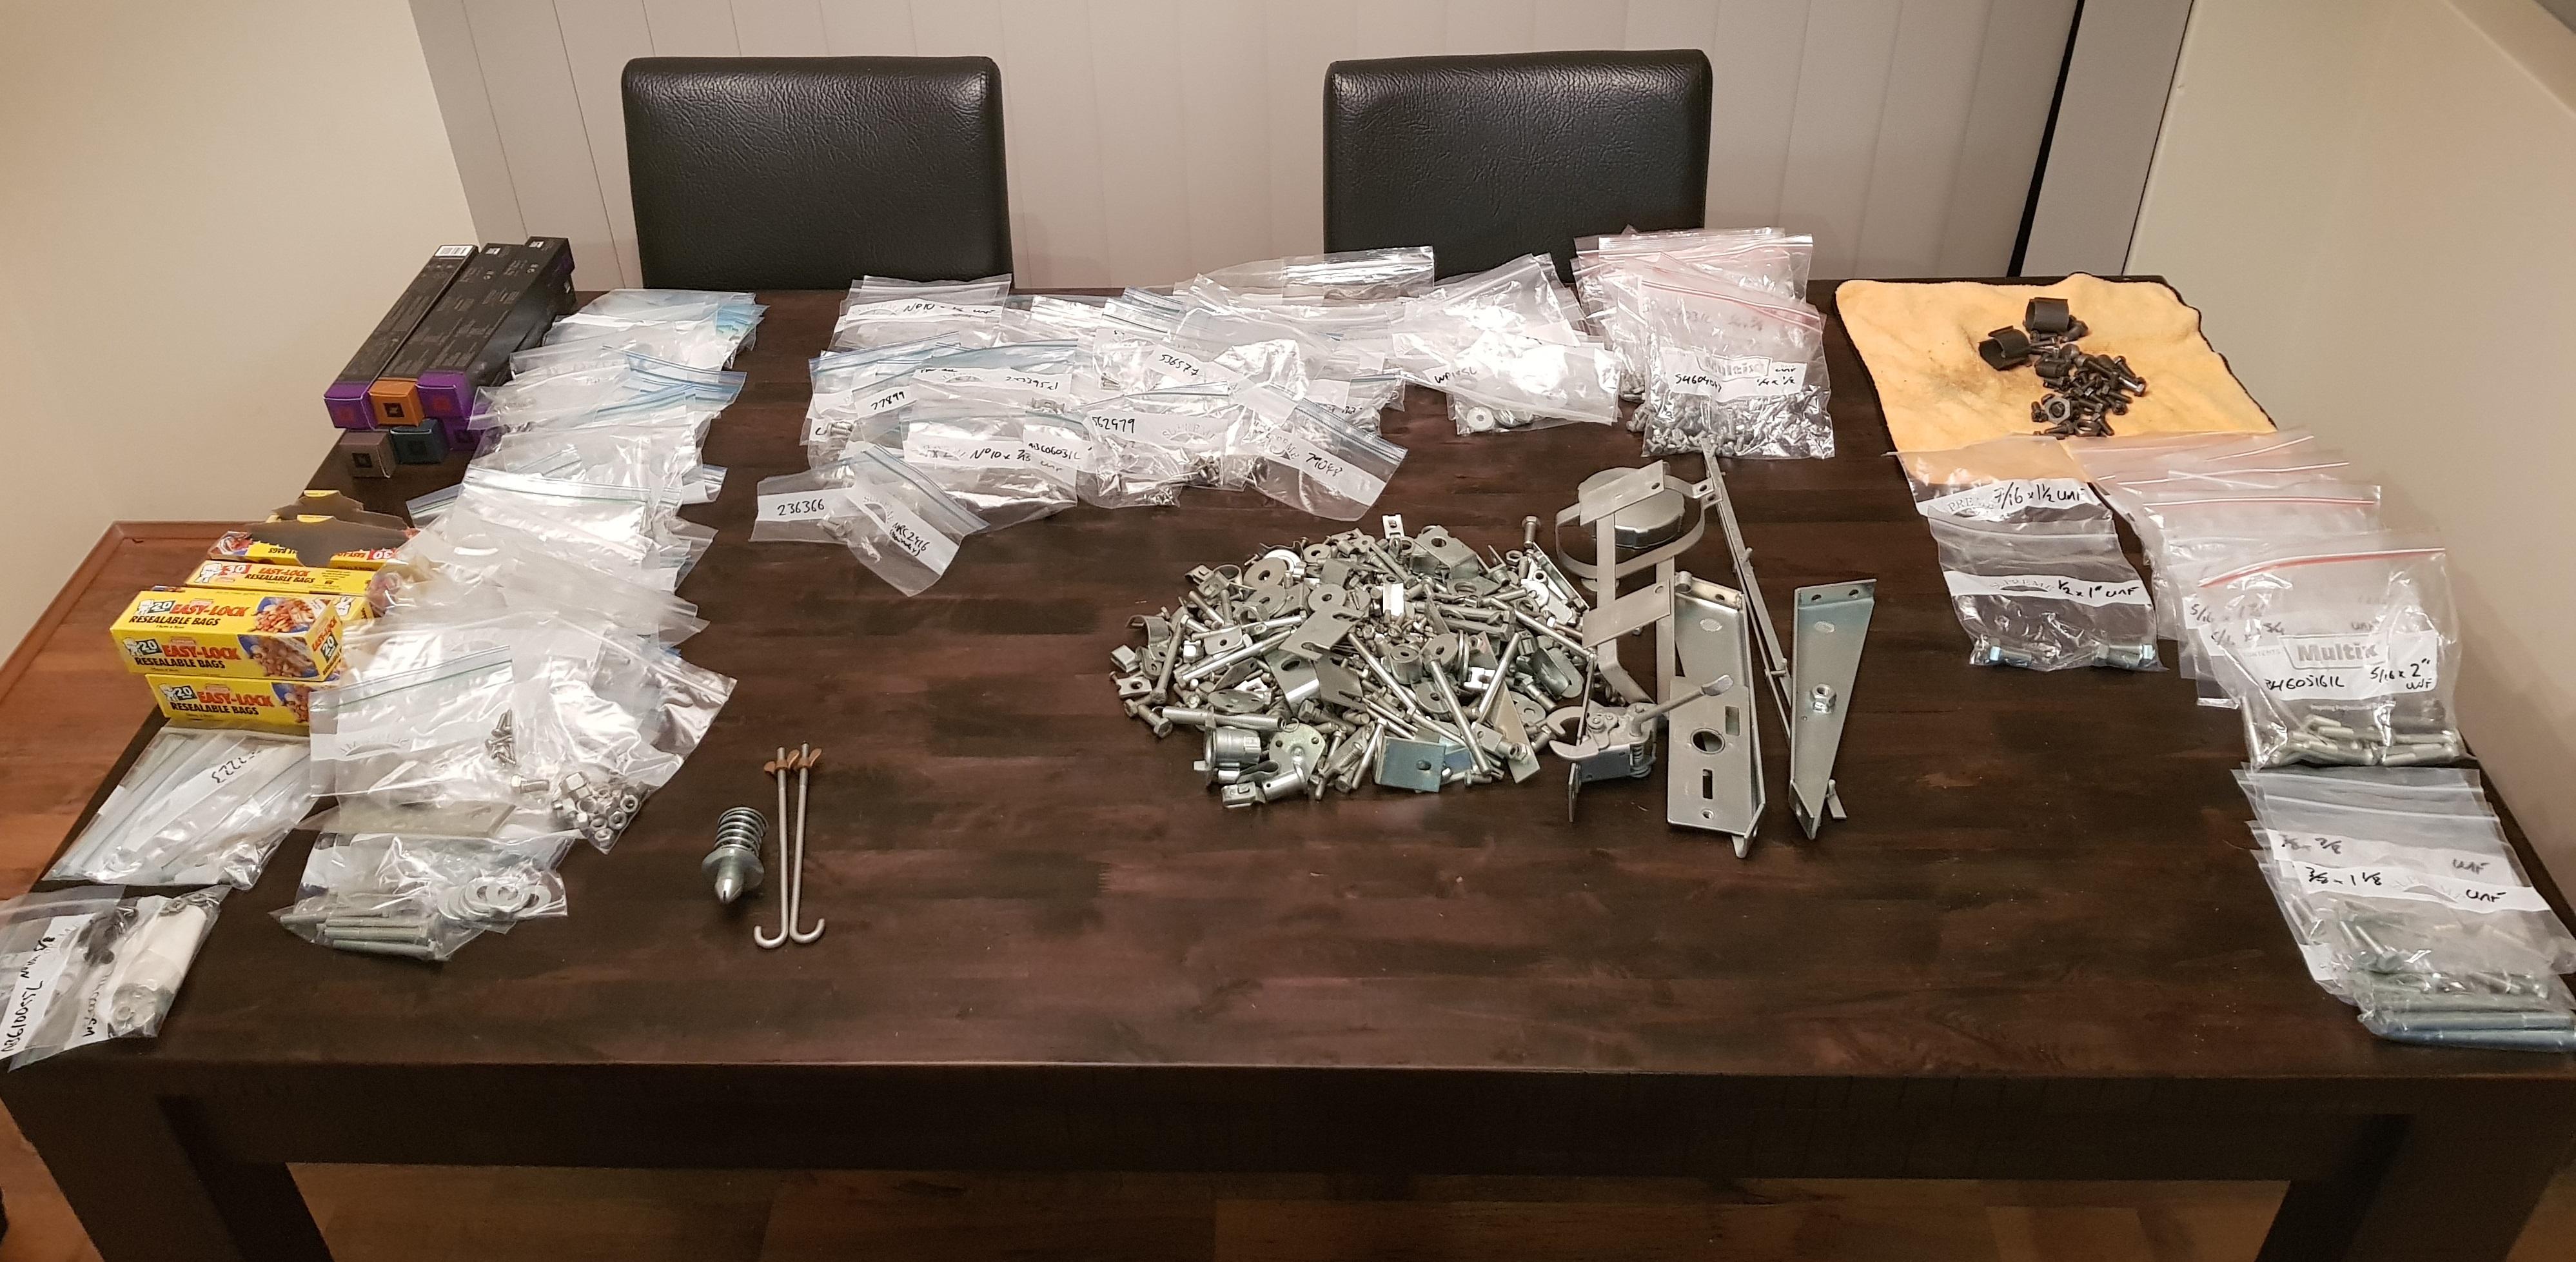
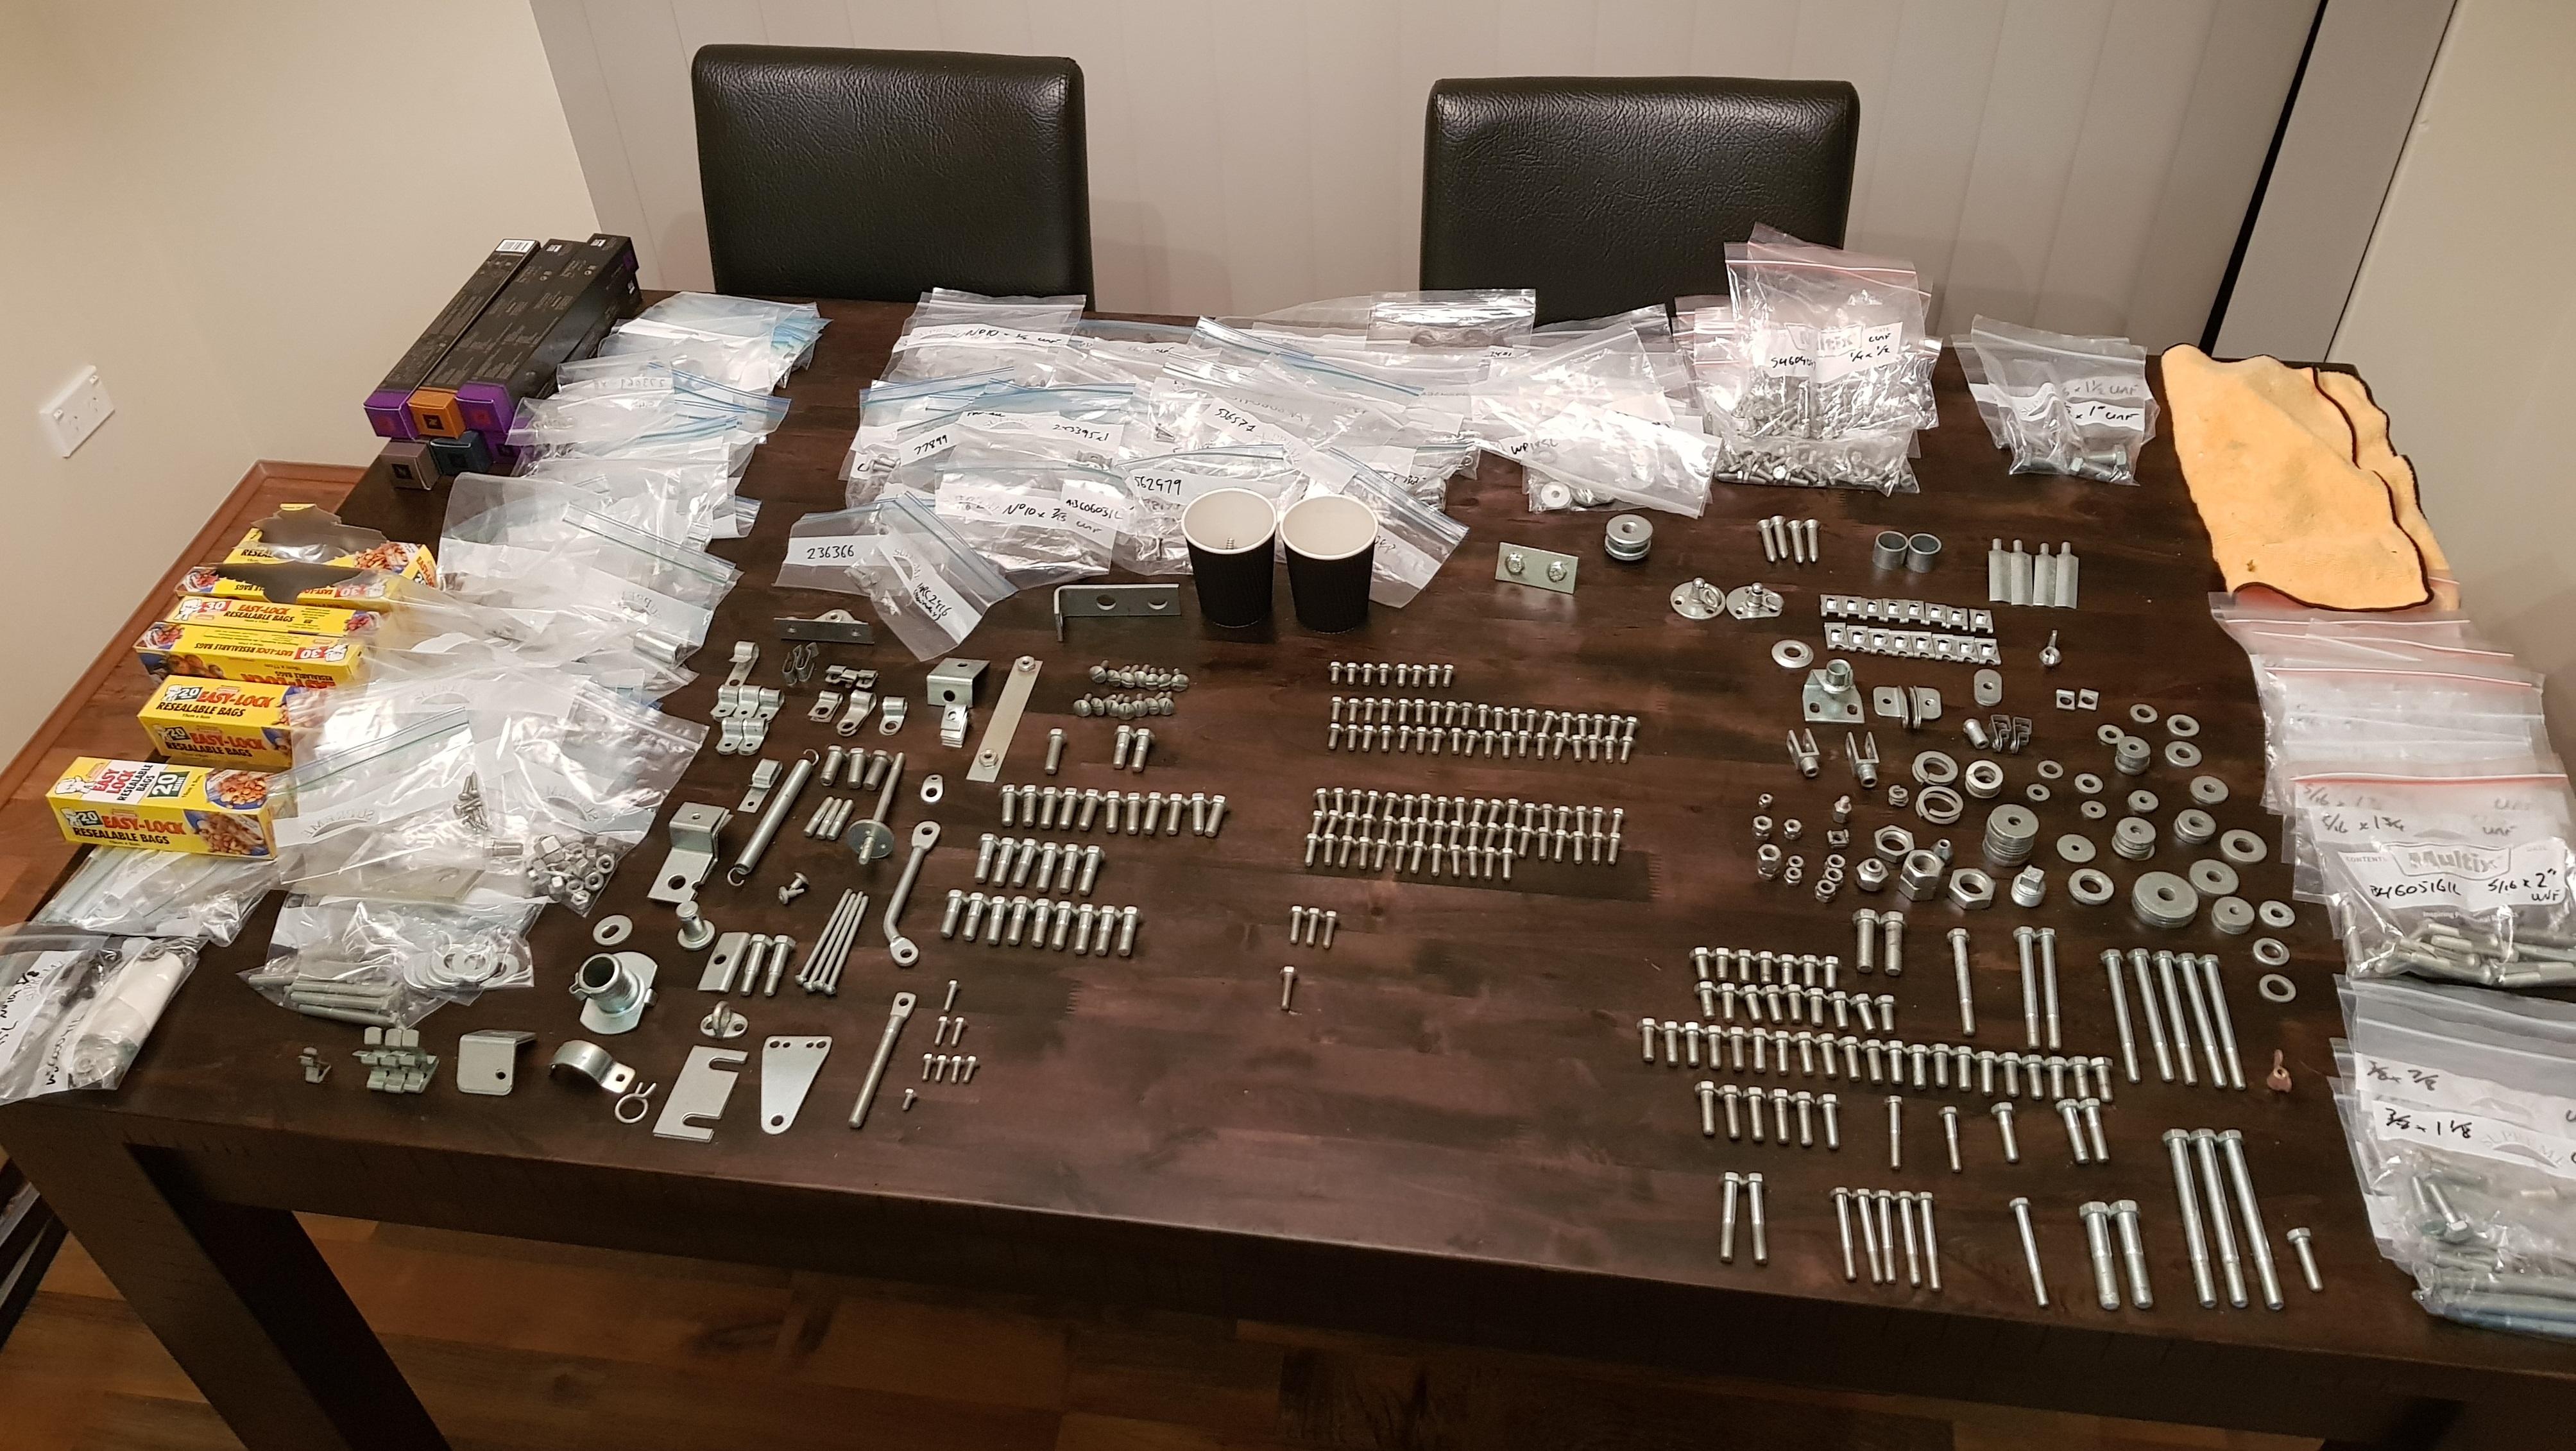
There has also been a fair bit of this madness with the nuts, bolts, brackets, etc:
ahem.... little bit OCD
Cheers,
Tim

 Wizard
Sorry about the gap in updates guys, working life keeps getting in the way! There has not been a lot of progress, partly because of time constraints, the painter has still got the firewall, and I really, really hate sanding!
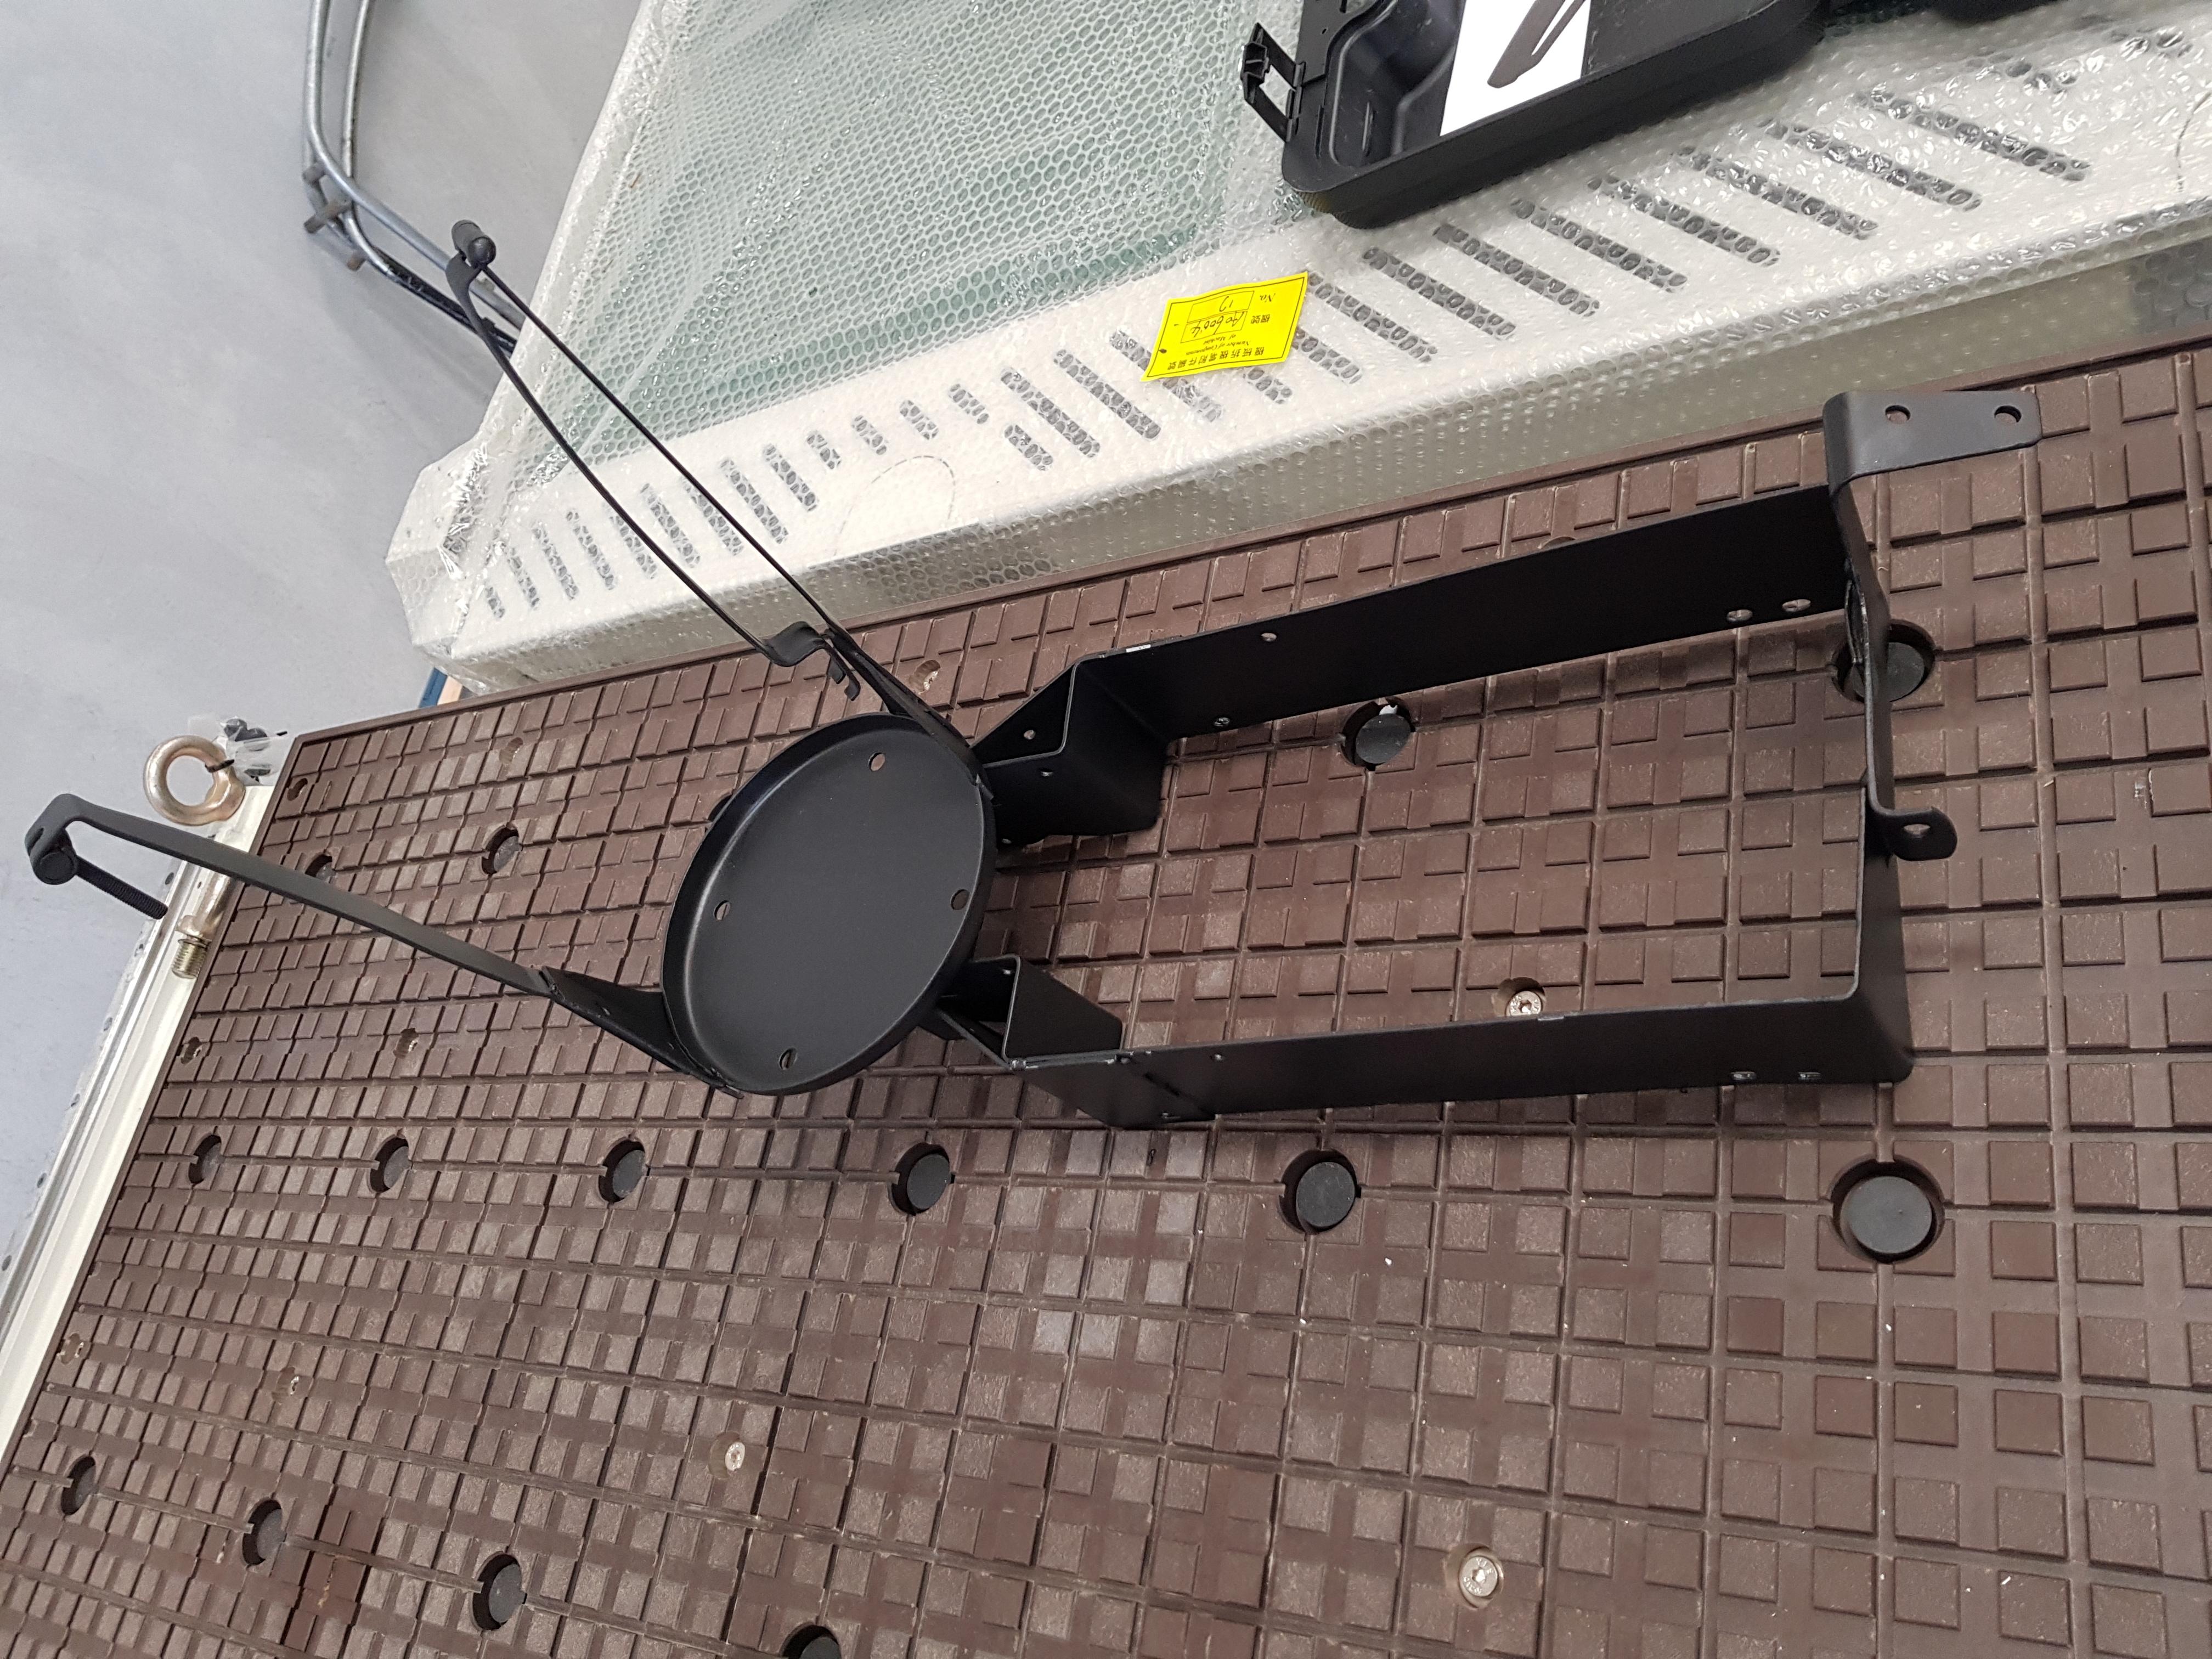
This here thing took ages to get right. The arms for holding down the air filter were badly bent, and there was a lot of pitting in the metal that needed dealing with, but it has come up ok in the end.
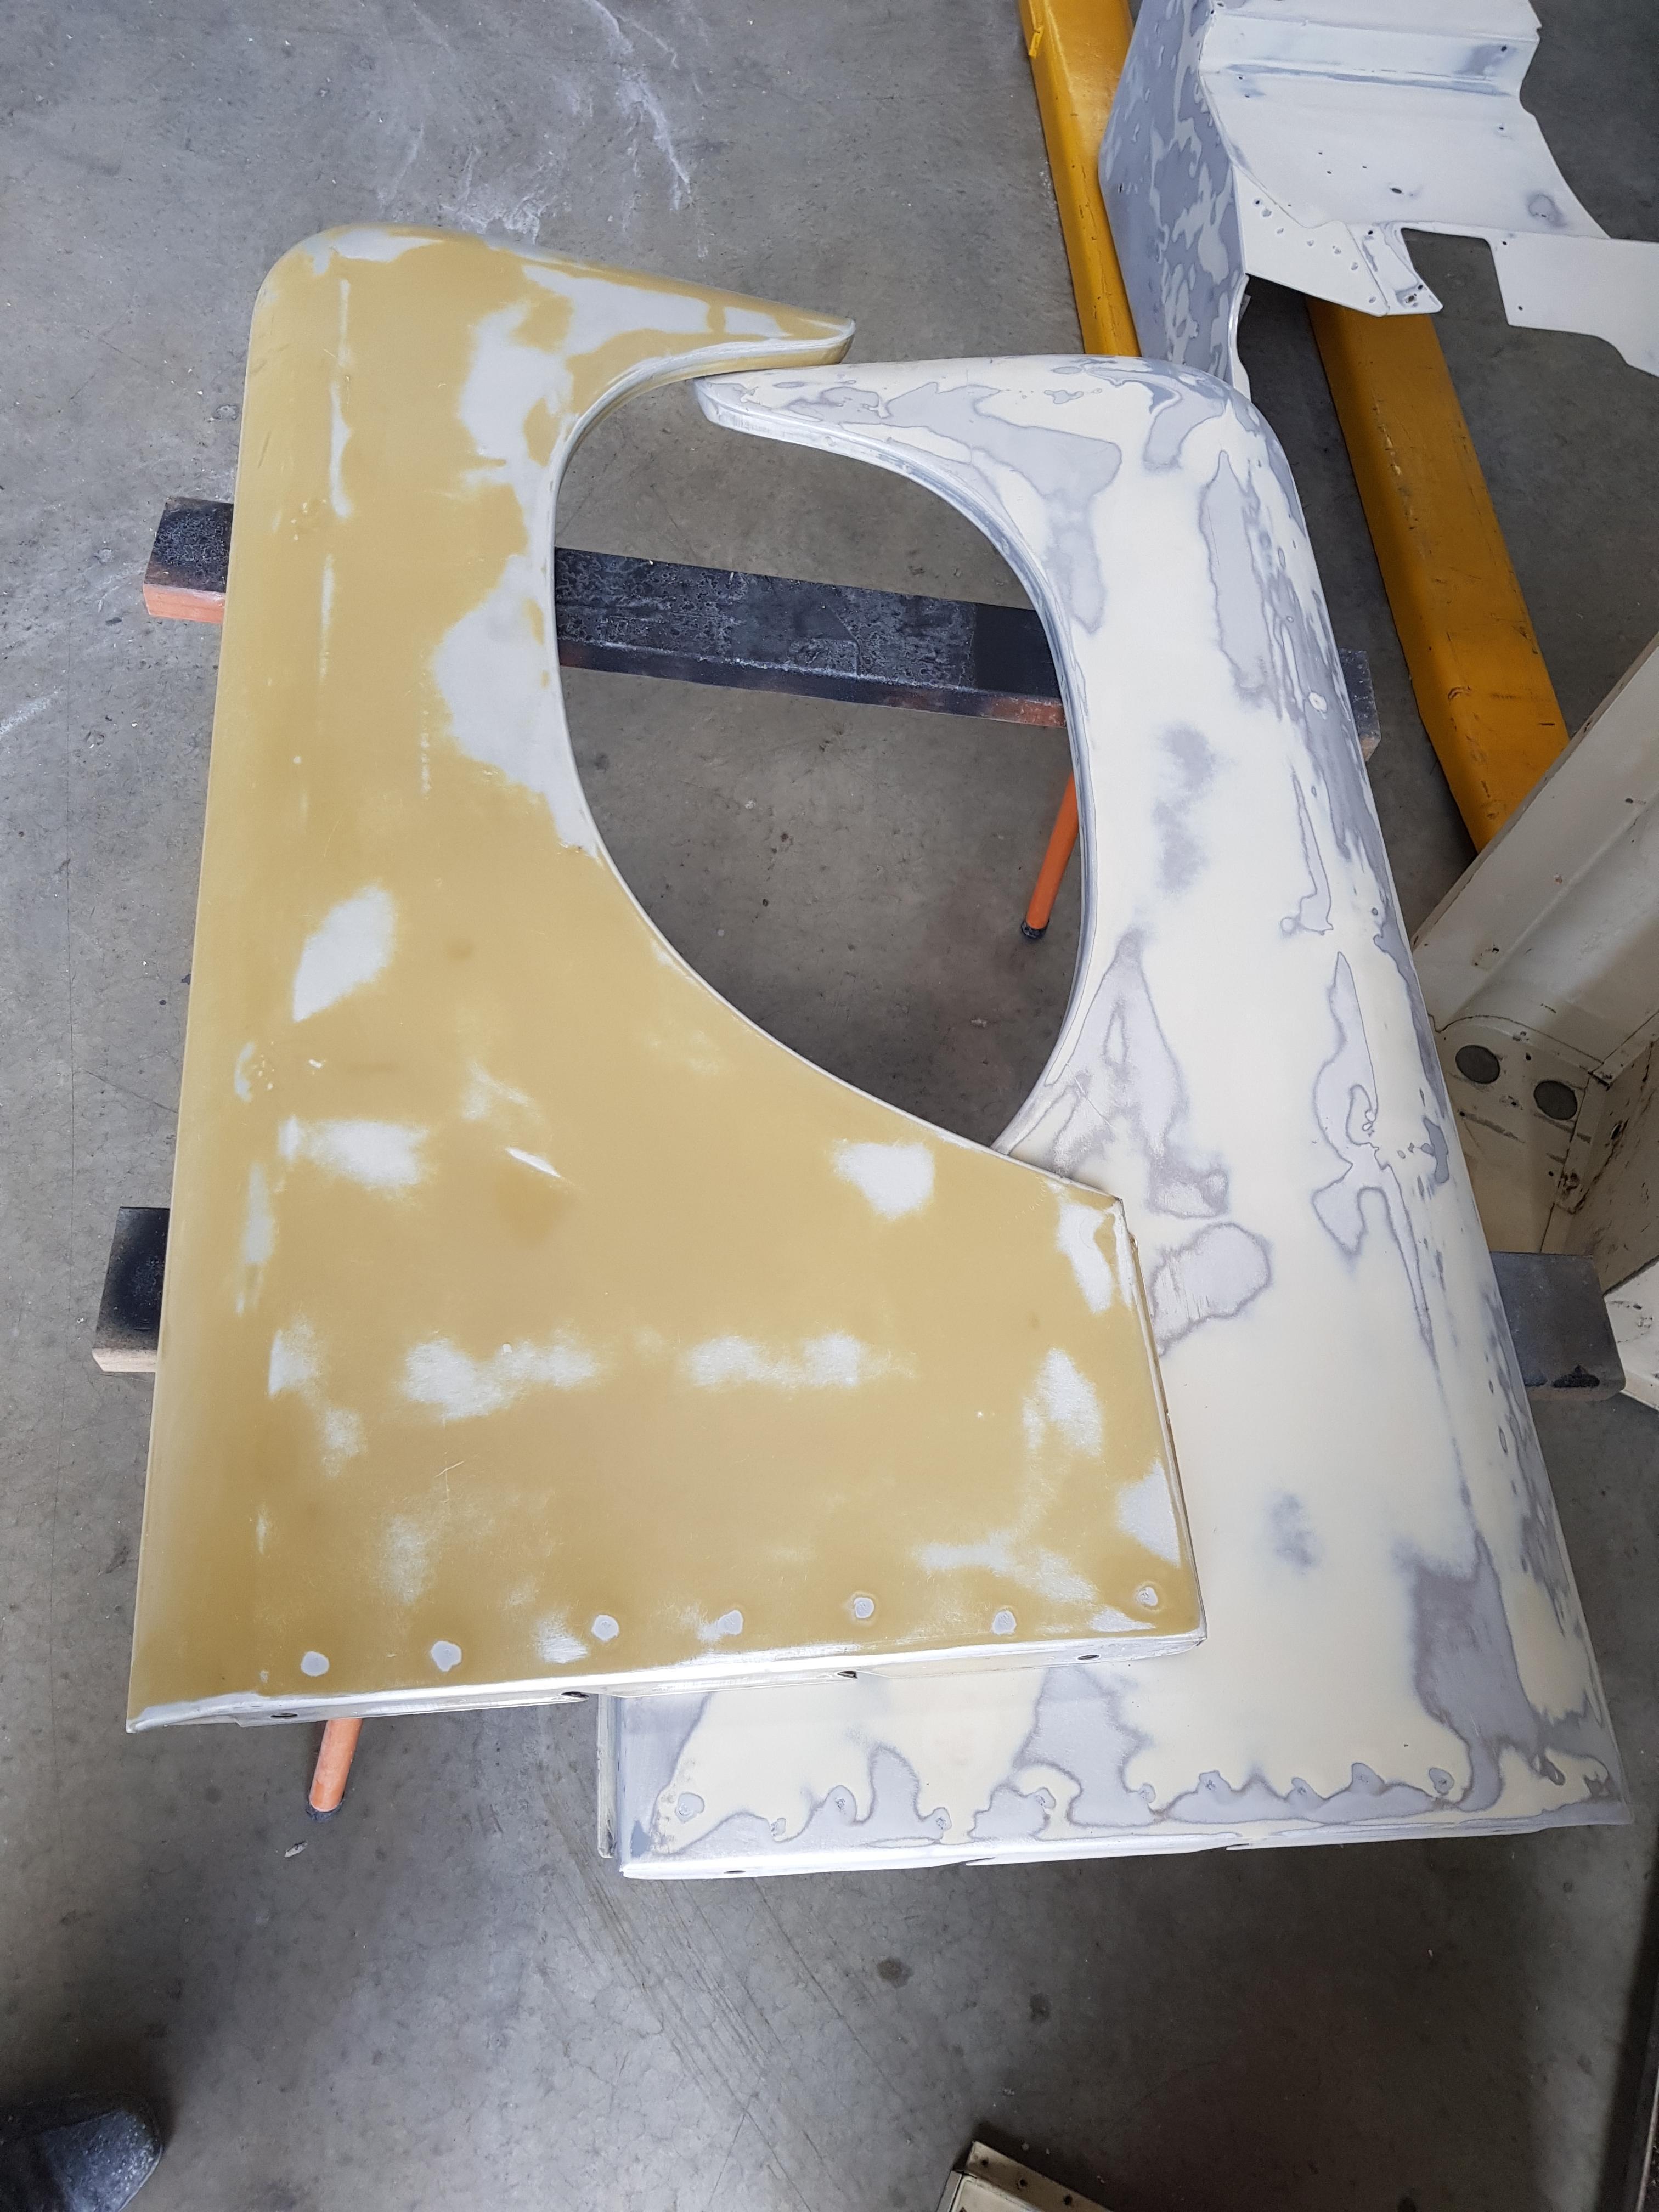
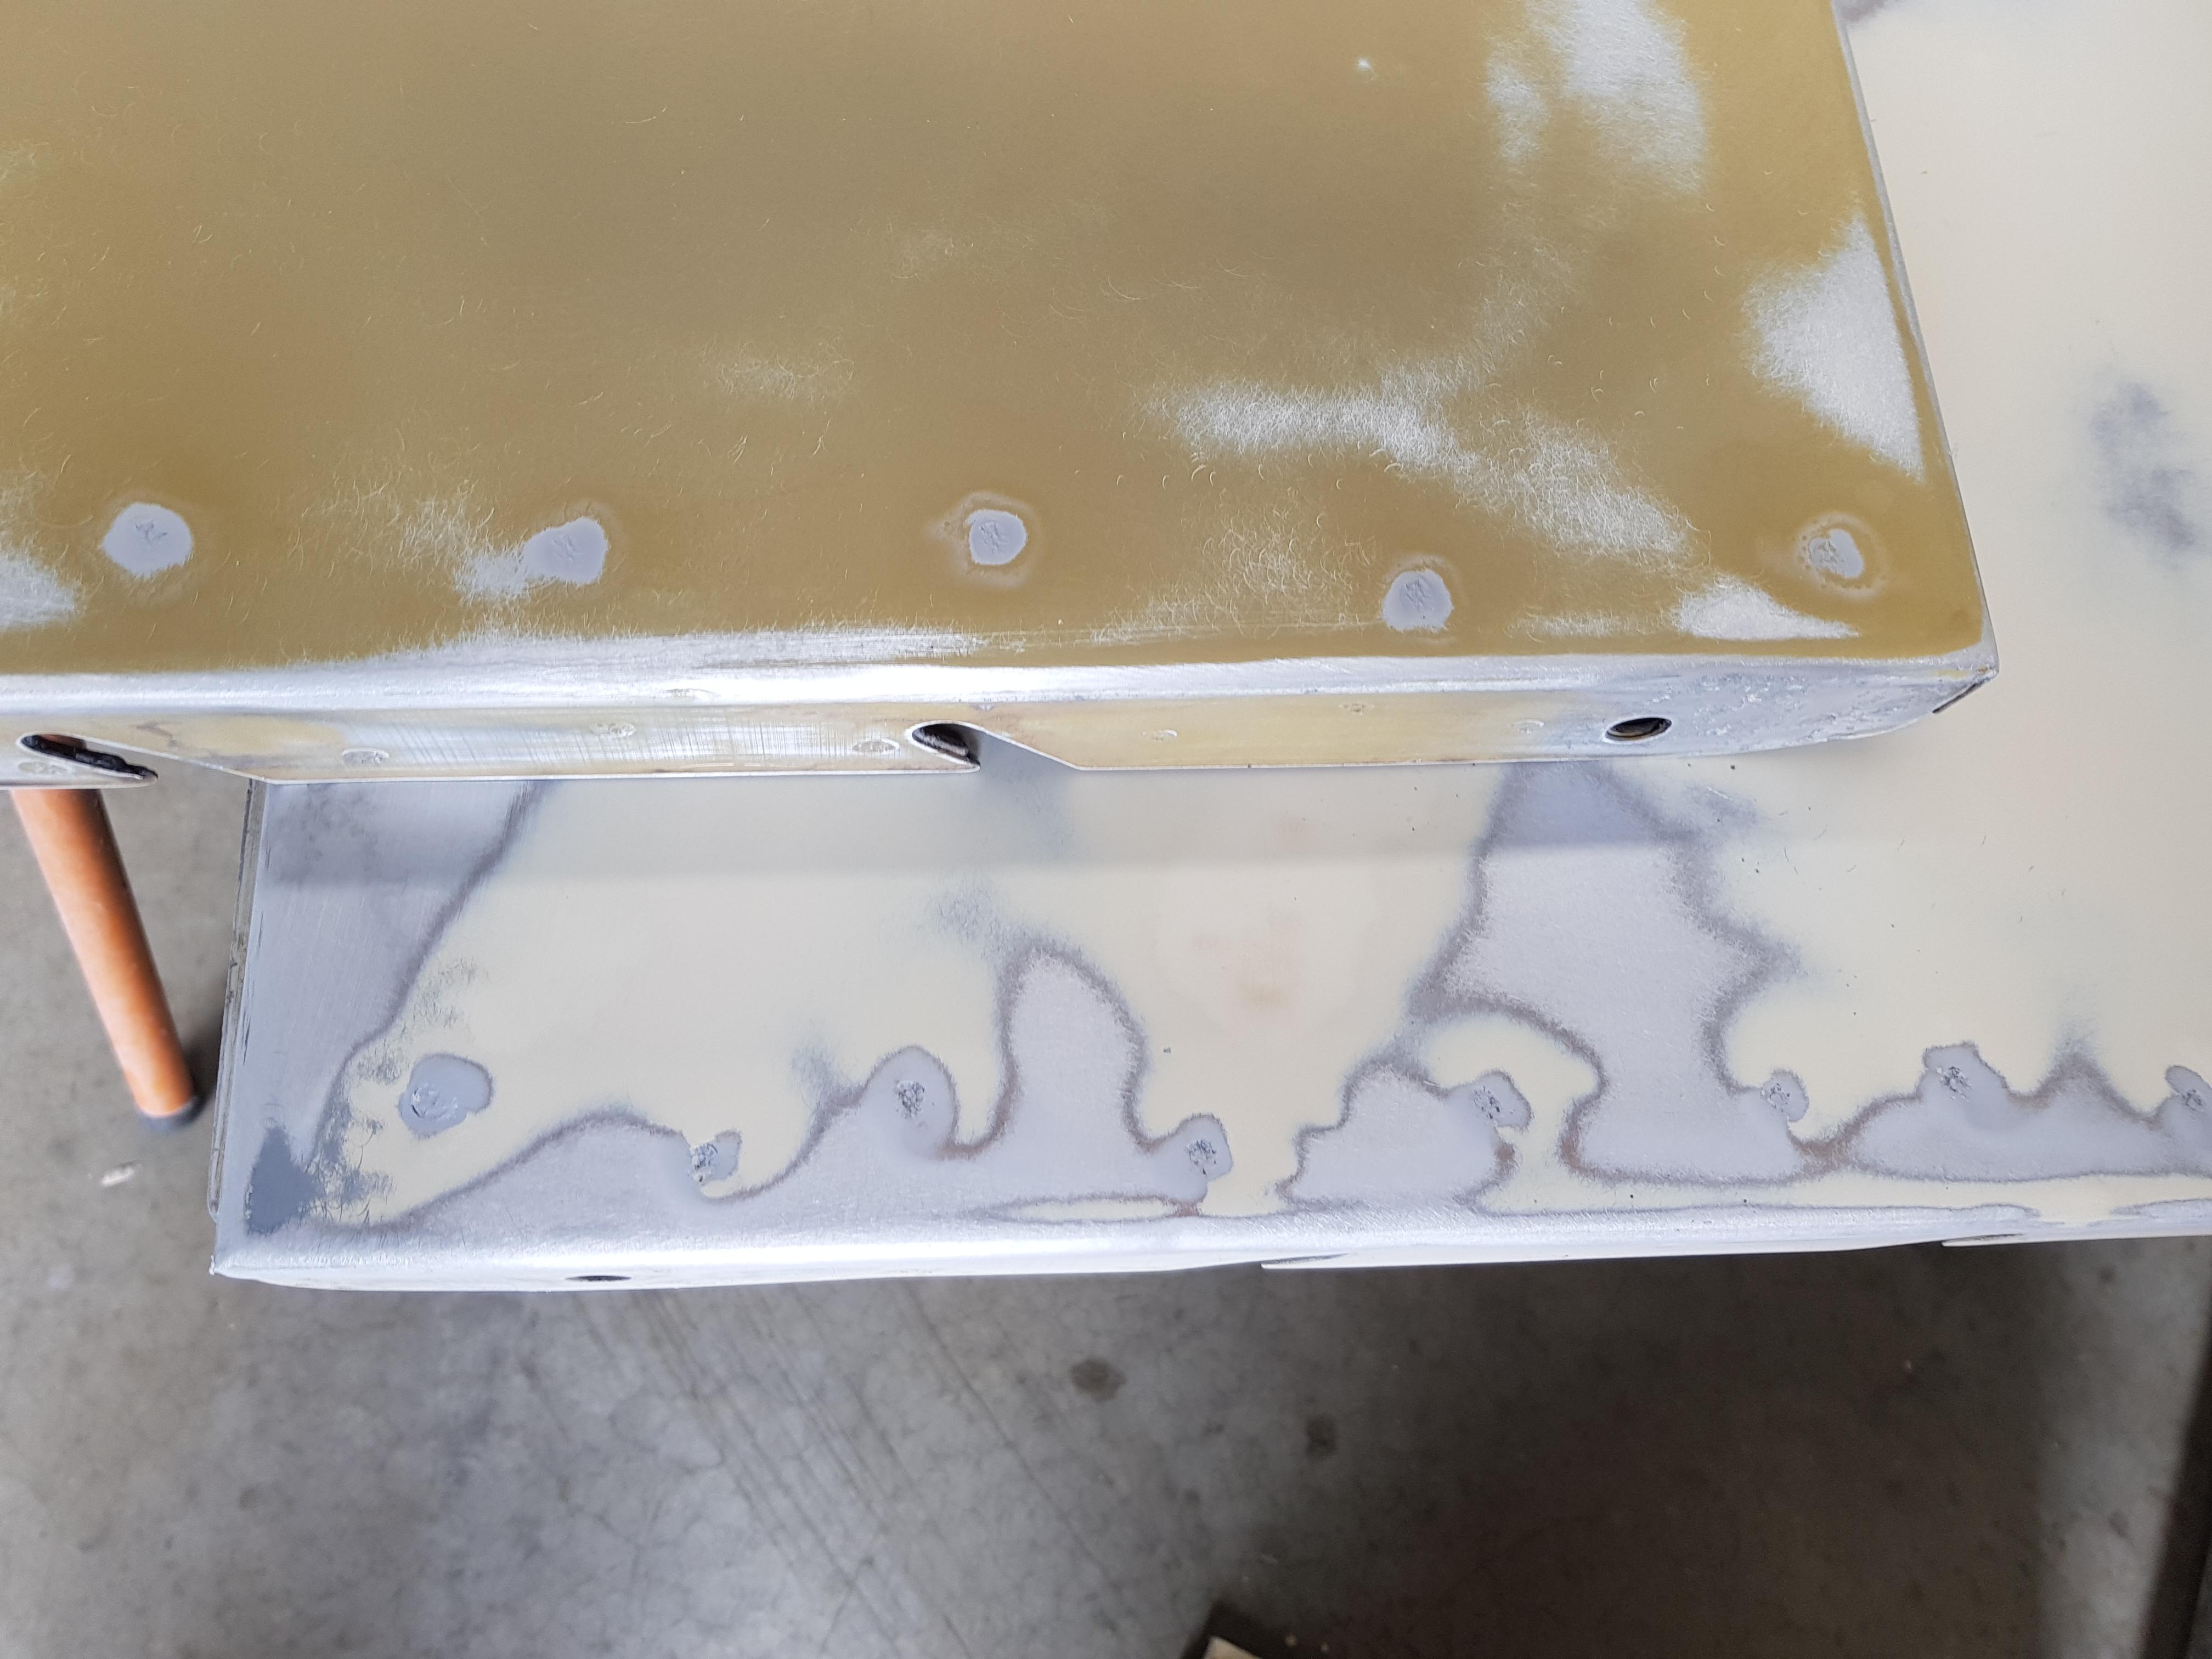
Other than that I've just been sanding, paint stripping, and sanding some more. Front guard tops are ready to go off to be painted, I'll just get a coat of primer put on them first, I did sand them with a 18" flat sander, but they look awfully wavy. So if they look crap in primer I'll strip them right back to bare metal.
Front wings are about the same. Drivers side is from the donor, the original one had a big split in it where the bumper had been folded back into it at some stage.
I have been cleaning out all the spot welds with a little soda blaster. I really don't want them to look like they are all filled in once it's top coated.
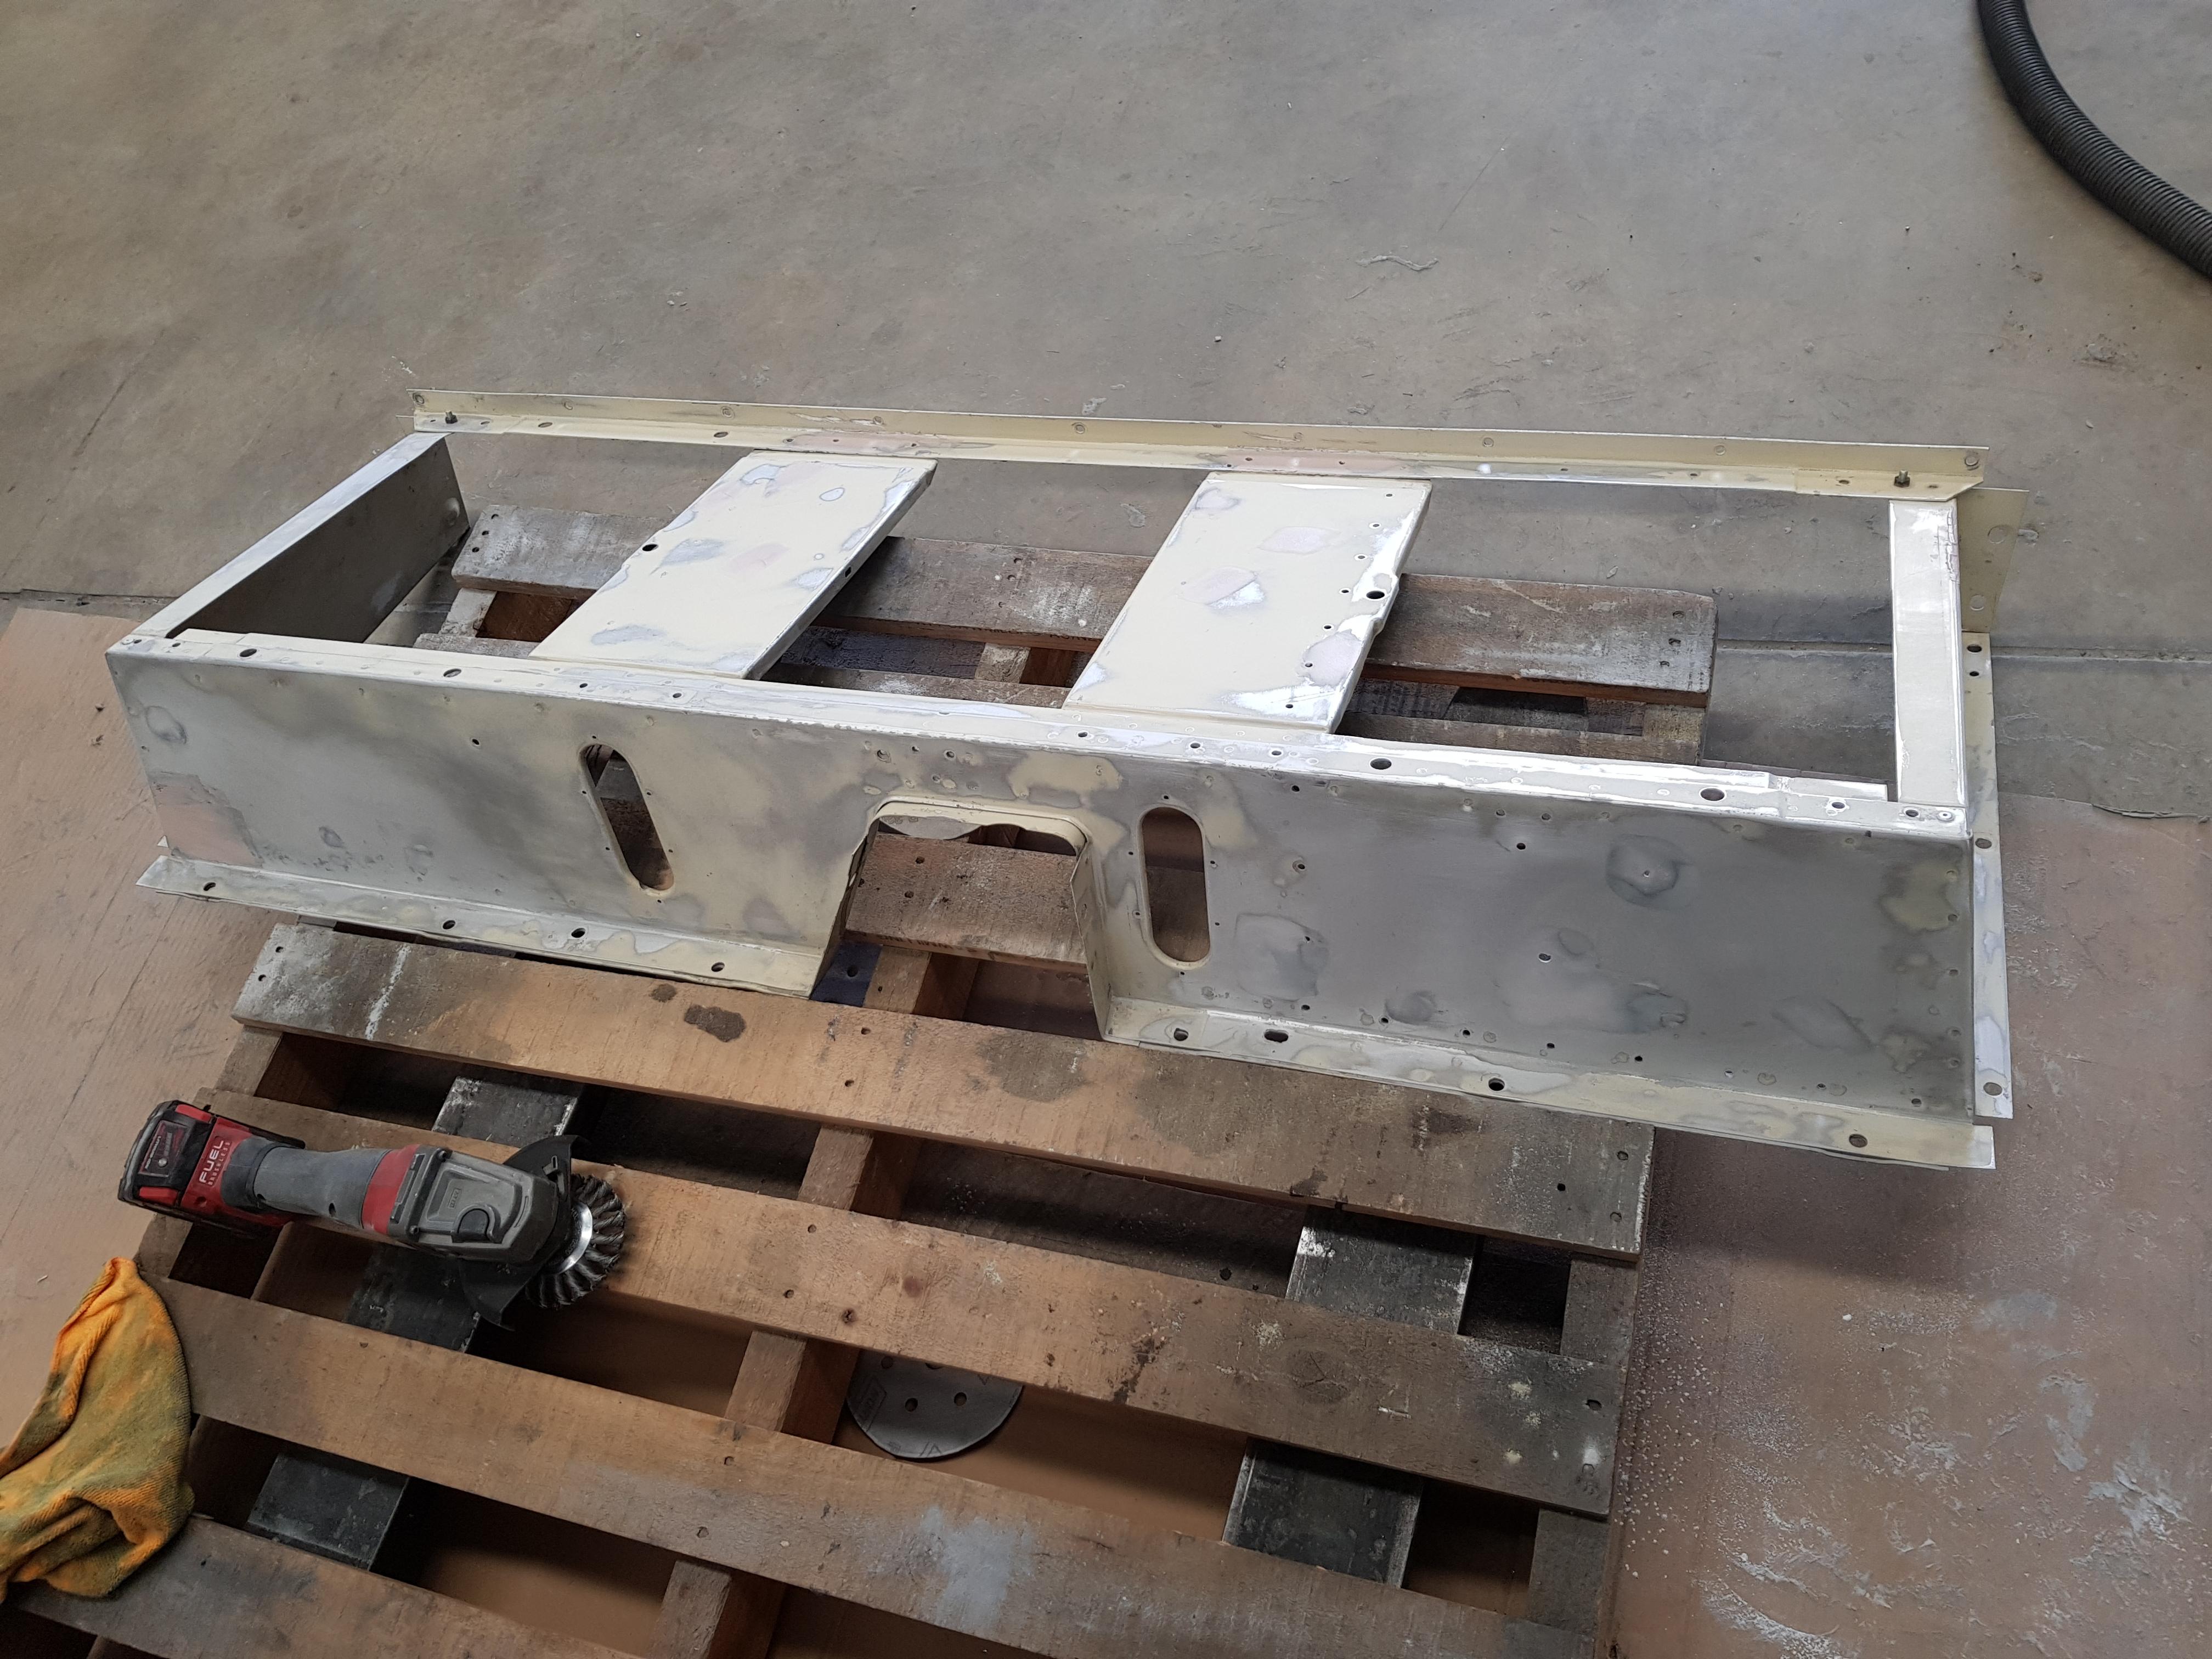
The seat box is an on going project. Nothing really wrong with it, just lots of little dents and imperfections, and a bit of corrosion too.
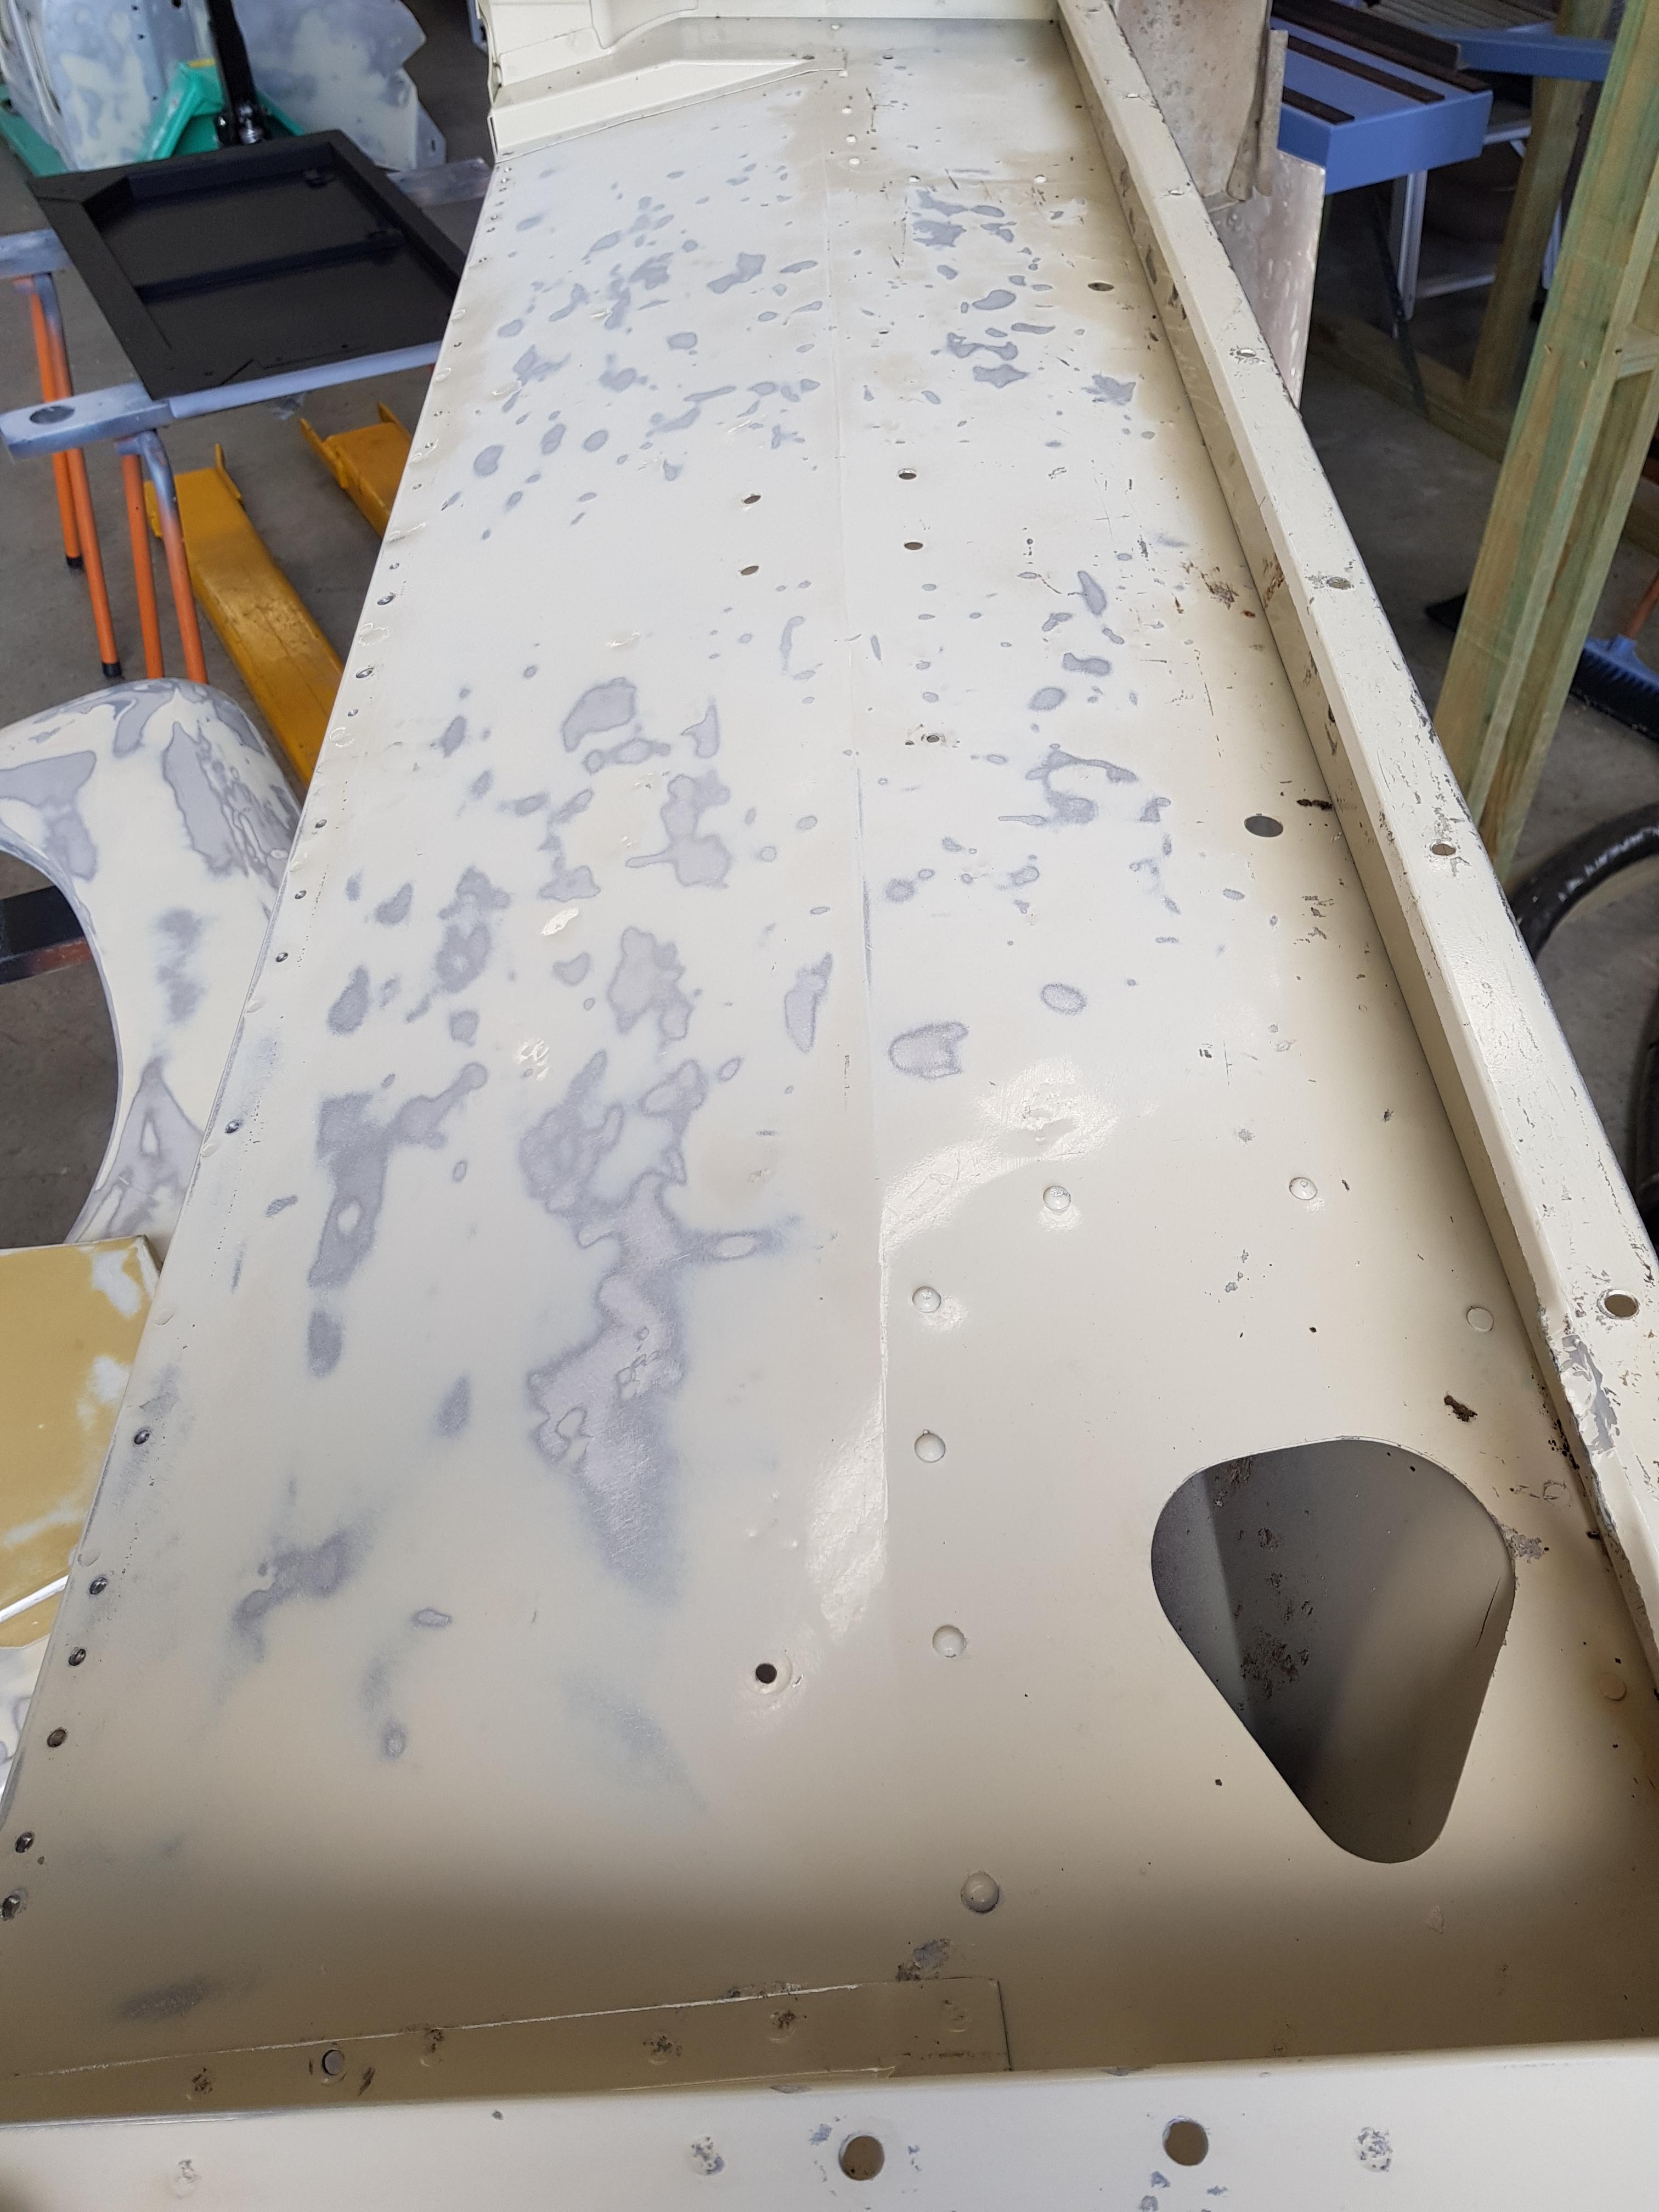
The bonnet has been stripped right back, this will go off to be media blasted, mainly to clean up the surface rust on parts of the frame. Some of the rivets are loose/missing and will have to be remedied before paint.
The transom on the tub is a bit of a disaster! Many small dents, I'm not too sure what I am going to do with it, see what the painter recommends! I have had quite a bit of success with flattening the dents using a hard faced plastic hammer and the heel of my hand as a dolly, so maybe it just needs some time and patience! There were a lot of dents in the guards that I have almost completely removed this way, so who knows.
The painter says he should be able to get onto top coating the firewall this week, so here's hoping!
Cheers,
Tim
Wizard
Additional, (as Holly used to say):
Wonder whats hiding under here?
Bog!
There has also been a fair bit of this madness with the nuts, bolts, brackets, etc:
ahem.... little bit OCD
Cheers,
Tim
Wizard
Additional, additional...
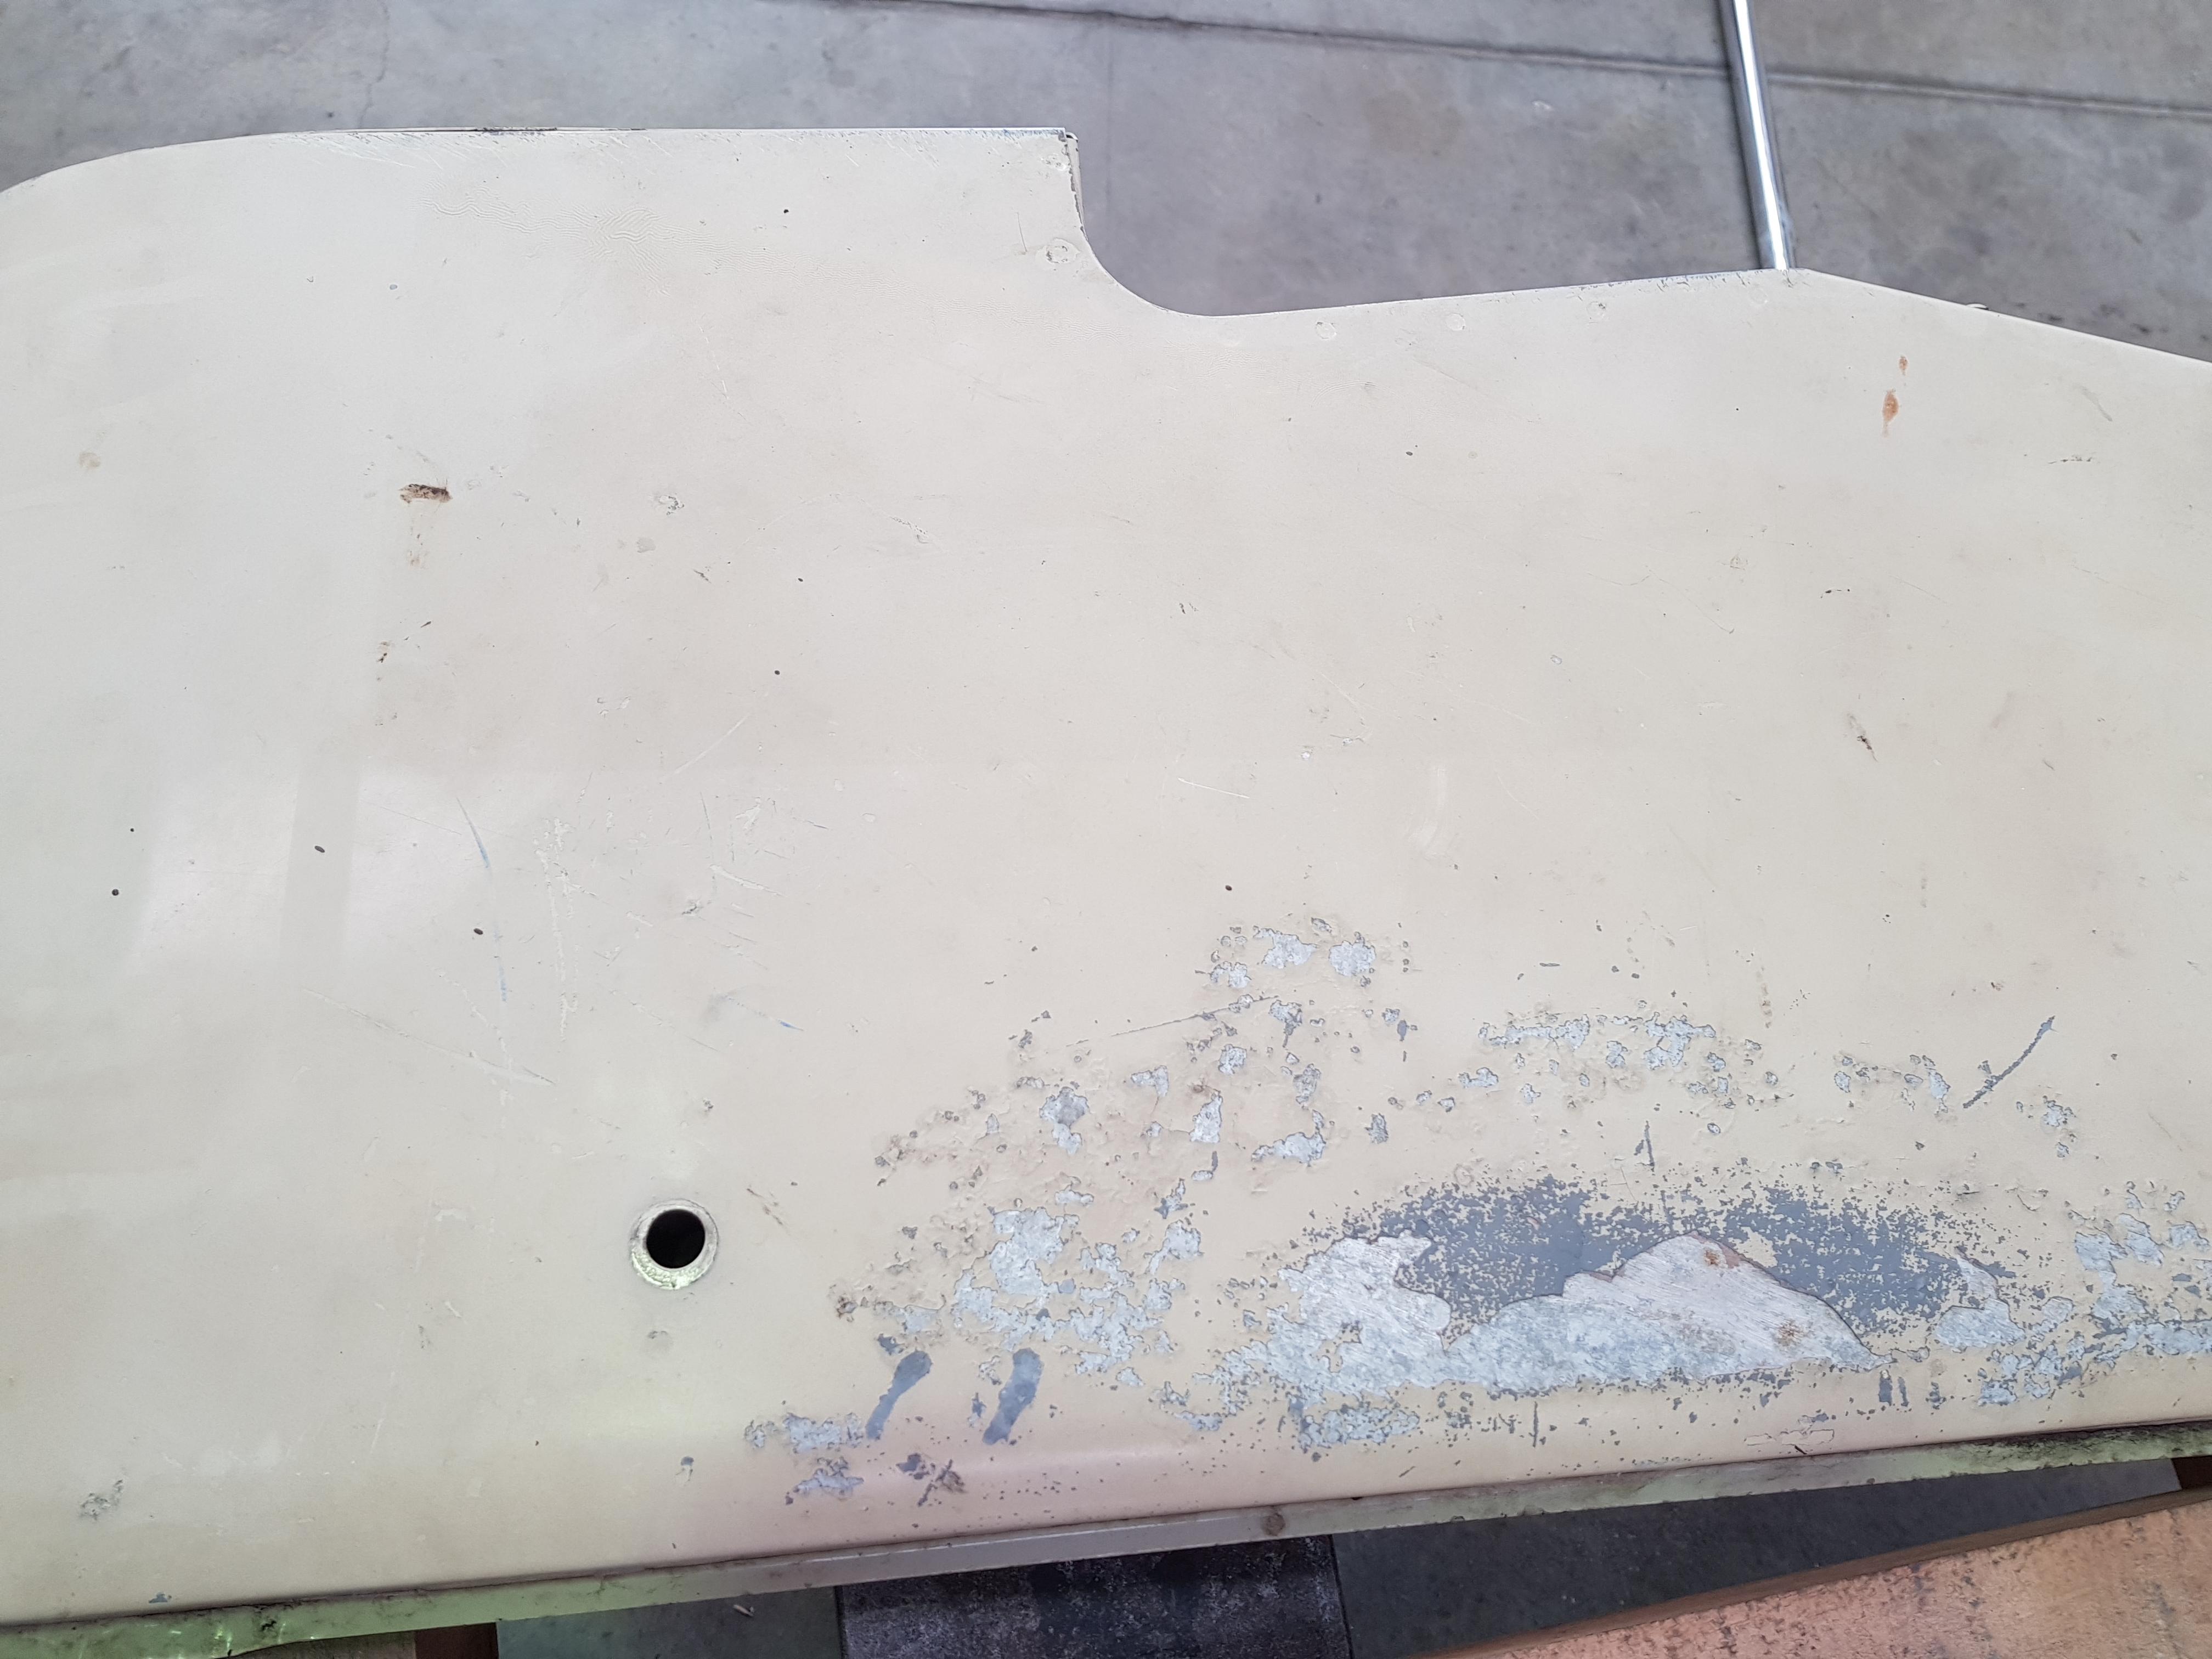
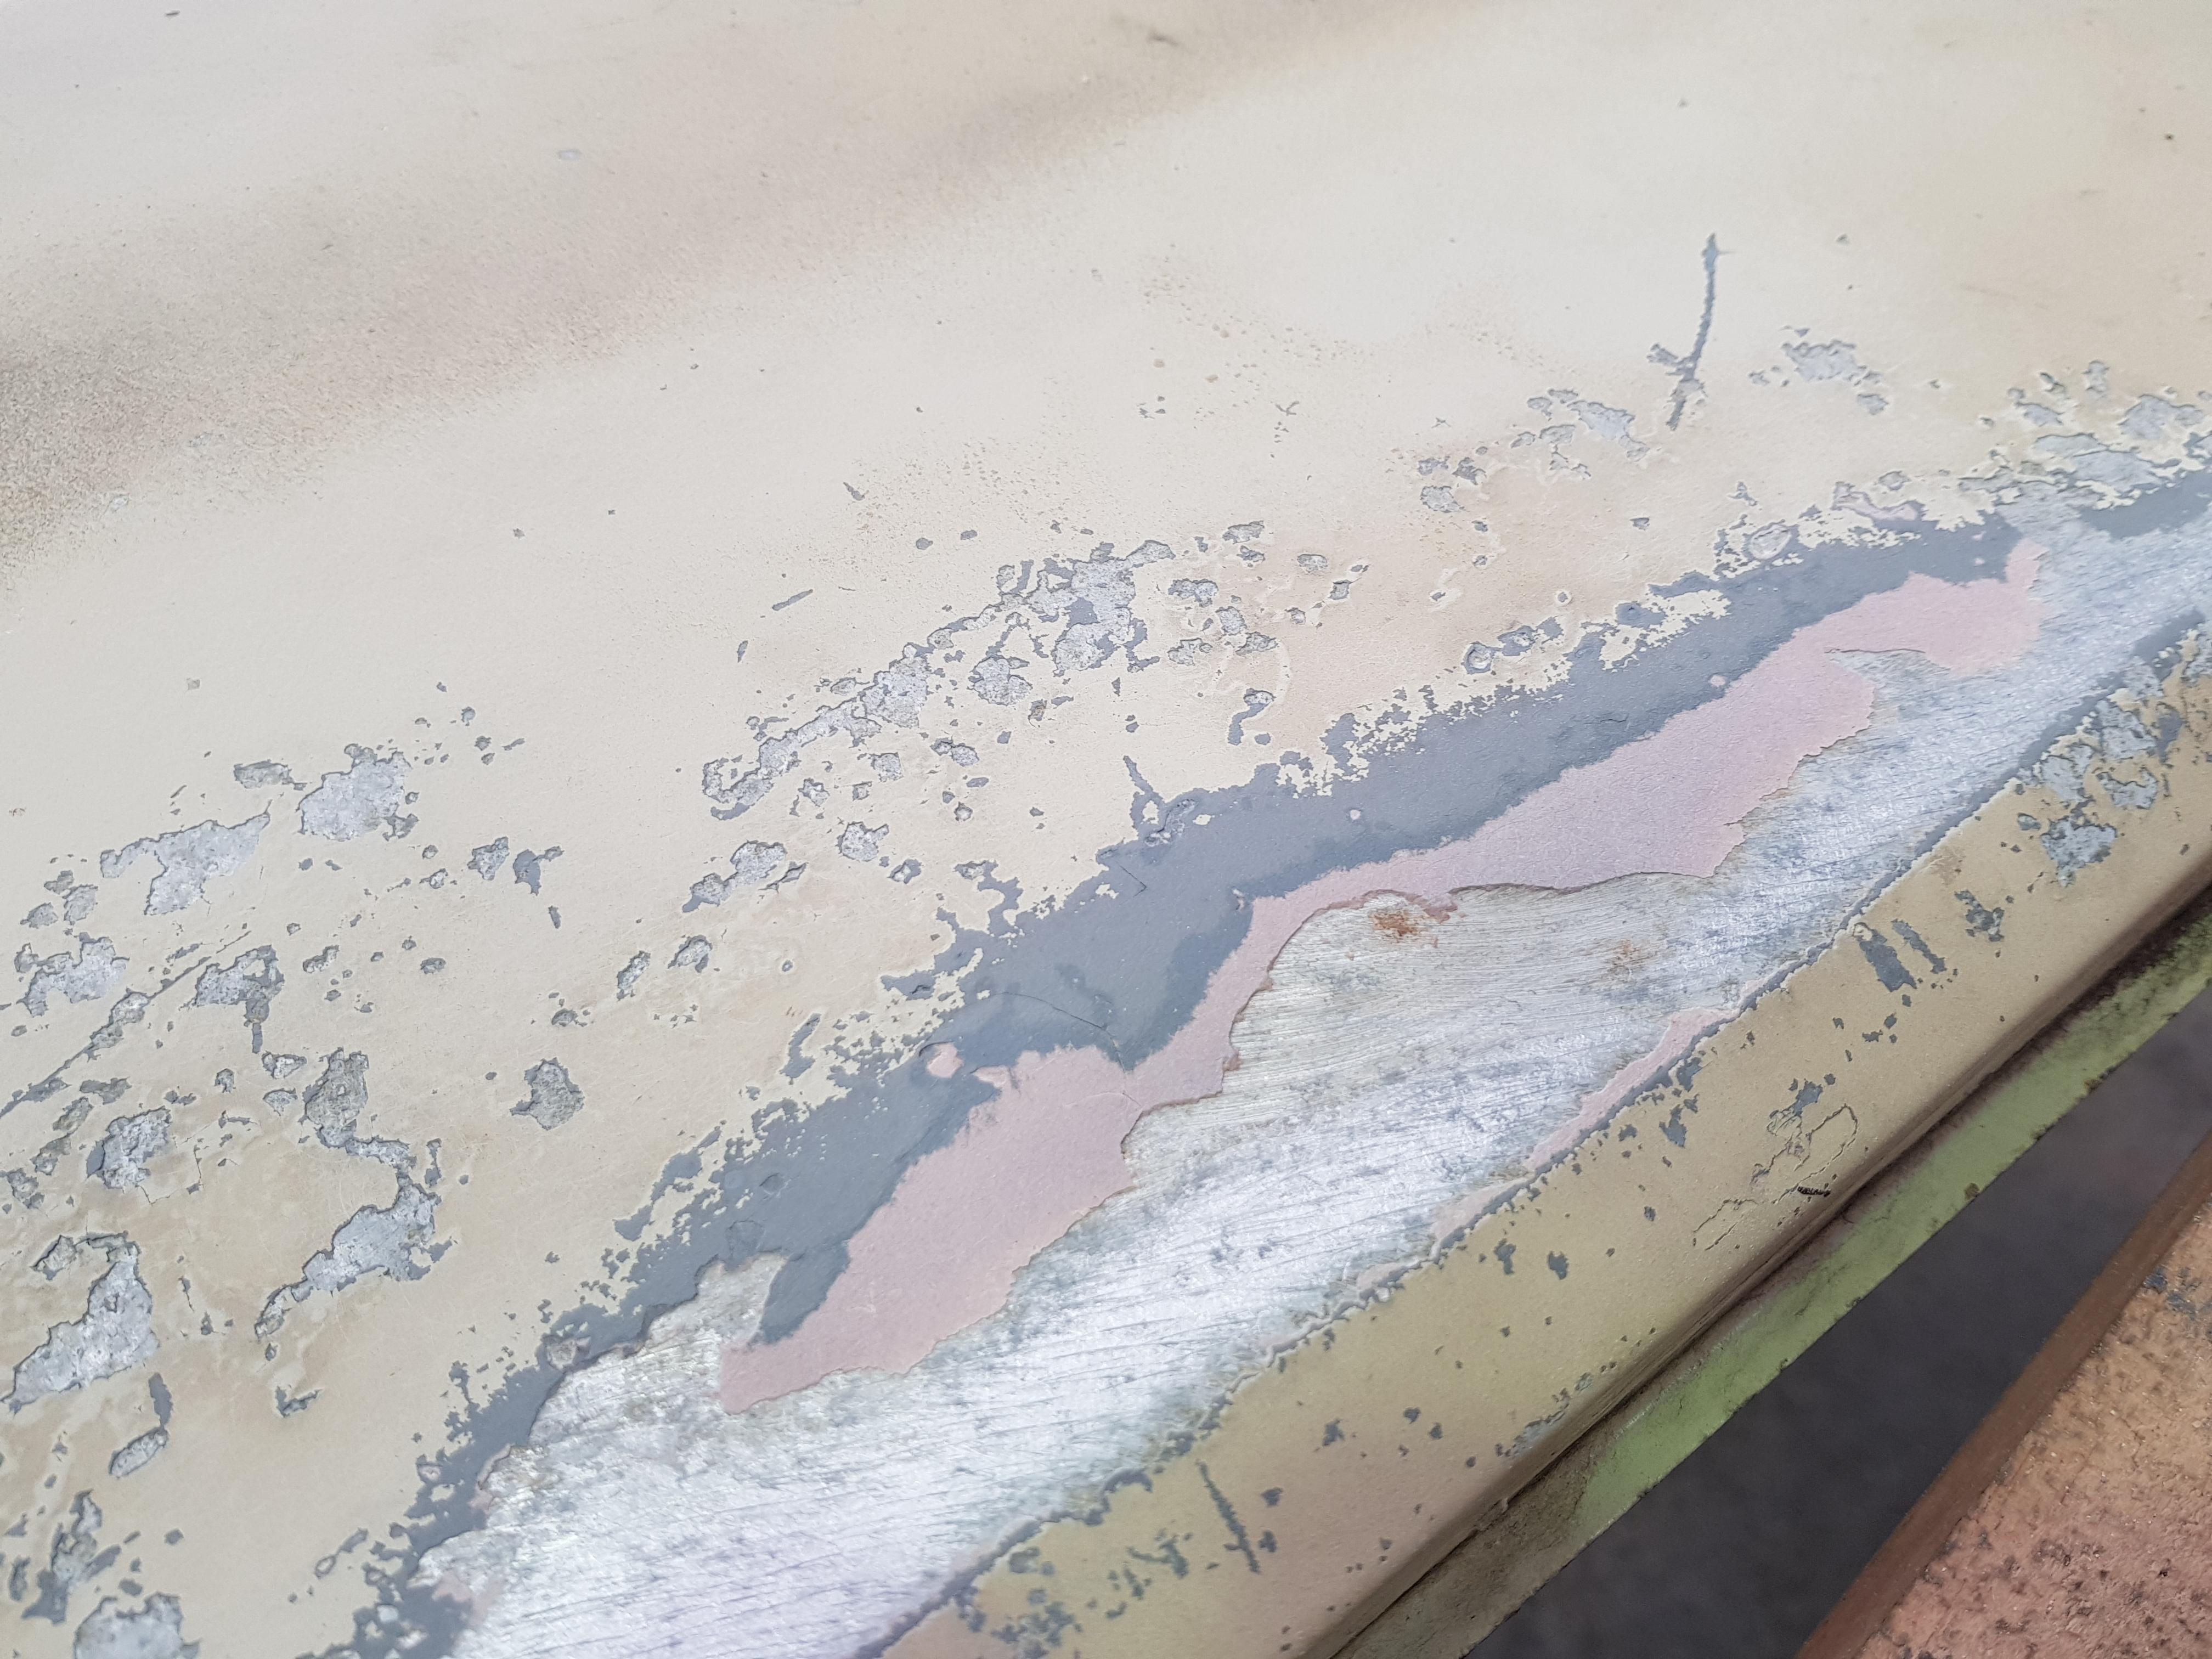
I thought I'd posted these photos? But anyway, before the firewall, (and a few other bits), went to get painted I discovered a bit of corrosion hiding under the primer. This was partially my fault for not priming it immediately after it was blasted, and an accumulation of moisture absorbed due to the weather, and from me no doubt sweating on it while welding bits and pieces etc. So to play it safe I had it re-blasted and primed in, (much better than I can get hold of), epoxy etch primer.
Came up really good:
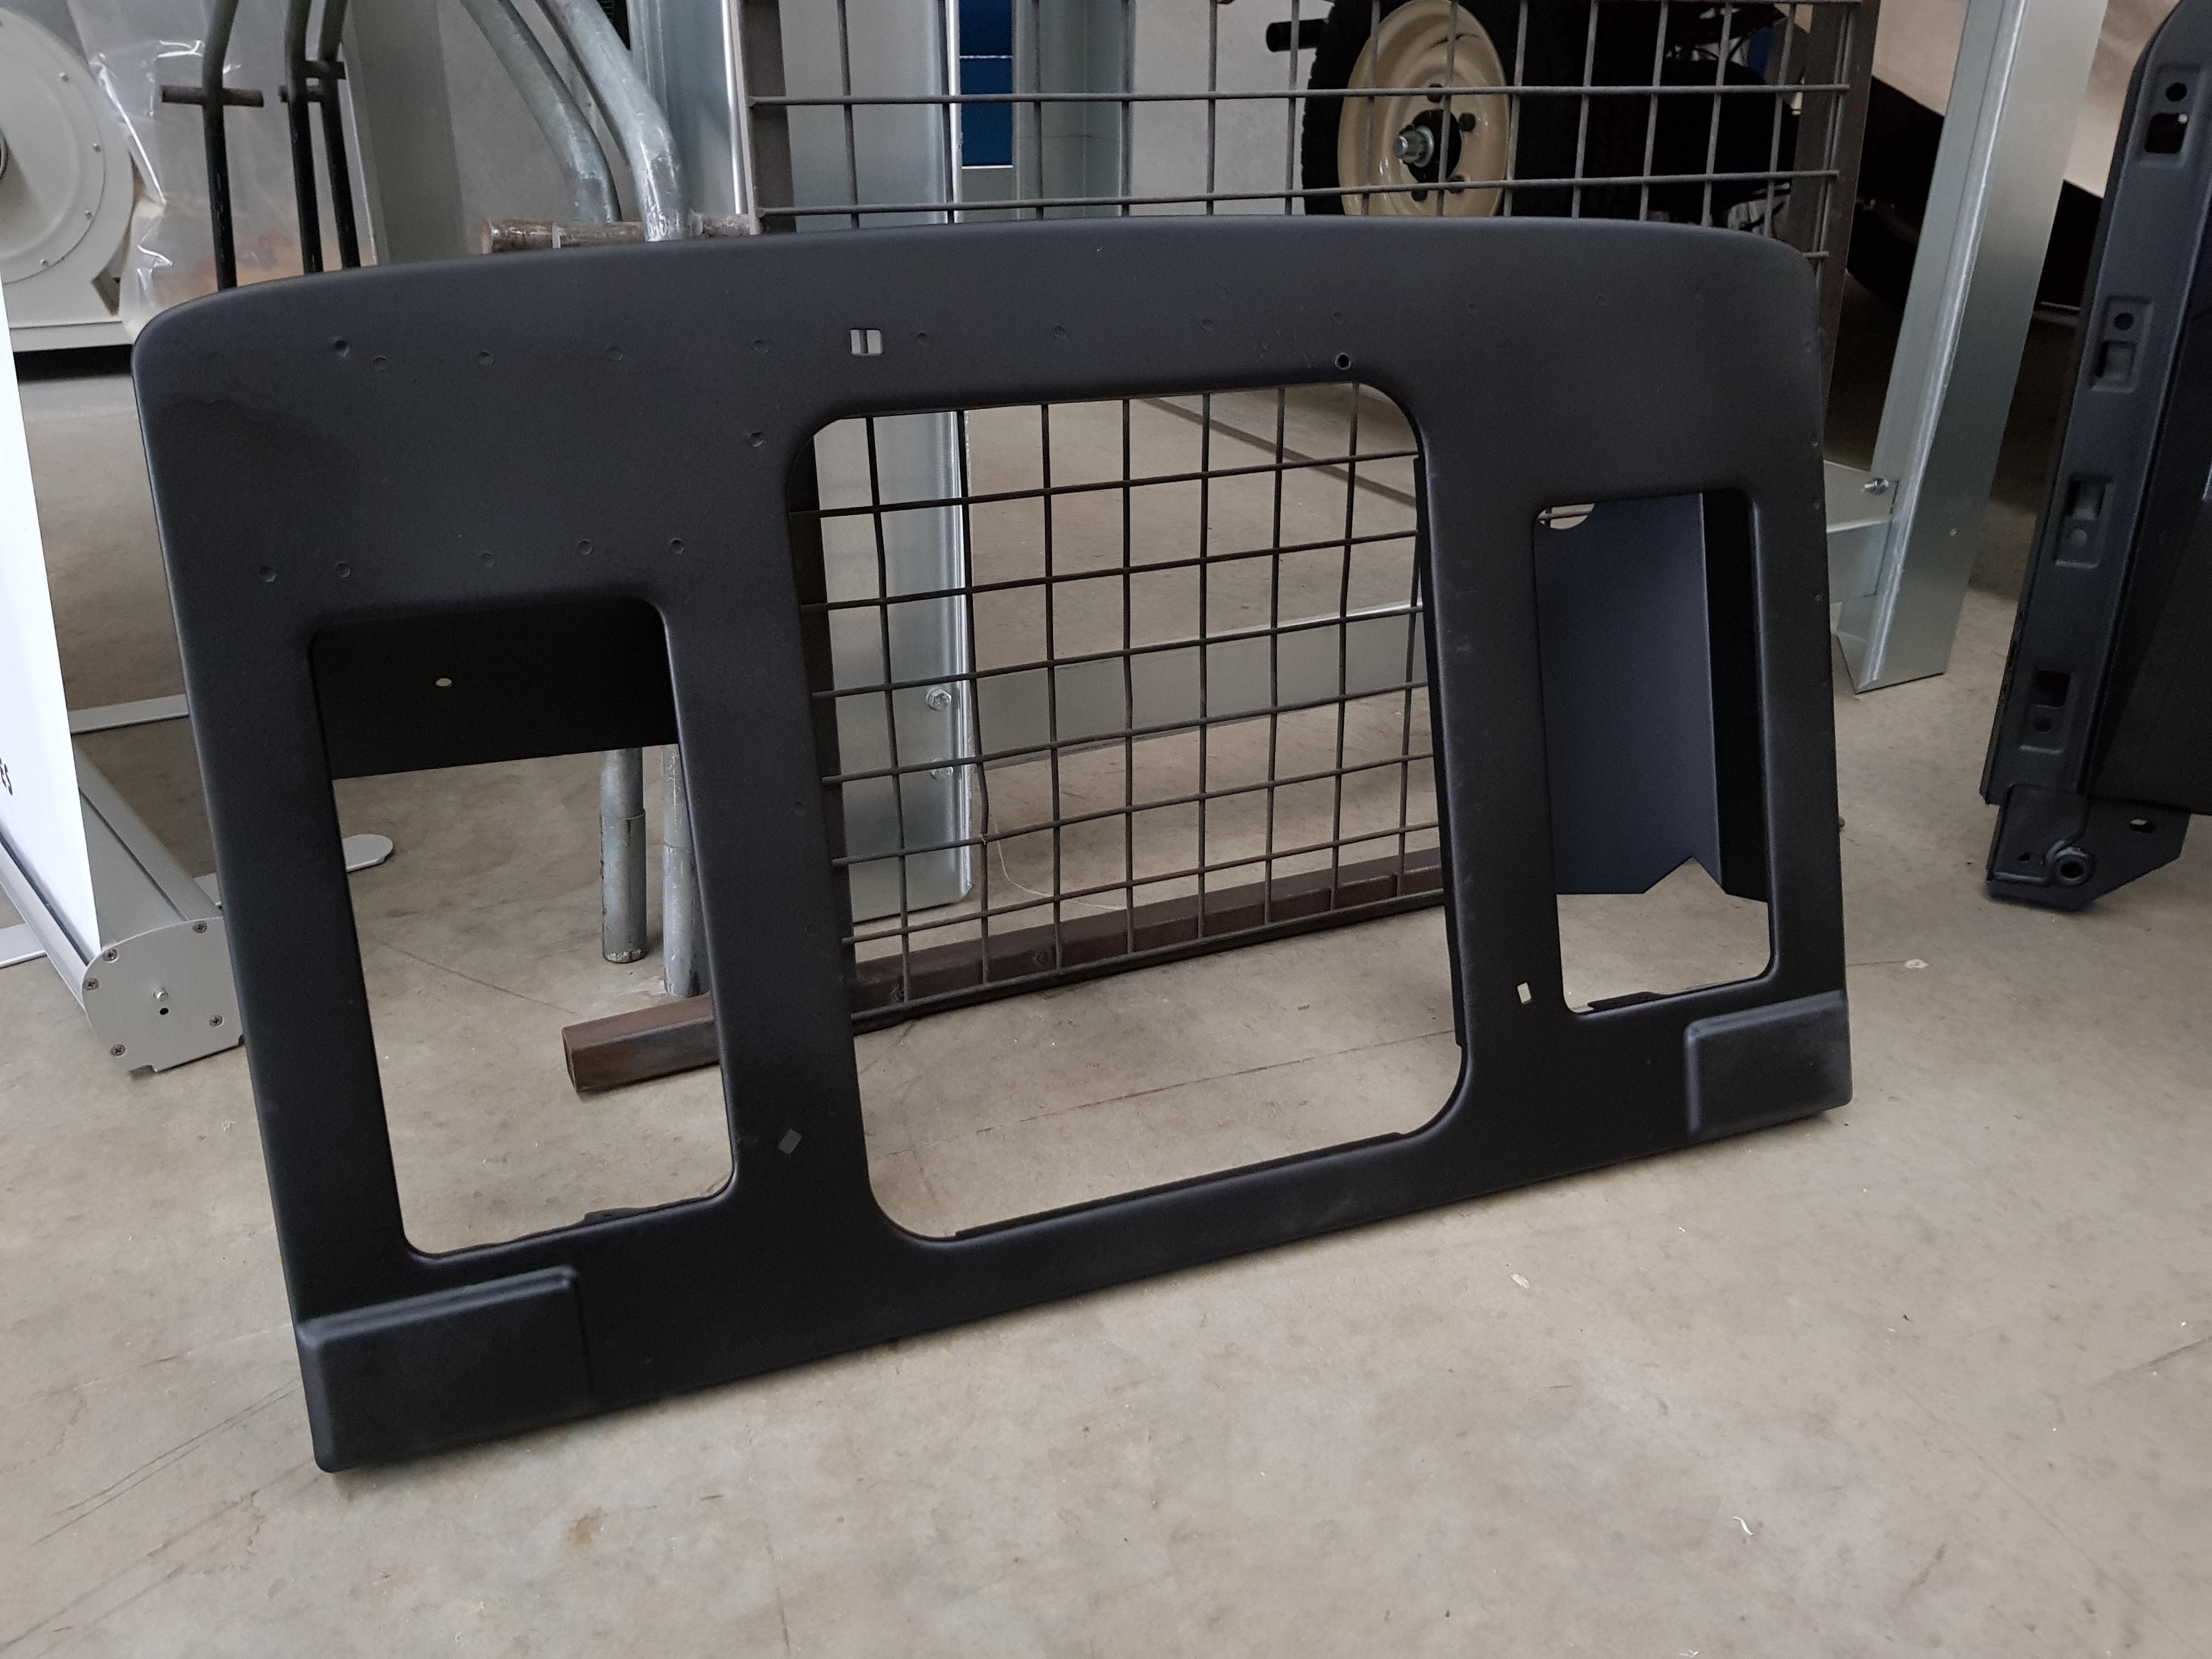
And the radiator panel:
Cheers,
Tim
Wizard
Nice work as per usual...great to see you back!
Master
Just finished reading through this thread! Wow! Absolutely amazing! Fantastic Job Tim! Keep up the great work!
Gary
98 Discovery 3.9 V8 "Fatso" Now Gone!
08 Discovery 3 TDV6 Gone too!
Master
Outstanding. Will be better than new.
RoverLord
Originally Posted by Lewy110

Just what I was thinking!
John
JDNSW
1986 110 County 3.9 diesel
1970 2a 109 2.25 petrol
ChatterBox
Hi Tim.
Great work.
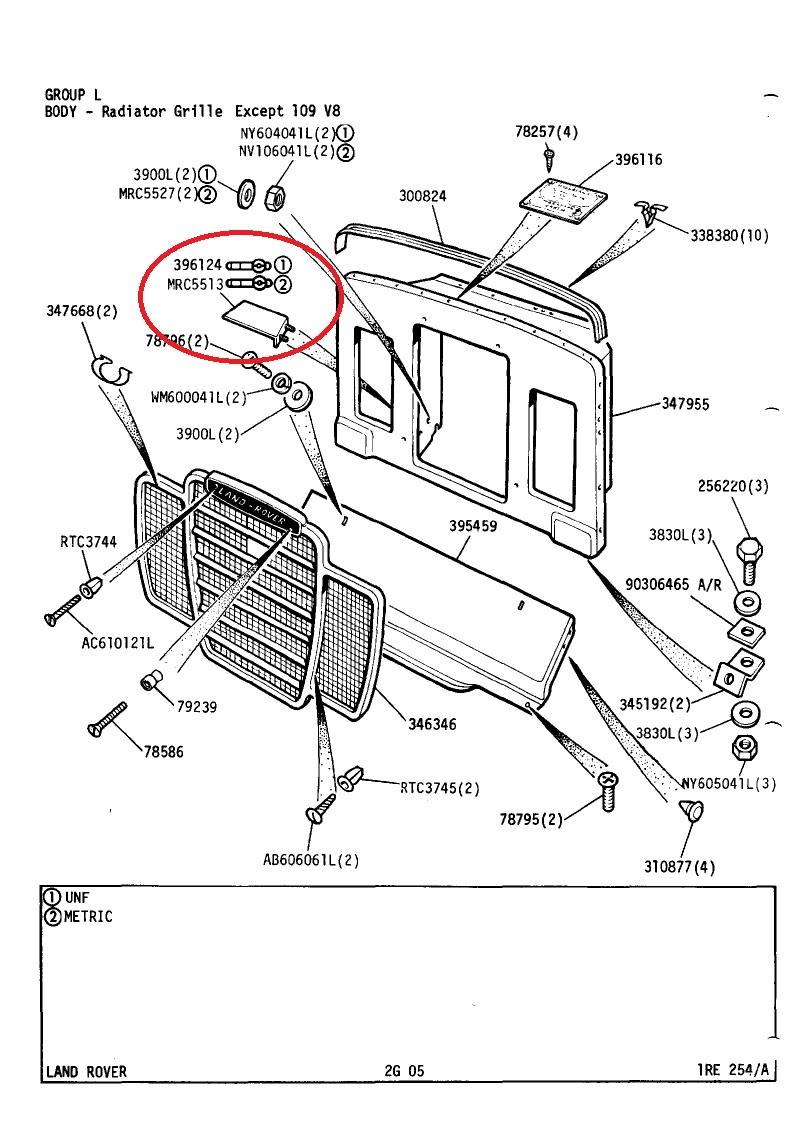
Notice on my 75 S3 a cover mud plate, just above the steering relay, to protect the seal.
This is missing from my other S3 grill panel, and yours.
Don't know if it was a STD fitment. I have bent one up, as a bolt on addition.
whitehillbilly
Just found this online Image with Lower RH " shelf "
Wizard
Do you mean the part circled below whitehillbilly?
I seem to remember removing that bit, I'll have to check tomorrow.
Cheers,
Tim
ChatterBox
Looks like the one.
where do the 2 upper grill, 'C' clips fit ????
Looks like a bolt on item from that Pic.
whitehillbilly
 Posting Permissions
| Search AULRO.com ONLY! |
Search All the Web! |
|---|
|
|
|
")


Bookmarks