

 Reply With Quote
Hi All. New mud flaps arrived the other day from the UK, finally found the time to fit them.
Before
Job done
Cheers Simon

 YarnMaster
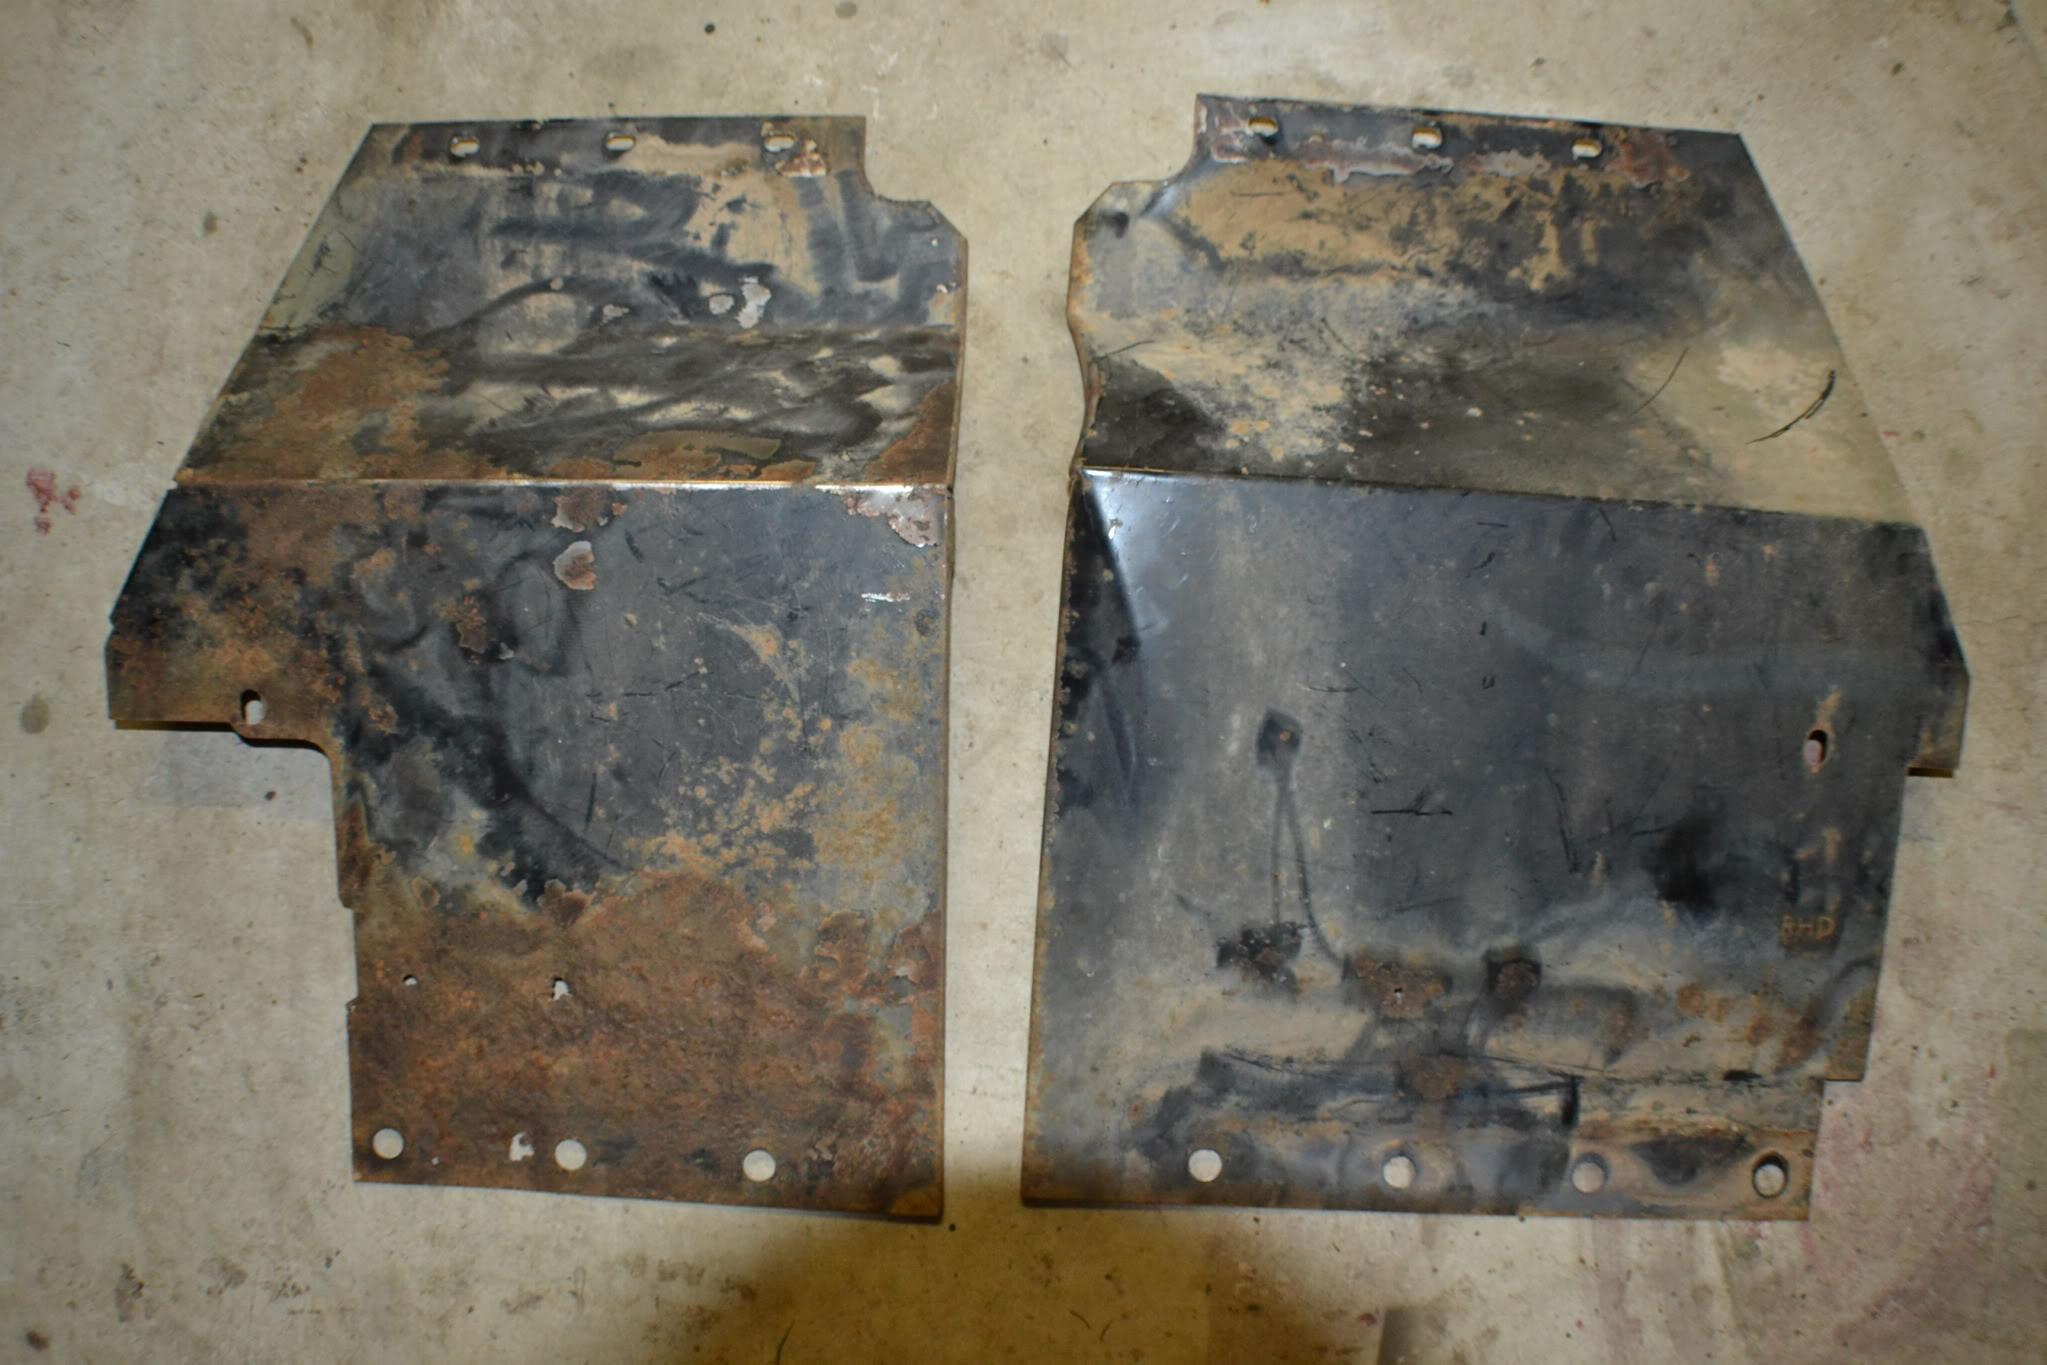
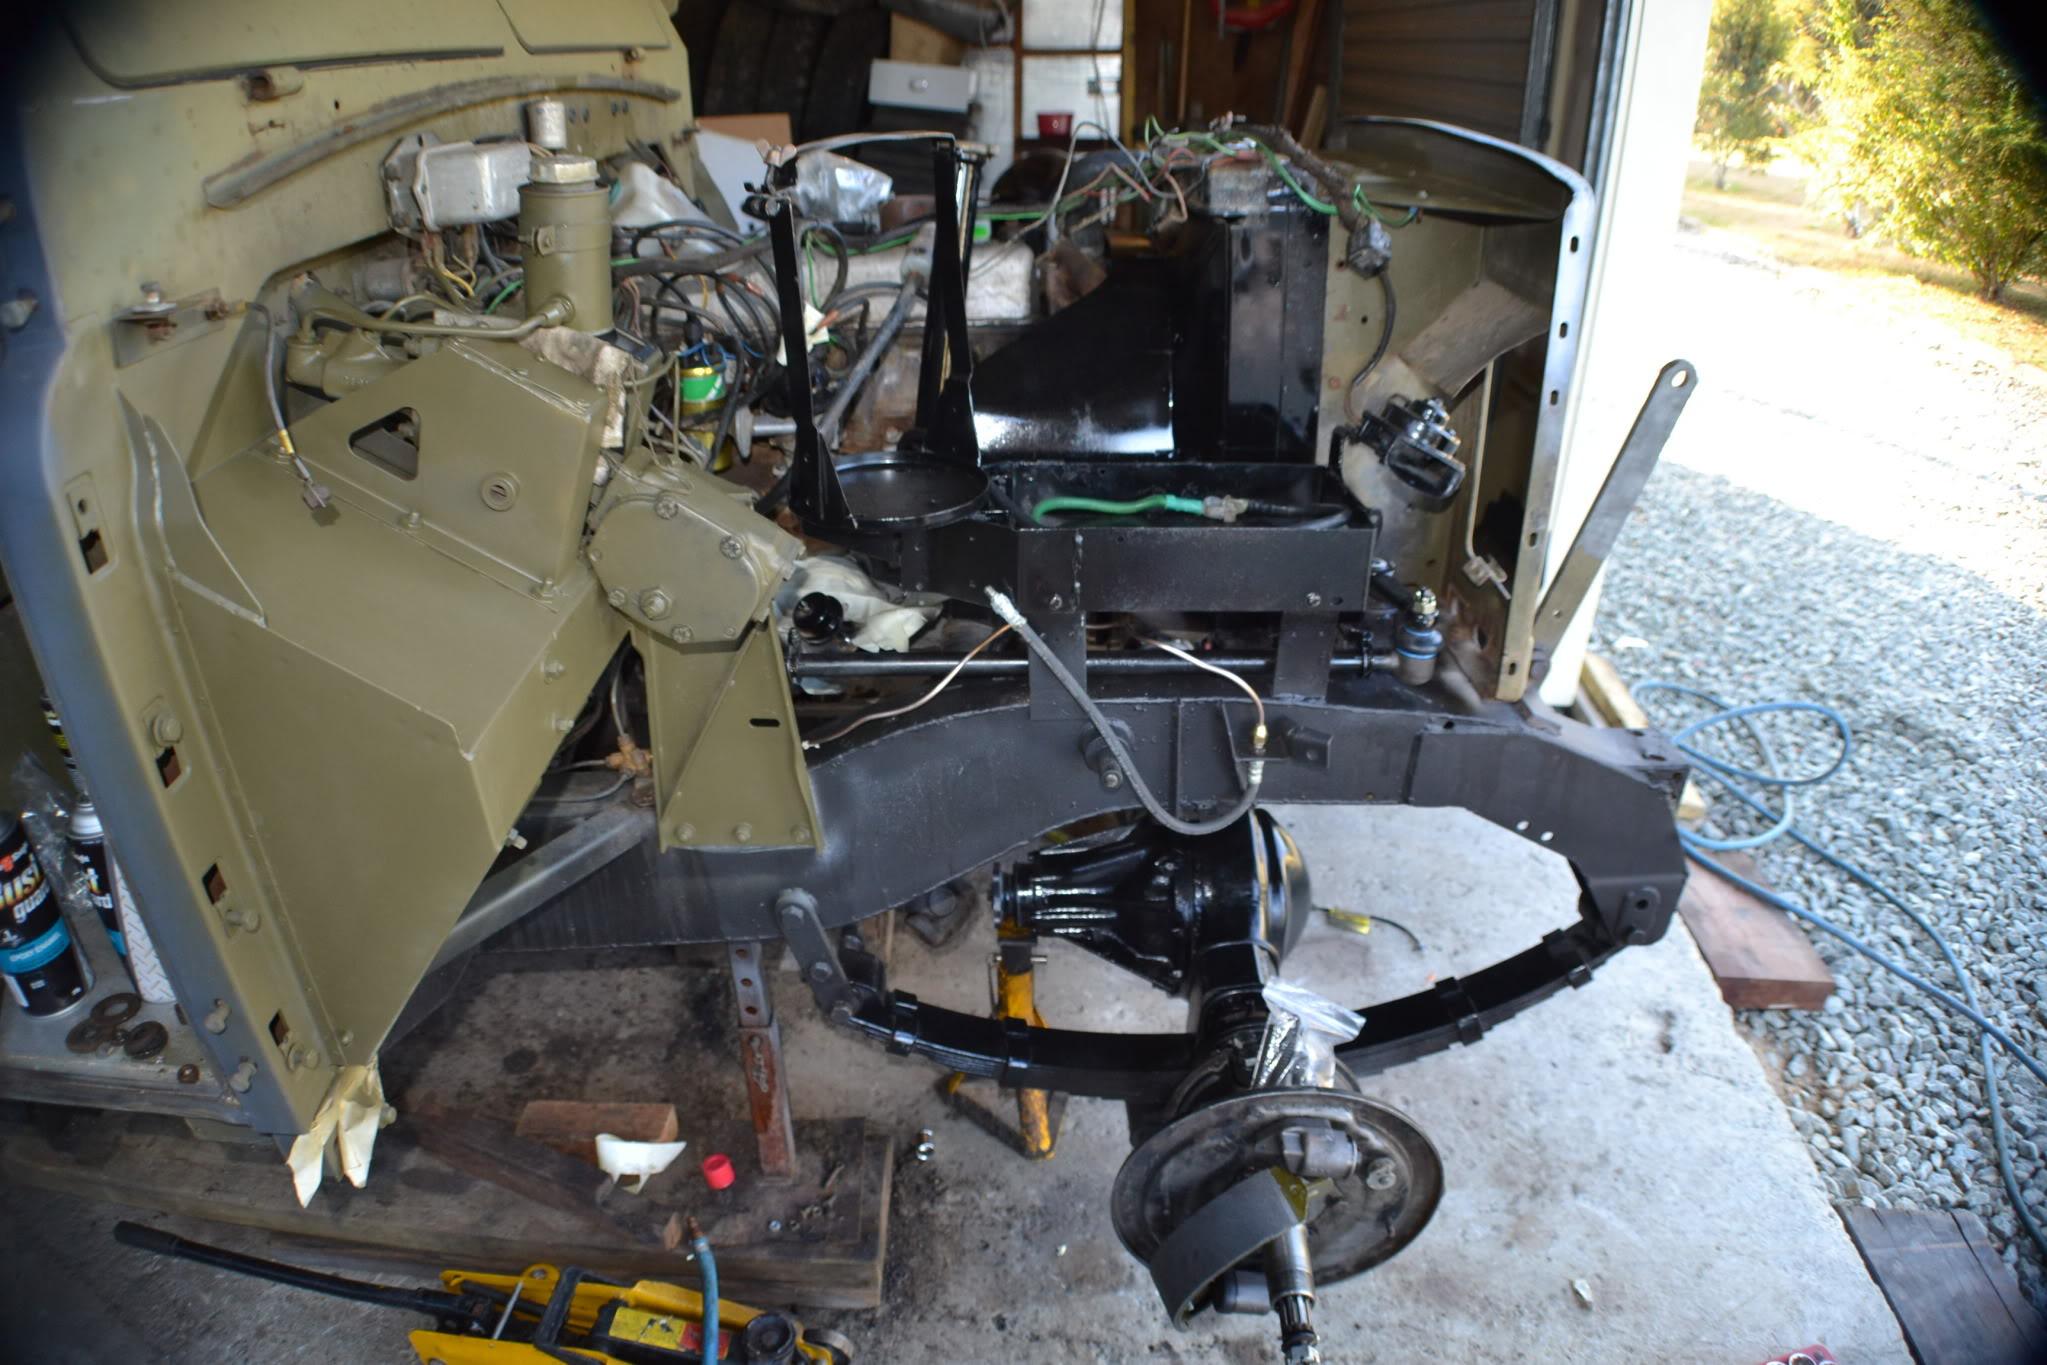
Following on from the gunk, i had to play with the following pictures show further progress..
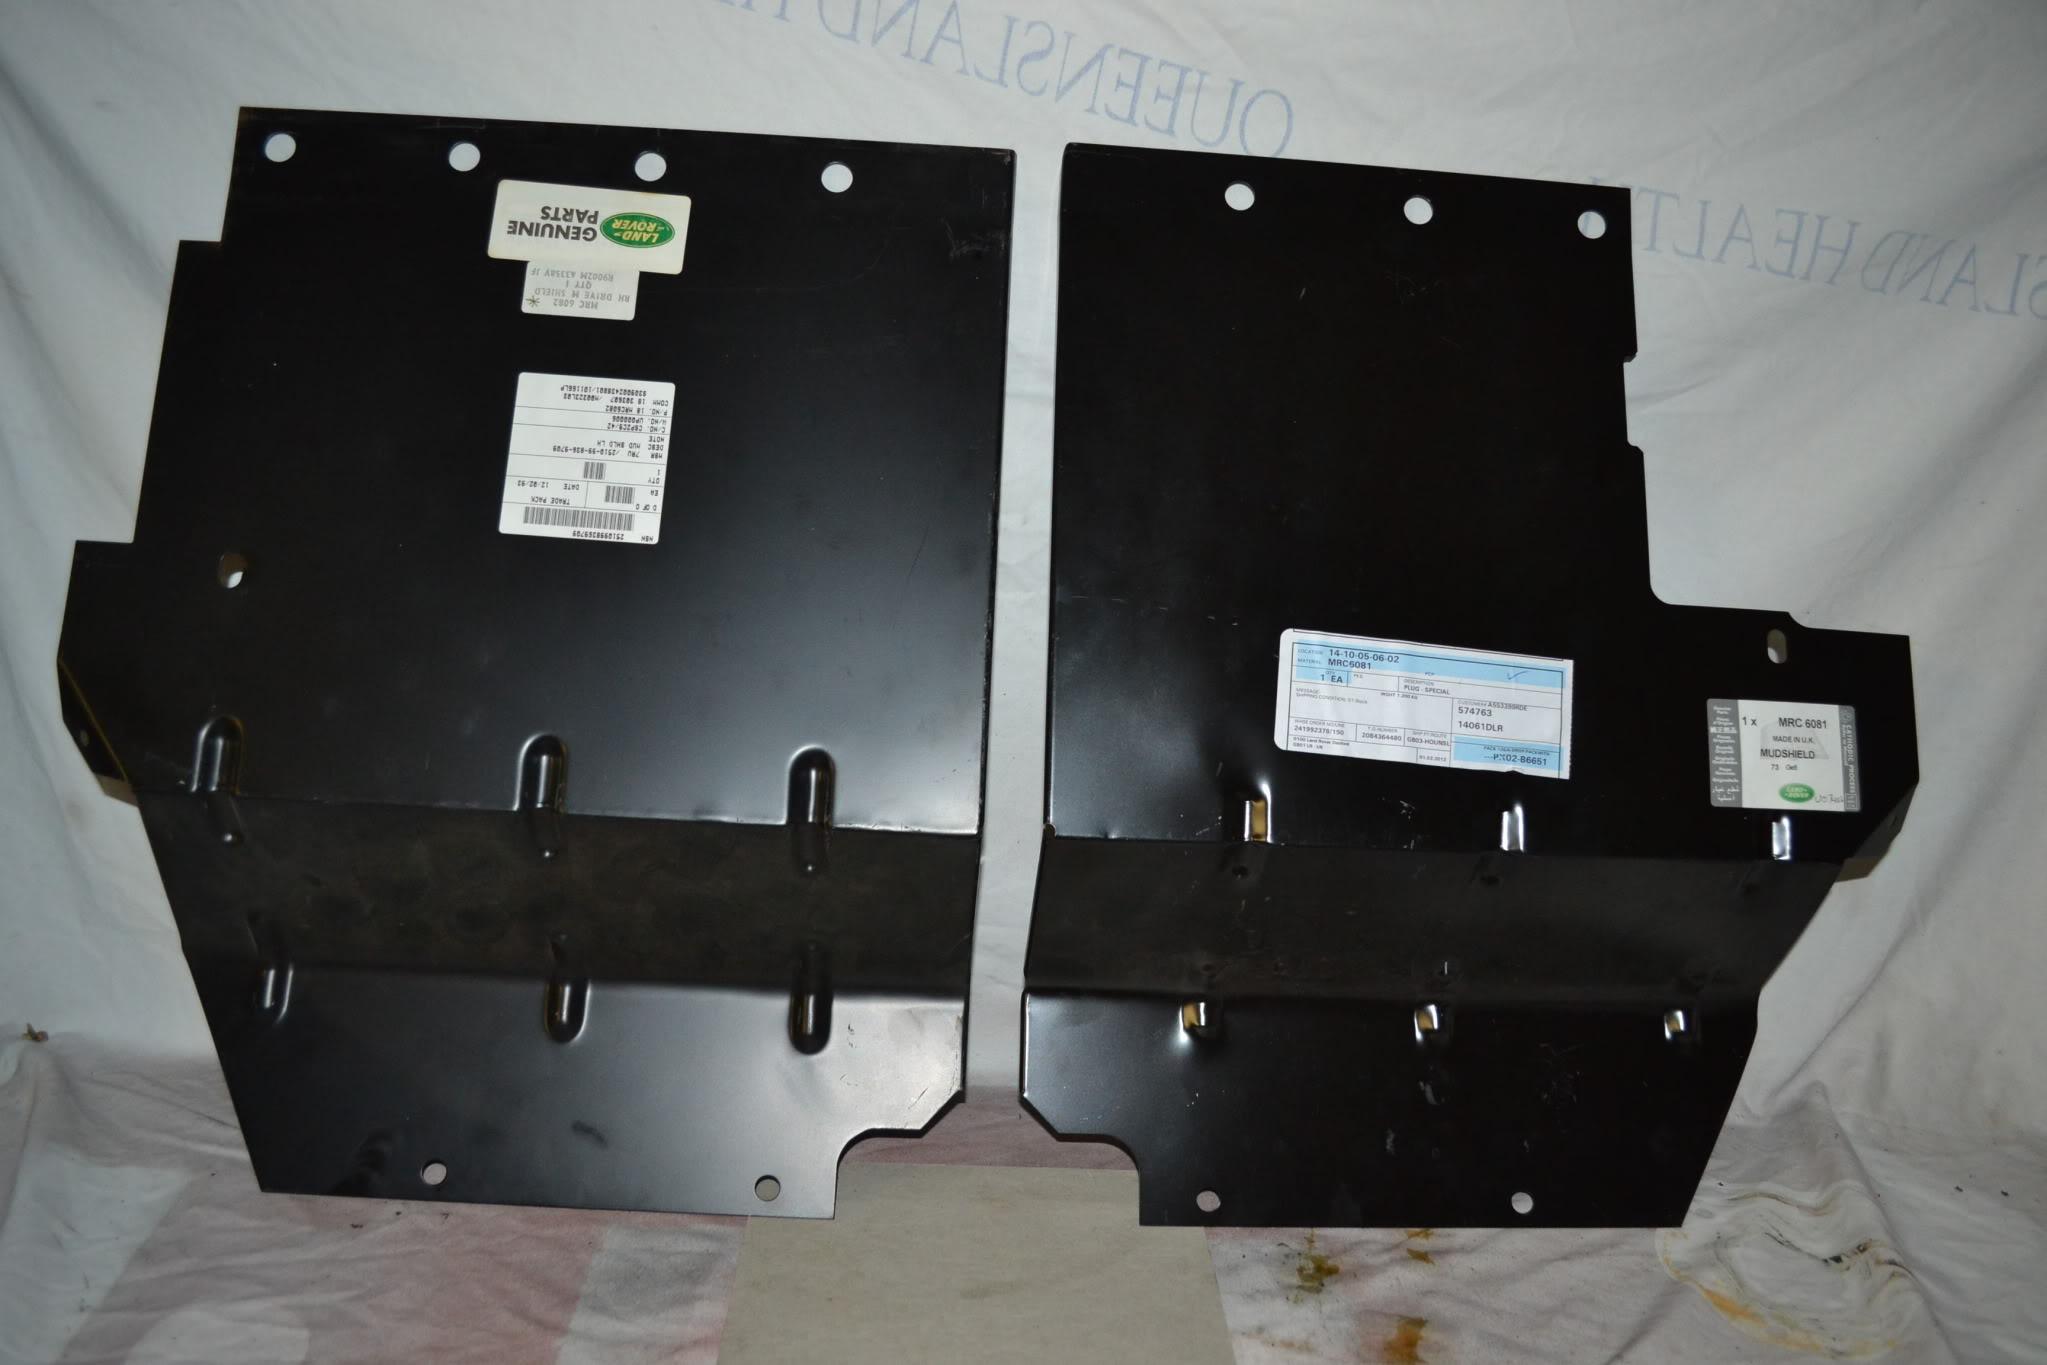
These are the under wing splash plates, I thought they were ok, but fter removing them, ones got a fair bit of swiss cheese, the other ones got a slight bend, and the steering box cover (not show ) is very bad, so I have opted to replace with some Genuine Land Rover ones...
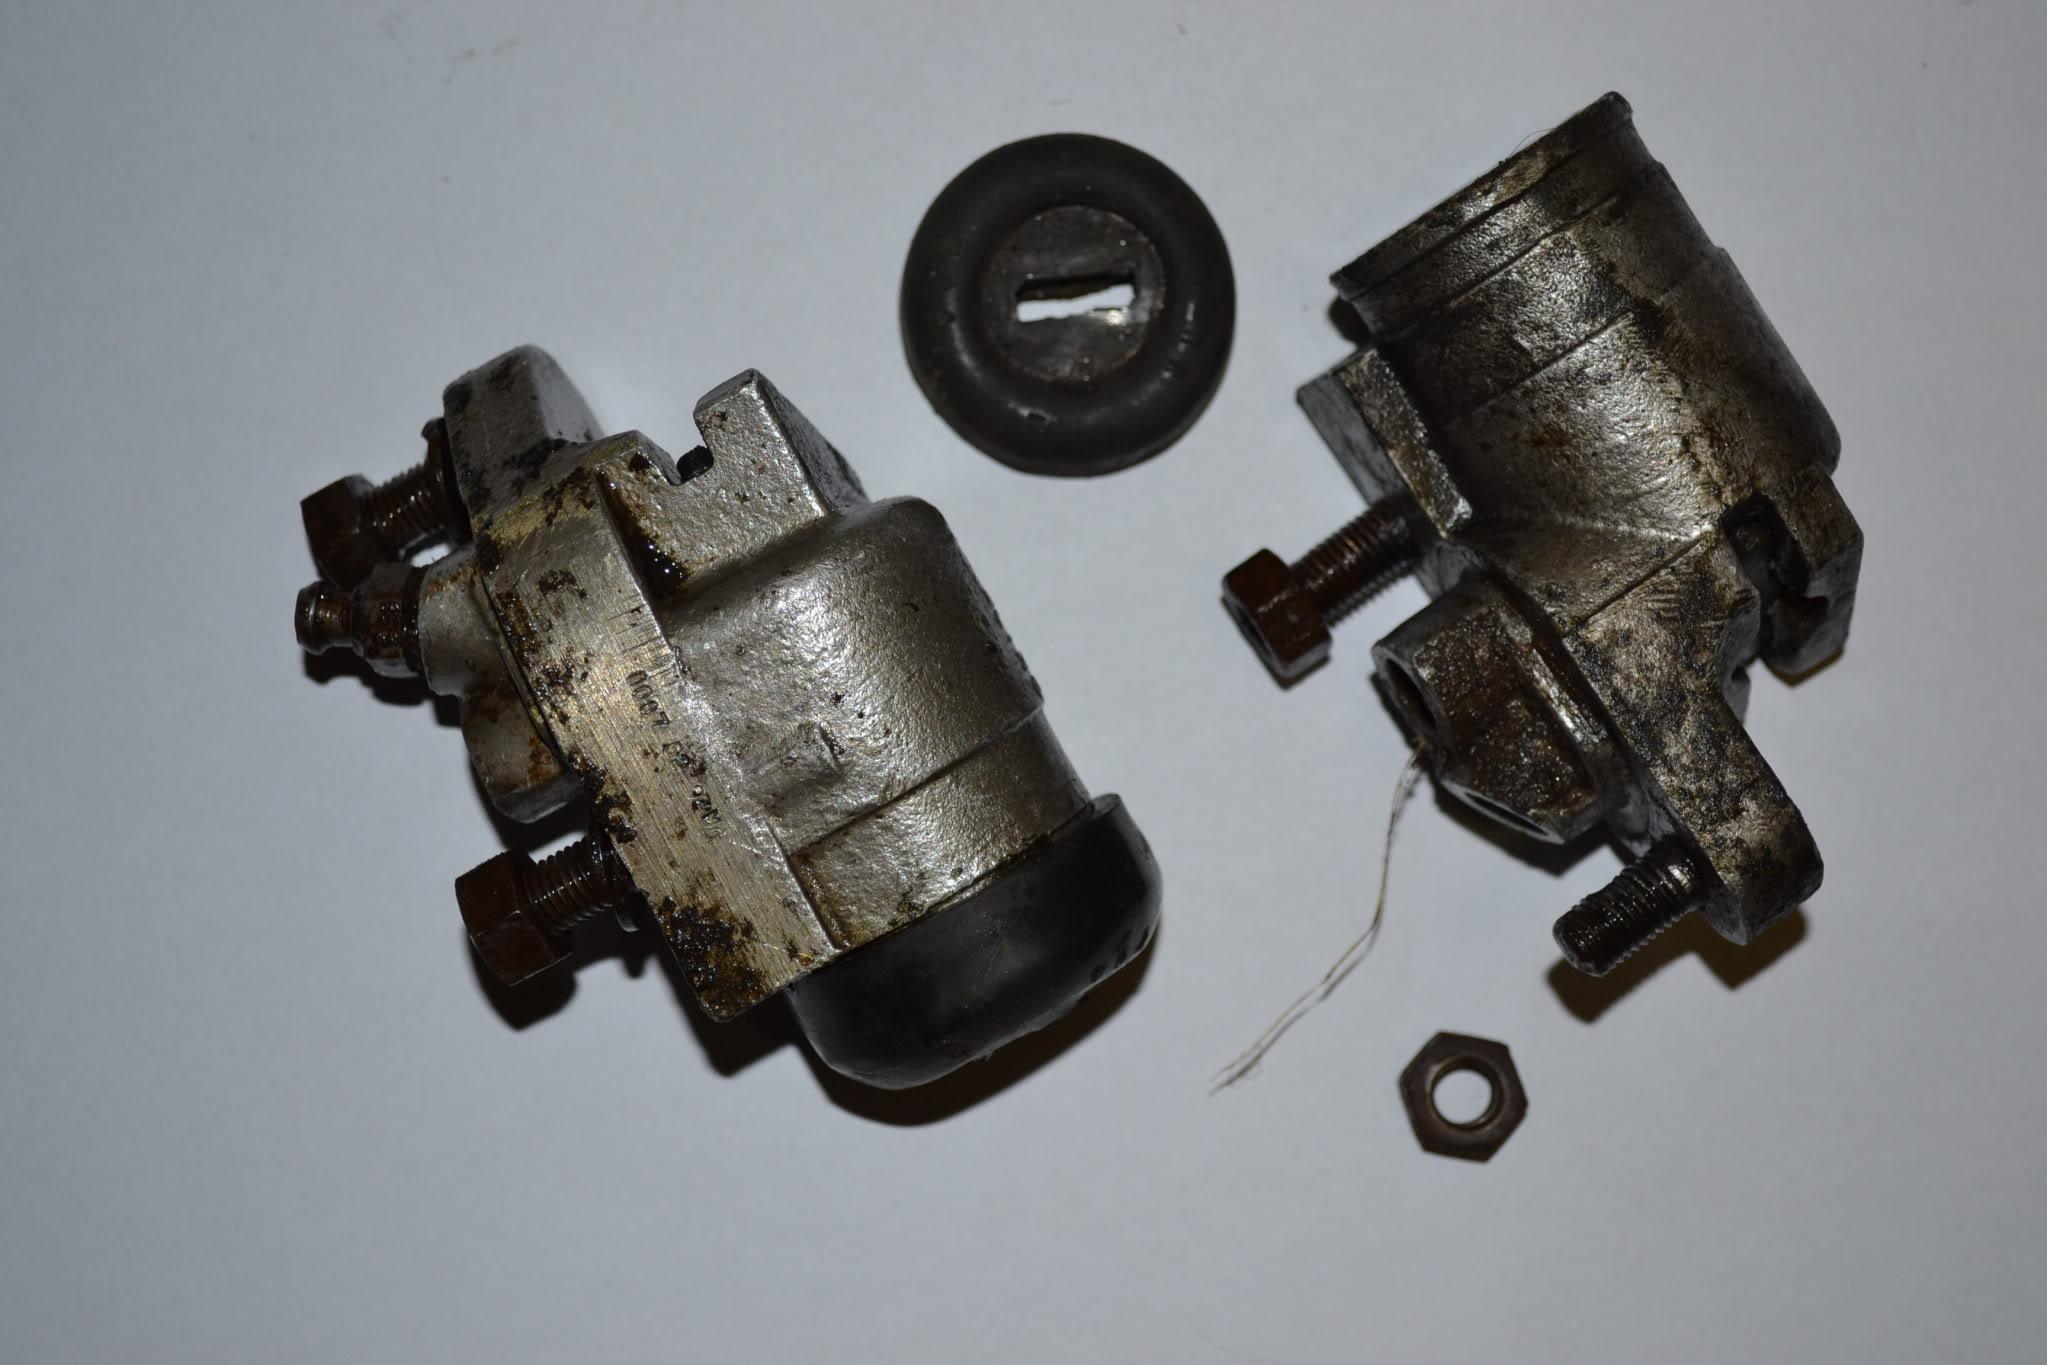
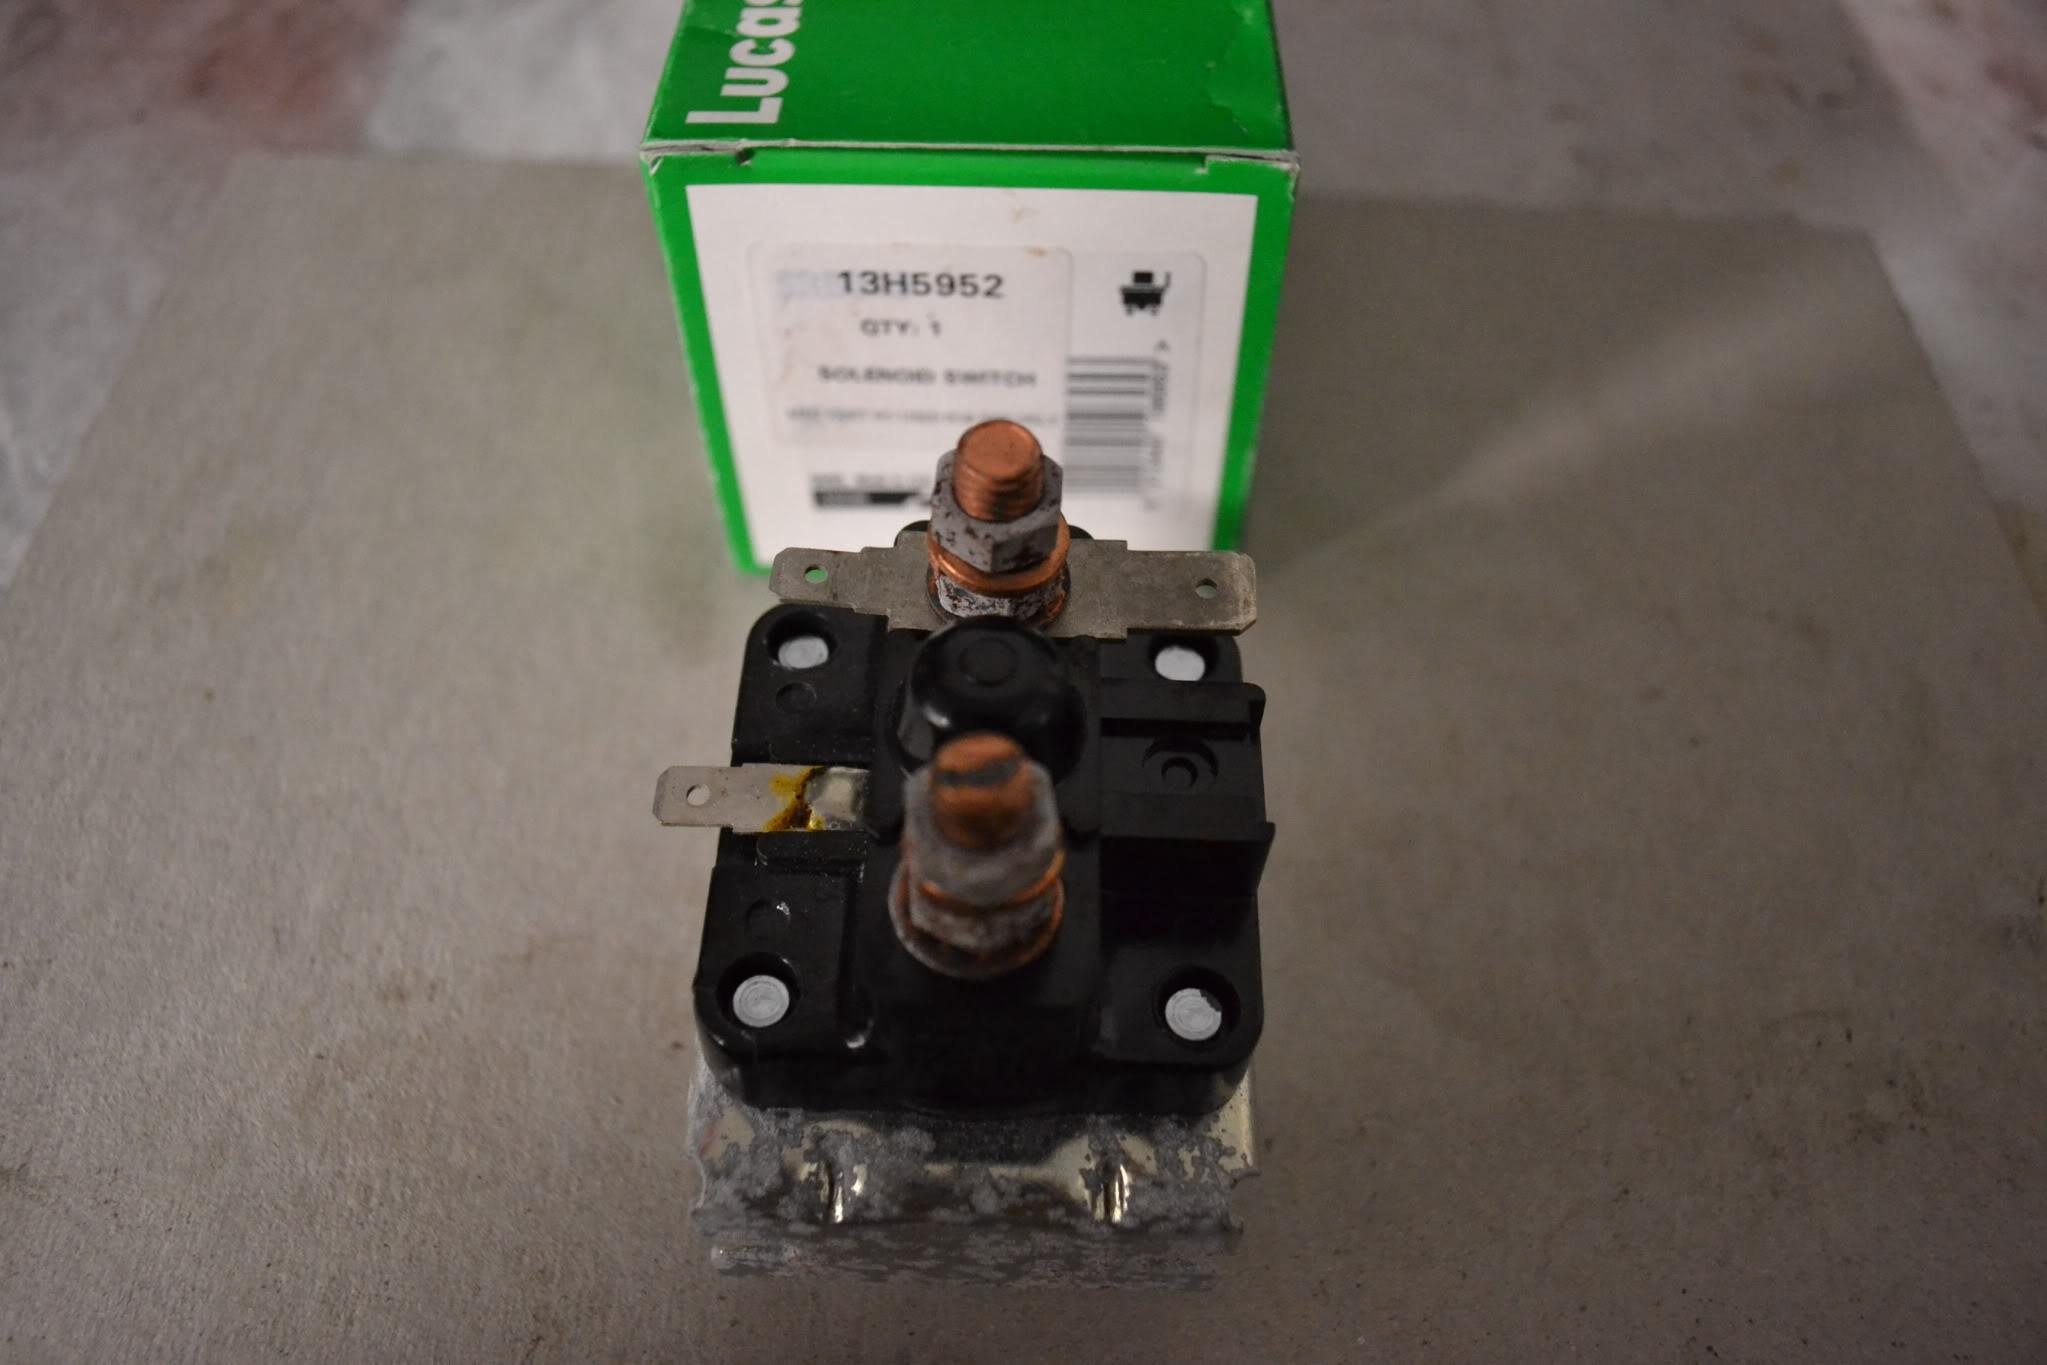
These are one set of brake cylinder that I removed, I am going to re sleeve and put into stock...
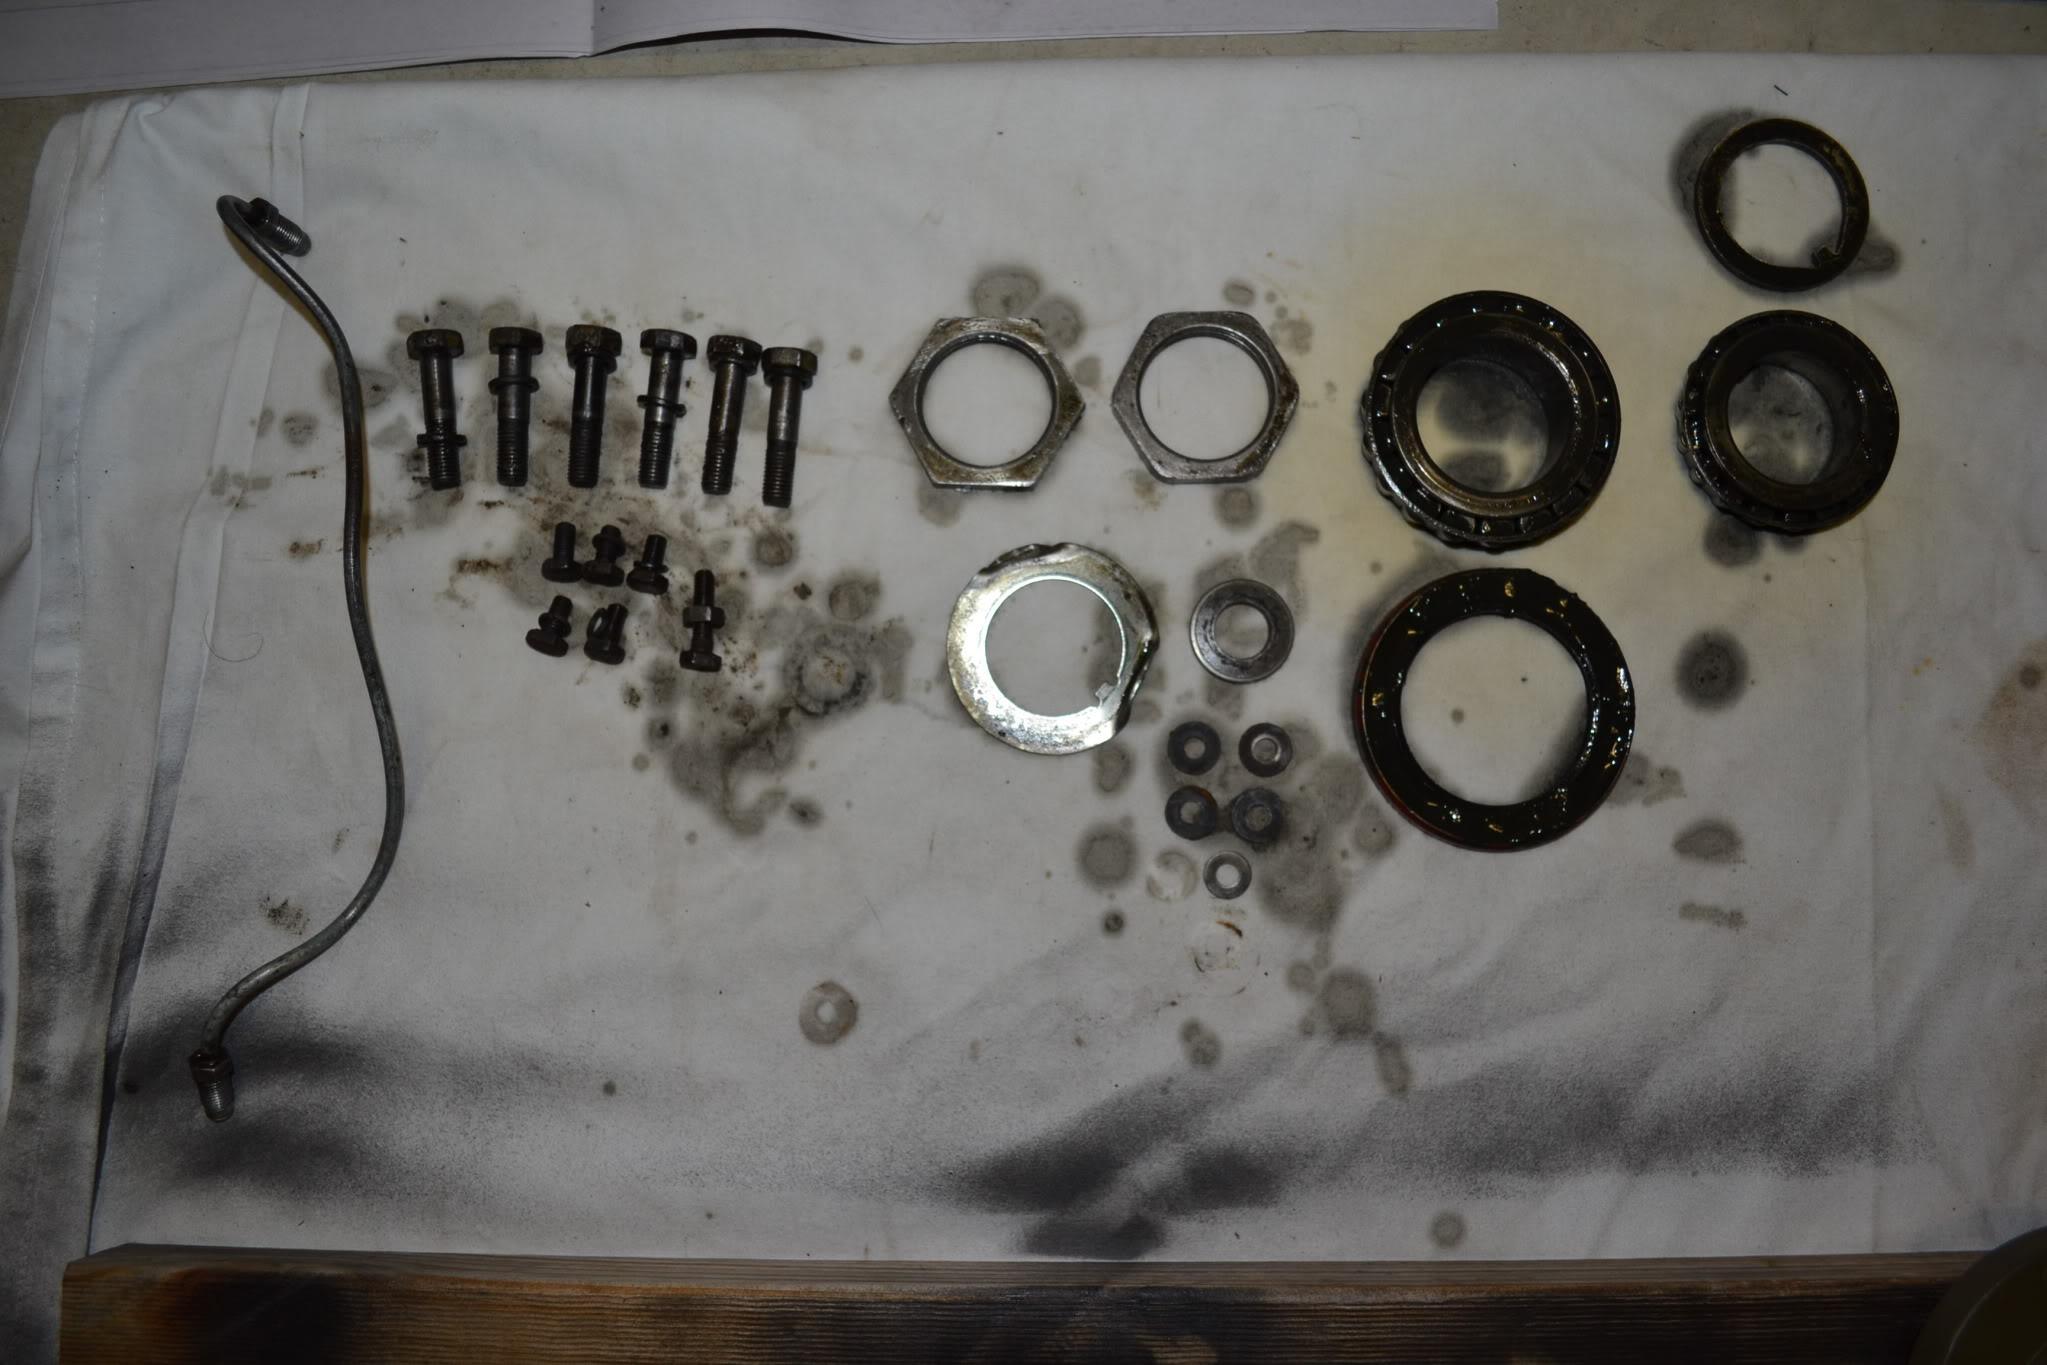
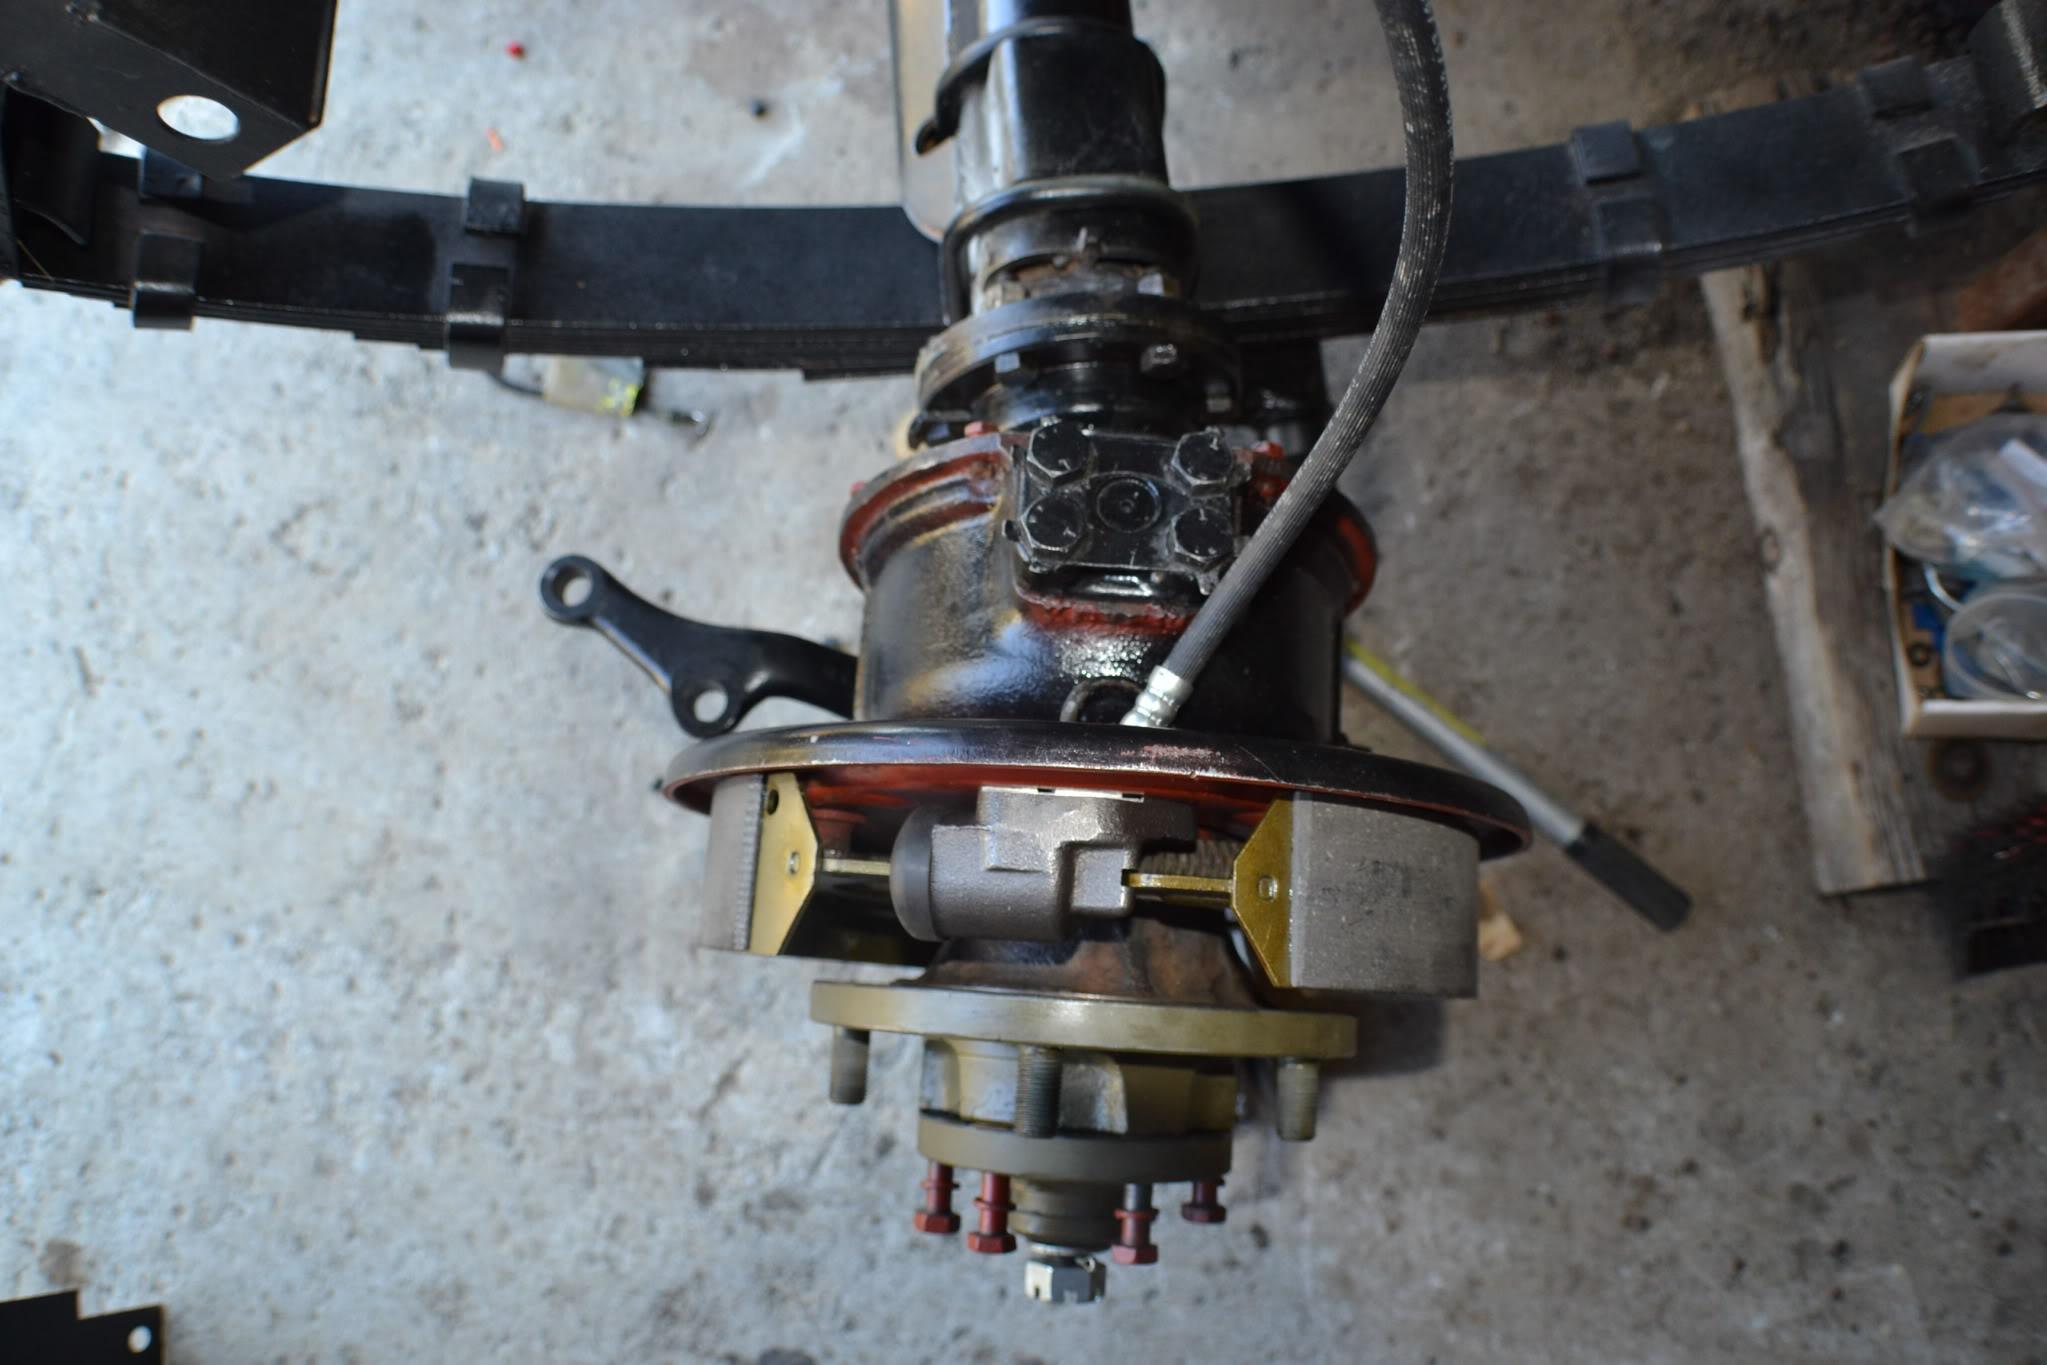
This pictures shows Front bearing components, brake pipe and set bolts
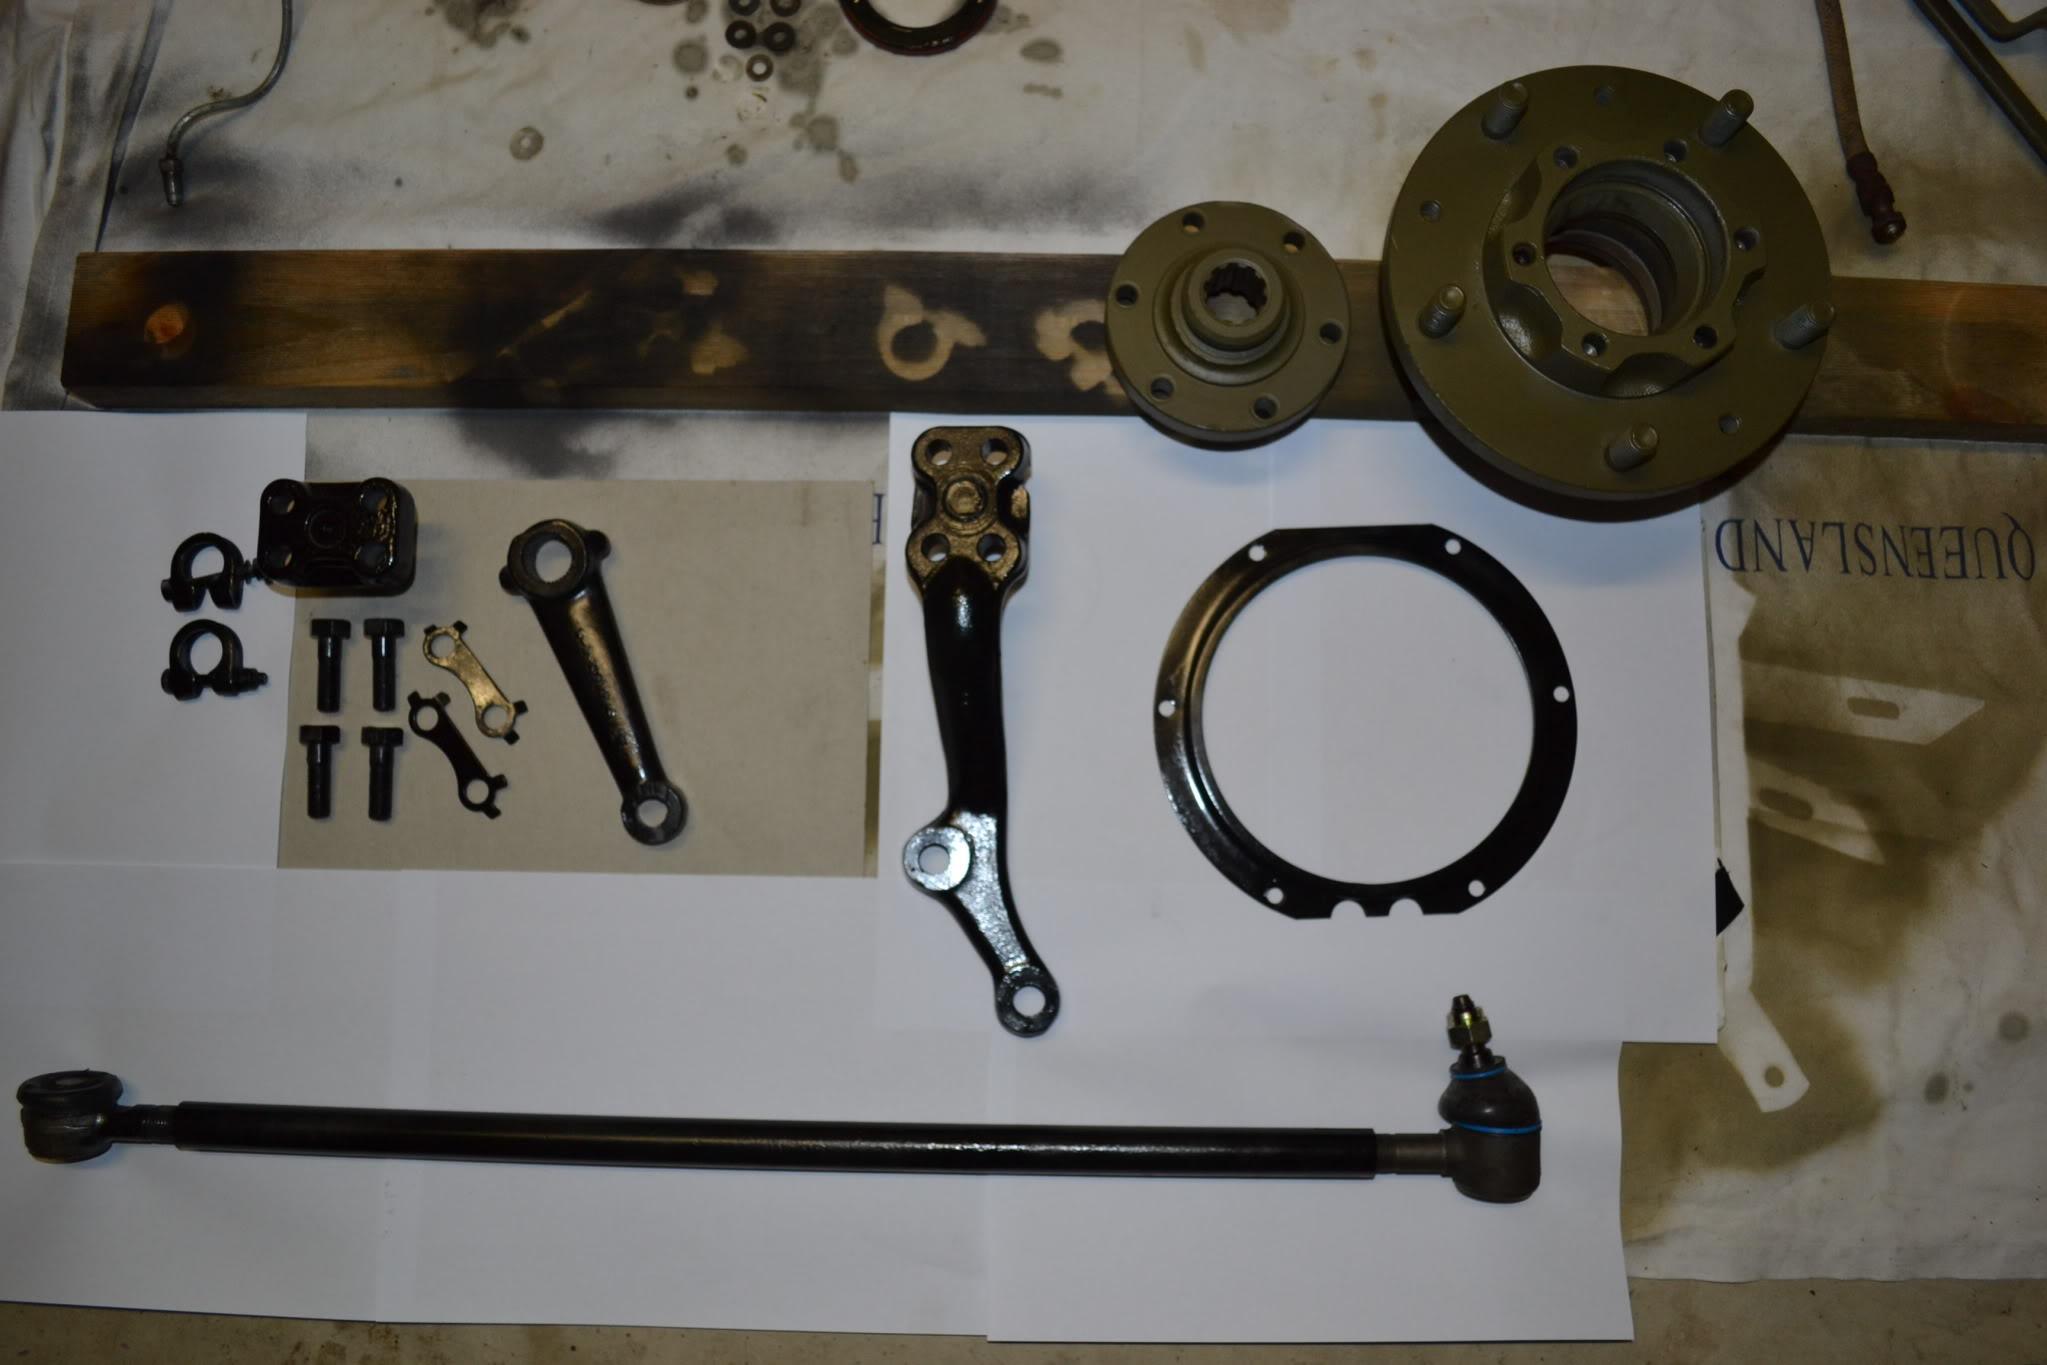
Here we have, swivel pin lever ( middle of picture ) Retainer for oil seal right hand side of picture, steering drop arm, left, bottom of picture longitudinal steering tube, with one new ball joint, old cut one in the other end still
Master
Hi All. New mud flaps arrived the other day from the UK, finally found the time to fit them.
Before
Job done
Cheers Simon
Super Moderator & CA manager
SubscriberGot it running for the first time in years. Pulled off, cleaned, unstuck/ungunked and replaced the clutch master and slave, bled it up and took it for a quick drive - well, not 'quick' as in fast, but 'quick' as in short...No brakes though, so that was entertaining...
If you need to contact me please email homestarrunnerau@gmail.com - thanks - Gav.
ChatterBox
did a radiator flush, oil change, new water pump, new thermostat, bled the brakes and drove it out of and then into the shed! major milestone. had to then have a beer before fitting lower dash.
Master
Good choice of beerOriginally Posted by VK3UTE

")
YarnMaster
Another dat another land rover job or 2
Nearly there with the swivel hub, brake rebuild.
These are now spares as I HAVE ALREADY FITTED SOME
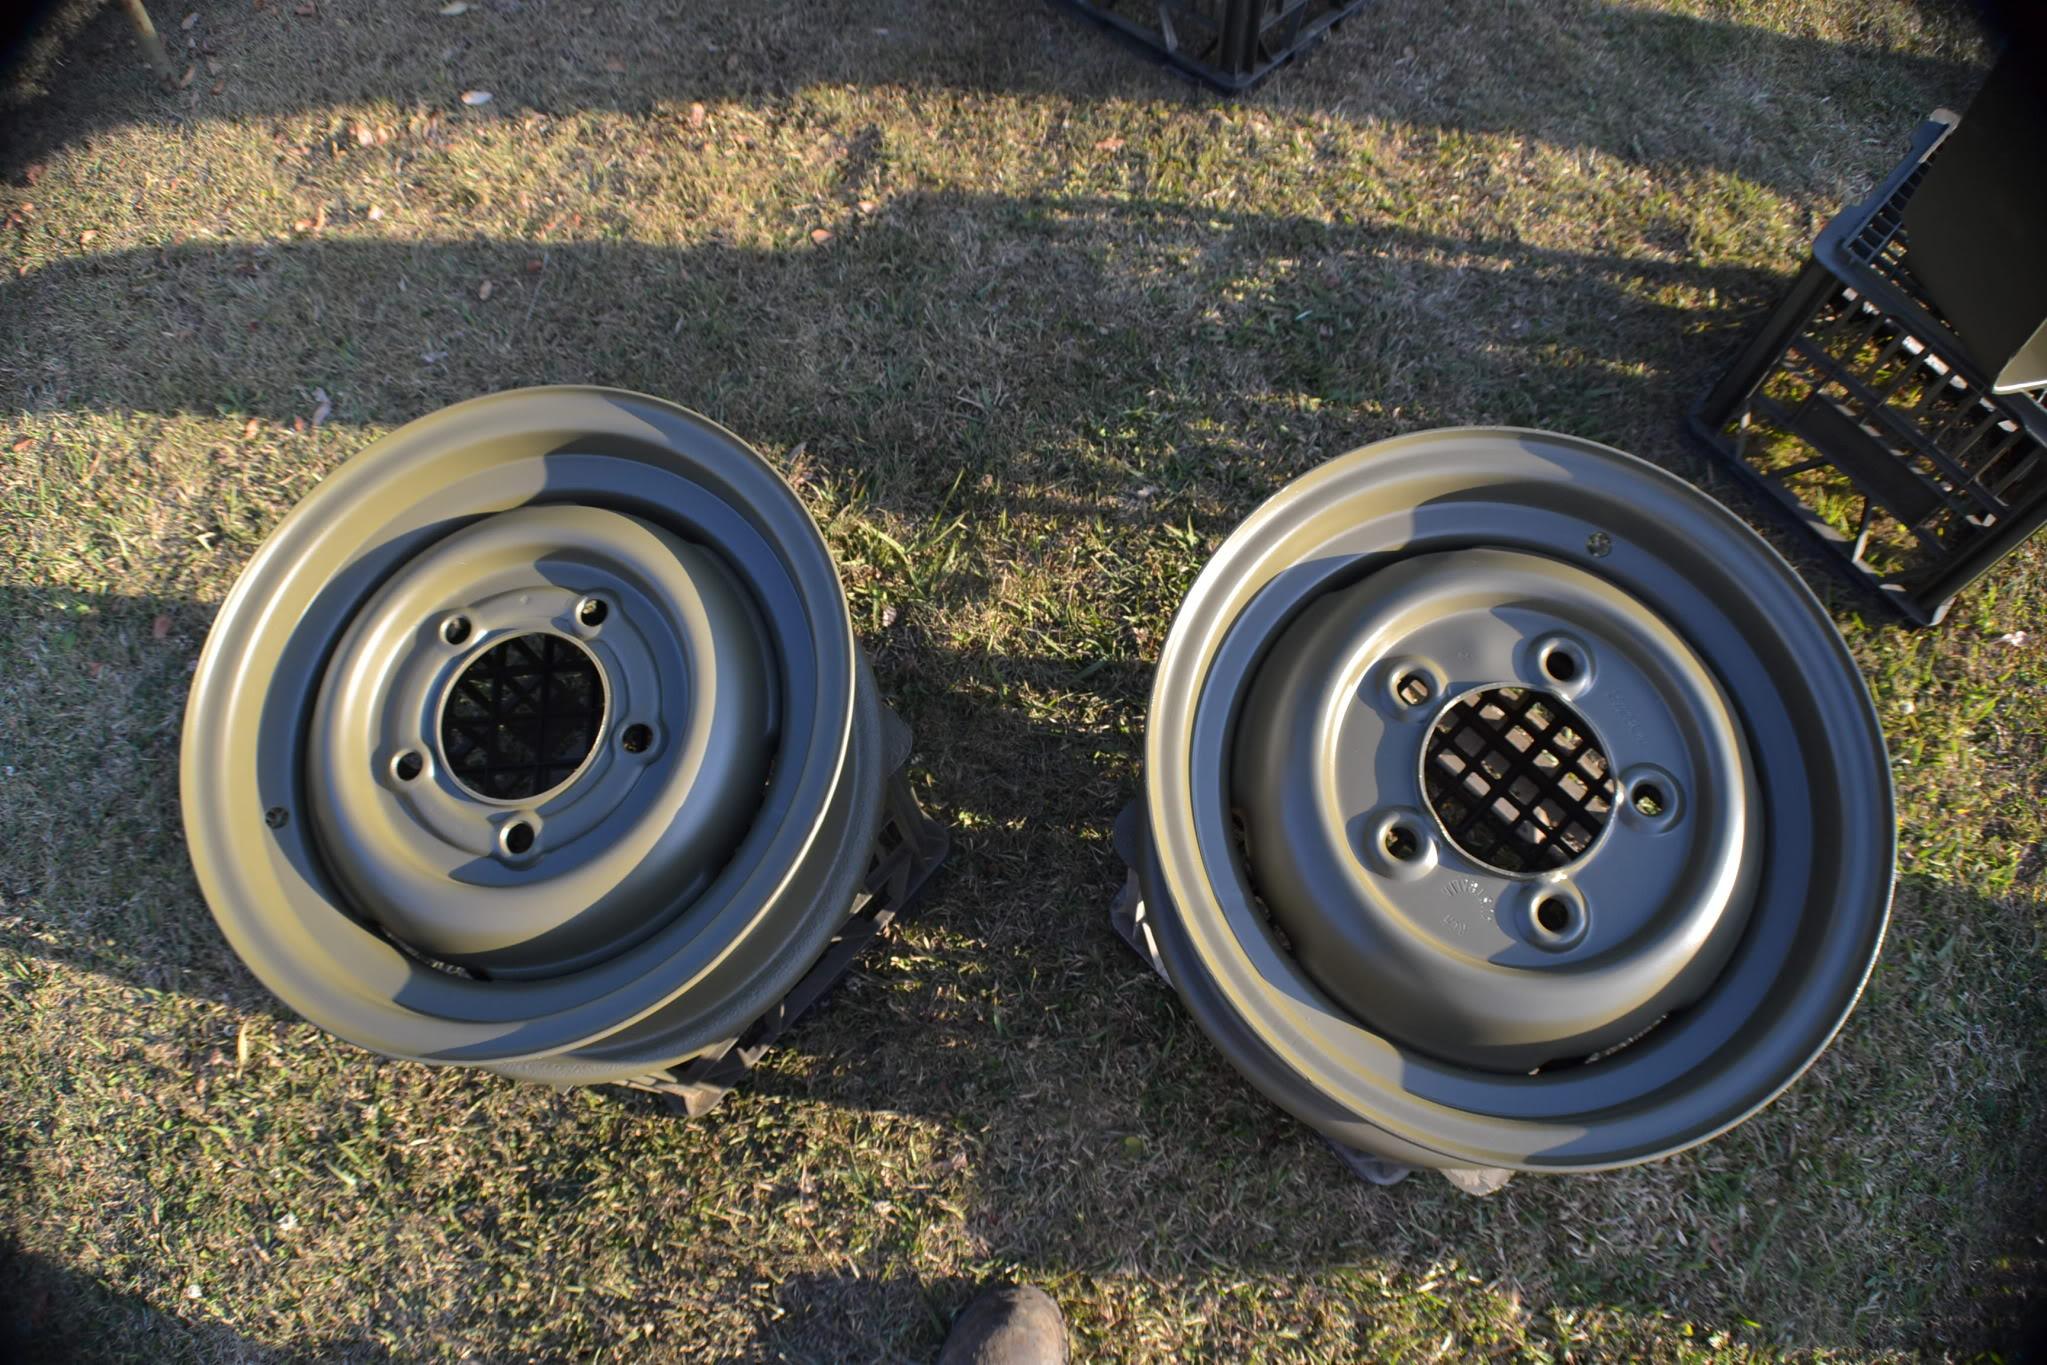
These just need a paint
Painted these too
Fitted Automec pipe
just needs a clean and it will be fine
ChatterBox
^^^ Good job on the rims
I've been messing about trying to decide where to fit this external shower box
This position is good but takes up valuable space in the wardrobe, I'm tempted to cut it into the passenger rear wing, so it sits inside the tool box with the pump but I'd prefer it on the driver's side.
Super Moderator
Looking good!
Just a point of information, the rim with the raised section around the PCD is from a SIII. These need a slightly longer stud than the regular/early SIIa. So when you fit it up, make sure you have sufficient penetration of the thread into/through the wheel nut.
Personally I fitted up the Clayton-Dewandre brake booster to the SIIB and discussed how to go about repairing the wheel wheelarch cutout by a PO. Also spent time with a mate working on a disk brake conversion kit for any series Landy.
Also painted a 20" rim for my Mk3, removed and painted the front LHS brake and hub, put a first coat of paint on the front and sides of the Mk3. Then re-fitted the newly painted and re-tyred wheel, so I can do the same process on the front RHS plus after that I did some work on the Defender bump stops.
You won't find me on: faceplant; Scipe; Infragam; LumpedIn; ShapCnat or Twitting. I'm just not that interesting.
YarnMaster
I think its better there than cutting a hole in your side panel. Any way campings all about traveling light you don't need a wardrobe, just turn your pants inside out for maximise usage.Then after that you can use them as a dish cloth, and after that a rag to mop up the daily oil leaks.
YarnMaster
Now I never noticed this...Just a point of information, the rim with the raised section around the PCD is from a SIII. These need a slightly longer stud than the regular/early SIIa. So when you fit it up, make sure you have sufficient penetration of the thread into/through the wheel nut.
It came with them, so I take it as its a very late and one of the last S2a it should be fine, but I will have a closer look in the morning.
Thanks for the advice.
 Posting Permissions
| Search AULRO.com ONLY! |
Search All the Web! |
|---|
|
|
|


")


Bookmarks