The casings are really thick so I did it as a mater of caution, the reality is there is only one that needed it and its in the oil splash catcher slot for the intermediate shaft and is very near where the teardrop washer keys in
Been a bit distracted with helping a mate get ready for a comp lol but hopefully will get some more time in the shed this weekend
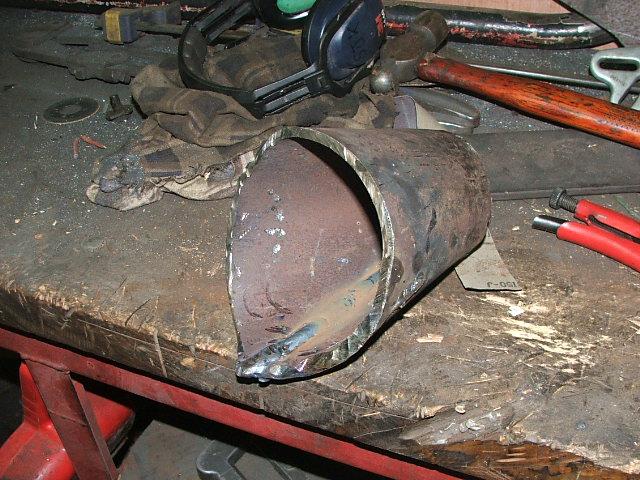
Not too much progress other than the cone that will join these two together
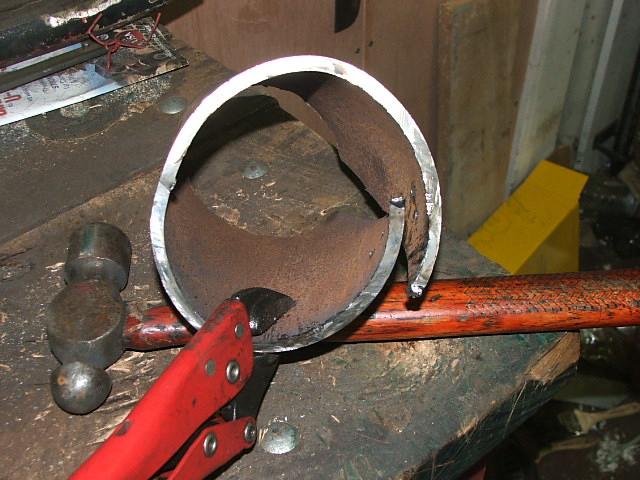
Started out with a bit of offcut pipe that had a wall thickness of 10mm, cut a "V" in one side and belted the crap out of it with a hammer till I got the small ends to touch
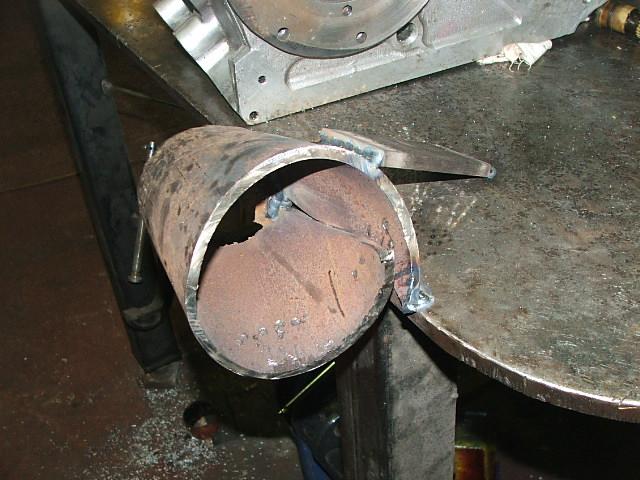
With the small end welded it was time to form the cone, a little bit of fix'ing to hold it while I beat down the bit that crossed over
and a couple of good shots with the sledge
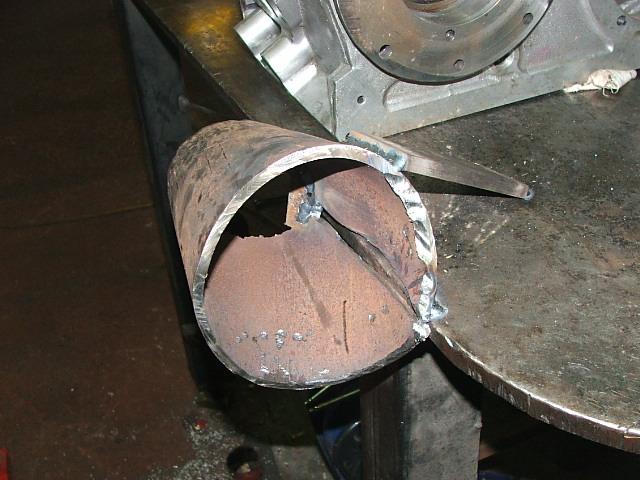
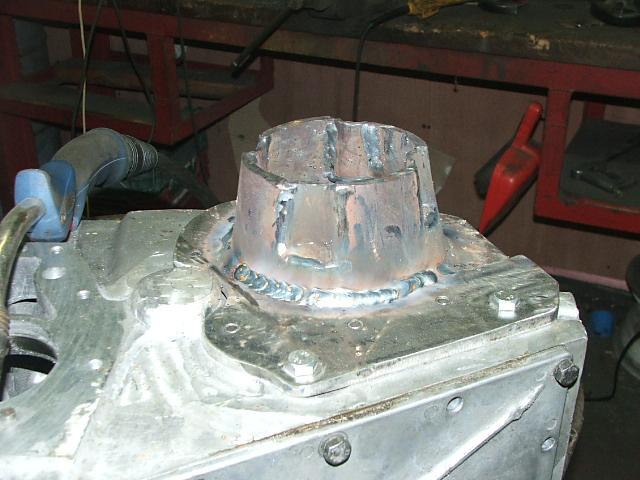
Trim it off and weld and we have a 10mm wall cone
When I have the cases lined up on the splines I'll machine this true to the case faces and weld in
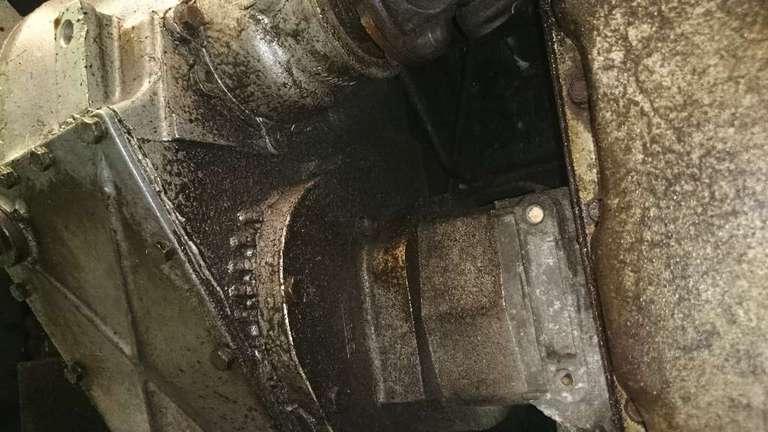
That is real interesting they have bolted it on to the trans from the transfer case end (no bolts exposed on the end of the trans)
and they machined the transfer case further out hmmmm the case almost looks different to what I have just some of the casting marks....
This sort of makes me a wee bit concerned... I've struck some drama with the center diff on mine, it is an early LSD one, unfortunately some muppet in the past "improved" it by removing part of the clutch packs and over shimming it up as an open diff, this has damaged the diff, no problem as I have just bought another box off a later model with a open diff
This means if the casings are different I might not be able to swop diffs lol hmmm will have to wait n see I guess
Figured I'd take a punt and finish this since I have it near done
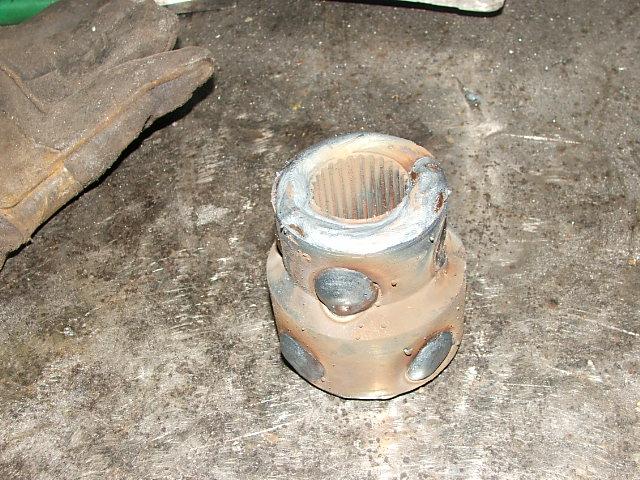
Here is the shaft collar, all I have done is machined a section of Hollow Bar to fit both splined collars
A bit of a catch for the novice is if you are sweating the collars in it can shrink them a bit... I have done a few now and have a good eye for it lol
If your coping the easy cheat is do the shaft joiner first so you don't get caught lol
I like to run plug welds in mine as well as weld the ends, given I'm welding unknown metal... case in point the plug welds on the larger spline collar, didn't start nice and there is a odd pattern on the top of the weld pool... at a guess I would say it was caused by high carbon/chromium... If I have to revisit this I will do it again with the appropriate arc rods
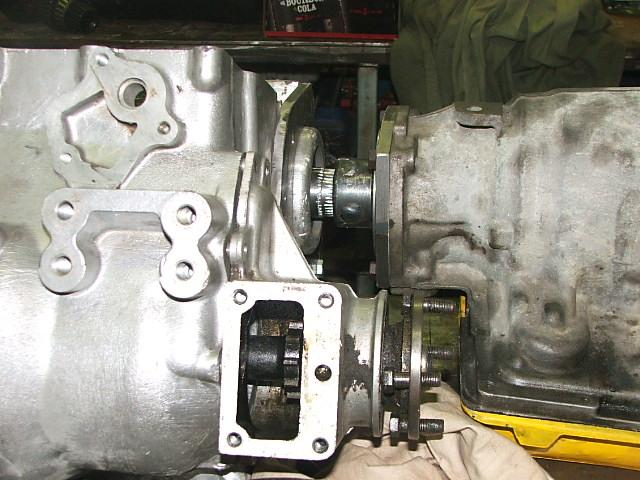
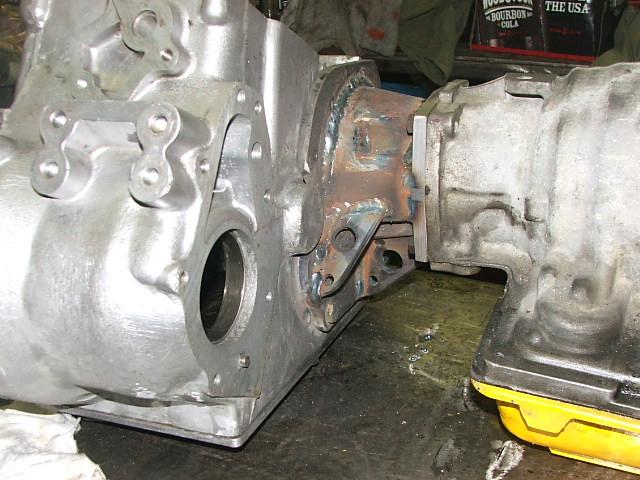
With the Shaft Collar done I started on the adapter
Biffed the input shaft into the rover box and offered it up
Confirmed my measurements then started fab'ing the cone that will be welded between... the only concern is that you get the matting surfaces true to each other, if you weld over a gap this will cause more shrinkage as the weld cools and can pull your mating surfaces or worst case the whole thing out of alignment
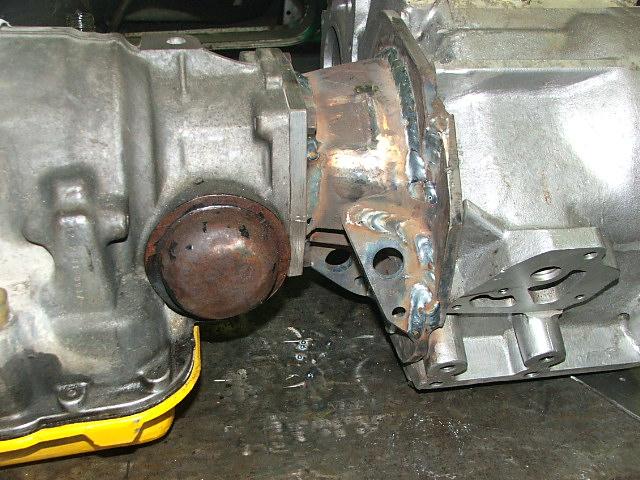
With this side done I put the whole thing in the mill and faced the edge that was to be welded to the trans end, this gives me a parallel surface to help align off
Here it is finished
Now what you can't see is the packers to help me line this up prior to welding
Normally all I do is stand the cases vertical so they balance then tap the lower case with a soft face hammer so the vibrations center the shafts
In this case the Transfer case is so heavy and there was no way I could balance it.... with all the bearings holding the shafts as tight as possible I jacked up the trans so the transfer case was hanging and then measured its range of motion 4 ways and shimmed it centered
Then alternating I spot welded it 8 times the second set of 4 being heavy'er, then burned alternating welds
This doesn't eliminate weld warpage but it is the best I can come up with and haven't had a failure yet, a machined adapter like the Alloy one above is a better (more reliably true) option
If I am able (the mating surface is flat) I will weld this down to my welding table prior to burning the final welds as this controls weld warpage next best is bolt them to the cases


 Reply With Quote
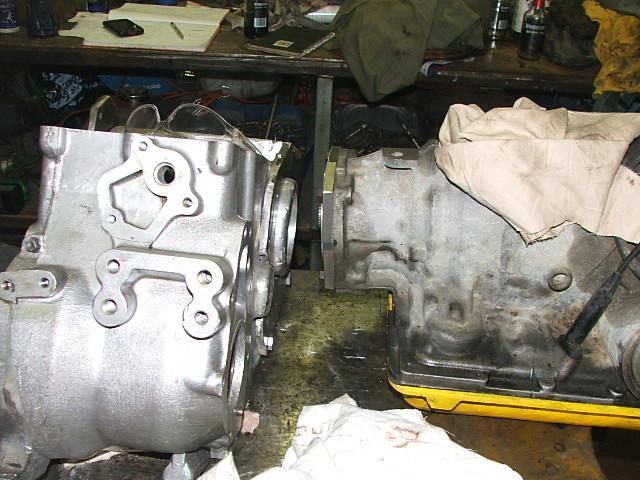

Bookmarks