Page 3 of 4 FirstFirst 1234 LastLast
Results 21 to 30 of 38

Thread: 101 Front diff

  1. #21
    Join Date
    Jan 2008
    Location
    Nowra NSW
    Posts
    3,906
    Total Downloaded
    0
    I have not done the pinion bearings in a sals.
    30 to 40 ft lb when checking preload is done using a arm or lever bolted on to the drive flange which is 12 inches or one foot long.
    Use a spring tension gauge to measure 30 to 40 pounds resistance to move the arm you have fitted to the drive flange.
    Note the resistance to get the pinion moving is usually slightly more and the measurement is taken when the pinion is moving.

  2. #22
    Join Date
    Jan 2008
    Location
    Nowra NSW
    Posts
    3,906
    Total Downloaded
    0
    The other way to do it which is not as good , but will work with a experienced hand is with a old fashion type torque wrench.
    Older torque wrenches use a steel bar which flexes with load and trips a indicator pin when the preset torque is reached.( some just read the flex directly on a scale )
    Use the torque wrench to drive the pinion shaft around via the pimion nut.
    (the pinion nut usually is done up much more than the bearing preload torque so it shouldnt move when checking the pinion bearing preload.)
    When the pinion starts moving and it is reading say 35 ft lb when as you go round you would be close.
    The preload on the bearings is high as the the loads are high trying to force the pinion and ring gear apart.
    More than eight times engine torque runs though the pinion alone when operating in low range first gear.
    The diff housing will move and flex under that sort of load and then there is heat build up which lessons preload at operating temps.

  3. #23
    Join Date
    Jan 2008
    Location
    Nowra NSW
    Posts
    3,906
    Total Downloaded
    0
    The crush tube is suppose to be a one use thing.
    They can be reused if they have not previously not been given too harder a time and the preload is when set up is correct.
    the other thing to do is run bearing blue on the pinion and ring gear when the diff is back together and check the gear mesh ( experienced eye helps alot.)
    Back lash from memory is 5 to 12 thou.
    Setting up a diff from scratch means you need to juggle the various shims and settings for changing one setting will effect another.
    That's why some people in the auto trade specialise in this sort of work as it takes time and experience.
    I usually like to blue a diff pinion and ring gear before disassembling a diff and aim to get the ring gear and pinion mesh the same after reassembling even though the it may not be been quiet right as found as whonce gears have worn a certain way they tend to become noisy if changed, even if the the new settings may be correct.

  4. #24
    Join Date
    May 2009
    Location
    Cornubia
    Posts
    131
    Total Downloaded
    0
    40 ft/lb is fairly tight for a bolt let alone a taper bearing pre-load but I have found my error, the book states a confusing 30 to 40 lbf in. I missed the 'in'. It would obviously be 40 in/lb (3.33 ft/lb) which makes much more sense. Just goes to show, you can read something a hundred times but its not until the 101st time that it clicks.

    My current torque wrench is not capable at that end of the scale so I will have to look for something more suitable.

    Thanks,
    Peter

  5. #25
    Join Date
    Jan 1970
    Location
    Canberra
    Posts
    18,616
    Total Downloaded
    0

    The past is catching up with my 101

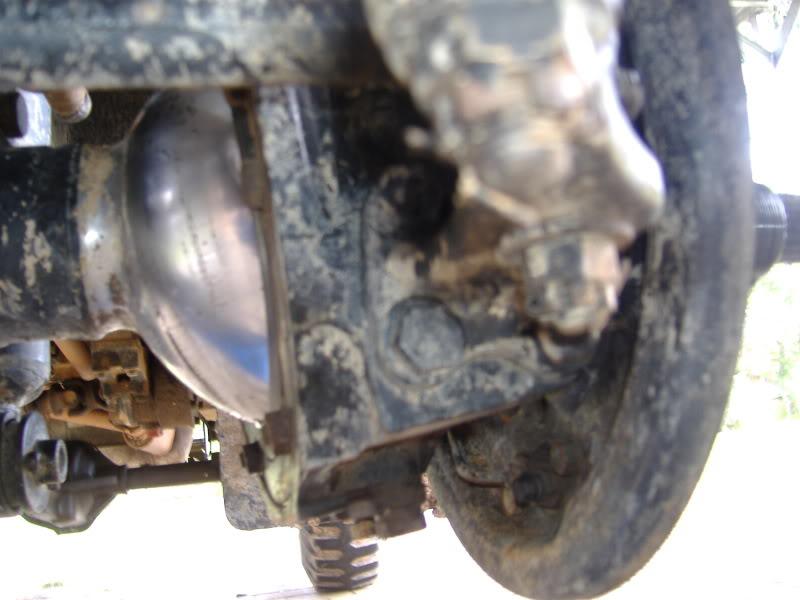
    I took the 101 in yesterday to get a LPG and petrol tune as it is now a bastard to start but runs OK. Cannot tune it up as it seems that the inlet manifold is letting air in so today off comes the manifold an in with new gaskets and back to the tuneup man early next week.

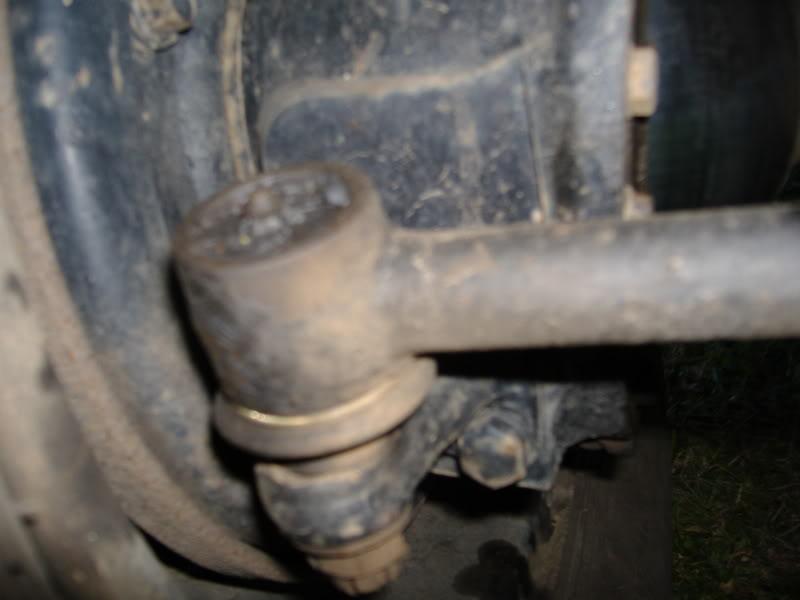
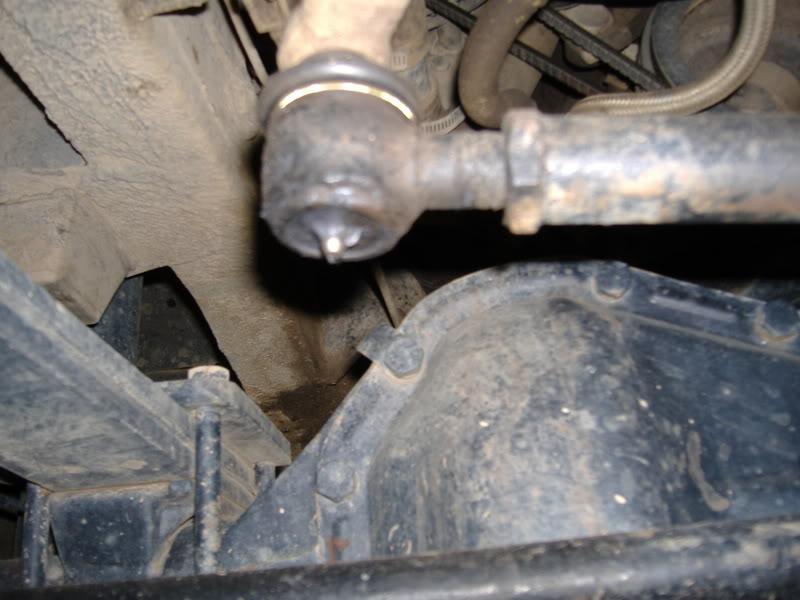
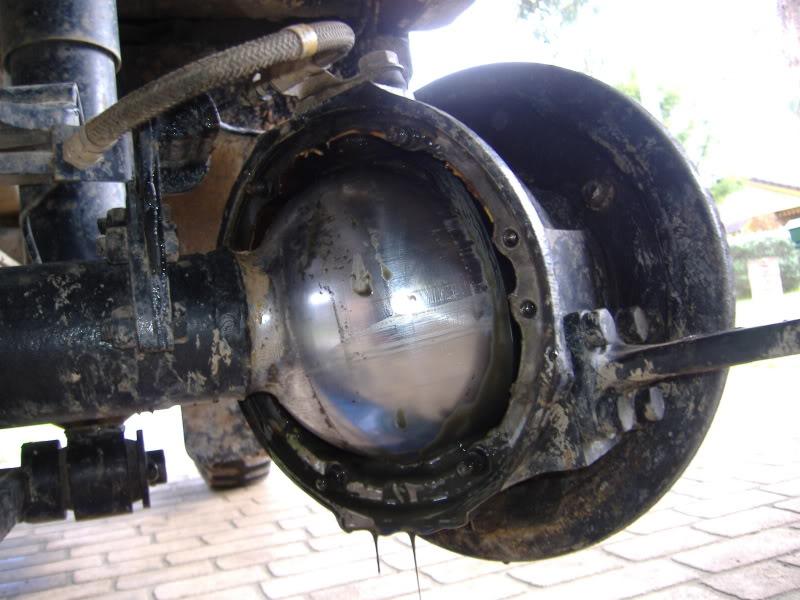
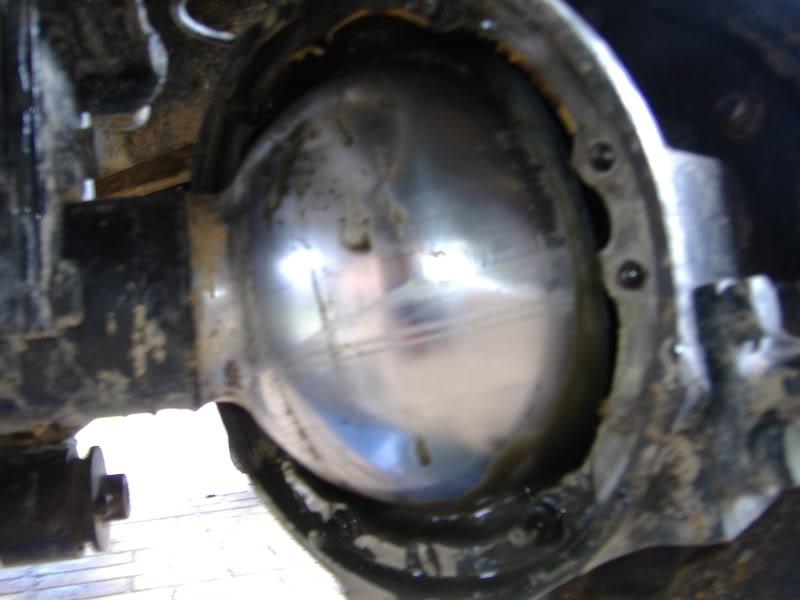
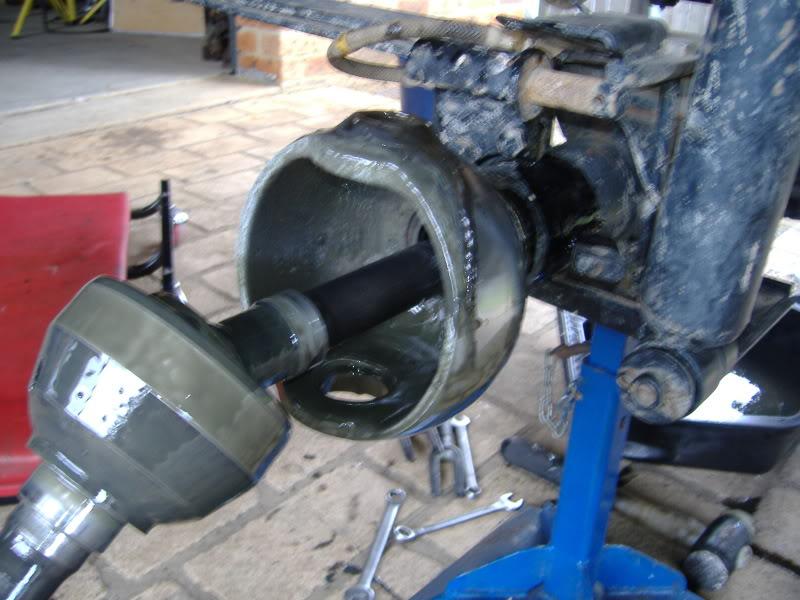
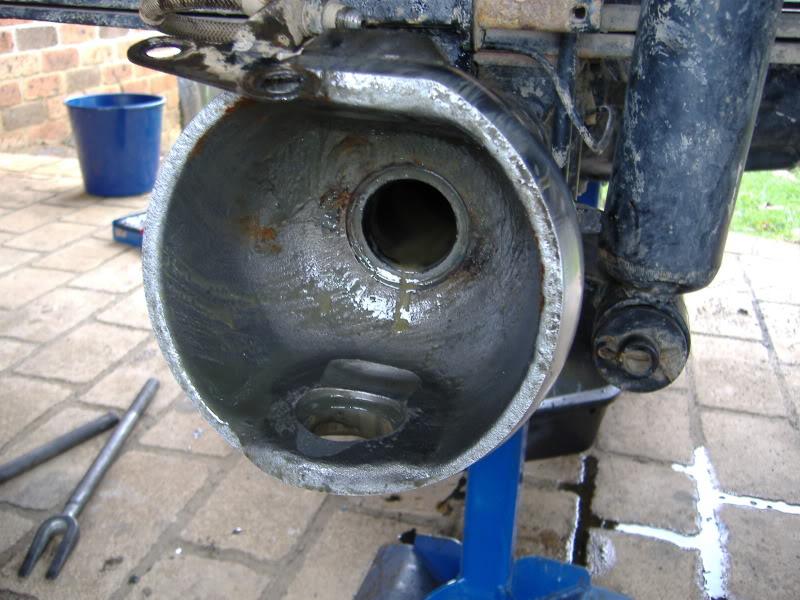
    As my front tyres are wearing a bit odd - I went in for a wheel alignment this morning at a specialist truck wheel alignment shop - again no can do the work as the swivel pins on the passenger side are really bad and the drivers are just bad. Both wheels wobble around a bit.

    So is it just a matter of replacing the bottom swivel pin bearing and the raiko (s) bushes at the top or is there more too it. Suppliers in Aust? or do I need to get them in from the 101 club or other suppliers in the UK.

    The guy also checked all my tie rods and all have too much vertical movement so need replacing - but still considered safe to drive so can do the Outback Heritage Drive over the next few weeks.

    On return the front end will have to be rebuilt.

    The odd tyre wear seemed to indicate bad shockies but the guy did a quick test and they seemed OK. He indicated he would be able to match the shockies from one of the jap light truck range I just need to give him the extended/compressed dimensions and mounting bracket shaft sizes. Same applies to the rears. I will follow this up when I do the front end work and see what comes up.

    Garry
    REMLR 243

    2007 Range Rover Sport TDV6
    1977 FC 101
    1976 Jaguar XJ12C
    1973 Haflinger AP700
    1971 Jaguar V12 E-Type Series 3 Roadster
    1957 Series 1 88"
    1957 Series 1 88" Station Wagon

  6. #26
    Join Date
    Jan 2008
    Location
    Nowra NSW
    Posts
    3,906
    Total Downloaded
    0
    The top bearing is just a fibre type bush and the bottom is a taper roller type bearing.
    If your top CV joint bush is any thing near good you should be able to sort things out with out pulling to much apart.
    The caps which have the pin which goes though the bearings are held to the CV joint housing via 2 bolts and the brake line bracket needs to be removed top cap/ plate for the top one.
    Adjustment is via shims under these caps.
    What normally happens is the bottom taper roller bearing and cone will wearout as it carrys the weight and gets the rusty water from creek crossings which gets in the housing..
    Jack the axle up and drop the bottom cap first which is a easy job which drops the oil too.
    clean and check the bearing and cone.
    if worn the a new bearing and cone will most likely remove the play without much further work.
    It must be noted the CV joint housing when it is moved without the steering and CV seals fitted must have some preload, which is what the shims control.
    CV joint seals are easy to replace too if required.
    Without CV joint preload on the bearings bad wheel shimmy problems can occur after hitting a bump on the road.
    Refer to my ARB locker thread pics.

  7. #27
    Join Date
    Jan 2008
    Location
    Nowra NSW
    Posts
    3,906
    Total Downloaded
    0
    The steering rod ends are bullet proof and shouldn't wear out as they are self adjusting.
    The only failure which cause them to get sloppy is the internal compression spring inside the rod end breaking or rusting away.
    It is possible to get up and down movement on these rod ends because of the self adjusting feature and is normal to have this play if looking for it using a big bar etc to find it.
    Under normal steering loads the internal spring will stop any up and down movement of the rod end and also removes any play in the normal operating direction of loads.
    The two rod ends that are on the CV.s....(I think the tie rod ) can be disassembled by removing the cir clip and end plate on the rod end..
    Do this as you will understand how they work, grease them .
    The other rod ends are the same , but are sealed.
    They make the steering lighter and stop any possible rod end movement drill and tap the middle of the end plate of the rod ends for small grease nipples.
    the nipple will sit in the middle of the internal compression spring and therefore will not interfere with it.
    When greased the grease will pressurise the internal rod end cup helping the spring and tighten things up more.
    The grease in time will work its way thought to the working faces too and made for lighter steering.
    New rod end boots are cheap as chips from any auto store.

  8. #28
    Join Date
    Jan 2008
    Location
    Nowra NSW
    Posts
    3,906
    Total Downloaded
    0
    Tell the local automech the vertical play is normal and the rod ends are of a different design which he has not seen before.

    The above is one of the rod ends which can be disassembled and note the grease nipple which has been fitted.

    The above here is a sealed rod end to which I have fitted a grease nipple.
    Filling the rod end with grease will stop any one with a pry bar thinking there is any thing wrong as the grease locks it tight.
    I have done all of them this way and the steering is lighter.
    The one on the steering box and top of relay arm was drilled on tapped in situ will a 90 degree air drill.

  9. #29
    Join Date
    Jan 2008
    Location
    Nowra NSW
    Posts
    3,906
    Total Downloaded
    0


  10. #30
    Join Date
    Jan 2008
    Location
    Nowra NSW
    Posts
    3,906
    Total Downloaded
    0


Page 3 of 4 FirstFirst 1234 LastLast

Bookmarks

Bookmarks

Posting Permissions

  • You may not post new threads
  • You may not post replies
  • You may not post attachments
  • You may not edit your posts
  •  
Search AULRO.com ONLY!
Search All the Web!