Page 4 of 4 FirstFirst ... 234
Results 31 to 38 of 38

Thread: 101 Front diff

  1. #31
    Join Date
    Jan 2008
    Location
    Nowra NSW
    Posts
    3,906
    Total Downloaded
    0

    Note the plain bush set up for the top CV swivel bearing.....mine had no wear and I suspect they are tuff and will rarely need replacing.....a good reason to run oil instead of grease in the CV joint housing.

    On the above you can see the top plate has just been shimmed and bolted up with some sealant.
    From memory i just removed one shim from the top of each side and that was enough to give the correct drag for bearing preload.

  2. #32
    Join Date
    Jan 1970
    Location
    Canberra
    Posts
    18,616
    Total Downloaded
    0
    Thanks Ron,

    The guy used a huge tyre iron and levered all the tie rod ends and they all went up and down - as you indicated they would. I actually thought mine were OK until the guy did this as in my box of spares I have a whole bunch of old ones and as the 101 has done 120,000km I figured the installed ones would be OK. All of my tie rod ends have no sideways movement except for one so I assume the springs are doing their job. I remember you talking about the grease nibbles and will do the same.

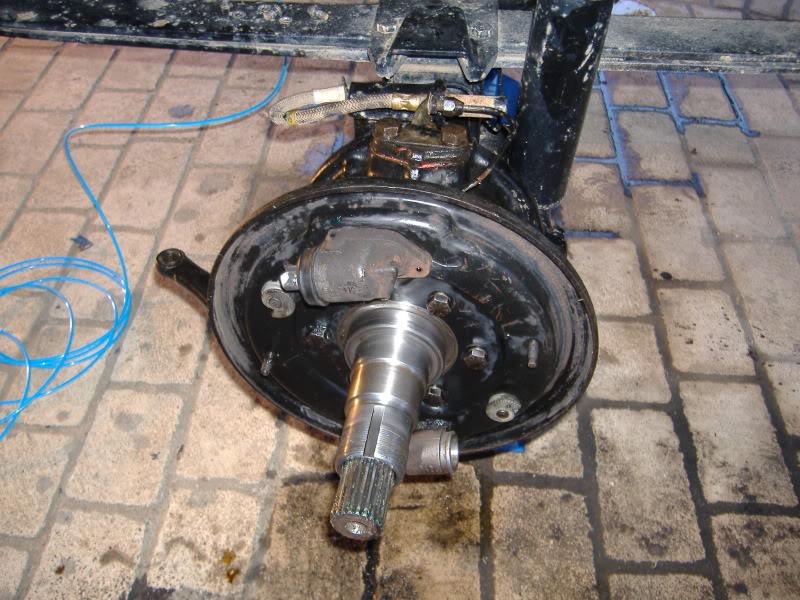
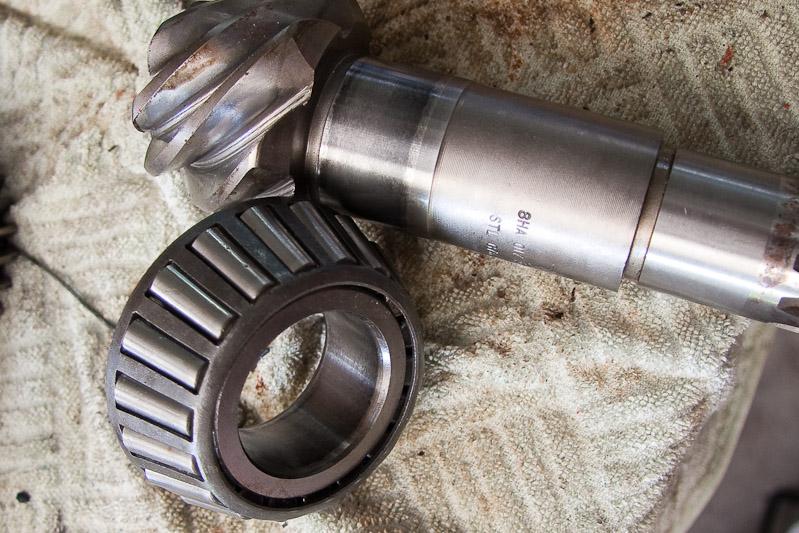
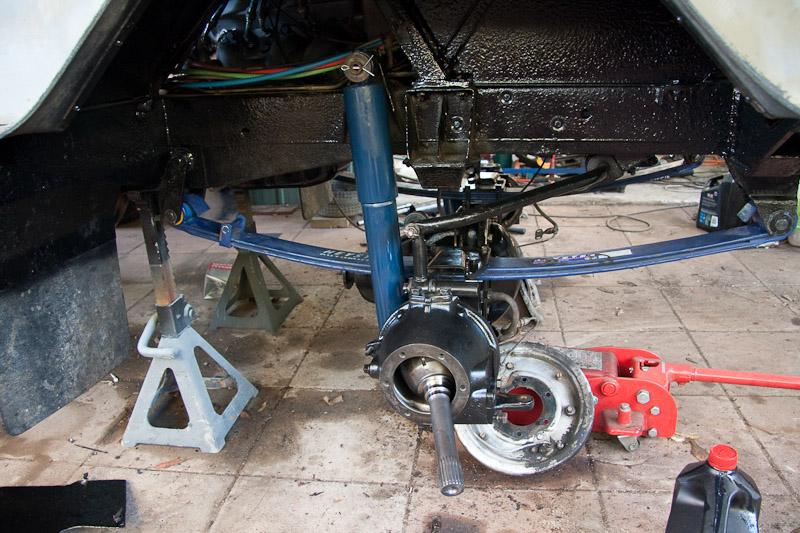
    When I get back from my upcoming trip I will do the front axle - it has to be pulled to bits to put the arb locker in. So I will do the lot.

    I will have to decide if I want to stay with greased swivels (with a little extra oil added) or change back to oil.

    Cheers

    Garry
    REMLR 243

    2007 Range Rover Sport TDV6
    1977 FC 101
    1976 Jaguar XJ12C
    1973 Haflinger AP700
    1971 Jaguar V12 E-Type Series 3 Roadster
    1957 Series 1 88"
    1957 Series 1 88" Station Wagon

  3. #33
    Join Date
    May 2009
    Location
    Cornubia
    Posts
    131
    Total Downloaded
    0
    Still waiting for the shims to get the bearing preload right on CanDo.
    I put new Raiko bushes and fibre thrust washers in the top, only $16.90 each side from Anthony. The original ones had a small amount of slop even though they looked good.
    Kept the original lower taper bearings as they looked fine.
    Rod ends all looked fine, just needed new rubbers. Ron's grease nipple mod will be done while I have it out.
    Both shocks and the steering damper seem fine, just cleaned them up. Getting the shocks back on was a much bigger challenge than I expected.

    Cheers,
    Peter
    Attached Images Attached Images

  4. #34
    Join Date
    Jan 1970
    Location
    Canberra
    Posts
    18,616
    Total Downloaded
    0
    Yep shocks can a real pain to get in when everything is new.

    Where are you getting the shims from?

    I pulled the inlet manifold off yesterday - what a pain of a job. The manifold itself only took 5 mins but the rest of the crap but mainly the 24v alternator took hours.

    My front end will have to wait for a little while and I will do the entire steering and front end in one go - am putting in a new steering column, relay, and tie rods as needed.

    Garry
    REMLR 243

    2007 Range Rover Sport TDV6
    1977 FC 101
    1976 Jaguar XJ12C
    1973 Haflinger AP700
    1971 Jaguar V12 E-Type Series 3 Roadster
    1957 Series 1 88"
    1957 Series 1 88" Station Wagon

  5. #35
    Join Date
    May 2009
    Location
    Cornubia
    Posts
    131
    Total Downloaded
    0
    Quote Originally Posted by garrycol View Post
    Where are you getting the shims from?

    I pulled the inlet manifold off yesterday - what a pain of a job. The manifold itself only took 5 mins but the rest of the crap but mainly the 24v alternator took hours.
    Shims from LRSeries.com. They come in .1, .3, .8 mm thickness. I need .8's.

    Know what pain you went through with the inlet manifold. I went onto removing heads also before deciding to pulling the whole motor, GGGGrrrrrr!

    Peter

  6. #36
    Join Date
    Jan 1970
    Location
    Canberra
    Posts
    18,616
    Total Downloaded
    0
    Quote Originally Posted by PeterP View Post
    Shims from LRSeries.com. They come in .1, .3, .8 mm thickness. I need .8's.

    Know what pain you went through with the inlet manifold. I went onto removing heads also before deciding to pulling the whole motor, GGGGrrrrrr!

    Peter
    I cannot believe that there is just a light bit of tin plate to seal the top of the engine. Why not a cast plate like many other engines and two simple manifolds with the left carby feeding the left side of the engine and the right carby doing the right. May jag with four CD175s, does this with a much simpler arrangement than what is on the 101. Anyway - the manifold is back on - interestingly that the gasket does not fit real well and could let in air from the top of the inlet ports - extra sealant hopefully has fixed this.

    As far as the front axle is concerned - with the exception of the slack steering column my 101 steers quite well - no clonks or darting over the place, I certainly cannot feel the slack swivel pins when driving.

    So when is yours back on the road?

    Garry
    REMLR 243

    2007 Range Rover Sport TDV6
    1977 FC 101
    1976 Jaguar XJ12C
    1973 Haflinger AP700
    1971 Jaguar V12 E-Type Series 3 Roadster
    1957 Series 1 88"
    1957 Series 1 88" Station Wagon

  7. #37
    Join Date
    May 2009
    Location
    Cornubia
    Posts
    131
    Total Downloaded
    0
    Quote Originally Posted by garrycol View Post
    I cannot believe that there is just a light bit of tin plate to seal the top of the engine. Garry
    I could not believe it either, I used the fibre replacement one on mine.
    Quote Originally Posted by garrycol View Post
    So when is yours back on the road? Garry
    Since taking a bit of time off I am starting to wonder how I managed to fit working in before.
    Wrestled the pinion collapsable spacer into submission. and put the preload on the tighter side of spec, have a look at what I found ->
    With the heat blueing on the inside of the bearing and on the shaft I can see where the noise was coming from, hope things holds up with just a new bearing.

    Hopefully be testing this weekend.


    Latest website additions here - LR101FC - Progress May 2010
    Cheers,
    Peter

  8. #38
    Join Date
    May 2009
    Location
    Cornubia
    Posts
    131
    Total Downloaded
    0
    Got it all back together and running and the front diff is working and sounding fine.
    Still got some noises to work on but it is going well.

    Peter

Page 4 of 4 FirstFirst ... 234

Bookmarks

Bookmarks

Posting Permissions

  • You may not post new threads
  • You may not post replies
  • You may not post attachments
  • You may not edit your posts
  •  
Search AULRO.com ONLY!
Search All the Web!