


 Reply With Quote
Just need basic tools.....roughest part was getting the top but off the shock, totally stupid arrangement.
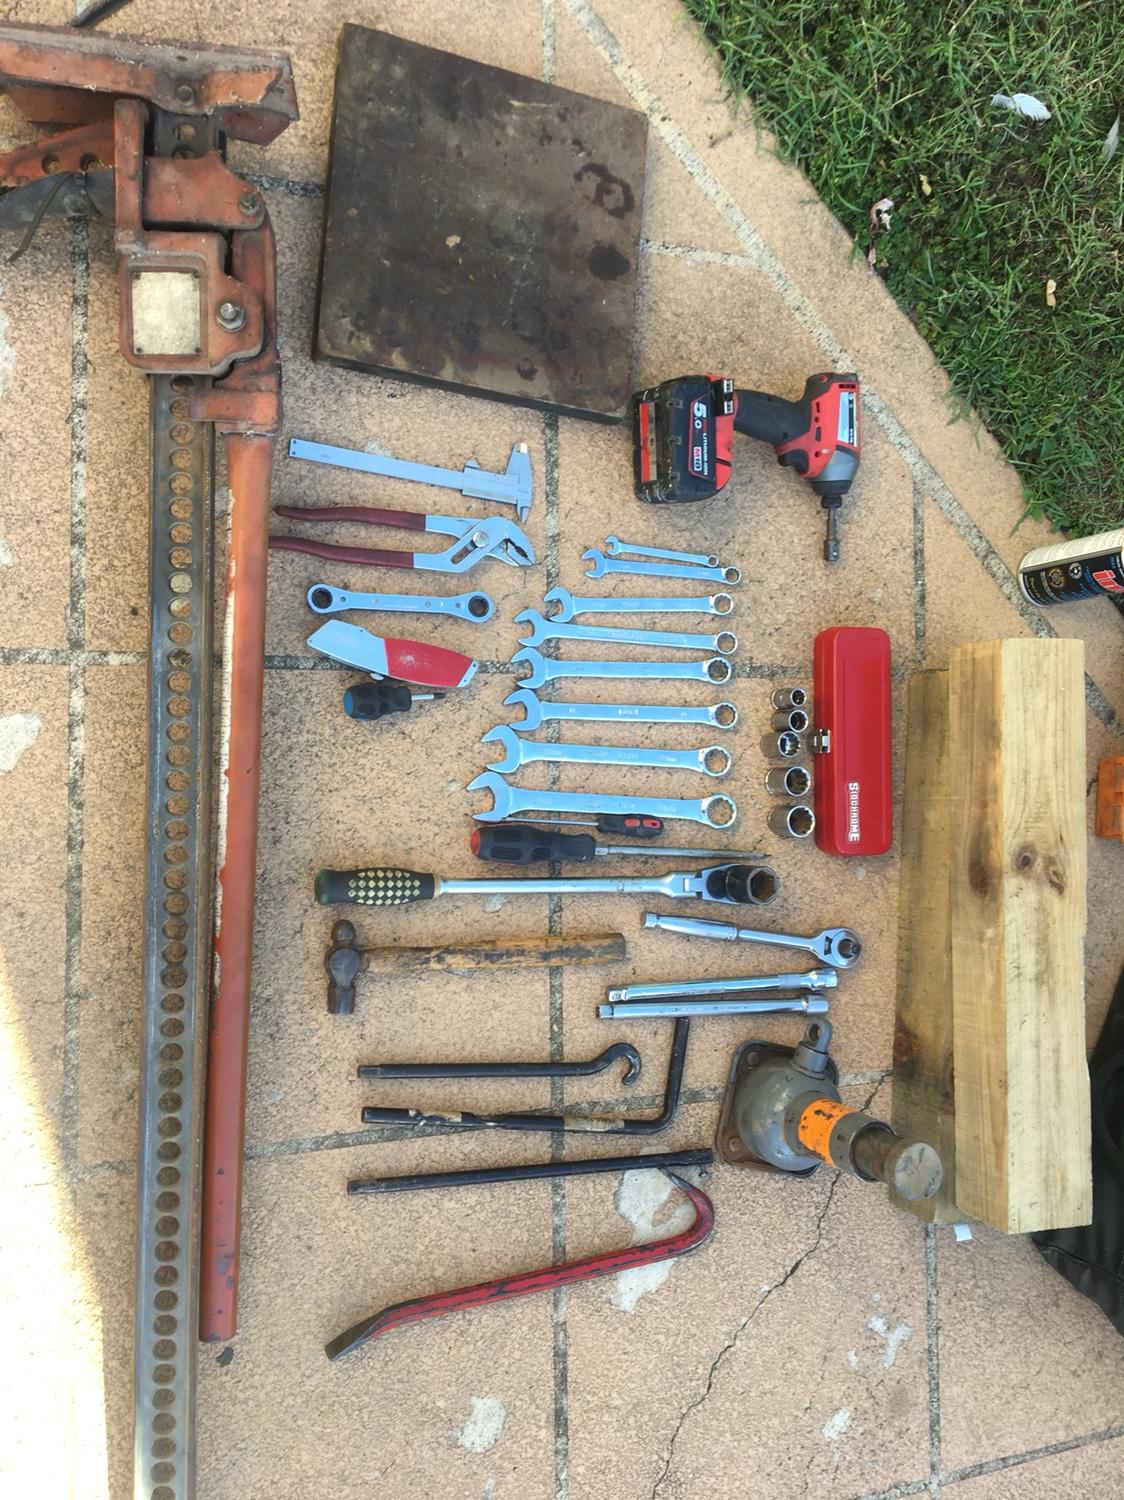
2 wheel chicks
1 1/4” drive socket set
Trusty Nissan jack, at least it didn’t have a sleep today
Hi-lift jack - always alert
O/E Spanners 8,13,16,17,19,22,24
2 flat screw drivers
2 1/2” Ratchet
2 12” extensions
Small hammer
Stubby Phillips head
Stanley knife
13 ratchet ring
Multi grips
Vernier
Pinch bar
Jacking plate
Cordless driver
1/2” drive sockets 13,16,29,22,24
INOX


Bookmarks