

 Reply With Quote
Should have thought of thatOriginally Posted by Chucaro

Thanks mate

 Swaggie
Jock just download THIS pdf file and you will see what it is involved")
ChatterBox
Should have thought of that
Thanks mate
Master
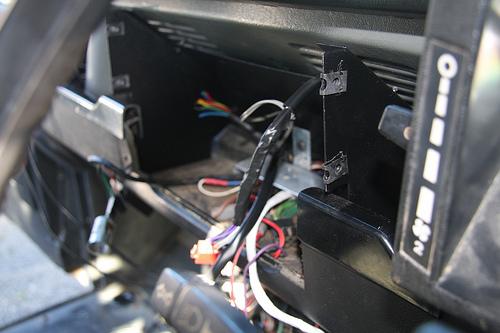
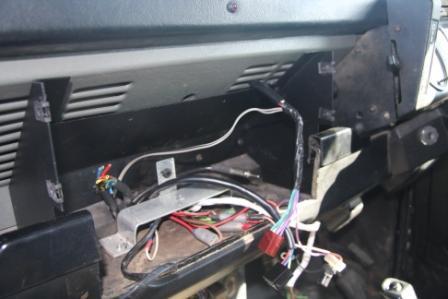
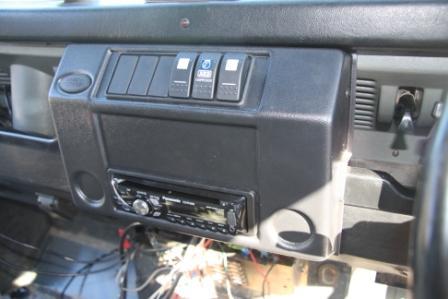
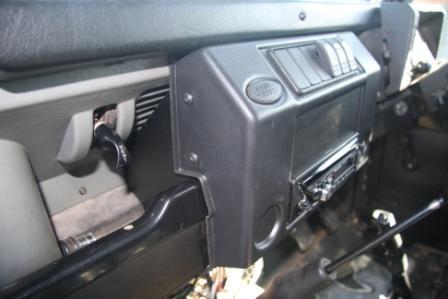
Below are photos of my MUD centre console installation/mountings and the MUD Pod that's yet to be fitted. As you can see the console is a work in progress with plenty of real estate yet to be utilised. I haven't even refitted the windscreen wiper switch yet.
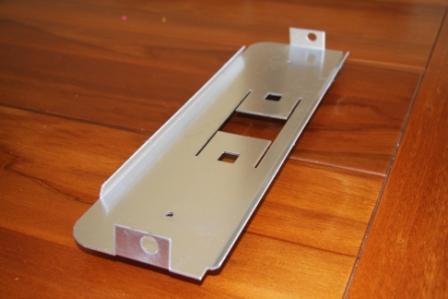
All that holds the metal bracket in place is 4 screws along the back (the instruction only had 2 but I added a couple). Once the Console is mounted there are another couple of screws that go into the underside of the dash just above the fuse box. Note: The bright piece of bent ally in the centre with the rubber grommet on a tab is the rear mounting for the radio.
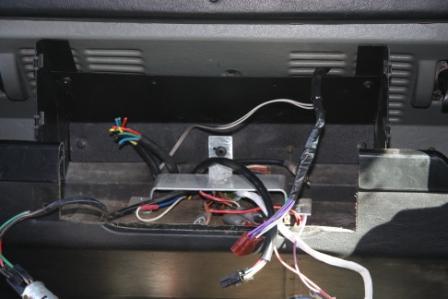
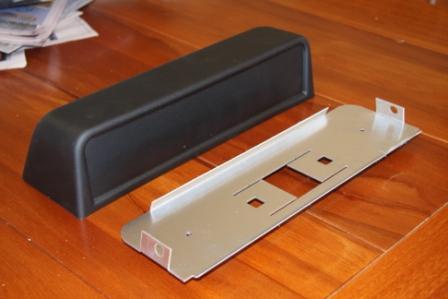
On the MUD Pod below, the two centre tabs on the ally base bend down into the ash tray hole which gives you the option of mounting it without screw holes so it can be removed and refitted to another Landie.
If you have any more questions or want more pics just ask.
Cheers, Iain
Master
my console, if they are done right the consoles look original. the pod on the other hand.... but still looks reasonable.
Cheers from the Desert
Rexy
2000 130 TD5
Oil in the Harness, suspension knock, transmission clunk, engine oil leaks, exhaust manifold leaks, centrifugal oil filter stripped bolts, a/c leaks, door leaks, wouldn't trade it for the world
Swaggie
I like more the gauges on the console. There is plenty room left to fit 3 gauges there.
Master
Did you drill and screw the Pod into the top of the dashboard or did you just use the adhesive pads and the ashtray mount? I'm interested in how firmly it holds if you didn't screw it down.
Cheers, Iain
Master
neither, i didn't screw it down, just never got around to it. I have found that after some serious 4wding it moves maybe 5mm sideways so stuff all. The tabs that bend around hold it in pretty well.
Cheers from the Desert
Rexy
2000 130 TD5
Oil in the Harness, suspension knock, transmission clunk, engine oil leaks, exhaust manifold leaks, centrifugal oil filter stripped bolts, a/c leaks, door leaks, wouldn't trade it for the world
Good day
Hope this one helps...
http://www.aulro.com/afvb/projects-t...rd-my-d90.html

ChatterBox
After a no show on the MUD console
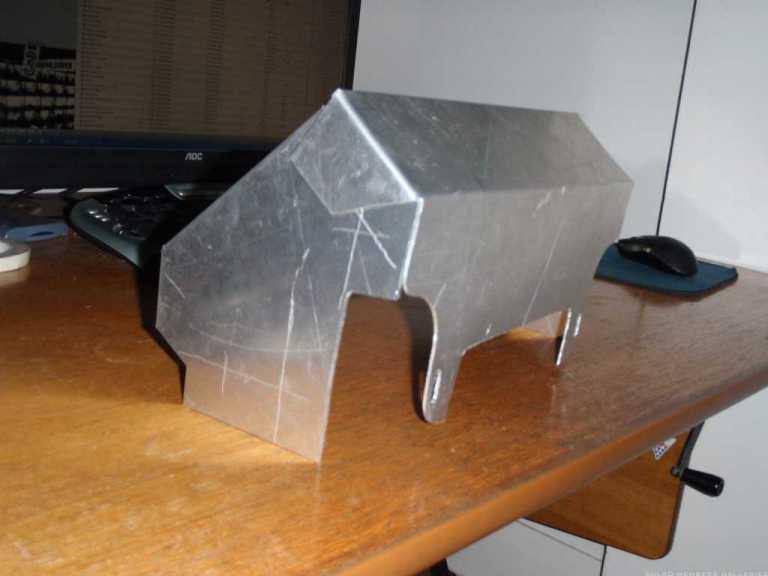
I decided bugger it. About a fortnight ago I poured out all the Rice Bubbles, pinched the cardboard packaging and began making the template.
And now today I cut it all out of alloy and folded it up
So far it's cost me a Rice Bubbles packet, and diesel to get to the Alloy welder for some scrap
I hope to have the CD player, TM-2 and EGT Gauge holes cut out this weekend, then it will go in for powdercoating next week
Many thanks to Peter (rar110), I did use those drawings to make up the side plates
Swaggie
Looks good
 Posting Permissions
| Search AULRO.com ONLY! |
Search All the Web! |
|---|
|
|
|


")

Bookmarks