


")

 But I'll post the parts numbers for Normal, blue and green etc...

 Reply With Quote
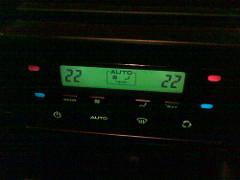
Yesterday i finally got around at looking at my blown globes, for me it was the middle 2 globes in the pic above that were blown. These illuminate the temp up and down and the bottom buttons.
On inspection i noticed that they are a 12v pigtail style globe wrapped around a plastic base.
I wandered into Jaycar and picked up half a dozen of these (mine have yellow wires)
CAT. NO. SL2675 12V Mini Lamps - Large
Globe size - 4mm dia x 10mm PVC lead length - $1.30
I stripped the insulation off using a cigarette lighter and just wrapped the bare wire back around the original globe base. The globes are longer than the original and the green plastic cover is slightly loose but it does the job.
Also as a side note, if you are looking for something to make a tool for removing the stereo, i used 2x flat style computer case rear card blanking plates which i had lying around. Just cut them down with a pair of tin snips.


 [/IMG]
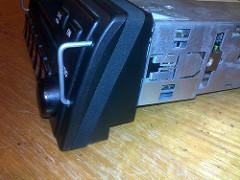

Bookmarks