Page 1 of 3 123 LastLast
Results 1 to 10 of 27

Thread: Third Roof Cross Bar on Lower Section of Roof

  1. #1
    Join Date
    Dec 2009
    Location
    Sydney
    Posts
    523
    Total Downloaded
    0

    Third Roof Cross Bar on Lower Section of Roof

    I thought I should probably start a new thread rather than go too far off topic...

    This is on a solution for fitting a third roof bar on the front/lower section of the roof when you don't have long rails (factory, Rhino, or otherwise). It will enable you to carry longer loads (timber, sheet goods, kayaks, roof boxes, OzTents, and/or distribute the weight better to allow the rear door to open etc). It can be easily put on, or removed.

    Quote Originally Posted by eddomak View Post
    To be perfectly honest, I am about to get this installed but have already consulted with Roof Rack World and have measured it up for length and level to existing rear bars, as well as how well the rubber base sits on the existing black trim, and am sure they can do it, and the quote is $175. I can supply you with all the part numbers from the quote once I get home tonight.

    Anyway, the idea is to do this:
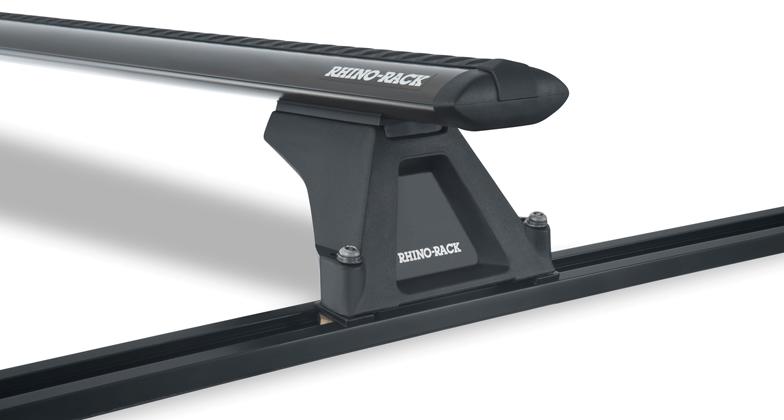
    1) remove plastic plugs on the lower section of roof (just above the driver/passenger's head) to expose threaded hole (that is used for attaching factory long rails).
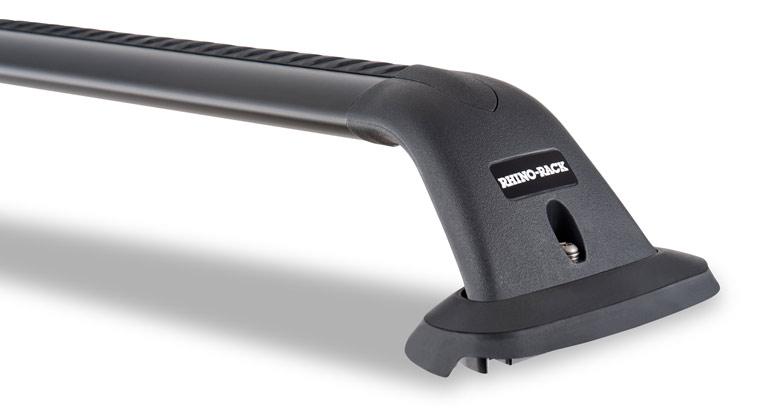
    2) position these bars (exact model number coming) in place with appropriate height spacer if necessary (even though by nature they are already taller than the existing RST, so they are quite close already)

    4) Use single screw through each leg straight into the threaded hole

    When the bar is removed, then put some plastic plugs back in.

    The advantages (over installing another section of short rail on the lower section of roof):
    1) Faster initial install (for Roof Rack World) - no cutting plastic, riveting short rail into place etc) = cheaper!
    2) Faster to put rail in place - 1 screw per side, whereas the other suggested leg needs 2 screws per side

    3) Simpler solution - why put in a rail when there is only the ability to vary the distance around 2cm?

    The disadvantage is that I will need to buy bulk pack of plastic plugs as they will eventually break with too many in/out's. But these are cheap.
    The part numbers are:
    RLT506 - Track Leg Kit
    VA137B - VA BAR BLACK 1375mm
    VA-FK2 - VA Bar Fit Kit for RLCP Legs

    And here is a a shout out to the team at Roof Rack World Artarmon who always do an aweseome job in pre-sales queries as well as all the times I have had to deal with them. EVERY staff member there has been knowledgeable and friendly no matter how busy it gets, and everyone I have recommended has appreciated their service. Well done!

  2. #2
    Join Date
    Oct 2014
    Location
    Adelaide
    Posts
    466
    Total Downloaded
    0
    We have three Rhino aero bars fitted with two on the high section and one on the low side. This gives us the following; an opportunity to fit a wire basket that holds around 90% of our average touring needs and a 2.1m wire mesh platform that holds, spare tyre, JC and space case when we are doing a Simpson crossing for example. Roof Rack City Adelaide fitted the rails and twin screw clamping bases per your second photo as we reckon that spreads the load more evenly on the roof and offers two points of contact with the rails so is less of a point load

    Rob

  3. #3
    Join Date
    Oct 2013
    Location
    Old Toongabbie, Sydney NSW
    Posts
    1,273
    Total Downloaded
    0
    Hi Eddomak.

    If you do get the part number I would certainly like to be informed as I like the idea of the additional third roof rack bar with the single screw mount. I mainly want it for added security with long stuff on the roof - lengths of timber for example so a single screw should be quite sufficient. BTW, where did you get the plugs from? Could do with some as well. The dealer originally had to scavenge some to go into the holes left after they installed the rails.

    Thanks for going to the trouble of posting this - appreciated

    Regards,
    Martin

  4. #4
    Join Date
    Dec 2009
    Location
    Sydney
    Posts
    523
    Total Downloaded
    0
    Quote Originally Posted by letherm View Post
    Hi Eddomak.
    If you do get the part number I would certainly like to be informed as I like the idea of the additional third roof rack bar with the single screw mount.
    The part numbers are:
    RLT506 - Track Leg Kit
    VA137B - VA BAR BLACK 1375mm
    VA-FK2 - VA Bar Fit Kit for RLCP Legs

    I mainly want it for added security with long stuff on the roof - lengths of timber for example so a single screw should be quite sufficient.
    I agree. In the end the long rails are also mounted via that single screw point anyway. The weight goes through the pads (and screw) to the roof, but it is still the same amount of shear force in the end.

    BTW, where did you get the plugs from? Could do with some as well. The dealer originally had to scavenge some to go into the holes left after they installed the rails.
    When I get some I'll let you know.

    Thanks for going to the trouble of posting this - appreciated
    No worries! I thought I should post it up anyway as it sounds like a moderately simple solution for those times you just need that extra length. I started this search because my new OzTent was so long that it would drape onto the roof, and it seemed getting the Rhino long narrow wire mesh basket would be both expensive and add another 20kgs to the roof as well as taking even more time to fix onto the roof racks each time I wanted to use it. I found the rear bars alone fine for 90% of what I do, and don't like the look of having 3 bars there all the time.

  5. #5
    Join Date
    Mar 2013
    Location
    Perth, WA
    Posts
    7
    Total Downloaded
    0
    Hi eddomak,

    I also have the 3 bars as RobA and would be interested to know how you are getting the extra height with the single screw leg to ensure the 3 bars are level, which you will need to for the Oztent. The RLTF (2 screw) are designed to take the height spacers but can't see how you can use these on the single screw leg?

    Colin

  6. #6
    Join Date
    Oct 2014
    Location
    Adelaide
    Posts
    466
    Total Downloaded
    0
    Colin well spotted. Yes one more reason why we use the twin bolt setup. We have the Rhino spacers in the front bar to keep it all level and it works perfectly. If you carry any real weight up there the platform/tray has to be level or or it will create enough torsional force to rip it all out. Seen this happen with overloaded racks in the Simpson almost every trip

    Rob

  7. #7
    Join Date
    Dec 2009
    Location
    Sydney
    Posts
    523
    Total Downloaded
    0
    OK, with all the interest, I got it fitted this morning, and here it is, in all its glory.

    The leg style was a little different from the original picture, but was indeed the one listed in the parts list they gave me. Also I decided to go with a shorter bar than the original quote as it is closer to the bar length that I already had - I would not have needed the extra 11cm. This also happened to bring the cost down to $172.50 fully installed.

    Final parts list:
    • RLT506 - Track Leg Kit 2 ($92)
    • VA126B - VA Bar Black 1260mm ($74.50)
    • VA-FK2 - VA Bar Fit Kit for RLCP Legs ($6.00)
    • M6 x 50mm Bolts x 2 (complimentary)


    As you can see, it is totally level with the existing rear RST legs on the track.


    A close up on the legs and spacers


    And just the spacers...


    You will need M5 x 50mm stainless steel screws


    ... which are longer than the screws supplied with the Rhino legs


    The original plastic plug (10mm) which unscrews, and the factory M5 threaded hole.


    I was concerned whether the front of my Thule top box would be lower than the new front bar and bump into it, but no problems - with plenty of clearance, so if you have a longer box it is probably OK as well.


    Plenty of room for both the top box and the OzTent.


    So I hope this helps out someone.

    Once again Roof Rack World Artarmon were great (talk to Paul) and really liked this solution and took some pictures. They took less than an hour, and would have taken less if I hadn't asked them to change over from the longer bars (that Rhino recommended) to the shorter ones.
    Last edited by Redback; 24th March 2015 at 12:04 PM. Reason: correcting info

  8. #8
    Join Date
    Oct 2013
    Location
    Old Toongabbie, Sydney NSW
    Posts
    1,273
    Total Downloaded
    0
    Hi Eddomak

    Thanks for all of the pictures etc. Brilliant

    Looks like a trip to Artarmon is in order.

    Regards,
    Martin

  9. #9
    Join Date
    Dec 2009
    Location
    SW WA
    Posts
    345
    Total Downloaded
    0
    Are you sure they are not M6? On my d4 they certainly are.

  10. #10
    Join Date
    Dec 2009
    Location
    Sydney
    Posts
    523
    Total Downloaded
    0
    THANKS kenl! Just checked and they ARE M6 x 50mm.

    It looks like I can't edit the original post, so hopefully a moderator can do it for me. (Please)

Page 1 of 3 123 LastLast

Bookmarks

Bookmarks

Posting Permissions

  • You may not post new threads
  • You may not post replies
  • You may not post attachments
  • You may not edit your posts
  •  
Search AULRO.com ONLY!
Search All the Web!