

 Reply With Quote
Don't tell me you are running out of confidence already Brad?
Don't let me down, I've got 20,000 quid riding on this that says she'll be jake. 1st 2nd or3rd pop.

 Super Moderator
I have a couple of philosophies in life that have served me well.
1) You can't screw something up so badly that you can't pay someone else who knows what they are doing to fix it, so you might as well have a go. The worst you can do is take a bucket of broken parts to an expert and plead for help (with an open wallet). Thankfully I've not yet had to do this.
2) If you pull it to bits until you find the broken bit, replace that and then reassemble it in the reverse order. Logic says it has to work. If you have parts left over and it still works, it was over-engineered to begin with.
3) Manufacturers don't specify torque values for the hell of it. Before I discovered this (many moons ago) I was known as "the stripper" as there wasn't a thread I hadn't violated.
I was going to go and do some more work on the Antichrist, but rain stopped play so it'll have to wait until tomorrow. I might go and wash out the throttle Y and the oil separator in Shellite while I have them out and I can work under cover.
Based on No 1. Let's wait and see if I can get it back together, running and have a thousand k's or so under the belt before we go all "yee hah". I might have to flat-bed it to Daz yet.
Cynical Moi?
Don't tell me you are running out of confidence already Brad?
Don't let me down, I've got 20,000 quid riding on this that says she'll be jake. 1st 2nd or3rd pop.
ChatterBox
SubscriberGood job, I'm sure it will start and run.
Serious question, do you have to manually prime the HPFP pump after fitting or will the ECU do this? I'm assuming the latter and that it will crank over until fuel pressure is acceptable for starting.
I know that when replacing a turbo, you have to precharge the oil gallery at thr bearing manually to avoid it overheating on startup due to lack of oil...
Super ModeratorNot much info on that in the manual, but the two takeaways I've found scattered in the docs are prime the low pressure fuel system by turning the key on. It'll run the tank pump for 25 seconds. Repeat this 5 times. Then once it fires let it idle for 2 minutes to get the air out of the high pressure system. So intend on doing both of those out of an abundance of caution.Originally Posted by Eric SDV6SE

TopicToaster
SubscriberBleed the low pressure side using the schrader valve. Once that’s bled the HP side should sort itself out after enough attempts to start. You’ll be fine.
2010 TDV6 3.0L Discovery 4 HSE
2007 Audi RS4 (B7)
Super ModeratorRight, started at 9:15am.
So, belt on.
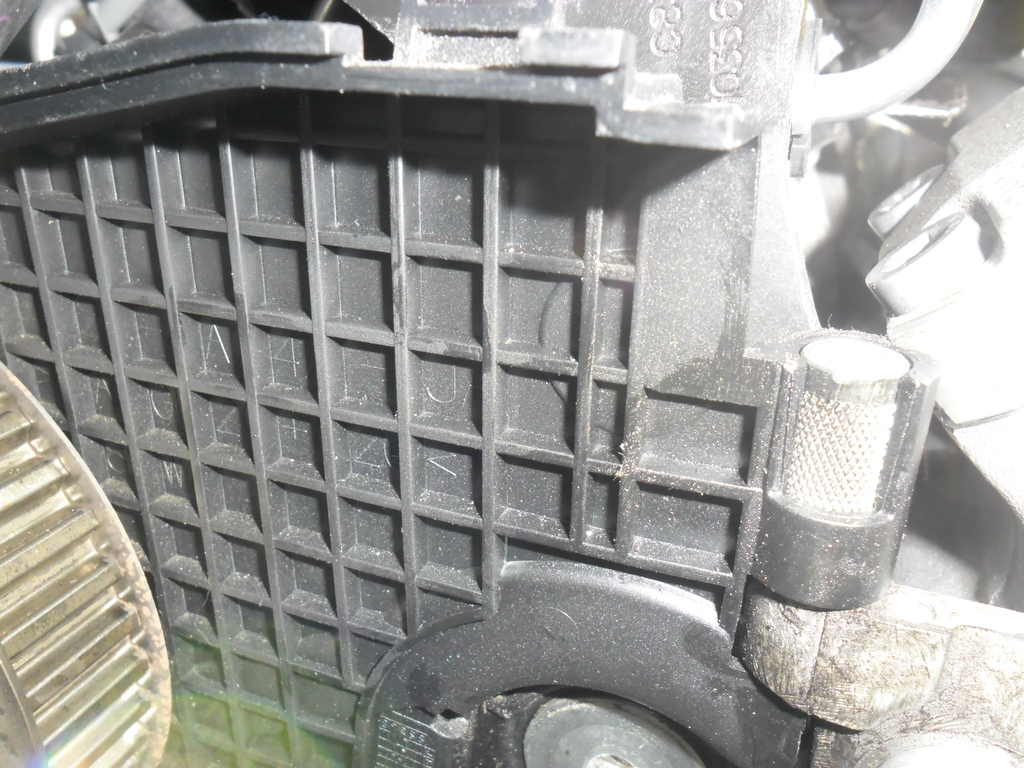
Good look at the bed for the tensioner.
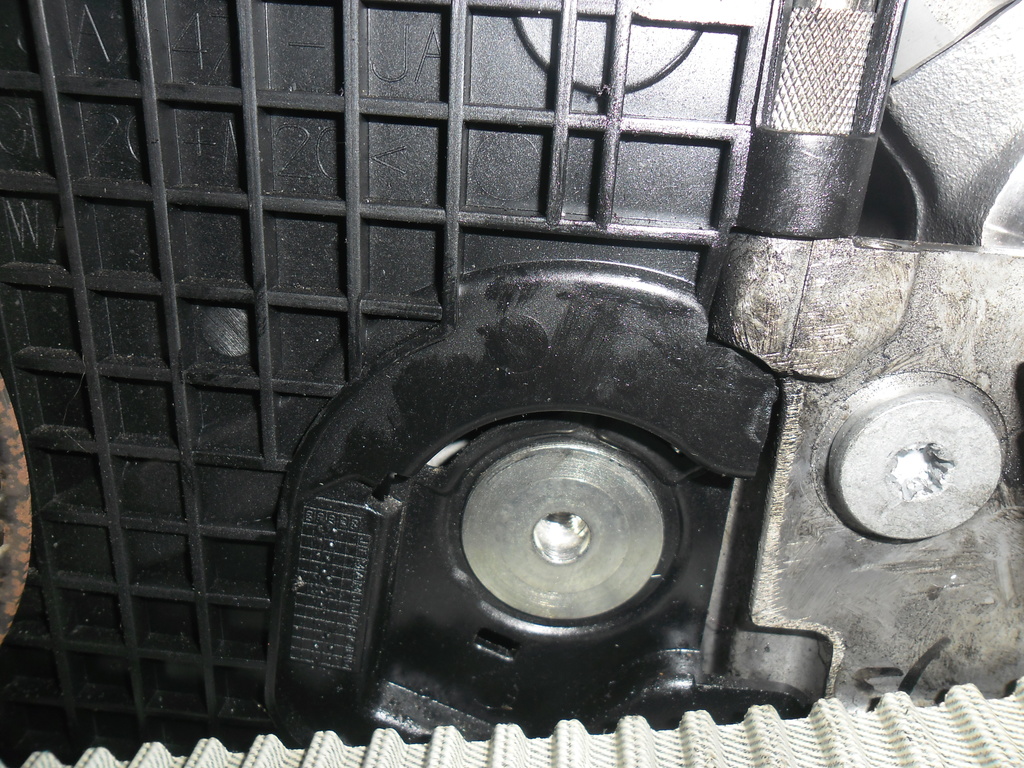
Tensioner on. I used my borescope to come in under the tensioner and double check the "tang" was in the correct slot. Hate to have to do this again.
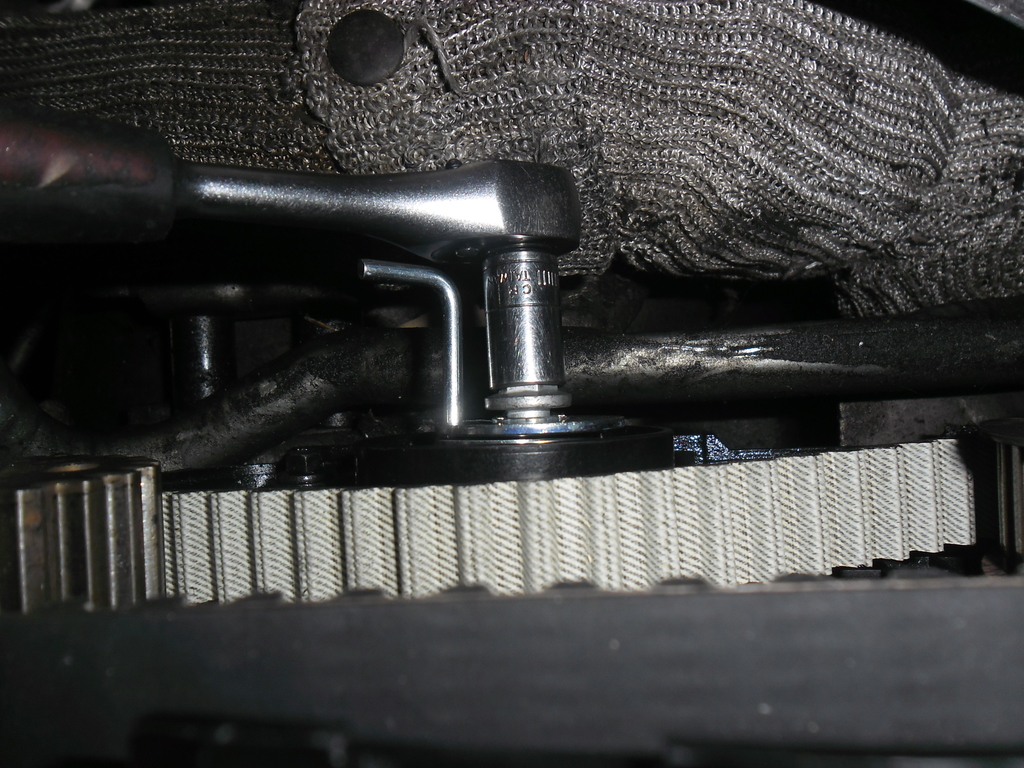
Nip it up then torque it up. The photo with the torque wrench as the pin released because I went back and took it after I'd already finished. The torque wrench would only move about 1 click on the ratchet, so it was an awkward job to torque it properly.
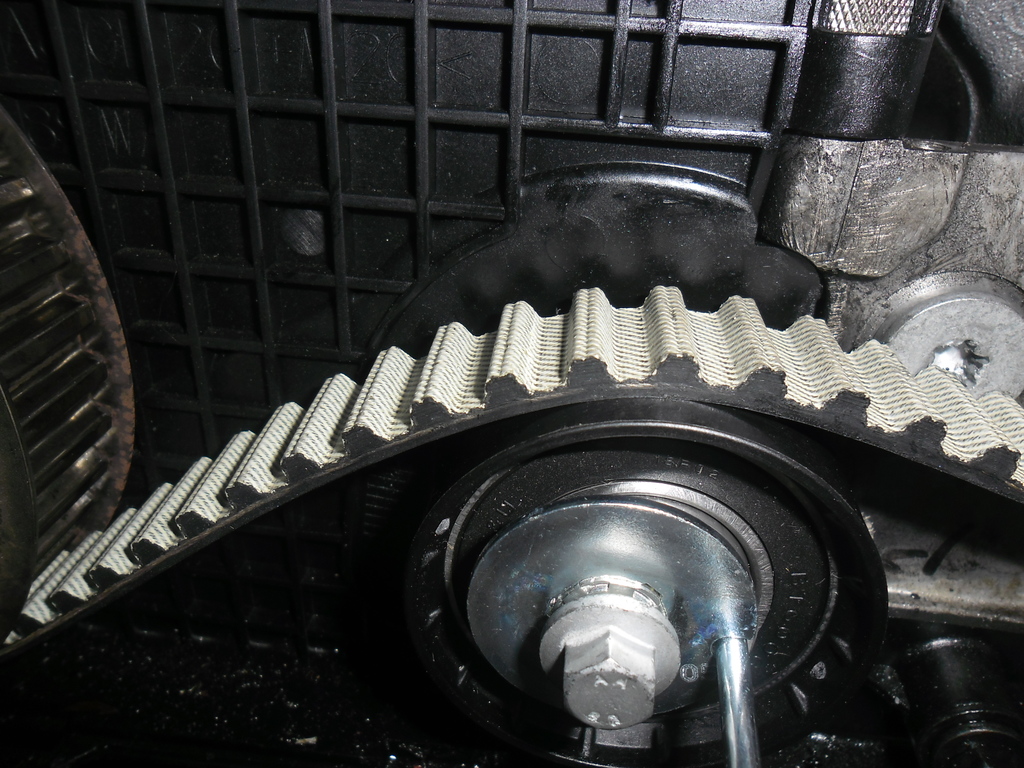
Made a mistake here. You can see the belt is off the back of the pulley. That stopped me getting the remainder of the cover on, so I needed to get between the pump and belt and walk it fowards to allow the cover to bolt back into place.
Rear cover slipping into place. Make sure the bottom is properly seated.
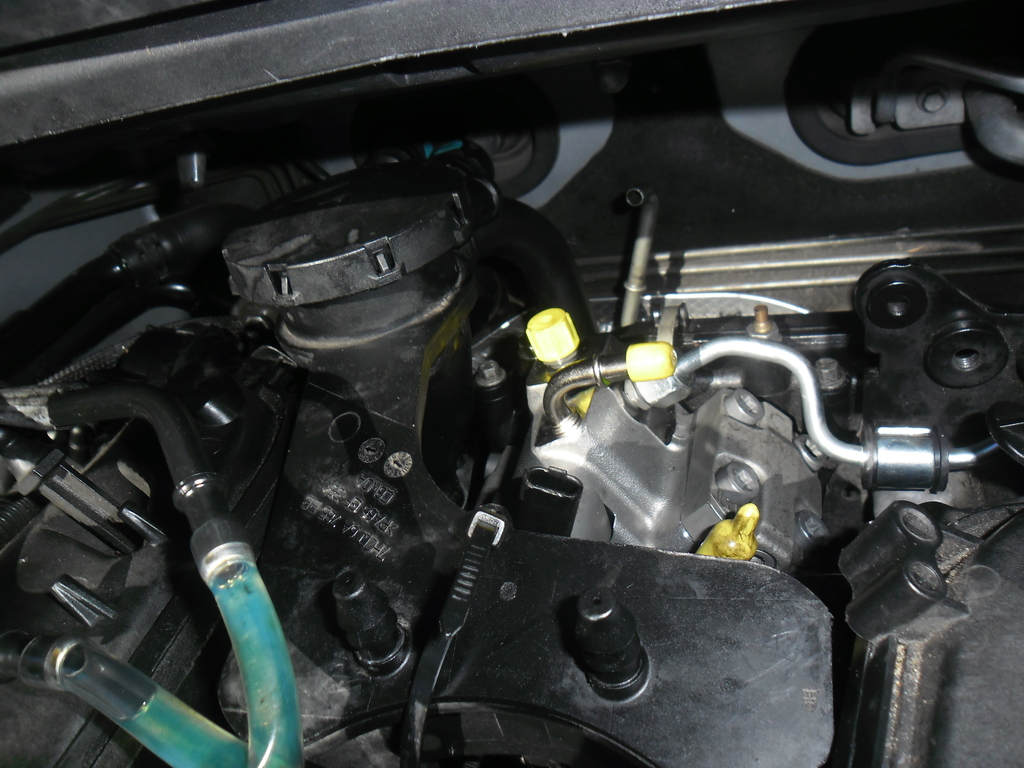
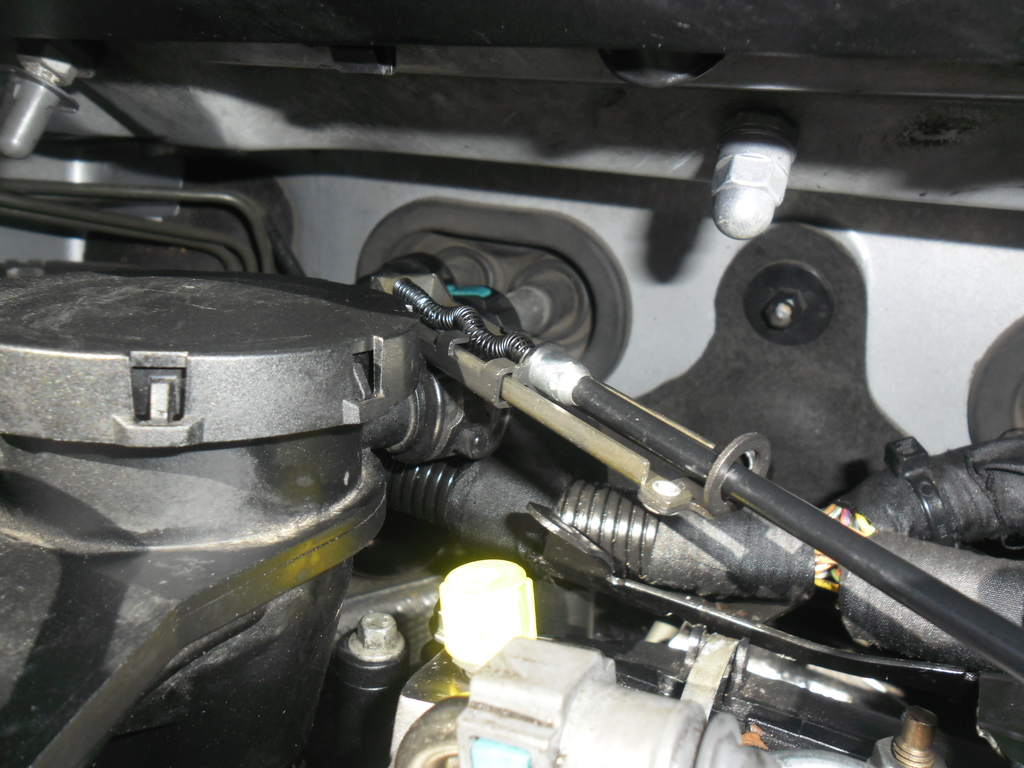
Oil separator goes back in. It took about 30 seconds to get it back in, so "assembly the reverse of disassembly". Hard to describe, but it needs to be tilted, rolled, jostled and messed about pretty seriously to get it to drop into place. While it was out I cleaned it. The 2 nipples on the top that do to each valve cover were completely plugged. Had to blow them out with compressed air. Maybe something to check every service.
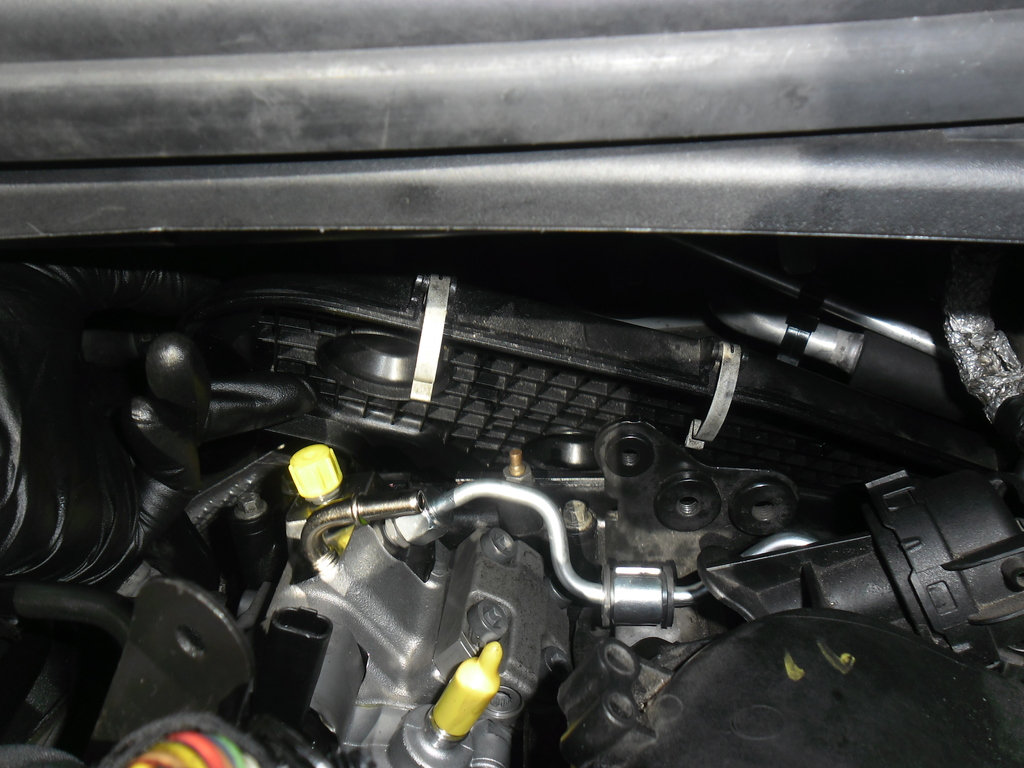
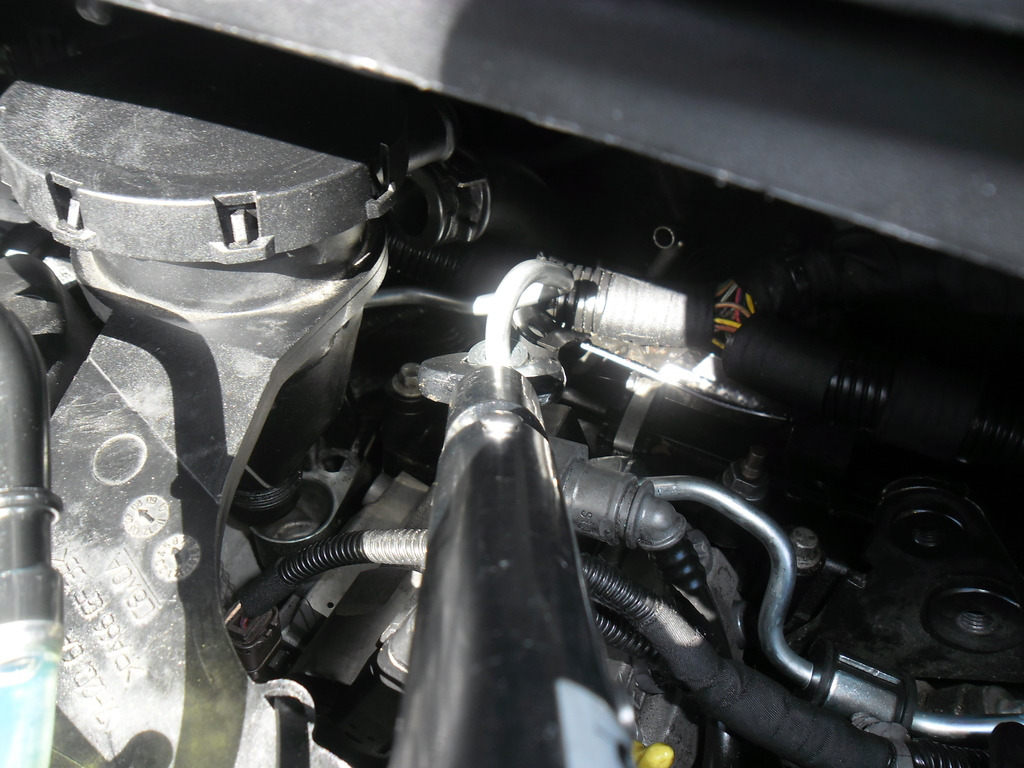
This next bracket and the fuel return line that clips into it (in the following picture) are *critical* in getting the oil separator in and out. It needs to slide up hard against that bracket to rotate it in. That was one of the main sticking points I had in getting it out.
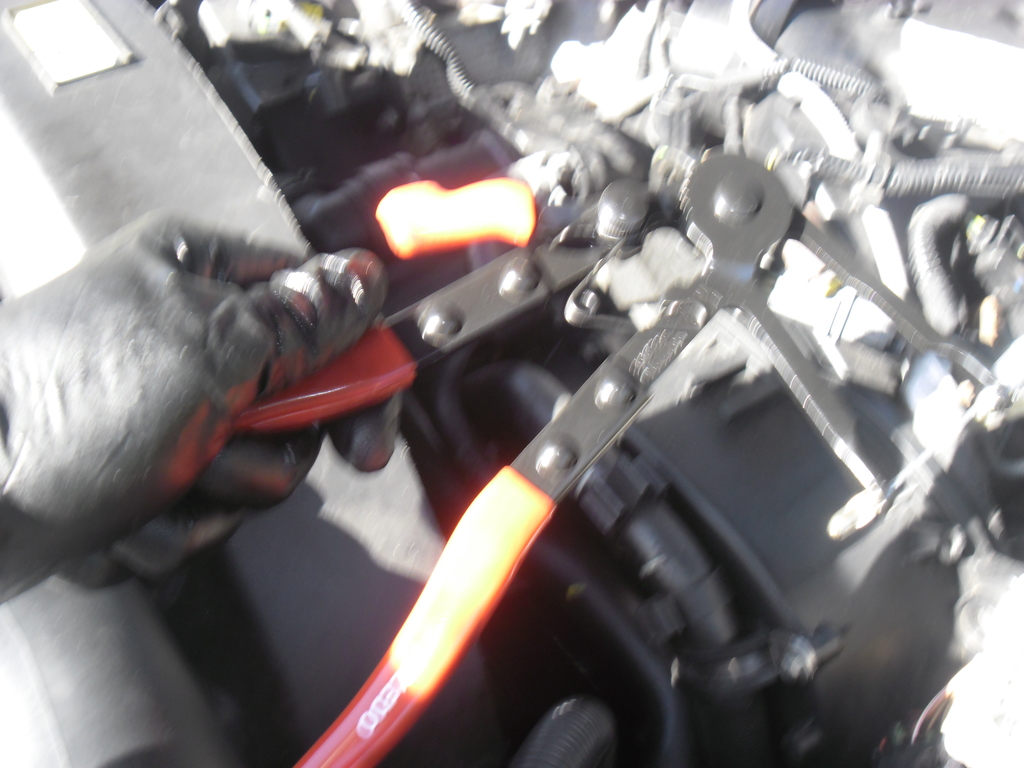
No job worth doing that isn't worth buying a tool for, so shiny new remote hose clip pliers. Wish I'd known about these 10 years ago!
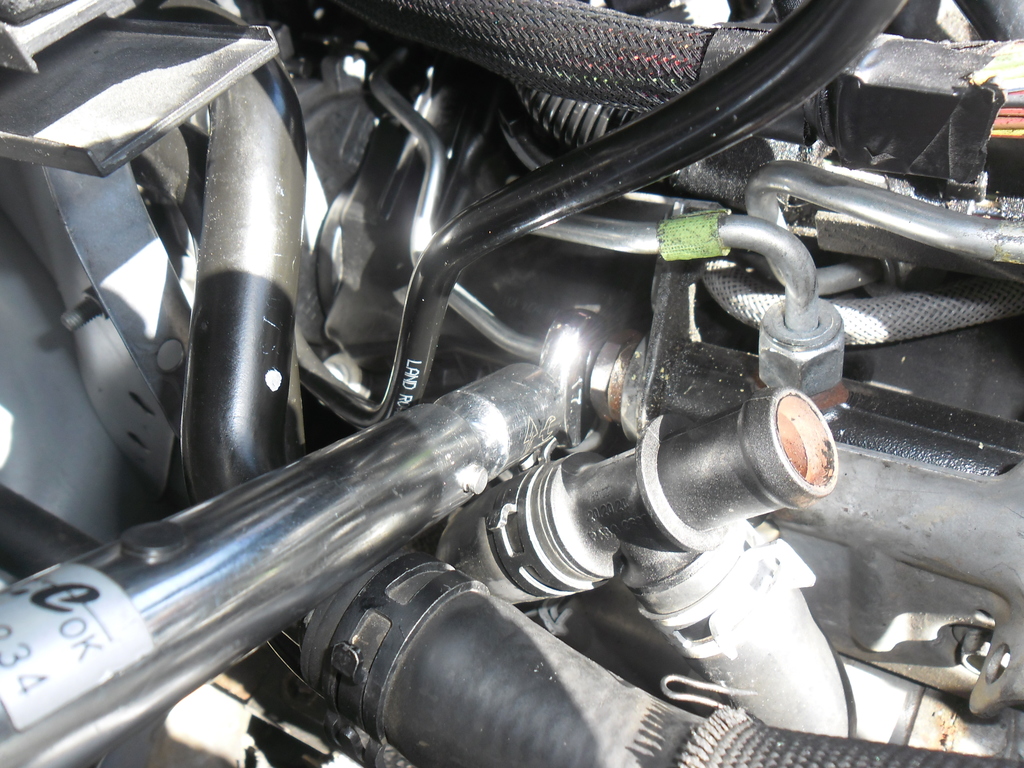
Drivers side high pressure line in
Torque it up
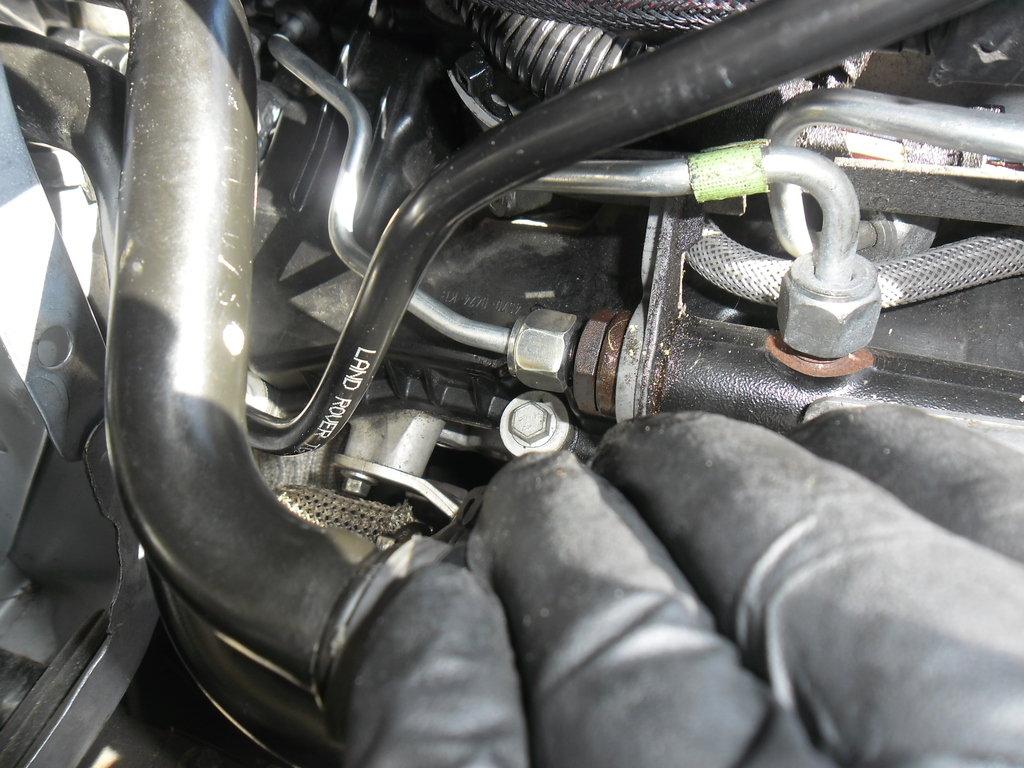
Tighten up the support bracket on the rear of the drivers side head after wiggling it out the way to get the high pressure fuel line in.
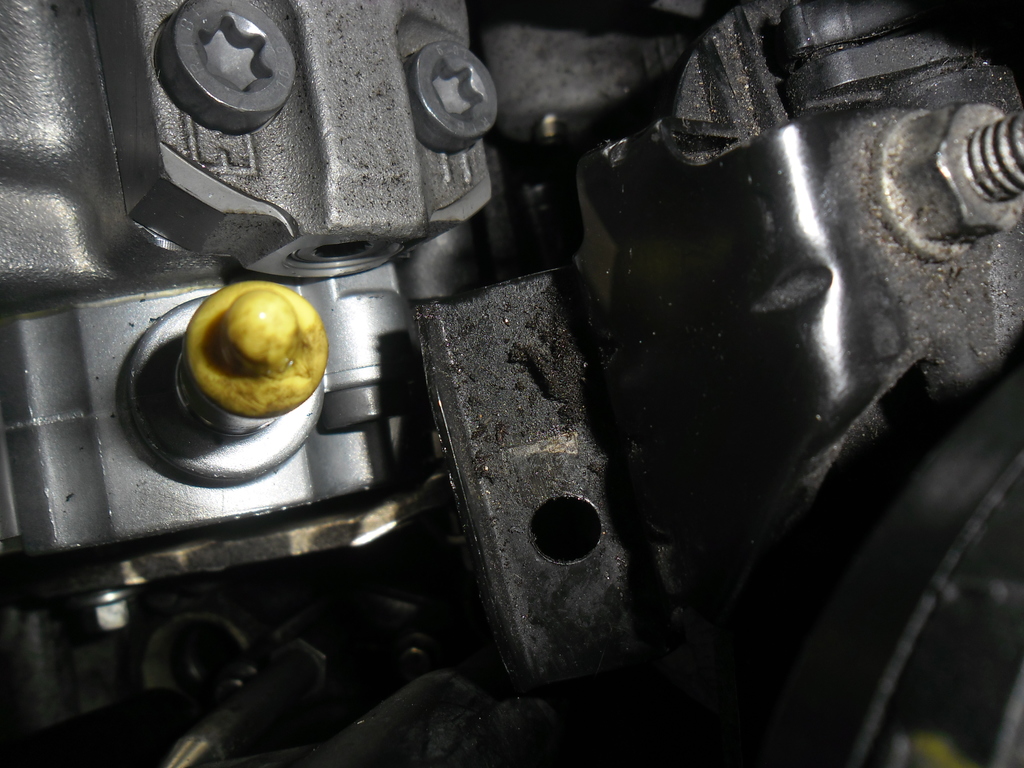
3 x 10mm bolt heads.
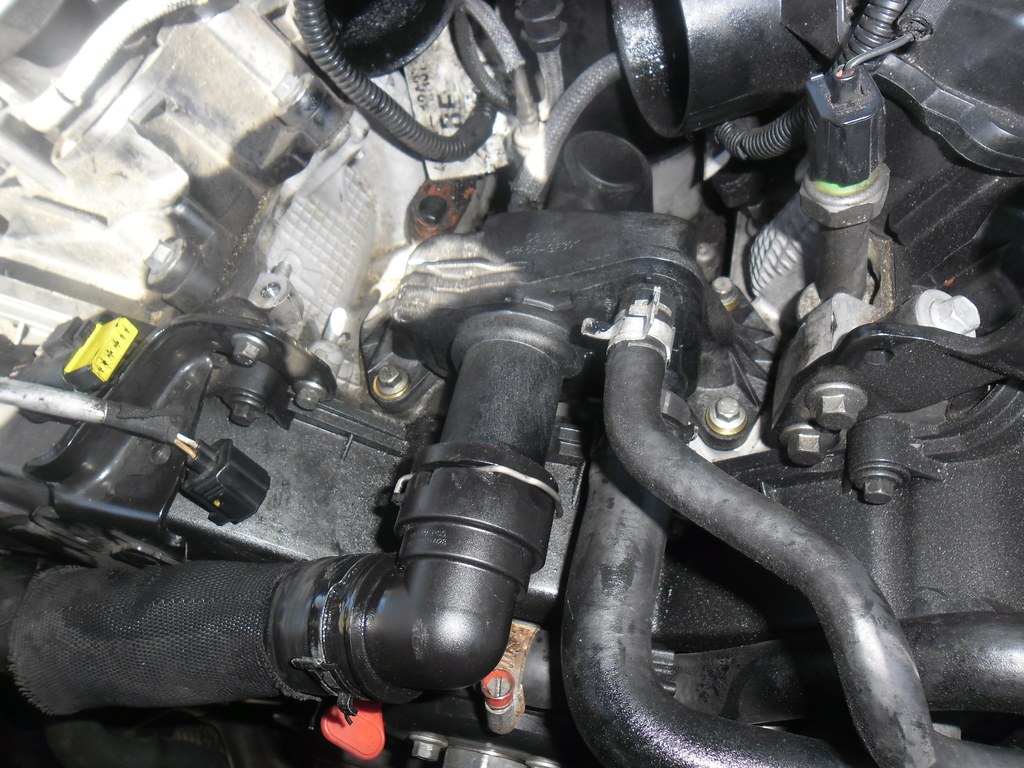
New coolant outlet in place. Bolts torqued to 10Nm. Found the torque value in one of the procedures for cylinder head replacement.
Trial assembly and battery
Prime it up and turn the key
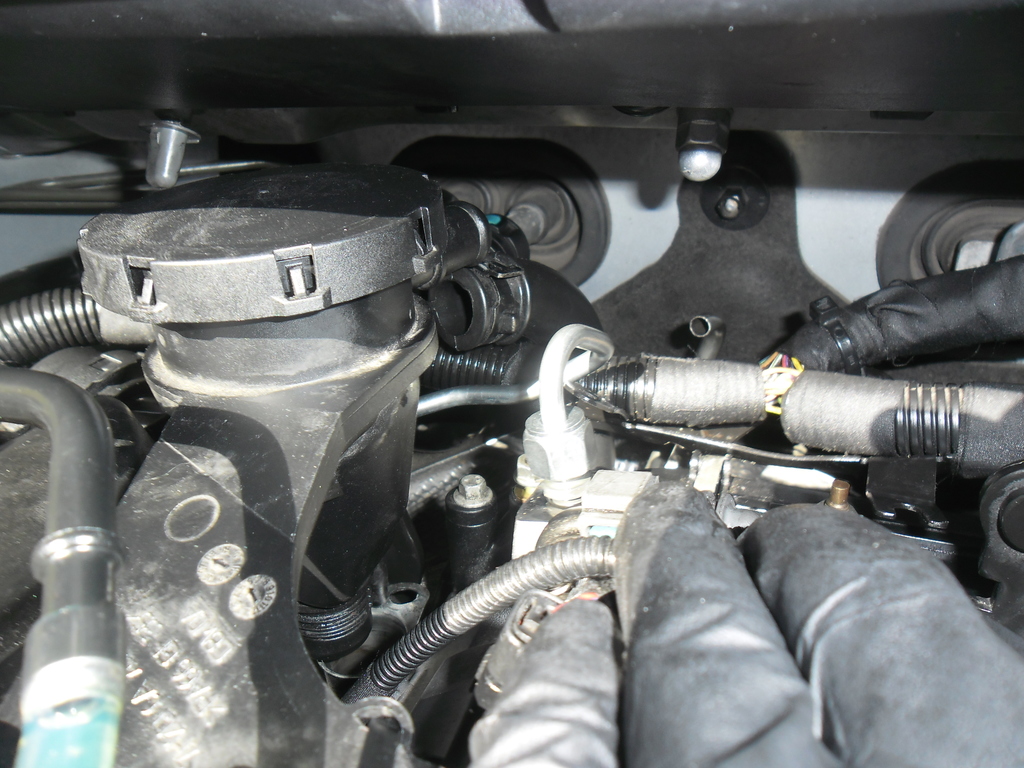
All back together
So. Negative battery terminal wasn't on properly, so as soon as I hit the starter it died. Once I got that sorted the battery having sat for a week out of the car had enough oomph to turn it over about 5 revolutions before crying enough, so had to jump start it off the Volvo (my Landrover Recovery Vehicle). Took a couple of longish cranks and fired right up. I let it idle for a couple of minutes and then put the boot in to help bleed the cooling system. Test drove for 18km including 2 full power pulls through 2nd and 3rd gear and it's all running nicely.
Unfortunately the EGR inlet hose I ordered is obviously from a different variant, so I'll have to get into Topix and see if I can find the right part number. $200 down the tubes and my bodge is still in place.
So, if you exclude the money spent on stuff I didn't need to do and just concentrated on the HPFP job, I got away with it for less than $1800.
HPFP $1550
2 fuel pipes $110
Belt and tensioner $91.65
2 Torx bolts $8.46
2 M8 bolts $11.95
Total : $1,772.05
Pulled out of the driveway at 12:15. Total time on job 9hrs 25 mins in 4 sessions. Included work on the cooling system, EGR & setup/cleanup for each session. I'm not unhappy with that.
Cynical Moi?
Great job, now you must be feeling so bloody smug. Looks like my 20 grand is safe. I'll buy you a beer one day if we meet, in gratitude.
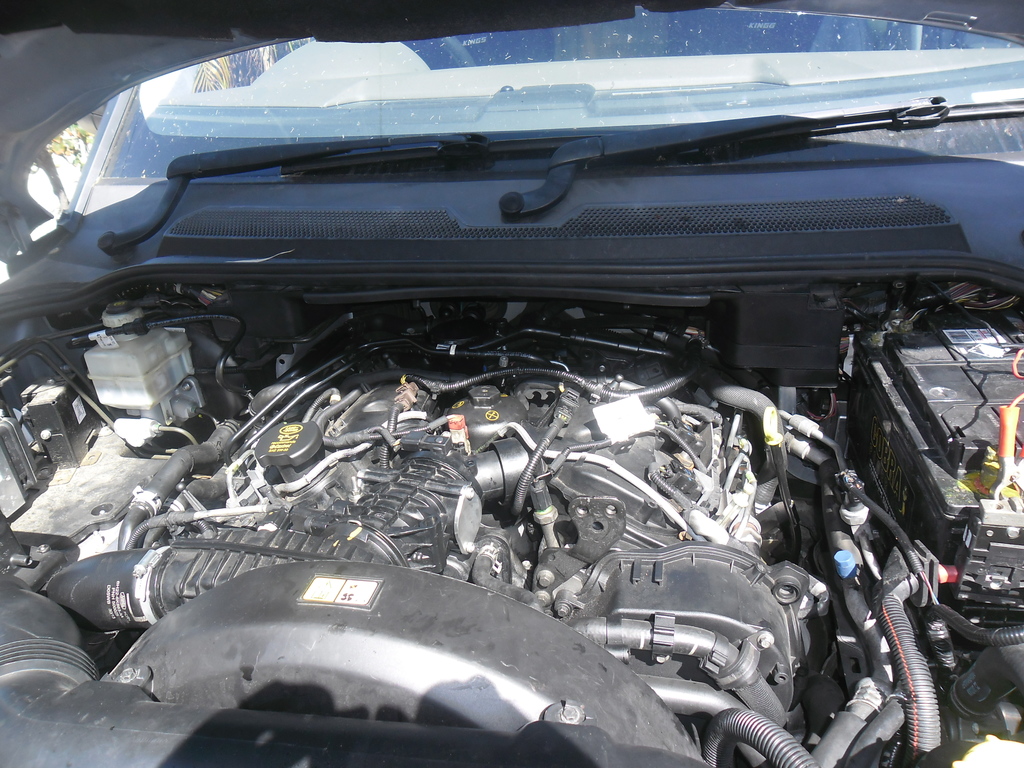
The under bonnet images still make it look bloody near impossible to do anything, but you did it against all odds.
I dips me lid Brad, & thanks for a very interesting & educational thread.
ChatterBox
SubscriberIt's a great feeling when it all goes back together and runs well. Congratulations and thanks for the pics.
Super ModeratorYou should see the huge bruises I have on both forearms from pushing them against the body when working down behind the motor. Even my wife thought they were impressive.
I must say it's not the easiest car to work on, but yes it is satisfying when it fires up. I'm not sure I "did it against all odds". It's not an impossible job, and I wanted to document the process to try and take some of the "oooo you can't do that yourself" out of it because even for a first timer a bit of extra time, patience & beer will see it knocked off. I reckon if I had to do it again (and without stopping to take photos) I'd do it quite a bit quicker. I'm not sure I could get it down to 4.5 hours, but then I'm not a mechanic.
I missed noting a couple of things during the process.
- The pump actually came pre-primed. It was full of diesel which was retained by the caps on the supply delivery and return pipes.
- I didn't have thorough images of the low pressure fuel pipes and consequently it was quite difficult getting them properly lined up and clipped into place.
- Once they were in place the "flexible" low pressure lines were relatively easy to re-attach.
- I sheared off one of the nuts on the belt cover that secures the wiring harness doing it back up.
- I couldn't for the life of me get the drivers side clip on the engine harness back to where it came from as I could not figure out where it came from. I cable tied the harness in that location to the nearest support.
- Had to replace the cable ties on the injector wiring trays which needed to be cut to get the harness loose.
- I put a new oil filter in as I wasn't confident of getting the old one out and properly seated without damaging the little seal on the spiggot. Cheap enough and I had one laying around.
- The oil separator had surprisingly little grunge in it, but the two nipples on the top were completely blocked. I'm used to Petrol Volvo oil seps that coke up over the years and need regular washing out.
- I should have bolted the last belt cover piece in place before releasing the tensioner on the belt. That would have meant I could reposition the belt on the pulley without additional leverage.
The oil separator was really the biggest issue I had trouble with, and once I figured out I needed to unclip the fuel return pipework to allow the separator to roll clockwise into that space it all fell into place.
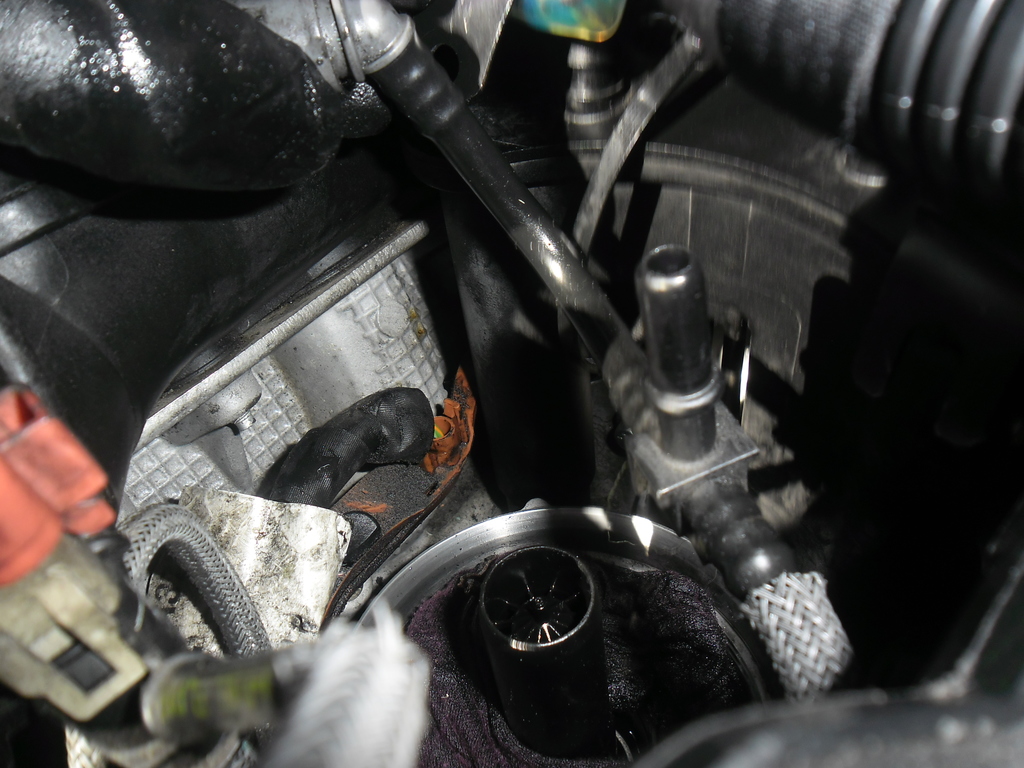
Somewhere in that engine bay is my favourite Metrinch 1/4" drive 10mm socket. All other tools are accounted for, and the only parts left over are the EGR pipes and associated screws.
The "special" tools I used (aside from normal metric sockets and spanners) :
- Motorcycle clutch holding tool
- 1/4" & 3/8" drive torque wrenches
- 17mm torque spanner
- Remote hose clip tool
- 1/4" drive T40 torx
Cynical Moi?
and the only parts left over are the EGR pipes and associated screws.
So, another over engineered job then?
If you have parts left over and it still works, it was over-engineered to begin with.
| Search AULRO.com ONLY! |
Search All the Web! |
|---|
|
|
|


Bookmarks