Page 62 of 82 FirstFirst ... 1252606162636472 ... LastLast
Results 611 to 620 of 812

Thread: Stirlsilver's Disco Ute Project

  1. #611
    Join Date
    Jun 2007
    Location
    Oatley, NSW
    Posts
    974
    Total Downloaded
    0
    Quote Originally Posted by Epic_Dragon View Post
    i have just spent a little bit catching up on your build! wow what a beast!! cannot wait to see a video of it running with the new engine! great to see a fellow lady who loves to be in the shed working on cars too!
    love how clean and how important al the little details are throughout your project too. it is really awesome!
    Thank you very much! Definitely on the home stretch now, so it should be getting fired up real soon!

    So as usual, the next round of updates. Through the week I finished all the primary high current wiring from the alternator via the starter motor and then to the battery. I used 0G wire as that is what was required for the 150A alternator. I probably went overboard, but anyway...


    Also, I finally go the stainless steel parts in for the throttle linkage. So I could finally throw away the carbon steel mock up and fold up the final part. It looks a little patchy because of the pickling I did, but it should all even up over time.


    Finally, on Saturday, Ana came out and helped me out again. This time to remove and prep all the swivel hubs on the front axle.


    At one point, Ana was too tempted by the sun, so she took the opportunity to lie down for a bit in the sun while the parts dried.


    Anyway, one pretty major problem came up. I did a check with the Ashcroft CVs that I bought. It looks like I have ordered the WRONG CV's. Somehow I ended up with the early type CVs (CVE) when I should have ordered the LATE type (CVL)... I can't understand how I stuffed up given that I ordered all the right seals and bearings. Anyway, I'm going to have to call around to see if I can do a swap for a CVL set of CVs. Or send them back to the UK, but that will be a lot of $$s in freight!

    Anyway, lets see how things pan out.
    Stirling

  2. #612
    Join Date
    Jun 2007
    Location
    Oatley, NSW
    Posts
    974
    Total Downloaded
    0
    Righto another update!

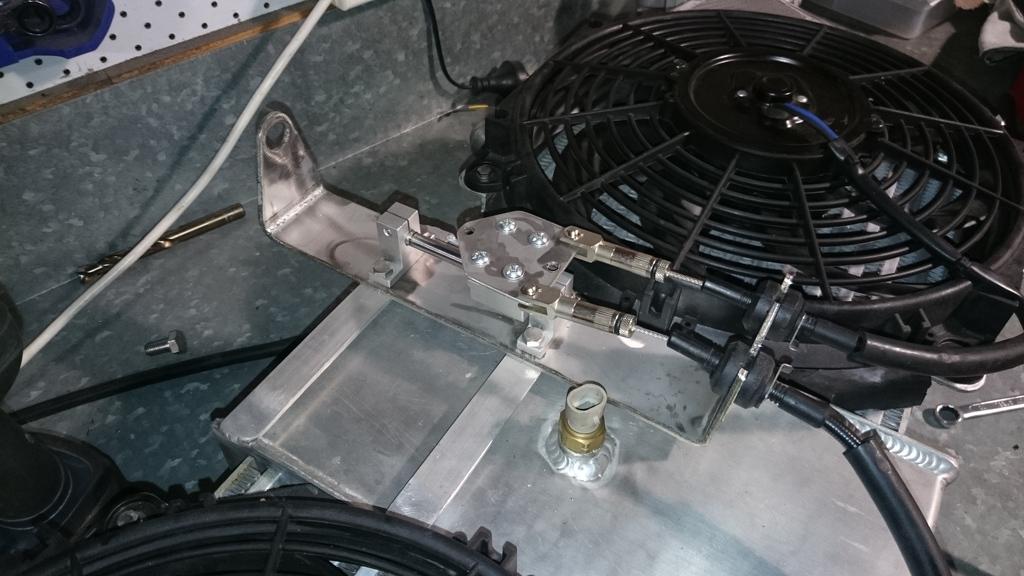
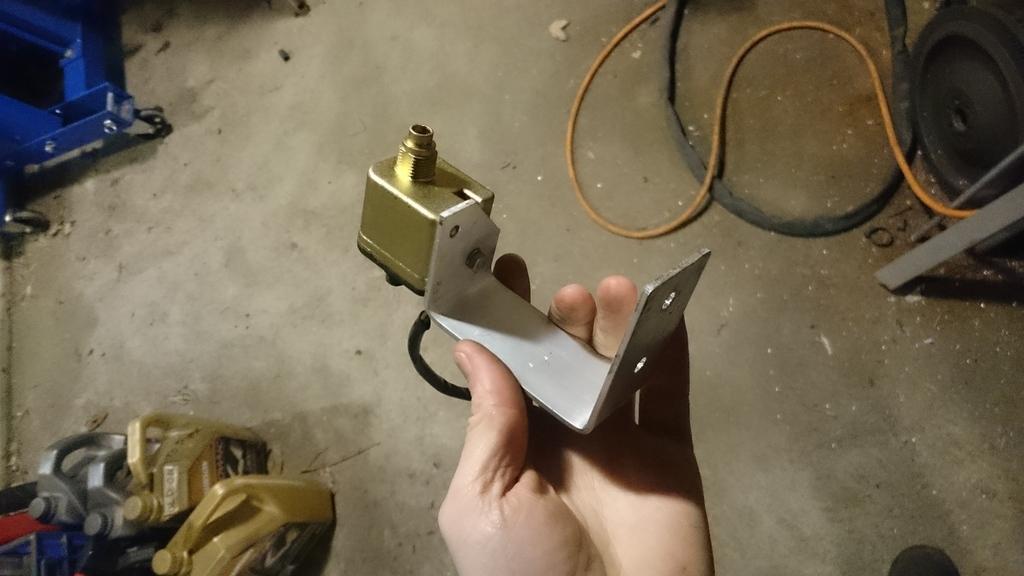
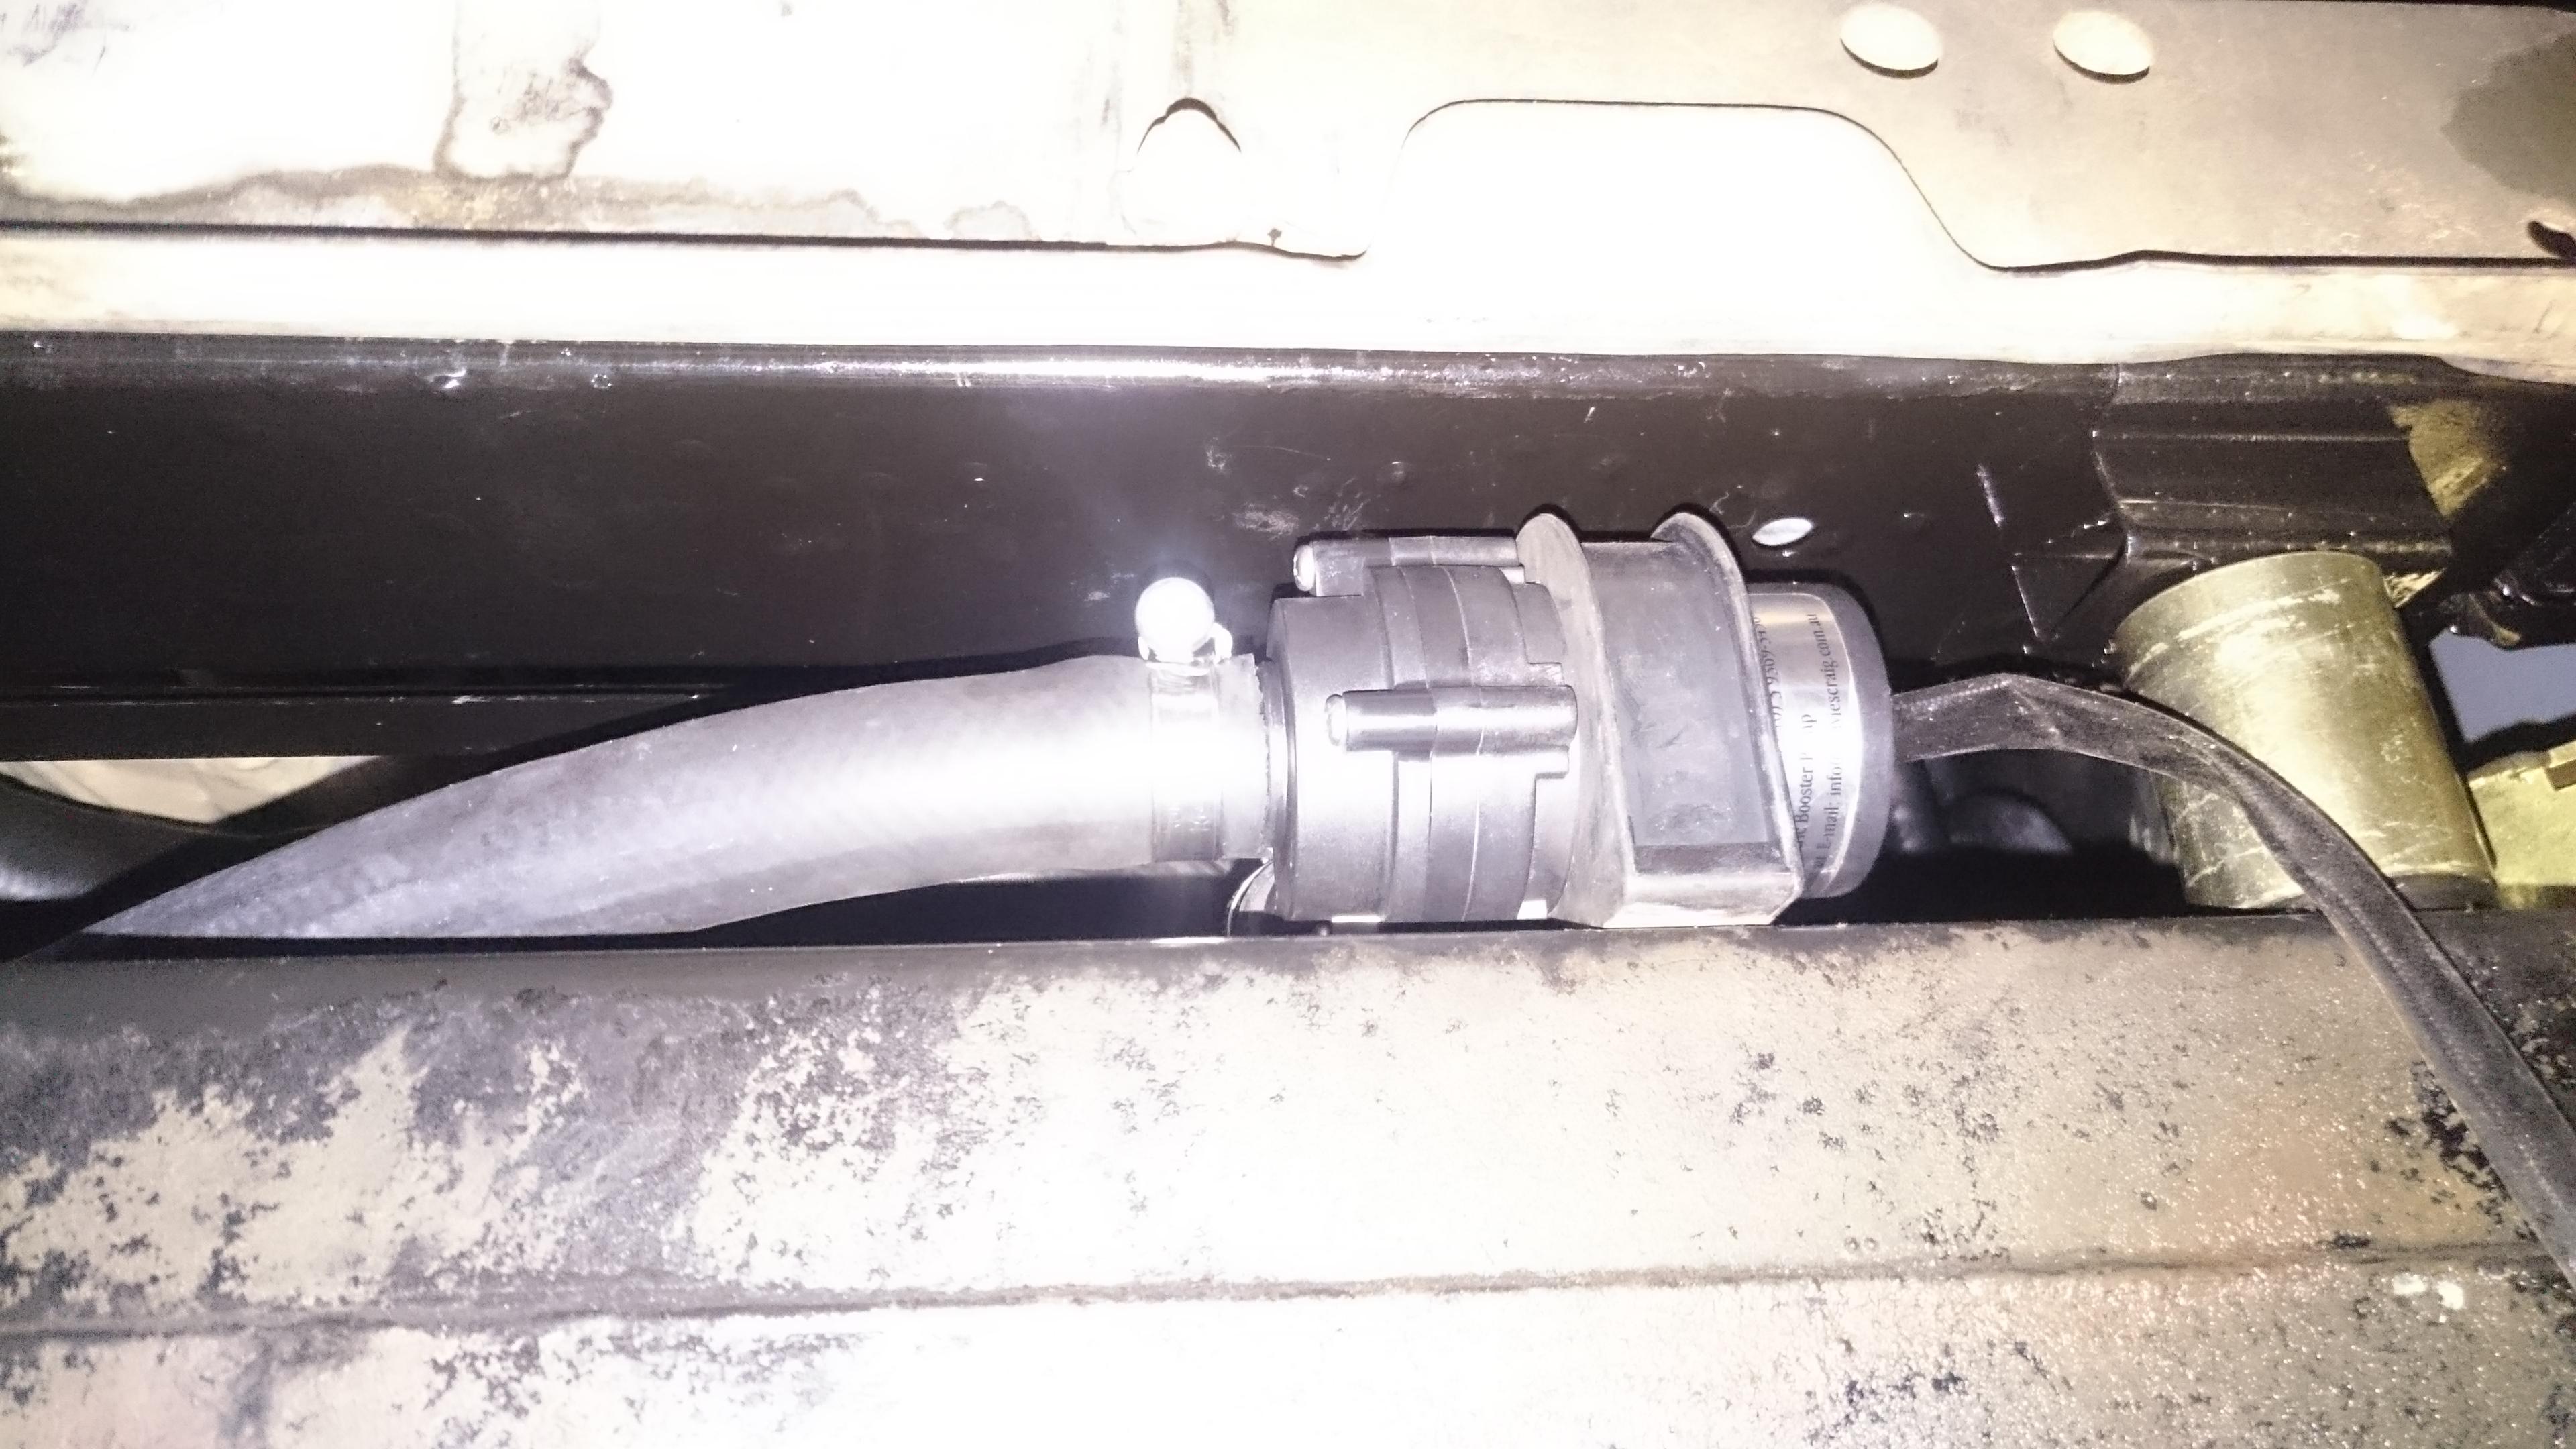
    I had to make up a bracket to mount the speedo sensor which is mounted part way along the speedo cable. I'll be hooking the signal into the ECU later so that I can use that signal to turn off the fans on the intercoolers at high speed. I should have positioned the transmitter a bit further down because there is a bit of a tight bend in the speedo cable.


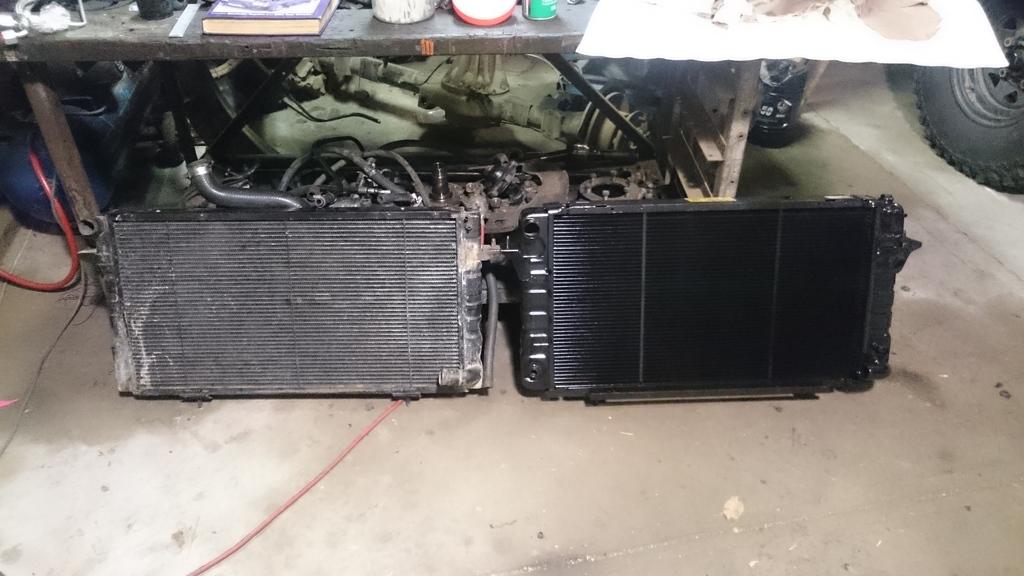
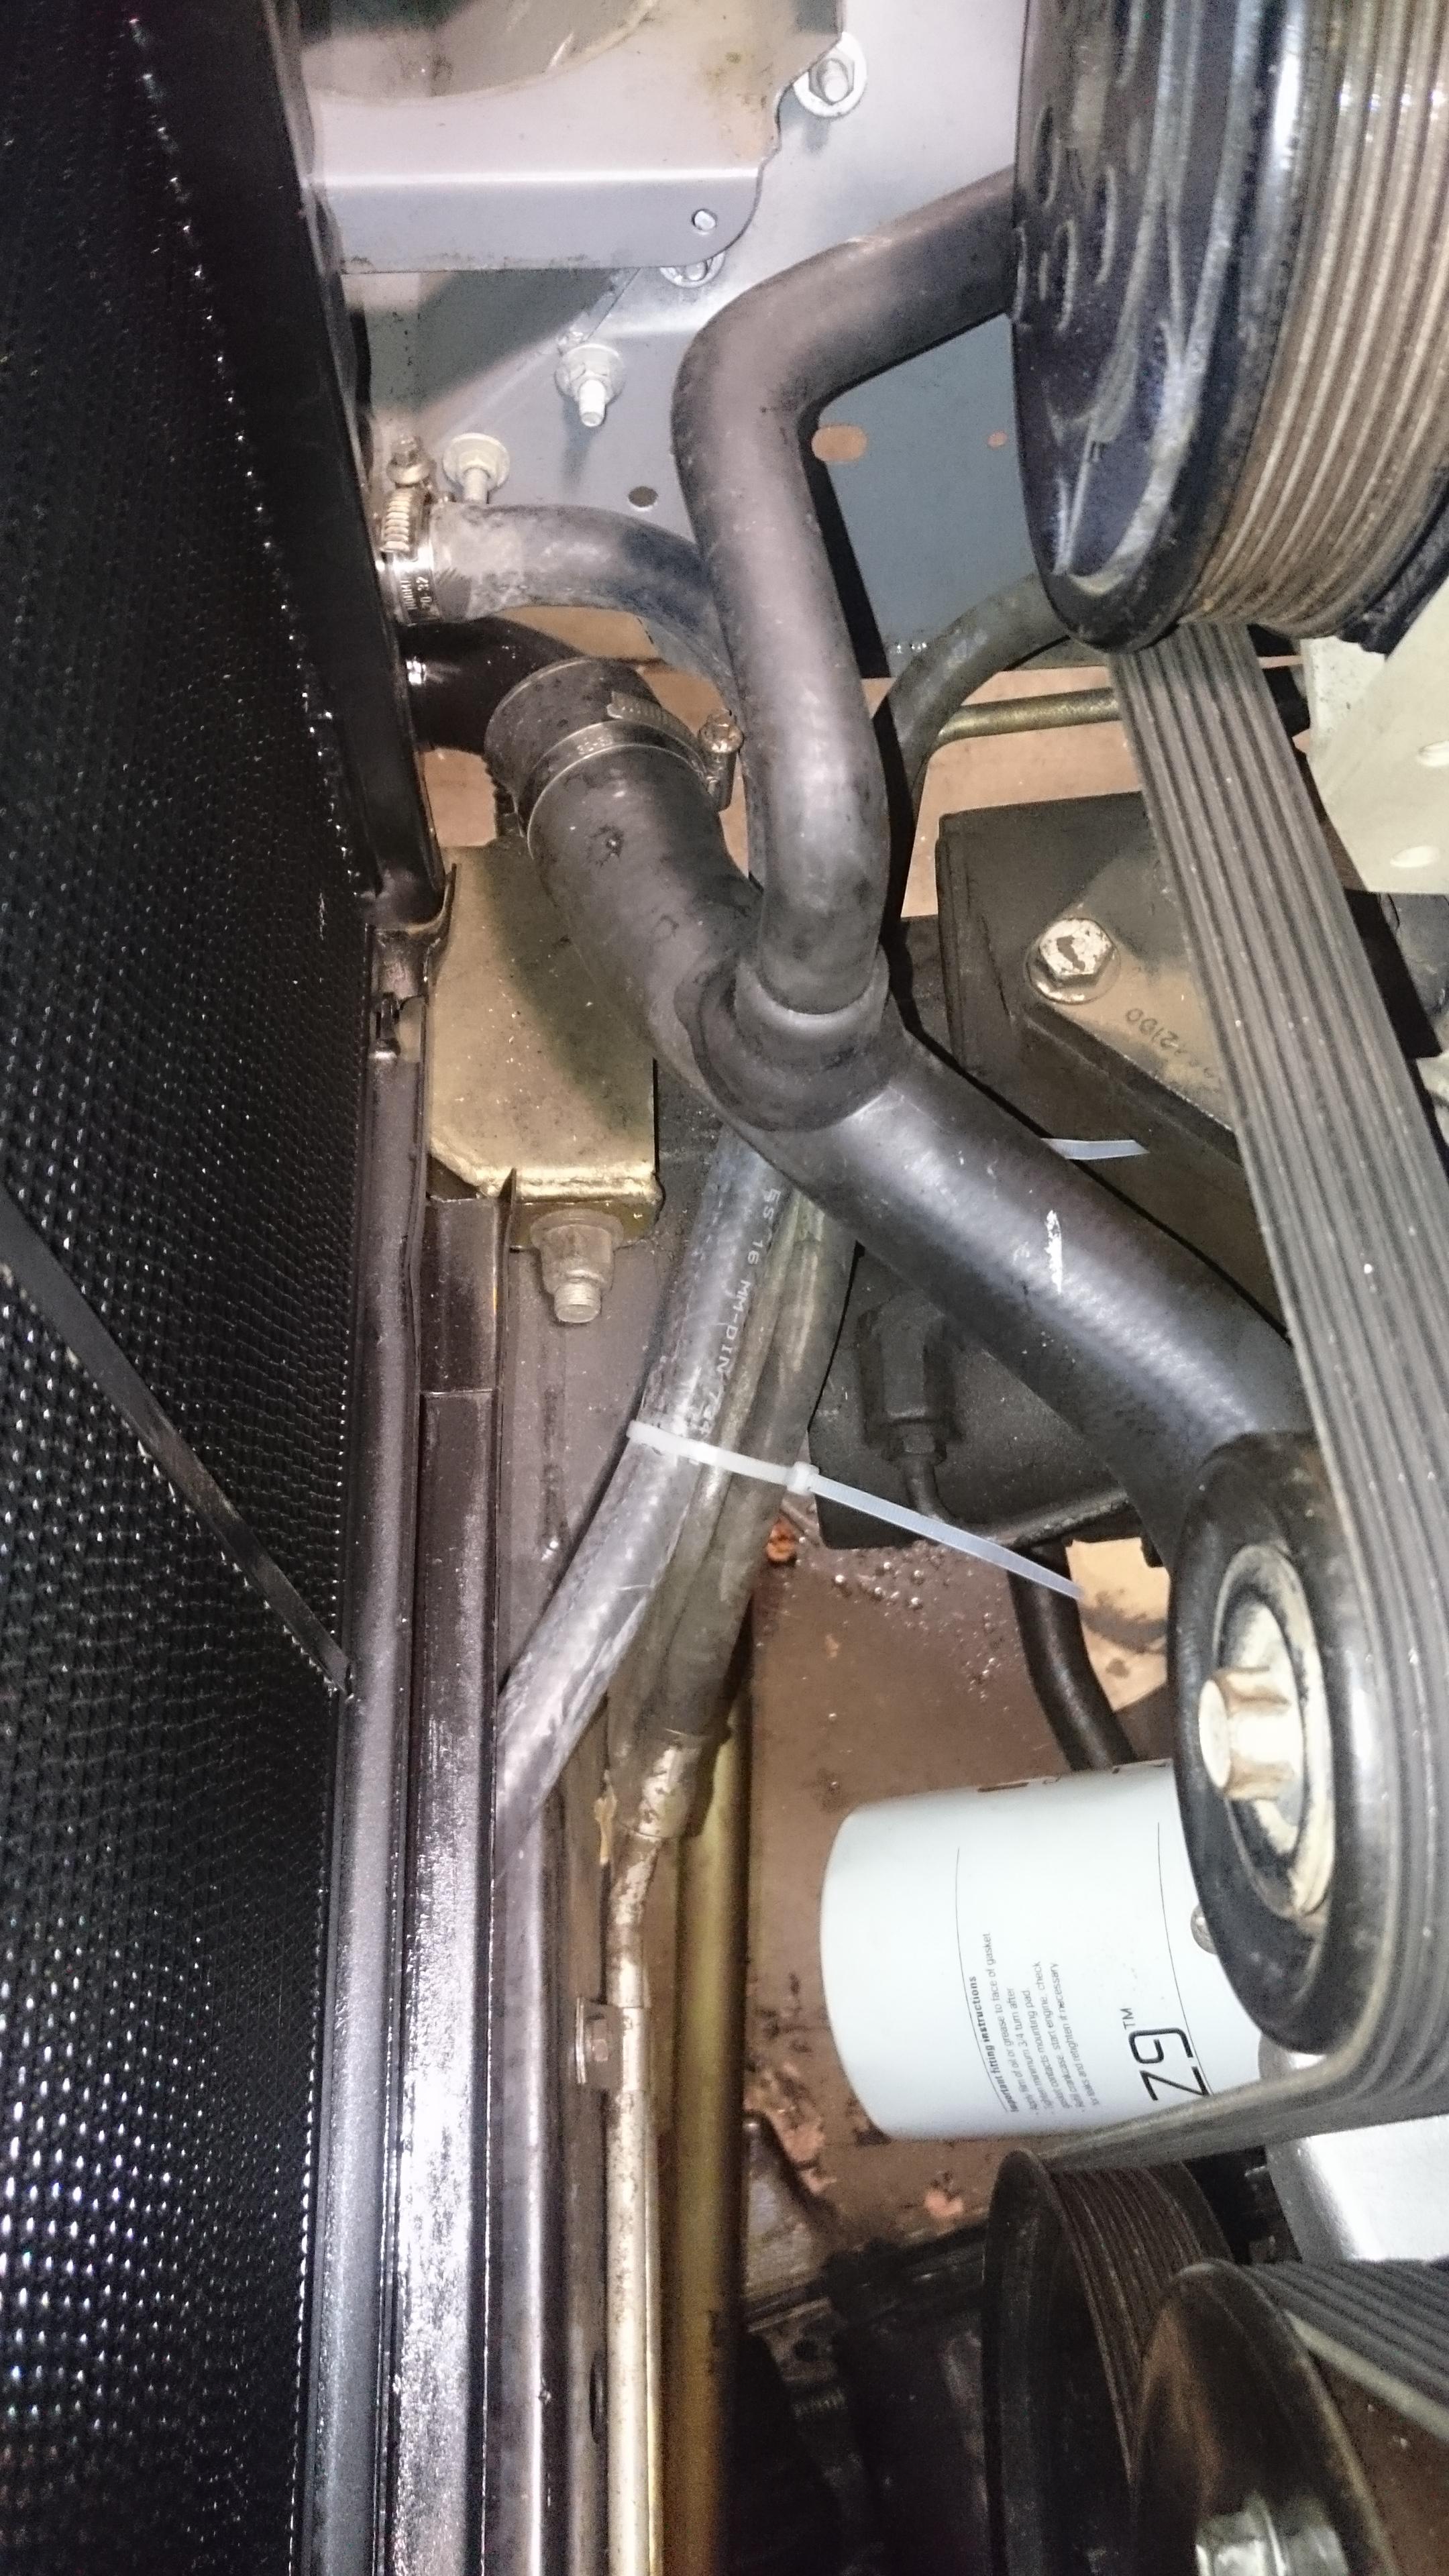
    I went to Riverstone radiators and I got a 2 bar redback core put into a later model discovery radiator I had. There was an option of going for a 3 bar standard core but on discussing the options with Matt he recommended the redback cores as being superior, though because of the smaller passages they could be little more prone to blocking with mud. So I'll need to keep an eye on that. When I picked up the core, I got talking to Matt and found out that he races the crazy fast speed boats with 5.7L supercharged V8's. His team is Tattoo 666 and they are very successful in competition.

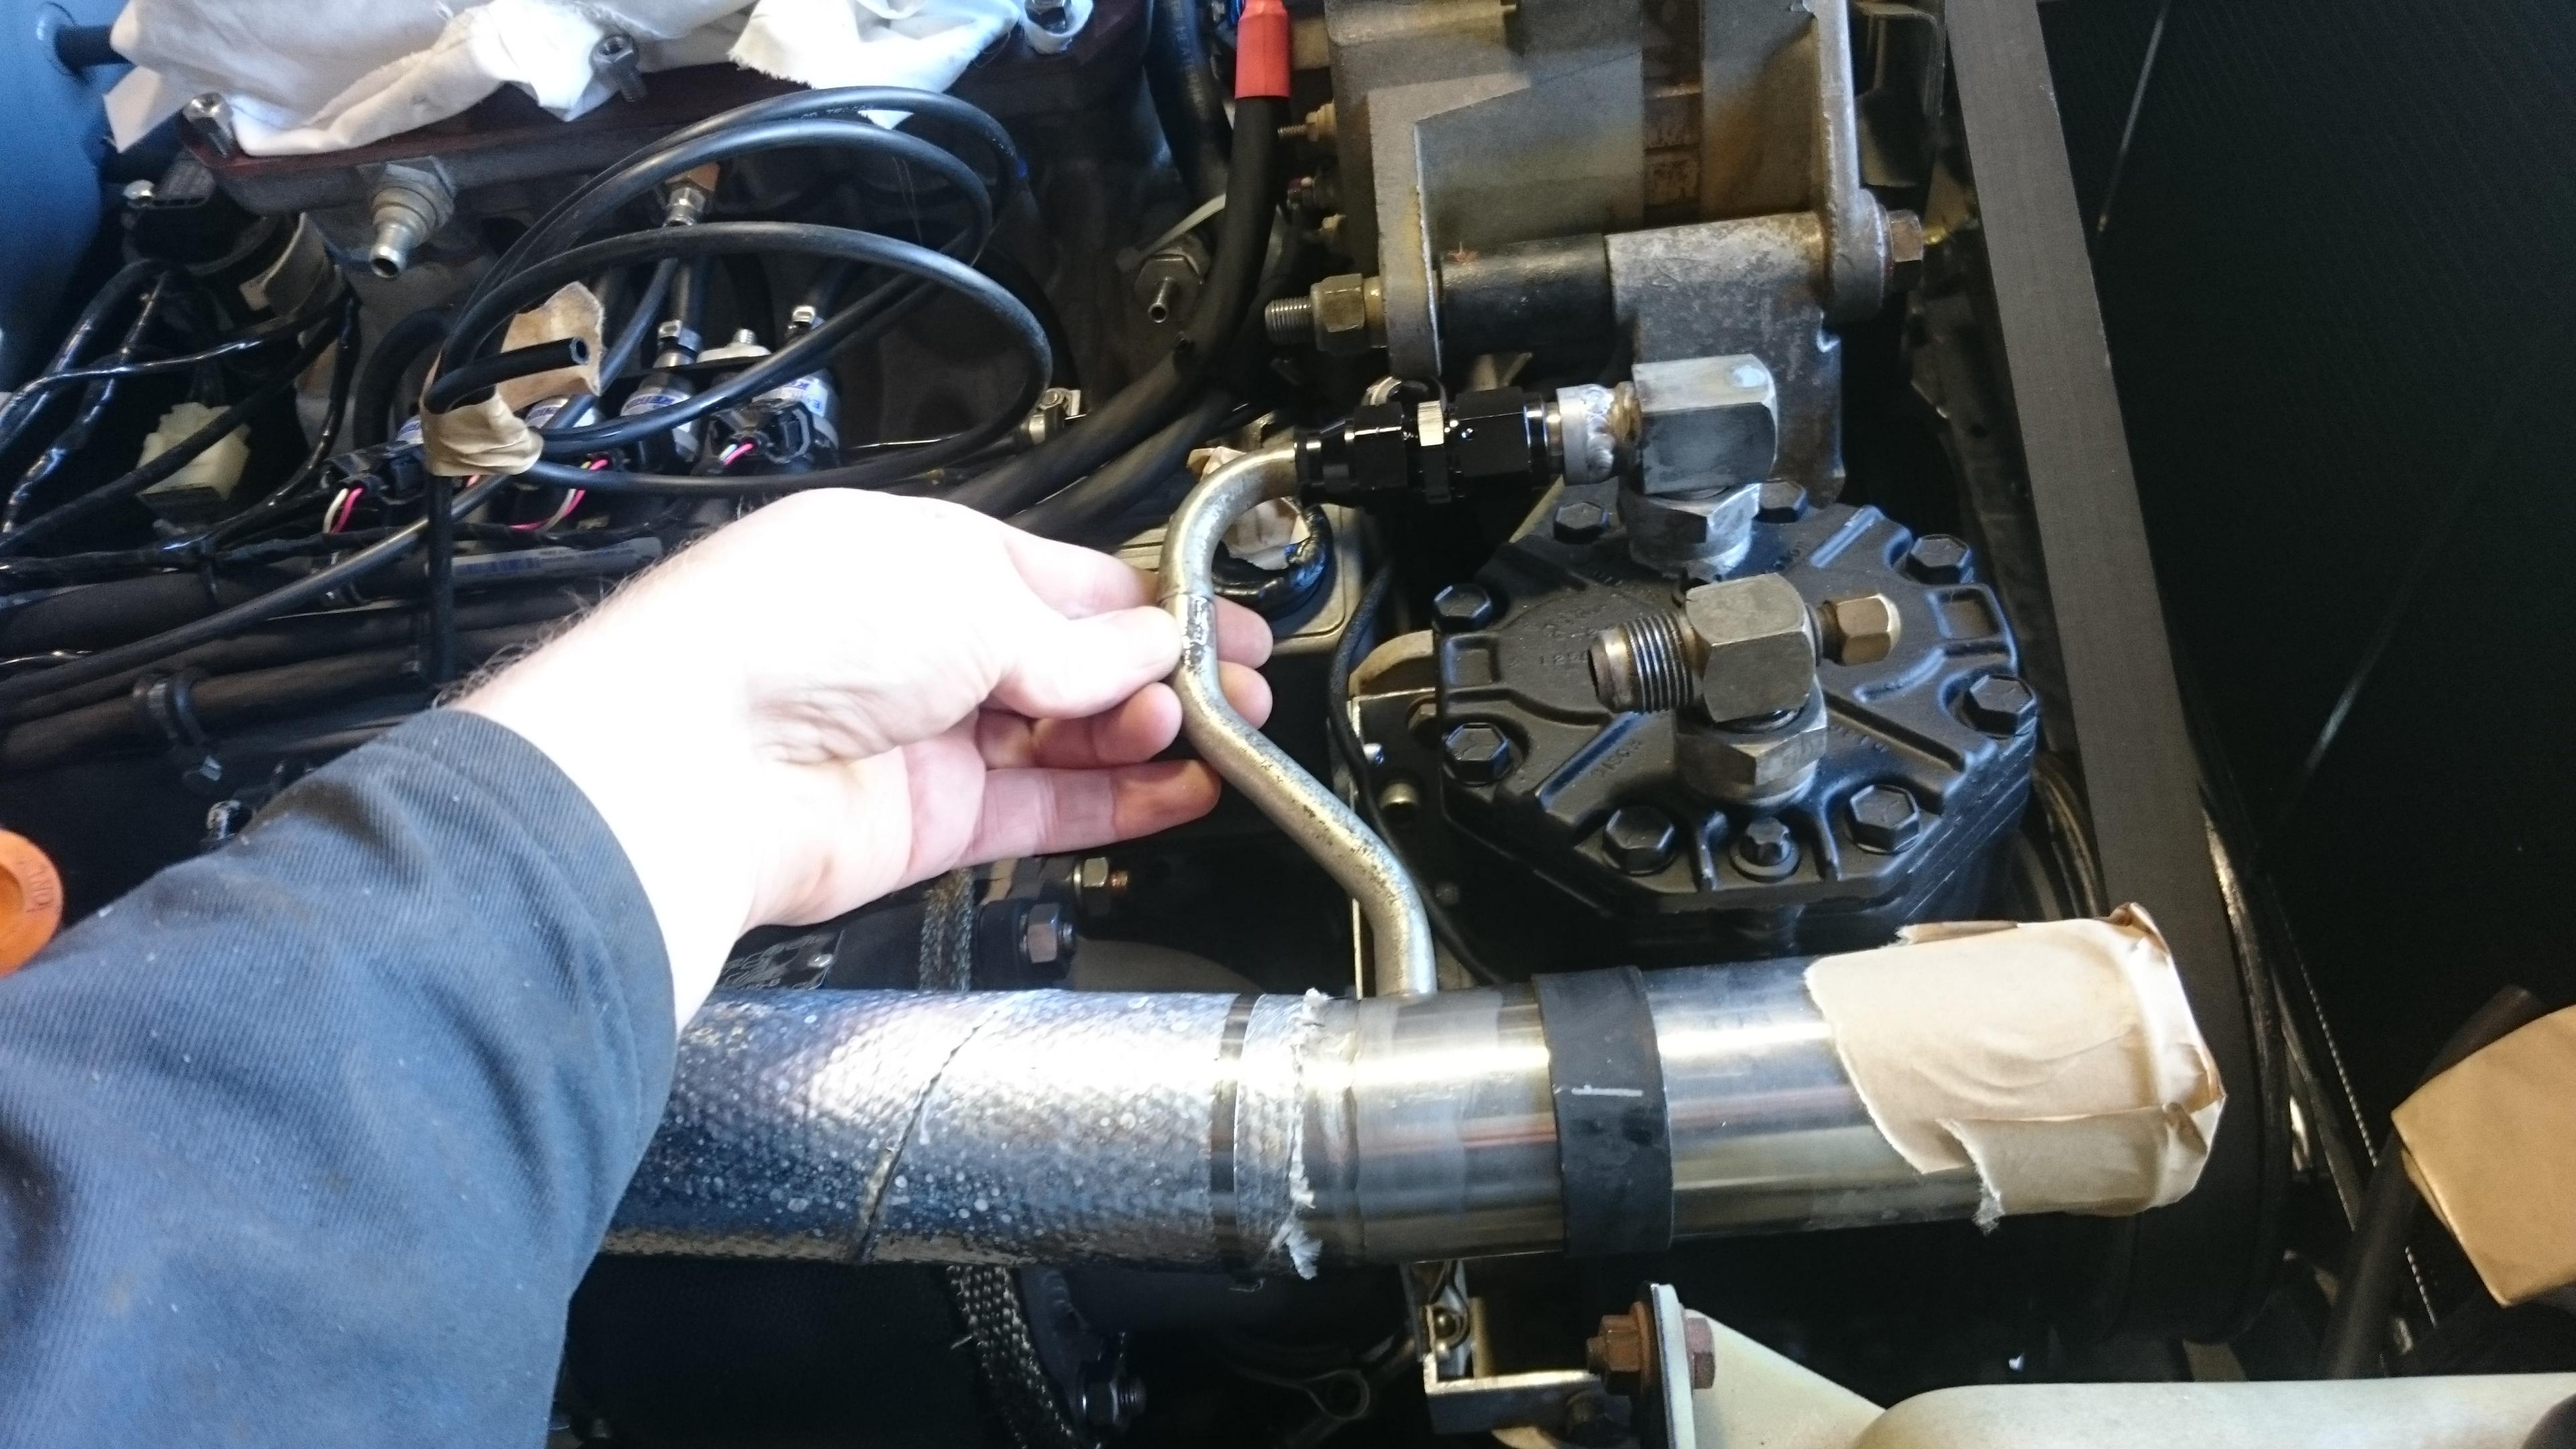
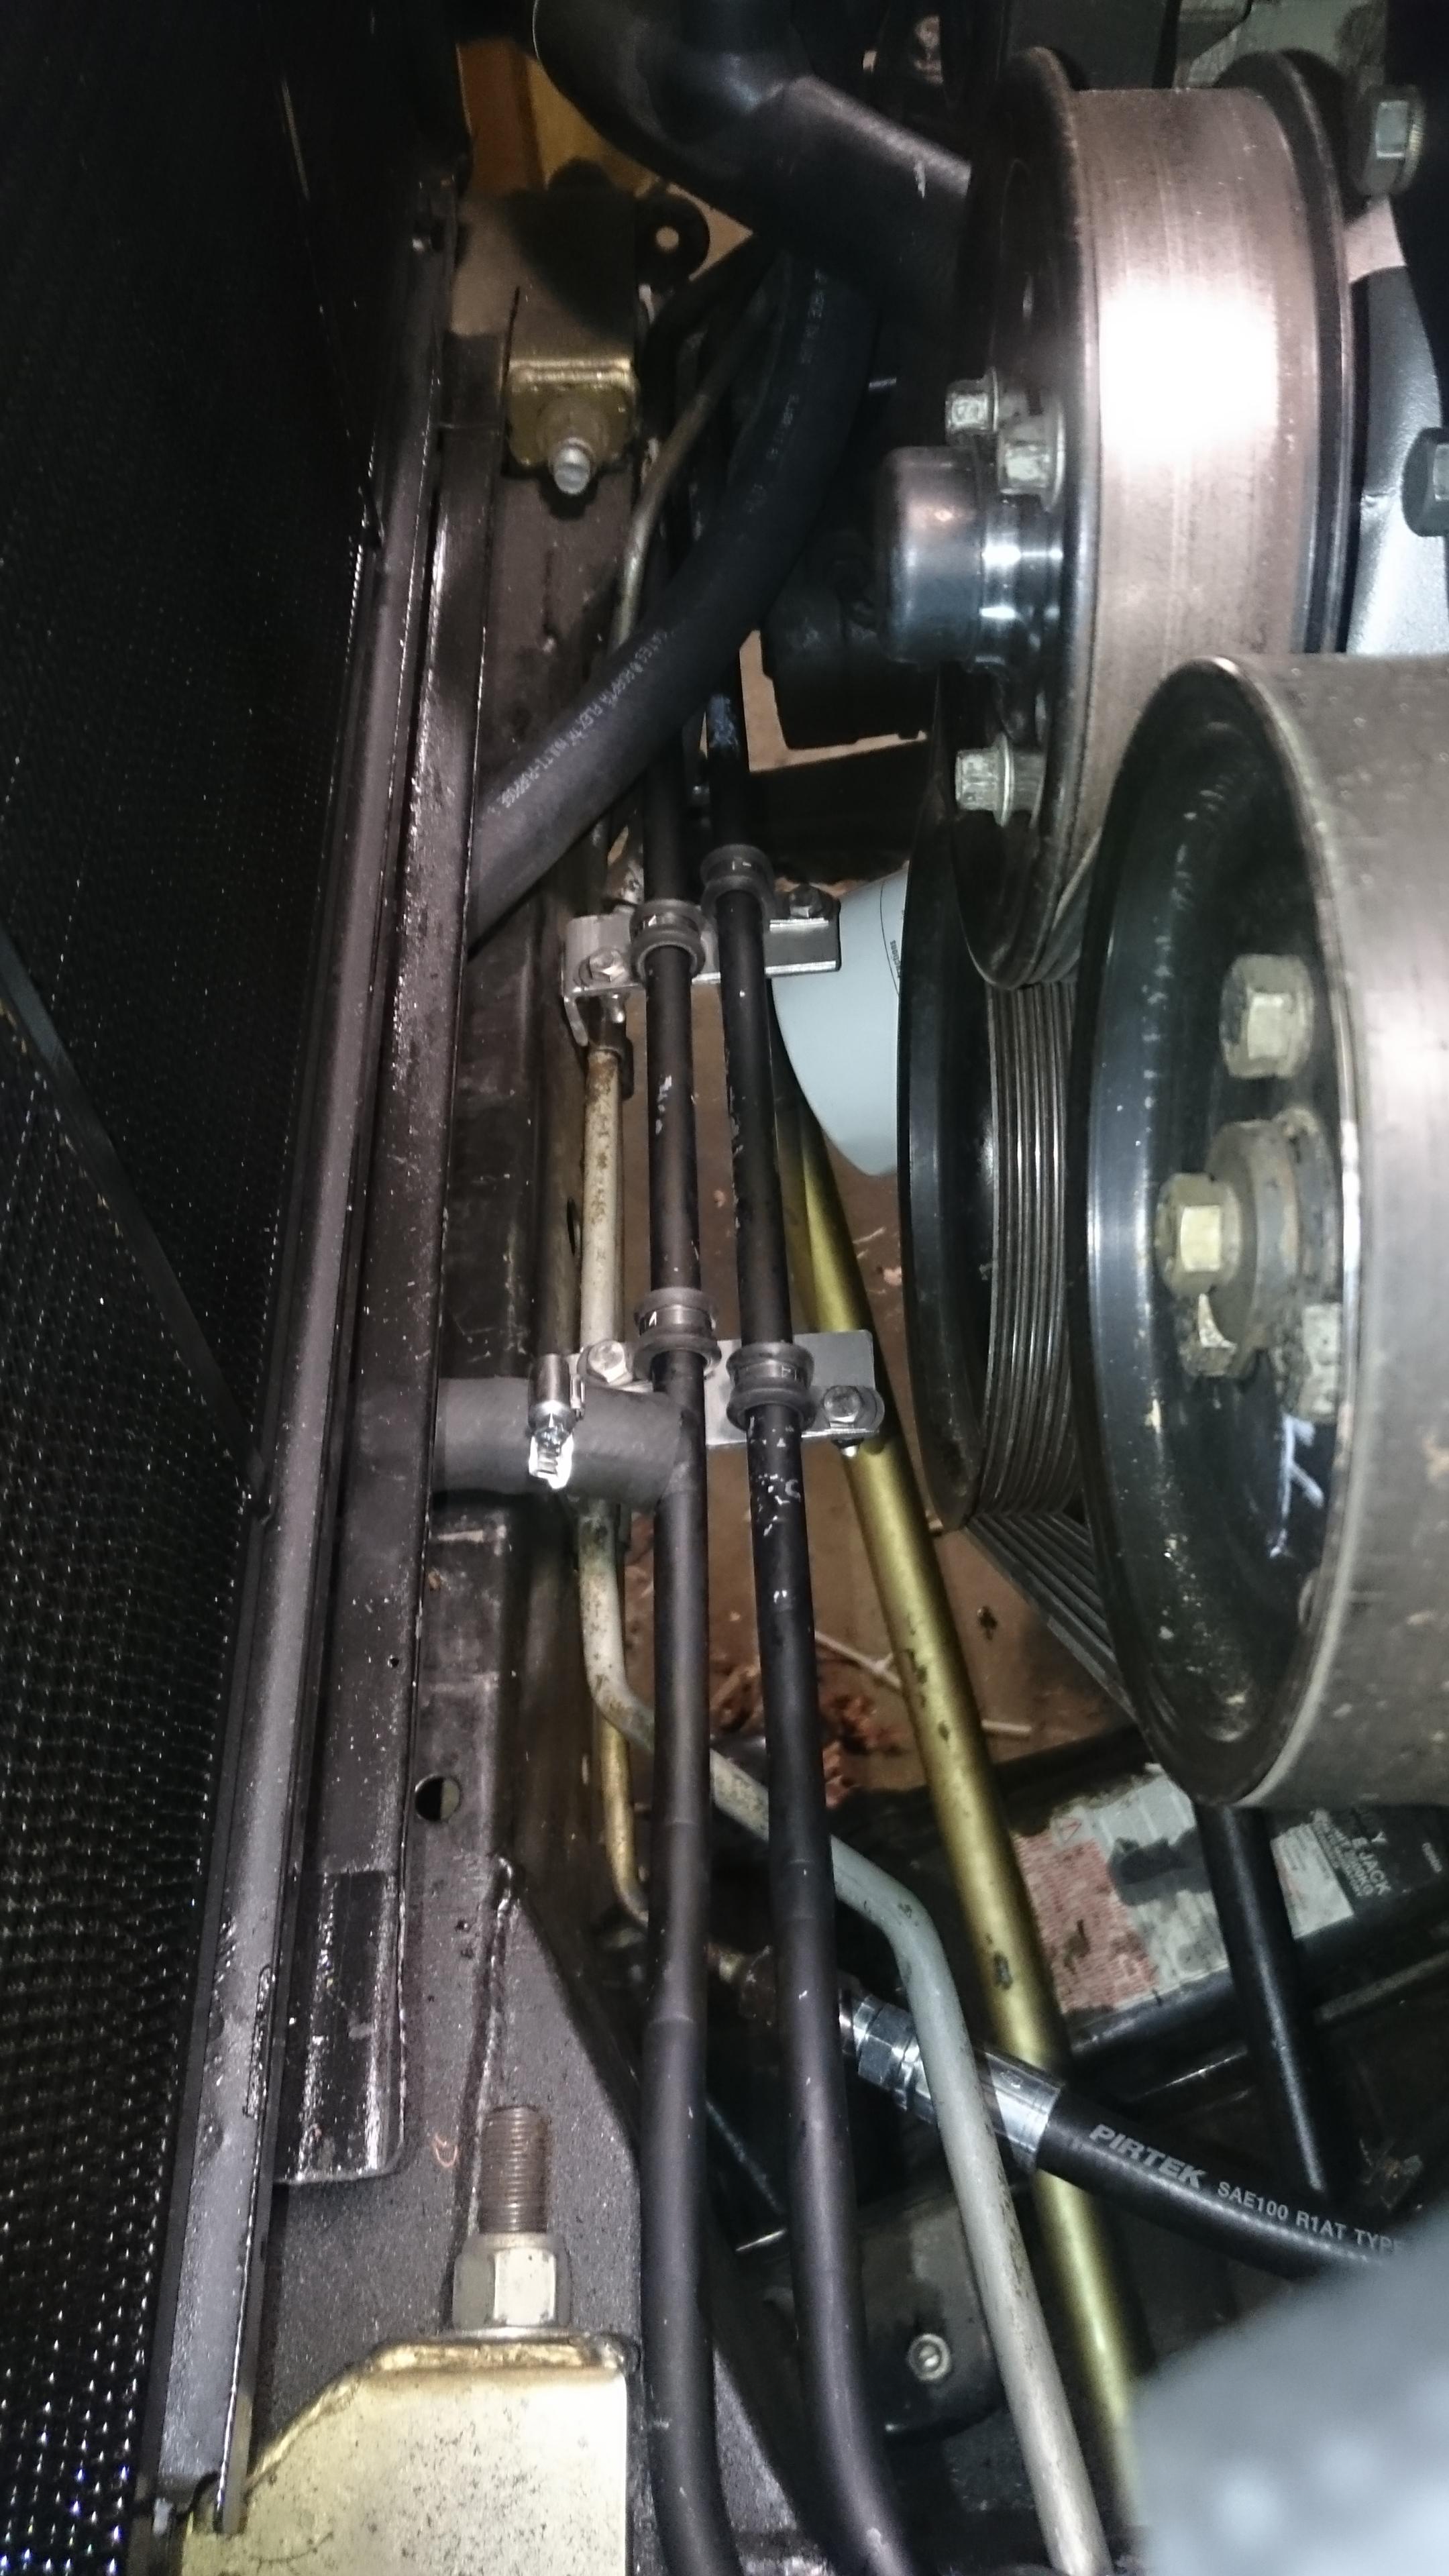
    Old radiator vs new radiator. Oh, I also got a couple of take off points to allow me to take coolant for the turbo cooling and return it back to the radiator.


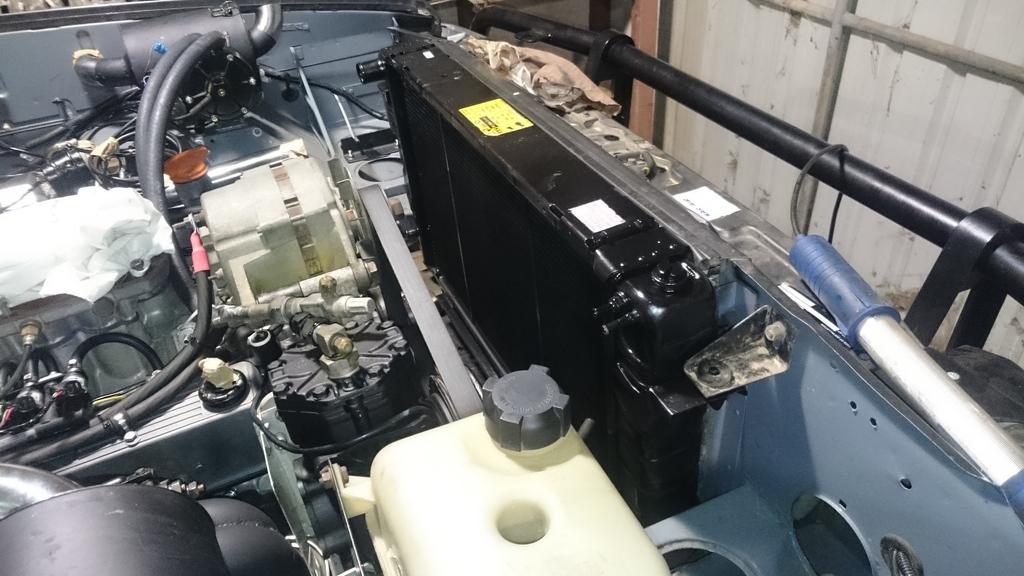
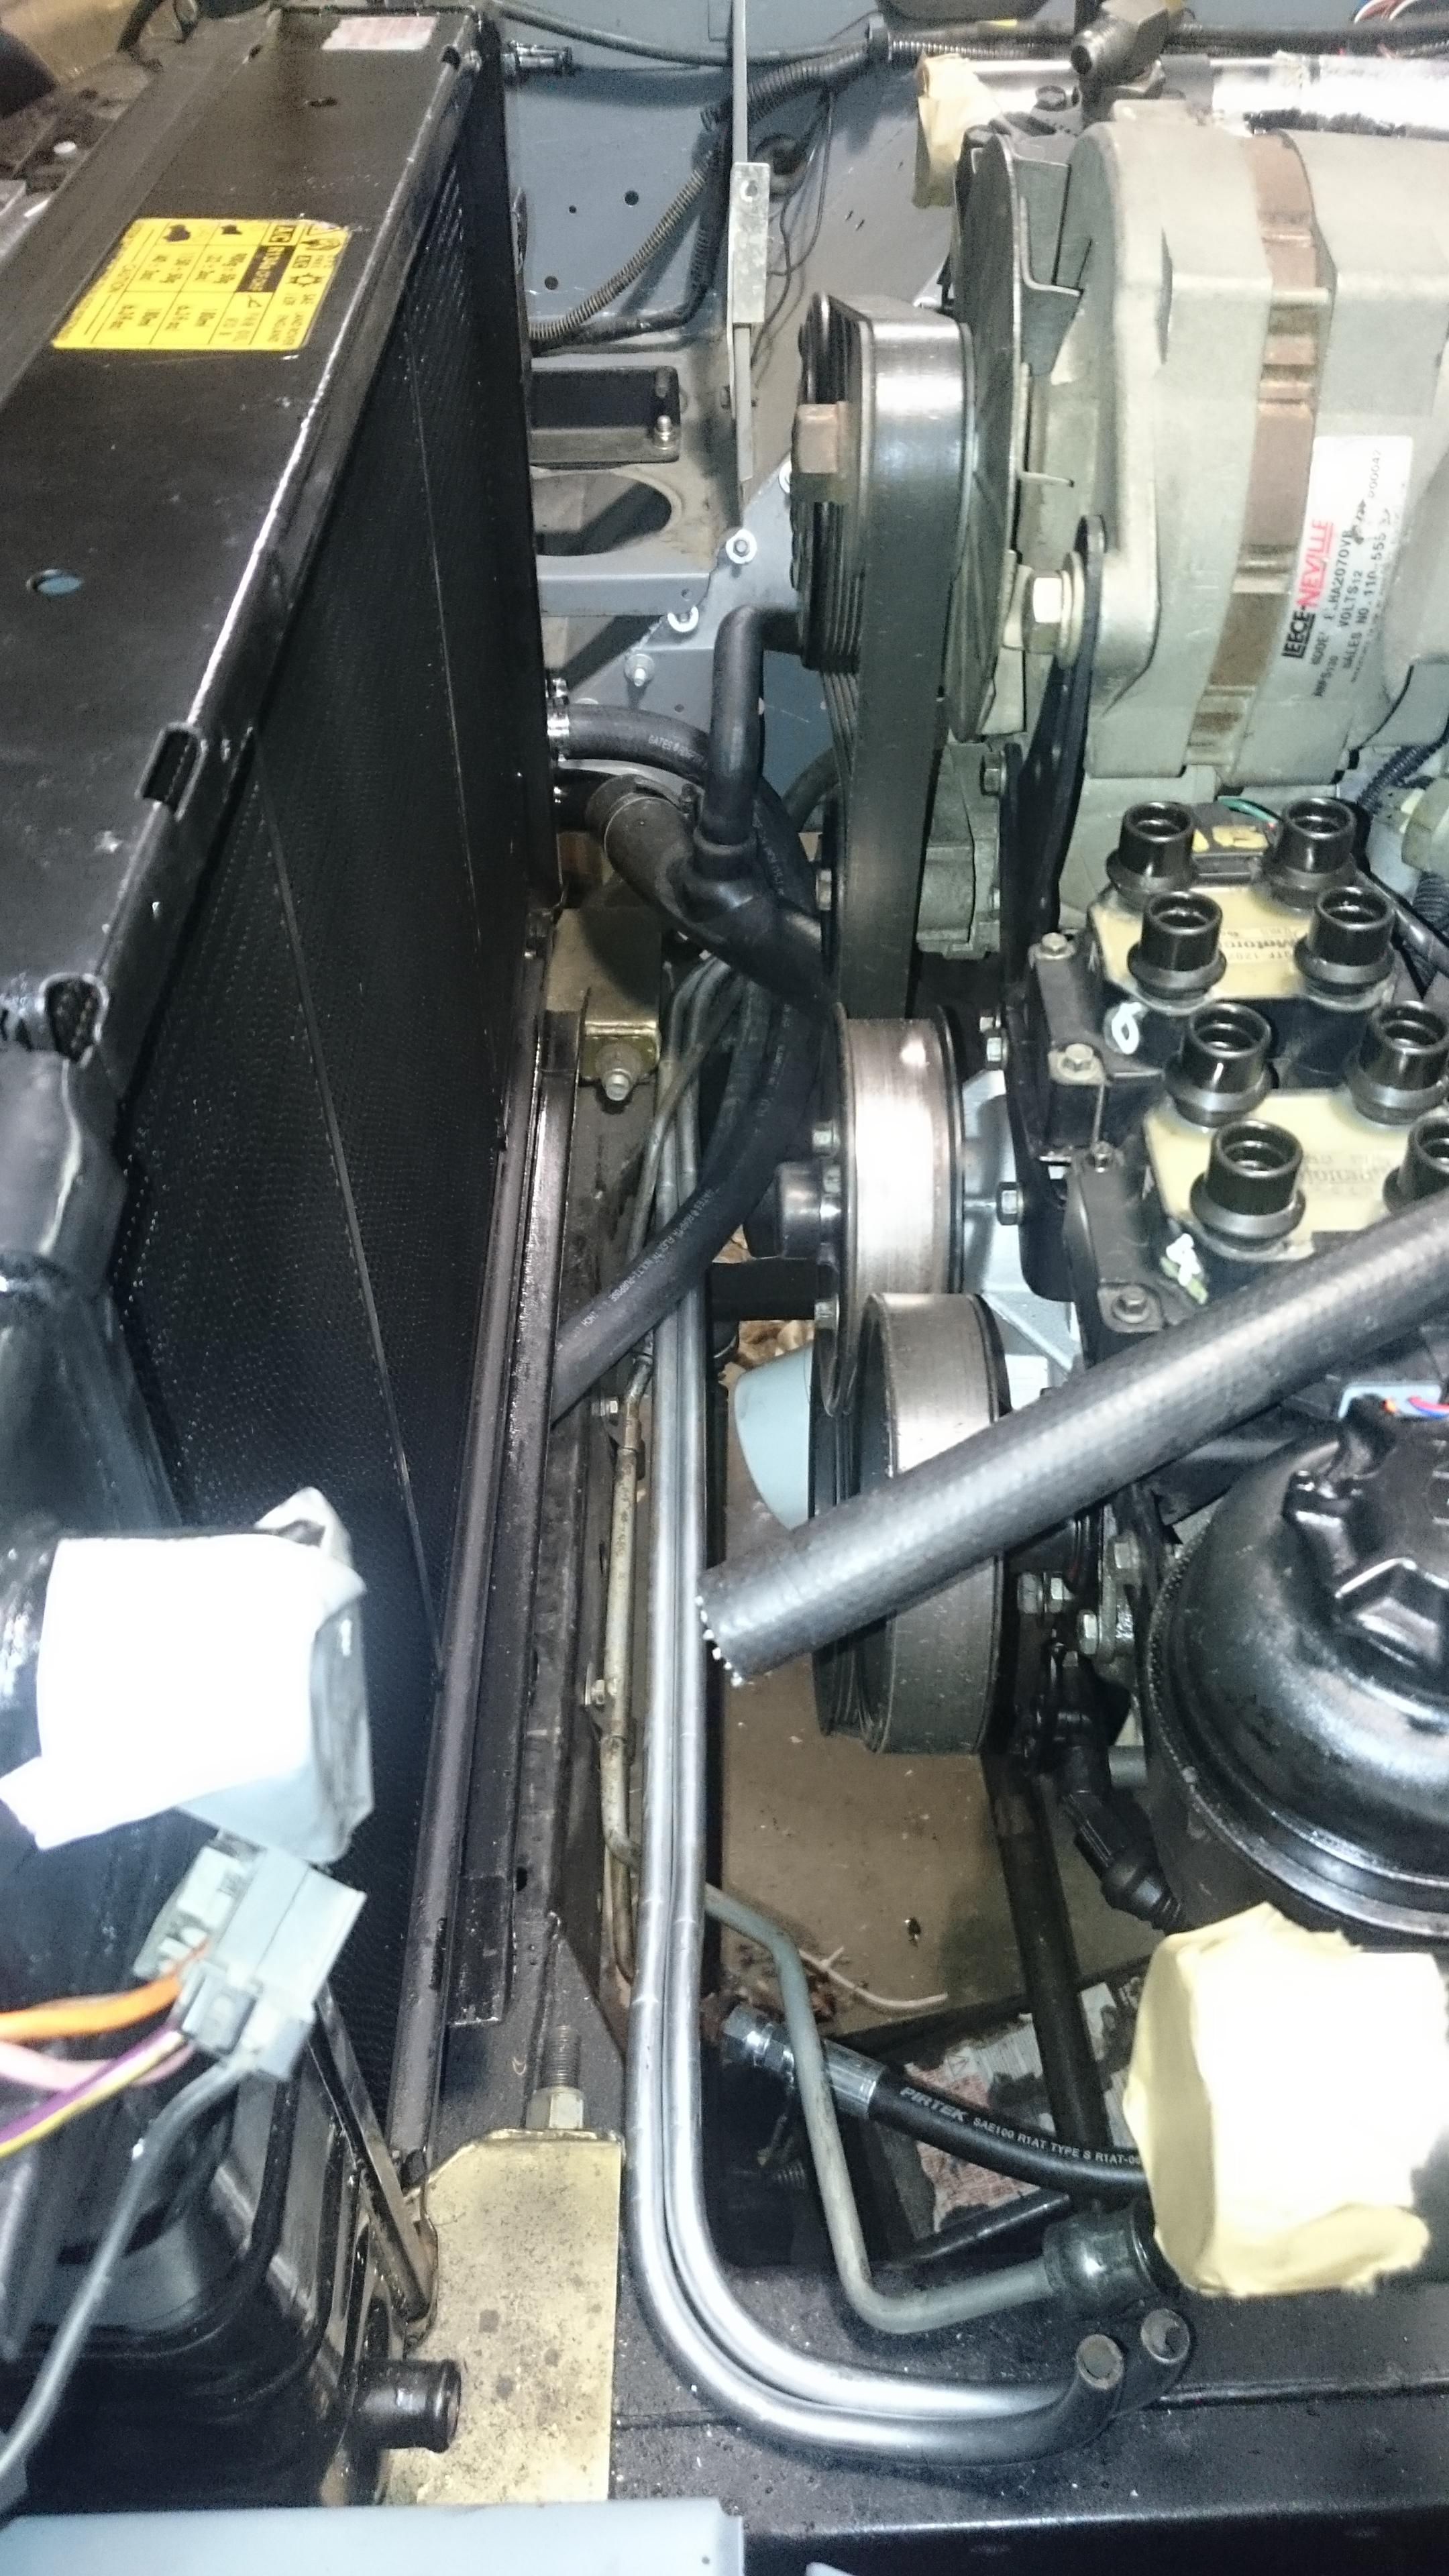
    The radiator in. I realised that the thicker tanks of this radiator (compared to the one I was using for testing in the photo above) caused fouling with my air filters so I'll need to do some trimming to make the air filter housings fit.


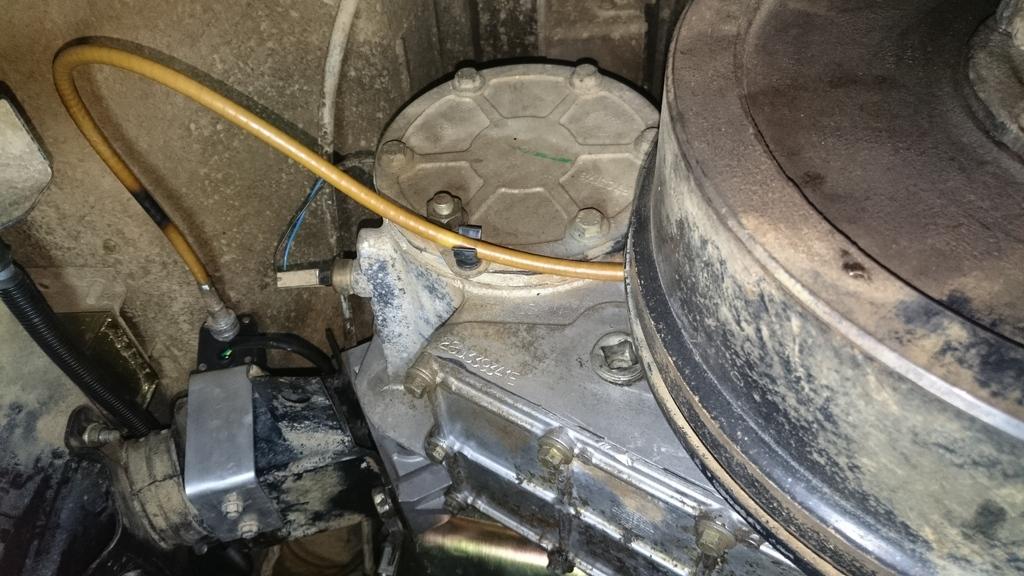
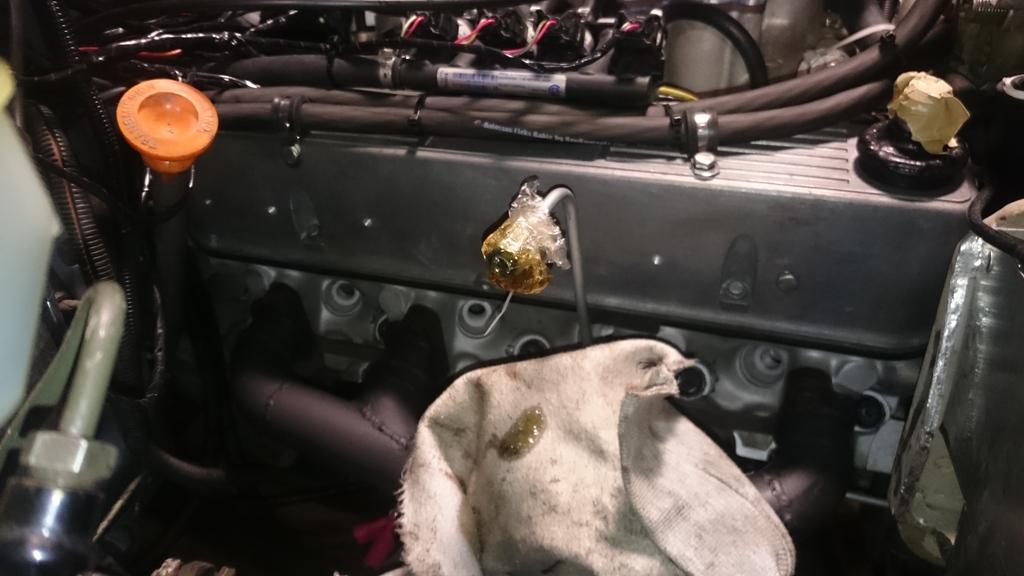
    I primed the engine oil pump, I had read that for the crank driven oil pumps all you needed to do was throw oil and crank the engine to get oil to flow. Not quite in my case! I had to feed oil into the pump in reverse to prime. Anyway, I got there in the end and I got it to the point where oil gushed out of the turbo oil feed lines just on cranking.


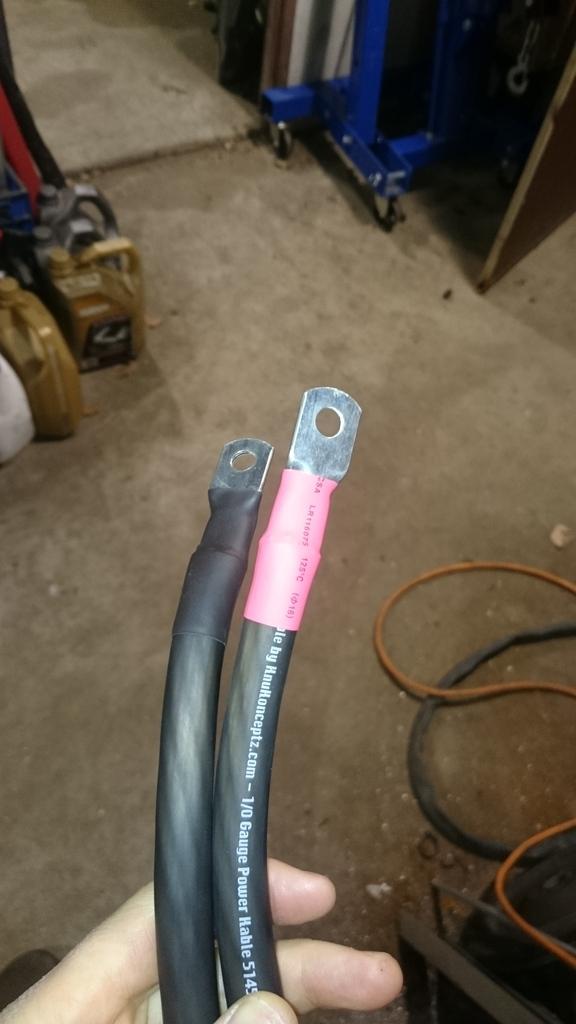
    The NGK plugs I ordered ended up coming in. I went for two heat ranges colder than standard for the Rover 4.0L (one for being LPG and another for being turbo). These plugs (PFR7G-11) were a little different to what was on the engine!


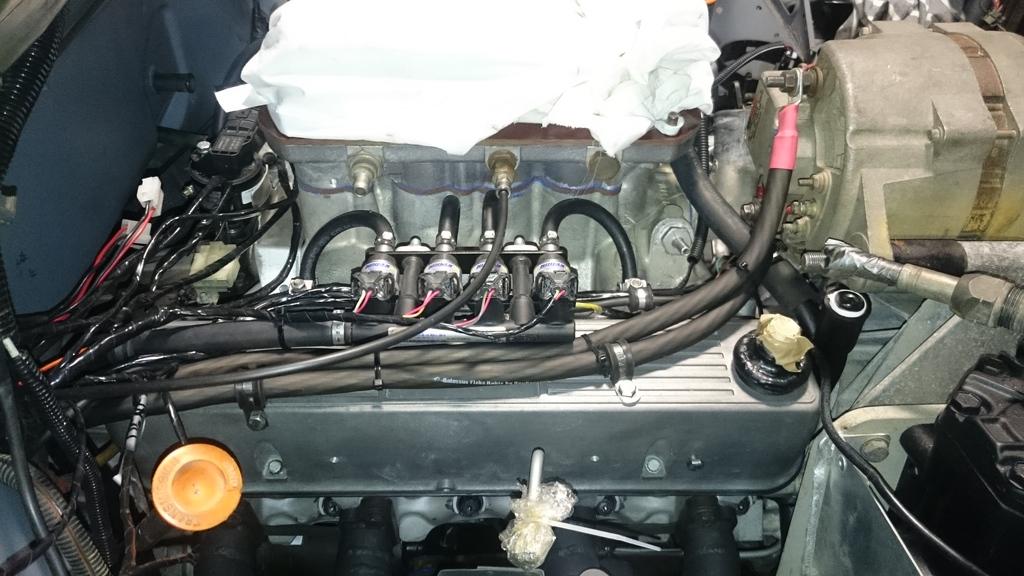
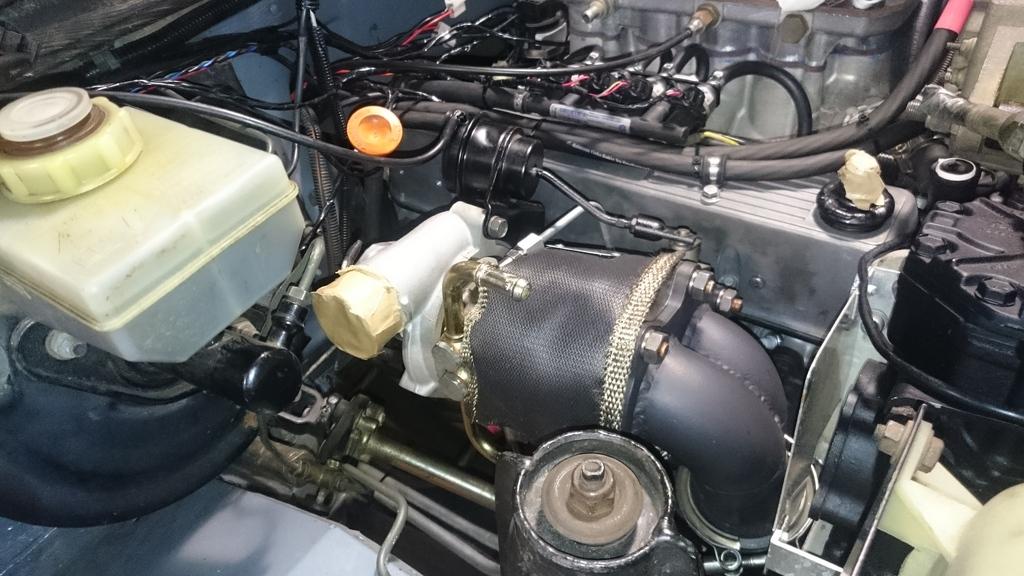
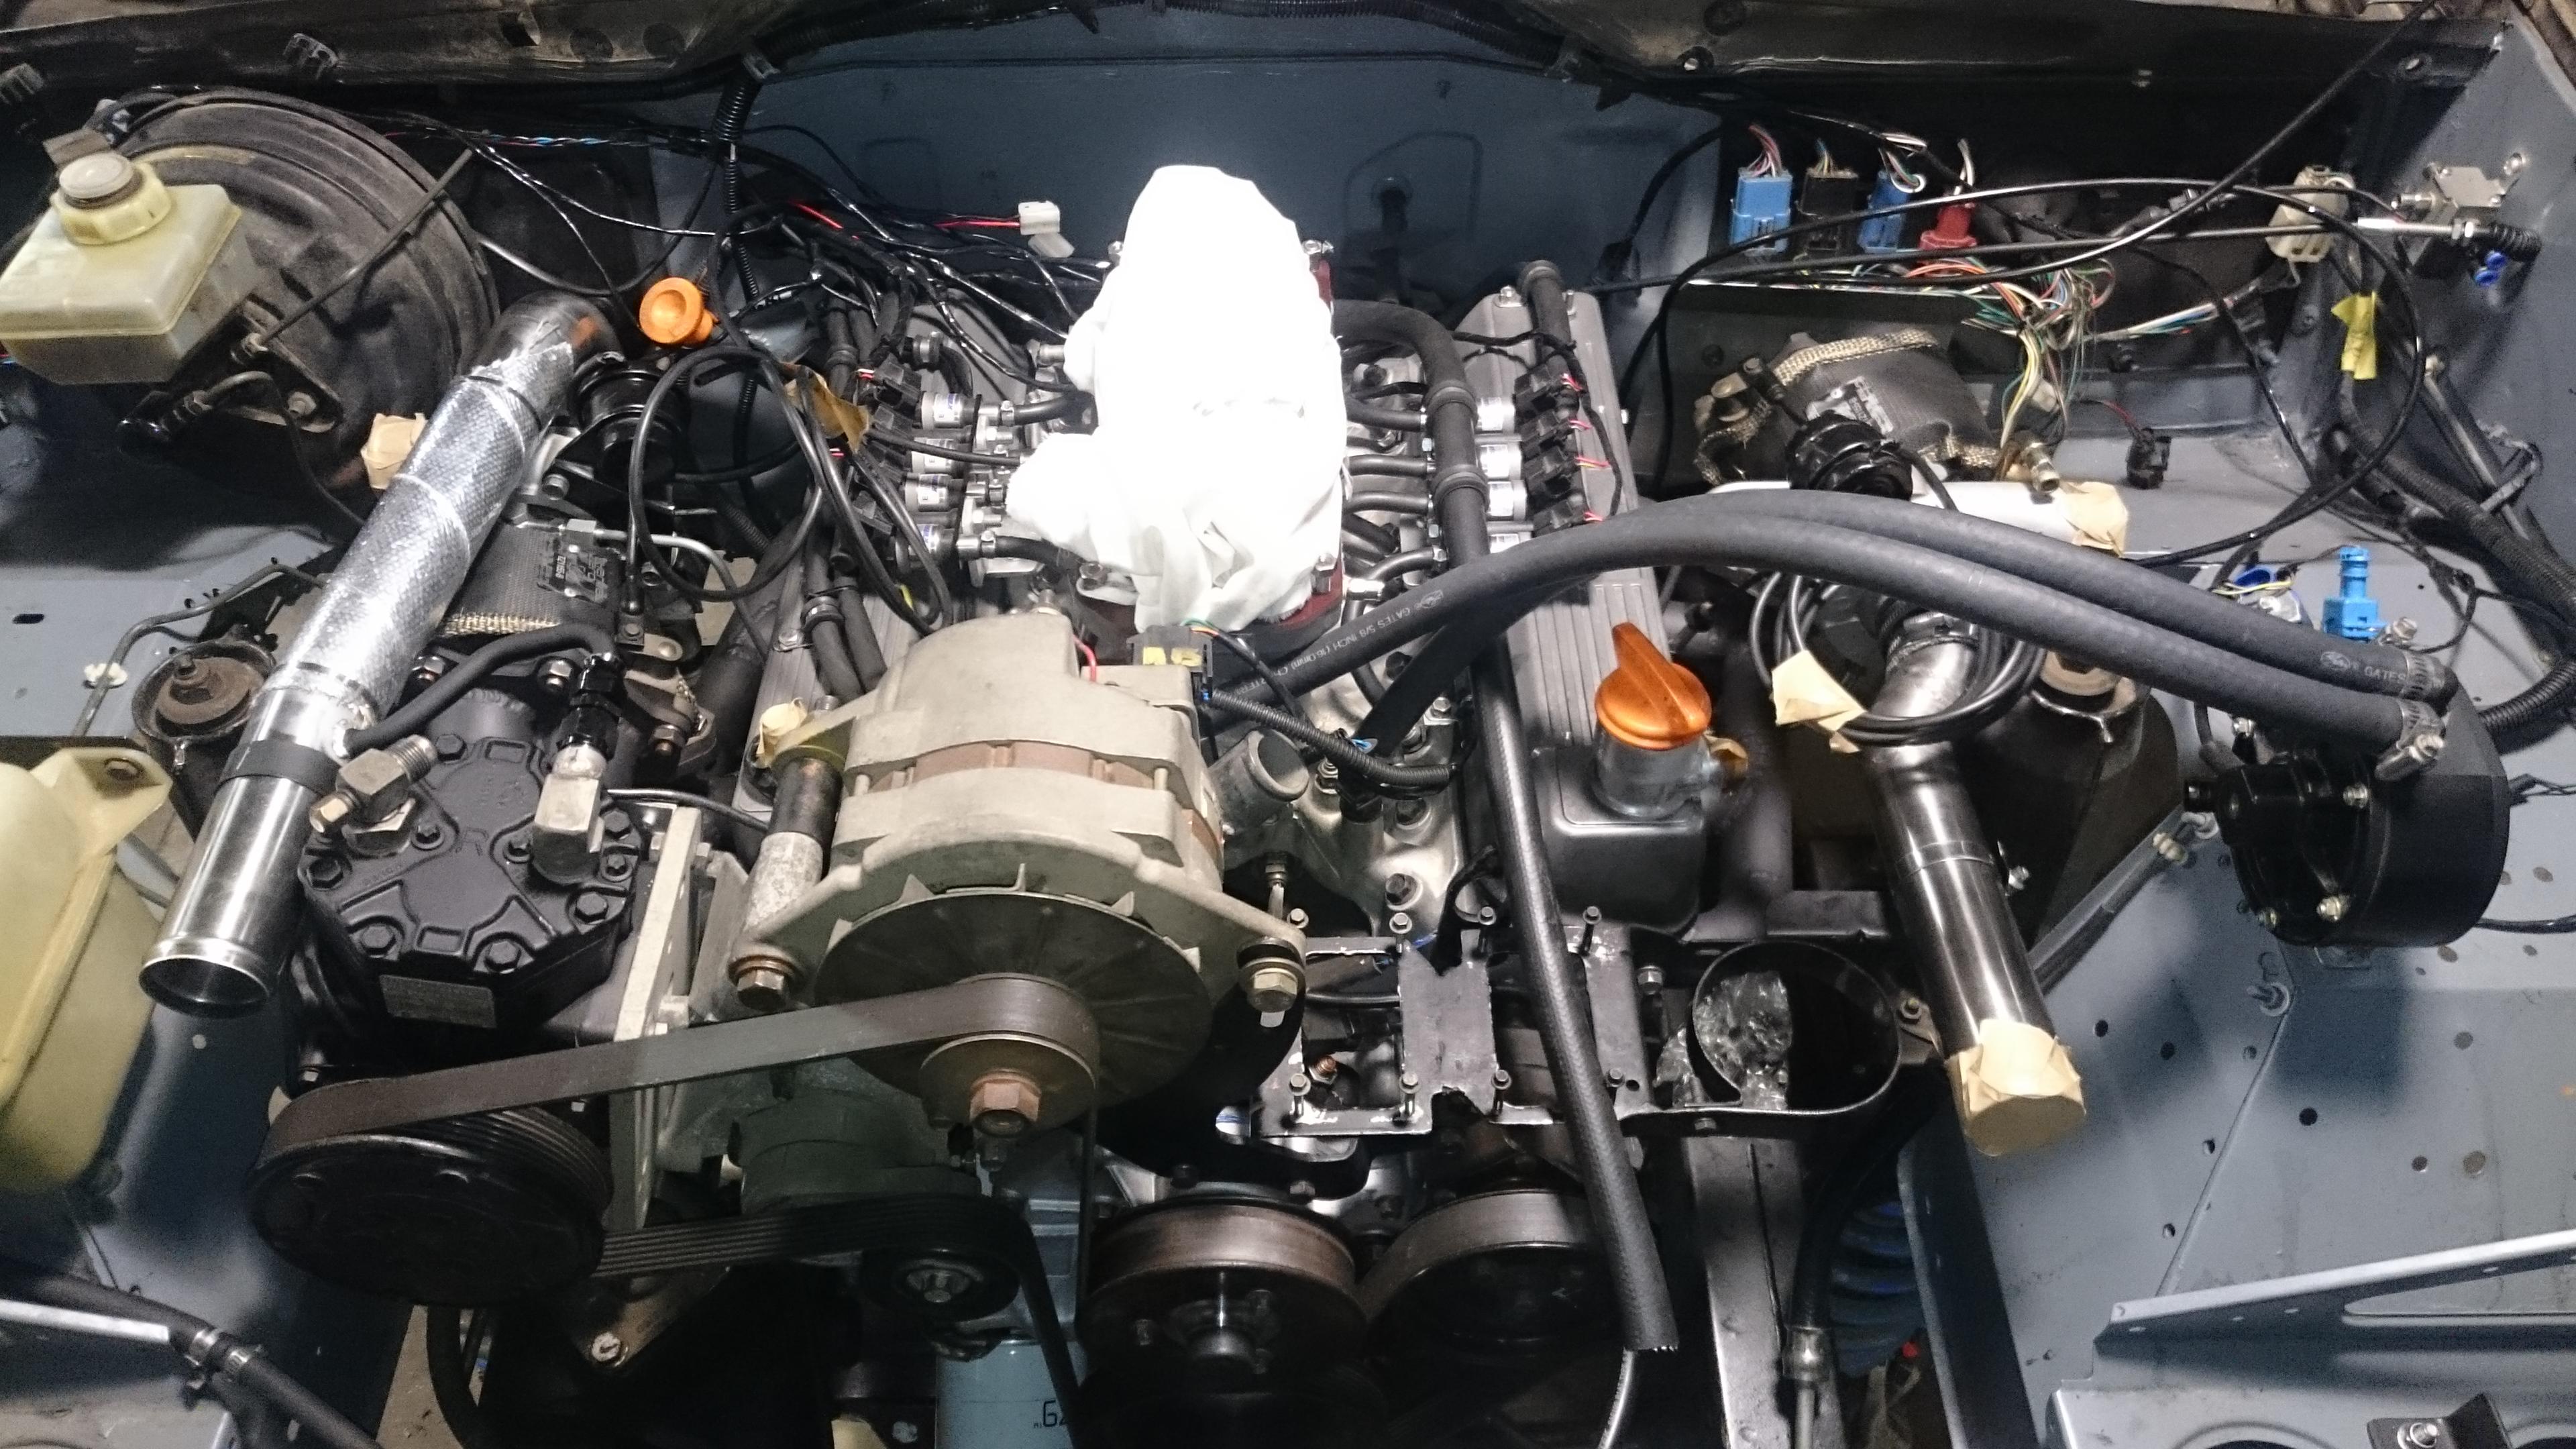
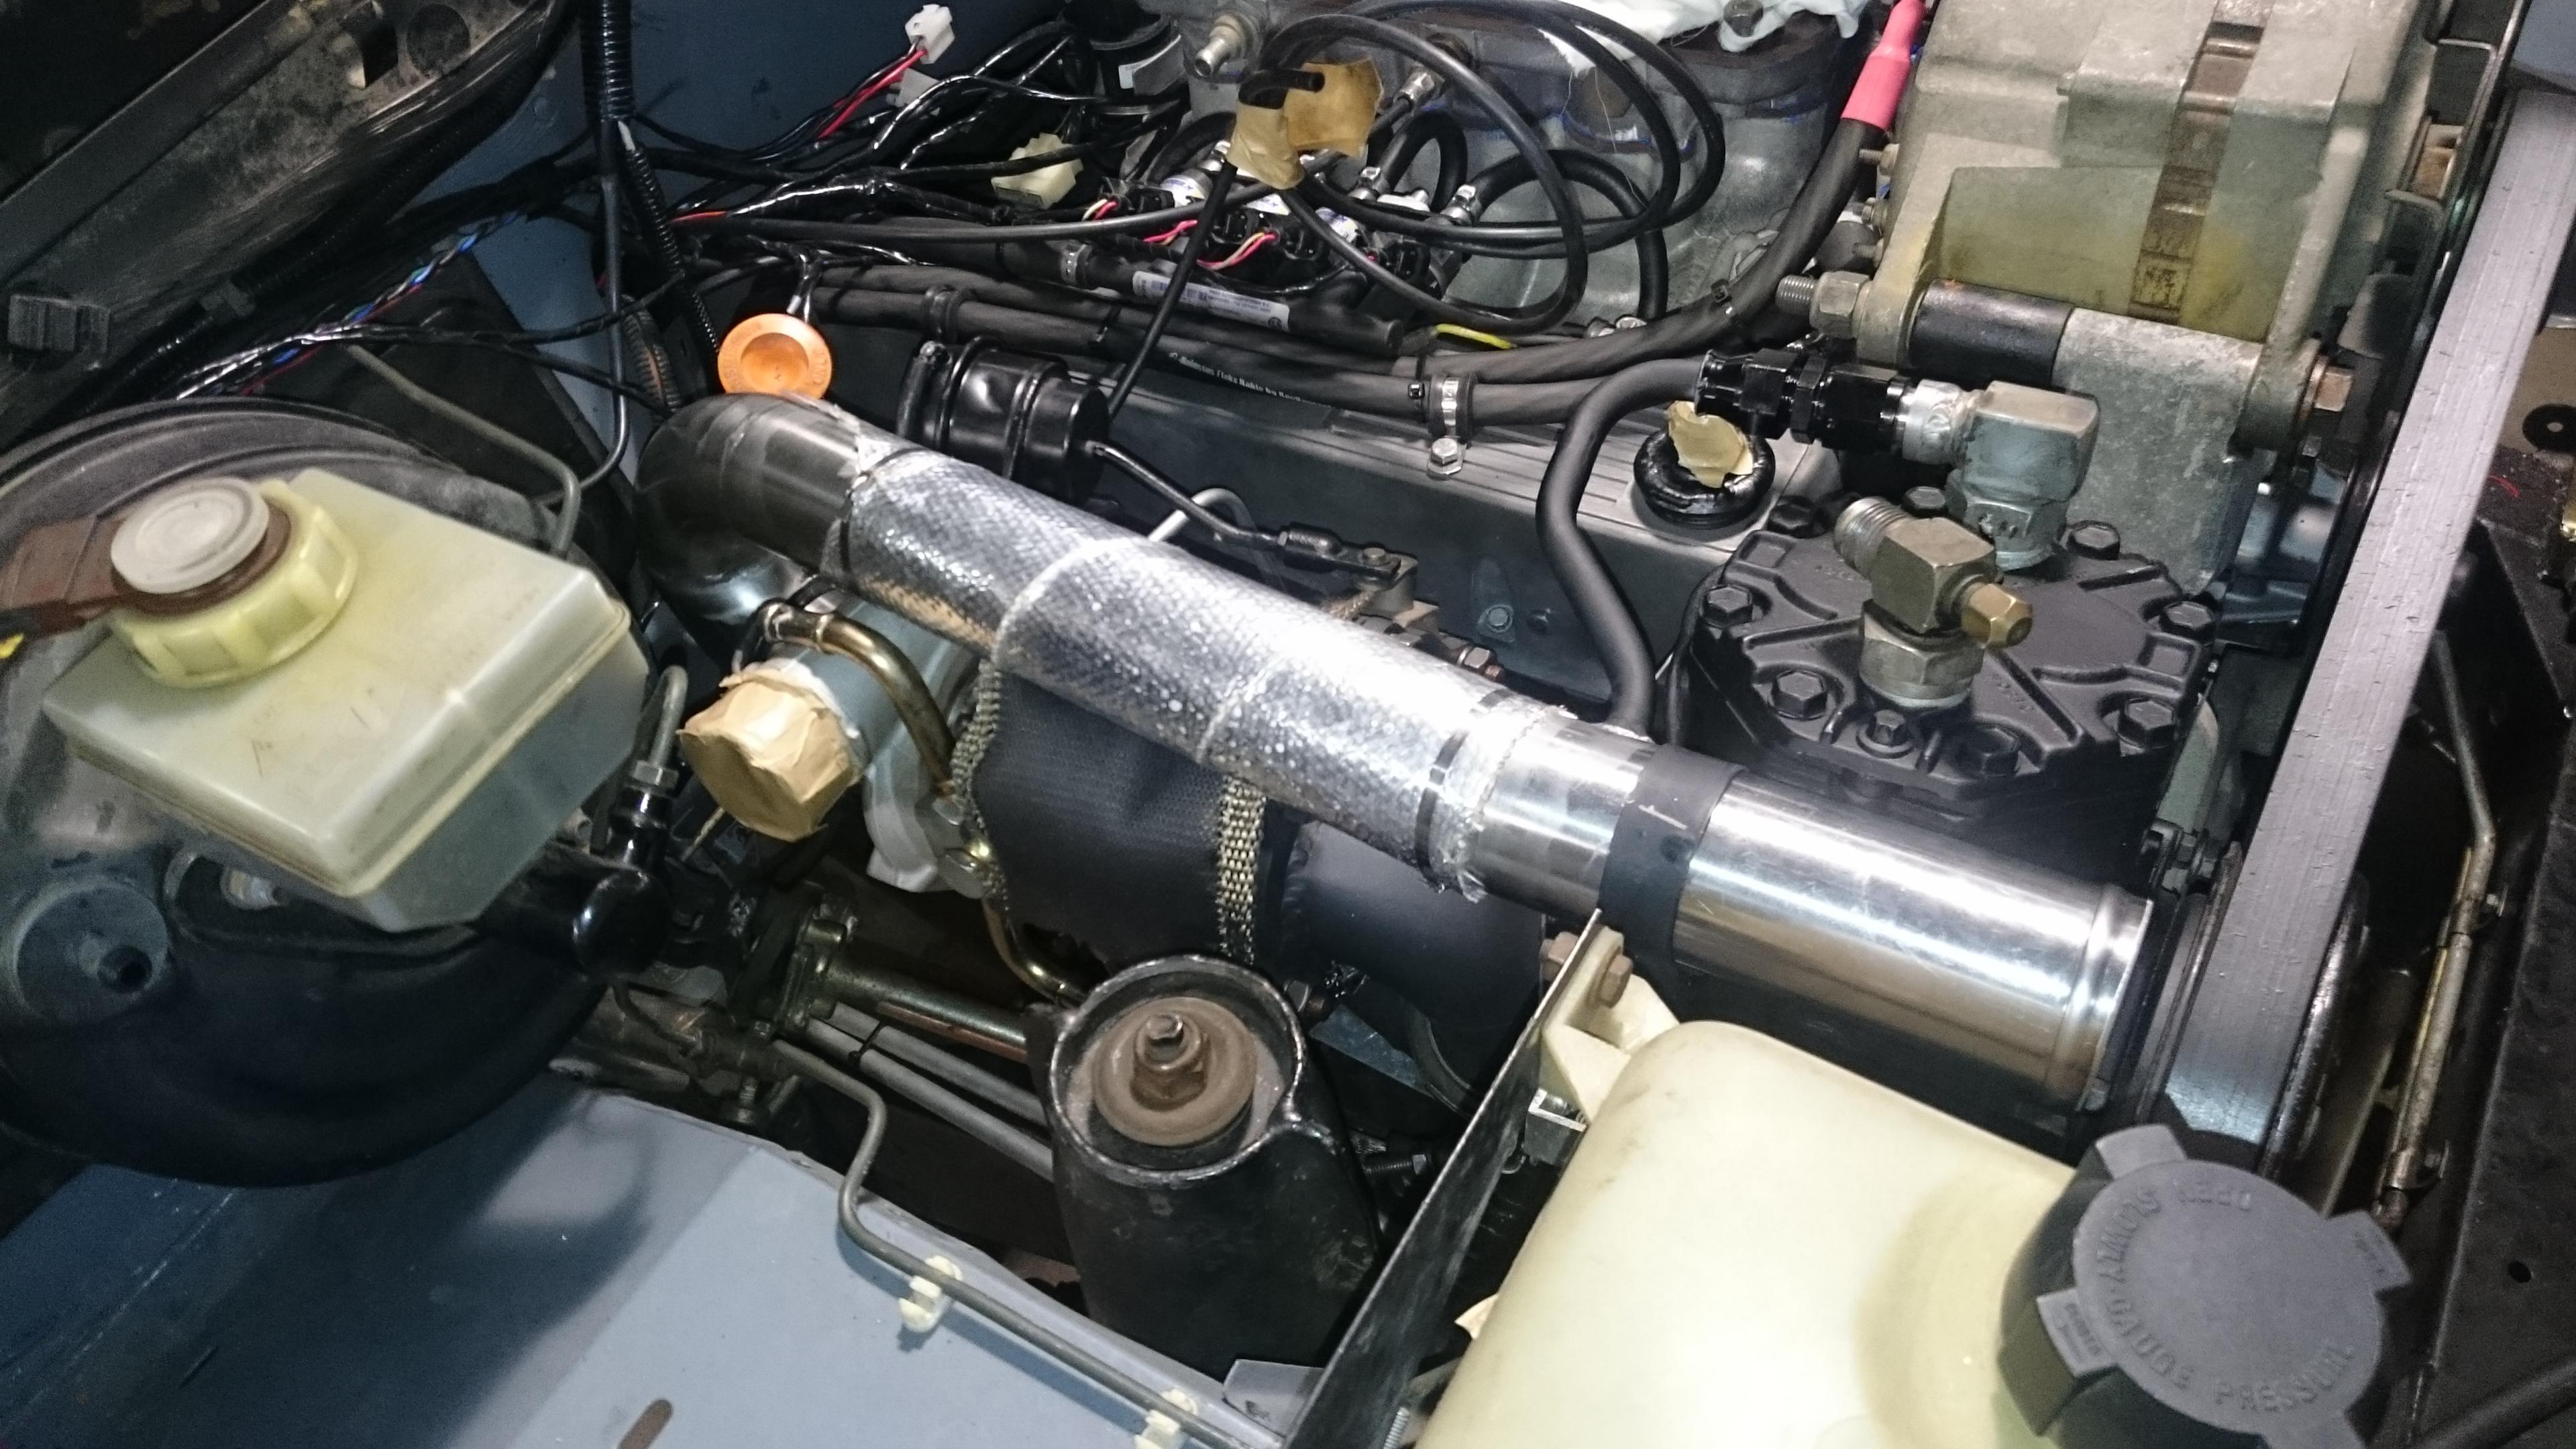
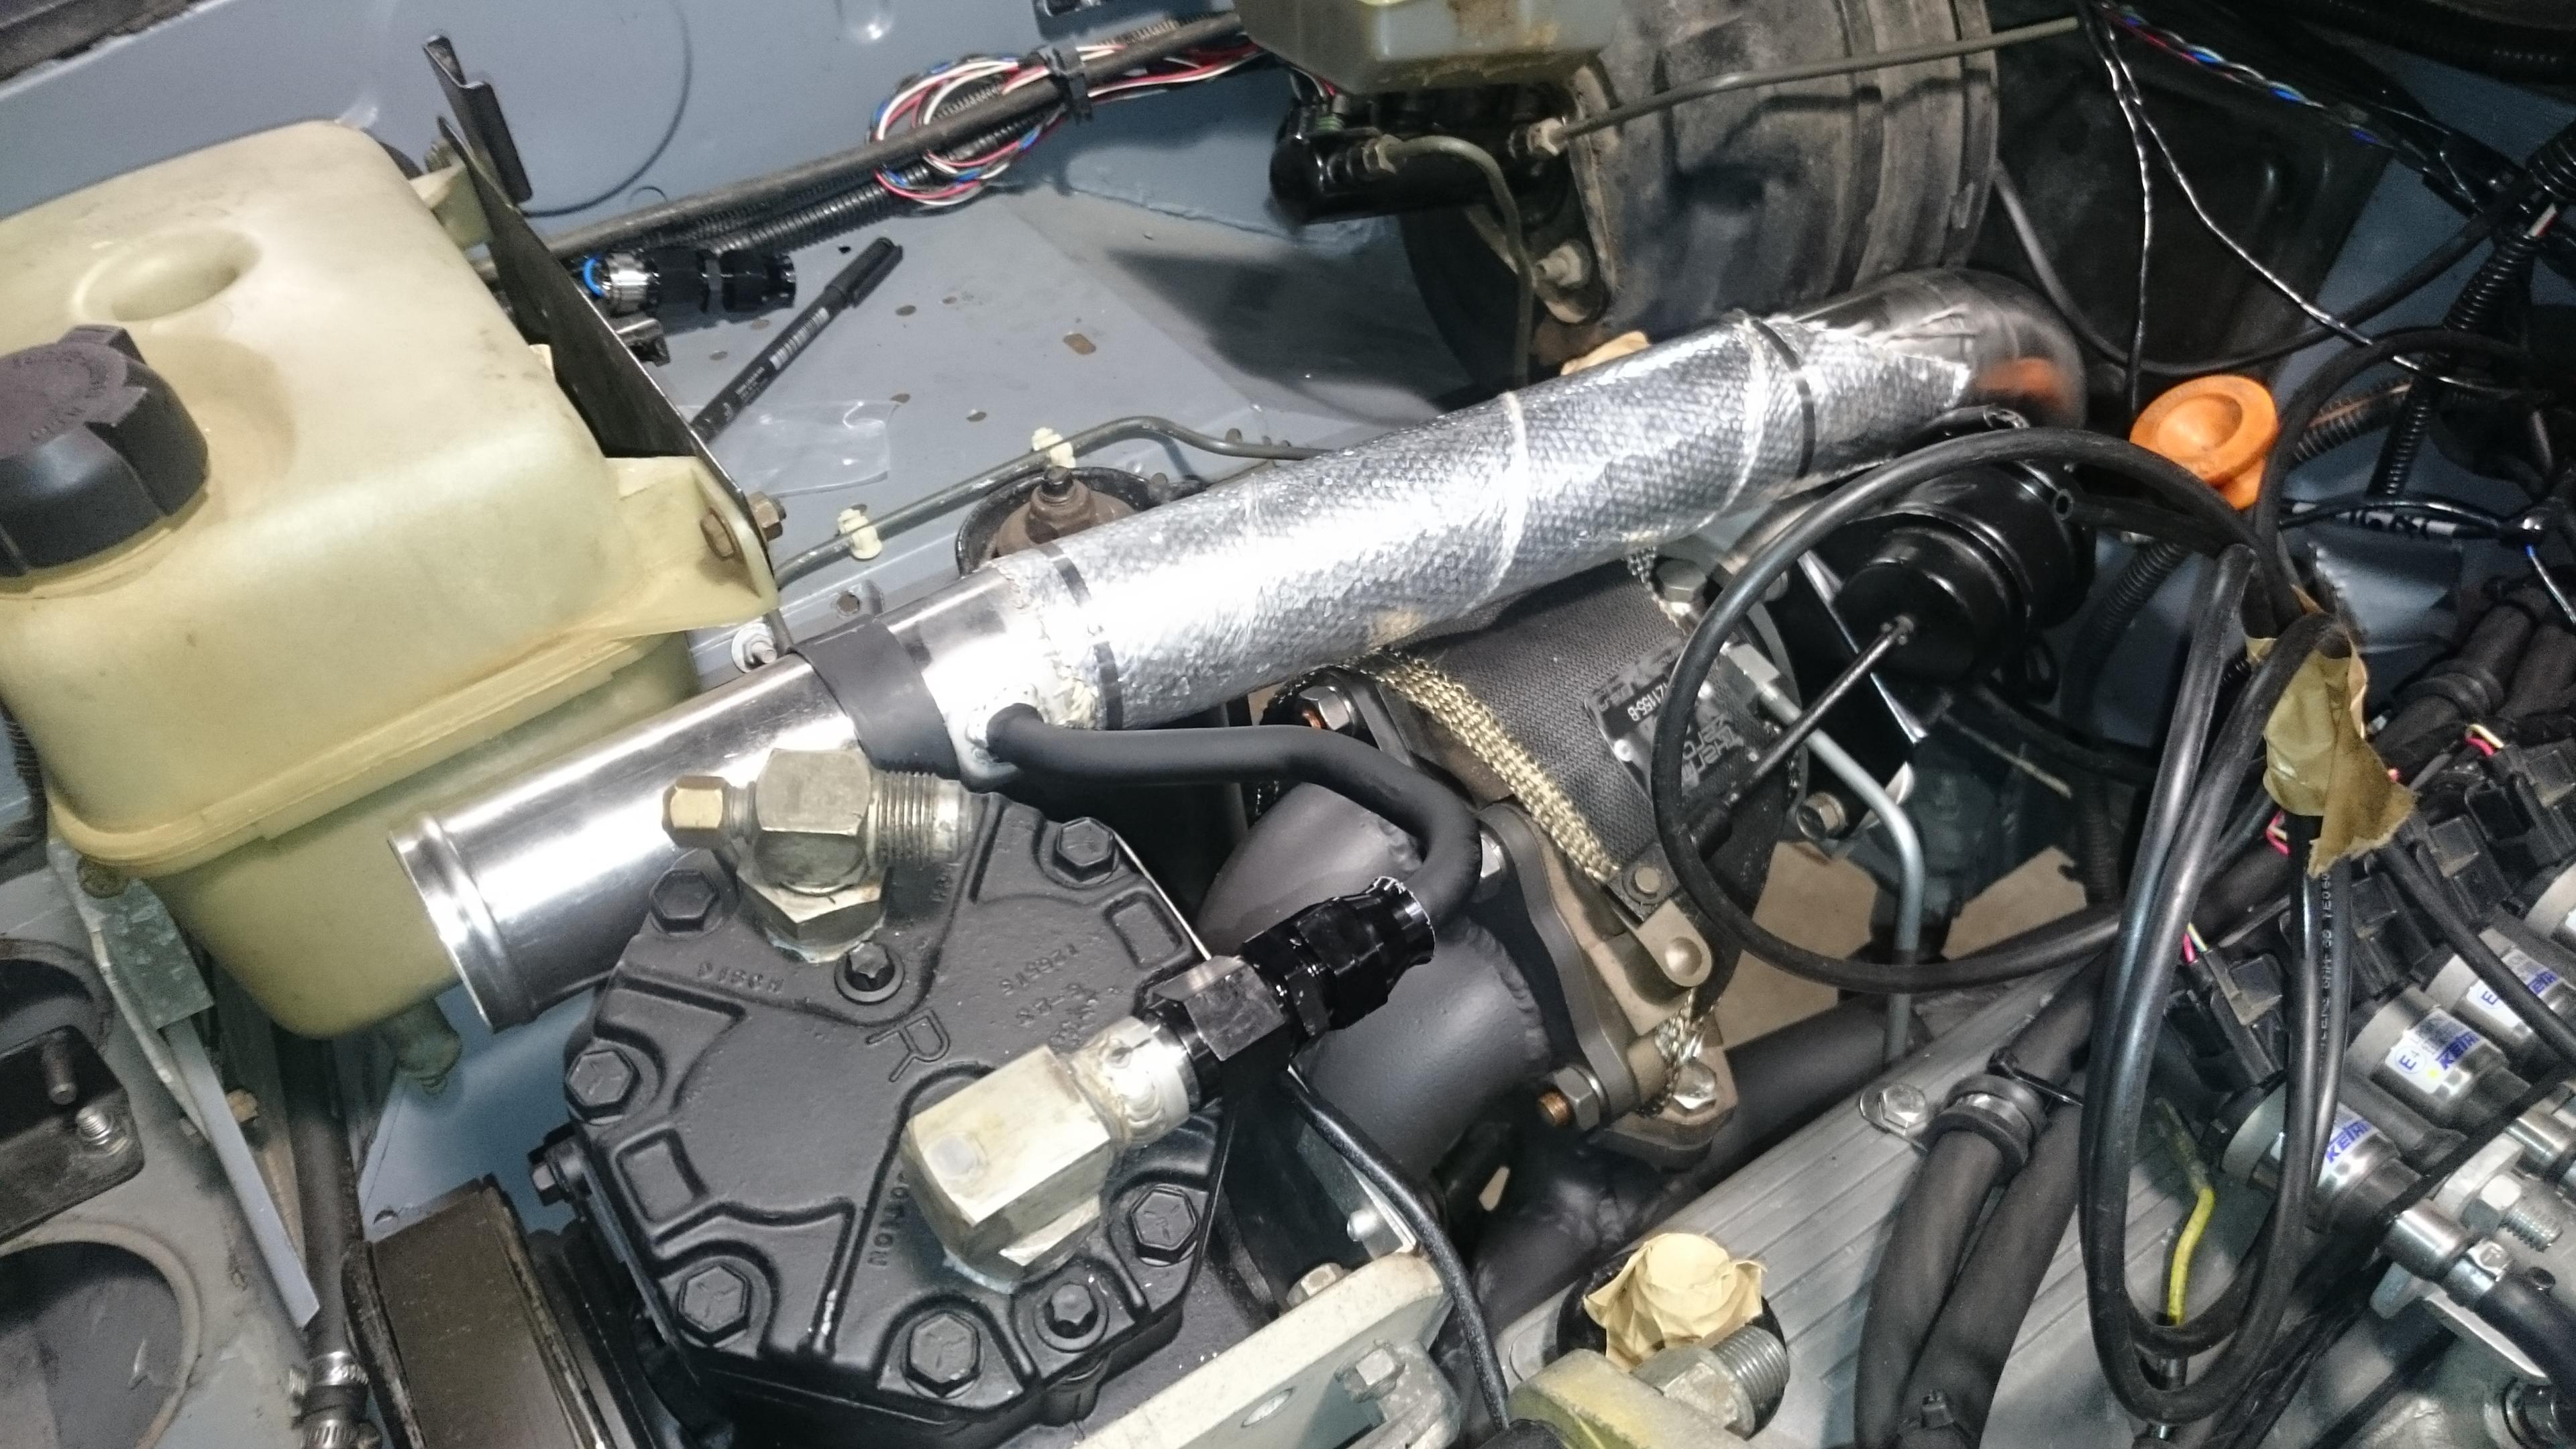
    Finally, the manifolds were put on, turbos fitted and they were all wrapped up snuggly in their blankets


    That's as far as I got this week. On Tuesday I am off to the USA for a meeting so that will be all the progress until I get back on Tuesday the following week.

    Till then!
    Stirling

  3. #613
    Join Date
    Mar 2013
    Location
    Perth
    Posts
    140
    Total Downloaded
    0
    Enjoying the photos as usual. What was the thinking behind platinum plugs? I was recommended iridium NGK units set to 0.8mm for my LPG conversion. They are now what i am running in my disco. also, do you plan on ladder taping the down pipes to further reduce engine bay temperature?

  4. #614
    Join Date
    Jun 2007
    Location
    Oatley, NSW
    Posts
    974
    Total Downloaded
    0
    Quote Originally Posted by DieSchnelleKafer View Post
    Enjoying the photos as usual. What was the thinking behind platinum plugs? I was recommended iridium NGK units set to 0.8mm for my LPG conversion. They are now what i am running in my disco. also, do you plan on ladder taping the down pipes to further reduce engine bay temperature?
    I didn't actually put all that much thought into the plug selection, aside from doing some research on the heat range of the plugs. Basically, I just went to the NGK website and looked up what the recommended plugs were for the 4.0 V8, and they ended up being platinum's. Was a little tricky to source them with the heat range I needed though!

    Anyway, back from the USA, finished moving to another suburb and managed to squeeze in some time in the shop.

    A bit of effort went into making up the connection for the suction port of the air compressor. Ended up being rather tricky to do, but I got there in the end!


    Then I have been working on the coolant circuit for the turbos. I mounted the electric water pump underneath the radiator (a nice gap was created by lifting the radiator with the body lift kit. In the photo below you can see the pipe running from the tank on the radiator underneath.


    The bending of the pipes was a real PITA, but I eventually got there.


    Hopefully by the end of this weekend the pipes will be finished up and mounted!
    Stirling

  5. #615
    Join Date
    Jan 1970
    Location
    Perth WA
    Posts
    194
    Total Downloaded
    0

    Awesome job

    Hats off to you Stirling.
    I did a full engine rebuild (top hat liners) and later installed an MS1 with all new hand made wiring harness, EDIS 8, and injection, with a BLOS carb installed for LPG. Just doing that drove me a bit crazy. You have fantastic patience.

    A couple of ideas. I'm no expert, and these are from personal stuff ups and suggestions from others that turned out to be worth listening to. Your attention to detail suggests most would have already been considered/addressed.

    - make sure your route for the MAP hose to the MS3 has no chance of the hose being kinked or pressed/crushed in any way, hence stopping the real Manifold pressure being read by the MS. Personal experience here.

    - after trying a few sealants for the sump, I was told about Permatex The Right Stuff. Never looked back and never had another sump leak.

    - I noticed Ana being generous with sealant before bolting the trumpets on Someone suggested Loctite 515 flange sealant to me, to prevent so much beading of sealant on the inside of the trumpets. It works a treat.

    - might be worth running water wetter in your coolant to help prevent localised boiling when the turbos are on song.

    - After installing the same thermostat as you have bought, and also putting in a custom built Aluminium radiator, my coolant temp did not respond as positively as expected. Long story short, with my combination of high flow thermostat and super awesome radiator, the coolant seemed to be travelling through the radiator too quickly, and therefore not spending enough time in there to cool down. The installation of a Tefba coolant filter restricted the flow enough to keep everything happy, even at 46 degrees ambient temp driving across the Nullarbor.

    - After your scoop fabrication, it would be interesting to measure the under bonnet air pressure with a Magnehelic meter (is that the right instrument?) to check that the pressure differential is enough at different speeds for the radiator and inter coolers to work effectively.

    - And just because I saw the rocker shaft post. The oil holes are pointing down toward the cam? A long investigation of oil light flickering at idle on my previous 110 V8 was solved by pointing the oil holes in the rocker shaft in the right direction

    Well done mate. Impressive project.

    Cheers
    Andre

  6. #616
    Join Date
    Jun 2007
    Location
    Oatley, NSW
    Posts
    974
    Total Downloaded
    0
    Quote Originally Posted by LRCounty View Post
    Hats off to you Stirling.
    I did a full engine rebuild (top hat liners) and later installed an MS1 with all new hand made wiring harness, EDIS 8, and injection, with a BLOS carb installed for LPG. Just doing that drove me a bit crazy. You have fantastic patience.
    Thanks Andre, Sometimes I wish I wasn't so patient!!

    Quote Originally Posted by LRCounty View Post
    A couple of ideas. I'm no expert, and these are from personal stuff ups and suggestions from others that turned out to be worth listening to. Your attention to detail suggests most would have already been considered/addressed.

    - make sure your route for the MAP hose to the MS3 has no chance of the hose being kinked or pressed/crushed in any way, hence stopping the real Manifold pressure being read by the MS. Personal experience here.
    That would be pretty devistating, especially on a turbo motor leaning out!


    Quote Originally Posted by LRCounty View Post
    - after trying a few sealants for the sump, I was told about Permatex The Right Stuff. Never looked back and never had another sump leak.
    Thanks for the suggestion! I'll keep it in mind if I need to pull the sump off!! Which I hope I don't!


    Quote Originally Posted by LRCounty View Post
    - I noticed Ana being generous with sealant before bolting the trumpets on Someone suggested Loctite 515 flange sealant to me, to prevent so much beading of sealant on the inside of the trumpets. It works a treat.
    Good pick, actually after we put the assembly together I ran a screw driver internally to scrape up a lot of the excesses. Loctite 515 would have definitely been faster!


    Quote Originally Posted by LRCounty View Post
    - might be worth running water wetter in your coolant to help prevent localised boiling when the turbos are on song.
    This is an interesting idea. However I did a little research about water wetter and it seems to get mixed results, it seems that while it does reduce localised boiling, it reduces the overall heat capacity of water, making the system run hotter overall?


    Quote Originally Posted by LRCounty View Post
    - After installing the same thermostat as you have bought, and also putting in a custom built Aluminium radiator, my coolant temp did not respond as positively as expected. Long story short, with my combination of high flow thermostat and super awesome radiator, the coolant seemed to be travelling through the radiator too quickly, and therefore not spending enough time in there to cool down. The installation of a Tefba coolant filter restricted the flow enough to keep everything happy, even at 46 degrees ambient temp driving across the Nullarbor.
    Good to know! This is something I hadn't considered. Let's see how the temperatures are when it is running.


    Quote Originally Posted by LRCounty View Post
    - After your scoop fabrication, it would be interesting to measure the under bonnet air pressure with a Magnehelic meter (is that the right instrument?) to check that the pressure differential is enough at different speeds for the radiator and inter coolers to work effectively.
    Yes, a Magnehelic gauges is correct. While it isn't as much of an issue for me due to the pusher fan arrangement, I will experiment programming megasquirt to shut down the fans at a speed greater than say 80km/hr. Having a gauge like you suggest for testing would be ideal to determine the pressure produced by the scoop though.


    Quote Originally Posted by LRCounty View Post
    - And just because I saw the rocker shaft post. The oil holes are pointing down toward the cam? A long investigation of oil light flickering at idle on my previous 110 V8 was solved by pointing the oil holes in the rocker shaft in the right direction
    Yes, triple checked that, they are pointing down.


    Quote Originally Posted by LRCounty View Post
    Well done mate. Impressive project.

    Cheers
    Andre
    Thank you very much! and I very much appreciate the input.
    Stirling

  7. #617
    Join Date
    Jun 2007
    Location
    Oatley, NSW
    Posts
    974
    Total Downloaded
    0
    Okay, time for some more pictures. Judging by my Photobucket account, i'm now up to 1,400 photos!!

    After getting the swivel ball holes slotted by 4deg, I was on my merry way to overhauling the front stub shafts, hubs, swivels and installing the Ashcroft CVL CVs. All was going well until I realised that I had forgotten to buy brake discs.


    Oh by the way, I ended up going with Timken wheel bearings in the end.

    I ended up finishing off the hard lines for the turbo coolant hoses. In the end I was pretty happy with the result. Except I scratched a lot of the paint off in the process of re-installing them...


    Oh, and this is a bad photo of where the electric water pump is. Under the radiator drawing water from the cold tank on the radiator and sending it to both turbos.


    Finally, on the nights I wasn't in the workshop, I raided the dinner table and got on with some modifications to the ECU. I added a couple of extra inputs which I intend to use to pick up the air temperatures upstream of the intercoolers. I also added a bluetooth module into the case to allow me to hook into it without a USB cable and finally there were some minor wiring changes.


    That's it for tonight!
    Stirling

  8. #618
    Join Date
    Aug 2012
    Location
    Adelaide
    Posts
    2,757
    Total Downloaded
    0
    Did I just read that right, you are re-wiring your ECU????????

    Mind


    Blown.....


    wowzers... I thought I was doing well just wiring my 200tdi up... hats off to you, I wish I had the knowhow to build something as awesome as this.

  9. #619
    Join Date
    Jul 2007
    Location
    Auckland, NZ
    Posts
    2,278
    Total Downloaded
    0
    Maaate, he built it!
    Alan
    2005 Disco 2 HSE
    1983 Series III Stage 1 V8

  10. #620
    Join Date
    Aug 2012
    Location
    Adelaide
    Posts
    2,757
    Total Downloaded
    0
    Quote Originally Posted by disco2hse View Post
    Maaate, he built it!
    NO way.... built a ECU from scratch???? I have flicked through the thread... very impressive but I must have missed the post where he MADE an ECU!

    Mind...

    Blown.....

    Completely....


    Stirlsilver, your a legend. I'm not even worthy to comment on this thread

Page 62 of 82 FirstFirst ... 1252606162636472 ... LastLast

Bookmarks

Bookmarks

Posting Permissions

  • You may not post new threads
  • You may not post replies
  • You may not post attachments
  • You may not edit your posts
  •  
Search AULRO.com ONLY!
Search All the Web!