
Originally Posted by
olmate

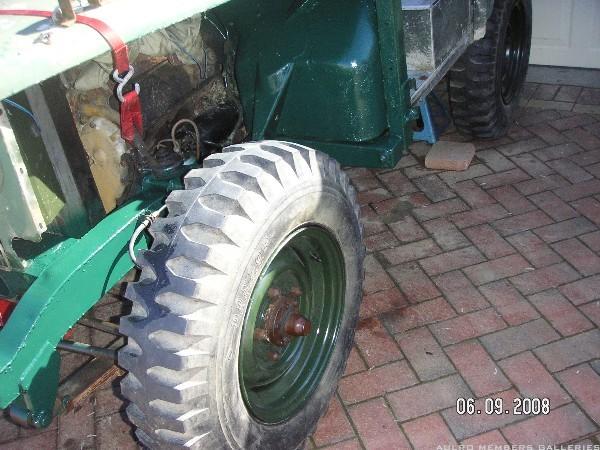
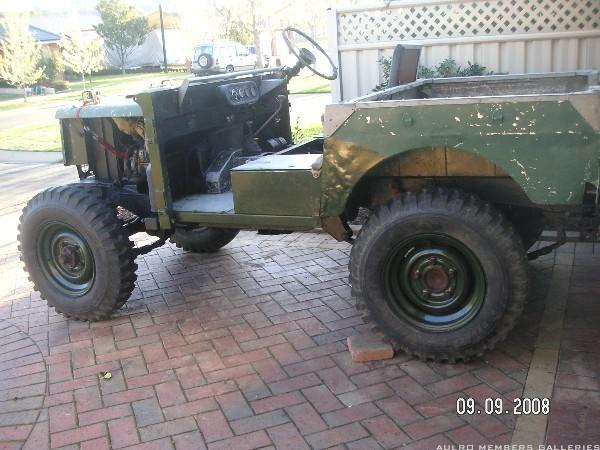
Replacement front springs are on and she is sitting up level with the back now

... 'very' high indeed ... high enough for the front prop shaft to hit the cross member

- I had to take it off to tighten everthing up and I shall have to either fit wedges to the front end or go to something lower
")
It does look good tho
I have to put new springs in my "Baby" - series 1 88.
I am interested to know what you did with the springs to cause the problem - I do know that if you put in new springs when everything is off the ground and everything is tightened up then the front does ride too high and causes the problem with the driveshaft.
So is this the issue or did you get heavier or "high lift" springs?
Thanks
Garry
REMLR 243
2007 Range Rover Sport TDV6
1977 FC 101
1976 Jaguar XJ12C
1973 Haflinger AP700
1971 Jaguar V12 E-Type Series 3 Roadster
1957 Series 1 88"
1957 Series 1 88" Station Wagon


 Reply With Quote
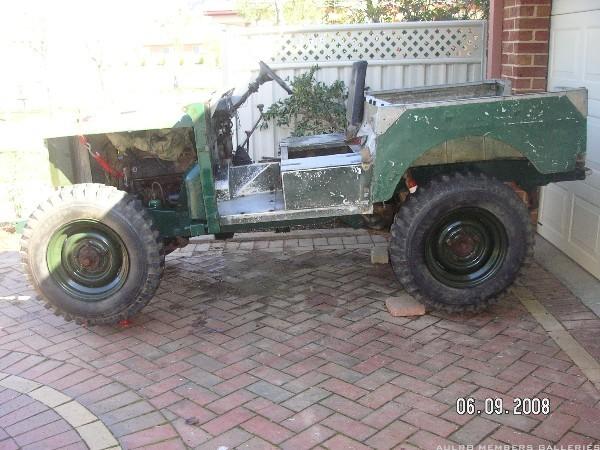
")


Bookmarks