


 Reply With Quote
So, working flat out at the moment trying to get the inside of the chassis rails painted out before Friday. Deadlines really make the world go round!
As I said last time, I've decided to go with POR 15 as my coating, as, well, you can paint over rust! I've heard good reports of the stuff, so I figured it's worth giving a good go, in an attempt to preserve this Landy for another 50 odd years.
The company who make the stuff say preparation is crucial for the paint to stick properly. So, deciding that I won't mess with it too much given what's at stake, I've gone and bought the whole system... For 1L of degreaser, 1L of preparation etcher stuff, 1L of paint and 1L of thinner, it set me back a fraction under $180. If this stops rust from occurring inside the chassis, it's worth an awful lot more than $180 to me! I was fortunate to find a local supplier, so I managed to get it the day after I decided it's what I wanted.
So far I've managed to get through the cleaning process. I also bought a pipe cleaner attachment for the pressure cleaner. The pipe cleaner has been invaluable so far.
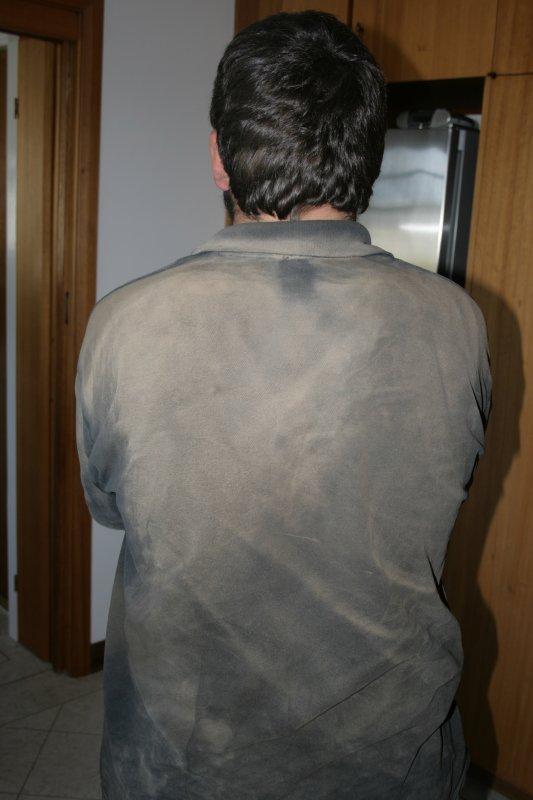
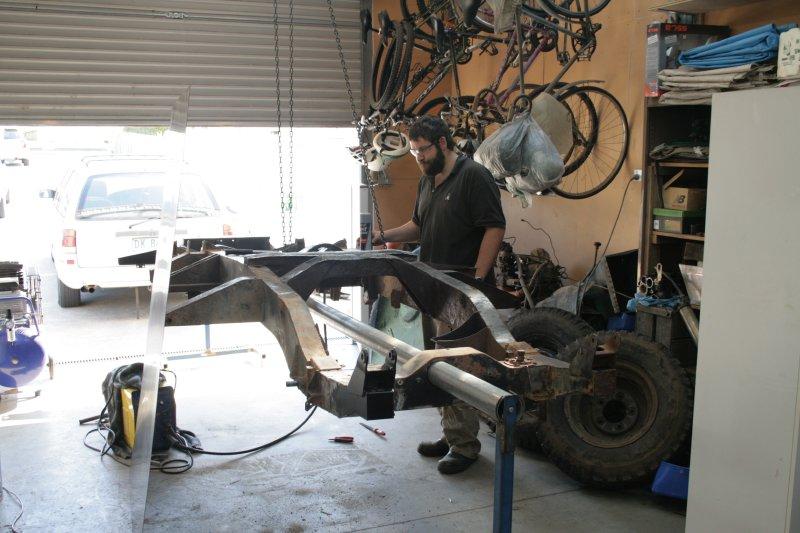
Dad wielding the pipe cleaner.
Plenty of dirt.
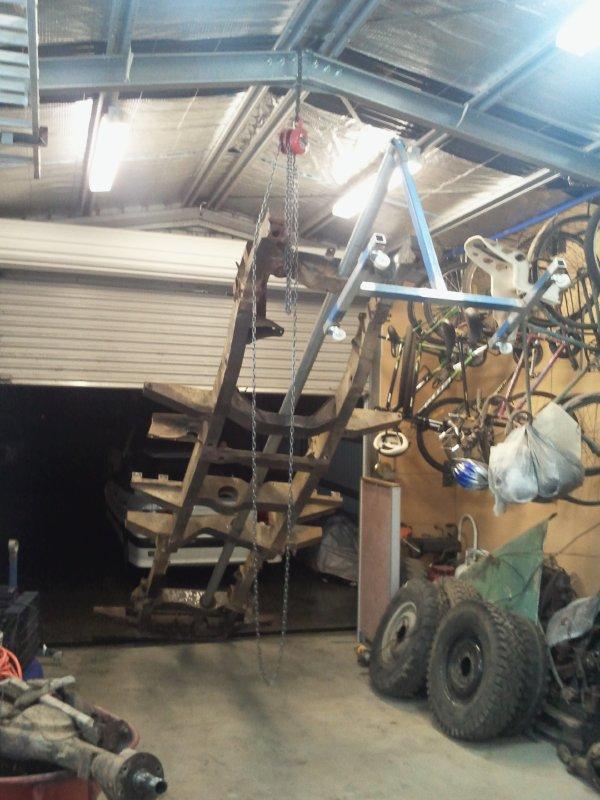
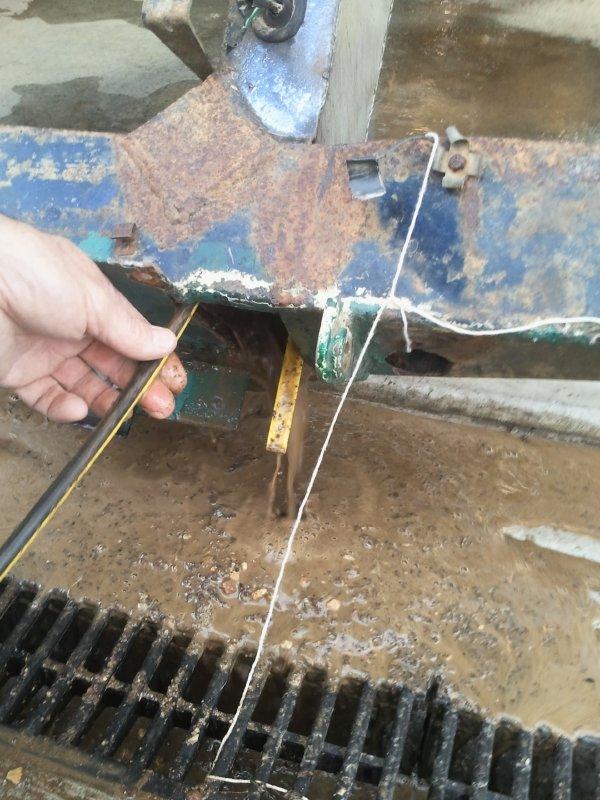
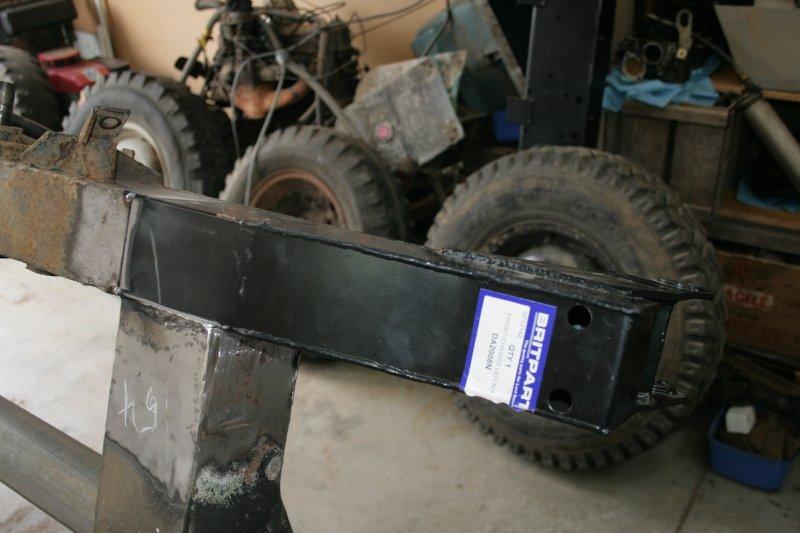
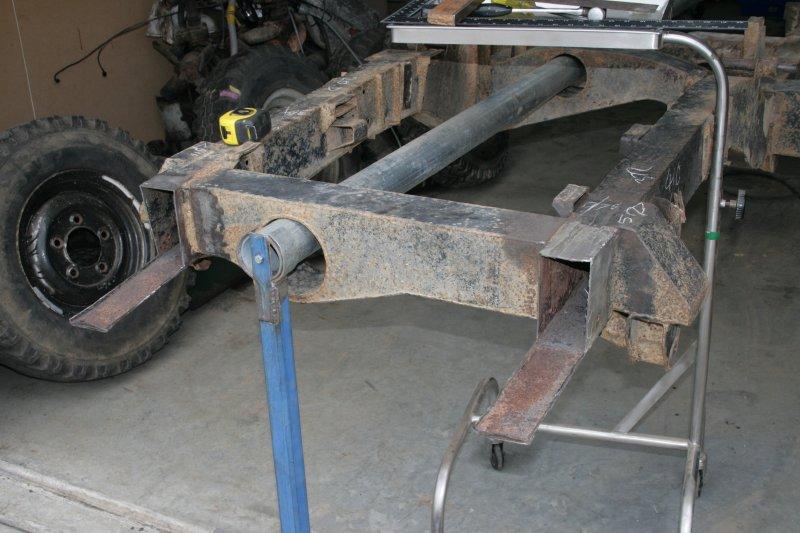
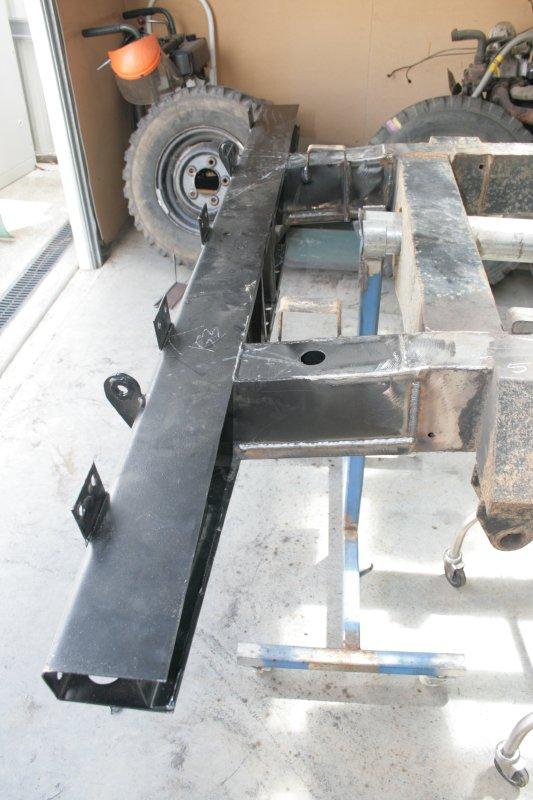
We've washed each rail out with high pressure water maybe 4 or 5 times now, basically until we're convinced there's no more dirt coming out with the water. You'll notice in my last post that the chassis is raised to the ceiling of the shed, this is for drainage purposes during cleaning.
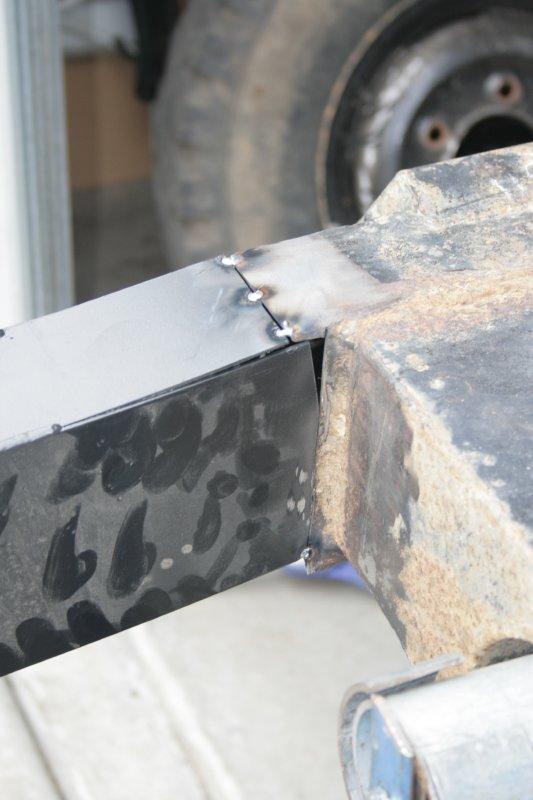
The most exciting and challenging part of all of this is actually getting the pipe cleaner through the chassis. There's a heap of crush tubes in there, it has a habit of getting stuck on all of them. It took a while, but we eventually devised a reliable system, based on what sparkies do. Might as well take inspiration from those who do this on a daily basis!
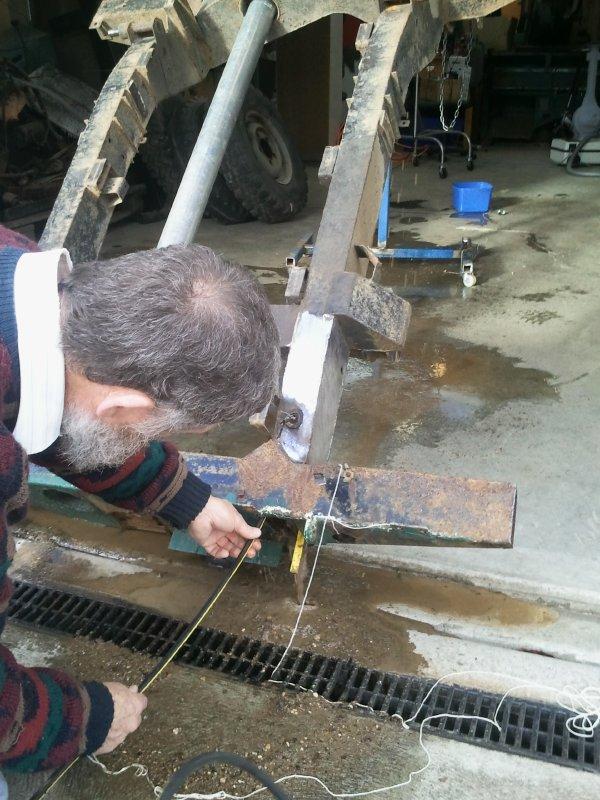
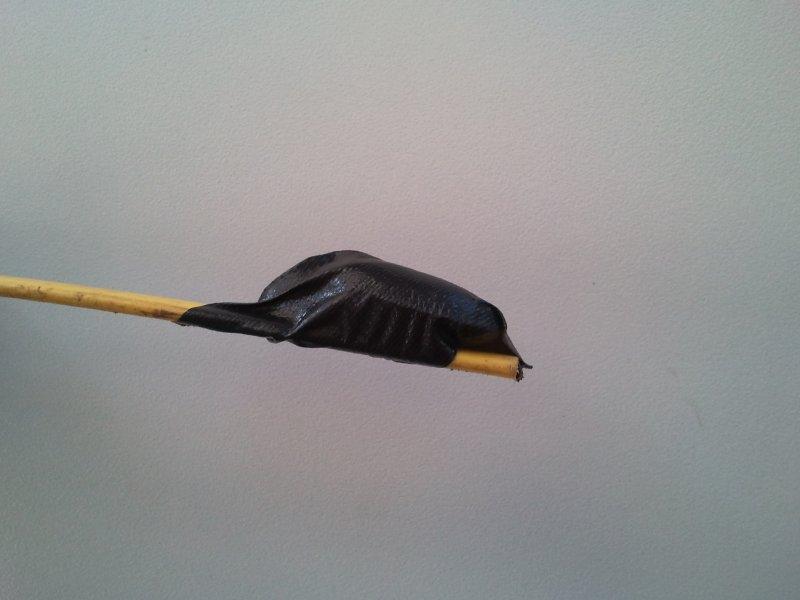
Yellow tongue from particle board flooring is what we ended up using, with a sinker for added bend. If left to its own devices, it has a habit of going over the top of things that you won't be able to get the pipe cleaner through, particularly the first crush tube where the front shock absorber mounts. So, to bend it that little bit further, it's time to go fishing.
This is a oval shaped sinker approximately 30-40mm long, taped to the end. The extra weight drags the yellow tongue down nicely, making it go where you want it. We found that taping the front down a little so it sloped up nicely also helped get through. A twist of the yellow tongue where you get stuck, and you can reliably get right through the chassis. Tape your pipe cleaner on gently, pull back through until you reach the dumb iron and then yank so the tape snaps, Bob's your uncle.
We also used a degreaser, Marine Clean, as recommended by the POR 15 people. The Karcher we have has a detergent pick up, but apparently that only works if you don't have a high pressure nozzle attached. Real useful. So we mixed the degreaser about 20:1 with water (as directed on the label) and used a short piece of hose to plumb it into the pump. Worked quite well eventually. After letting the degreaser sit for a while, we've gone back and washed it out.
The real issue is now moisture. I'm pretty sure the next step which is the etcher needs to be applied to a dry surface, so we need to get it dry. Paint obviously needs a really nicely dry surface as well. Which is just fantastic, as the instructions say to rinse the etcher off with water after about 30m as well!
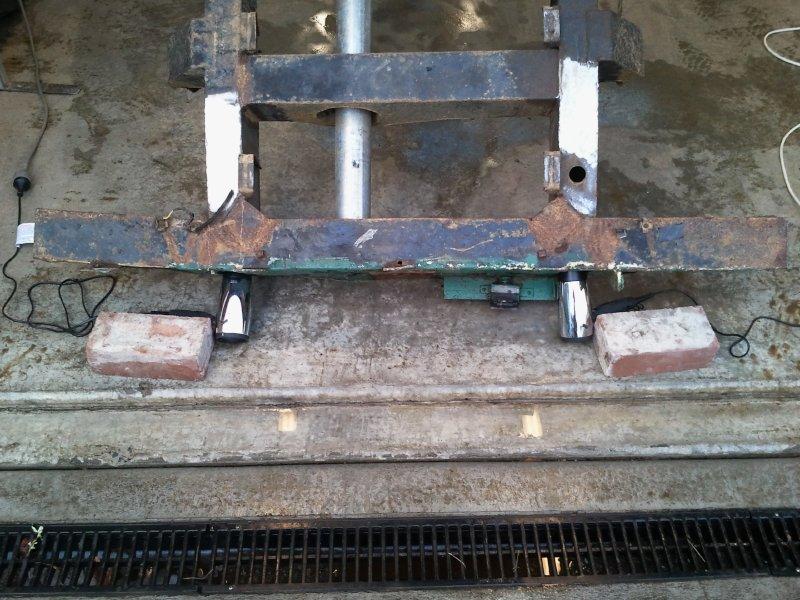
It's OK though, we've got a solution! Hair dryers. $45 for a pair of 1800W units, perfect for my use. I decided to decline the offer of an extended warranty for some reason.
I went and checked them after about 1.5 hours of operation, the whole chassis varies from too hot to touch to nice and warm, with plenty of warm air flowing out all the holes along the whole length. I reckon it should comfortably be dry before Monday, even if I do turn them off overnight.
Now all we need to work out is how on earth we're going to get the etcher and paint in there. I'm currently thinking something along the lines of a pressurised insecticide sprayer with a really long hose. I'm definitely open to suggestions though!
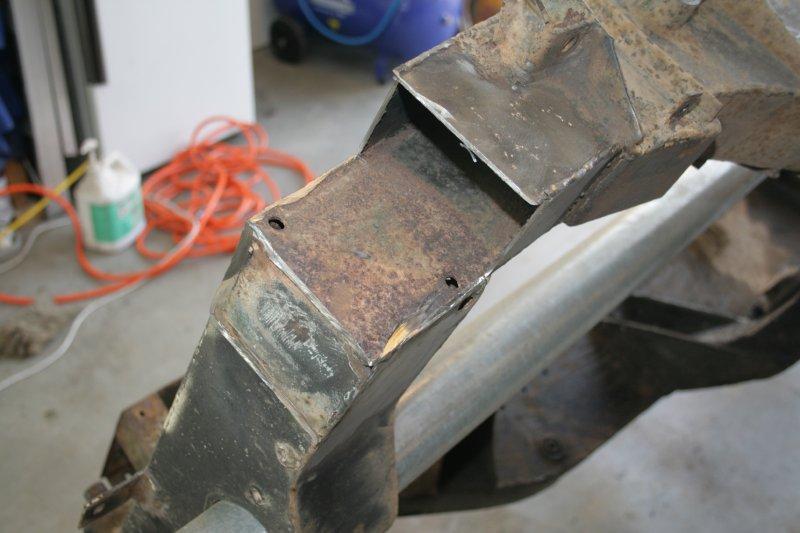
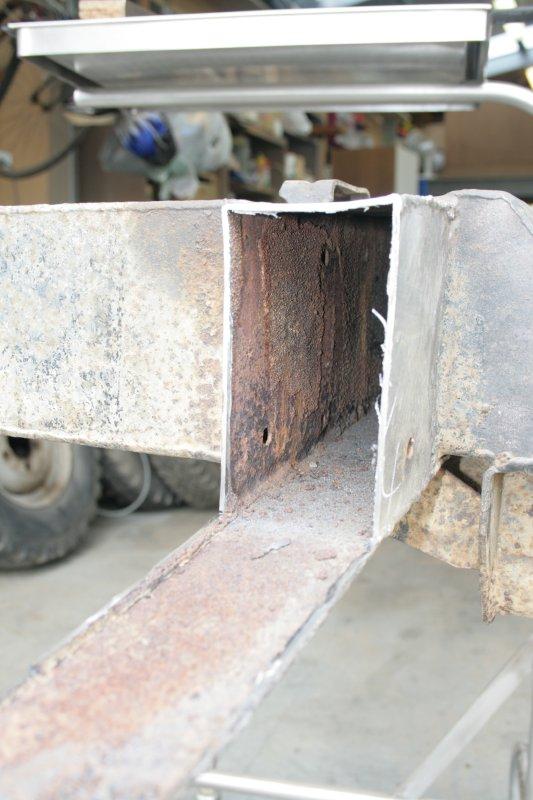
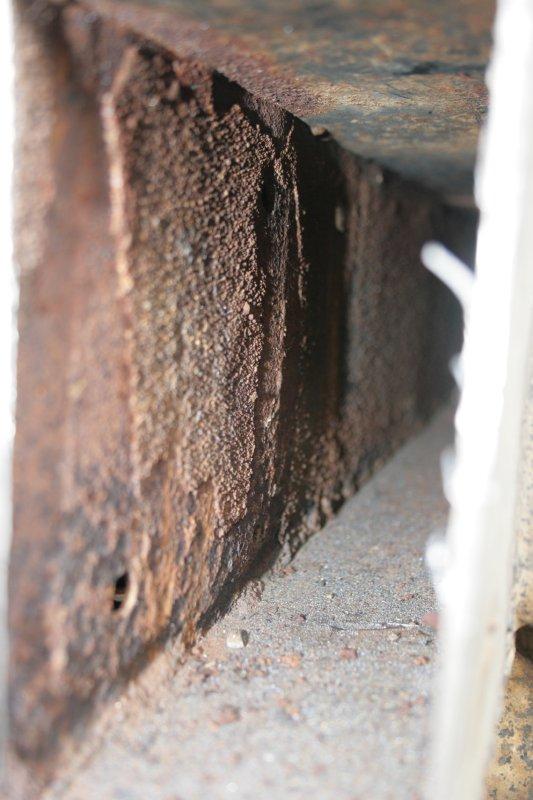
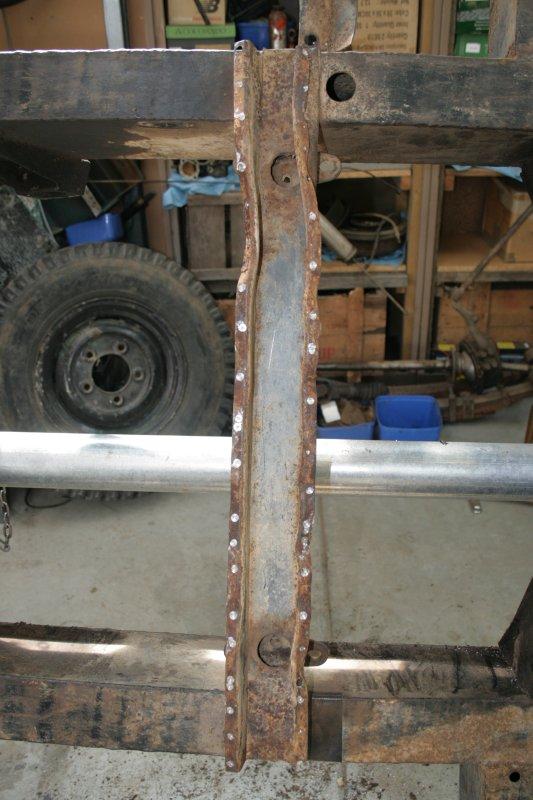
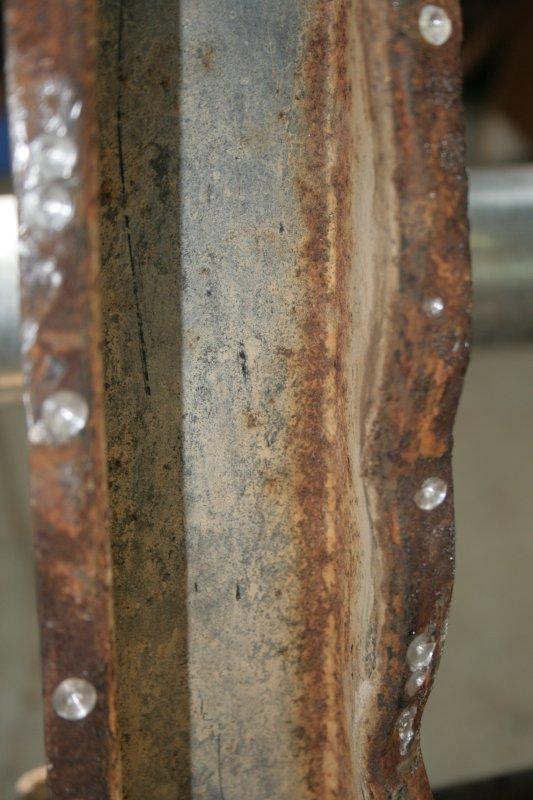
I'll try to get some better photos of inside the chassis before I hit it with the etcher, then after as well.
I think I need more deadlines in my life. Really invigorates my work ethic!
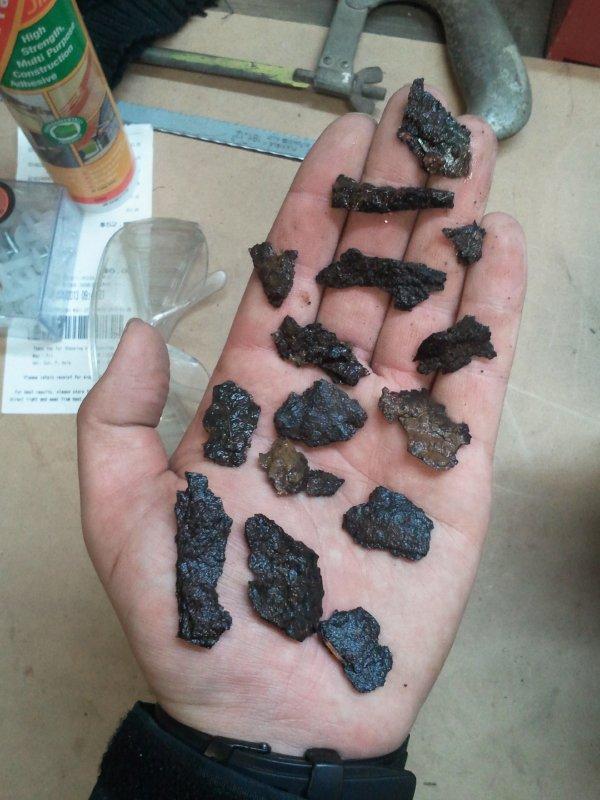
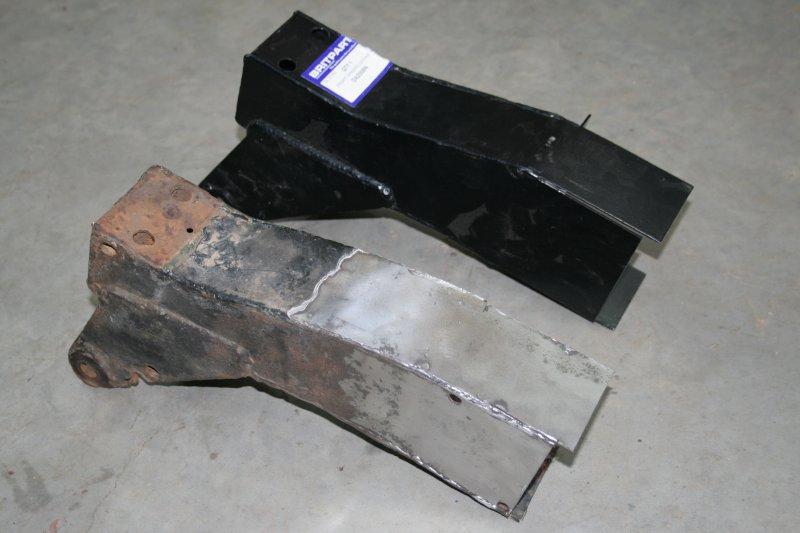
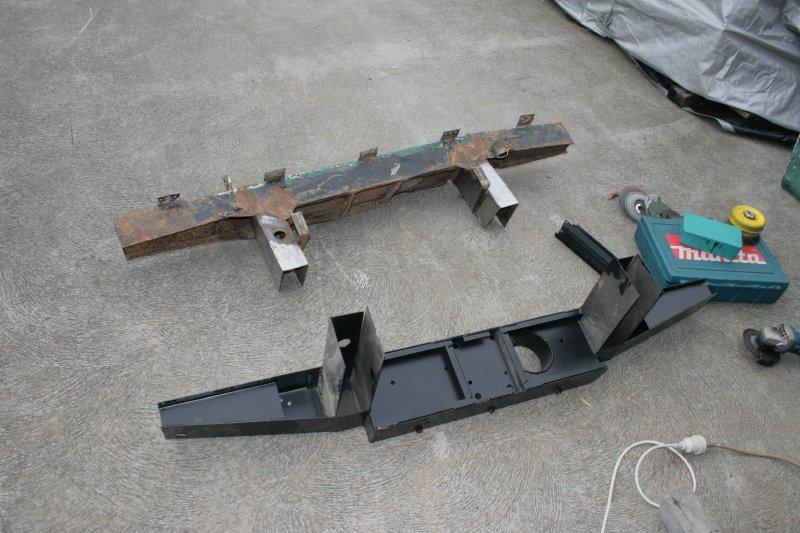
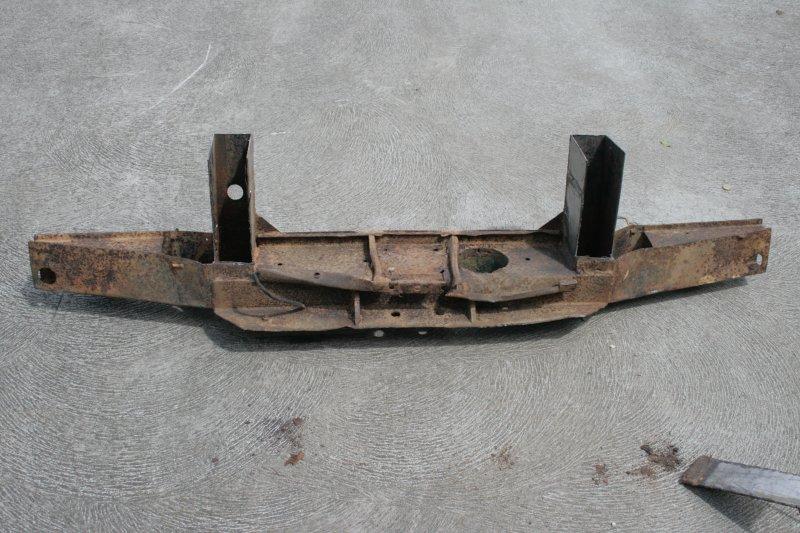
Oh, in regards to the rust chunks I had a picture of last post, that's about all the rust we've found. There's been plenty of rocks, but very little rust. I'm quite thrilled by that actually. We suspect the rust chunks came out of the rear cross member which is about to be replaced anyway, so I'm really not bothered at all.
-Martin


Bookmarks