-
30th October 2013, 08:42 AM
#31
Thanks NiteMare, no vacuum tank for me then. Makes connecting it all up a bit easier too.
cheers
-
9th November 2013, 10:51 PM
#32
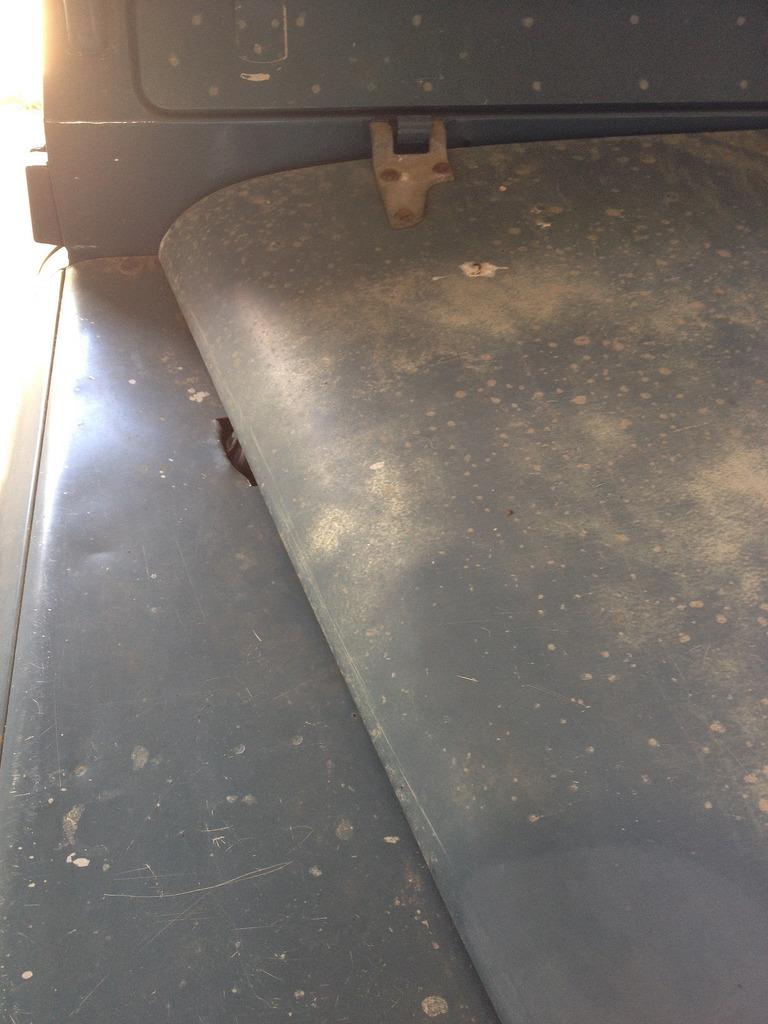
Front wing is back on. As expected, I had to cut out quite a bit for the type 80 brake booster. I think about a 5mm gap will be visible when the bonnet goes back on but haven't tried it out yet.
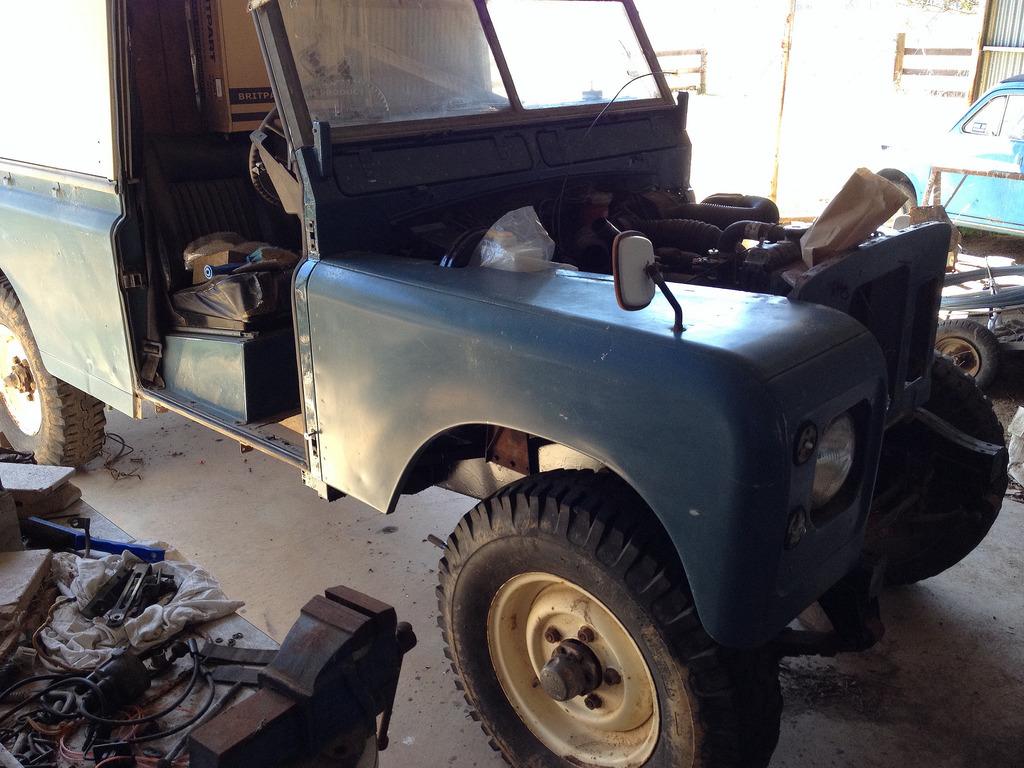
cheers
-
26th November 2013, 10:13 PM
#33
I've started putting things back together and the plan is to soundproof the cabin as much as possible with mass loaded vinyl. I've bought a roll of it plus some sheets backed with closed cell foam and self adhesive. It seemed to go really well on the doors, next step is the floor, transmission tunnel and seat box.
cheers
Phin

-
12th January 2014, 04:04 PM
#34
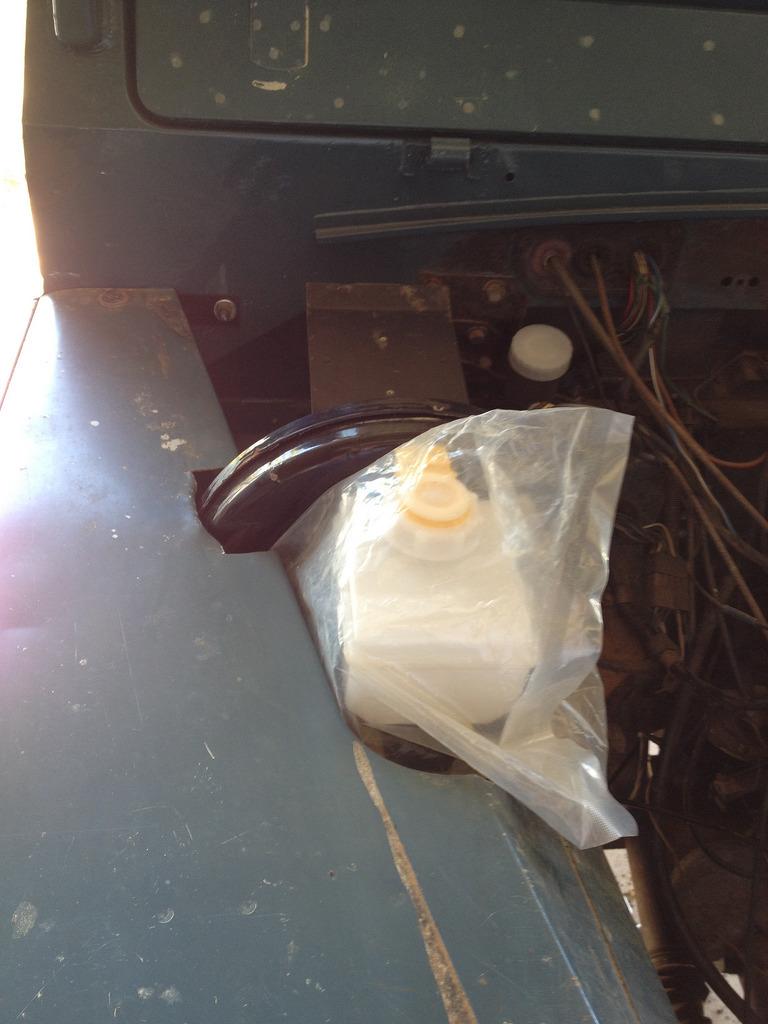
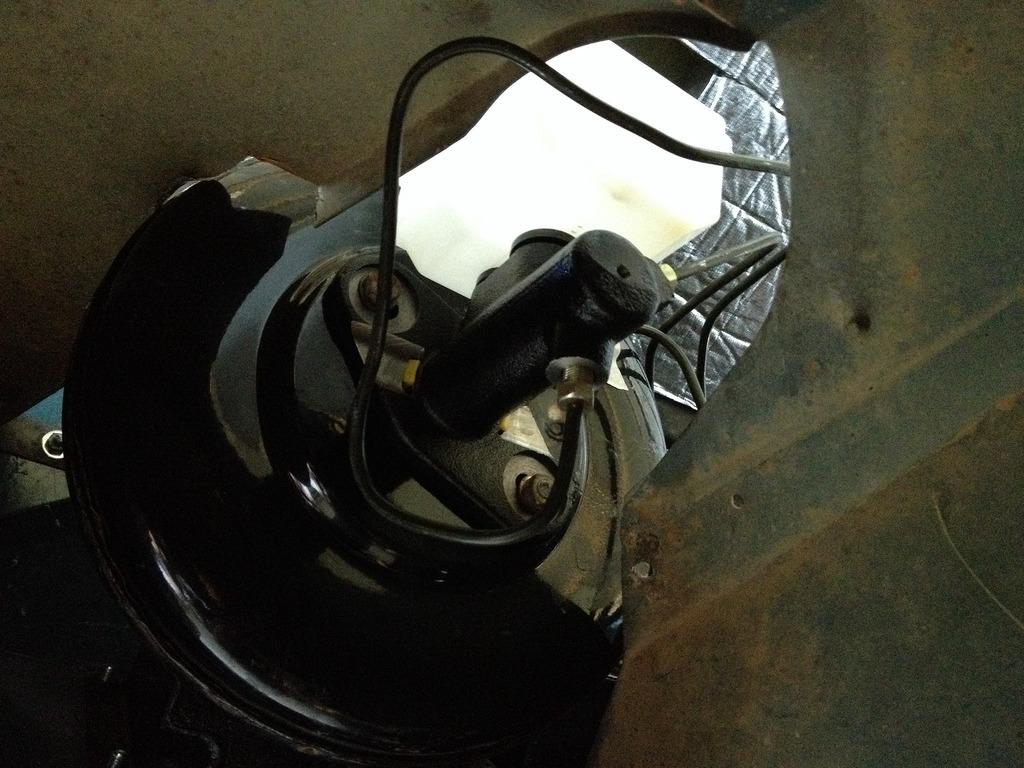
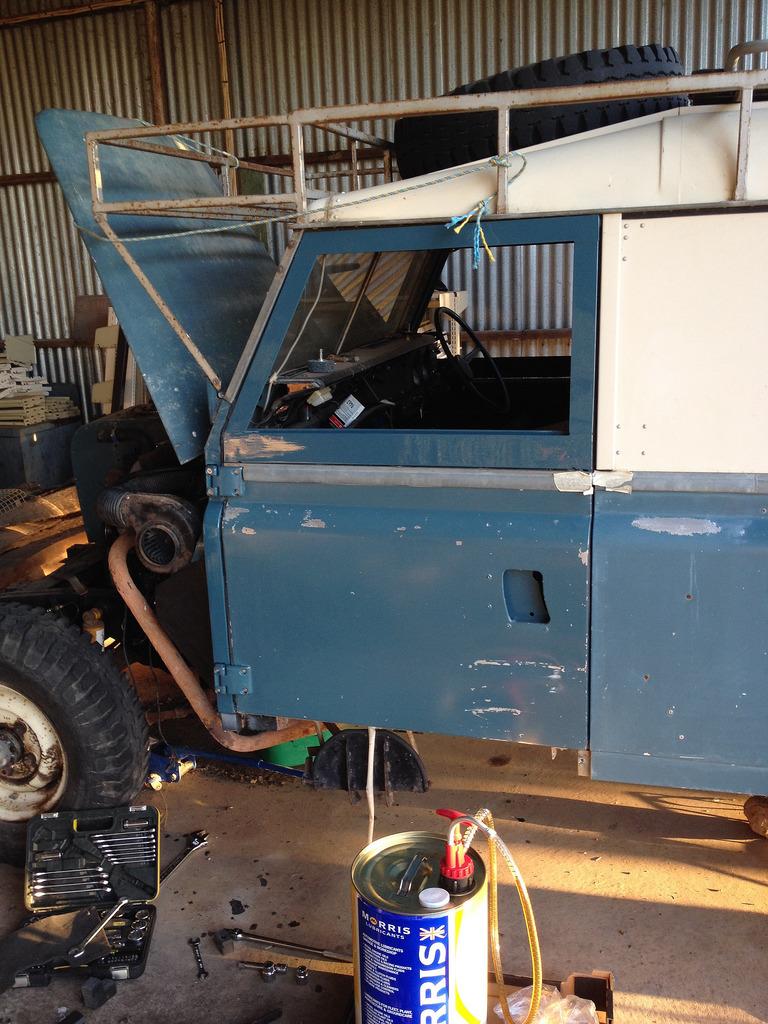
There's been a bit of progress since November. All the brakes are in and I had a first go at bleeding them but haven't adjusted them yet. They need pumping up which I read means that they need adjustment. With the bonnet on you can still see a bit of the new booster, but I'm hoping that the improved braking feel will make up for it.
Will need to modify the mud shield too as it fouls on the new brake lines.
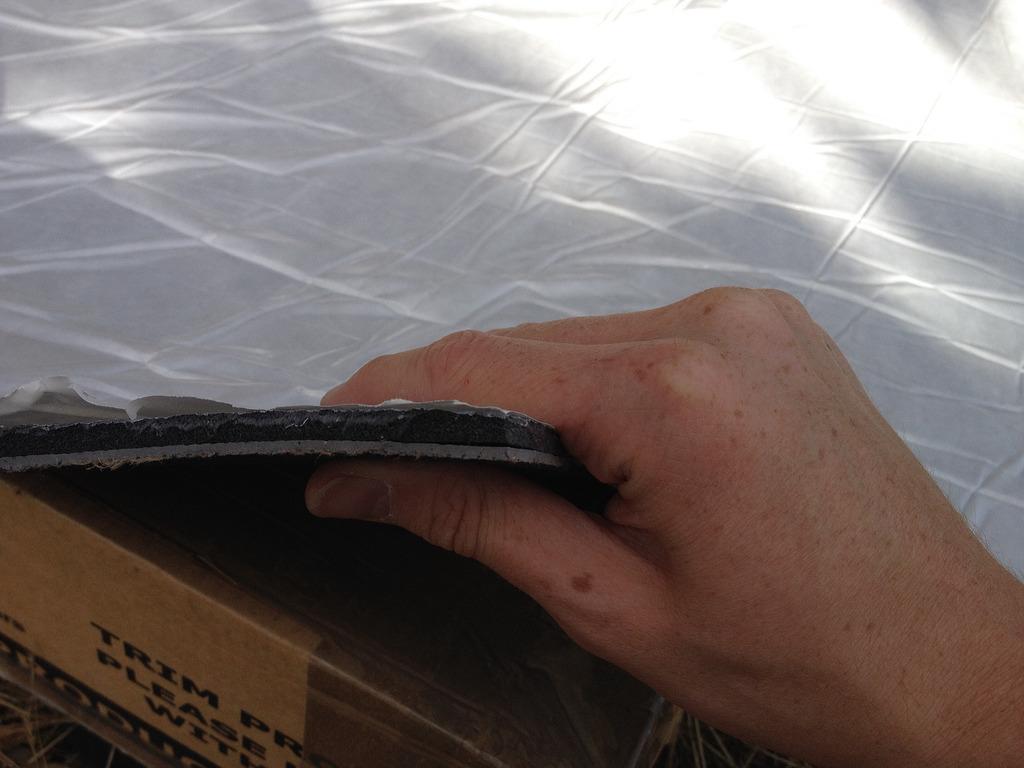
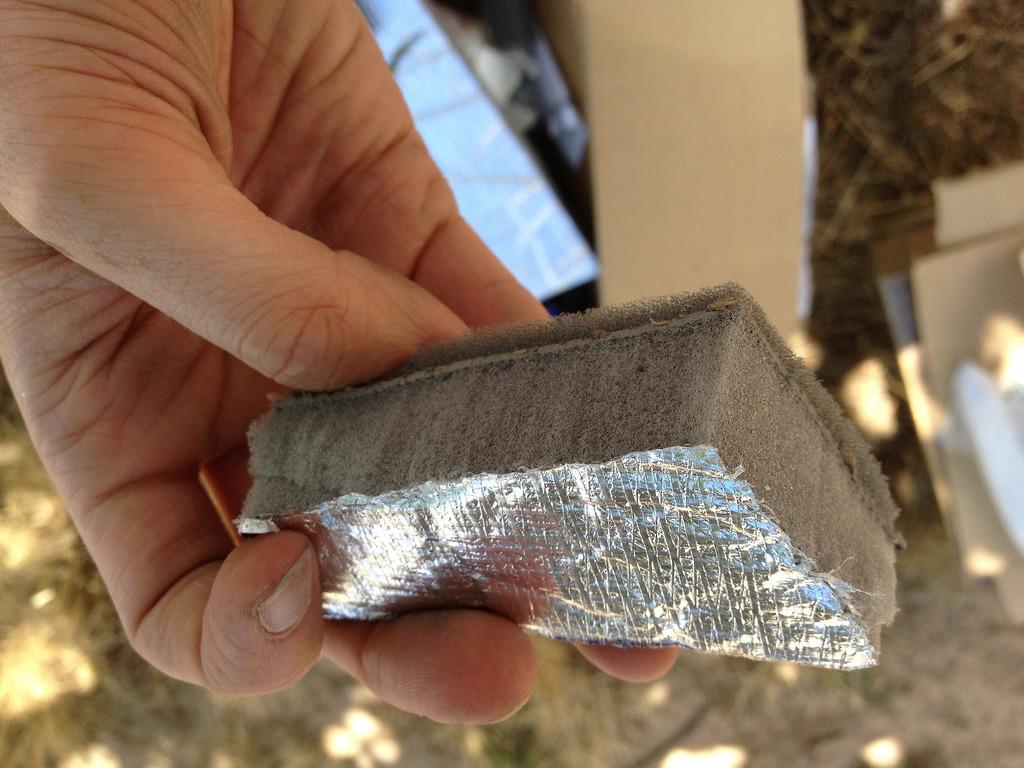
I've also been continuing work on soundproofing. I got some marine engine bay soundproofing, which is essentially a sheet of 4kg/sqm mass loaded vinyl sandwiched between two layers of open cell foam and clad in foil. I've used this on the bonnet where I'm not so worried about water, but will probably stick to the mass loaded vinyl and closed cell foam combination for the cabin.

In a couple of weeks I will get a longer fan belt and will have a go at firing up the engine for the first time in about 9 months. Then onto the fixing the rat eaten electrics.
cheers
Phin
-
16th February 2014, 08:28 PM
#35
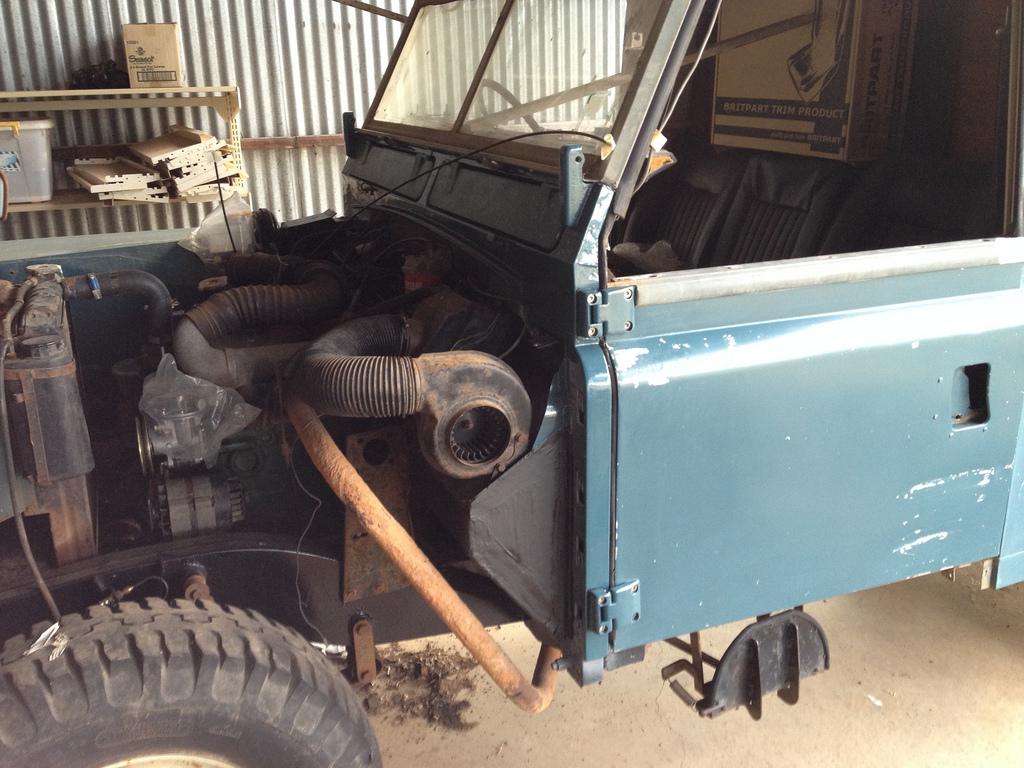
Put a few things back together and turned the key for the first time in almost a year - fired first time!
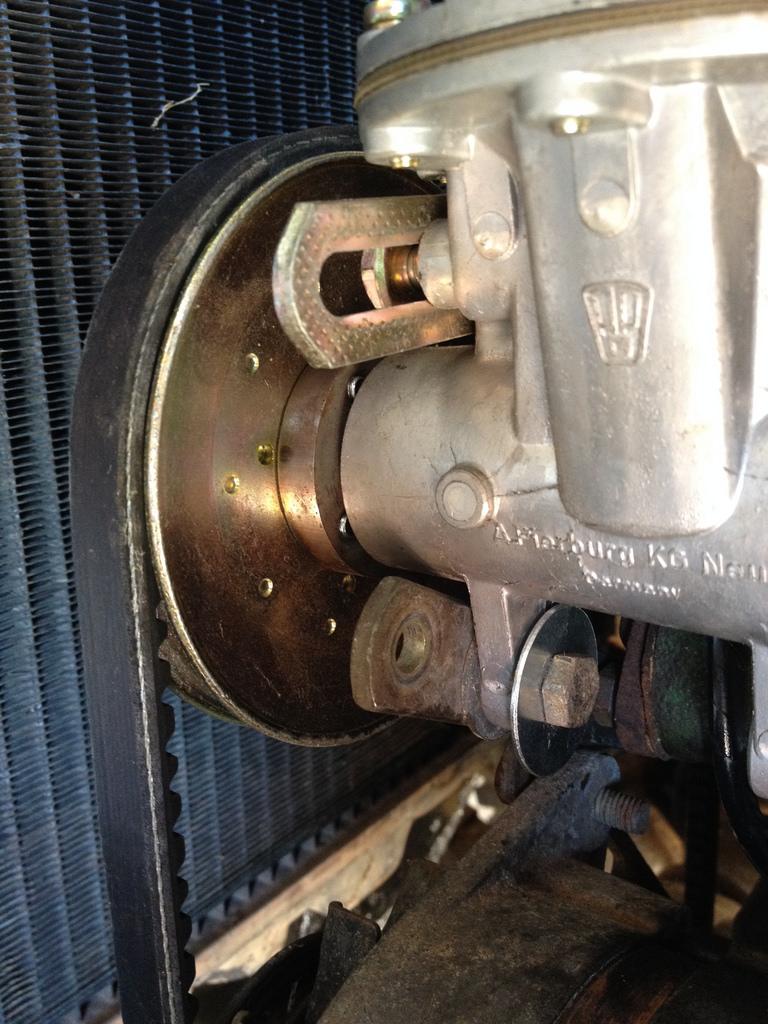
I had some issues getting a belt for the new vacuum pump. Ended up redoing the mounts to get it to fit together. Finally got one that fit but the belt comes over the ridges of the pulleys. Is this going to be an issue?
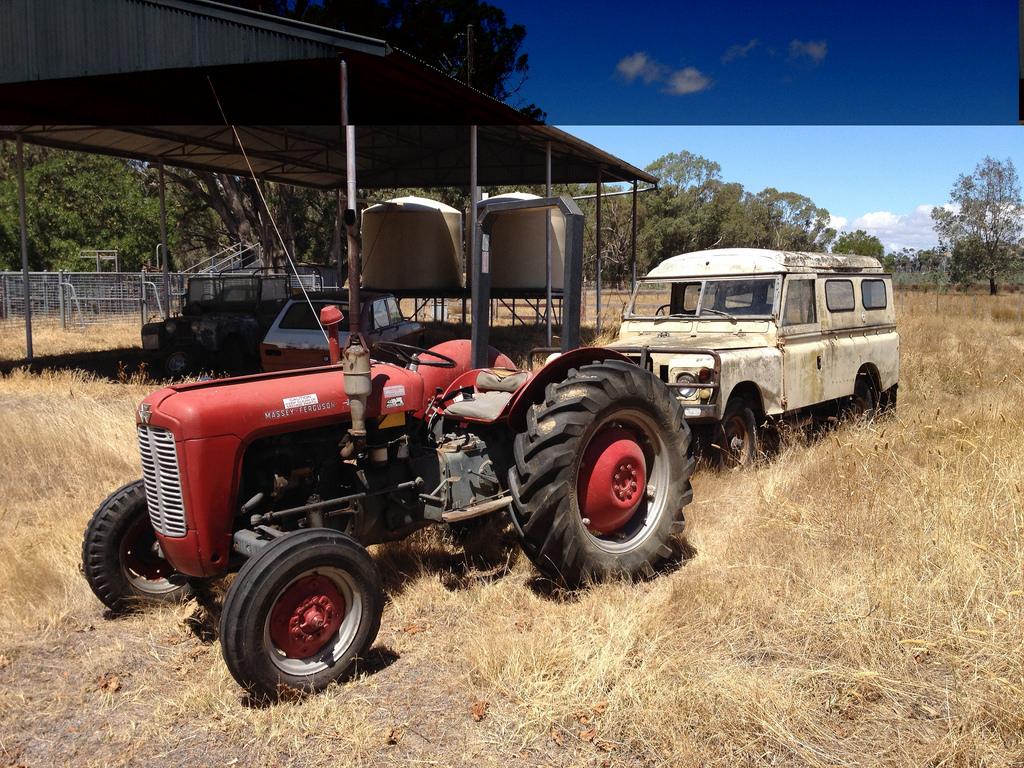
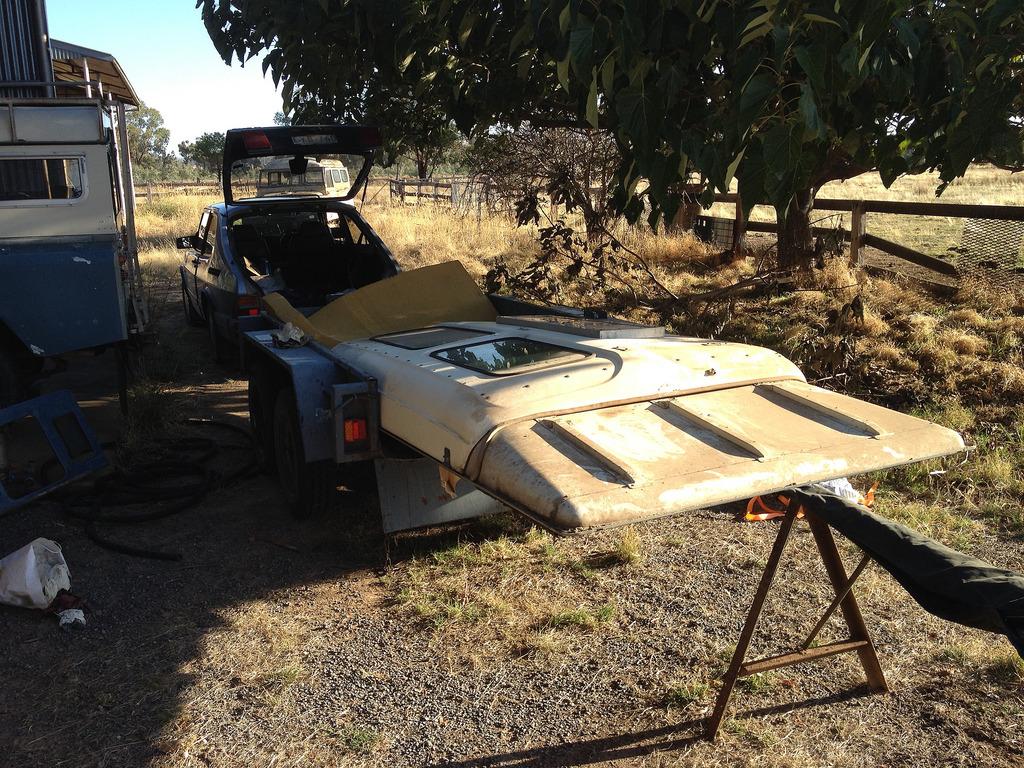
I moved the donor camper over as it had been left under some grey boxes and I didn't want a branch coming though the roof.
cheers
-
4th March 2014, 07:44 PM
#36
I have a few days off so I'm trying to get as much back together as possible over the next few days.
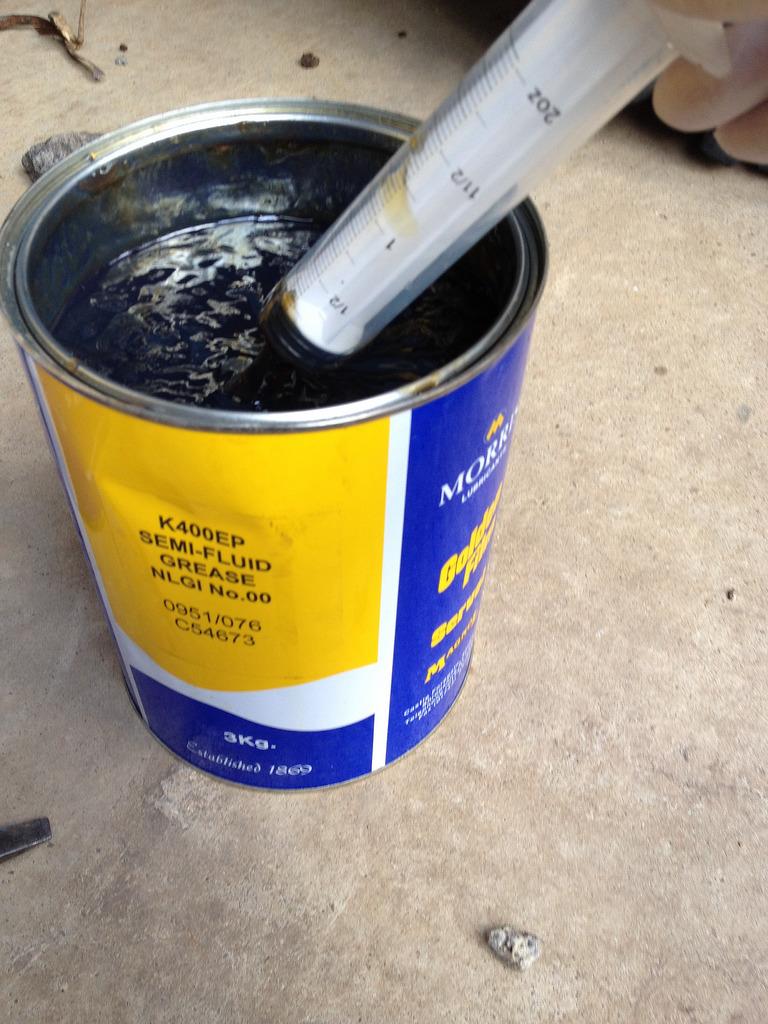
I'm cheating with the swivels as the swivel balls are a bit pitted and I'm putting off rebuilding them for the time being. Got some semi fluid grease for around $50 for 3kg so should last a while. I got a big syringe from the vet to get the grease in. Trouble free and only took about 10 minutes all up.
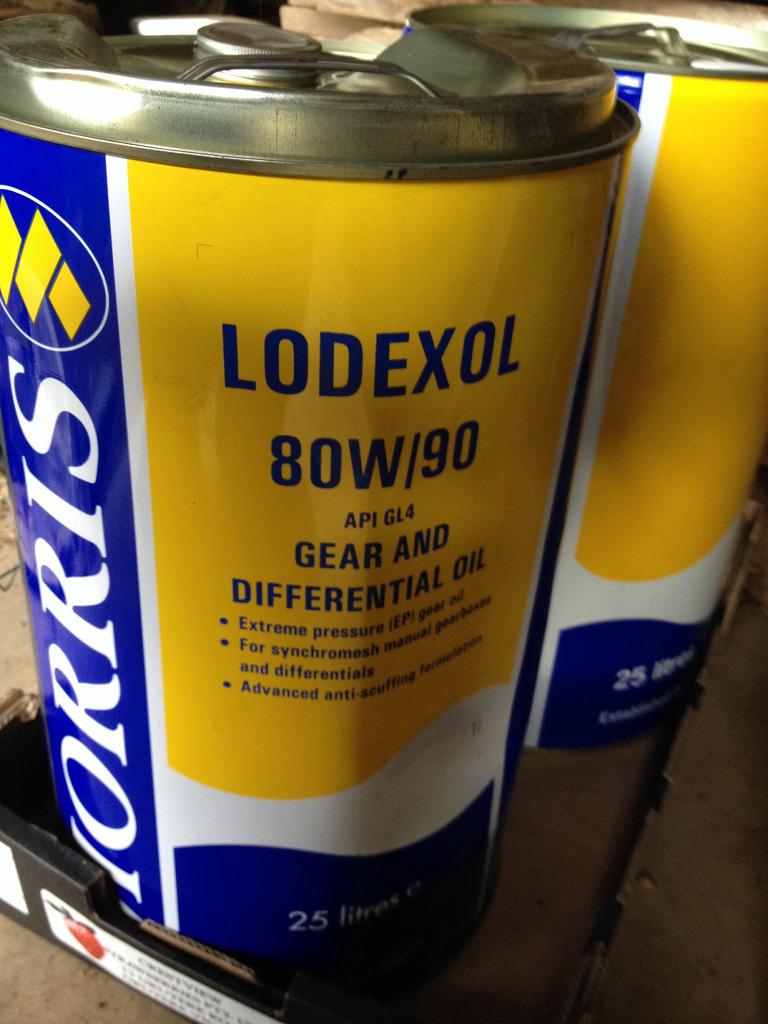
I also picked up 25 litres of gear oil, should do two Land Rovers and still be half full.
-
5th March 2014, 11:13 PM
#37
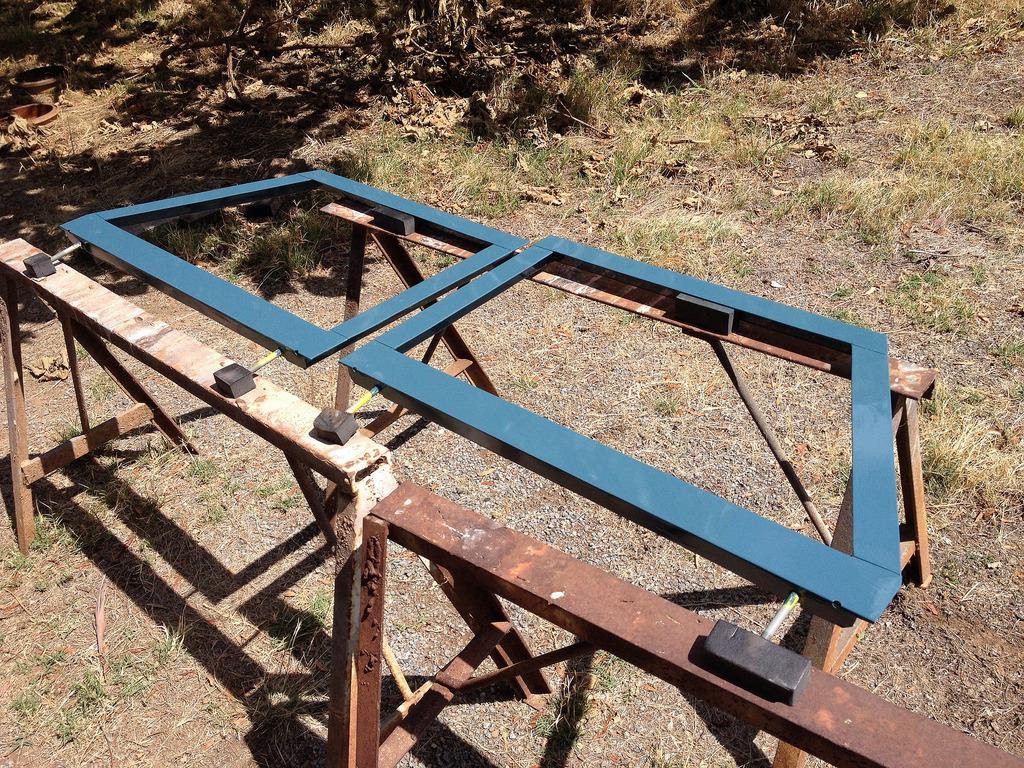
Door tops are now painted up.
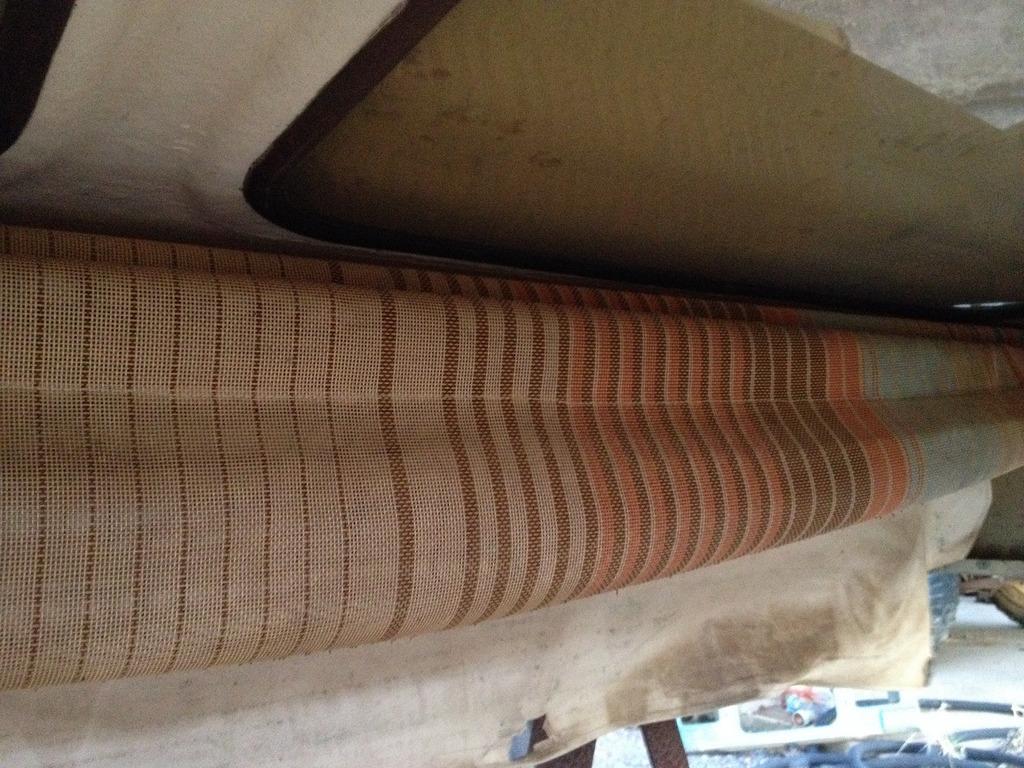
In other news I have sourced an original and very tidy Dormobile roof, which should be much nicer than my other camper roof. Now I have to get rid of the other camper roof. I think I have an addiction.
cheers
-
6th March 2014, 07:55 PM
#38
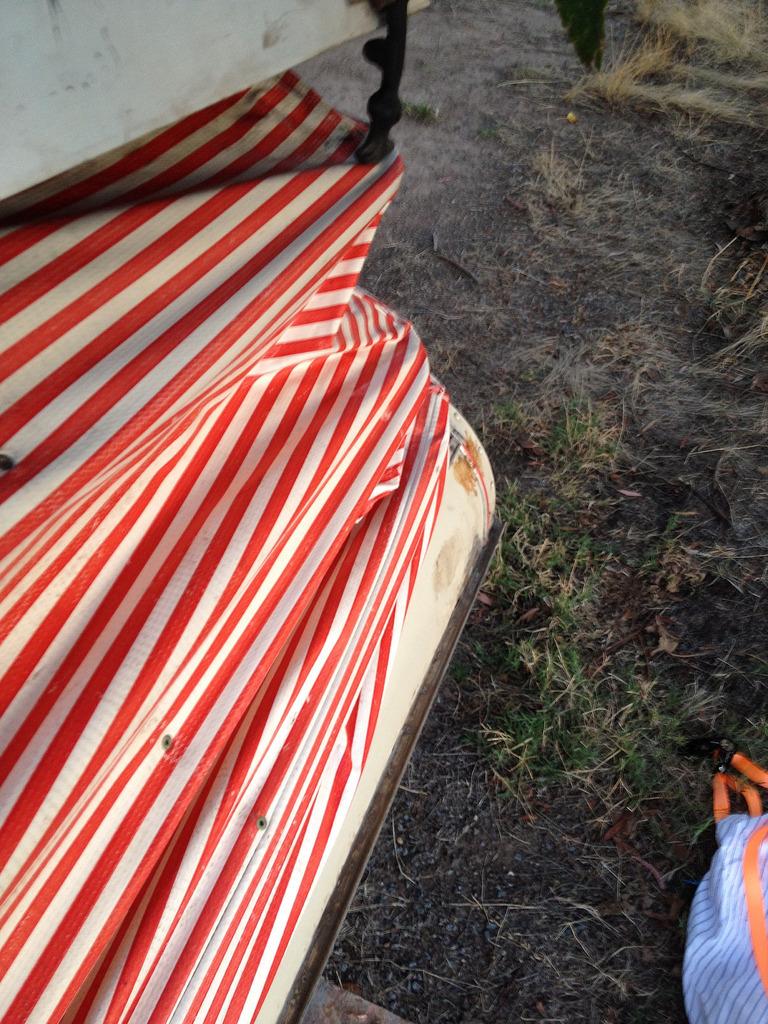
Picked up the Dormobile roof today. Will try to get some better photos tomorrow.
-
7th March 2014, 11:22 AM
#39
Looks great, this is going to be a fantastic machine")
D2 TD5 Manual
-
7th March 2014, 07:49 PM
#40
Now how did I know you'd buy that roof phin 
A good investment indeed, now if you want any dormobile bits to complete your restoration 
Have a look at Terri Ann's site, she created a two door camper with dormobile bits.
Expedition Land Rover site
 Posting Permissions
- You may not post new threads
- You may not post replies
- You may not post attachments
- You may not edit your posts
-
Forum Rules
Search AULRO.com ONLY!
|
Search All the Web!
|


 Reply With Quote
 Master
Bookmarks