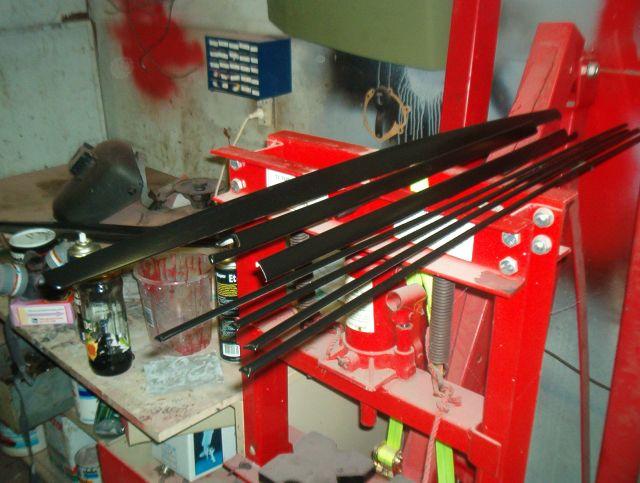
Did you manage to panel beat aluminium without buggering it up

Well done!!! So long as you have the shape close, and no highs, I'd be tempted to go straight to plastic filler now ... stop beating the aluminium while your ahead!. If it was a mild steel panel you can stretch/shrink/play with it almost forever .... I'm not fond of alloy though.
Can you get Hi-chem paints over there. I have found there "super etch" primer sticks like **** to a blanket. Amazing stuff that's very cheap and available in pressure packs.


 Reply With Quote


Bookmarks