


 Reply With Quote
Following on from the questions asked in this thread, and adding to the modifications I touched on there, I've gone ahead and added breather pipes to the winch motor. Thanks to all who have made suggestions in the other thread. Hopefully between the two threads, there will be some advice and info to encourage others to take on a similar project if they have the need or desire to.
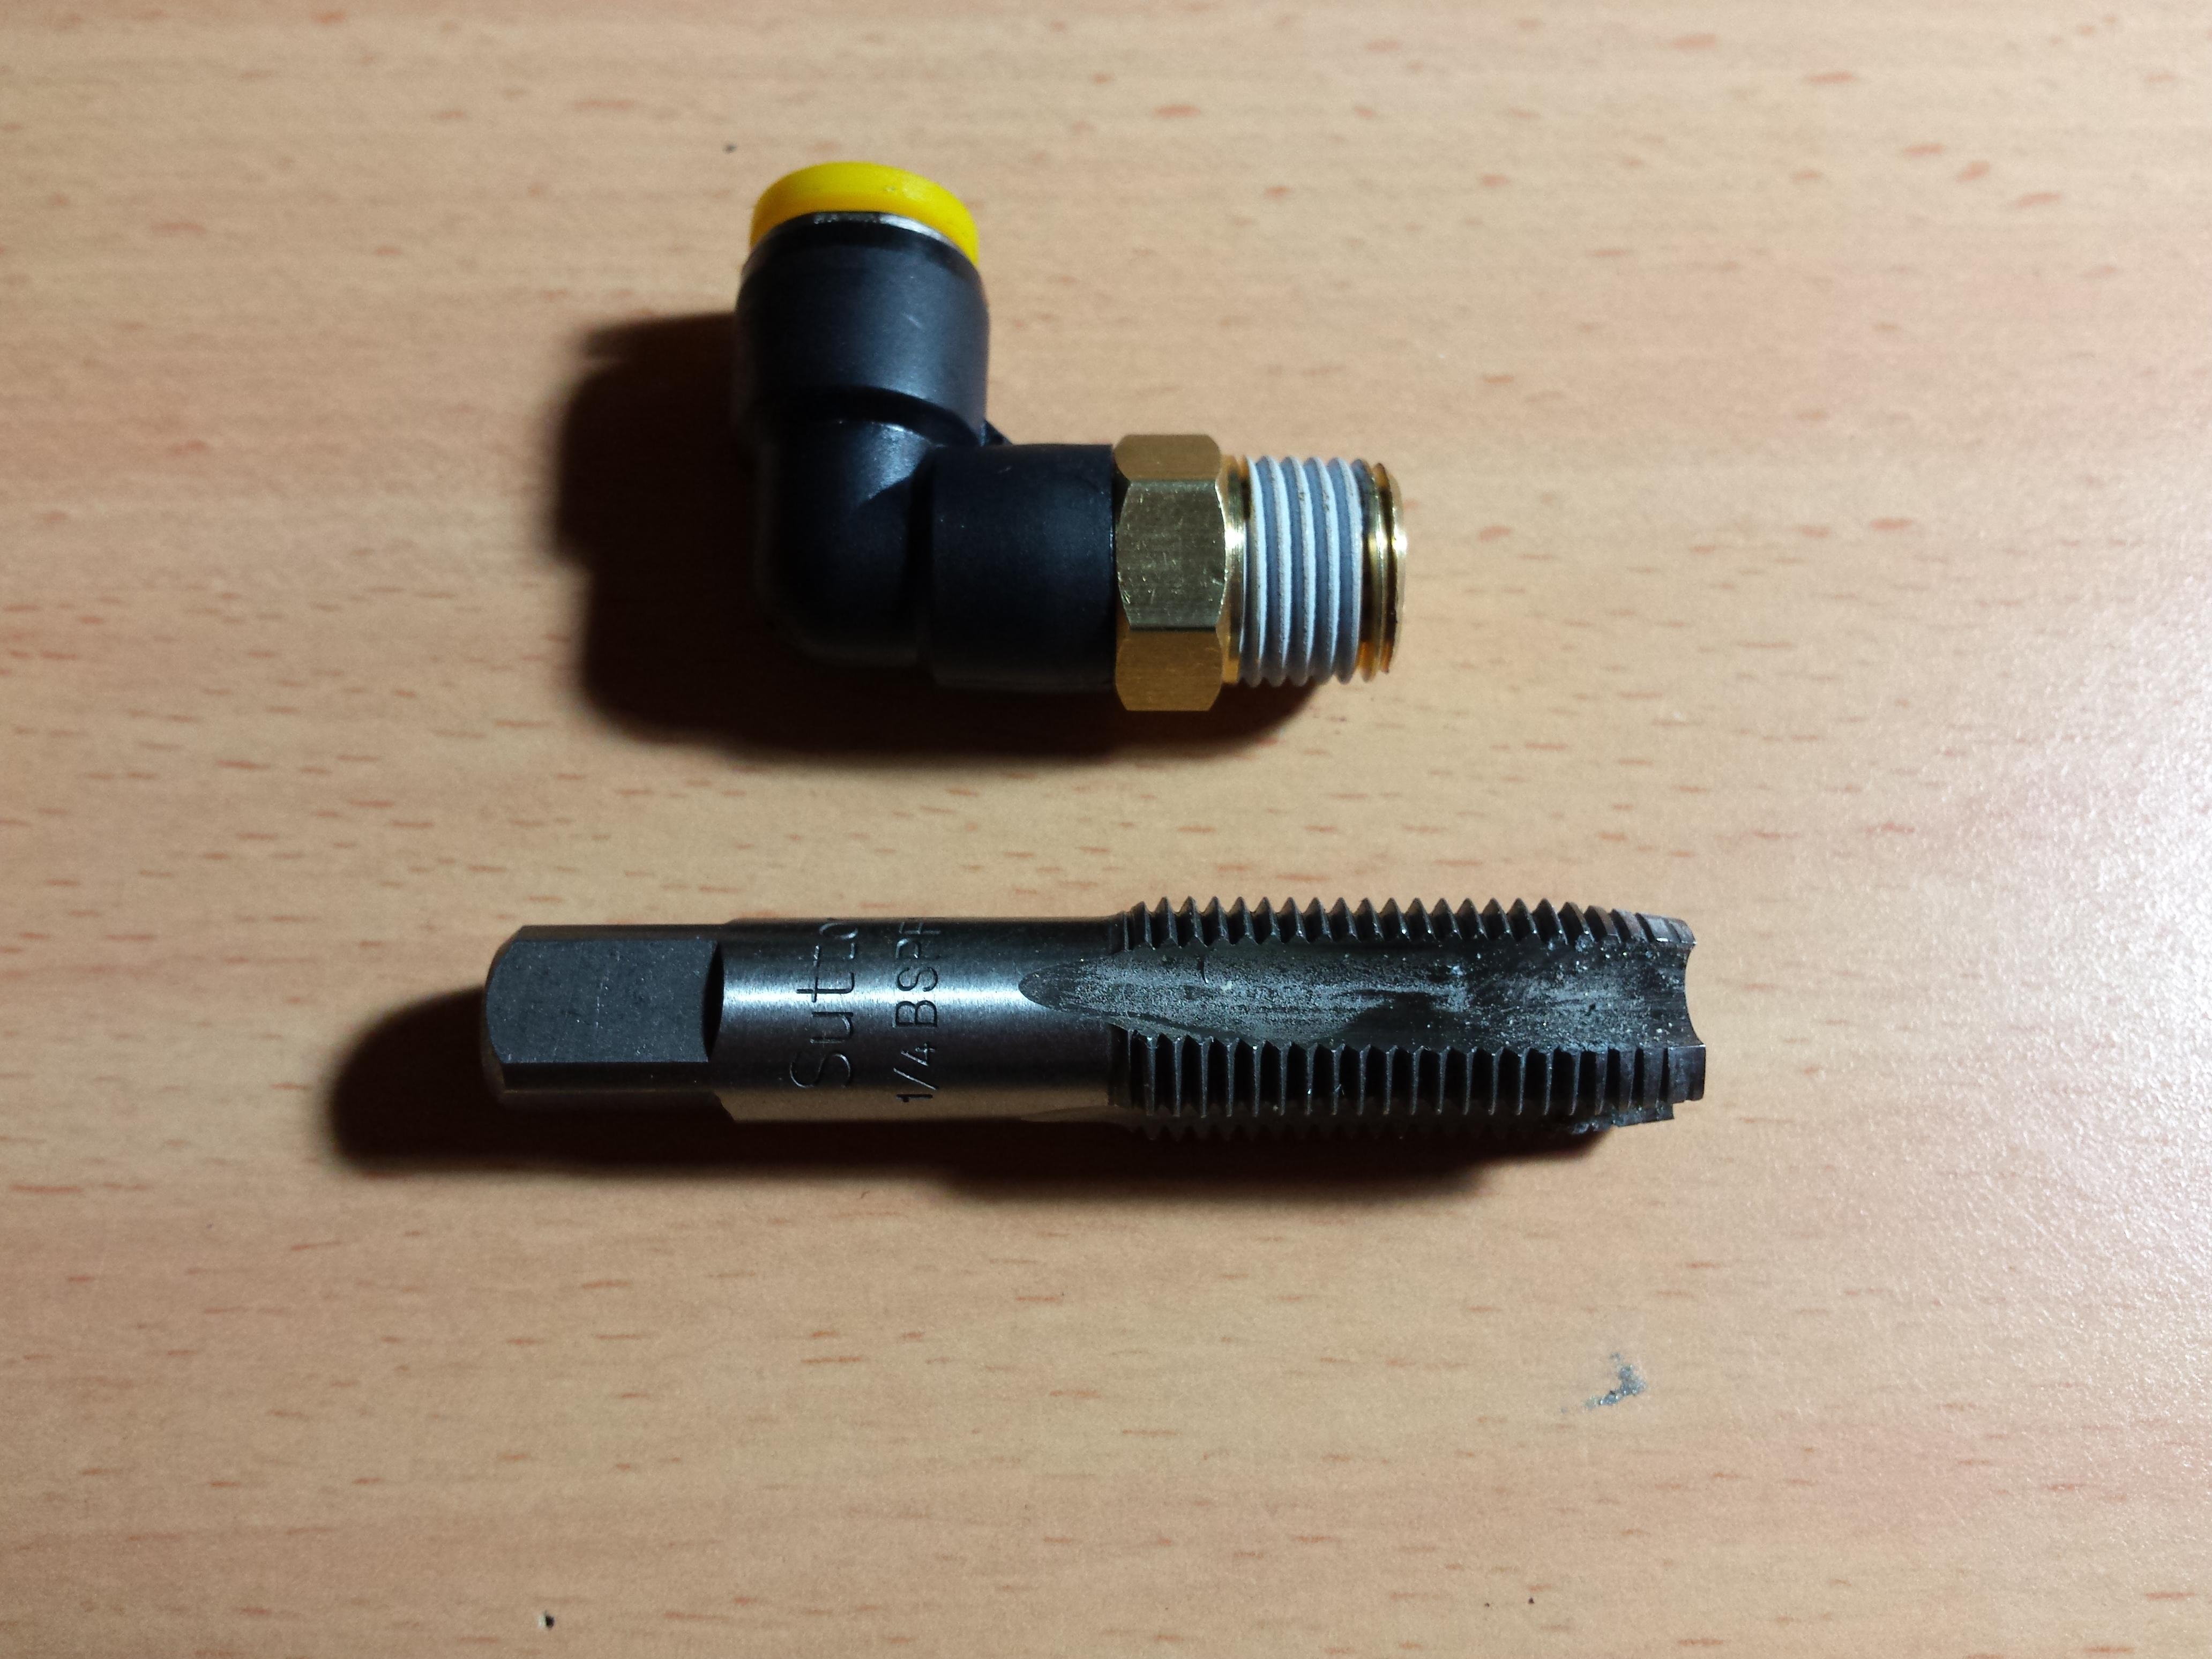
Swivel elbow for 8mm poly tube, and 1/8 BSP tap was used
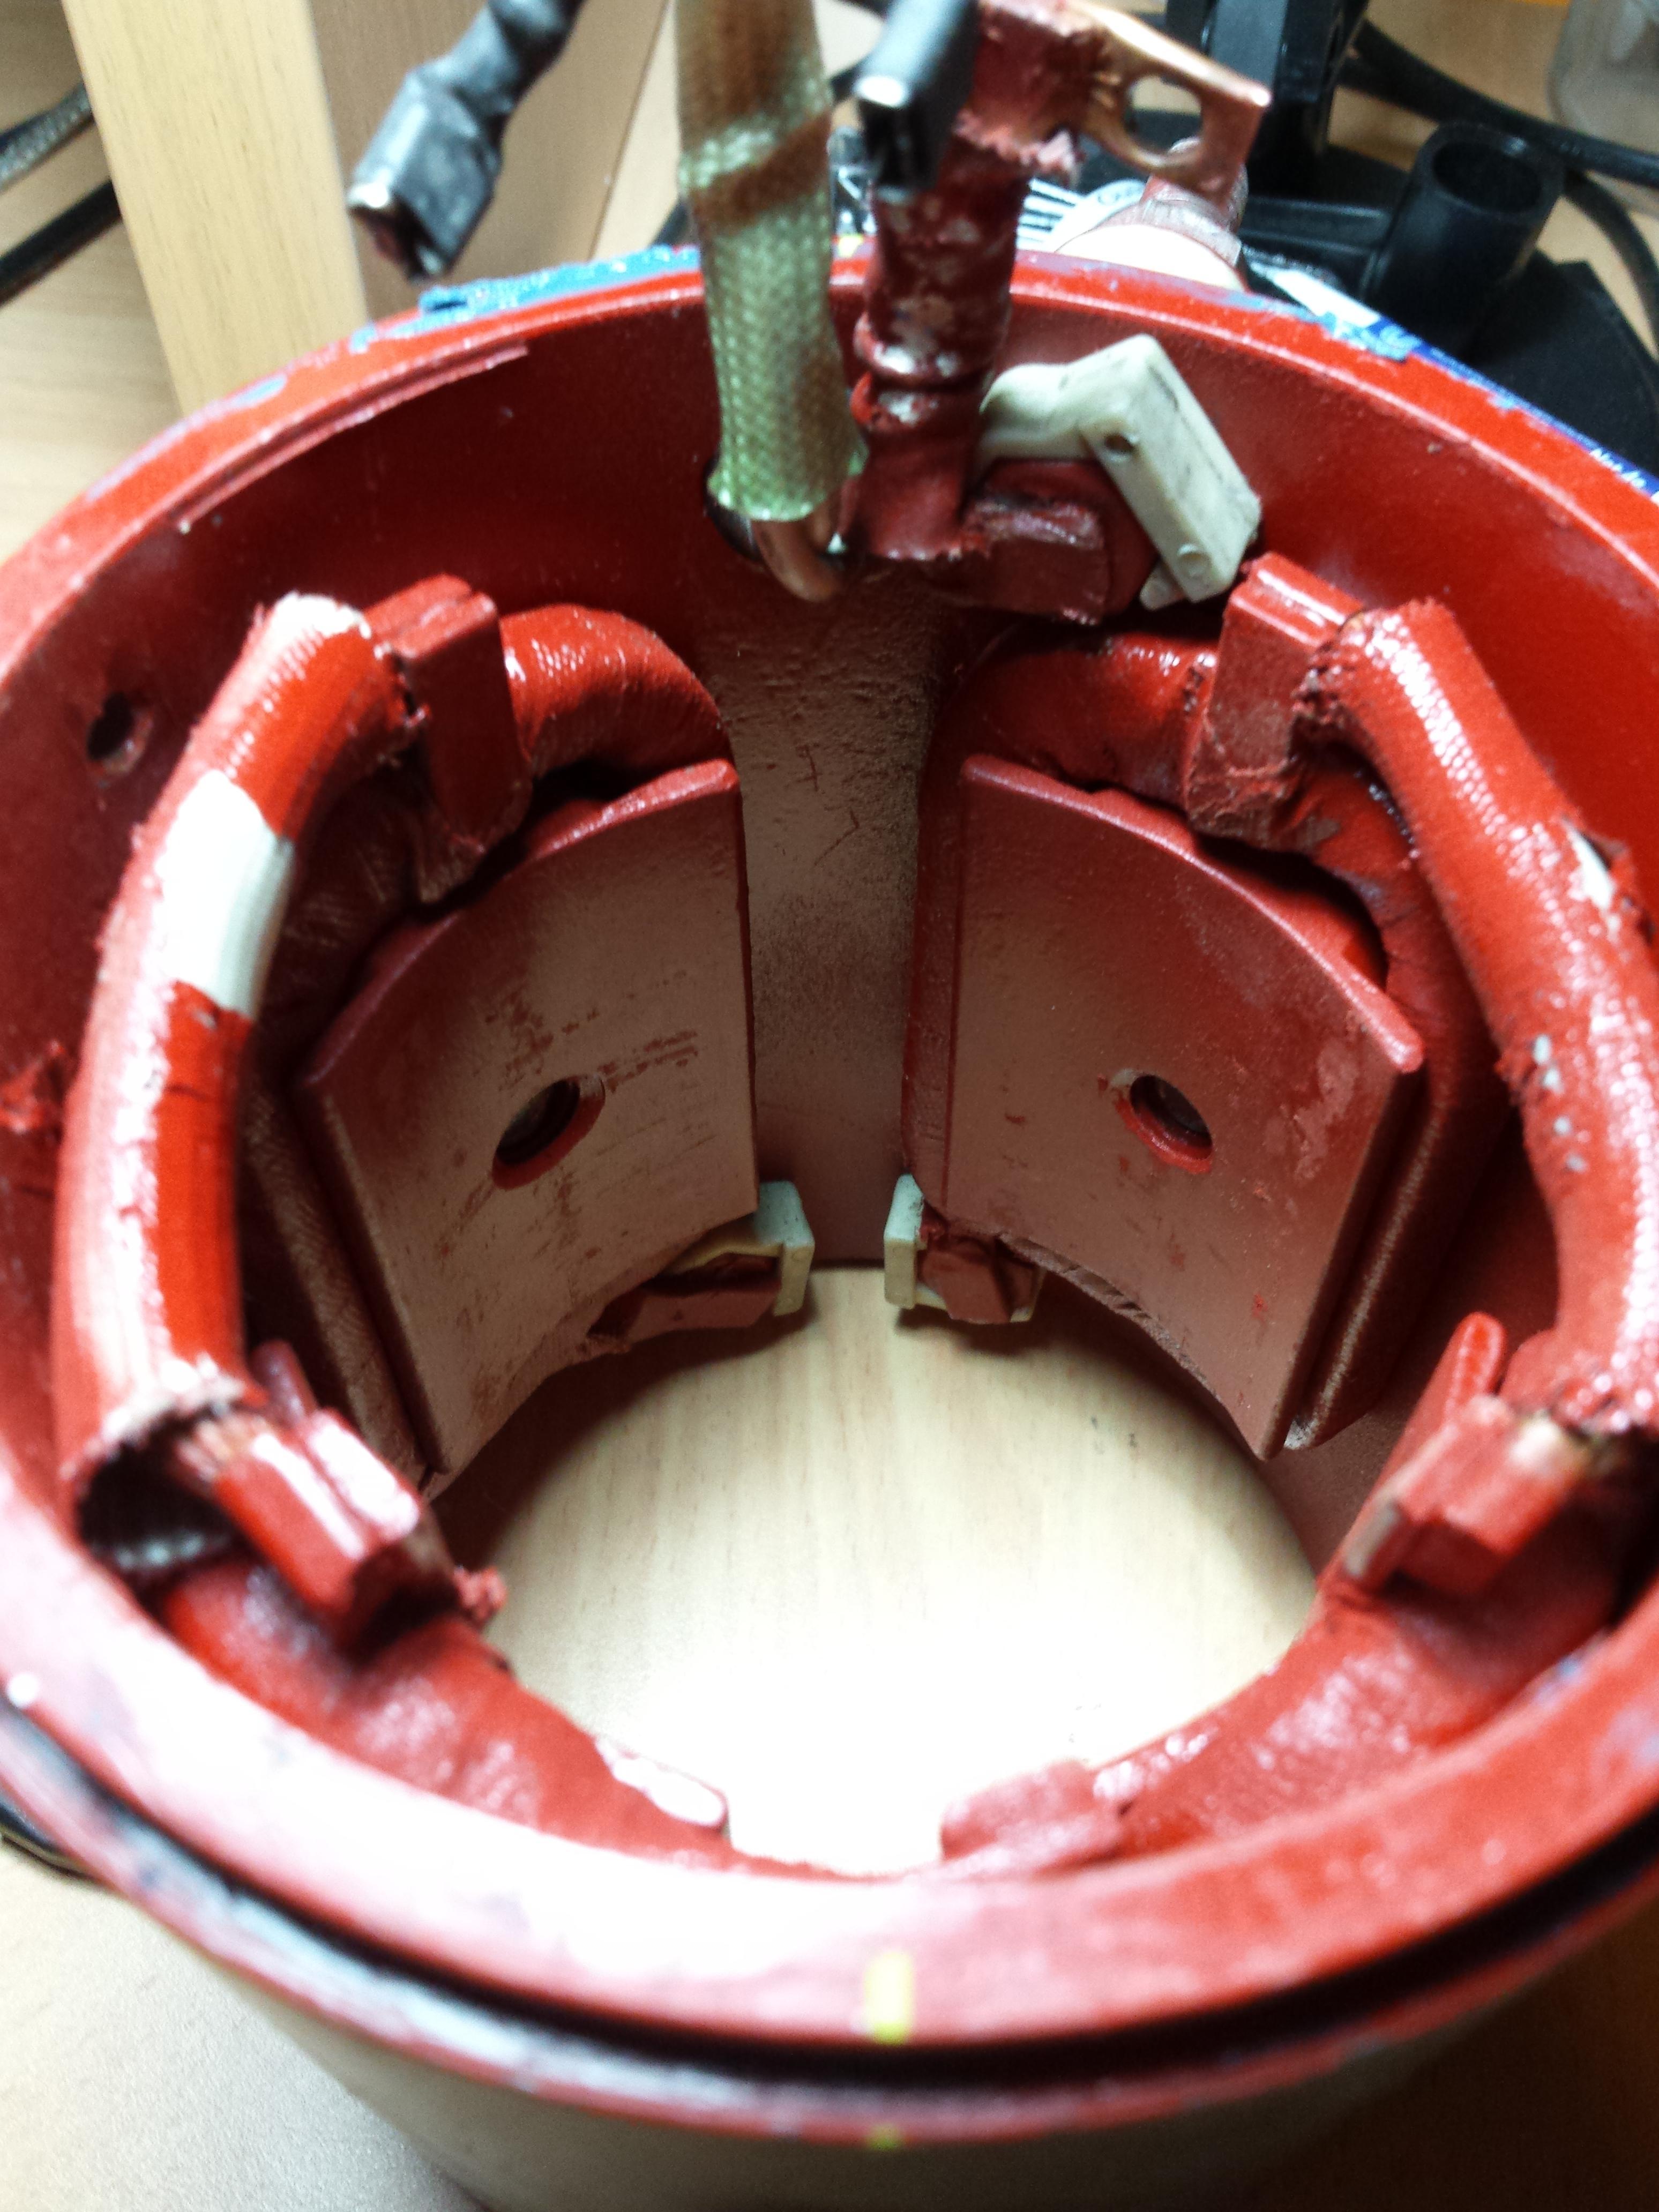
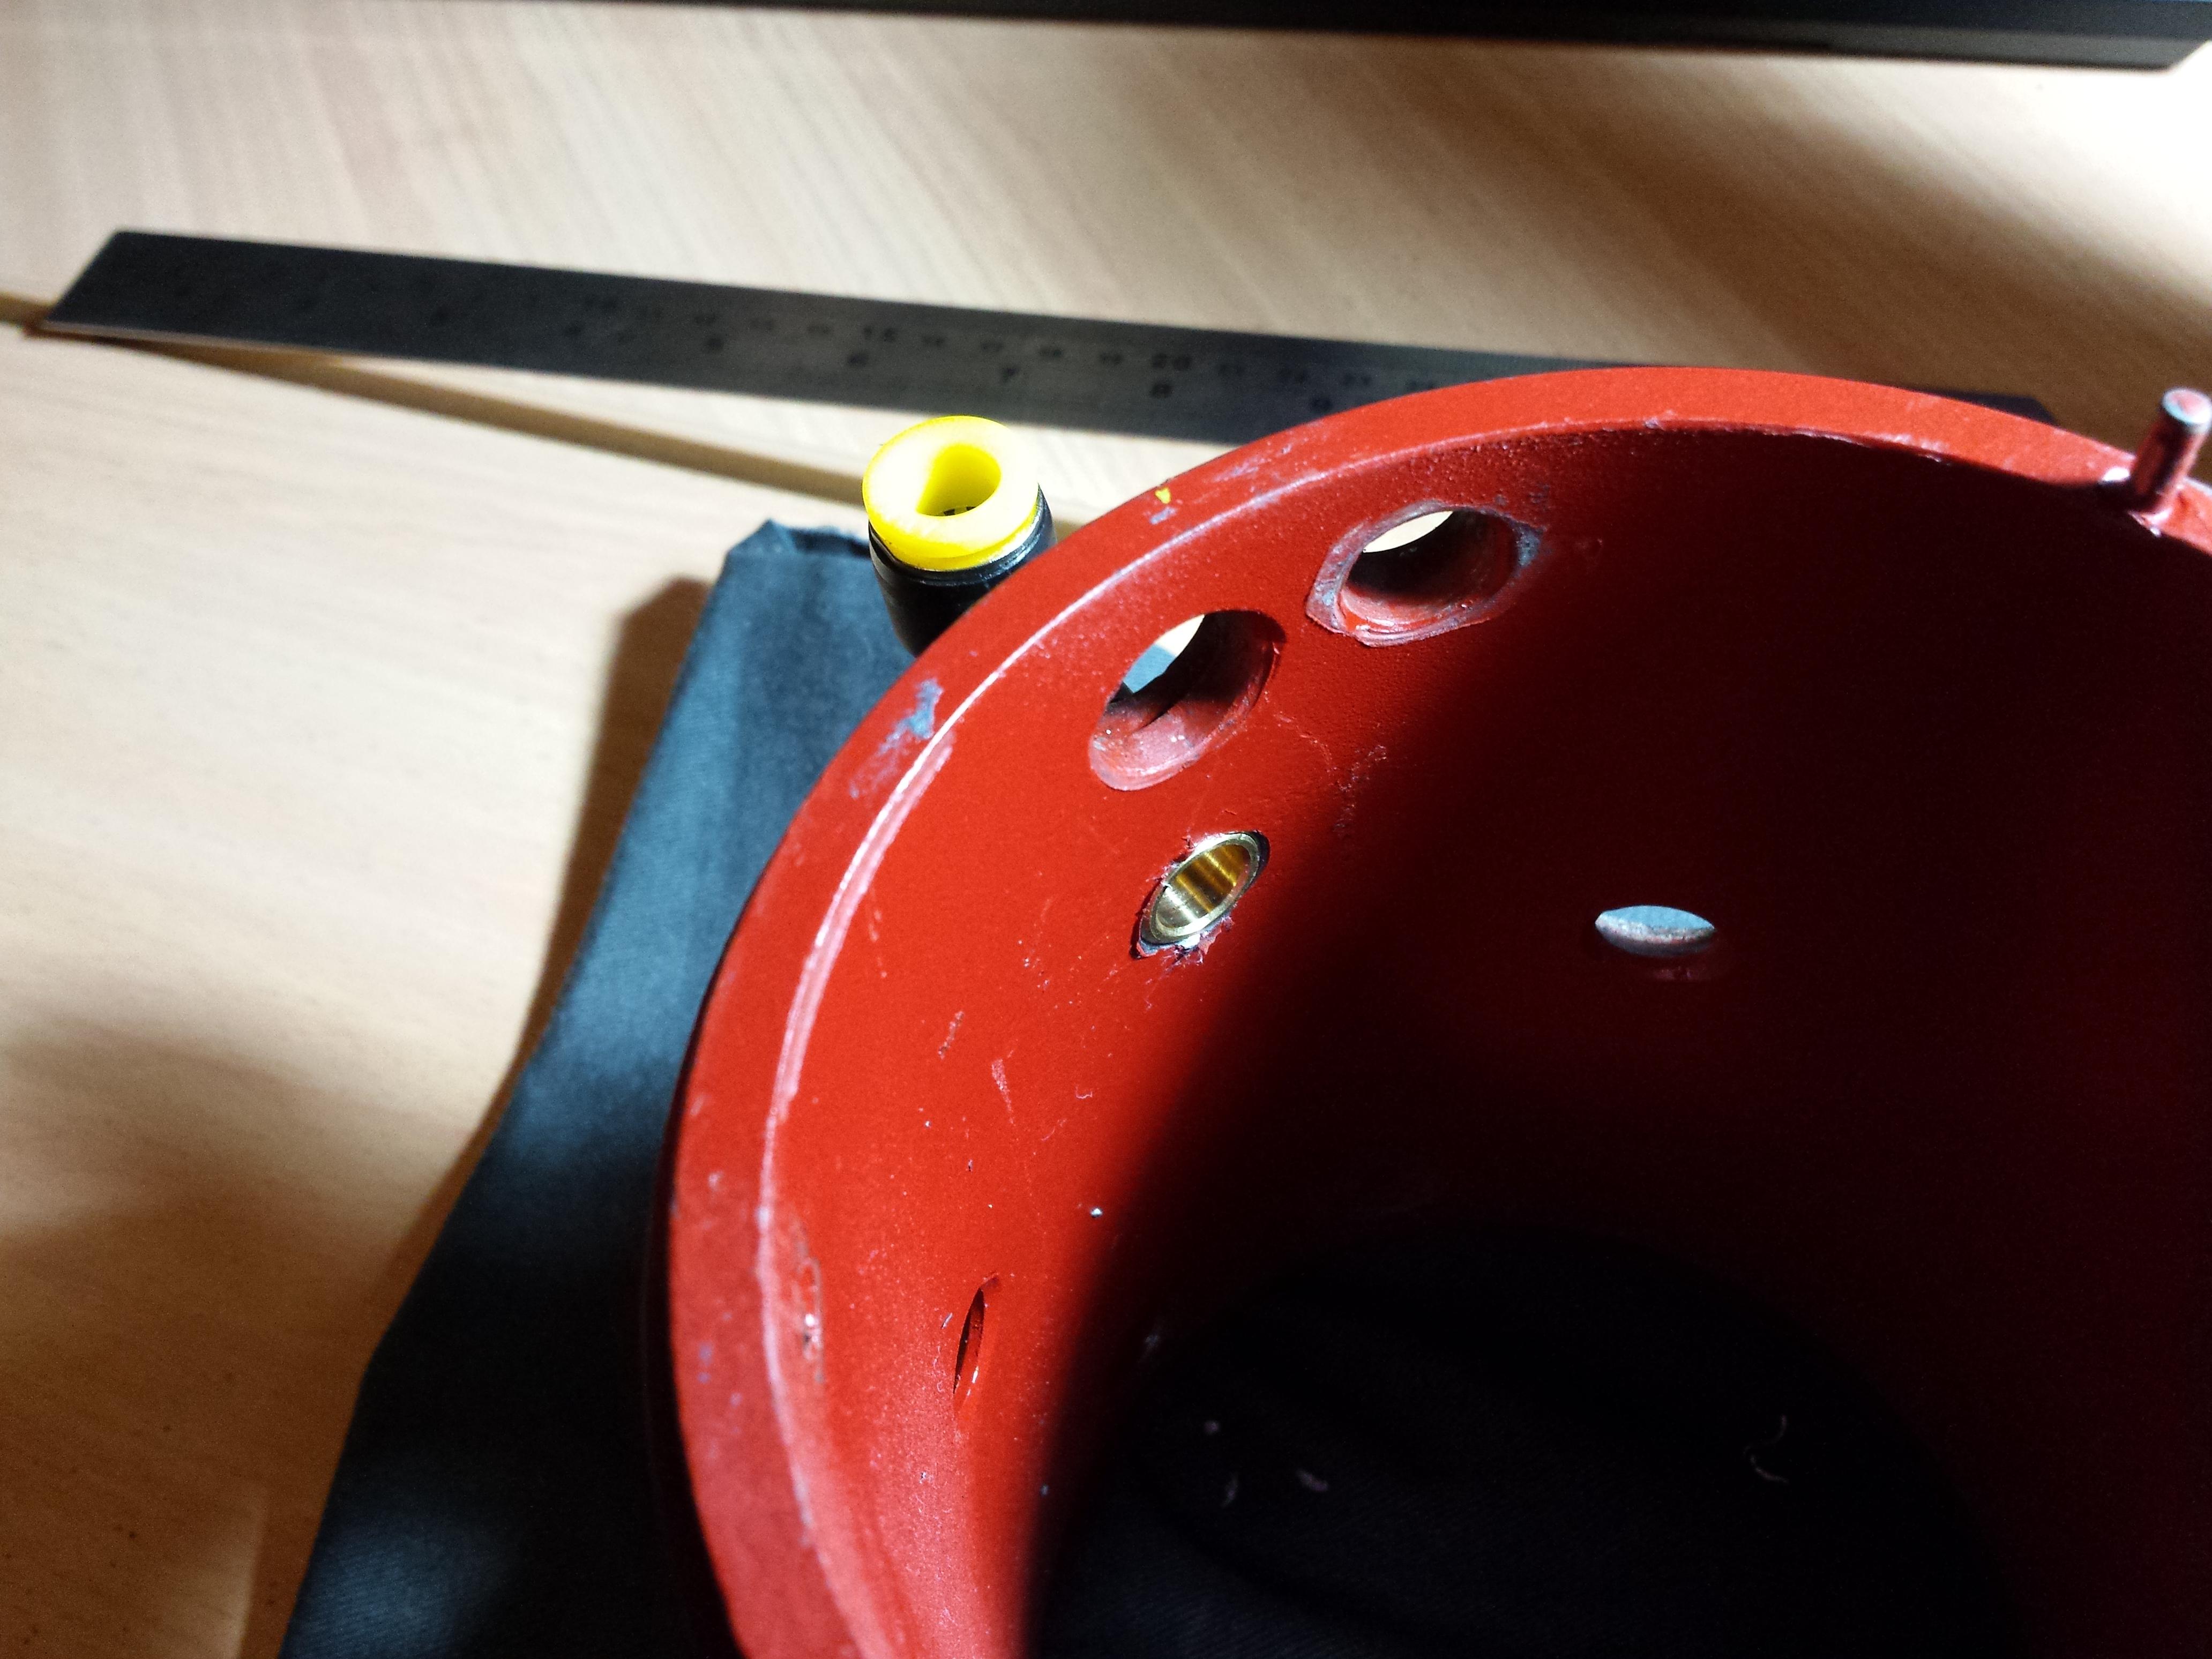
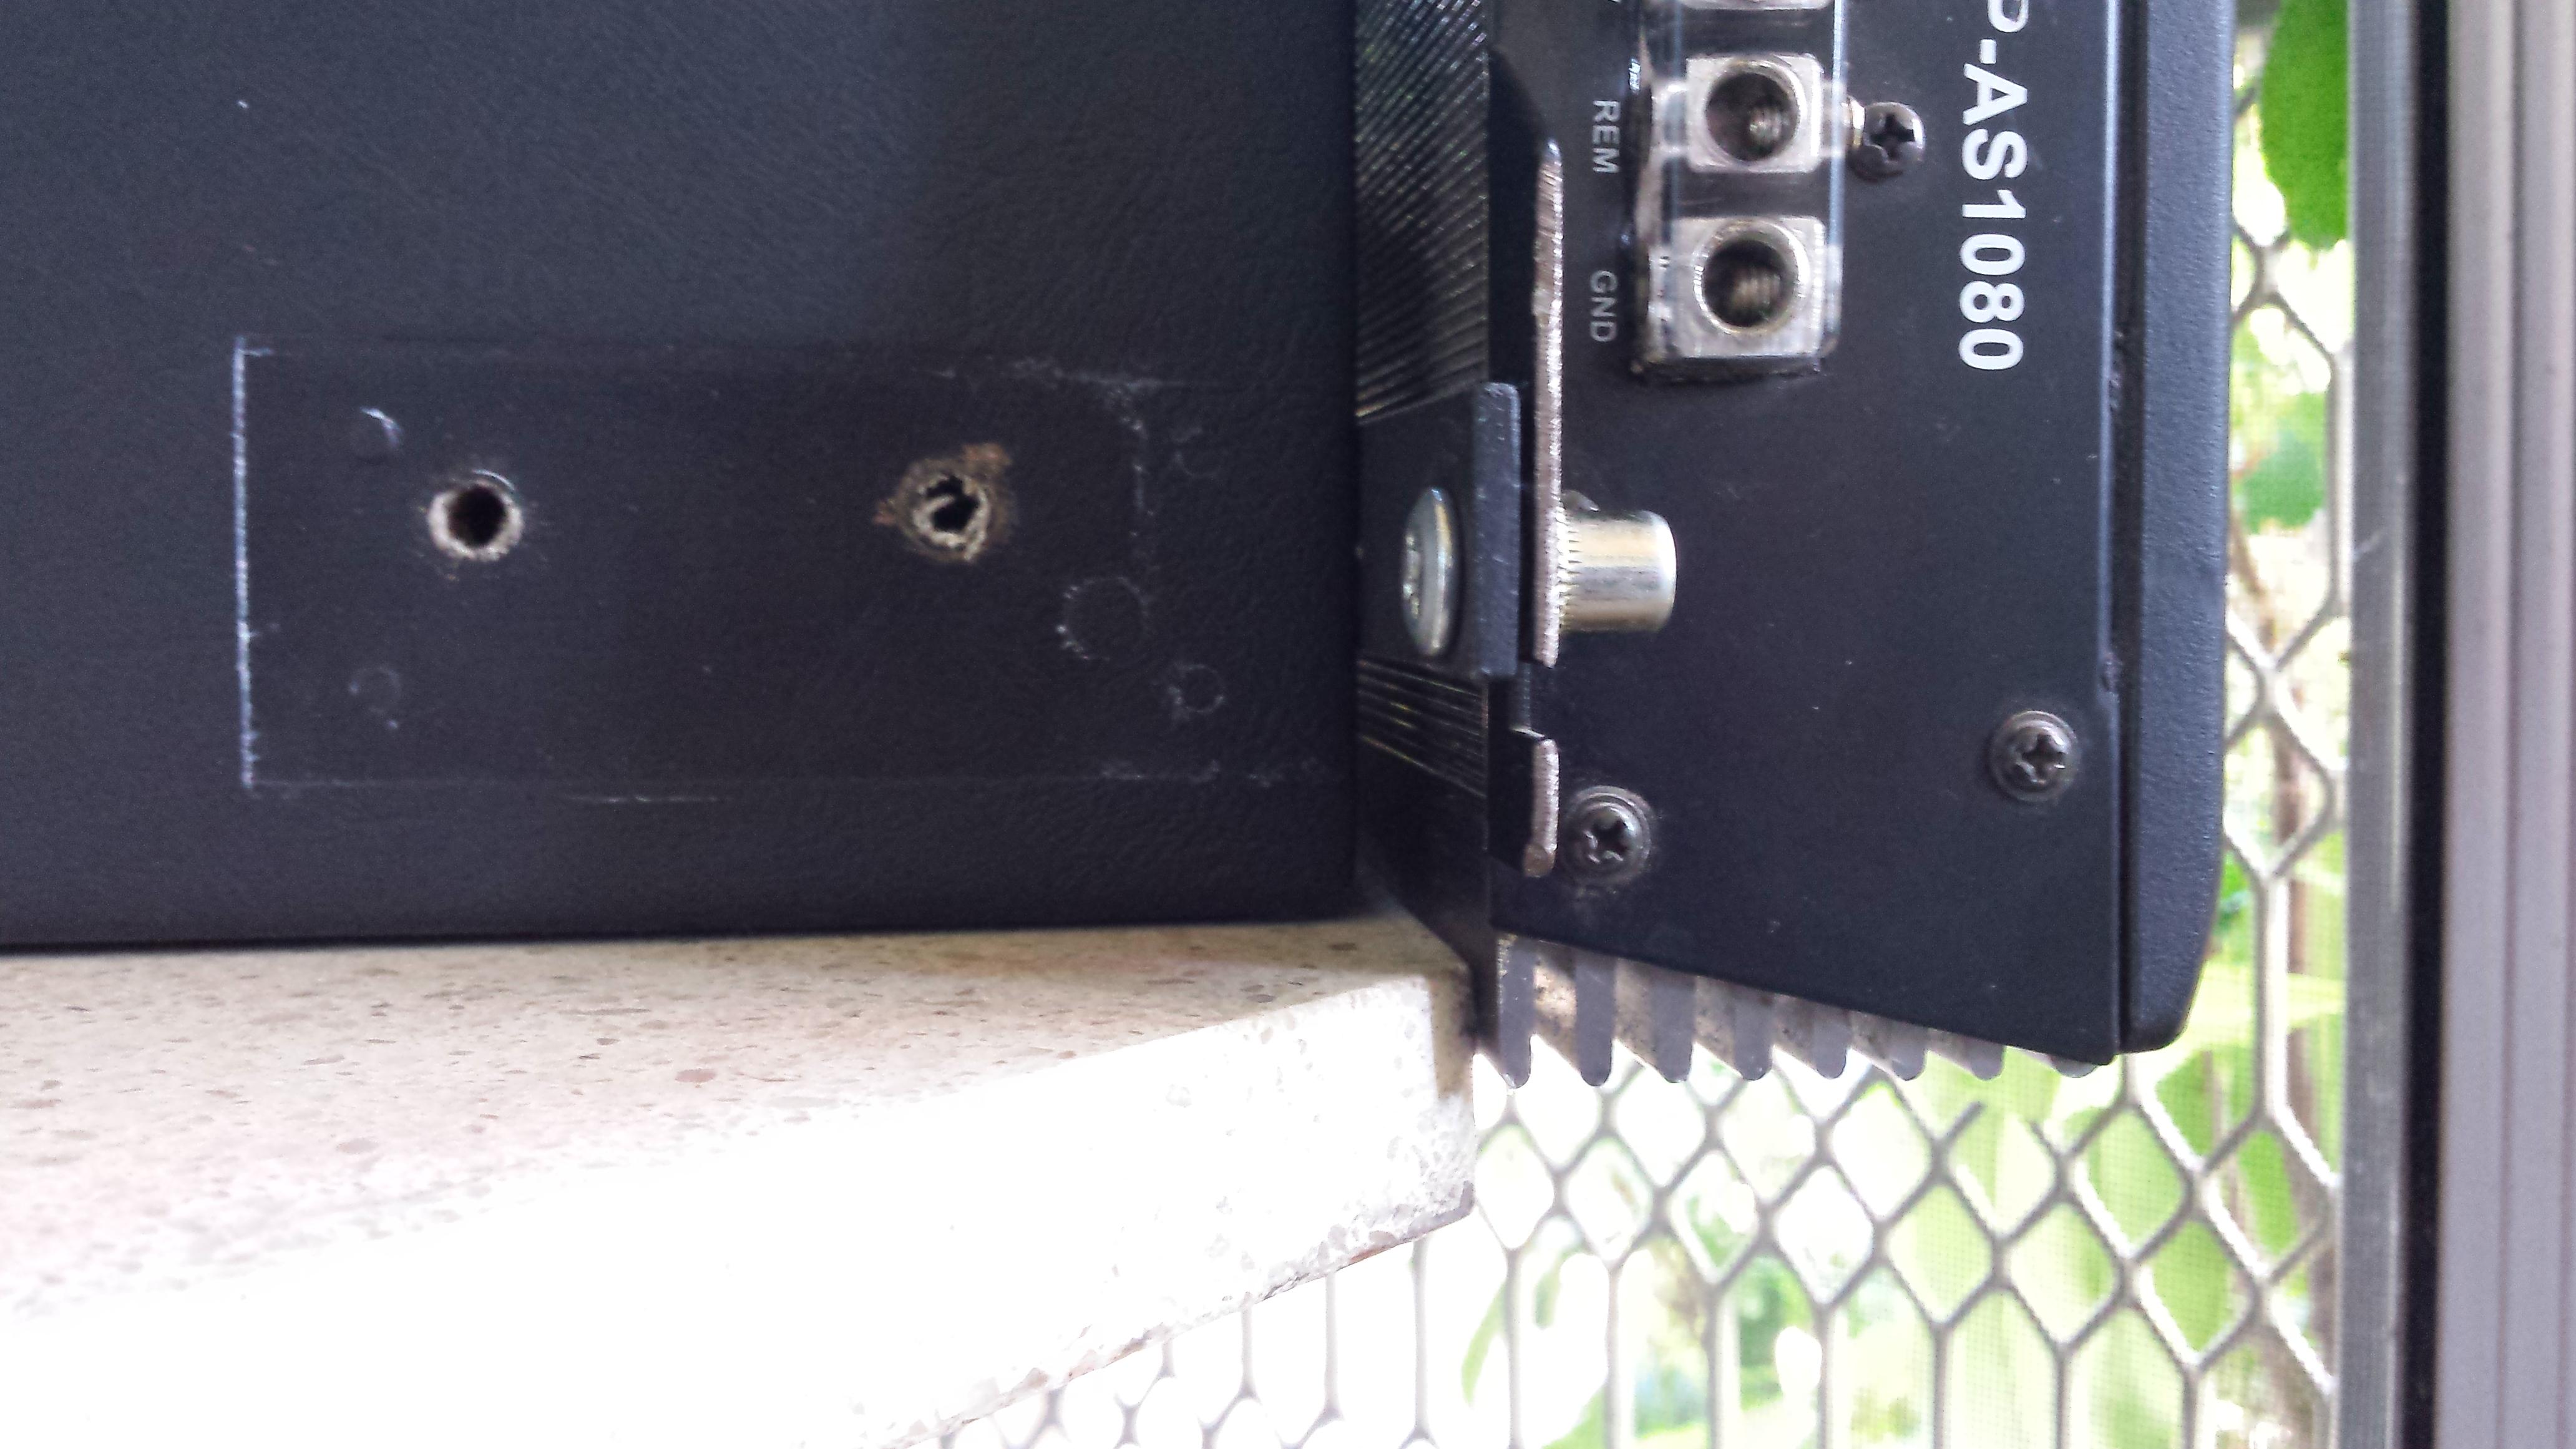
I decided to clock motor assembly to allow the motor connections to be in a better location on the vehicle, this also had the benefit of allowing the drain holes to be in a better spot relative to the 2 bolts that hold the motor to the winch end plates. Here's an image of where the top hole will be punched. This is on the brush end of the motor housing.
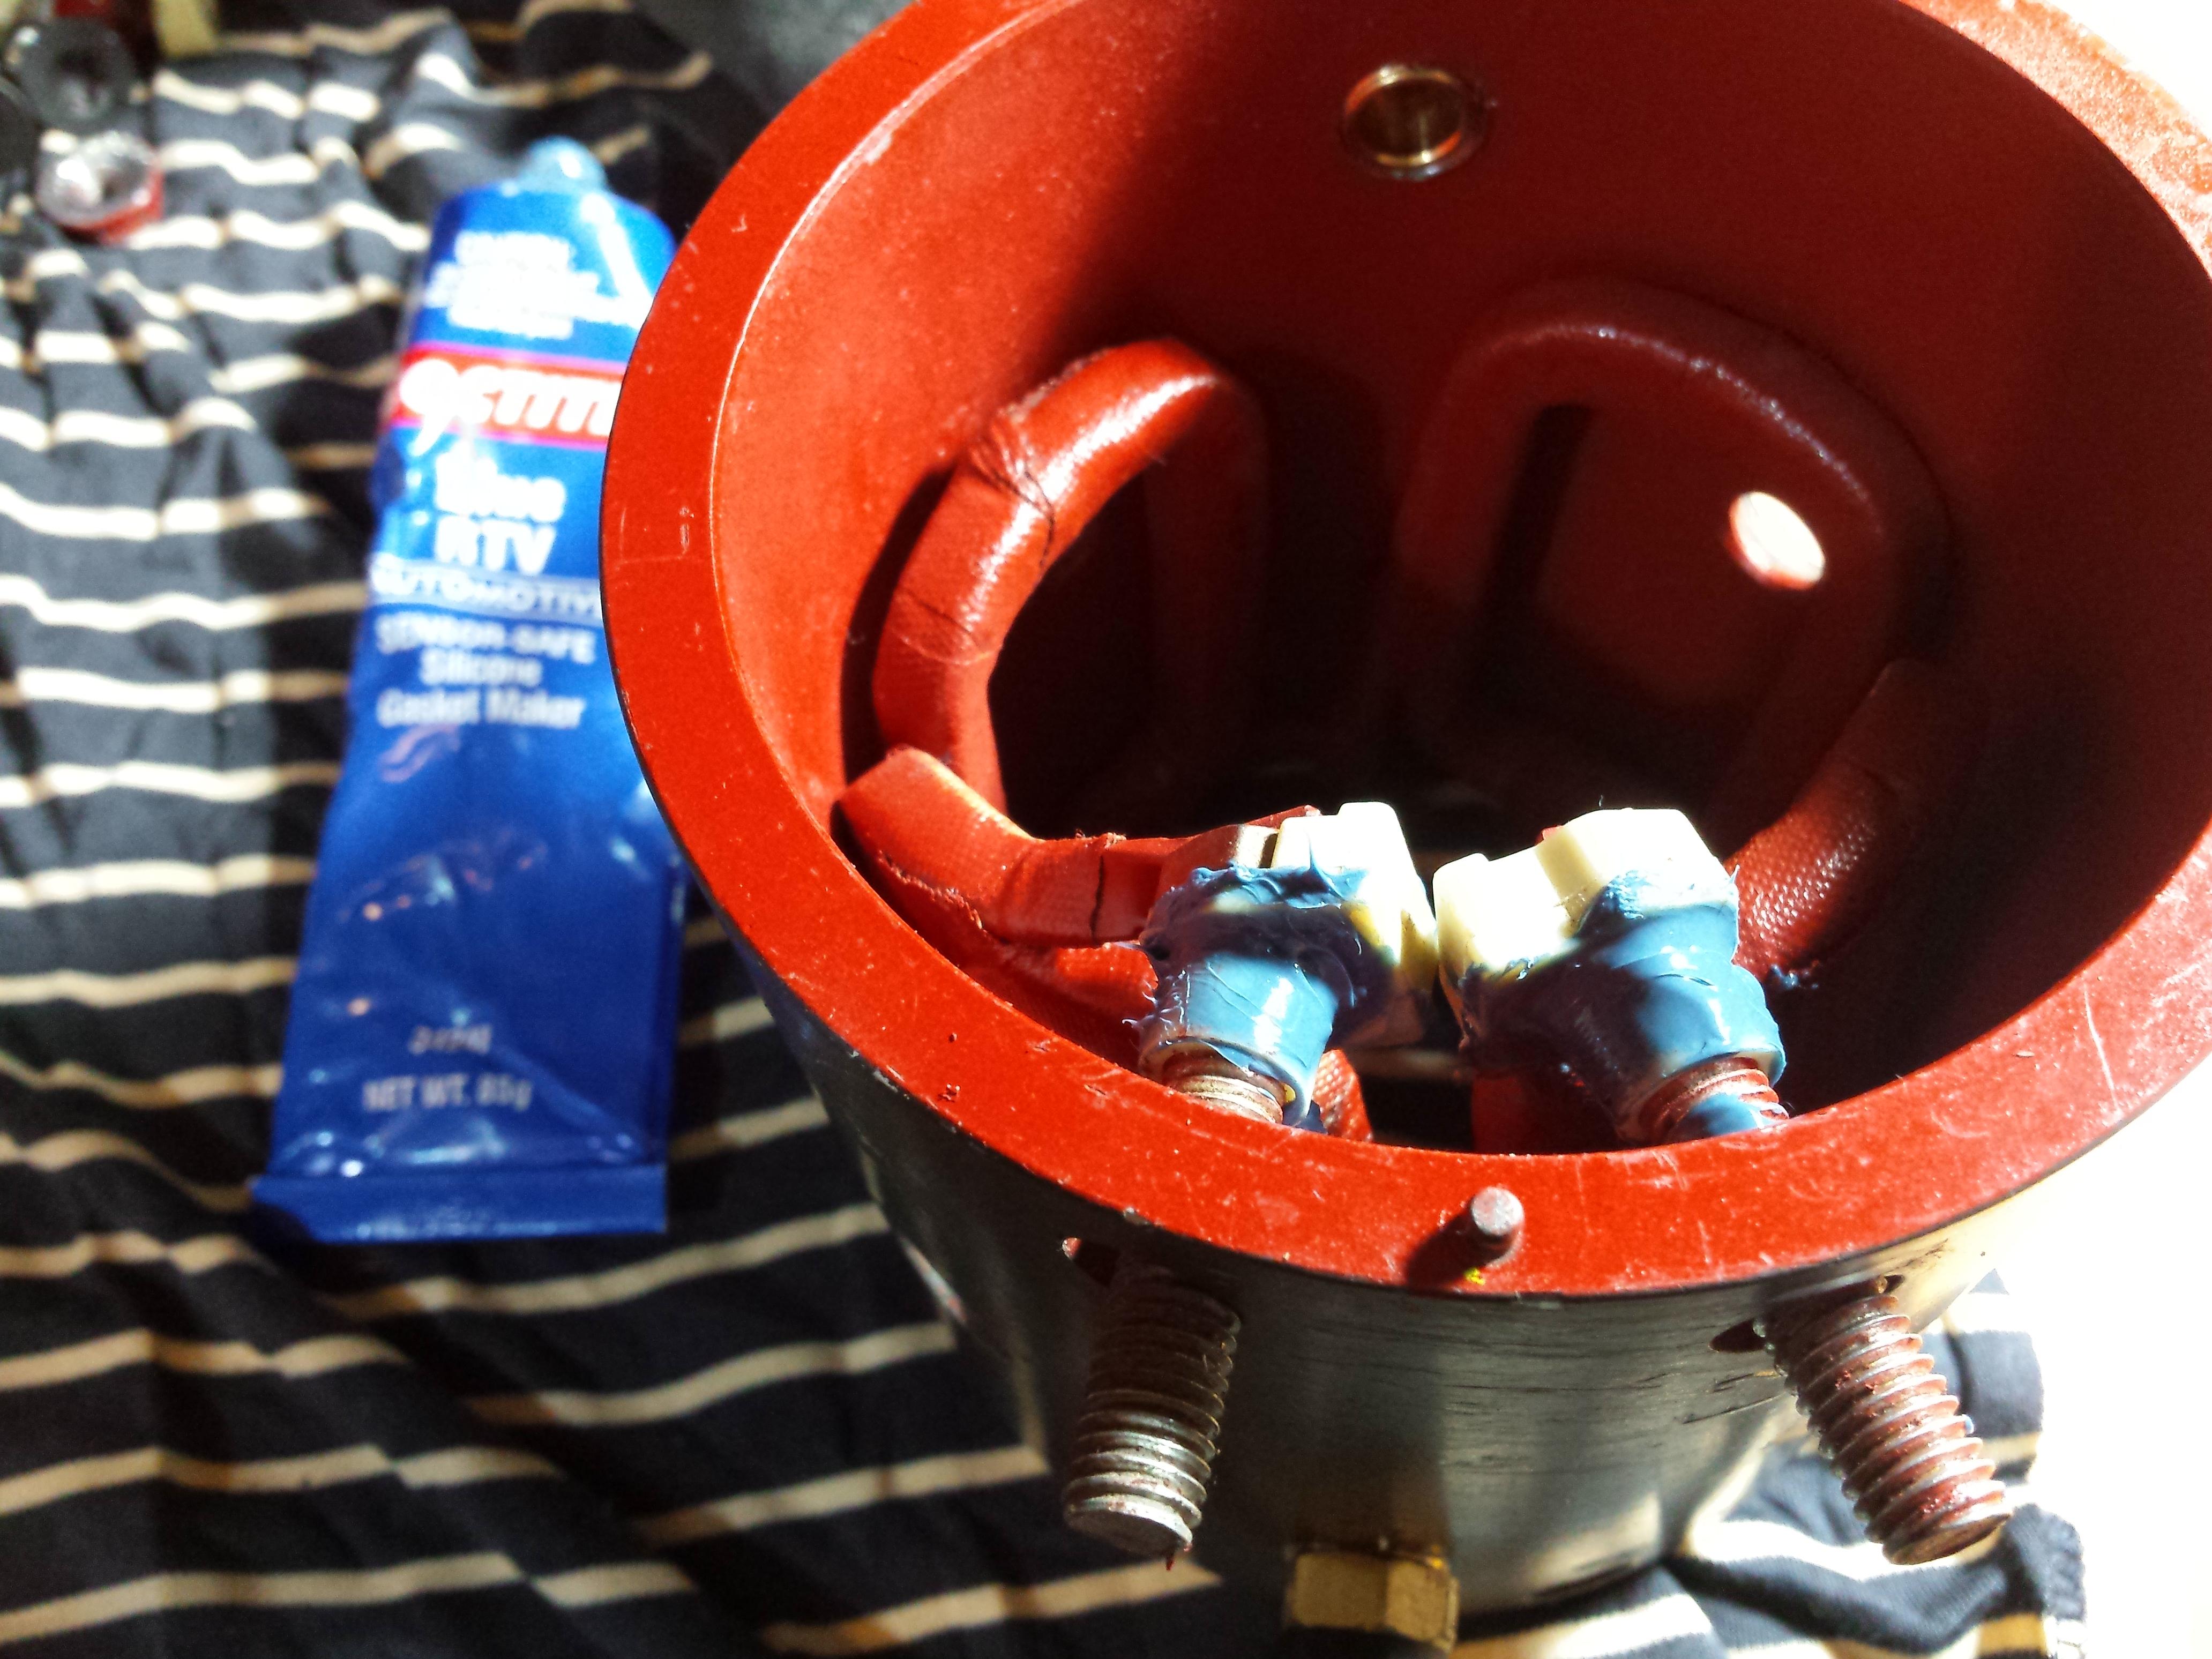
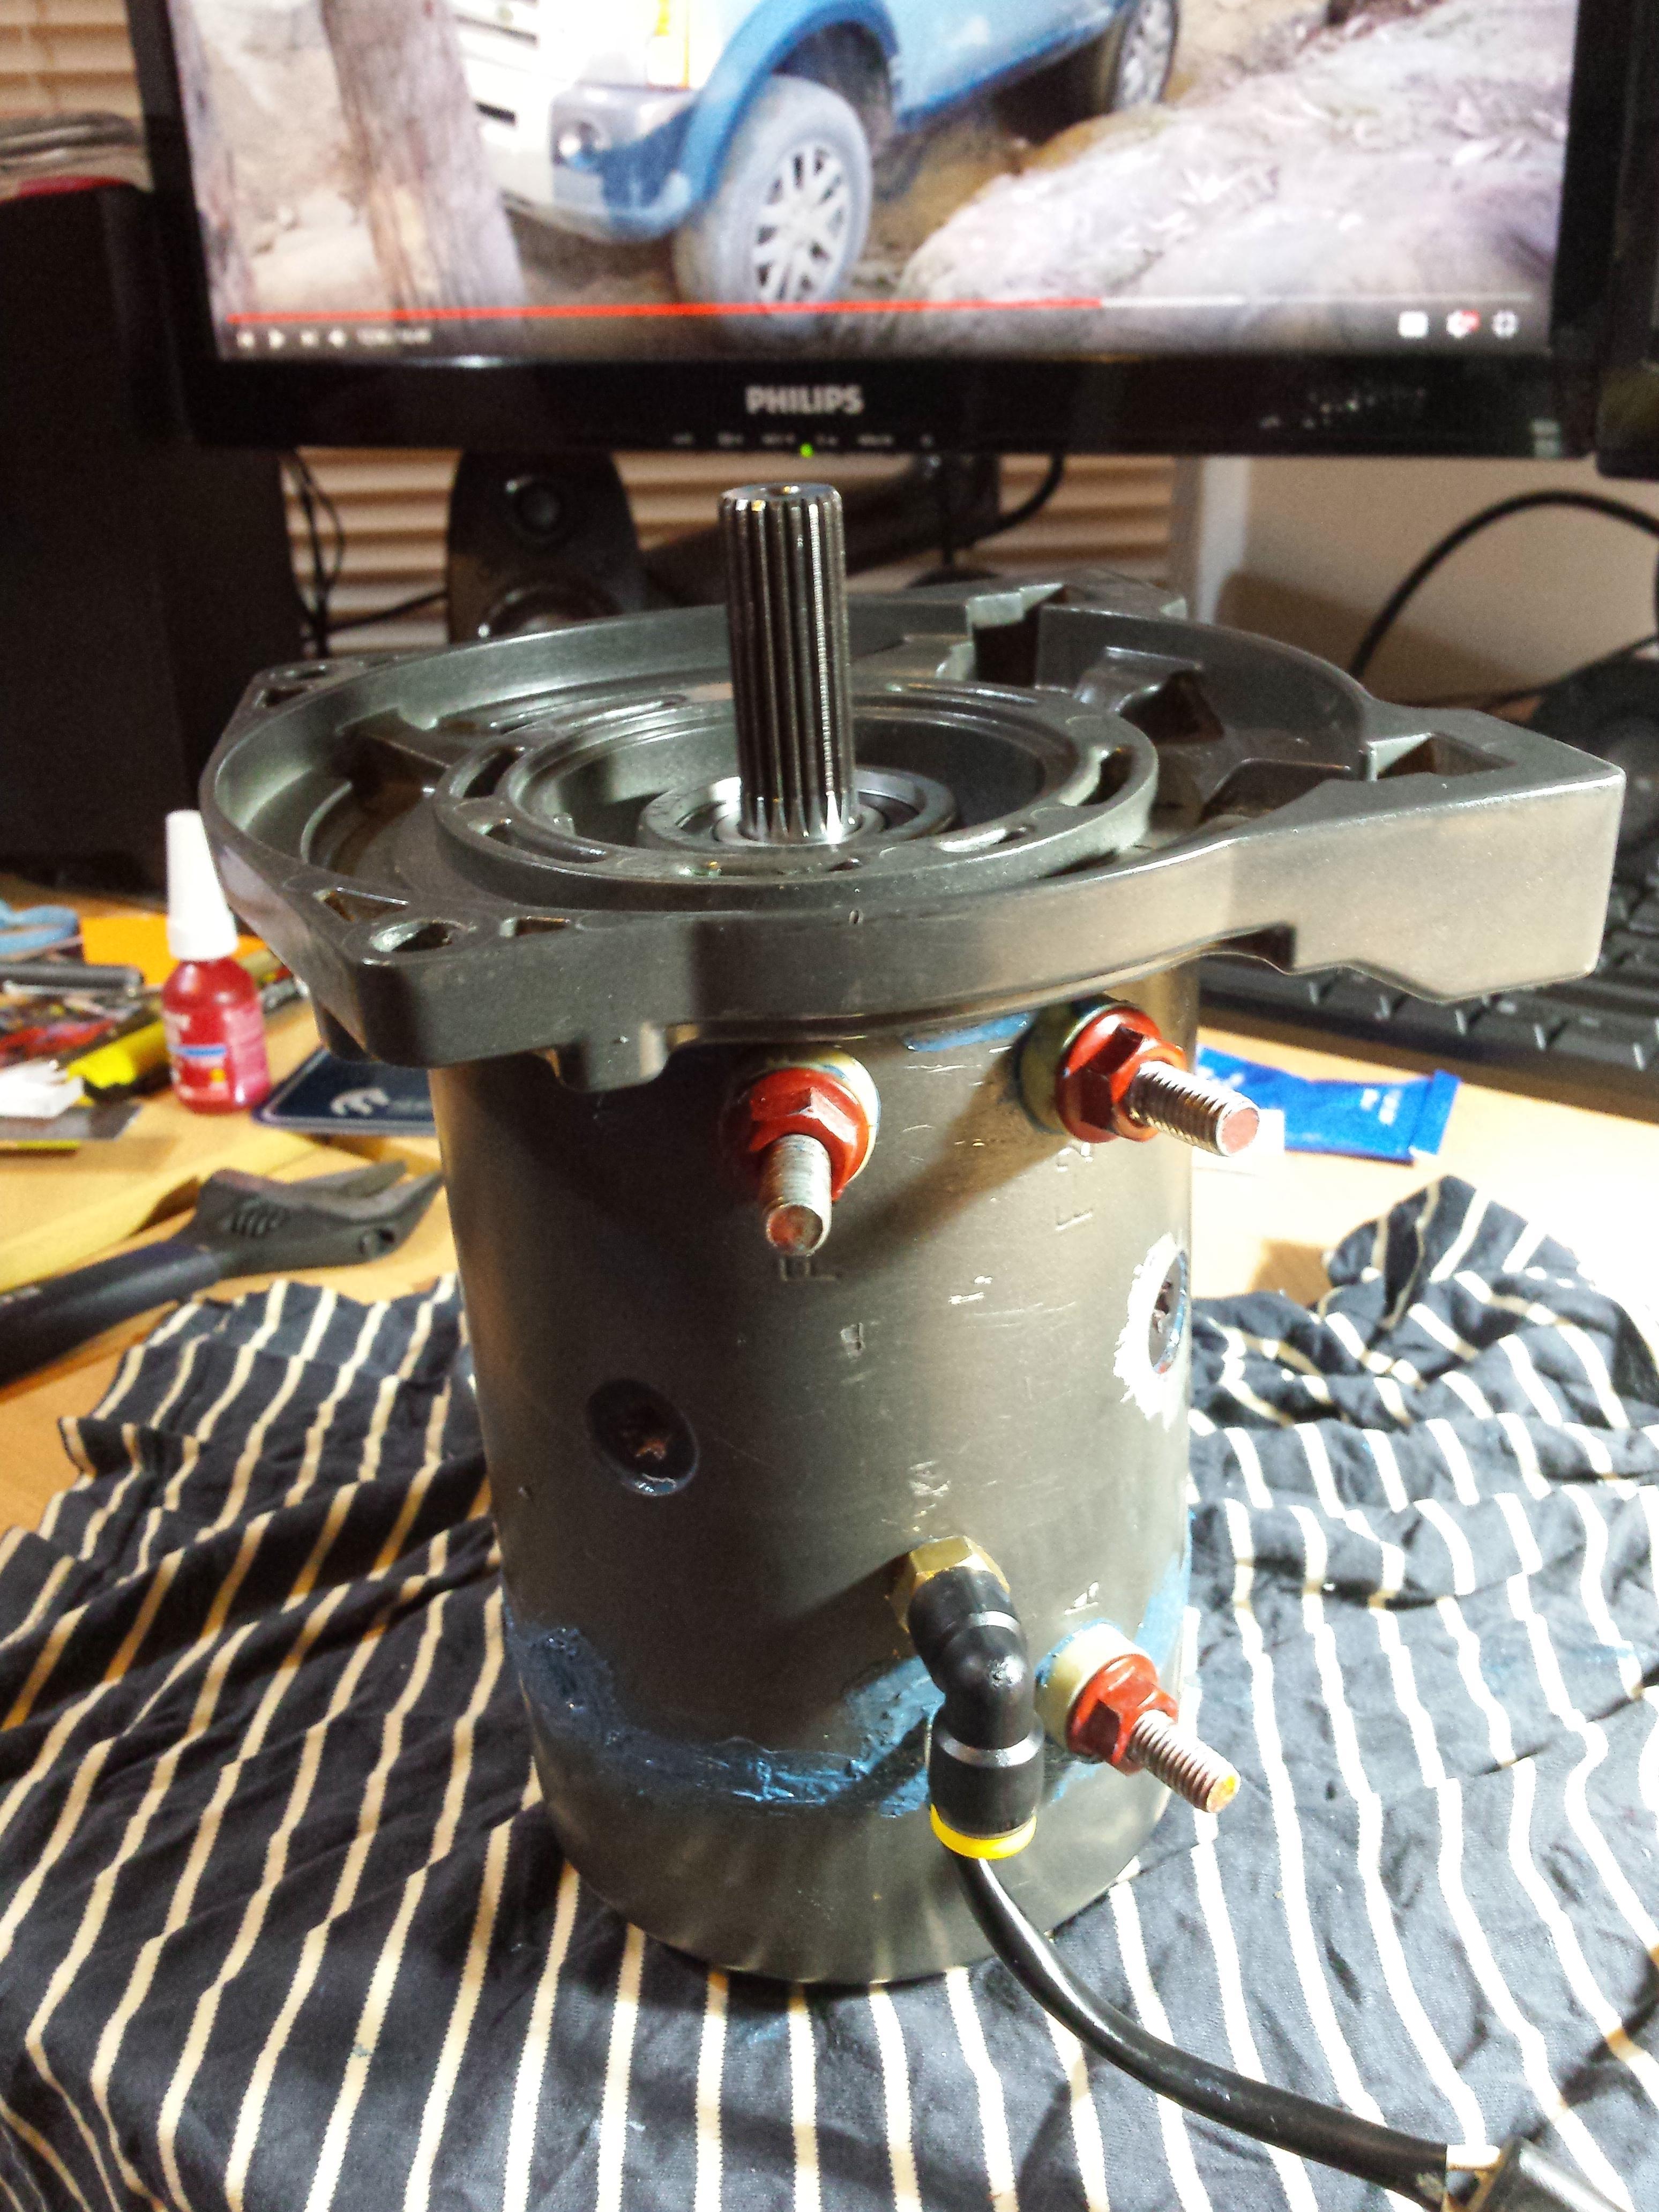
Other elbow went on the bottom of the motor, and is the drain port. This was on the other side of the motor housing, furthest from the brushes. The field winding lugs (connections F1 and F2) were siliconed in for extra water ingress protection. The whoe things was siliconed shut, so there should be very little water getting in to the motor.
Just tap it in...
Made a bridging cable to bench test the winch - usse this to bridge terminals A and F1, then connect a battery to the earth lug on the winch motor housing and positive to the F2 terminal, and it will winch in one direction, flip the bridging cable to the other field winding lug, and it will go in the opposite direction.
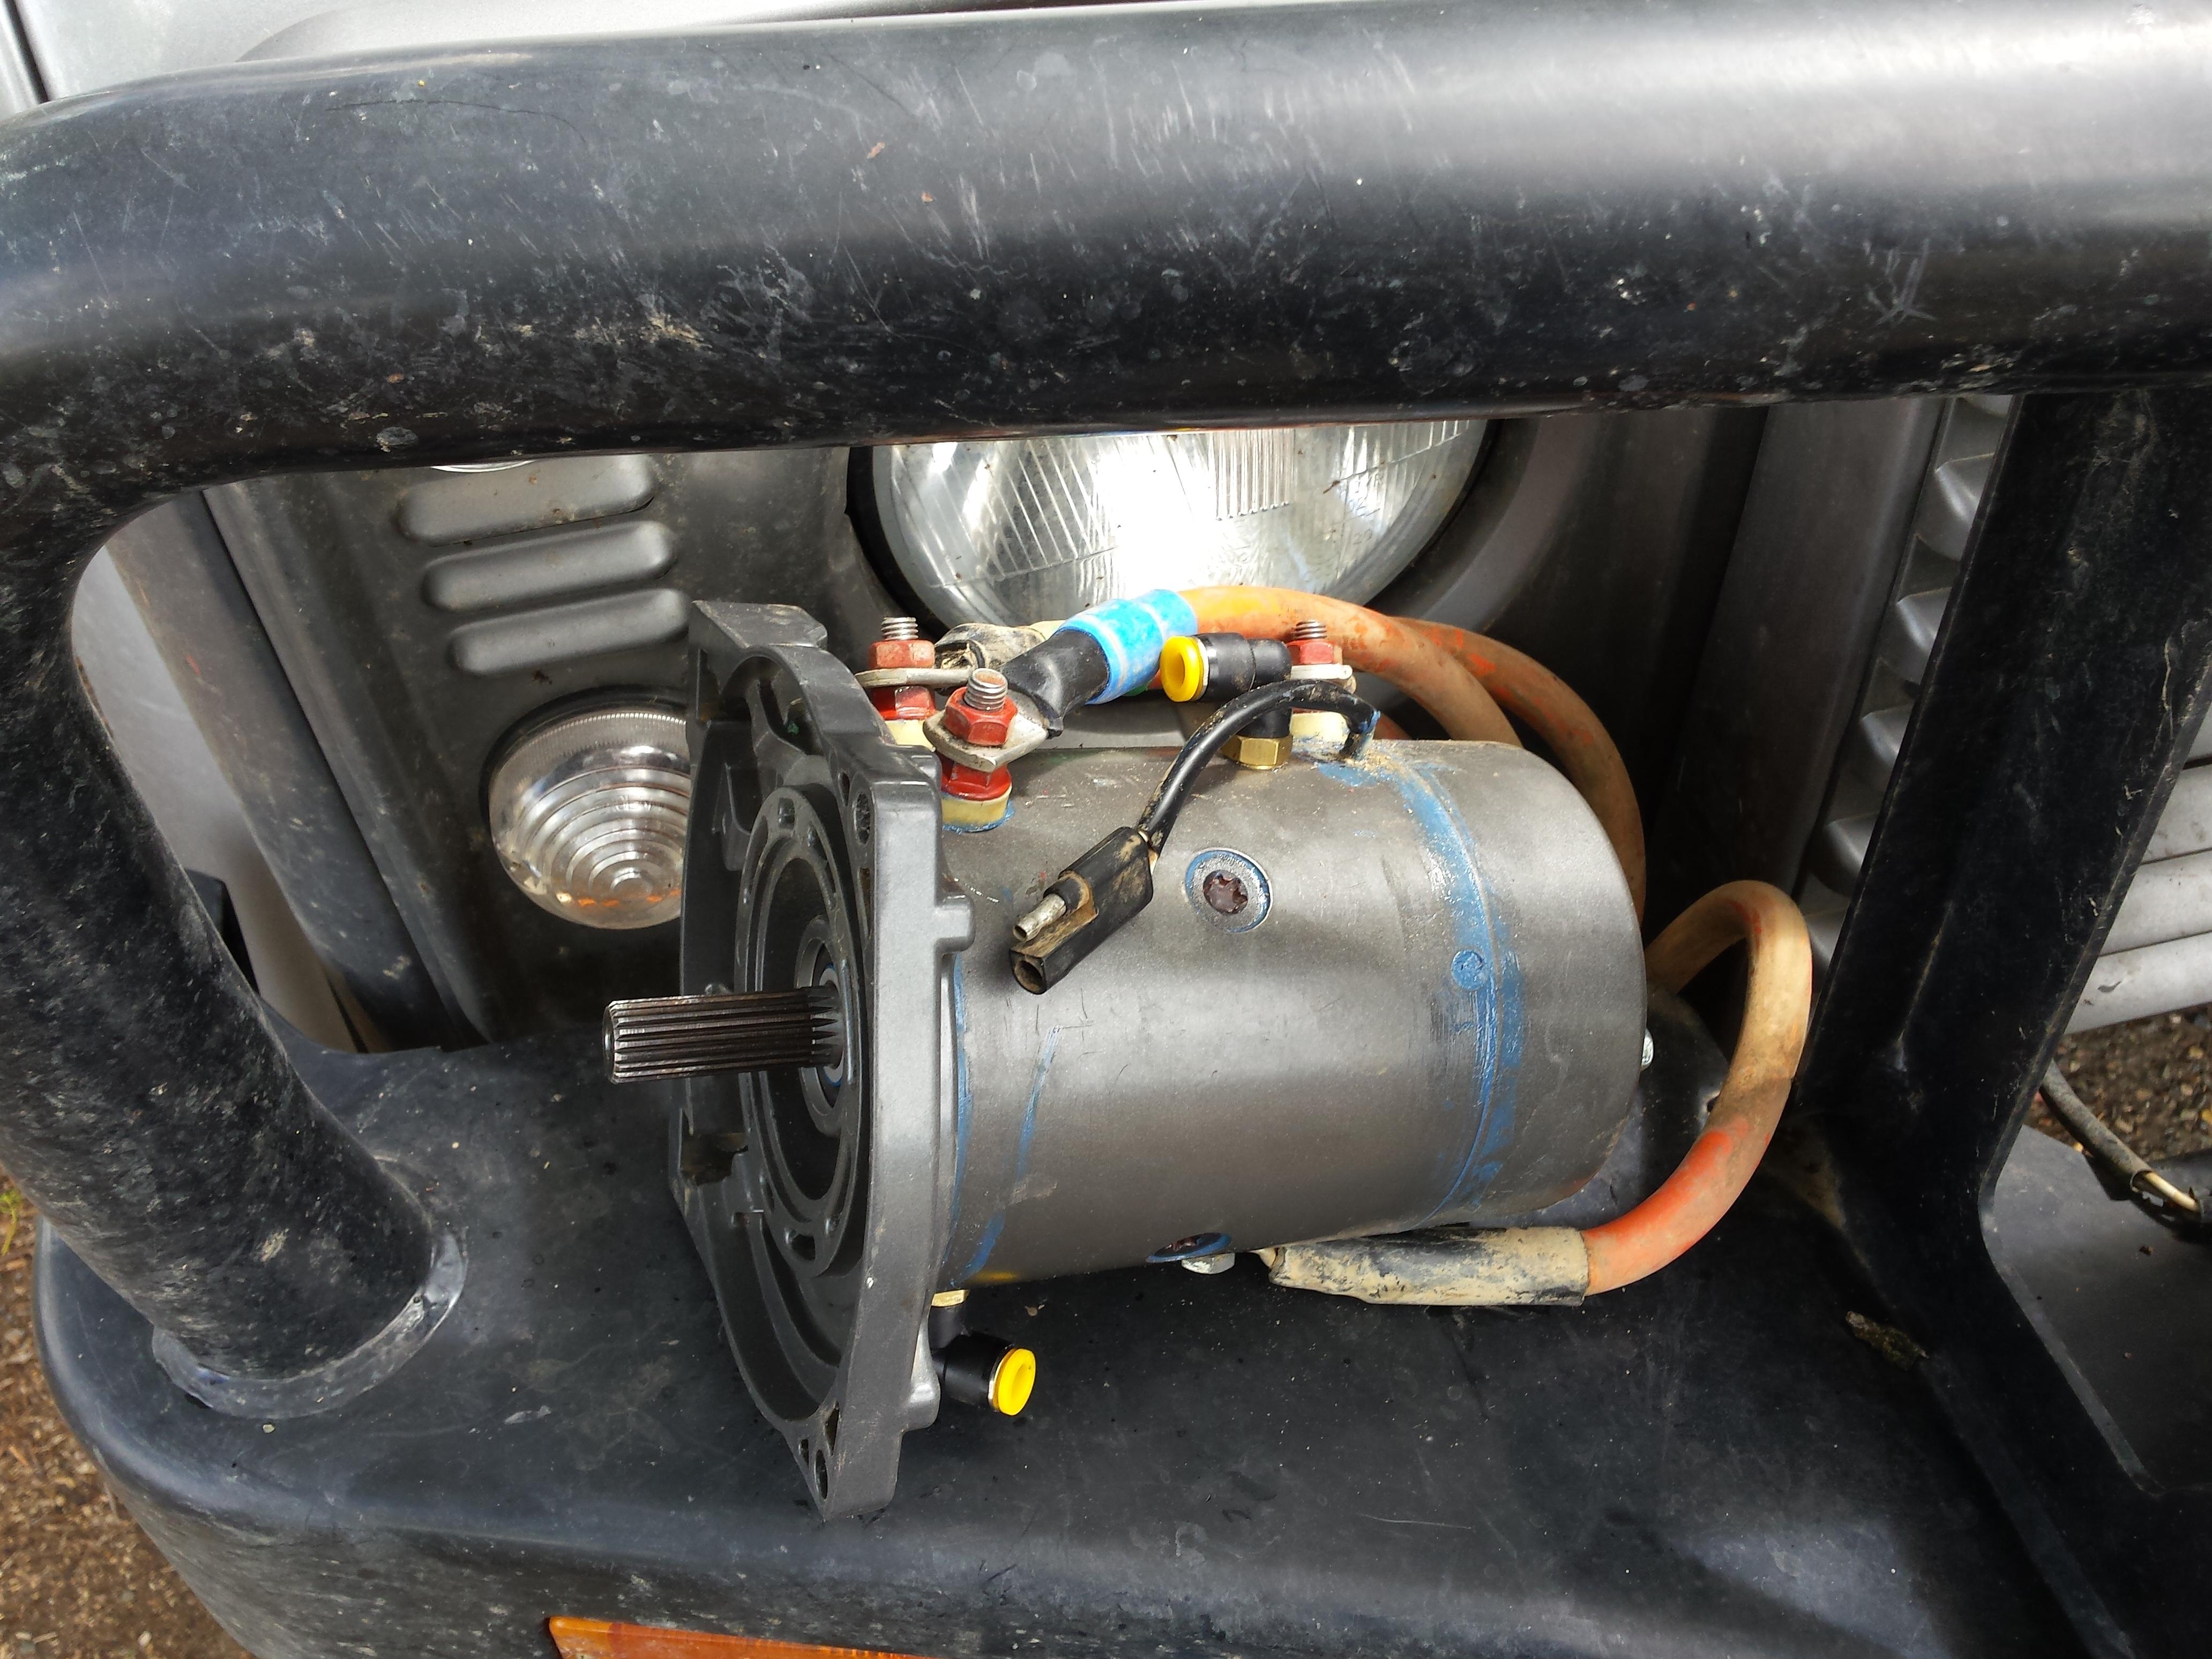
When I realized I don't have an easily accessible battery and other jumper leads for the testing, I just hooked it up to the vehicle as it sits:
Last steps for the rebuild are to reinstall the seals and regrease the components.
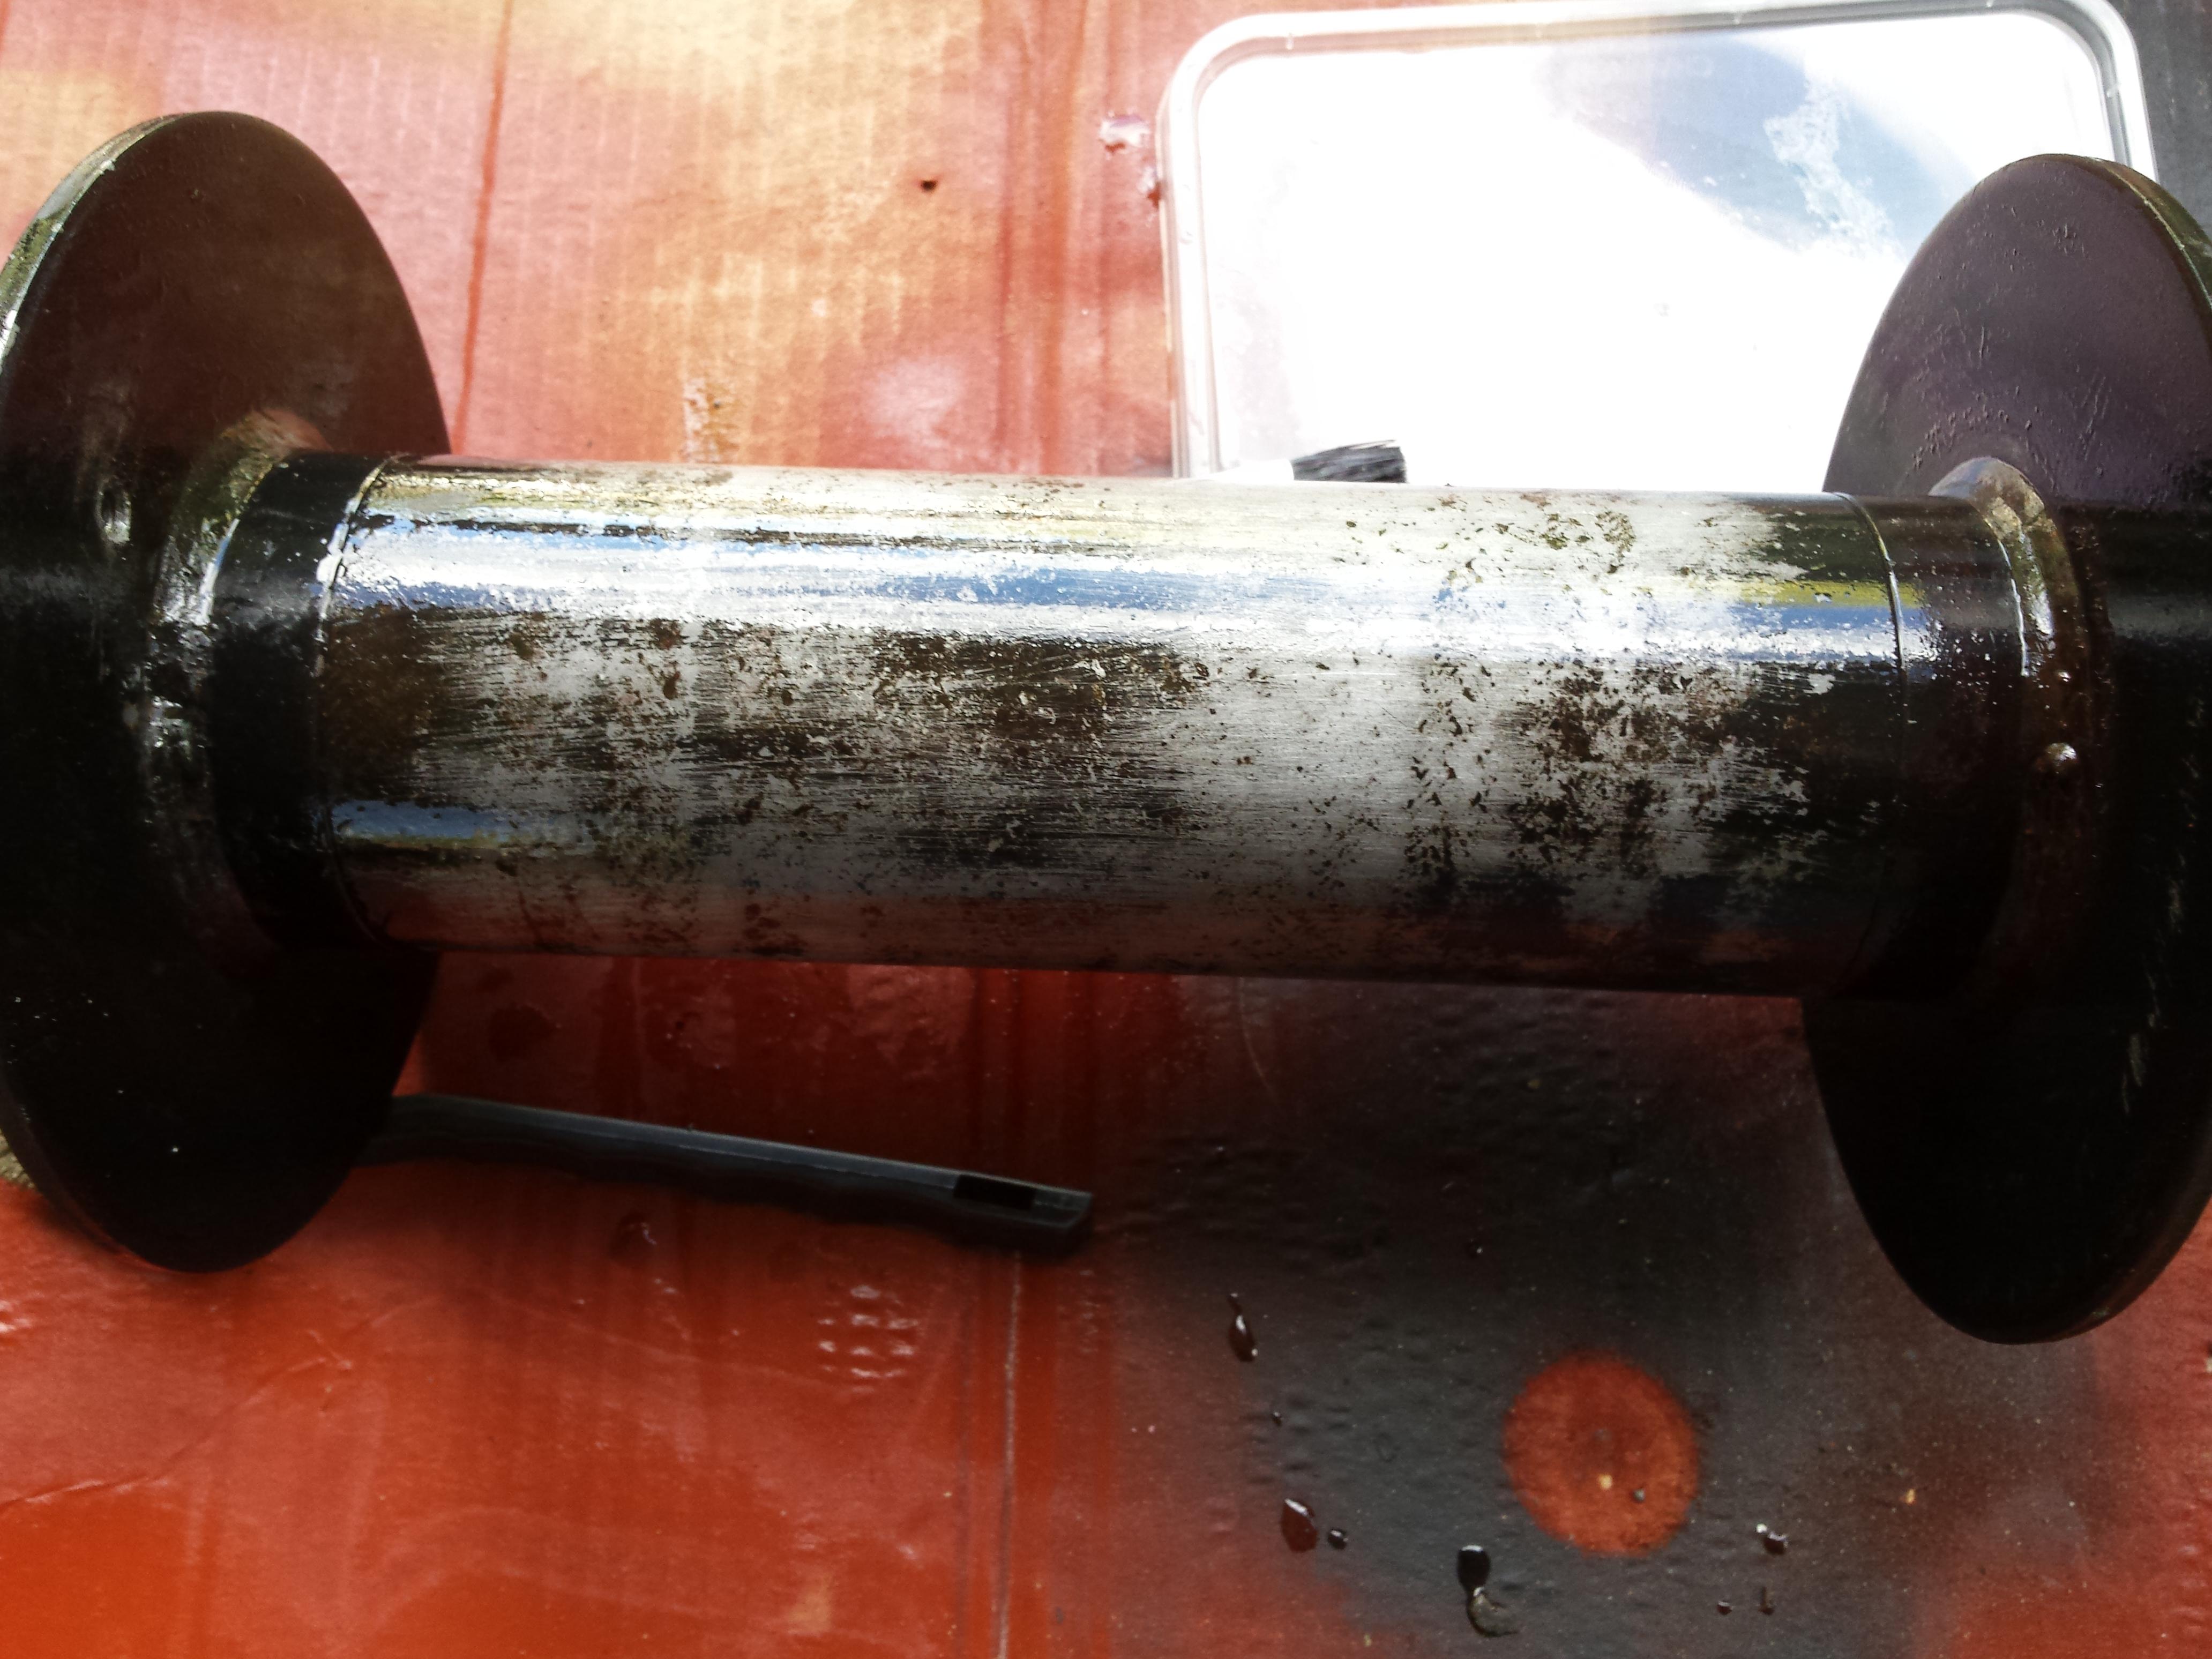
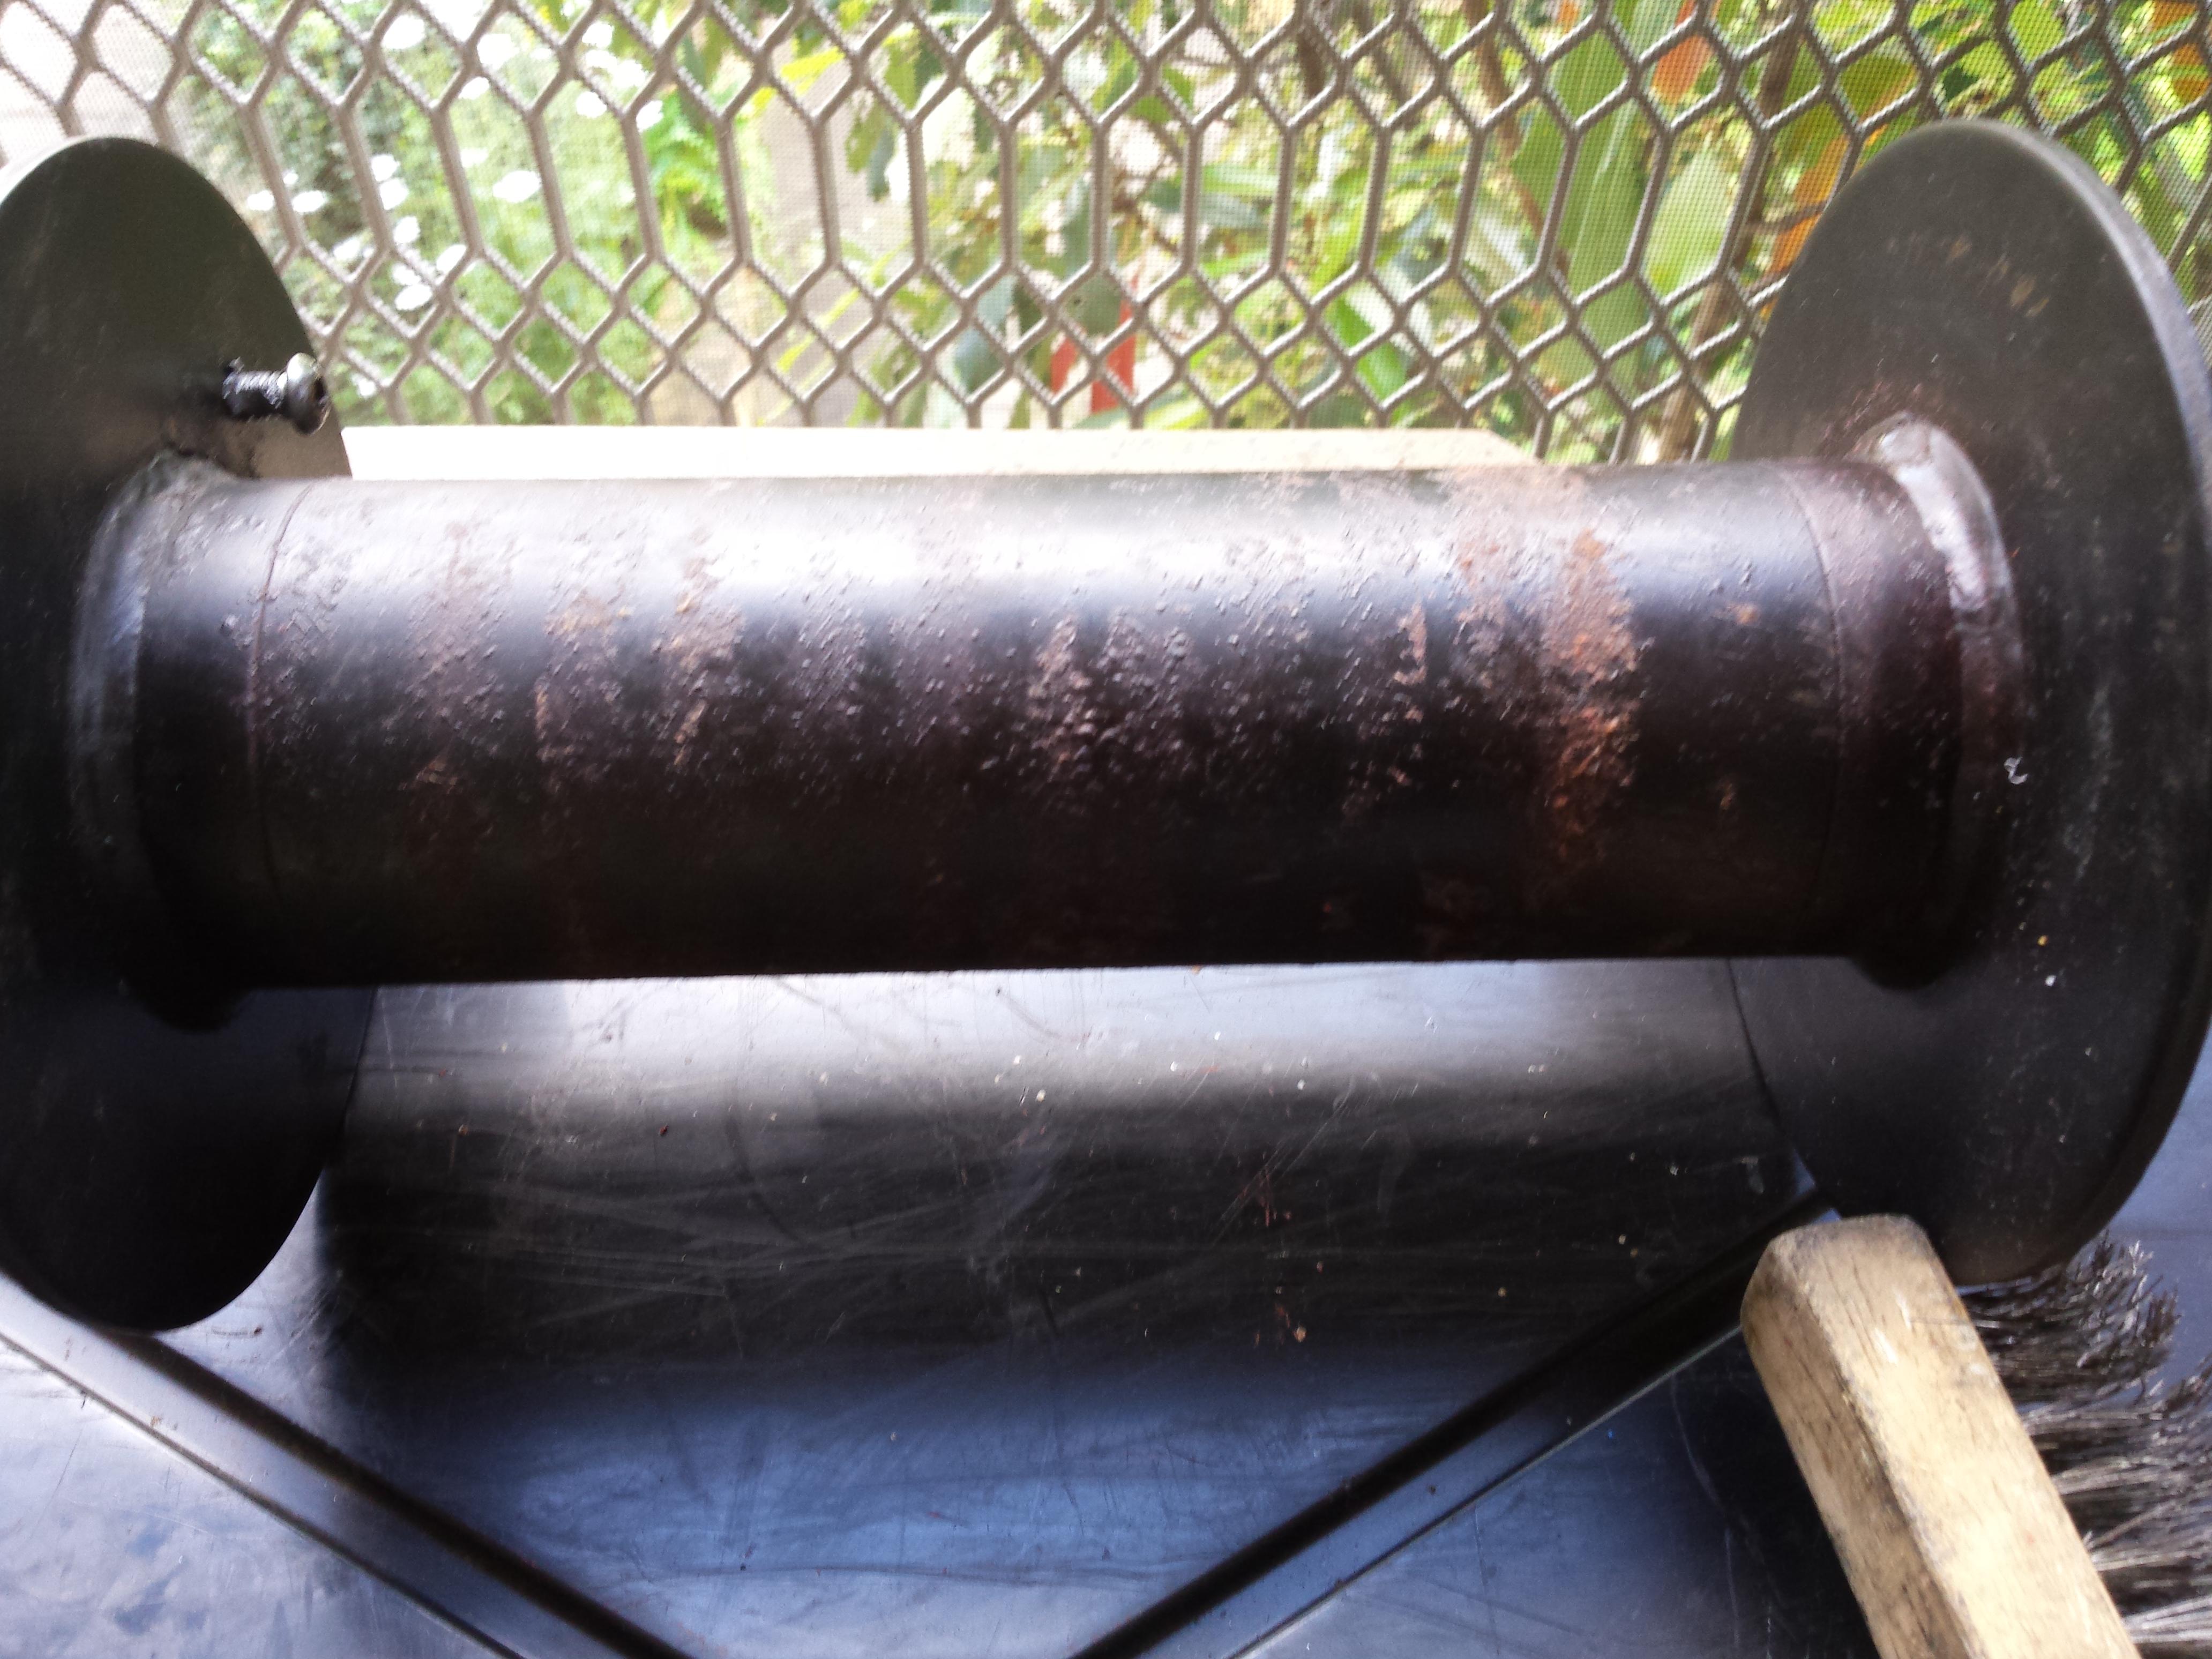
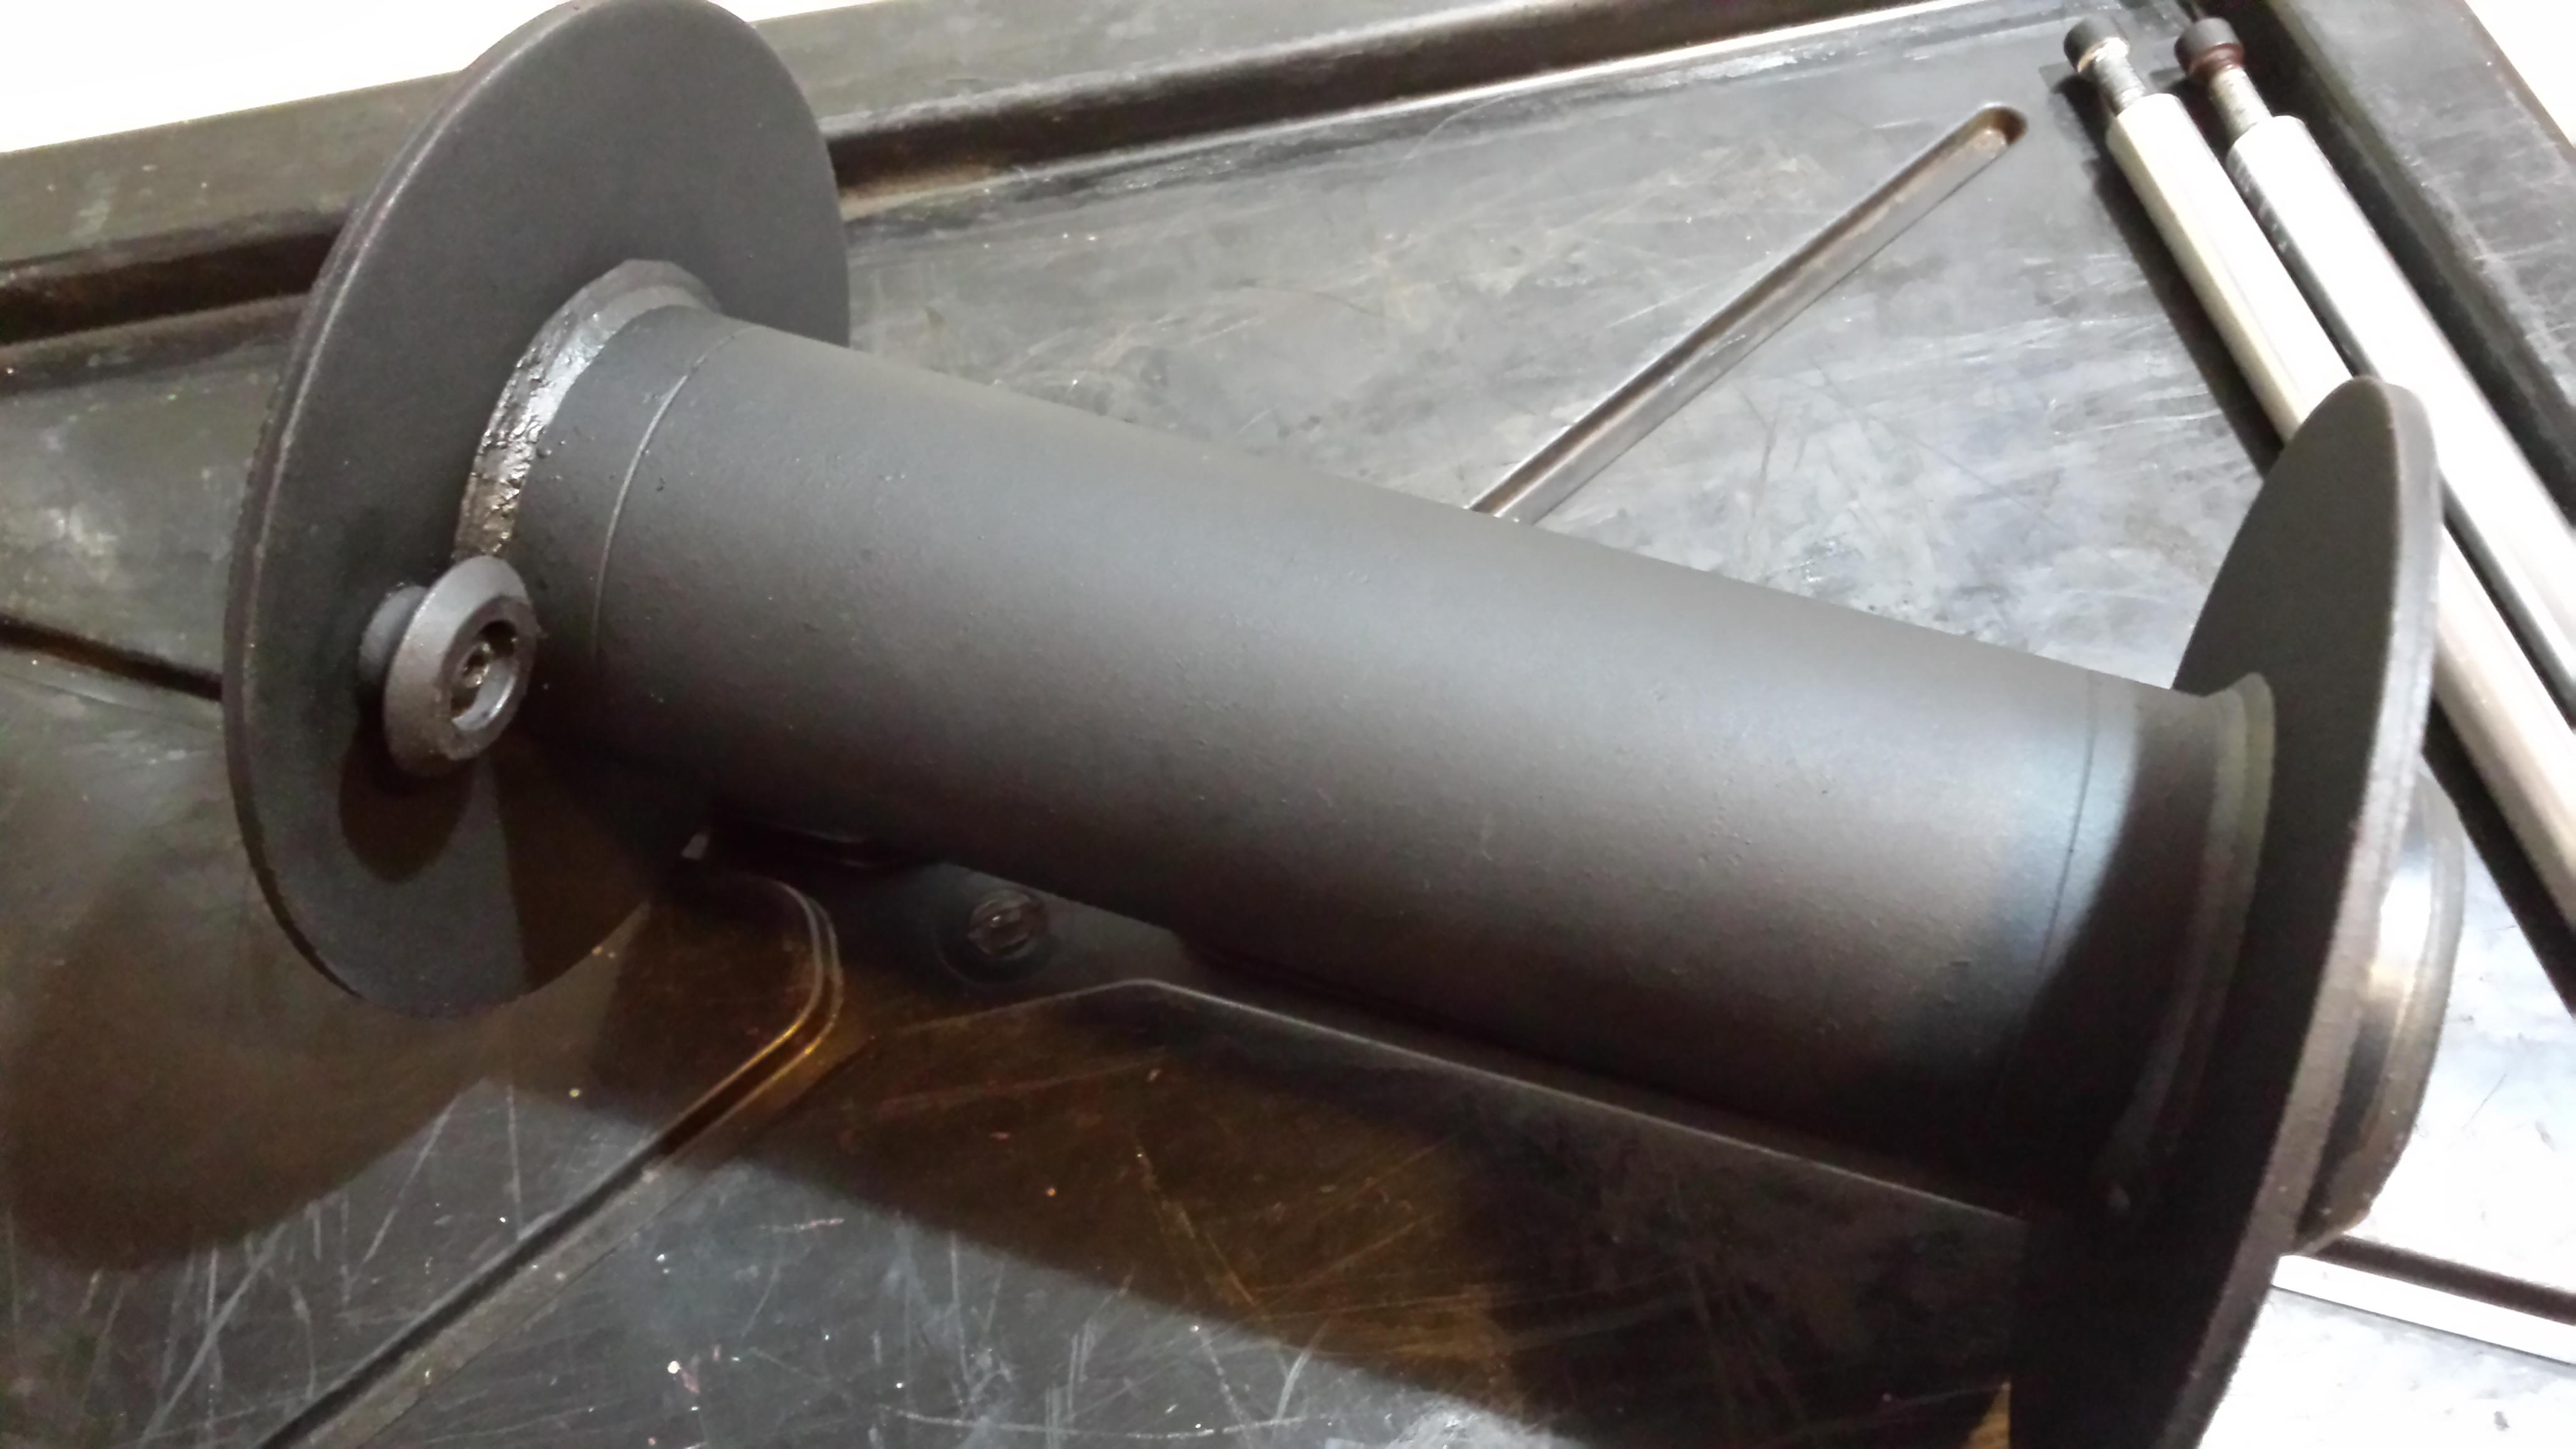
I'm also in the process of giving the cable drum a birthday.
Wire brushing and rust converting it today, and will paint tomorrow.
Even after a few years life, it's starting to get some corrosion. Anyone with a winch and synthetic rope which lives in the elements, consider giving this the once over when you can.
The below pic was after a sand with 100 grit emery cloth and a coating of rust converter. Once this dries, it's off to paint.


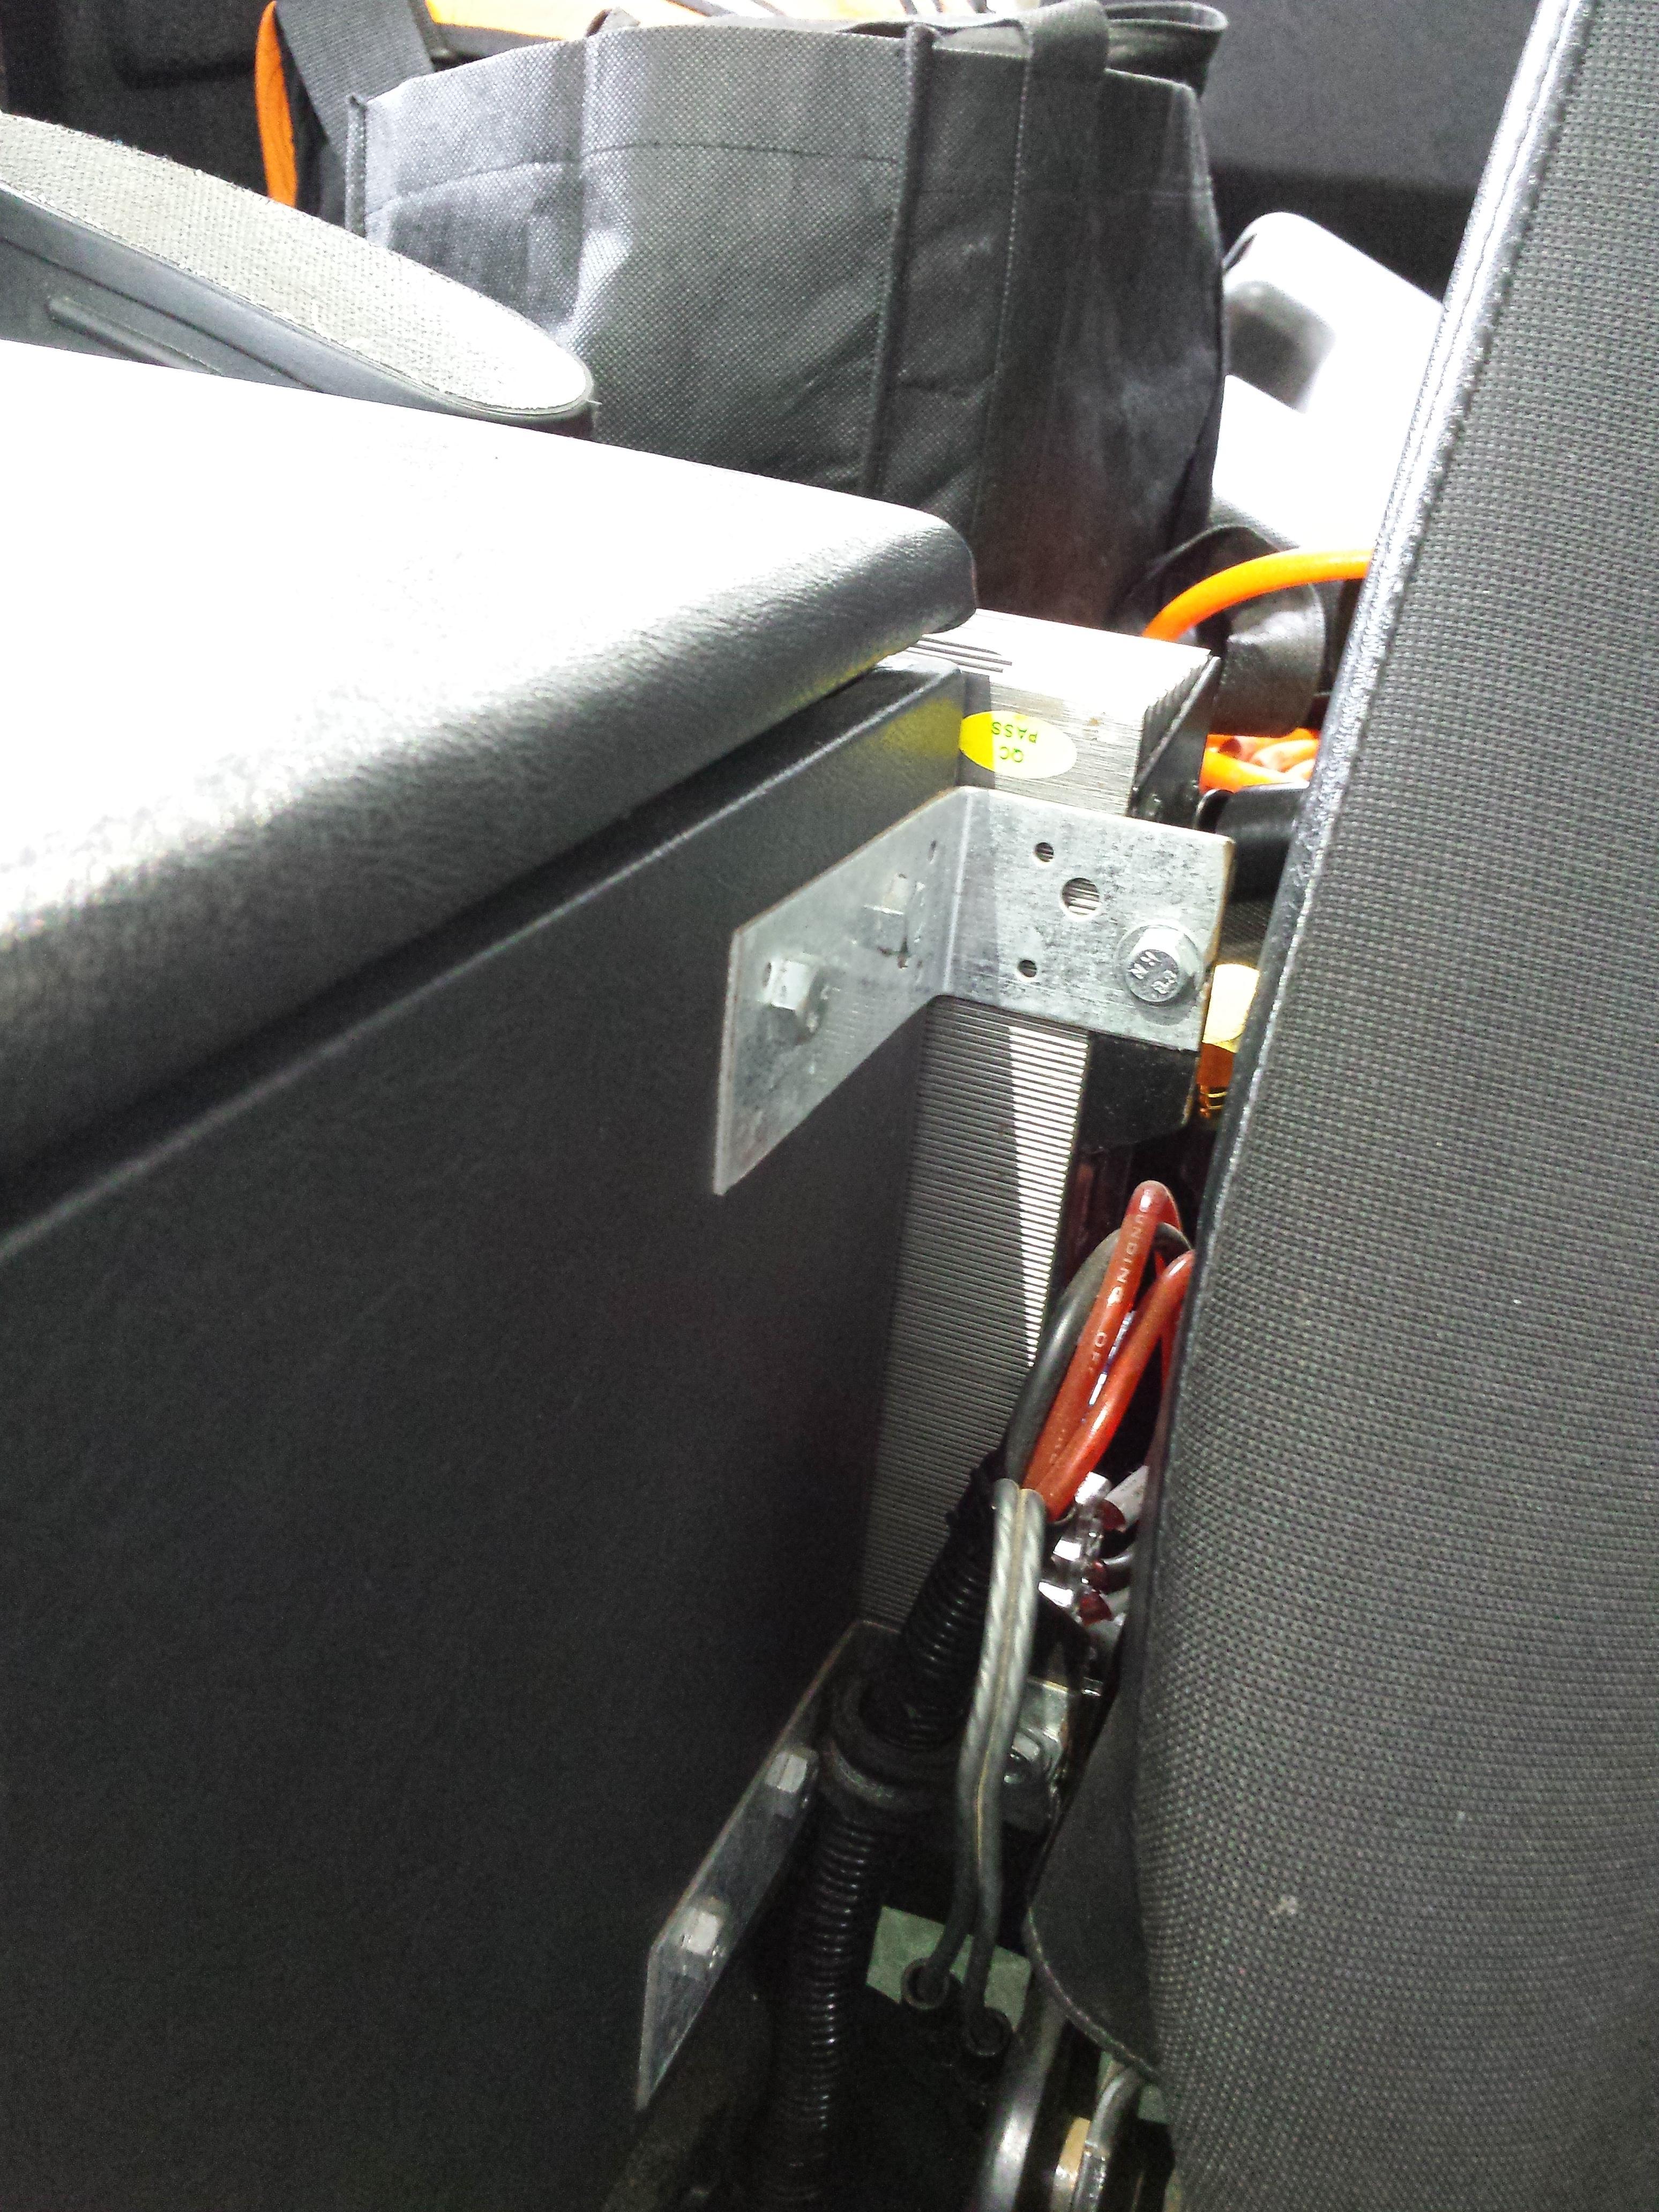
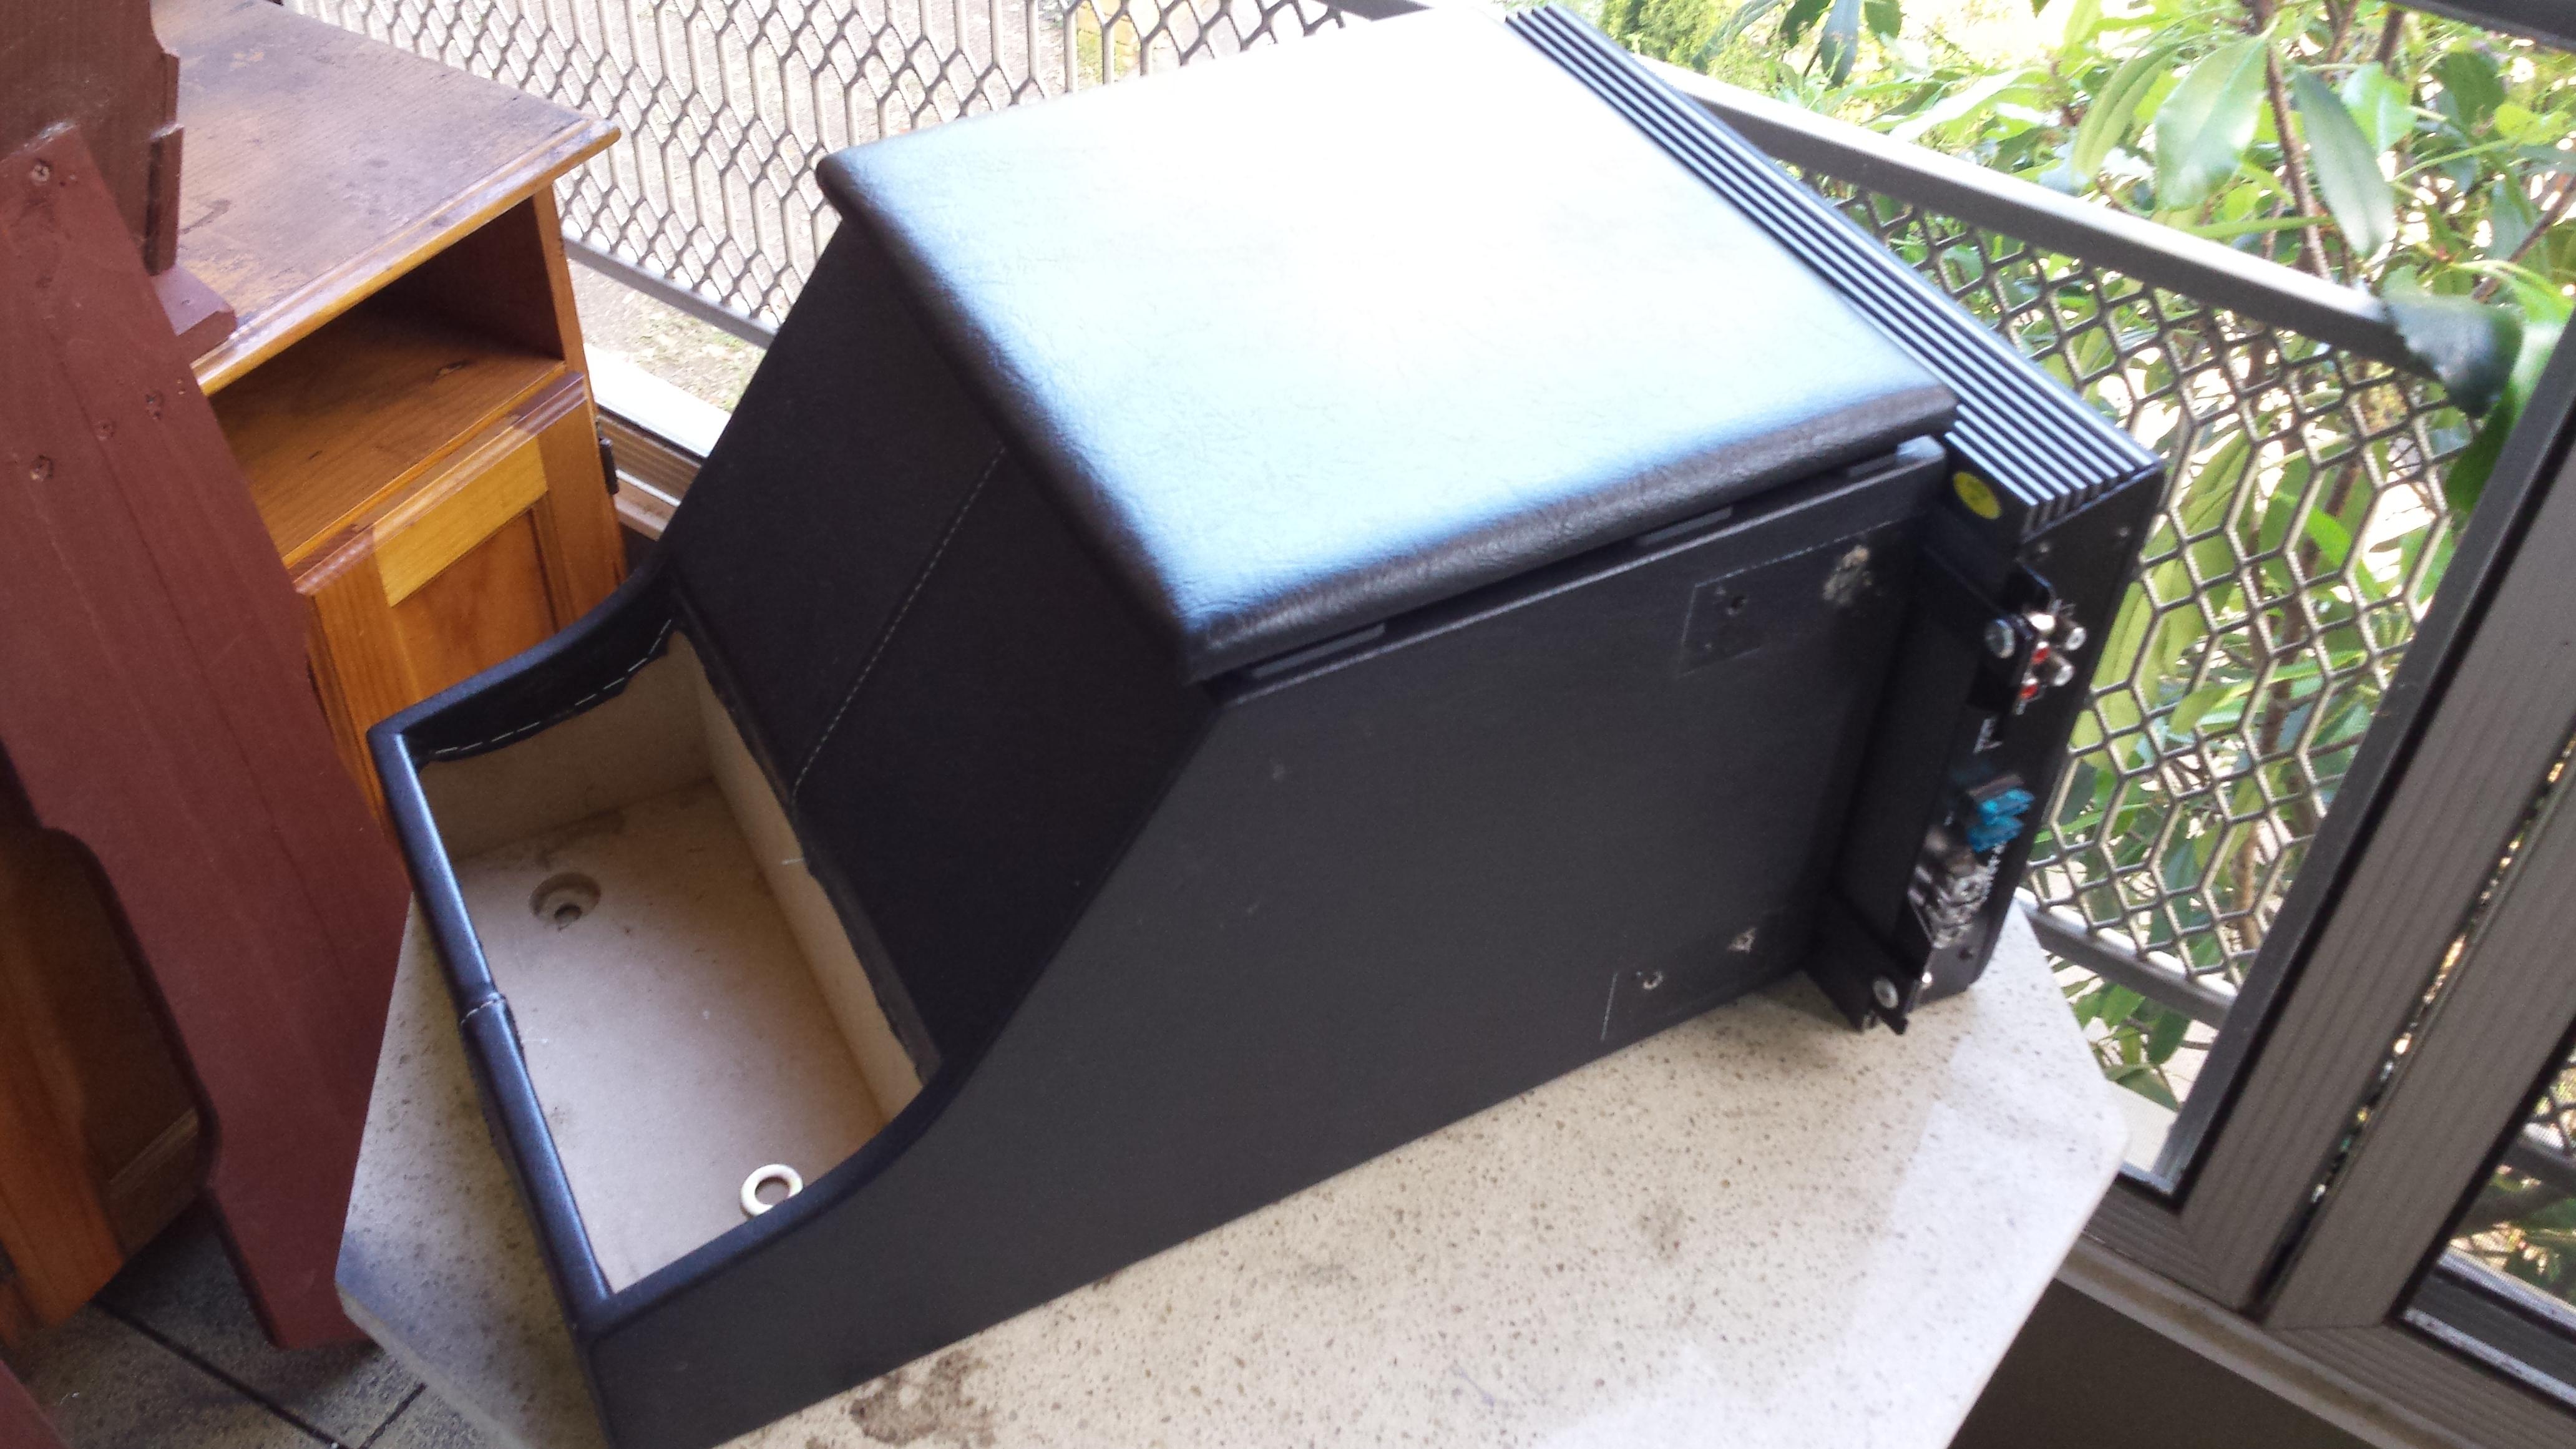
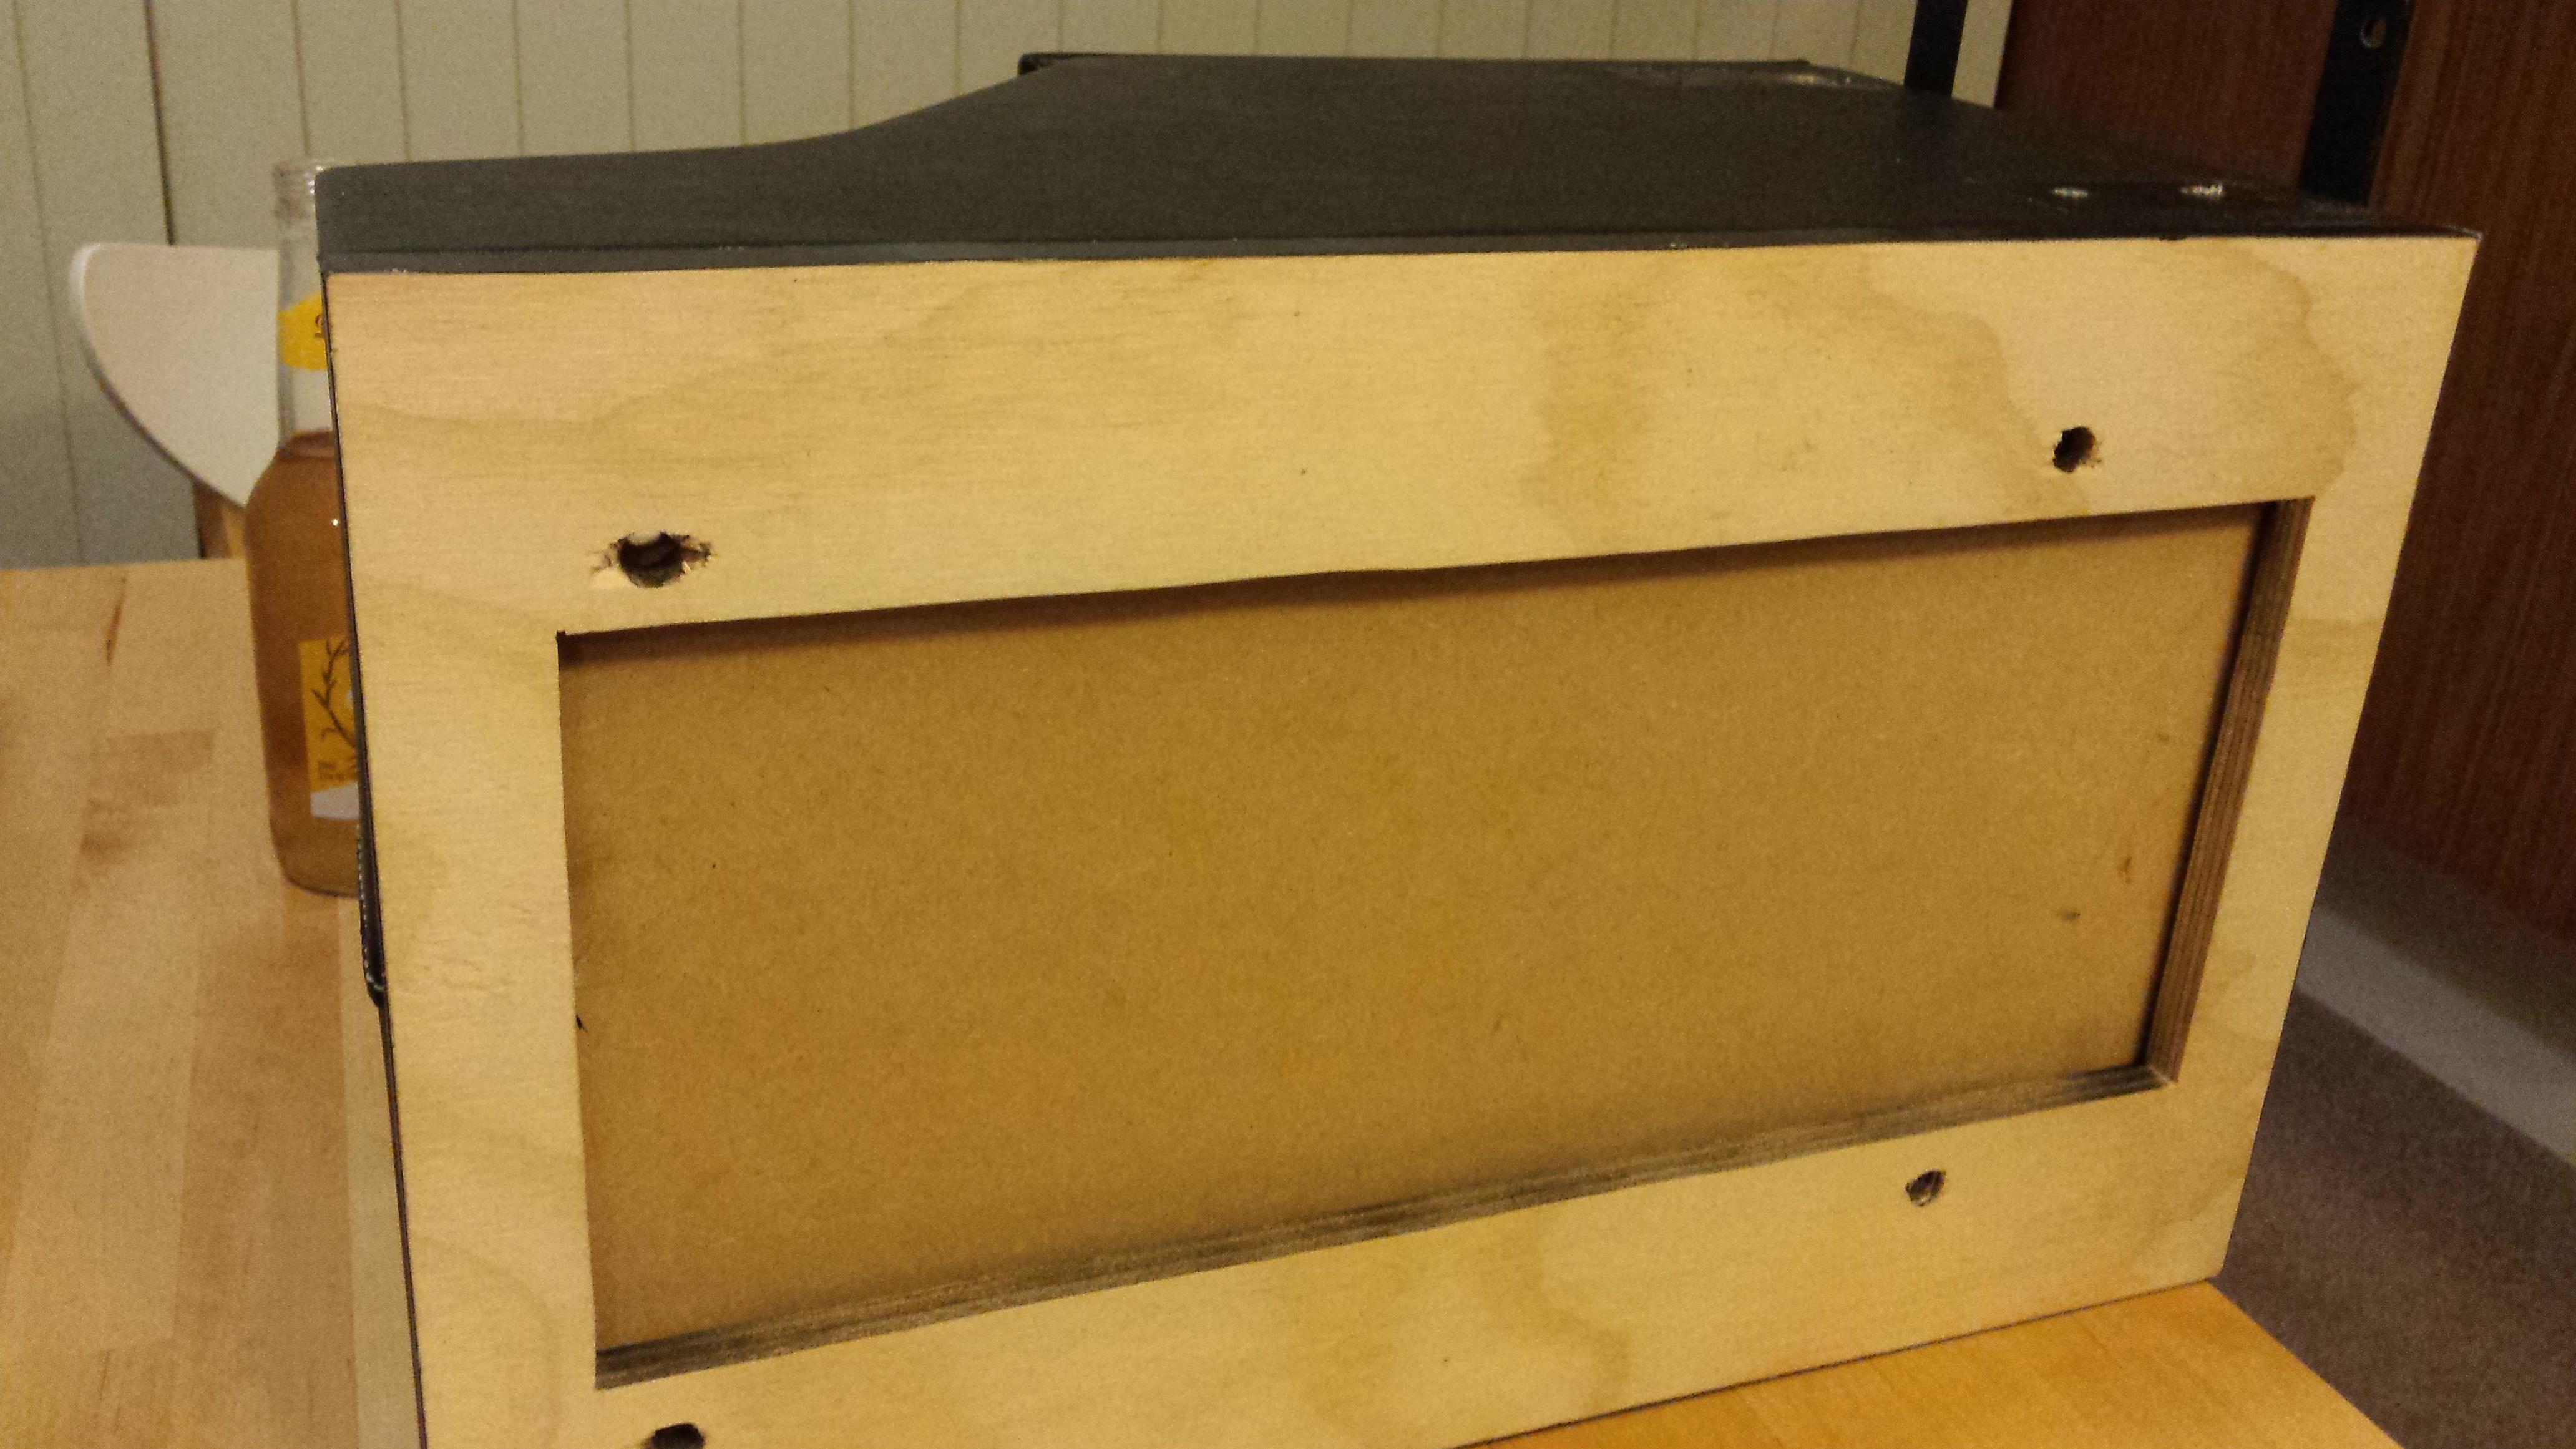
") meant my new little tray wouldn't fit. A better solution was to be found.
meant my new little tray wouldn't fit. A better solution was to be found. 
 ).
).


Bookmarks