
 Fossicker
Hey Matt, thank you so much for the excellent pictorial instructions. I just completed the repair and for $29.95 and a few hours work it was a cheap fix. That top bolt is a challenge!Originally Posted by mturri

I also went through the continuity checks and have a question/comment. For the third test on the Lucar connector for the solenoid, I also found this has continuity with the housing and ground. It made me scratch my head a bit until I realised the solenoid won't work without a connection to ground. It's not a dead short as the coil provides resistance in the circuit.
Thanks again!
Fossicker
Hi all.
This site was great to identify that the top nut was going to be an issue. So I was prepared.
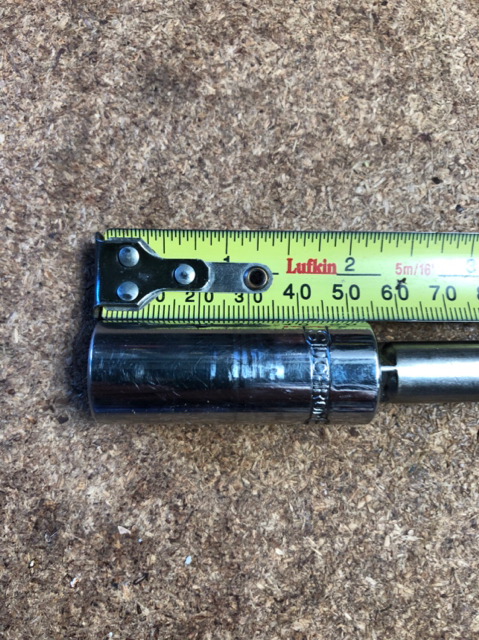
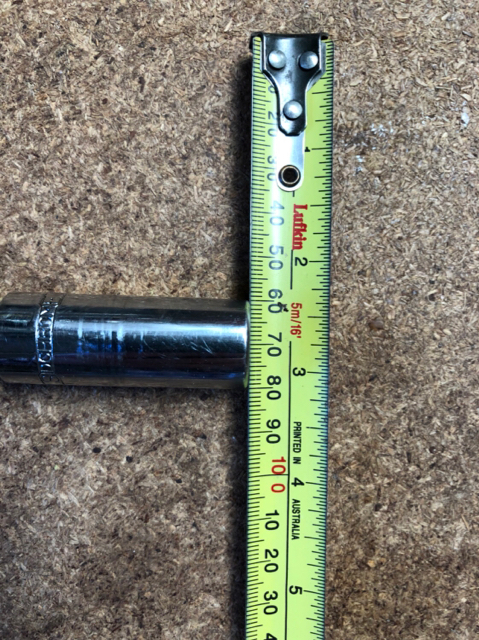
However the write ups I had read had mentioned the 15mm socket diameter was critical and didn’t say that it should also be short for less problems.
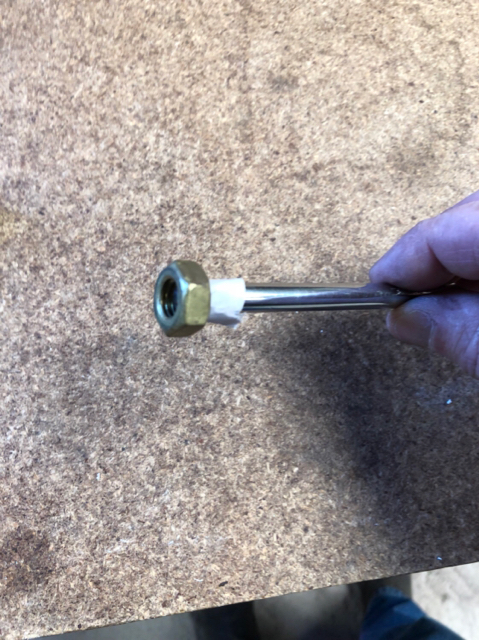
I ended up with a narrow 6 point 3/8 drive deep 15mm socket that allowed me to Remove it but getting it back in was another story.
What I ended up doing in the end was using a quarter inch drive socket extension with some paper wrapped around the end and screwed the nut onto the end of this. This allowed me to get the nut started and run on. Once it was started I was able to get 15mm socket on. I have posted photos but note that that is not the same nut (for the perfectionists🤣
You will see the scratch marks on the socket where it came into contact.
Hope this helps someone else get that damn nut back on.
Cheers
 Posting Permissions
| Search AULRO.com ONLY! |
Search All the Web! |
|---|
|
|
|


 Reply With Quote
")

Bookmarks