Results 1 to 10 of 10

Thread: Noisy wipers/ Wet feet fix

  1. #1
    Join Date
    Apr 2012
    Location
    Orange, NSW
    Posts
    7,965
    Total Downloaded
    0

    Noisy wipers/ Wet feet fix

    Howdy.
    Thought I'd chuck a few piccies up while I worked out a few niggles on my D2.
    Most of this information comes from Del ( .50 ) on here, thanks to his fantastic post on the D2BC forum, so cheers mate!

    The issues I had were (really) noisy wiper clunks, and SWMBO getting wet feet in the rain/carparks/random times. I'm sure we're all familiar with the sunroof drains, however this was different.

    Water was dripping down from underneath the cardboard kick panel. A quick prod revealed damp sound deadening on the firewall directly beneath the blower.
    Arming myself with Del's guide, I started working on the outside part of the job.
    The job is removing the windscreen scuttle panel, to gain access to the air intake duct. This duct has a gasket that can leak, as well as leaking for other reasons, which in turn gives SWMBO wet feet!

    Del suggests removing the bonnet. I tried to remove the scuttle panel without removing the bonnet but for the tiny amount of effort involved, it's worth pulling it off

    So, first things first.

    Remove the wipers. Pop the caps off, and remove the nut, metal washer, and the two rubber washers shown below.


    Then there's two plastic insert and screws to remove, as well as a centre bolt. Shown here are these, along with the wiper arm caps and the scuttle panel plugs.


    Next, it's time to prepare to unbolt the bonnet. I took Del's advice and placed some old tea towels underneath the corners of the bonnet with the stay in place, which allowed me to remove the bolts and let it sit on the towel.


    10mm I believe. Easy peasy.


    Then you're left with this!


    As I was on my own, I placed suitable sheeting over the engine bay/LHS front wing and 'slid' the bonnet across and left it leaning against the snorkel, suitably padded of course. It's surprisingly light, the only reason I didn't just lift it is my arm span simply isn't long enough.

    Then simply lift the scuttle panel off and place it somewhere safely. It's worth checking that the rubber strip that runs along the scuttle panel is secure, as they've been known to come loose.

    Before I got to the air intake, I investigated my annoyingly clunky wipers.
    I also removed the mounting plate for the wiper motors to check for water leaks, which thankfully there were none! I refitted with a slight smear of silicone and tightened up the bolts/nuts as they were a bit loose.


    Next, onto the actual wiper clunks. Commonly caused by the three bolts that hold the wiper motor onto the plate being loose. I'll let Del's photo do the talking...


    I re-fitted mine with spring washers, wipers are quiet as a mouse now


    Must run, dinner time! When I come back I'll post up the actual wet feet fix
    Cheers
    Muppet
    The Phantom - Oslo Blue 2001 Td5 SE.
    Half dead but will live again!

    Nina - Chawton White 2003 Td5 S
    Slowly being improved

    Quote Originally Posted by Judo View Post
    You worry me sometimes Muppet!!


  2. #2
    Join Date
    Apr 2012
    Location
    Orange, NSW
    Posts
    7,965
    Total Downloaded
    0
    One thing I forgot previously was the usual disclaimer. All work documented is carried out by a Muppet with no formal automotive training and a deranged personality. Any and all documented work is purely my experience, and I will not be held responsible for you breaking your own **** by trying to copy me. Please don't sue me. I've got no money anyway.

    Now


    Okay, here's my next lot of progress.

    Started on removing the blower unit in the passenger footwell, this was as far as I got as the next step is relocating the BCU which I'm undecided about.
    I've got the gear here to make up my rubber shield for the heater intake, so I'll make that up and try to check/re-seal the gasket from outside the car, if not I'll have a go at fully removing the blower unit.

    So, first step is to remove the battery negative cabling. No photos because if you can't do that, you shouldn't have a Land Rover.

    Next, remove the cardboard kick panel.


    Remove the glovebox


    I found that I only need to remove one of these, could probably get away with none and just carefully wiggle it out...


    Turn to appropriate section in RAVE


    Next, disconnect these two plugs.


    Remove the screws holding these connectors in place.


    And secure it to one side. I used the hook on the trans tunnel trim


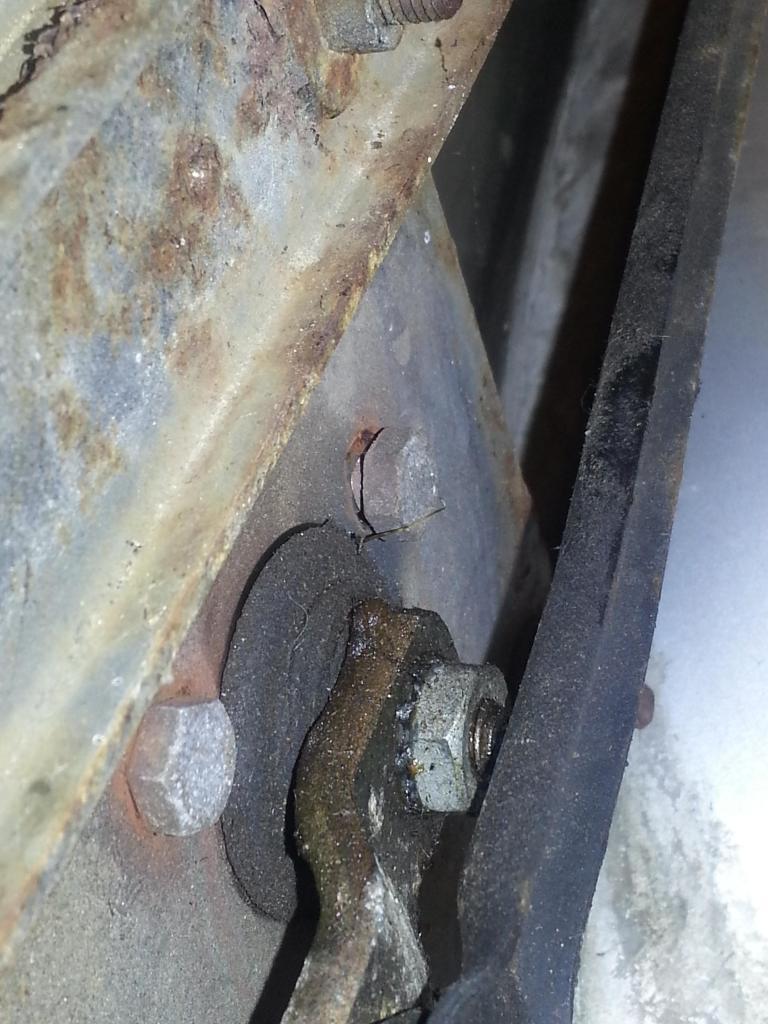
    Now, remove these two top bolts holding the blower unit in place. There are also two down the bottom, including one I missed off to the far side, near the heater duct.


    At this point, there's noting actually holding the unit in place. A gentle tug towards the passenger side will disconnect the ducting from the blower to the rest of the ducting behind the dash. At this point I realised that there's no way I could remove the entire unit without moving the BCU.
    I was running out of light so I've decided to ponder it for the night. I may just attempt to attack it from the firewall side.

    In a sec I'll post up some pics of what I intend to do from the other side.
    Cheers
    Muppet
    The Phantom - Oslo Blue 2001 Td5 SE.
    Half dead but will live again!

    Nina - Chawton White 2003 Td5 S
    Slowly being improved

    Quote Originally Posted by Judo View Post
    You worry me sometimes Muppet!!


  3. #3
    Join Date
    Apr 2010
    Location
    Adelaide, southern foothills
    Posts
    169
    Total Downloaded
    0
    Following this keenly as I too have a wet passenger floor problem. Mine drowns the BCM and has twice caused no cranking and flashing odometer.

  4. #4
    Join Date
    May 2013
    Location
    Aberdeen Scotland
    Posts
    195
    Total Downloaded
    0

    Wiggle room

    This may help
    Behind and below the glovebox there are 3 ECU modules on a bracket.
    The BCU is the middle of the three ECU's, (black plastic housing).
    It is held in by one securing bolt and nut 8mm heads which passes through the unit horizontally.
    Remove this bolt and BCU then slides out towards you.
    BCU has 4 multi plugs (grey & yellow) along the base & one in the left side of it at the top (brown). press release clips and remove plugs brown plug can be difficult to remove it comes out towards the pillar it may be easier to release it last to get good access to it.

    Next remove 5 multiplugs from SLABS ECU.
    Remove multiplug from ACE ECU.
    there is a yellow SRS wire that is attached to the frame unplug from the frame and disconnect the SRS wire from its upper connecter to prevent damage.
    Remove the two connectors for glove box switch to give more room to get ECU's and frame out.
    ECU mounting bracket is held to bulkhead by to 13mm head nuts (they can be accessed after BCU is removed) slacken upper 13mm nut till thread is half way through nut,
    Remove lower 13mm nut fully,
    Remove ECU's and bracket assembly carefully not to damage wires with sharp edges of the frame.

  5. #5
    Join Date
    Apr 2012
    Location
    Orange, NSW
    Posts
    7,965
    Total Downloaded
    0
    Cheers for that!

    Even without the SLABs or BCU in place, I was still struggling to remove the blower unit so I'll take a punt on it not being the gasket (shouldn't be), and I've installed my rubber shield.
    Pics are loading as we speak.
    The Phantom - Oslo Blue 2001 Td5 SE.
    Half dead but will live again!

    Nina - Chawton White 2003 Td5 S
    Slowly being improved

    Quote Originally Posted by Judo View Post
    You worry me sometimes Muppet!!


  6. #6
    Tombie Guest
    Cute gloves Princess

    Is that because of your upcoming career as a Hand Model

  7. #7
    Join Date
    Apr 2012
    Location
    Orange, NSW
    Posts
    7,965
    Total Downloaded
    0
    Well they sure wouldn't be using my face
    Old habit from making models and dealing with glue on my fingers.
    Anyway, have been slack with photos.

    I got stuck into removing the computers and the the brackets, although even with that I was still scratching my head about how to get the entire blower unit out so I decided bugger it. As an alternative, simply remove the blower unit which will allow you to see up to the vent and check for further water leaks.

    However, here's some pics of removing the SLABs/BCU and brackets, as per Scots helpful advice.

    These photos show the order of the plugs along the bottom of the SLABs and BCU, just as a reminder. I don't think the plugs would fit any other way but always good to have a reference.
    Half the plugs practically fell out they were so easy, the others....well...not so. I found a combination of wiggling and gentle prying with a screw driver helped, but be careful about it.
    As stated, 8mm nut/bolt through the BCU. Undo it and remove and the BCU slides right out. It's easier to undo the brown plug on the side when you've got it mostly removed from the bracket.


    BCU removed


    Next it's the two 13mm nuts that hold the bracket in place. The top one secures a cut out rather than a hole in the bracket so as Scott says you can leave it just on the end. I removed the bracket and SLABs unit still connected.


    Leaves quite a cavity!


    But still I couldn't manage to get it out so I put it back together. Only thing left over was this and it starts and drives just fine so I'll take my chances


    So, on to important things.

    This here is the heater fresh air intake.


    This is the source of my efforts to remove the blower to get to the gasket. However, I made do by checking the fit of the gasket from the bulkhead side, and it seemed in good nick. The bolts needed a tighten up though.
    Del theorised that if the scuttle panels doesn't seal correctly, water runs down over the lip on top of the intake and down into the blower unit.
    As such, cut a strip of rubber as a suitable shield so that any drips are deflected. Simply glue the shield to the top lip of the inlet and refit the scuttle panel and wipers

    Also, check the silicone sealing in the corners of the bulkhead, as many guys on the pommie forum found there were large holes, so definitely worth a check up.

    Then go for a burn with the bonnet off!
    Feels really strange

    The Phantom - Oslo Blue 2001 Td5 SE.
    Half dead but will live again!

    Nina - Chawton White 2003 Td5 S
    Slowly being improved

    Quote Originally Posted by Judo View Post
    You worry me sometimes Muppet!!


  8. #8
    Tombie Guest
    Quote Originally Posted by Disco Muppet View Post
    This here is the heater fresh air intake.


    LR had a part (at least for the D1) that had a larger lip/shroud to prevent the issue... I Replaced mine on my old D1 for that reason, never had another issue.

  9. #9
    Join Date
    Apr 2012
    Location
    Orange, NSW
    Posts
    7,965
    Total Downloaded
    0
    Cheers mate.

    I'll see what I can wrangle with the rubber lip. Before I go putting it all back together, I'll refit the scuttle panel and give it the good news with a hose while checking for leaks.

    At the end of the day, it's a Land Rover after all
    The Phantom - Oslo Blue 2001 Td5 SE.
    Half dead but will live again!

    Nina - Chawton White 2003 Td5 S
    Slowly being improved

    Quote Originally Posted by Judo View Post
    You worry me sometimes Muppet!!


  10. #10
    Join Date
    Apr 2012
    Location
    Orange, NSW
    Posts
    7,965
    Total Downloaded
    0
    Update.
    Found my real problem!


    Probably had a new windscreen at some point and the fitters mangled the scuttle panel, one of the clips is broken

    Anyway, Tombie suggested some PinchWeld. Hopefully it helps!


    Also found that with the wiper arm tightened up properly, the gap was significantly reduced. And sooooooo quiet when the wipers are used

    Anyway, hope this helps people!
    The Phantom - Oslo Blue 2001 Td5 SE.
    Half dead but will live again!

    Nina - Chawton White 2003 Td5 S
    Slowly being improved

    Quote Originally Posted by Judo View Post
    You worry me sometimes Muppet!!


Bookmarks

Bookmarks

Posting Permissions

  • You may not post new threads
  • You may not post replies
  • You may not post attachments
  • You may not edit your posts
  •  
Search AULRO.com ONLY!
Search All the Web!