You have it ass about Lionel.
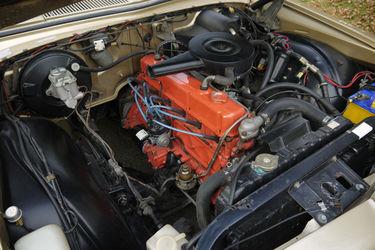
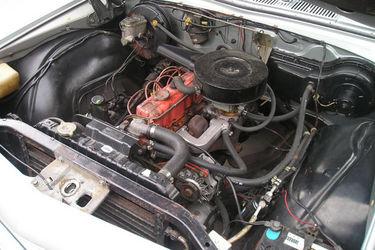
That bracket should be bolted on via the screw on the rear right hand corner of the carby then pull the lever towards the firewall in order to choke the engine.
I am at work but tomorrow I will take a pic of mine so that you can see how it is set up.
Cheers Mick.
1974 S3 88 Holden 186.
1971 S2A 88
1971 S2A 109 6 cyl. tray back.
1964 S2A 88 "Starfire Four" engine!
1972 S3 88 x 2
1959 S2 88 ARN 111-014
1959 S2 88 ARN 111-556
1988 Perentie 110 FFR ARN 48-728 steering now KLR PAS!
REMLR 88
1969 BSA Bantam B175


 Reply With Quote

 Safe Travels


Bookmarks