
Originally Posted by
'76swb

Emptied out the back tonight and found a few interesting spares.
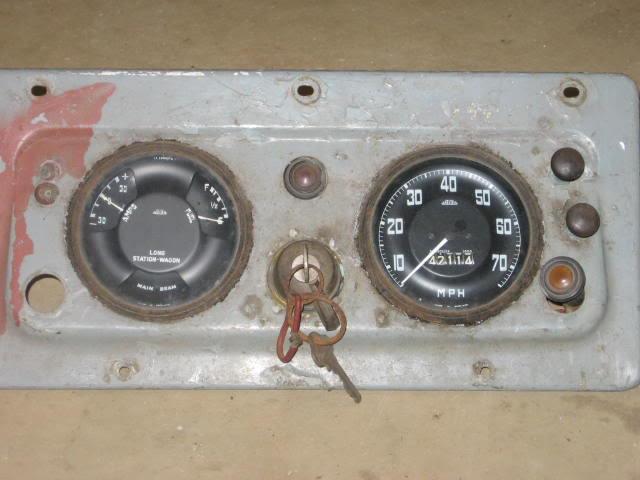
Found this dash, is it from a series 2 or 2a?
Yes - 2 or 2a up to suffix 'C', 1967
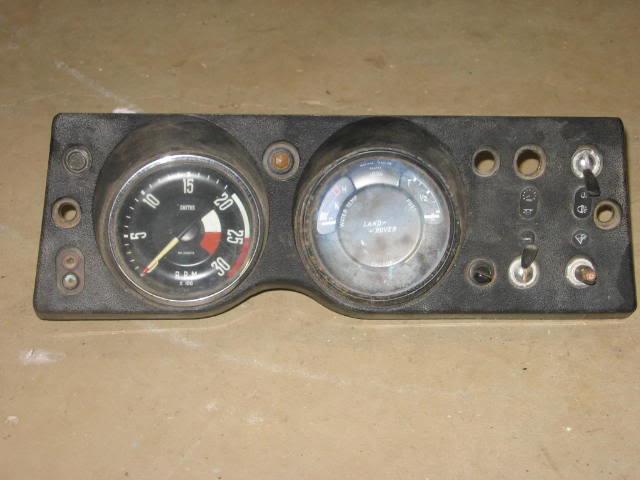
Found this dash with a tacho in it.
Series 3, but never seen one with a tacho
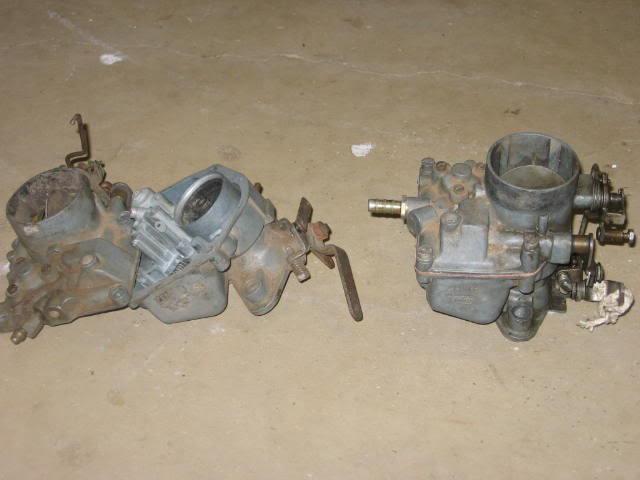
Found these which should be REALLY handy on my 2.25d
But handy for those of us with Zeniths!
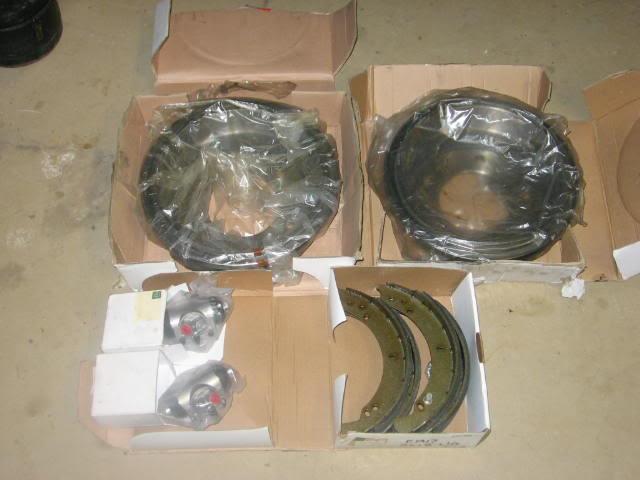
Found all the stuff to do up the front brakes. The rears have been done.
You're well set!
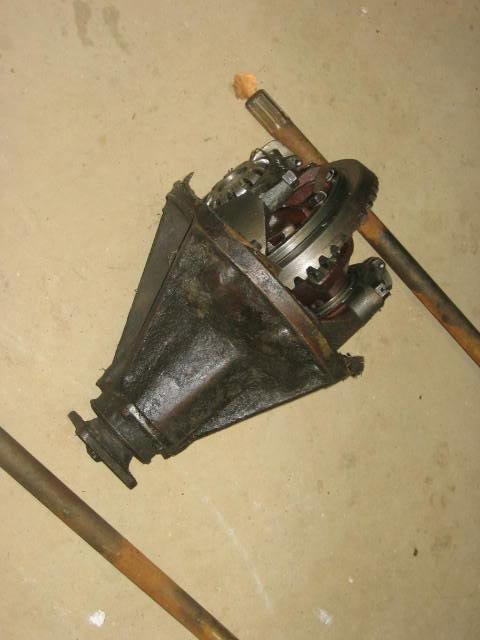
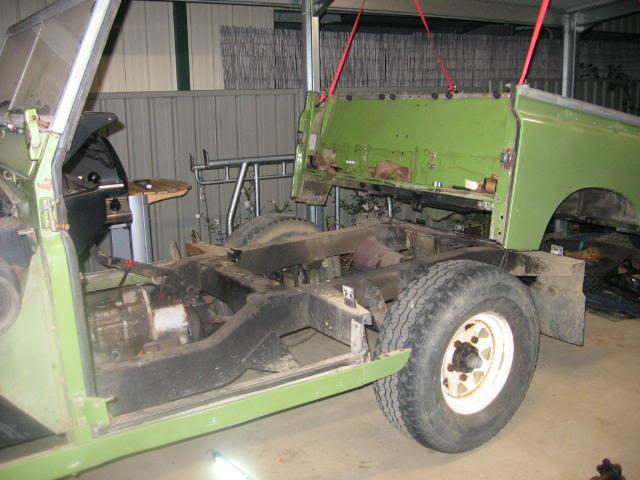
Found a diff and axles. No idea what nick it's in or what type of diff it is. Looks the same as the ones in the vehicle so it might be a bonus. Are the diffs the same front and rear? I'm pretty sure the salisbury was in the rear of the 109s.
88s Rover diff is the same front and rear, all S3 109s have a salisbury. That looks like a Rover diff.
That was about it except for your usual assorted nuts and bolts and other unidentified objects.
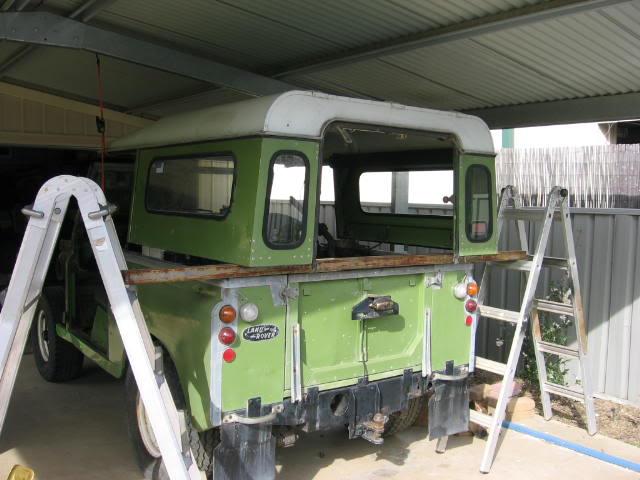
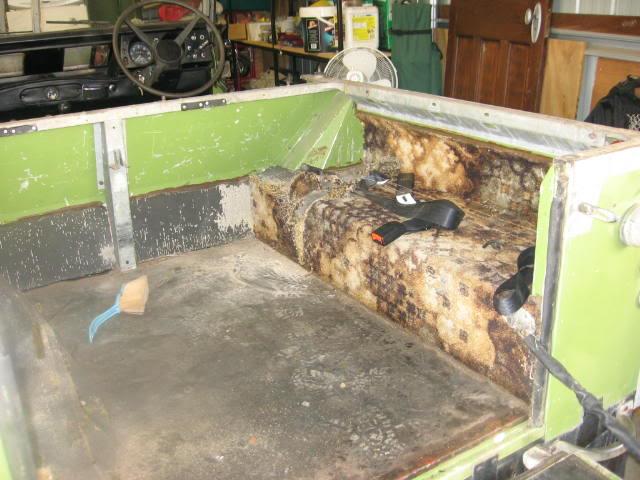
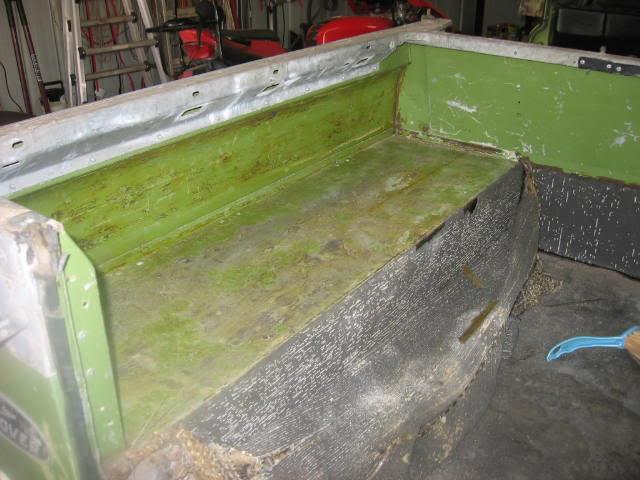
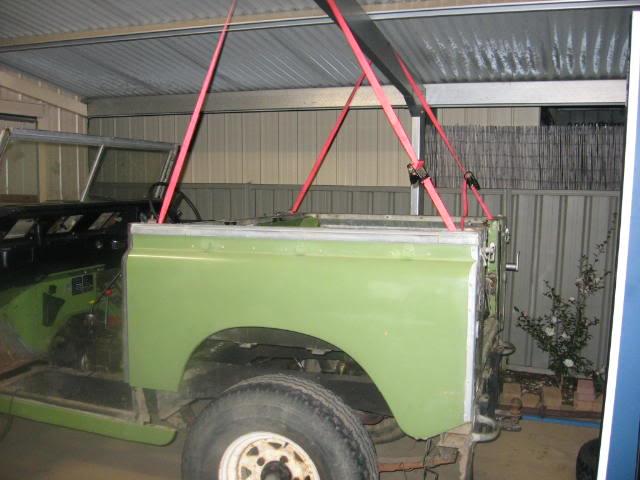
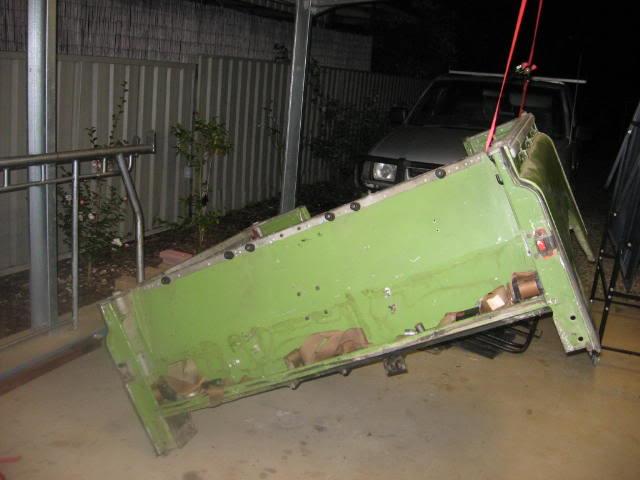
Started to get the rear tub ready to lift but ran out of time and knuckle skin.
Cheers for now,
Marty.
Sounds like you have a good collection of spares there! Particualrly the brake bits.
John
John
JDNSW
1986 110 County 3.9 diesel
1970 2a 109 2.25 petrol


 Reply With Quote
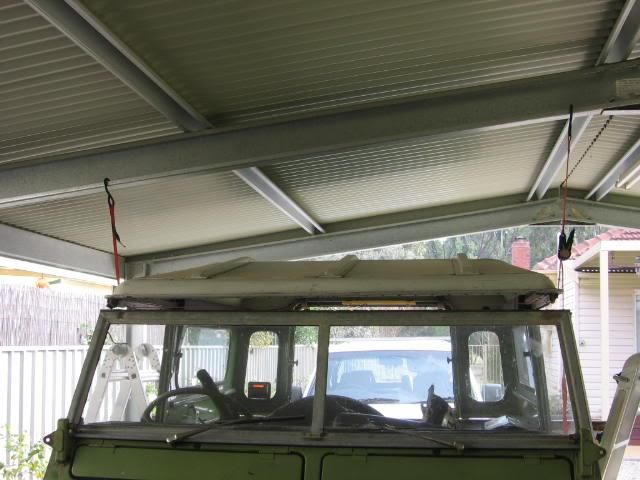


Bookmarks