


 Reply With Quote
Glad you are a couple of days ahead of me, on the steering box....
Great work.
whitehillbilly

 Wizard
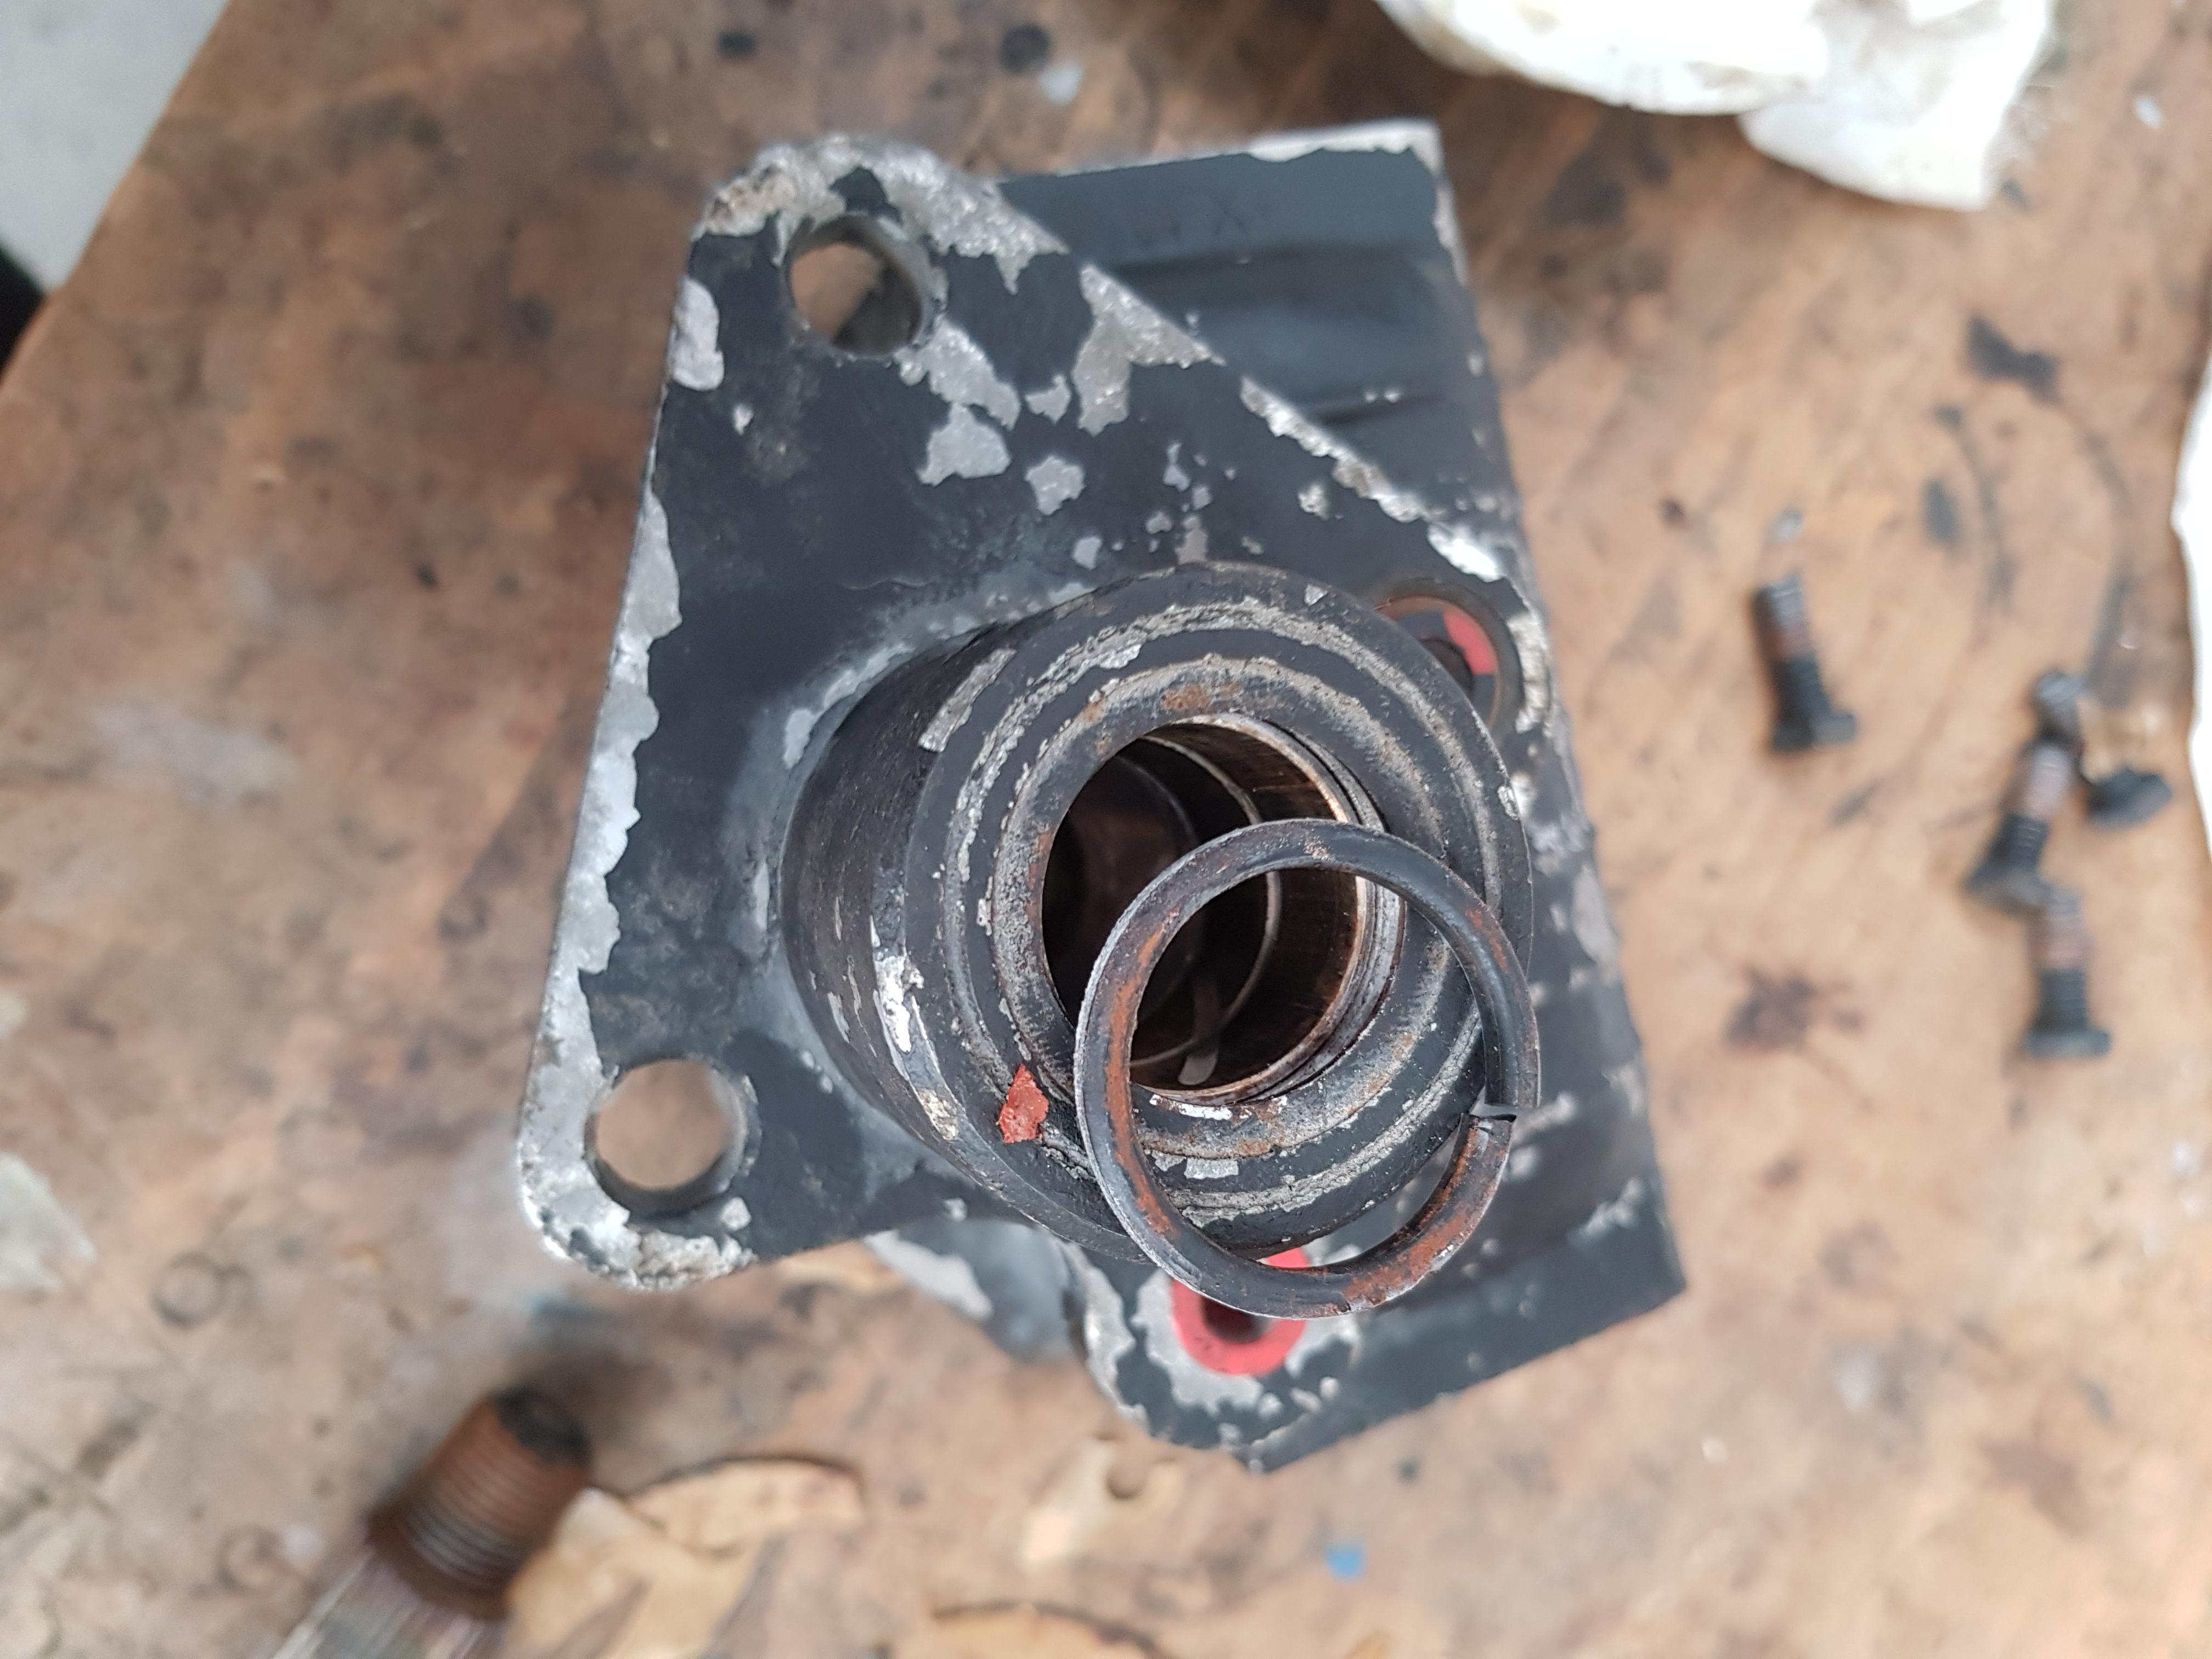
The steering box.... Well, I'm glad I decided to strip it, the o-ring on the rocker shaft was good and dry/brittle. It split after a quite gentle prod with a screwdriver.
The rocker shaft had corroded slightly, and you can see where it has abraded the o-ring just by me turning it back and forth a couple of times whilst trying to gauge the notchiness of the top bearing due to its dried out grease.
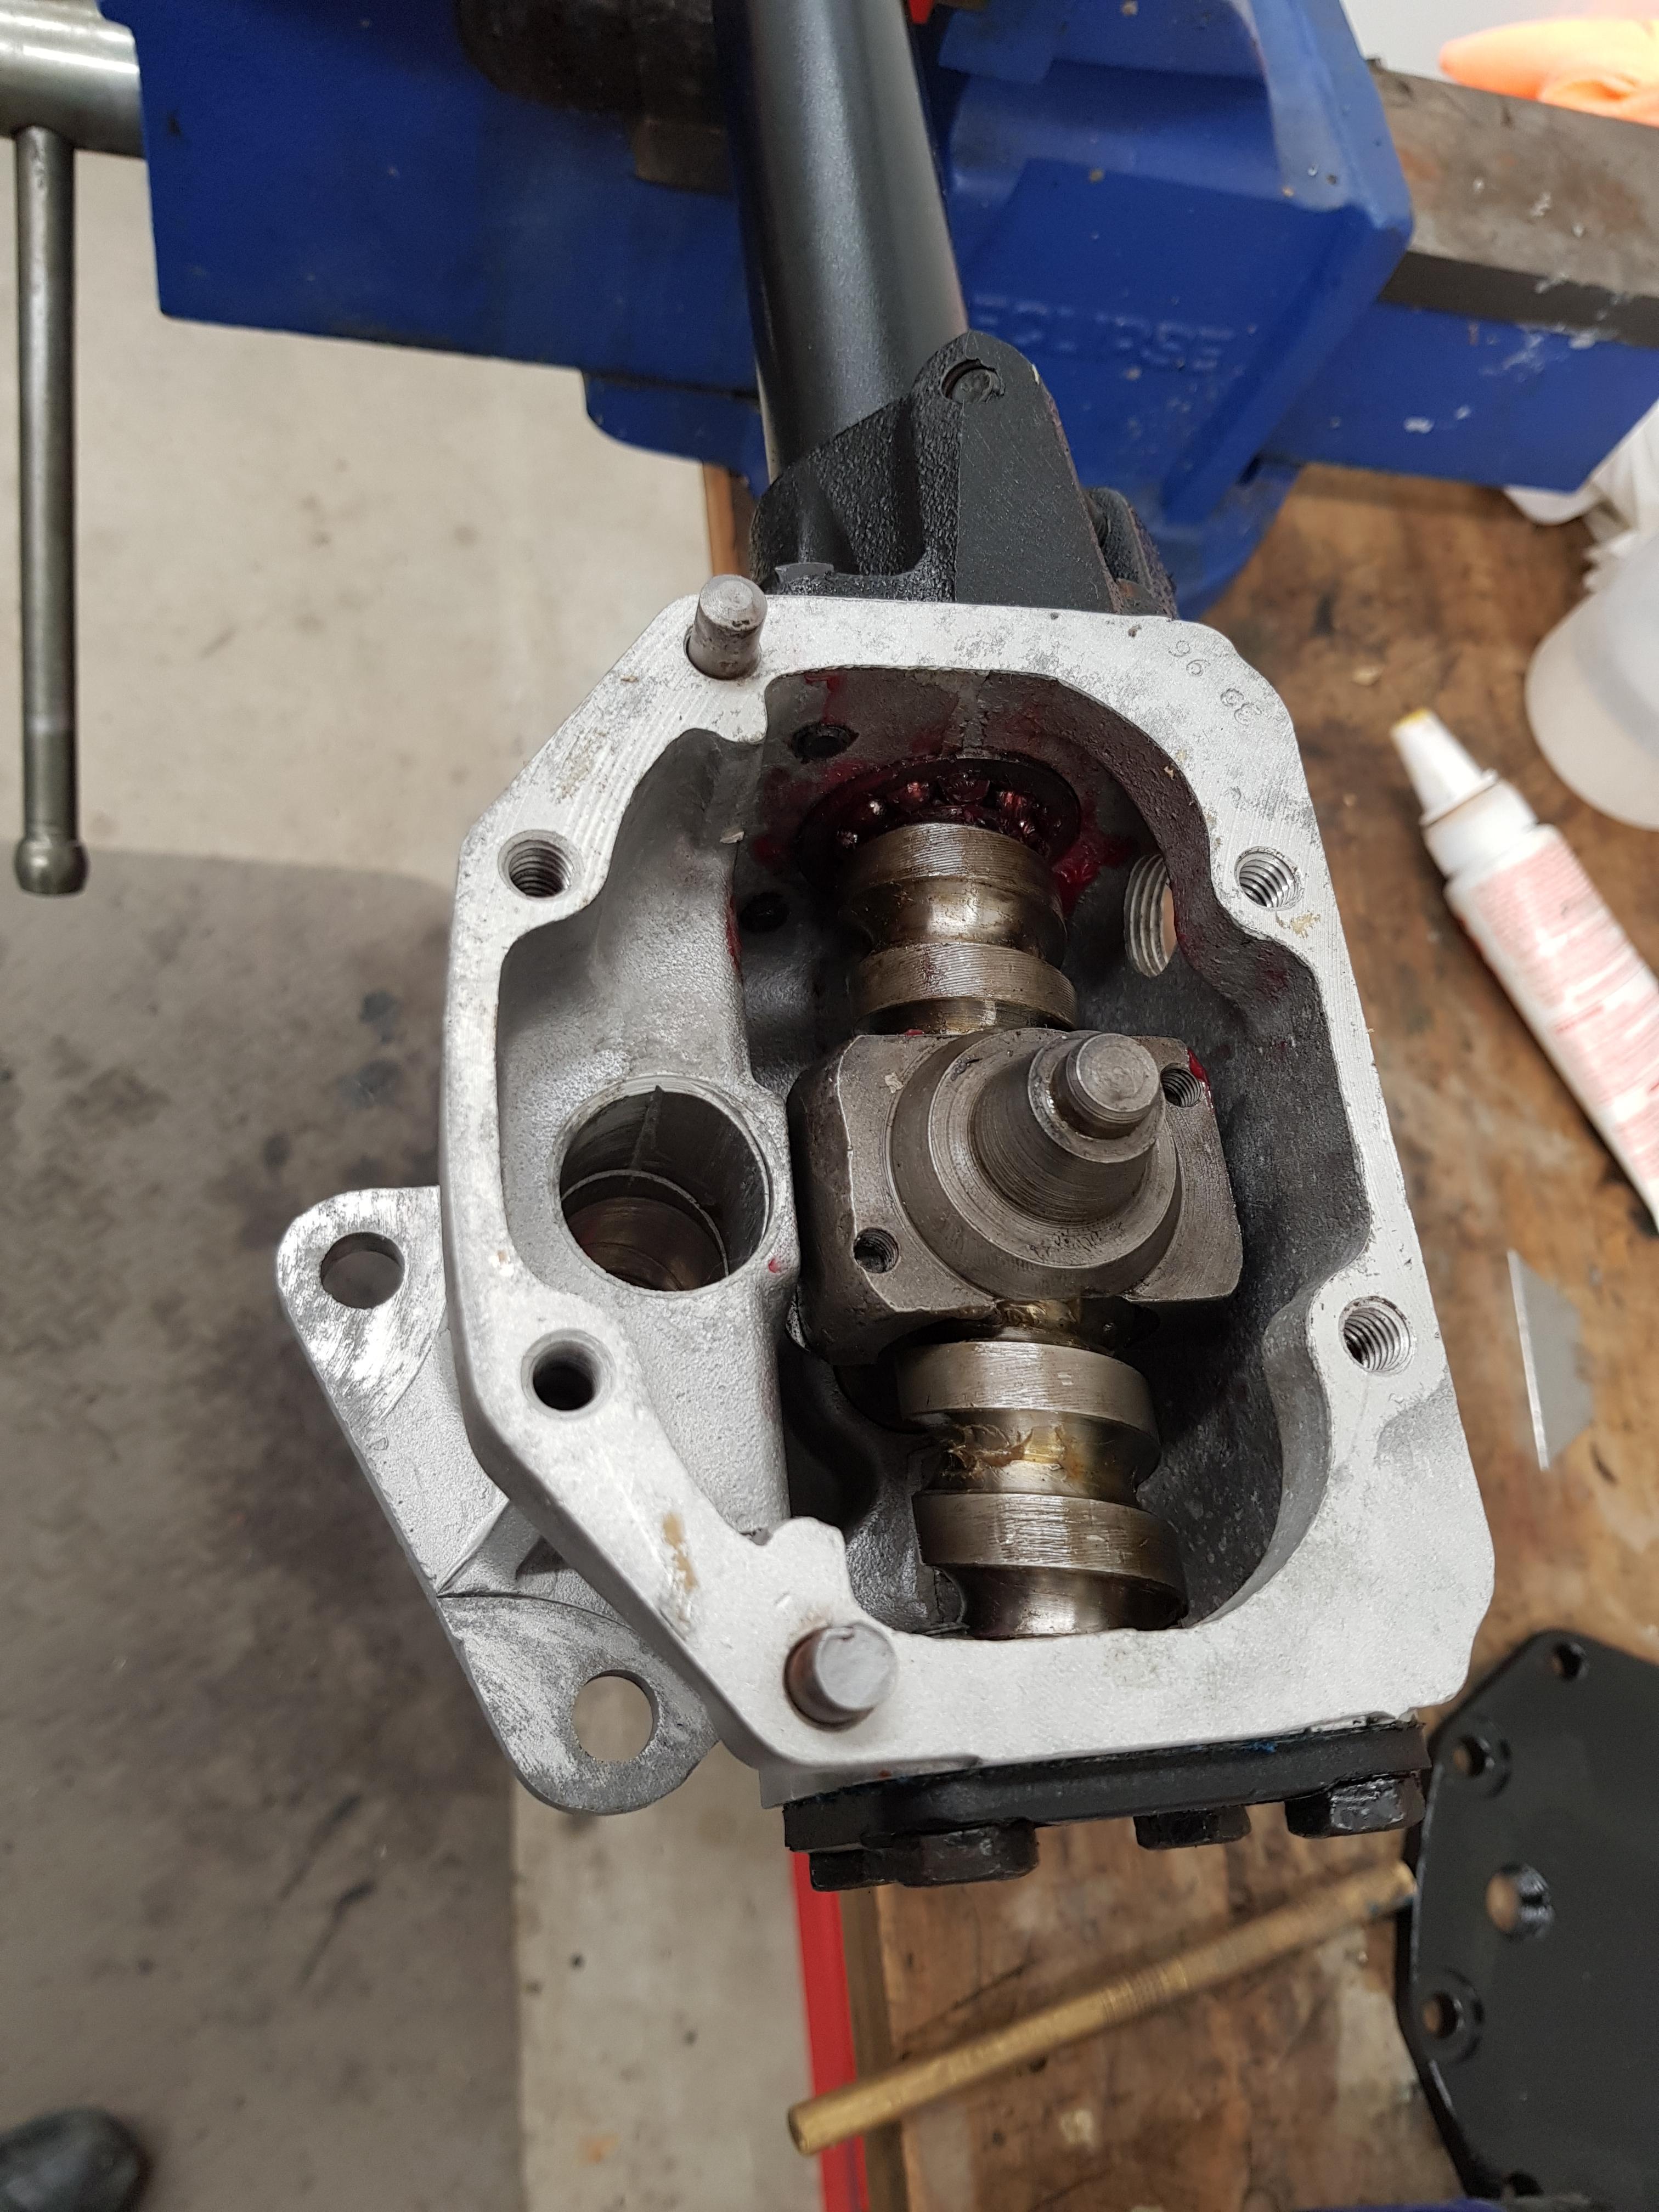
Spent quite some time frigging about trying to get the ball's in the upper bearing to stay put while assembling everything, only to work out I forgot to thread the ball nut on. ****.
Round 2, Fight! All together now:
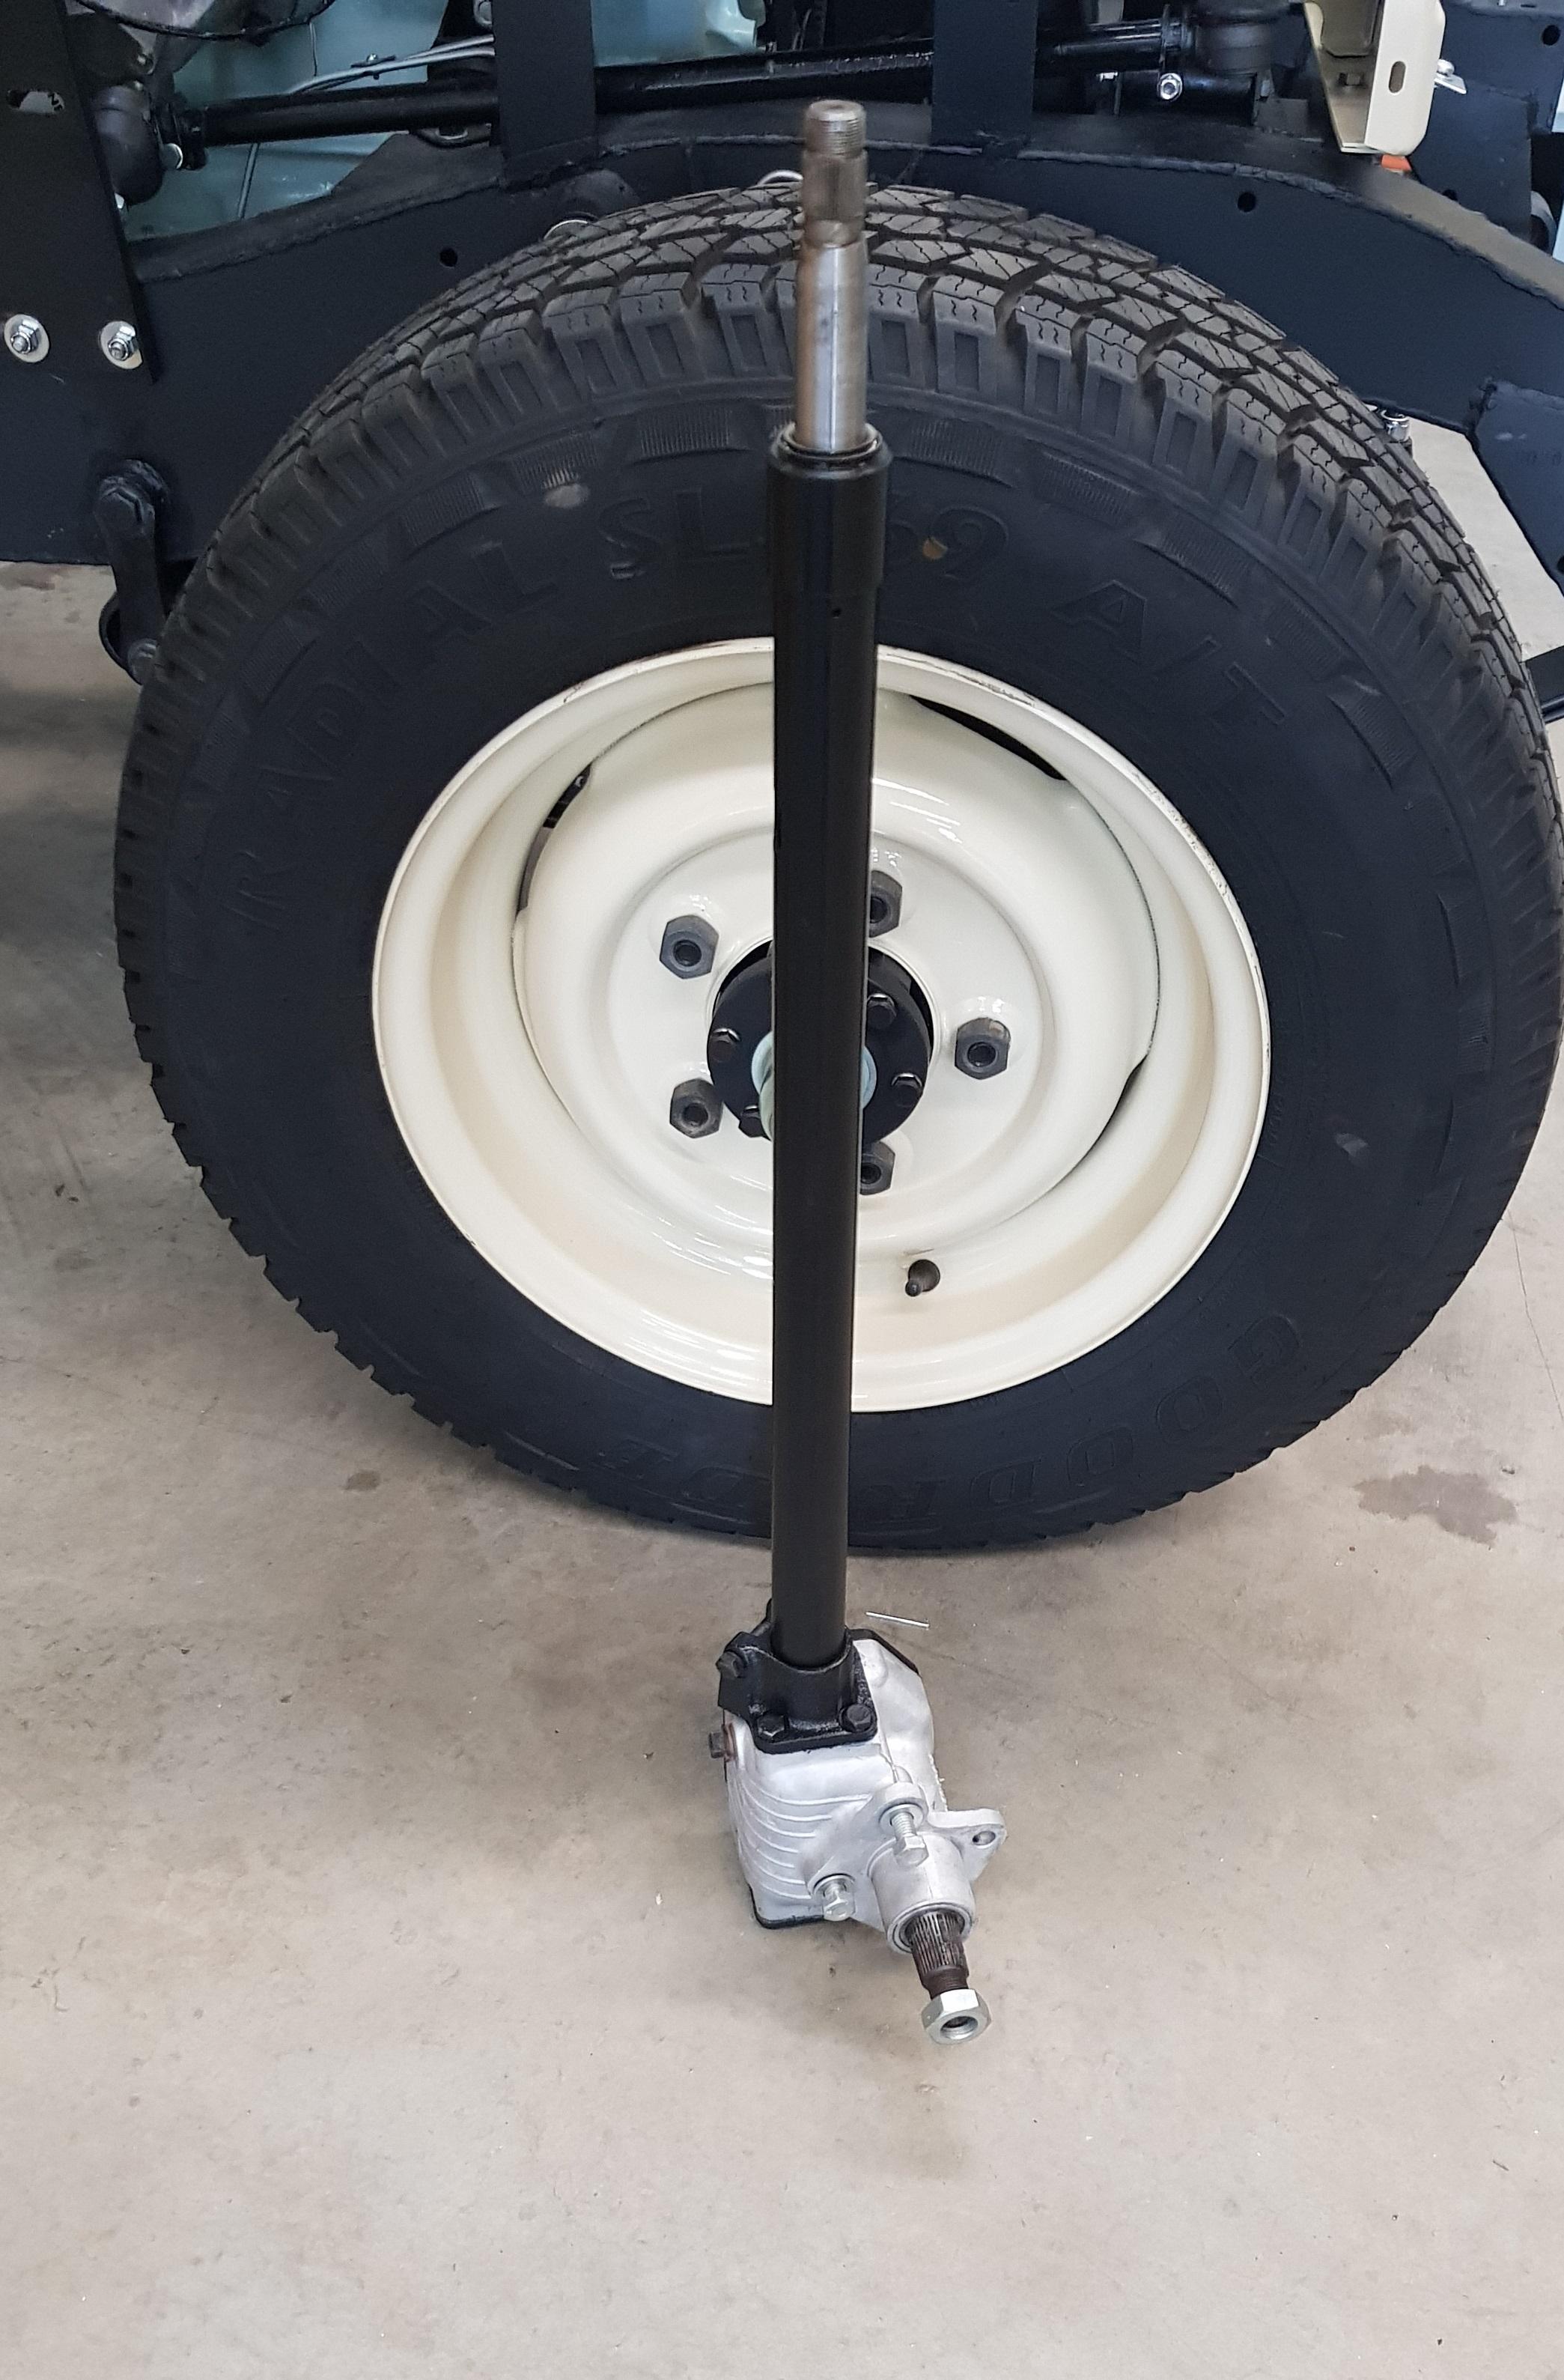
And finally a serviceable steering box!
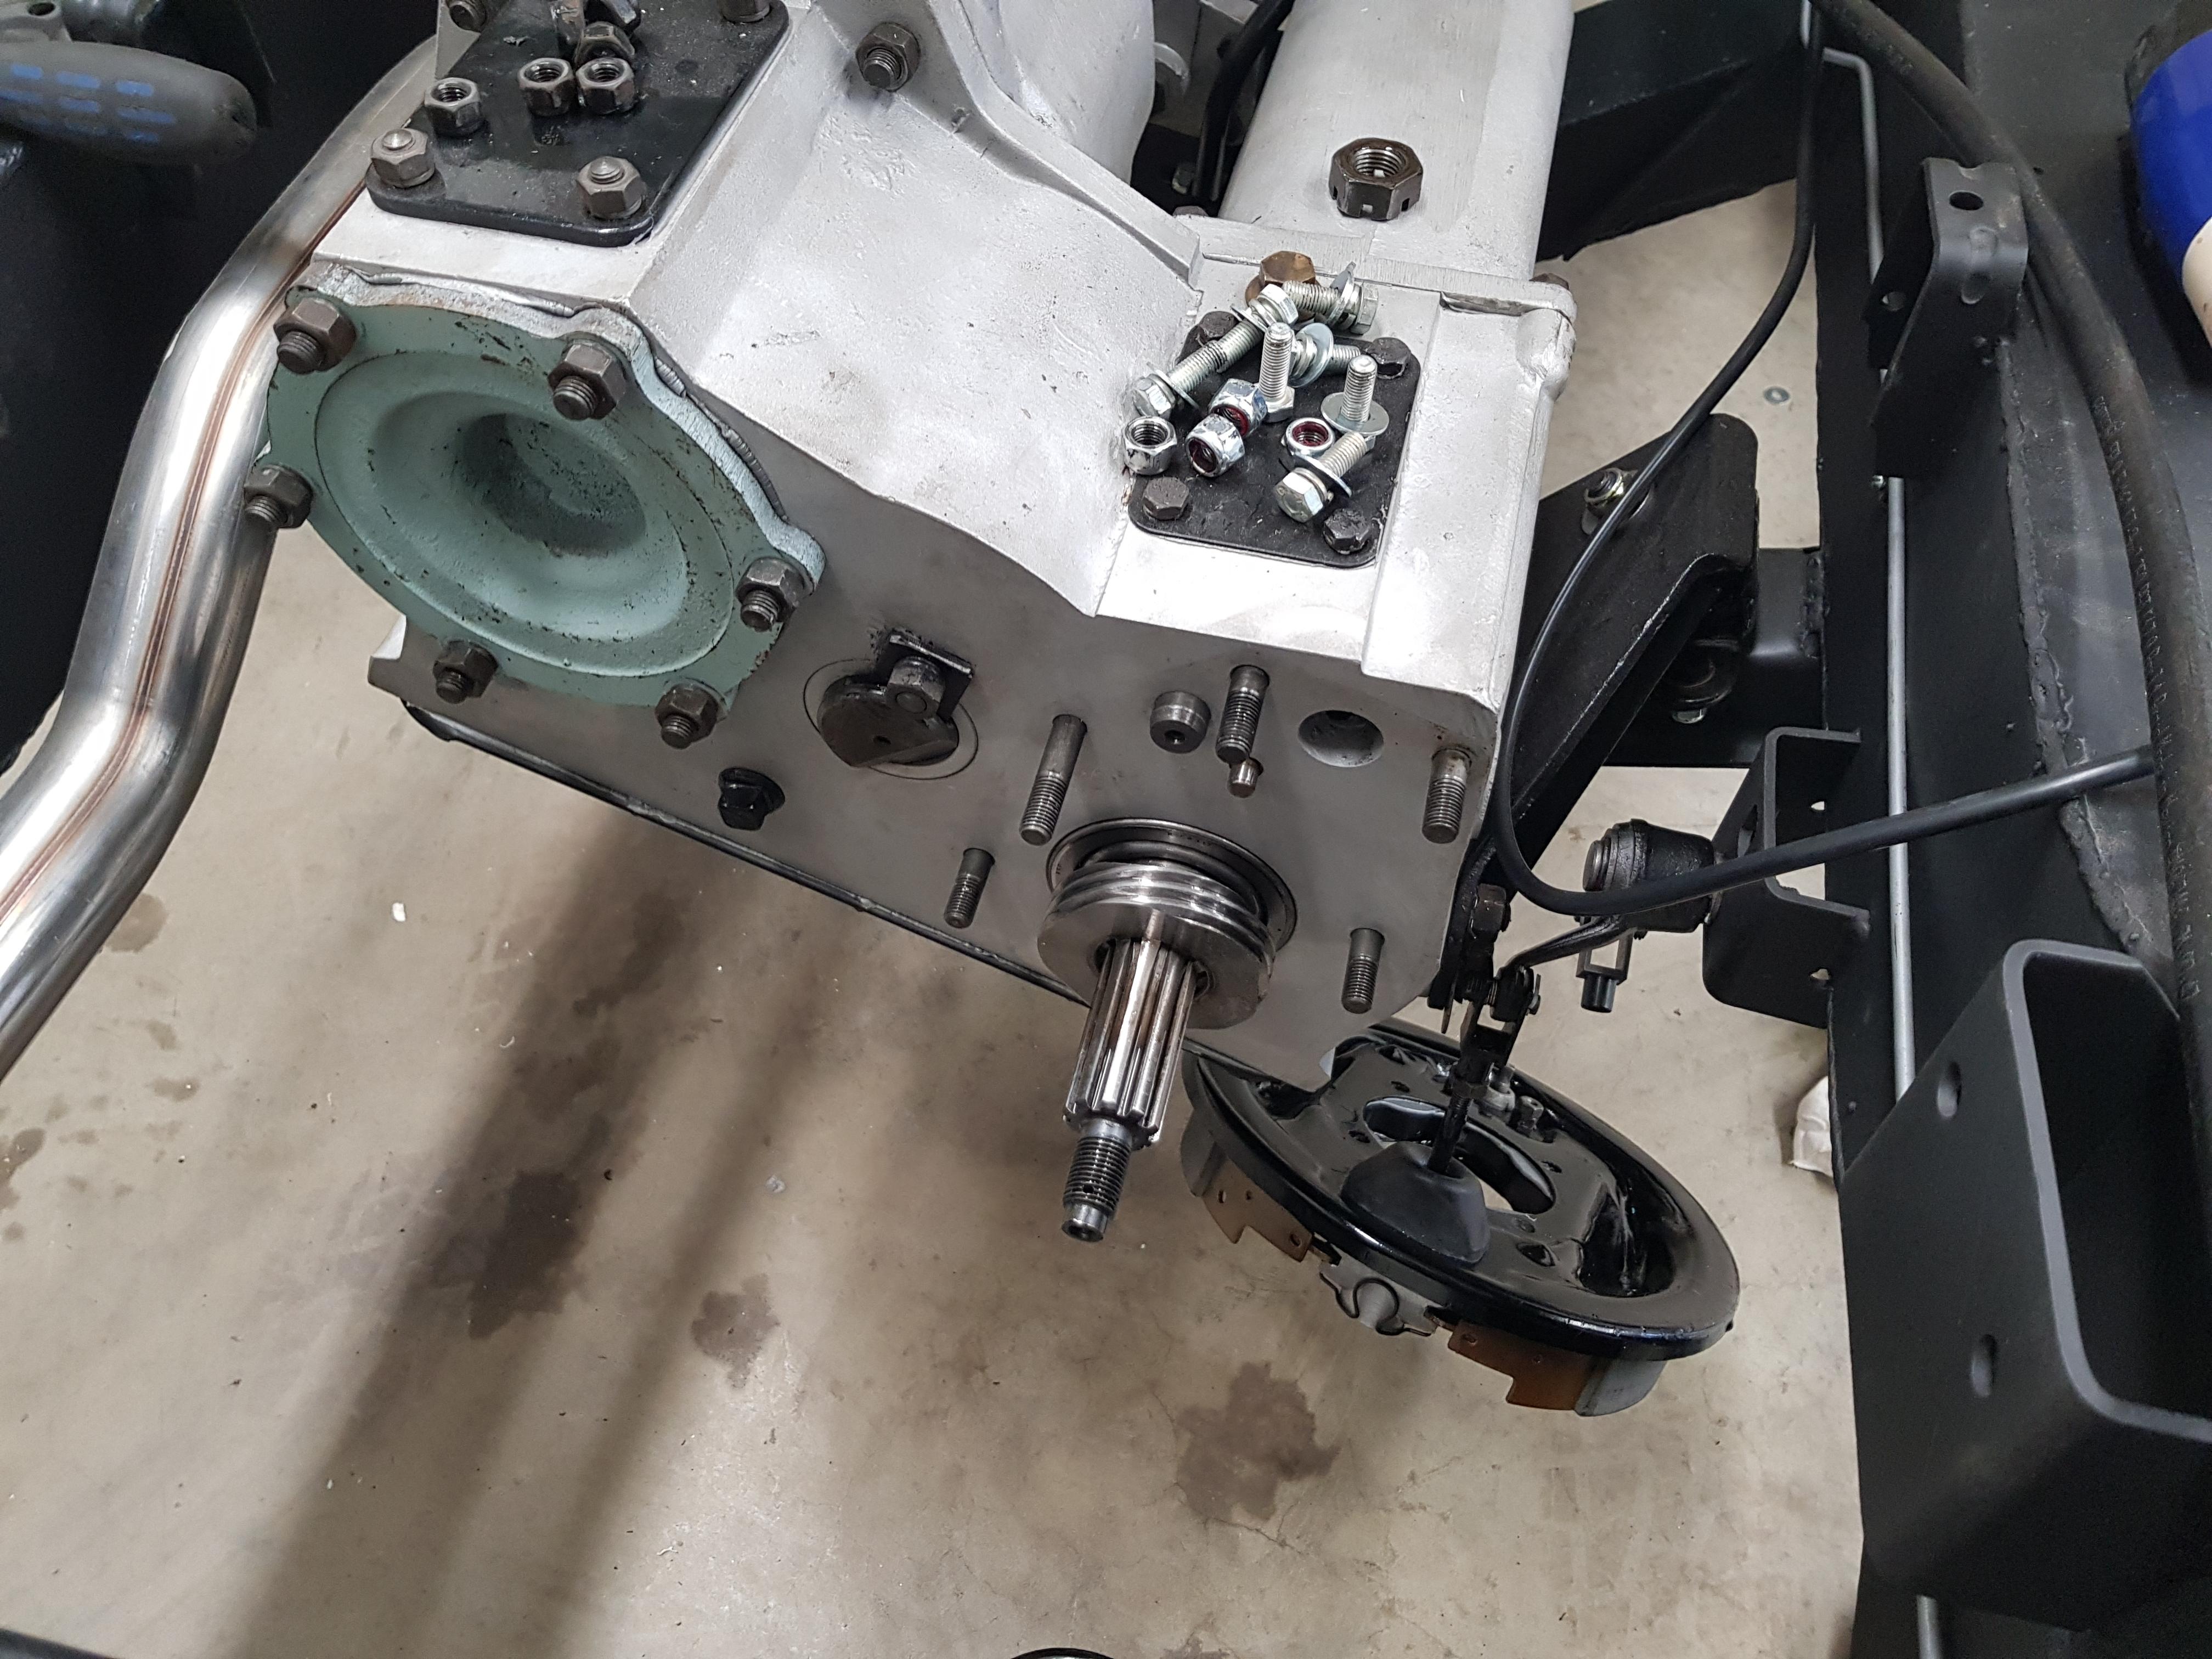
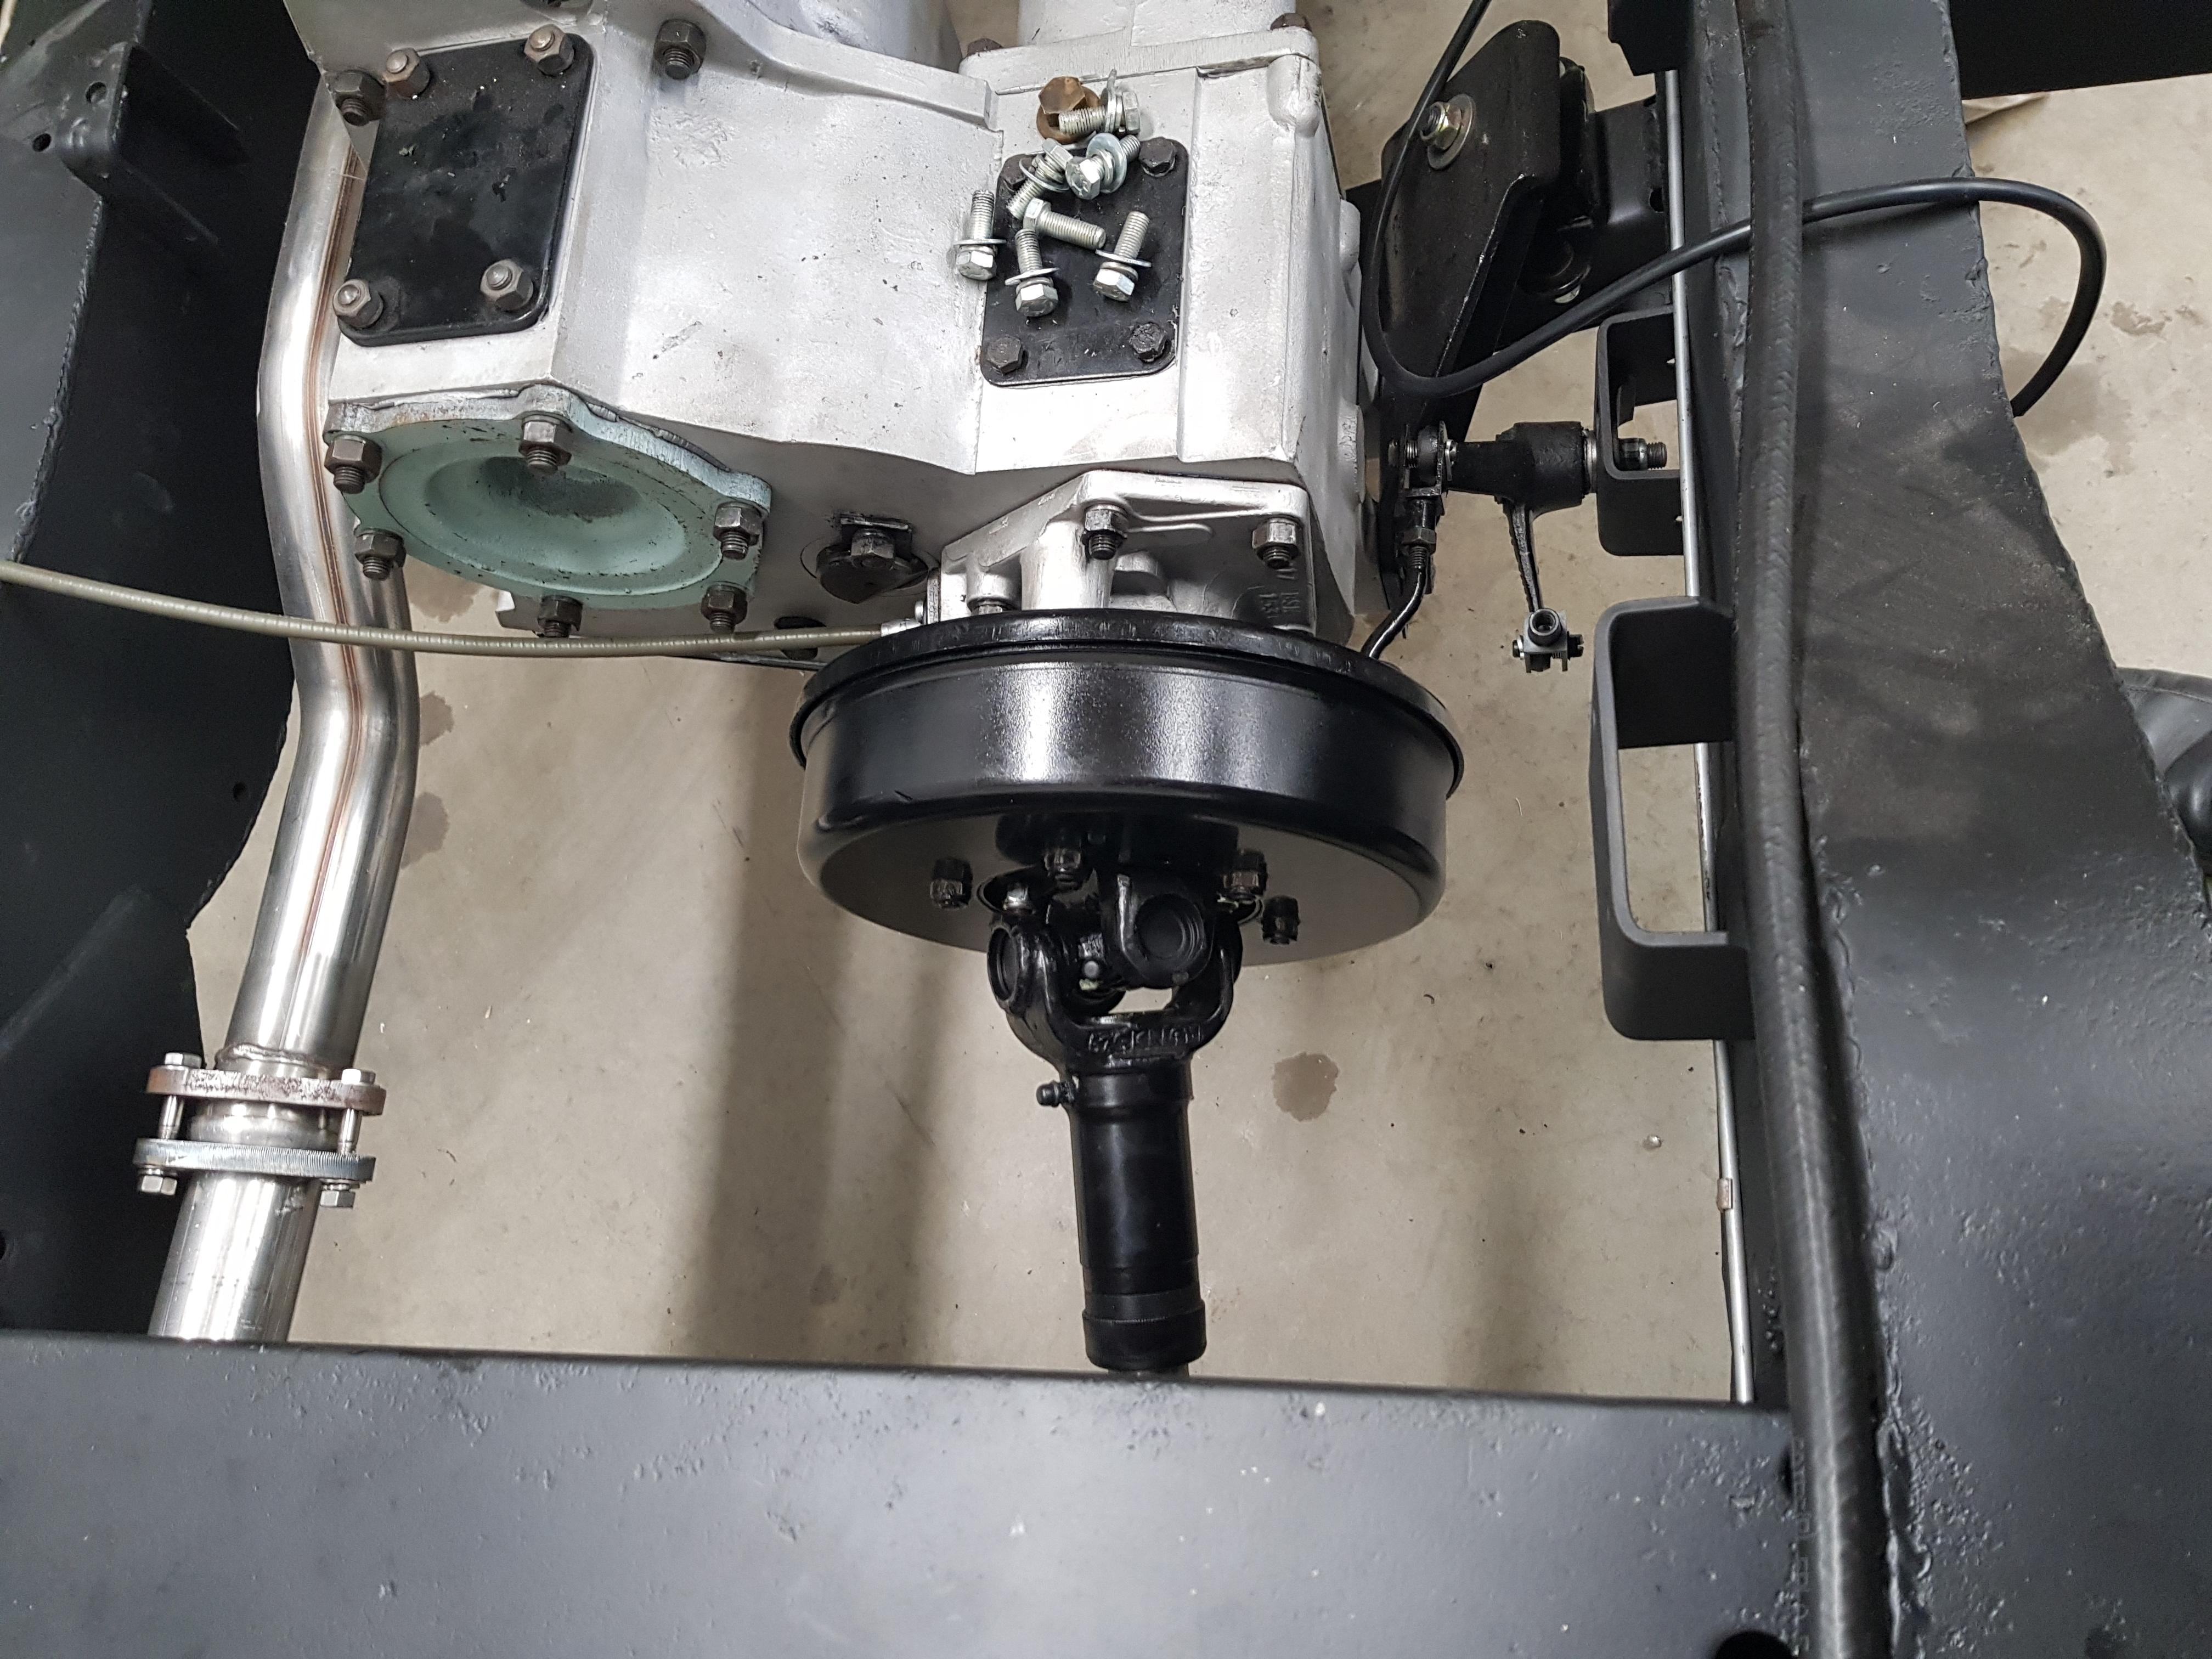
Another job what needed doing was sorting out the leaking transfer box. The leak appeared to be coming from the shim pack, probably due to the aggressive media blasting by [well know transmission company].
Output housing and shim pack removed:
I put a very very light smear of silicone sealant on the transfer box casing, and some spray Hylomar on the shims. Hopefully this won't add enough thickness to affect the preload on the transfer box bearings.
All back together again:
Spent an unreasonable amount of time threading the speedo cable through to the dash. The book shows it running over the top of the fuel pump, but I've ended up running it underneath. No doubt I will find out if that is a bad idea in the future!
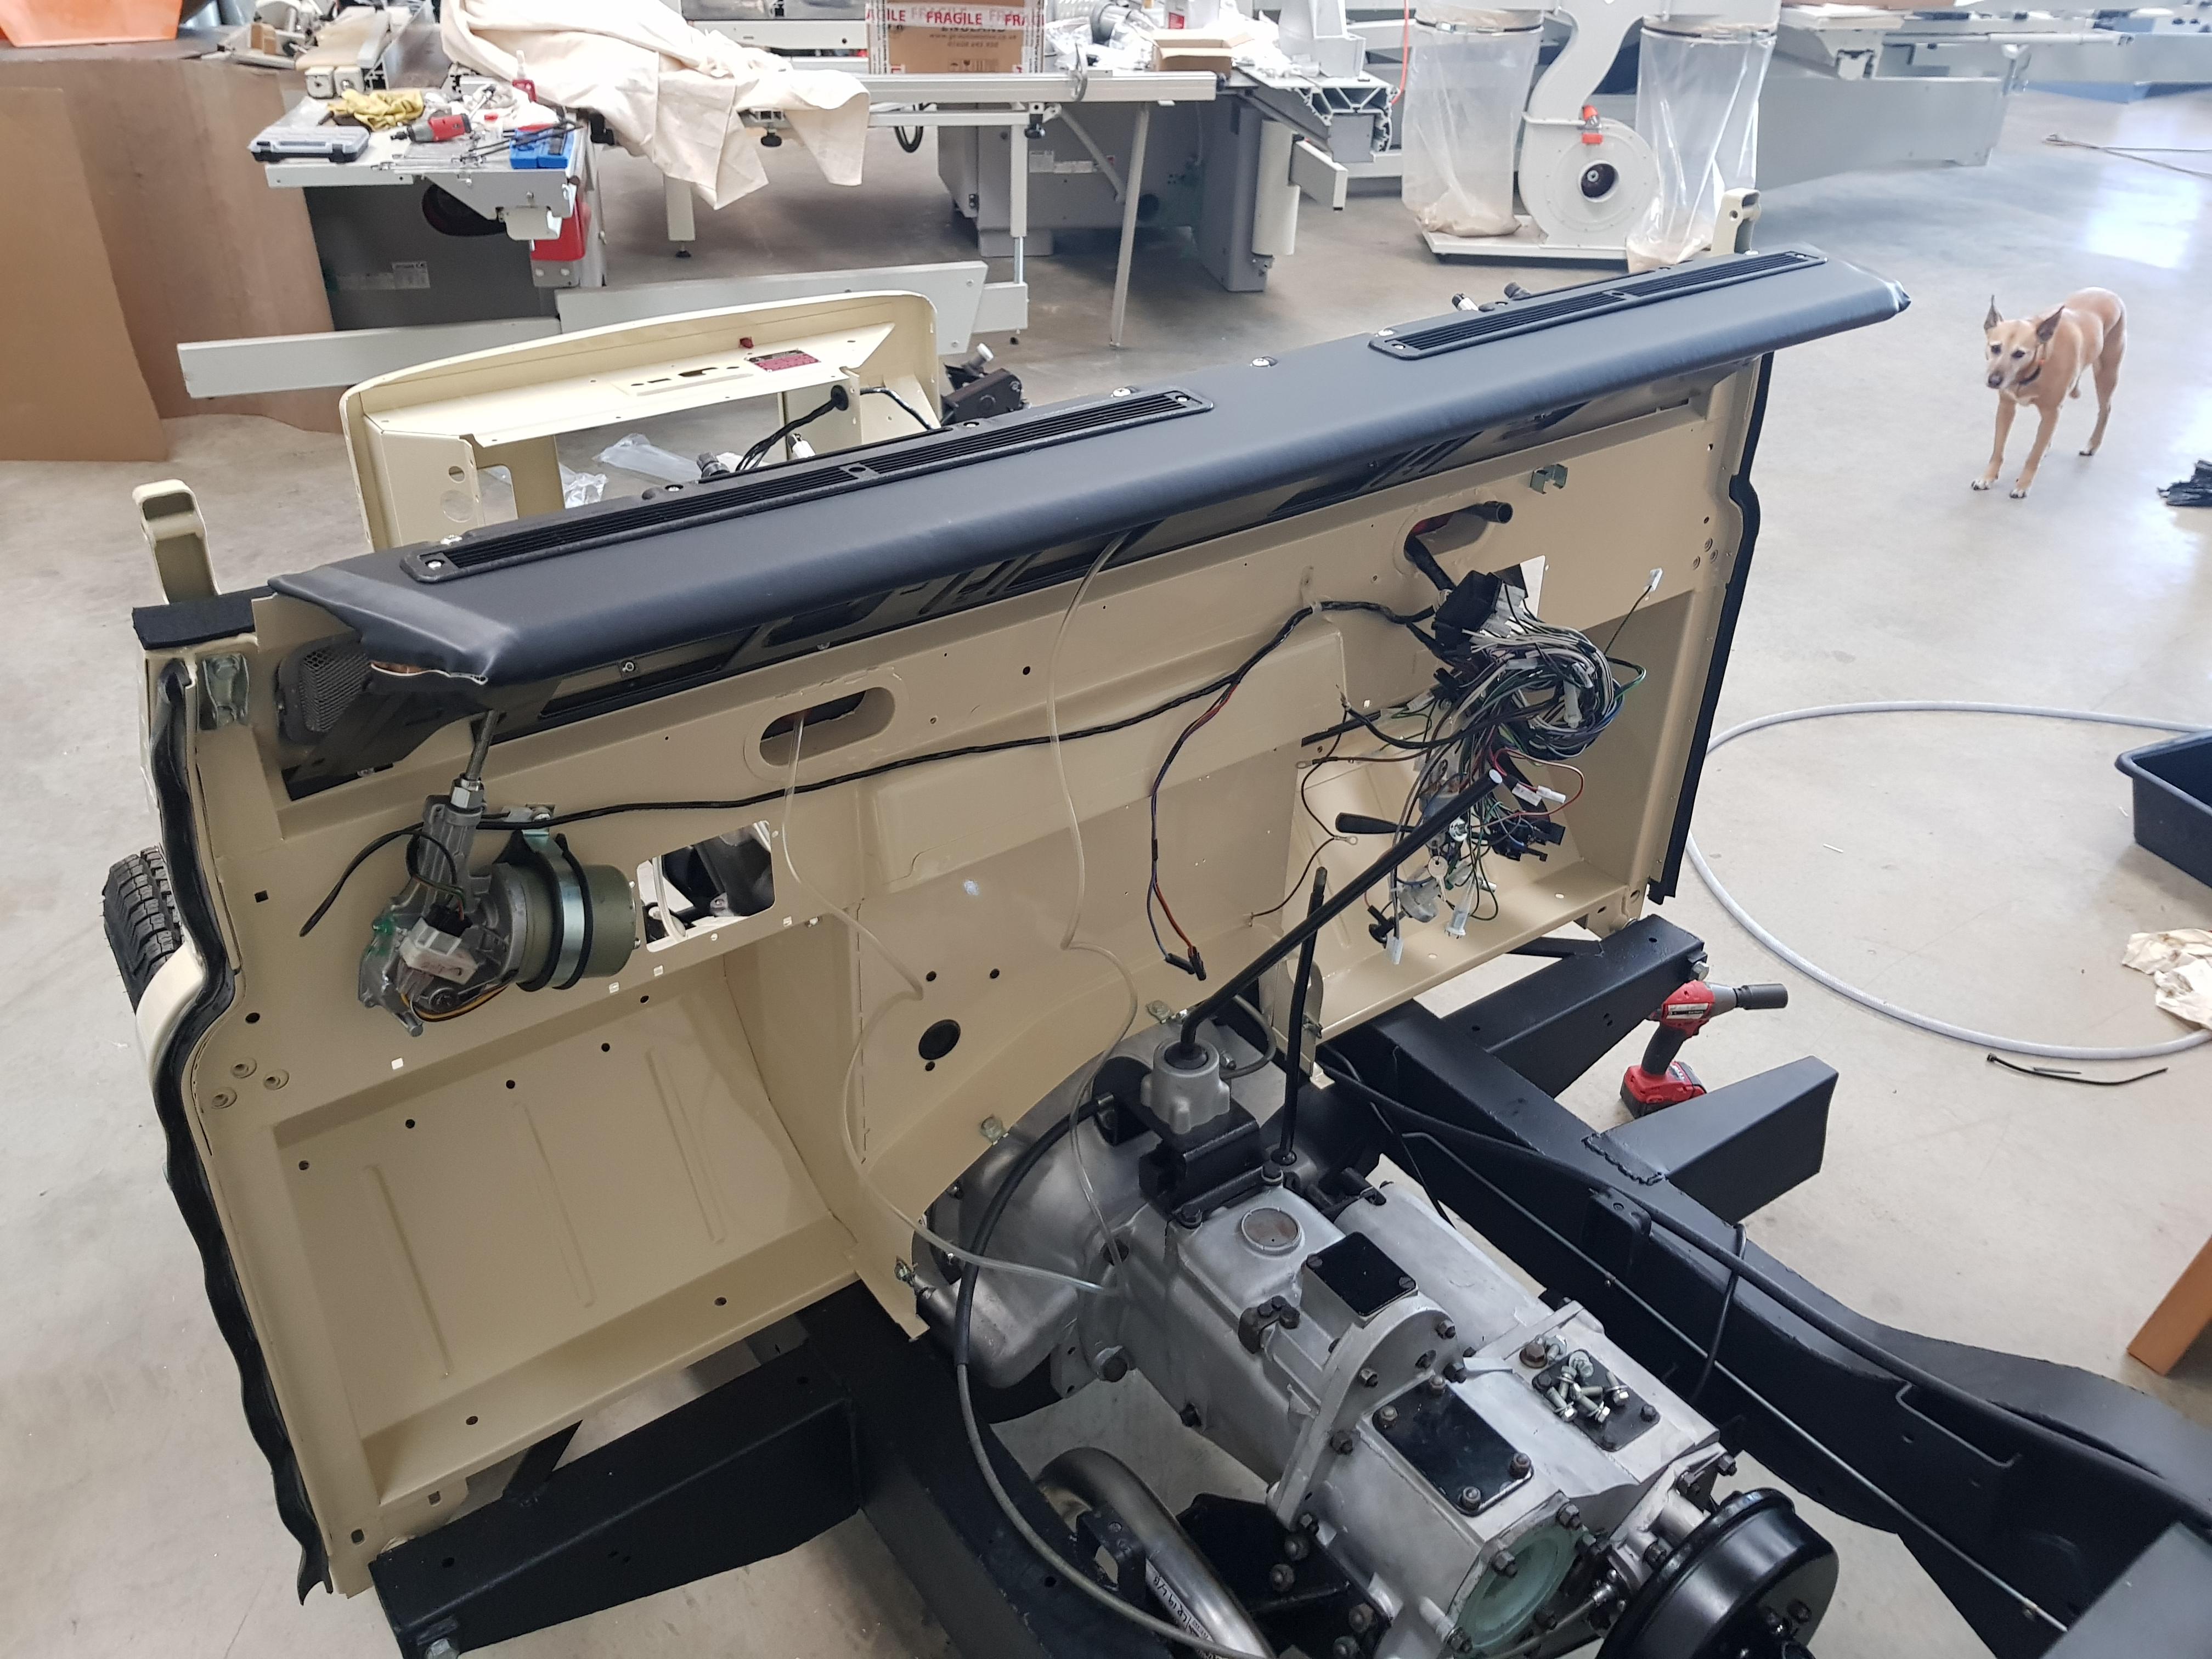
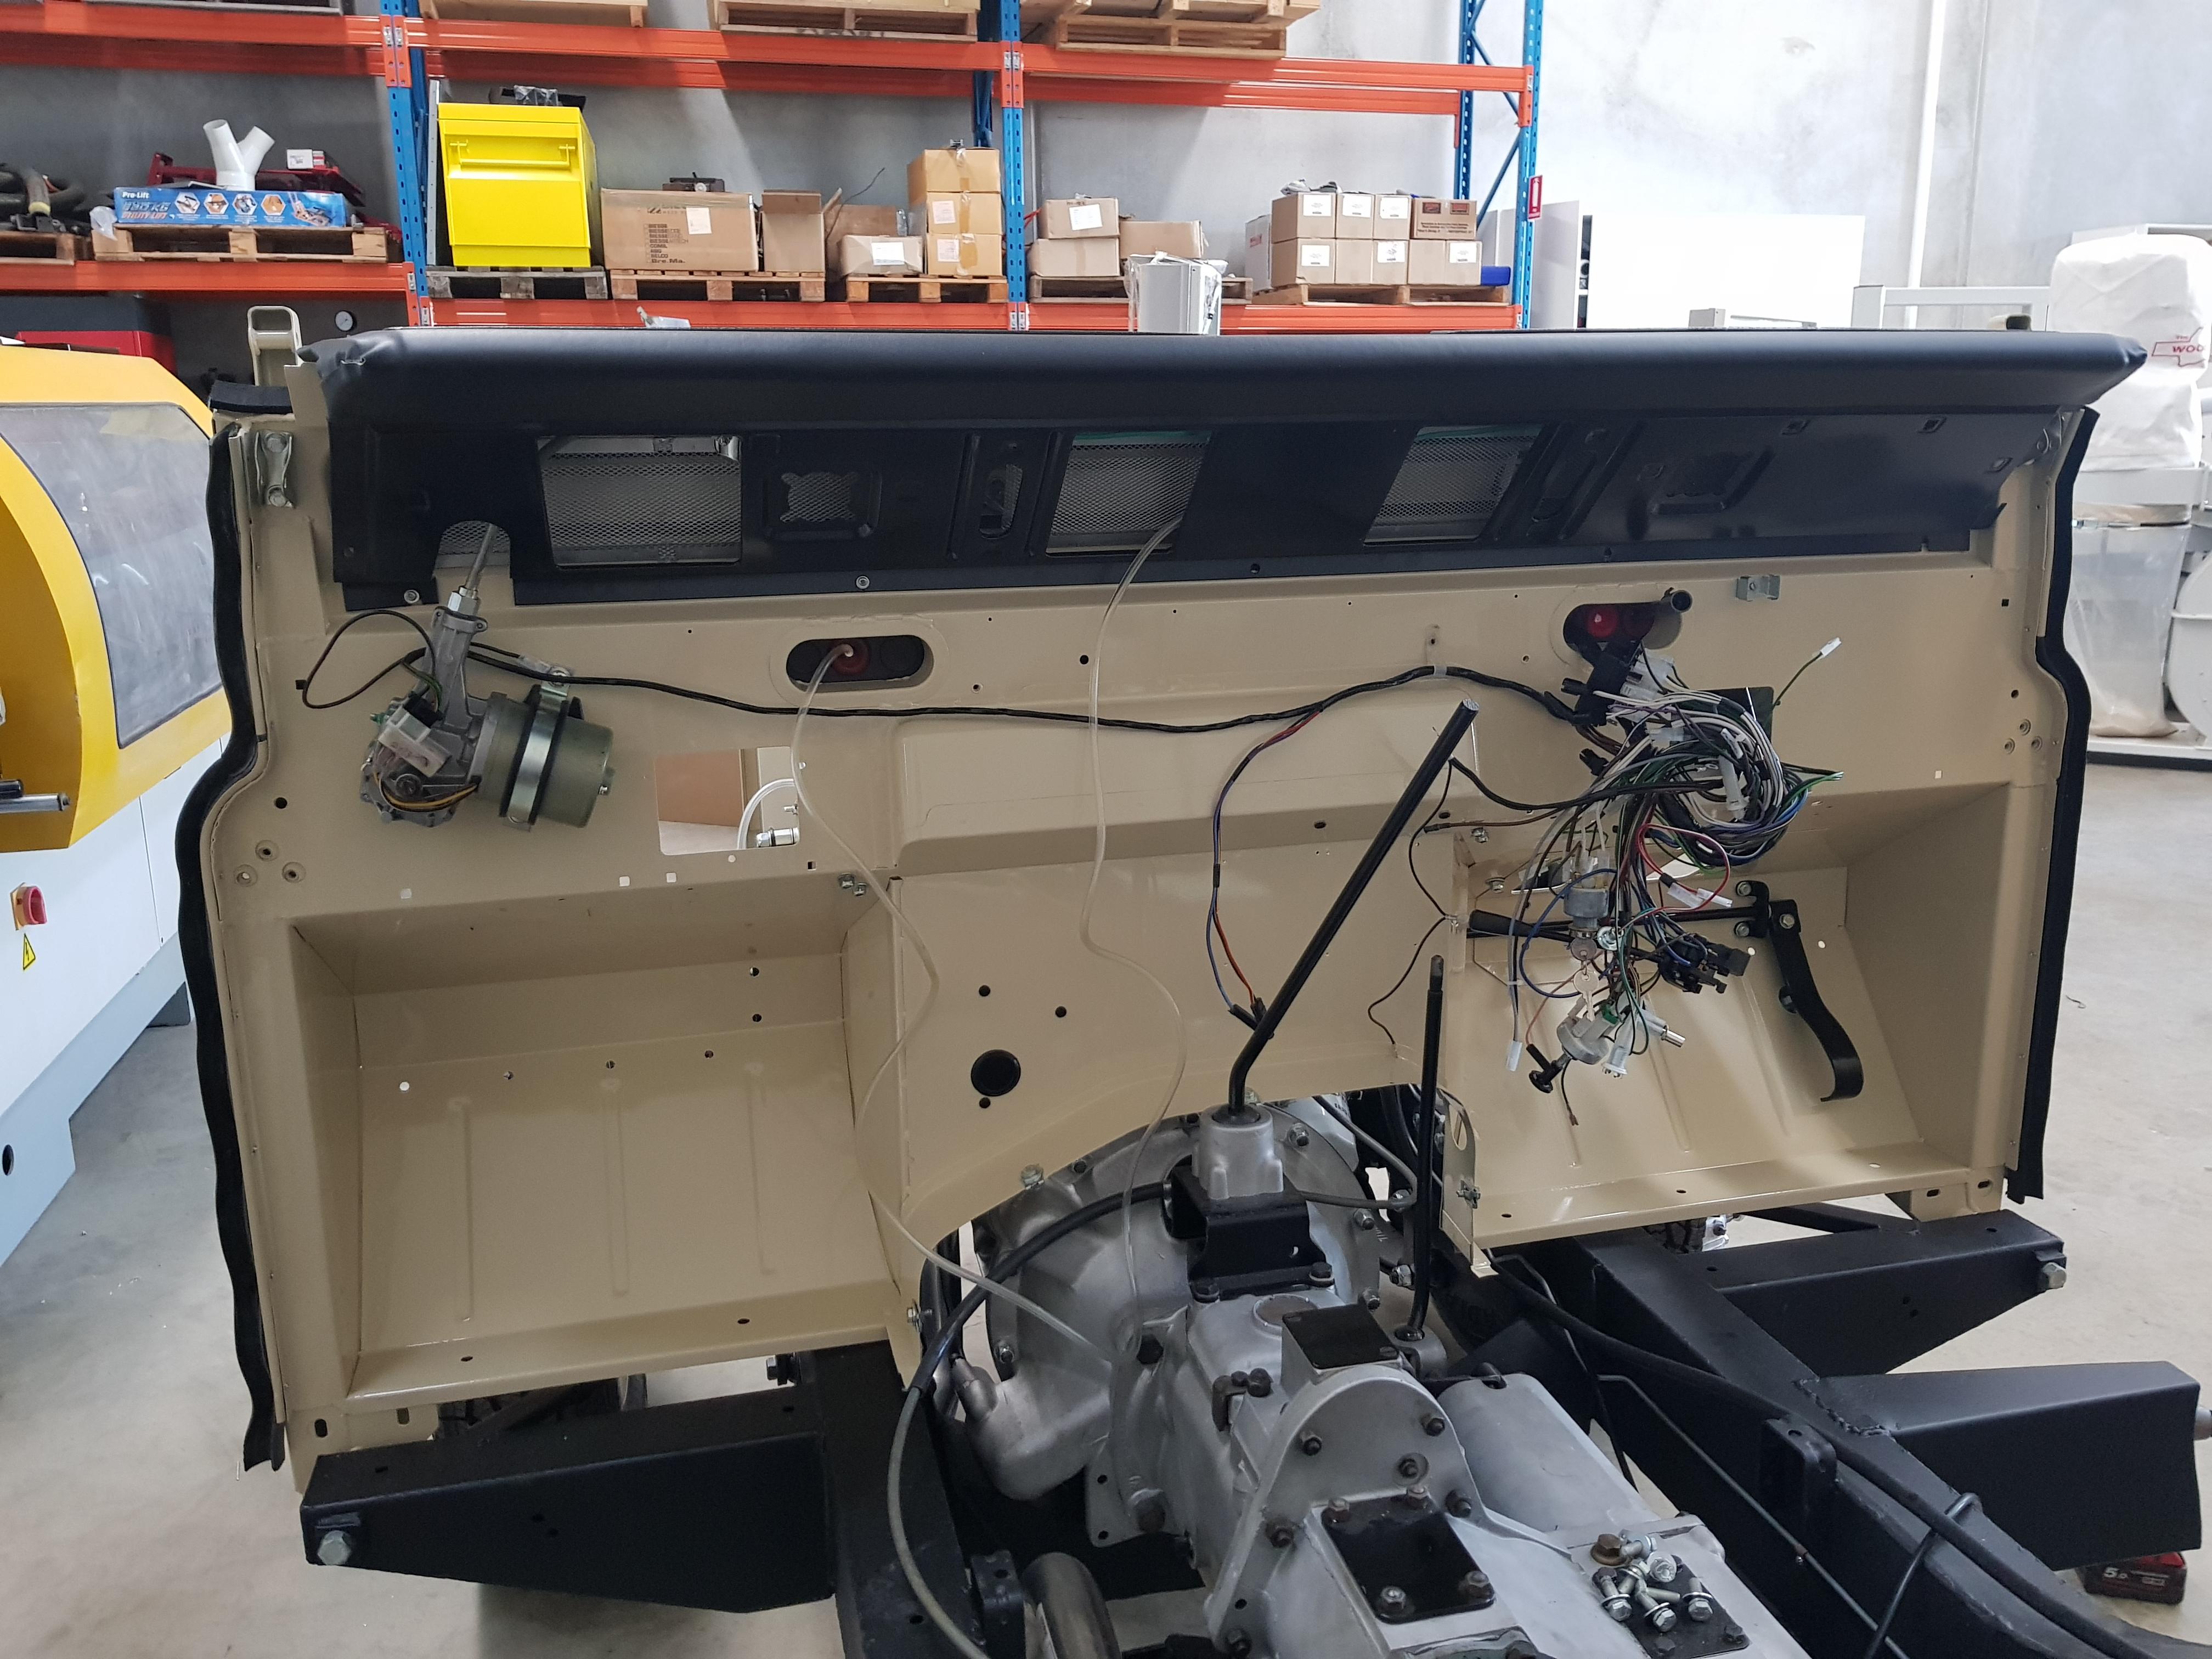
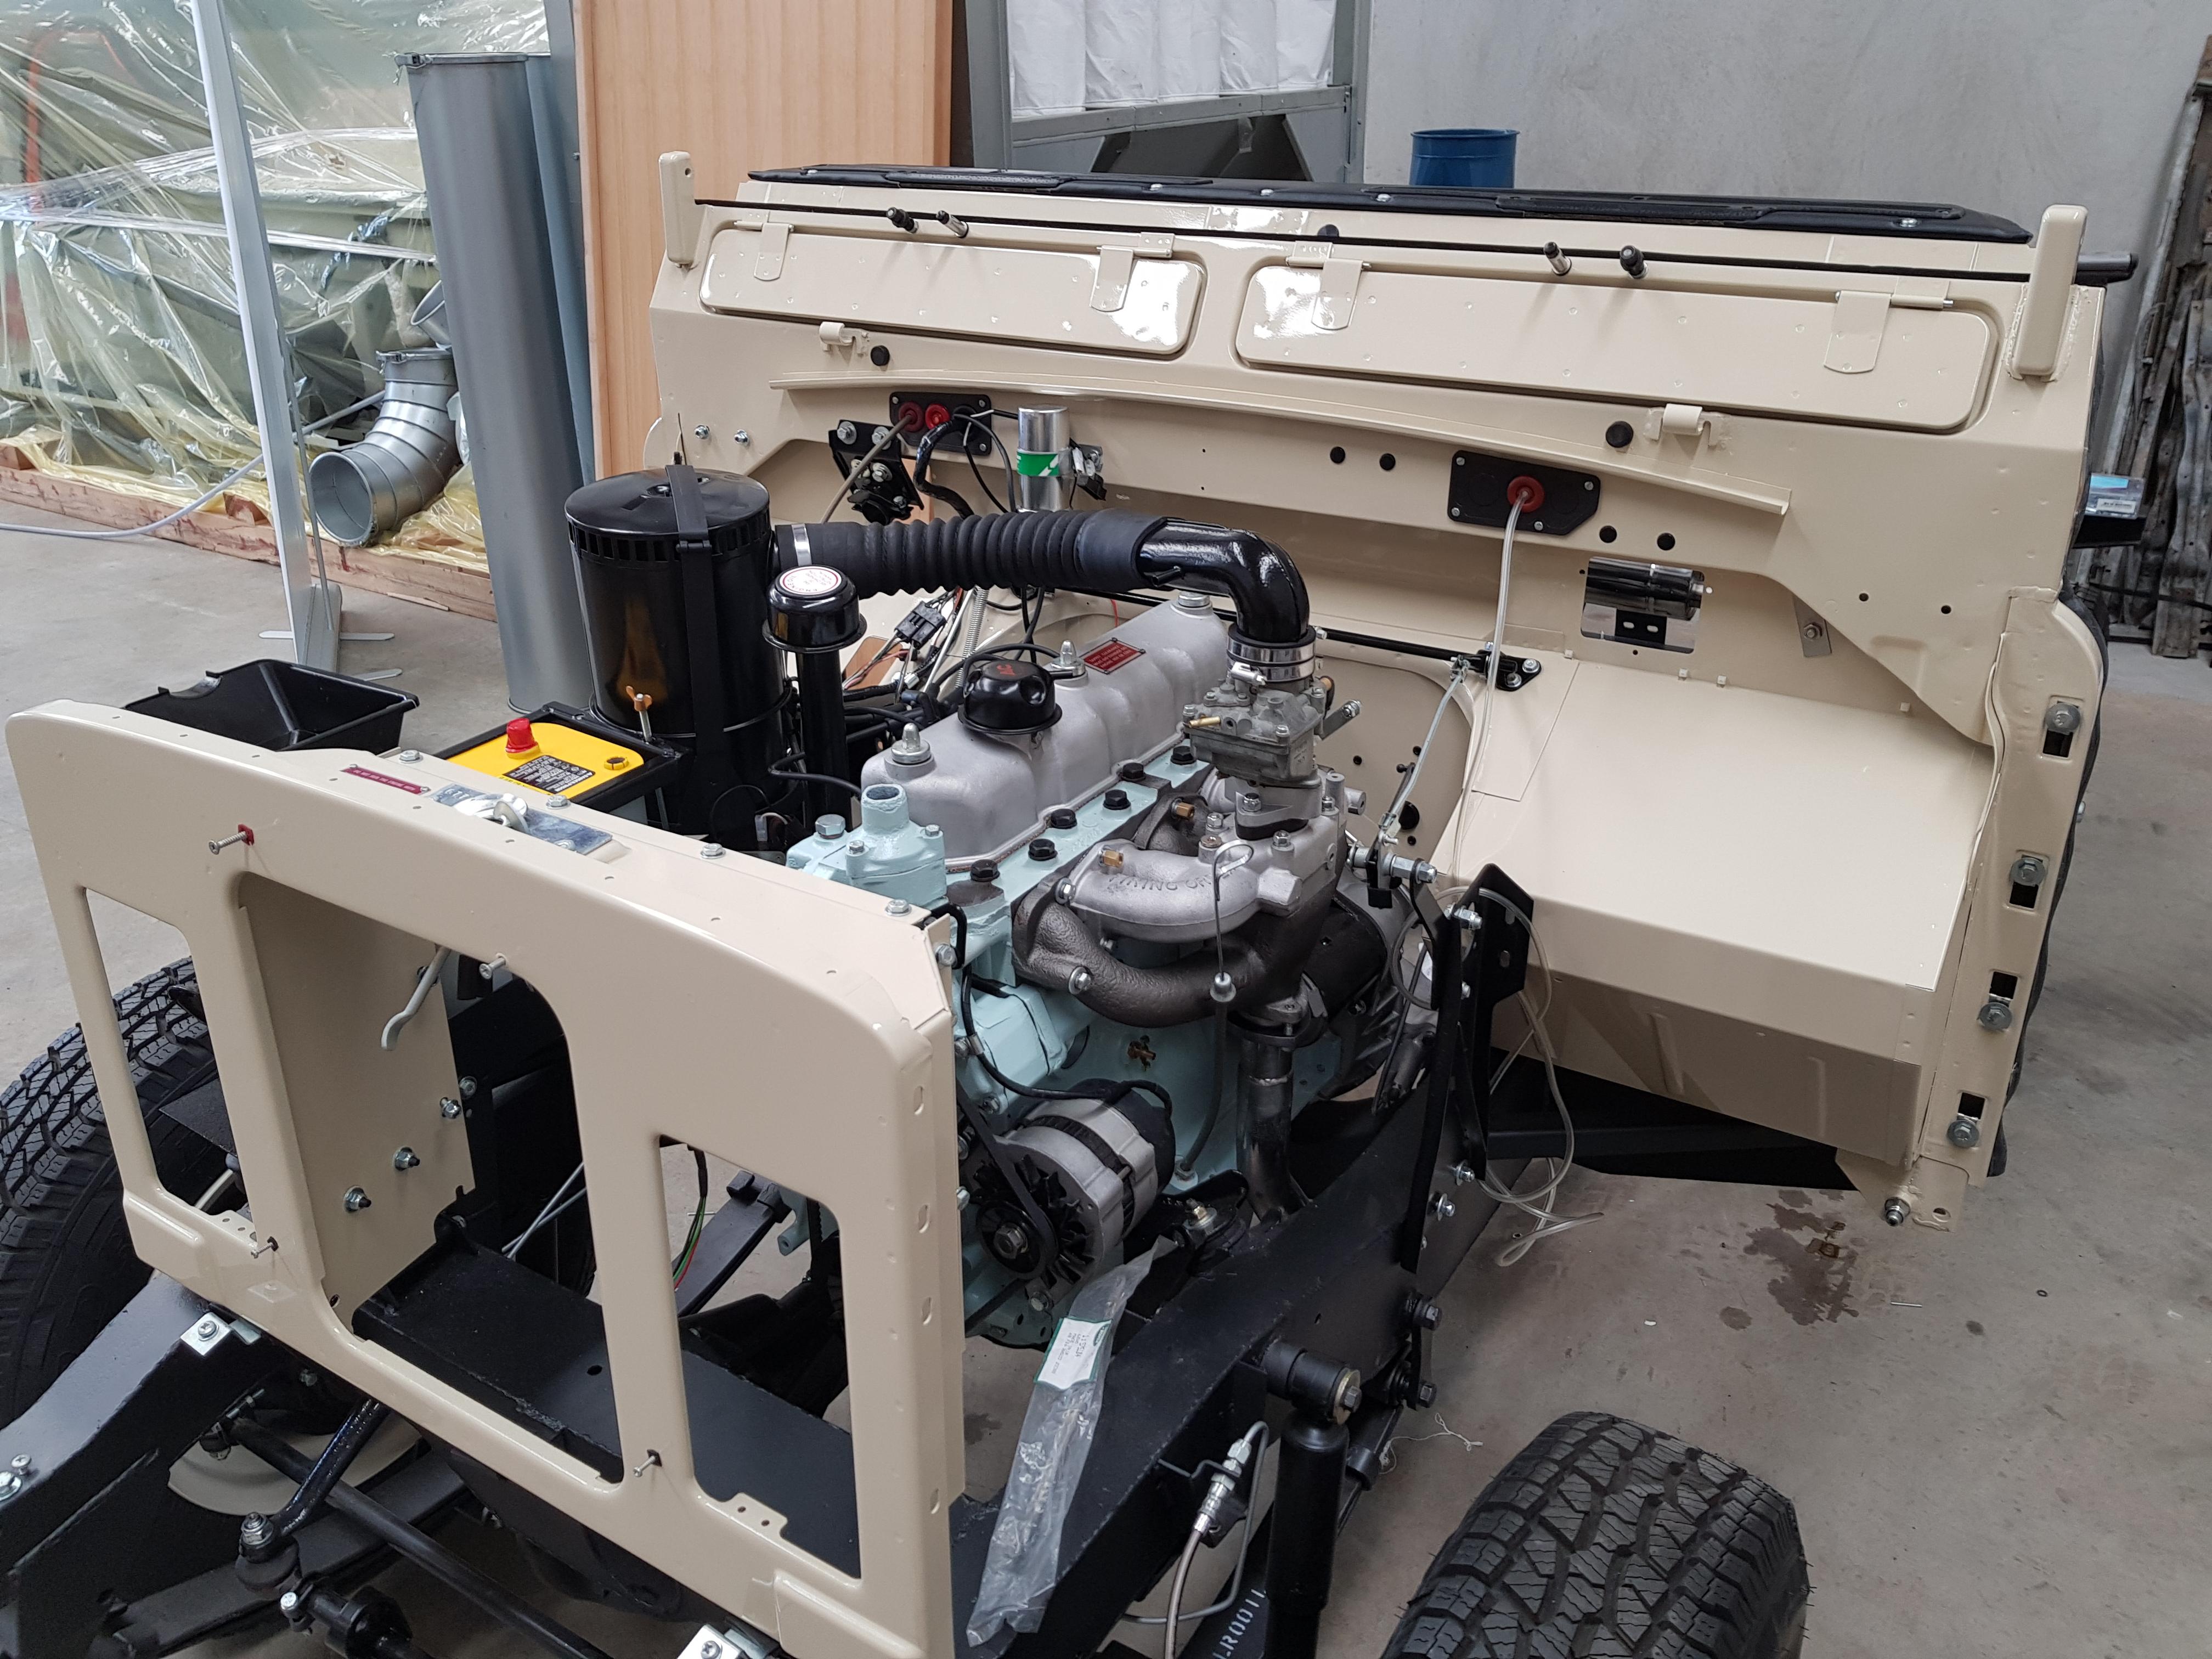
Aside from that, the car is starting to look a bit.......... dashing.....
(Dog looking bored as always...)
The under side piece of the dash came up quite nice after a serious amount of sanding.
I don't know if I can live with the zinc coloured screws in the dash top... will probably paint them black. I'm also starting to hit the wall on a few jobs because misc parts are still at the platers, and I really can't mount the firewall properly until the tub and doors are on. Although the bonnet, roof and sides need a bit more sanding.... yay.
Cheers,
ChatterBox
Glad you are a couple of days ahead of me, on the steering box....
Great work.
whitehillbilly
Fossicker
It is one of the places where the screws dont attach to steel or aluminum so I used stainless. That way I hope they wont corrode as fast and I think they look smart at the moment anyway.
ChatterBox
Looking awesome as usual!
Wizard
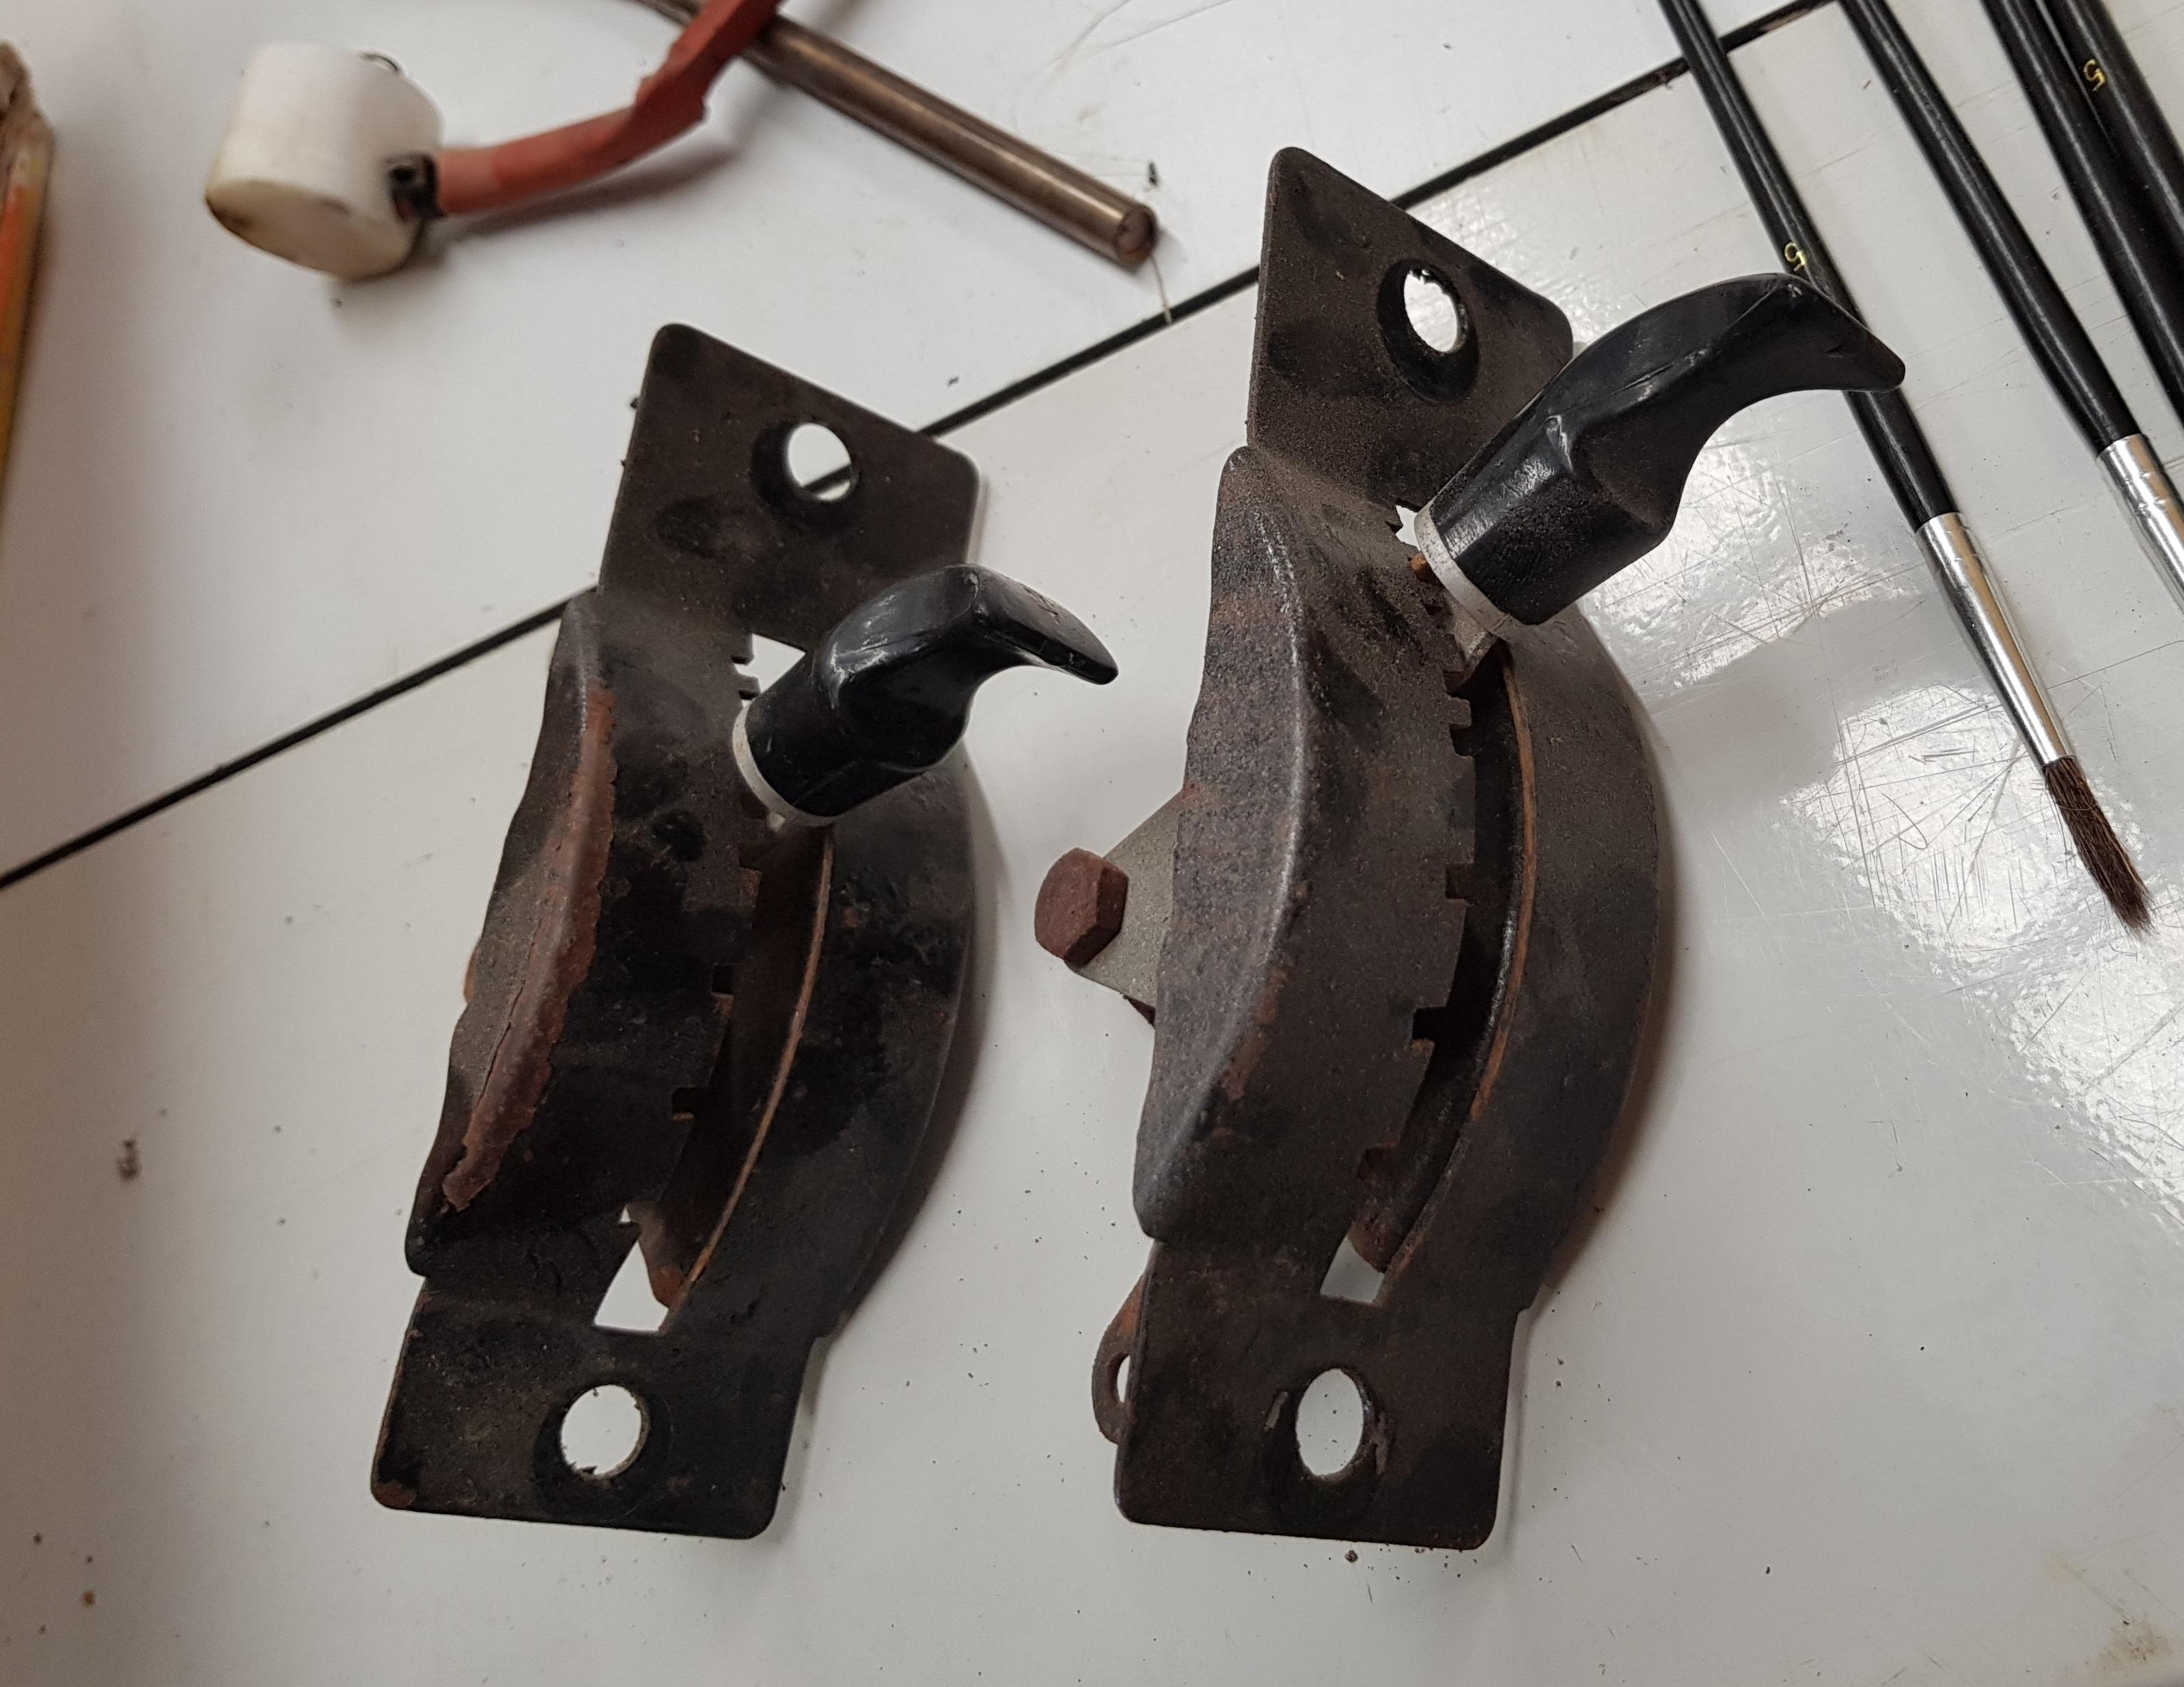
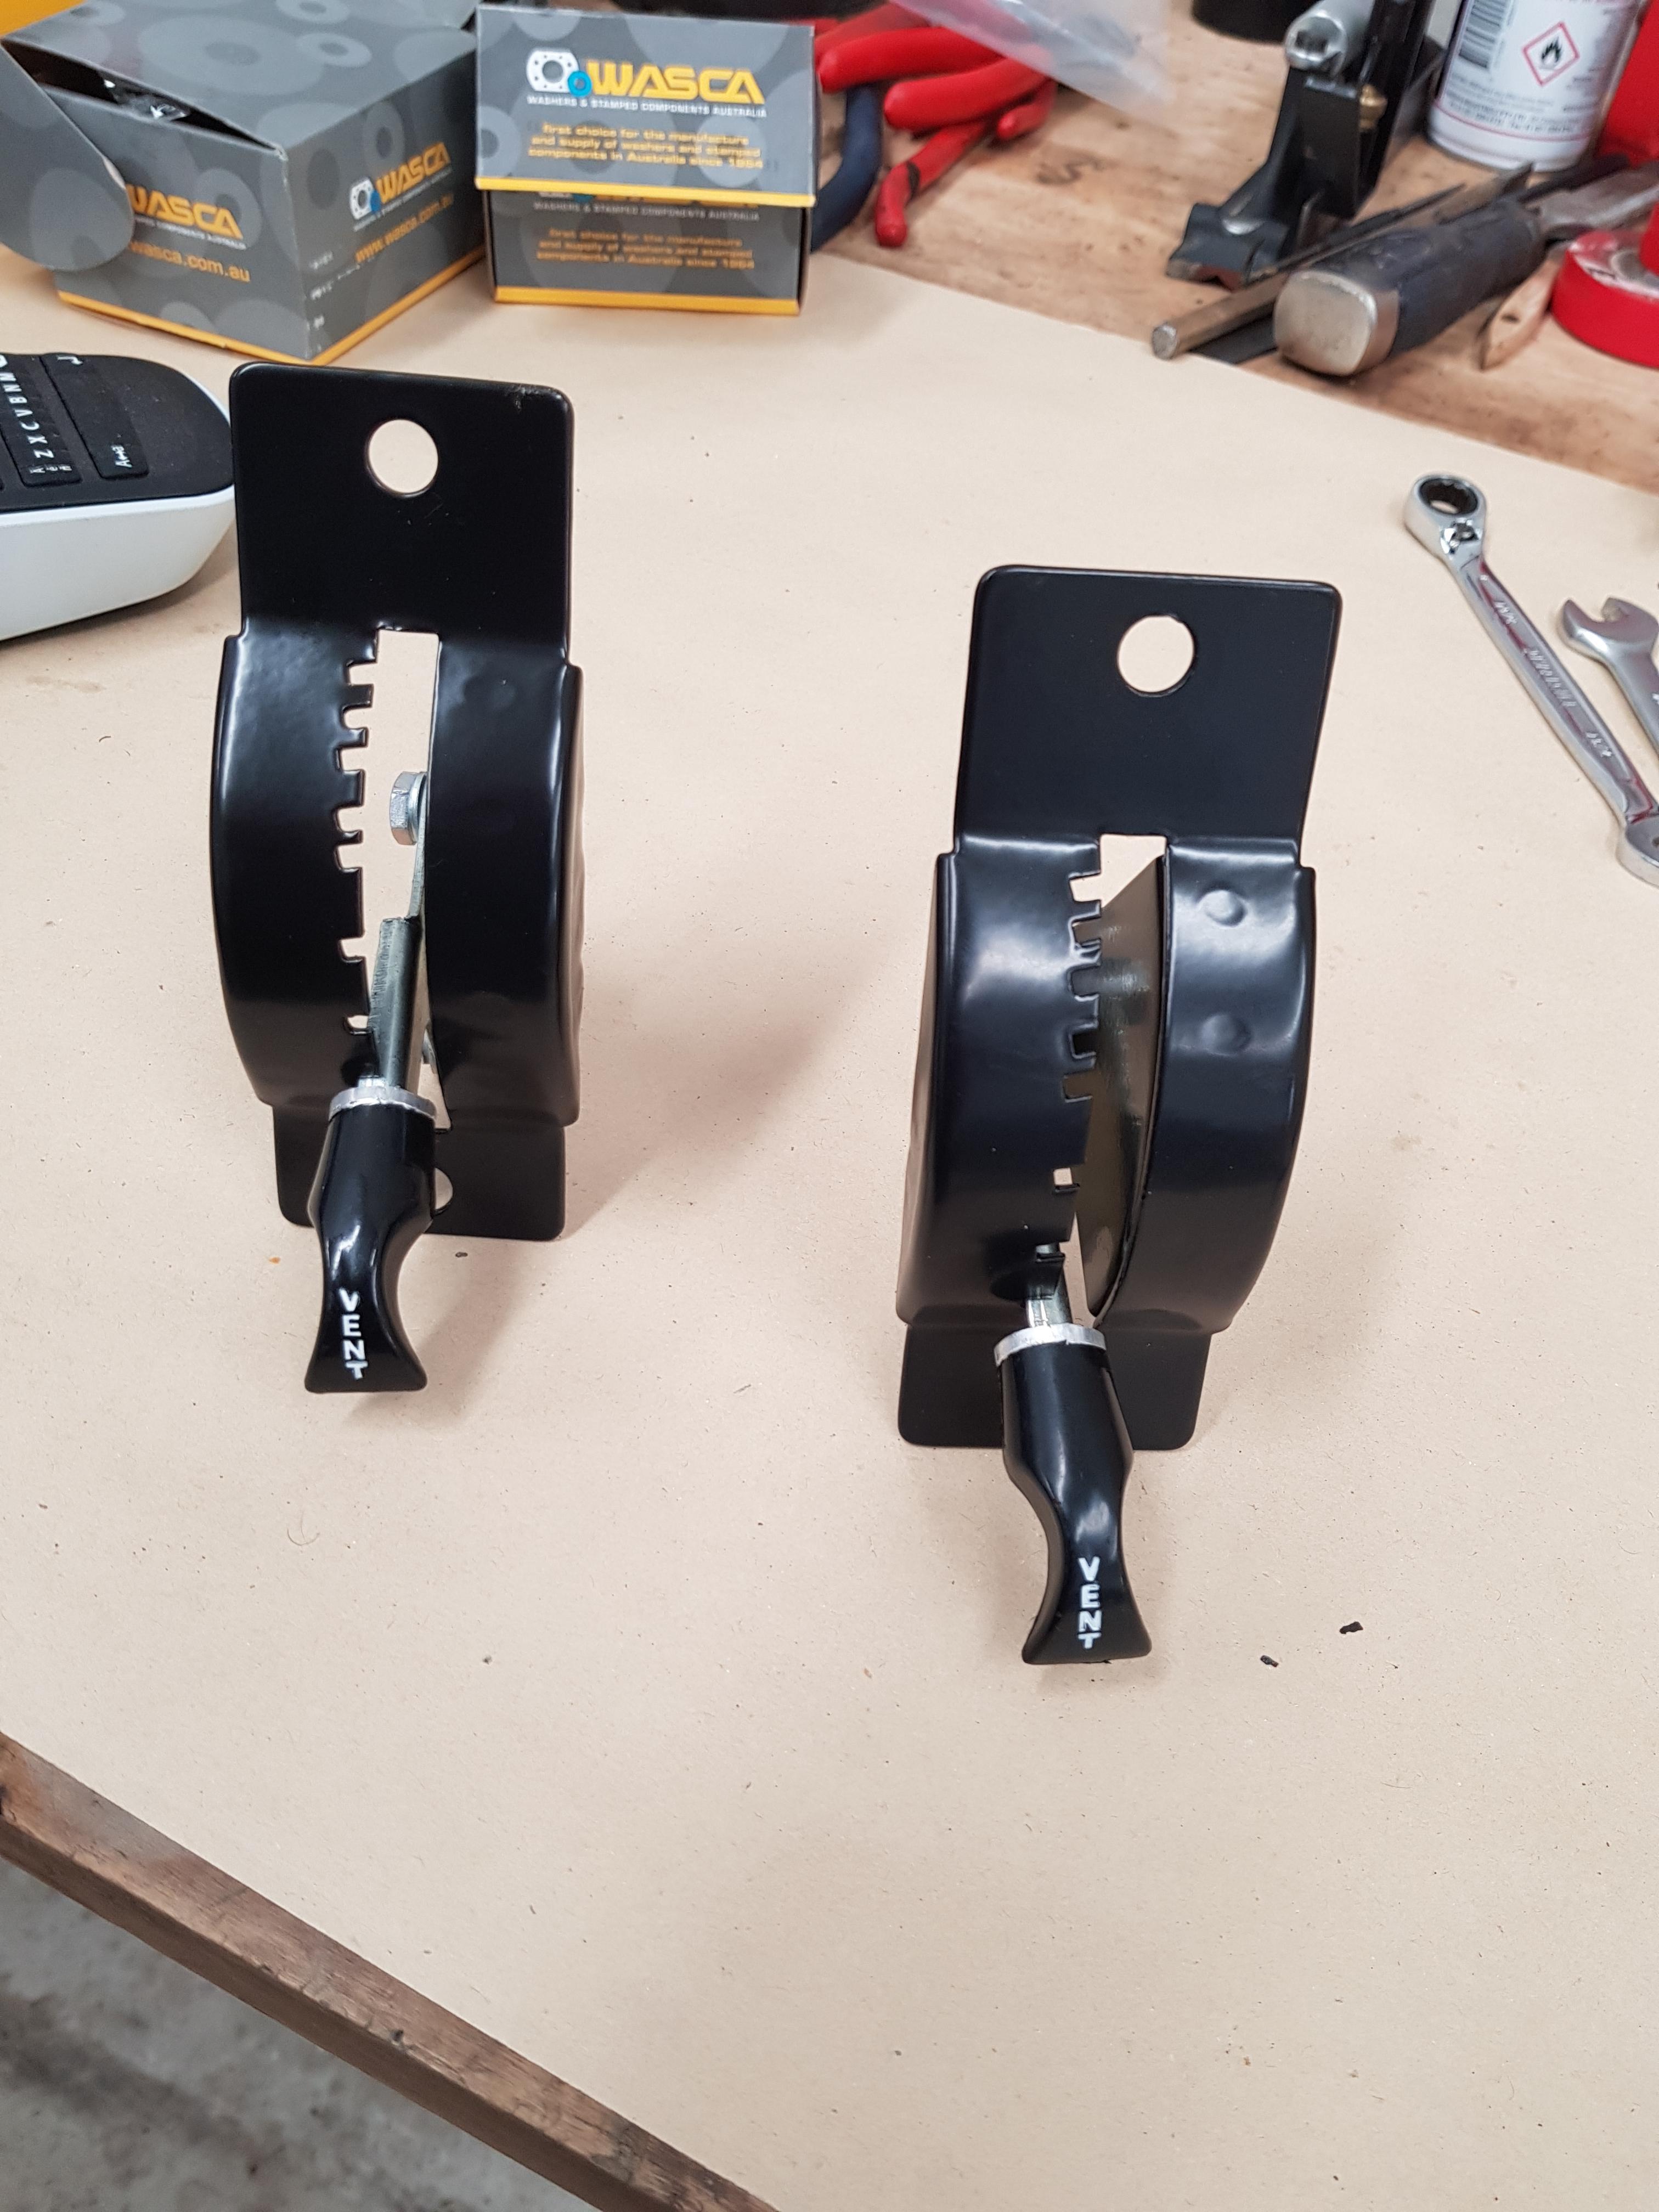
Tackled a few odds and ends today, first up was the vent flap controllers:
They got a strip, repaint, electroplate, and a bit of fresh white paint in the lettering:
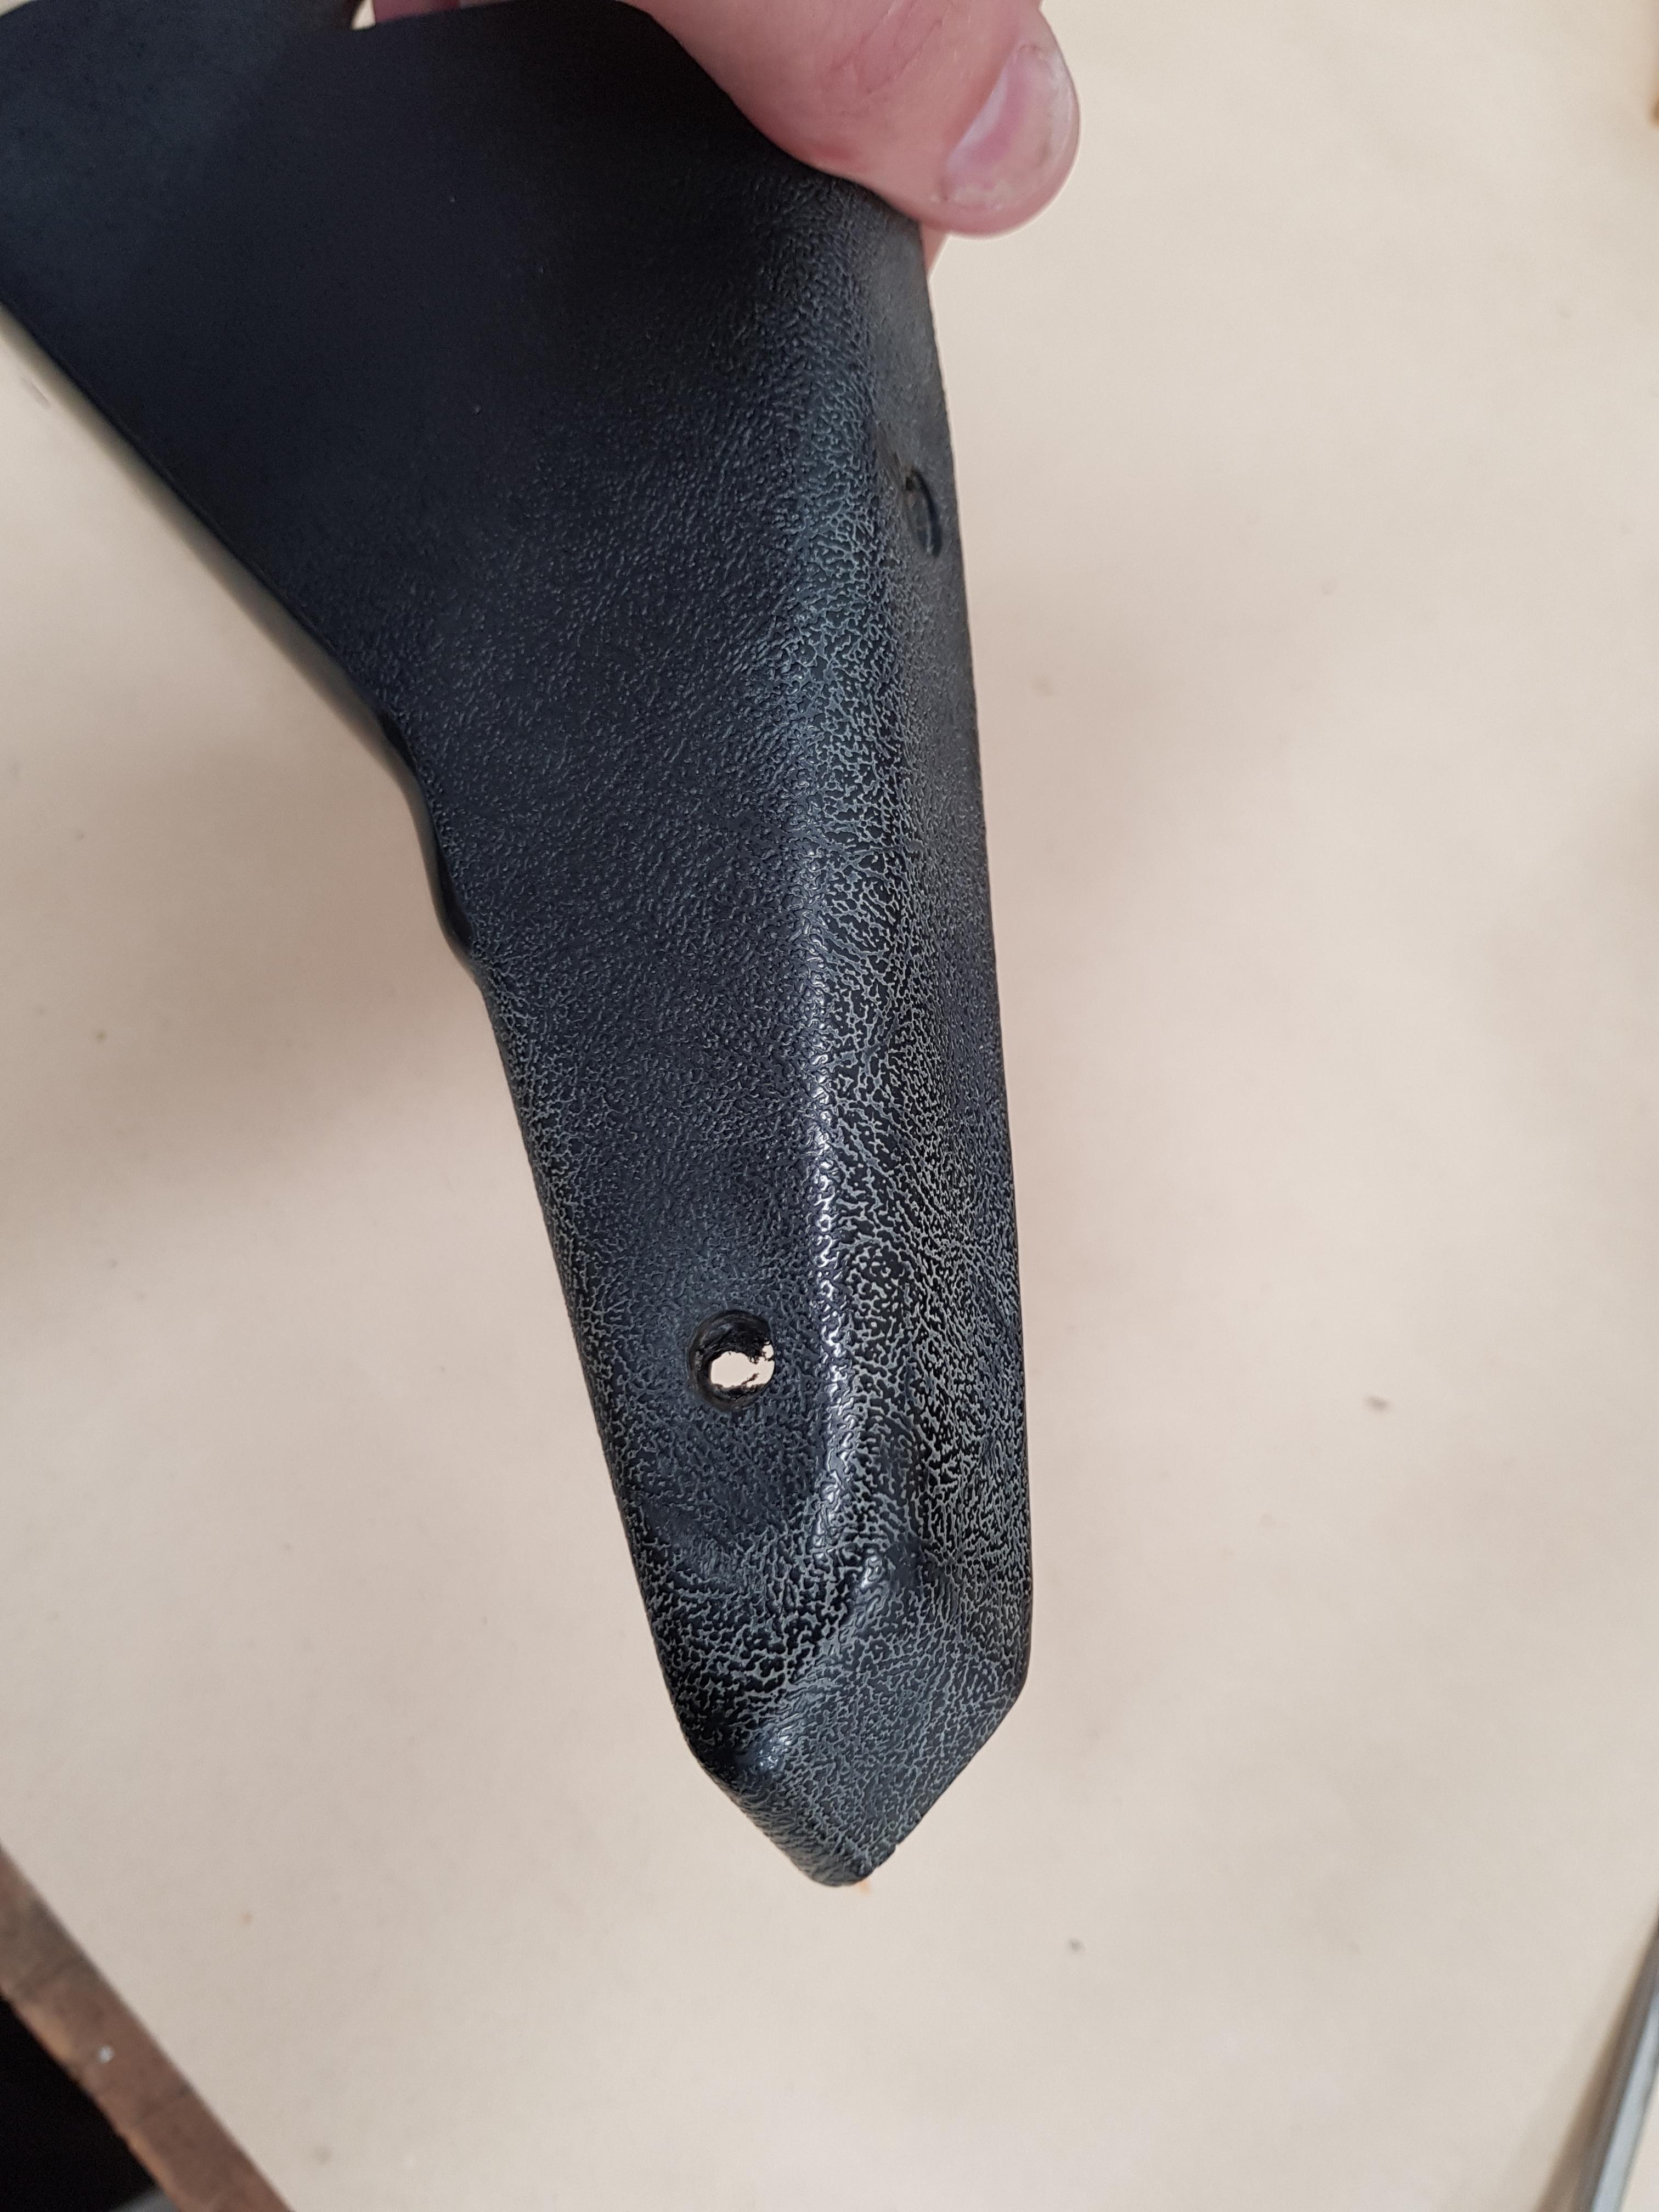
The plastics on the dash have also gone a bit white from the sun, the passenger end is the worst:
I didn't want to try painting them, so put my brave face on and hit them with the heat gun. This left the plastic looking better, but a bit dull, so after a good scrub in very hot water and detergent they came out looking ok
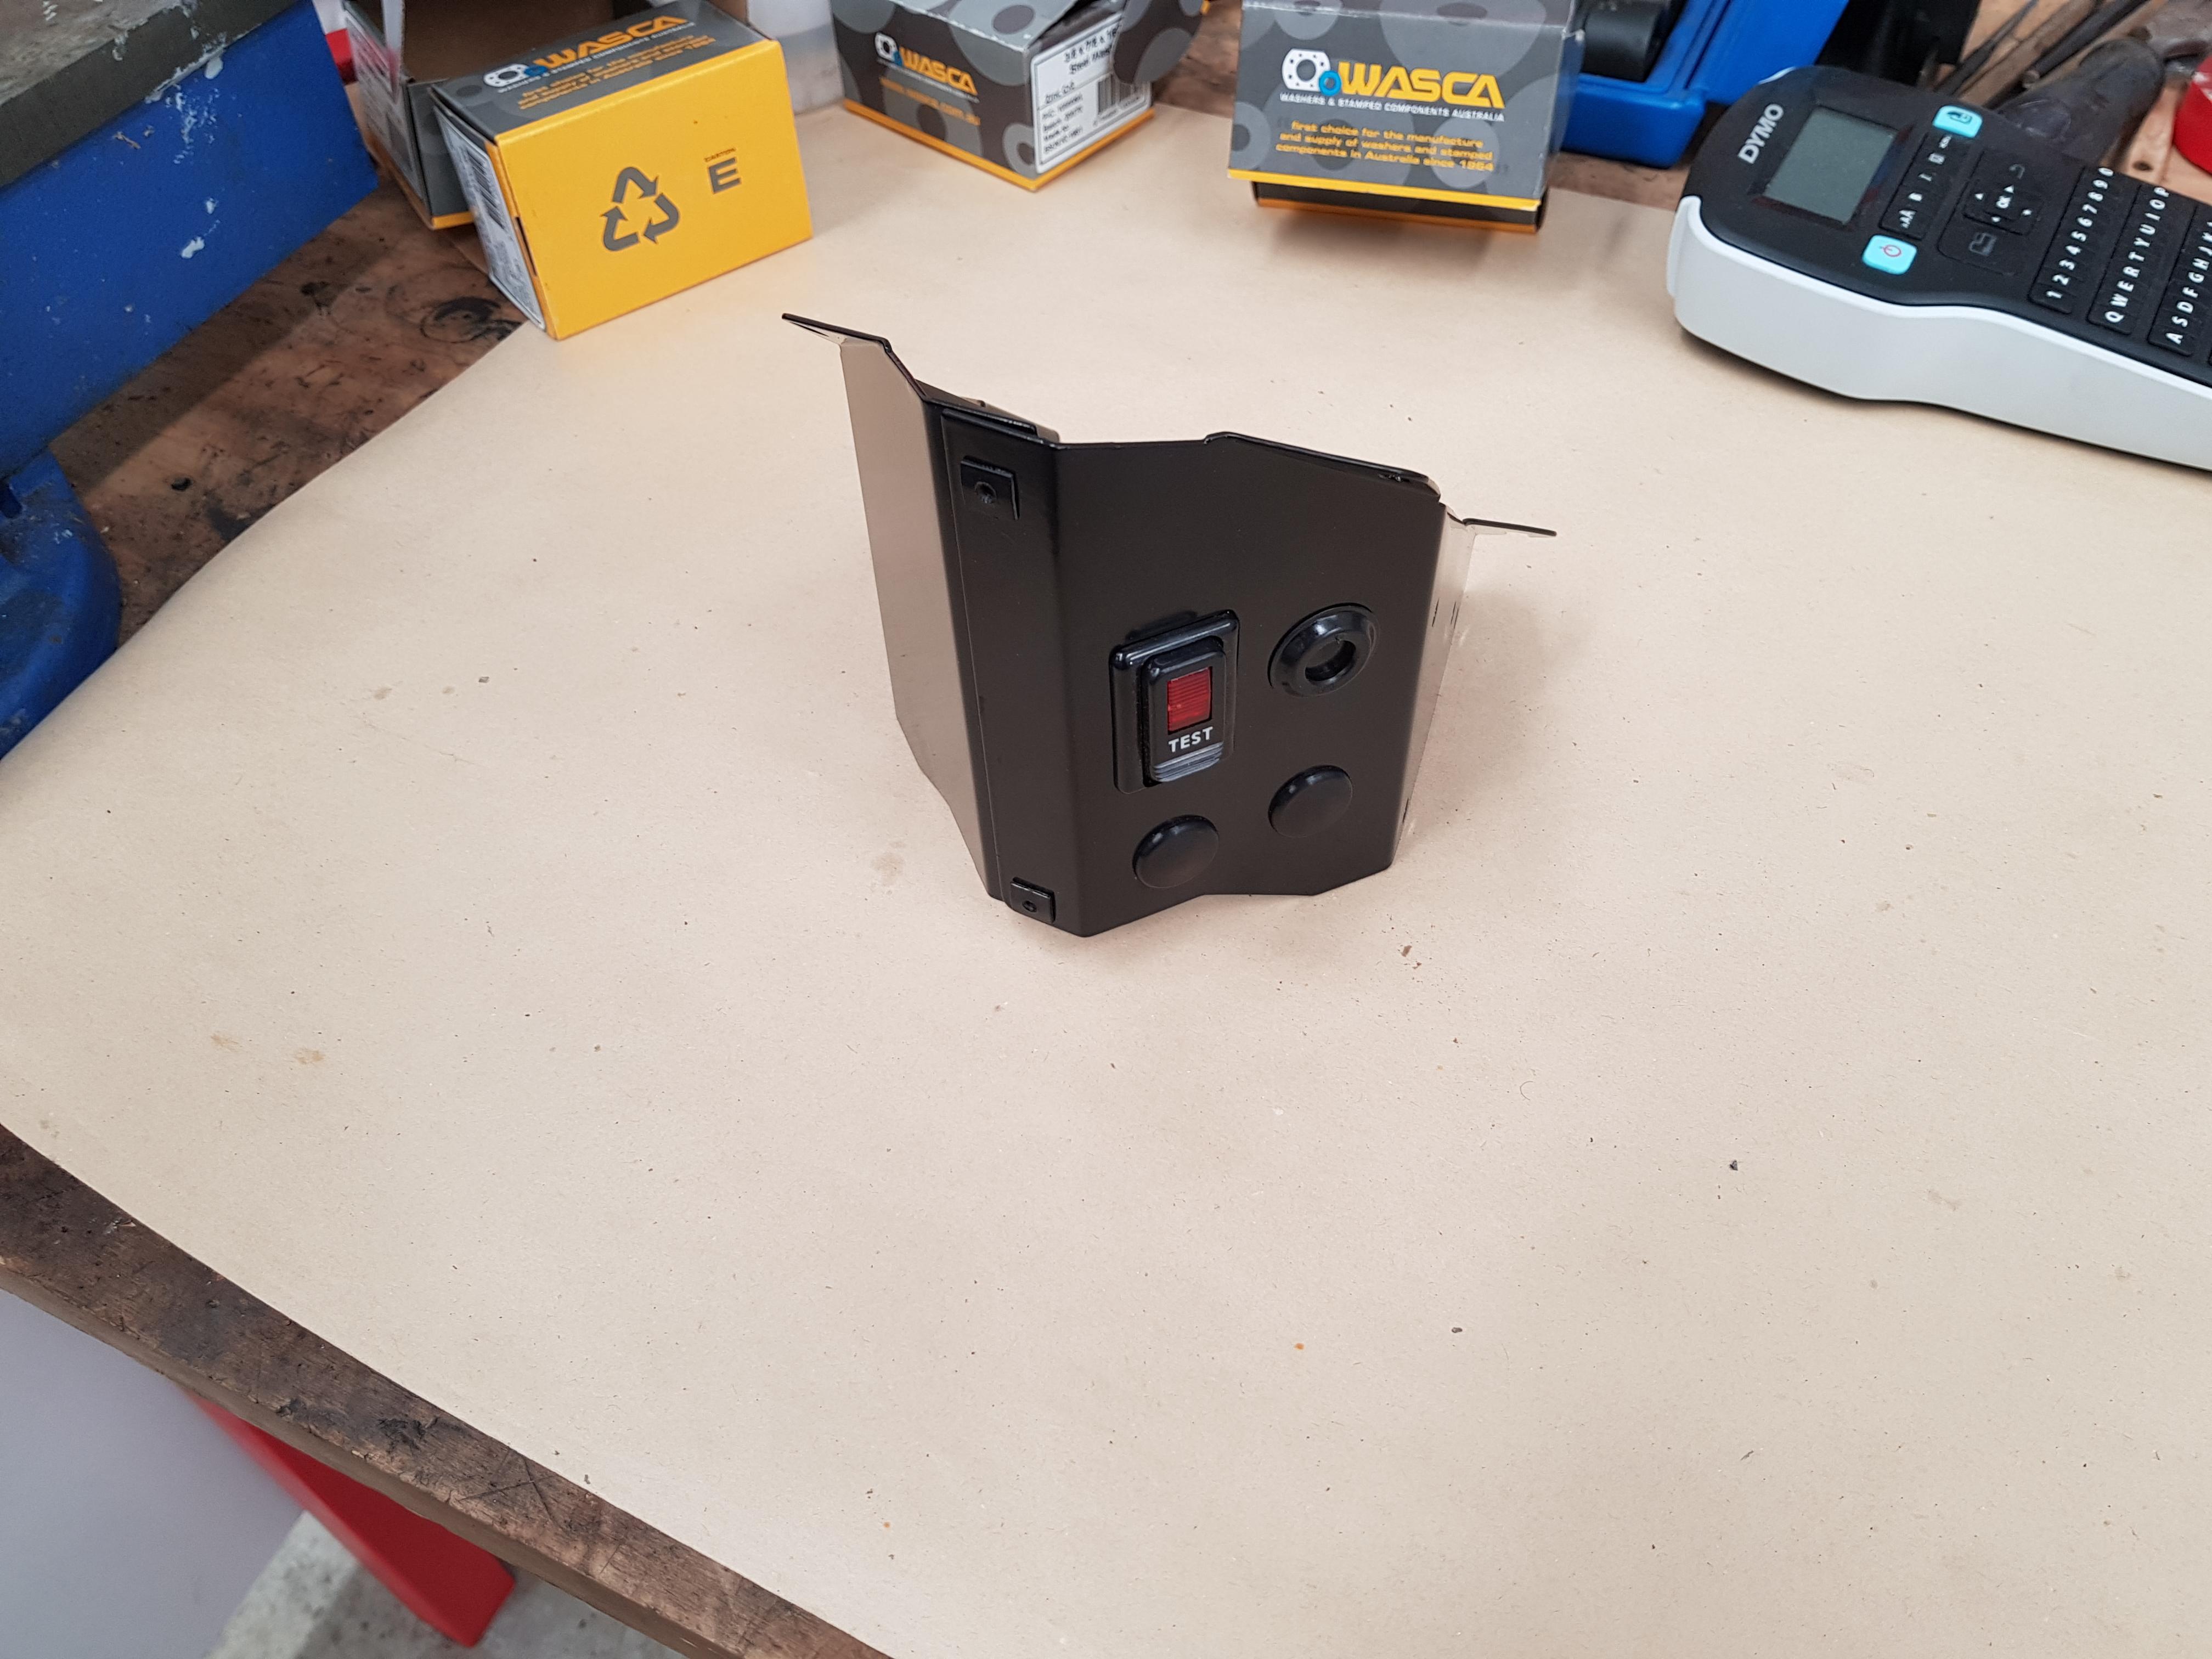
Center piece of the dash was also tarted up:
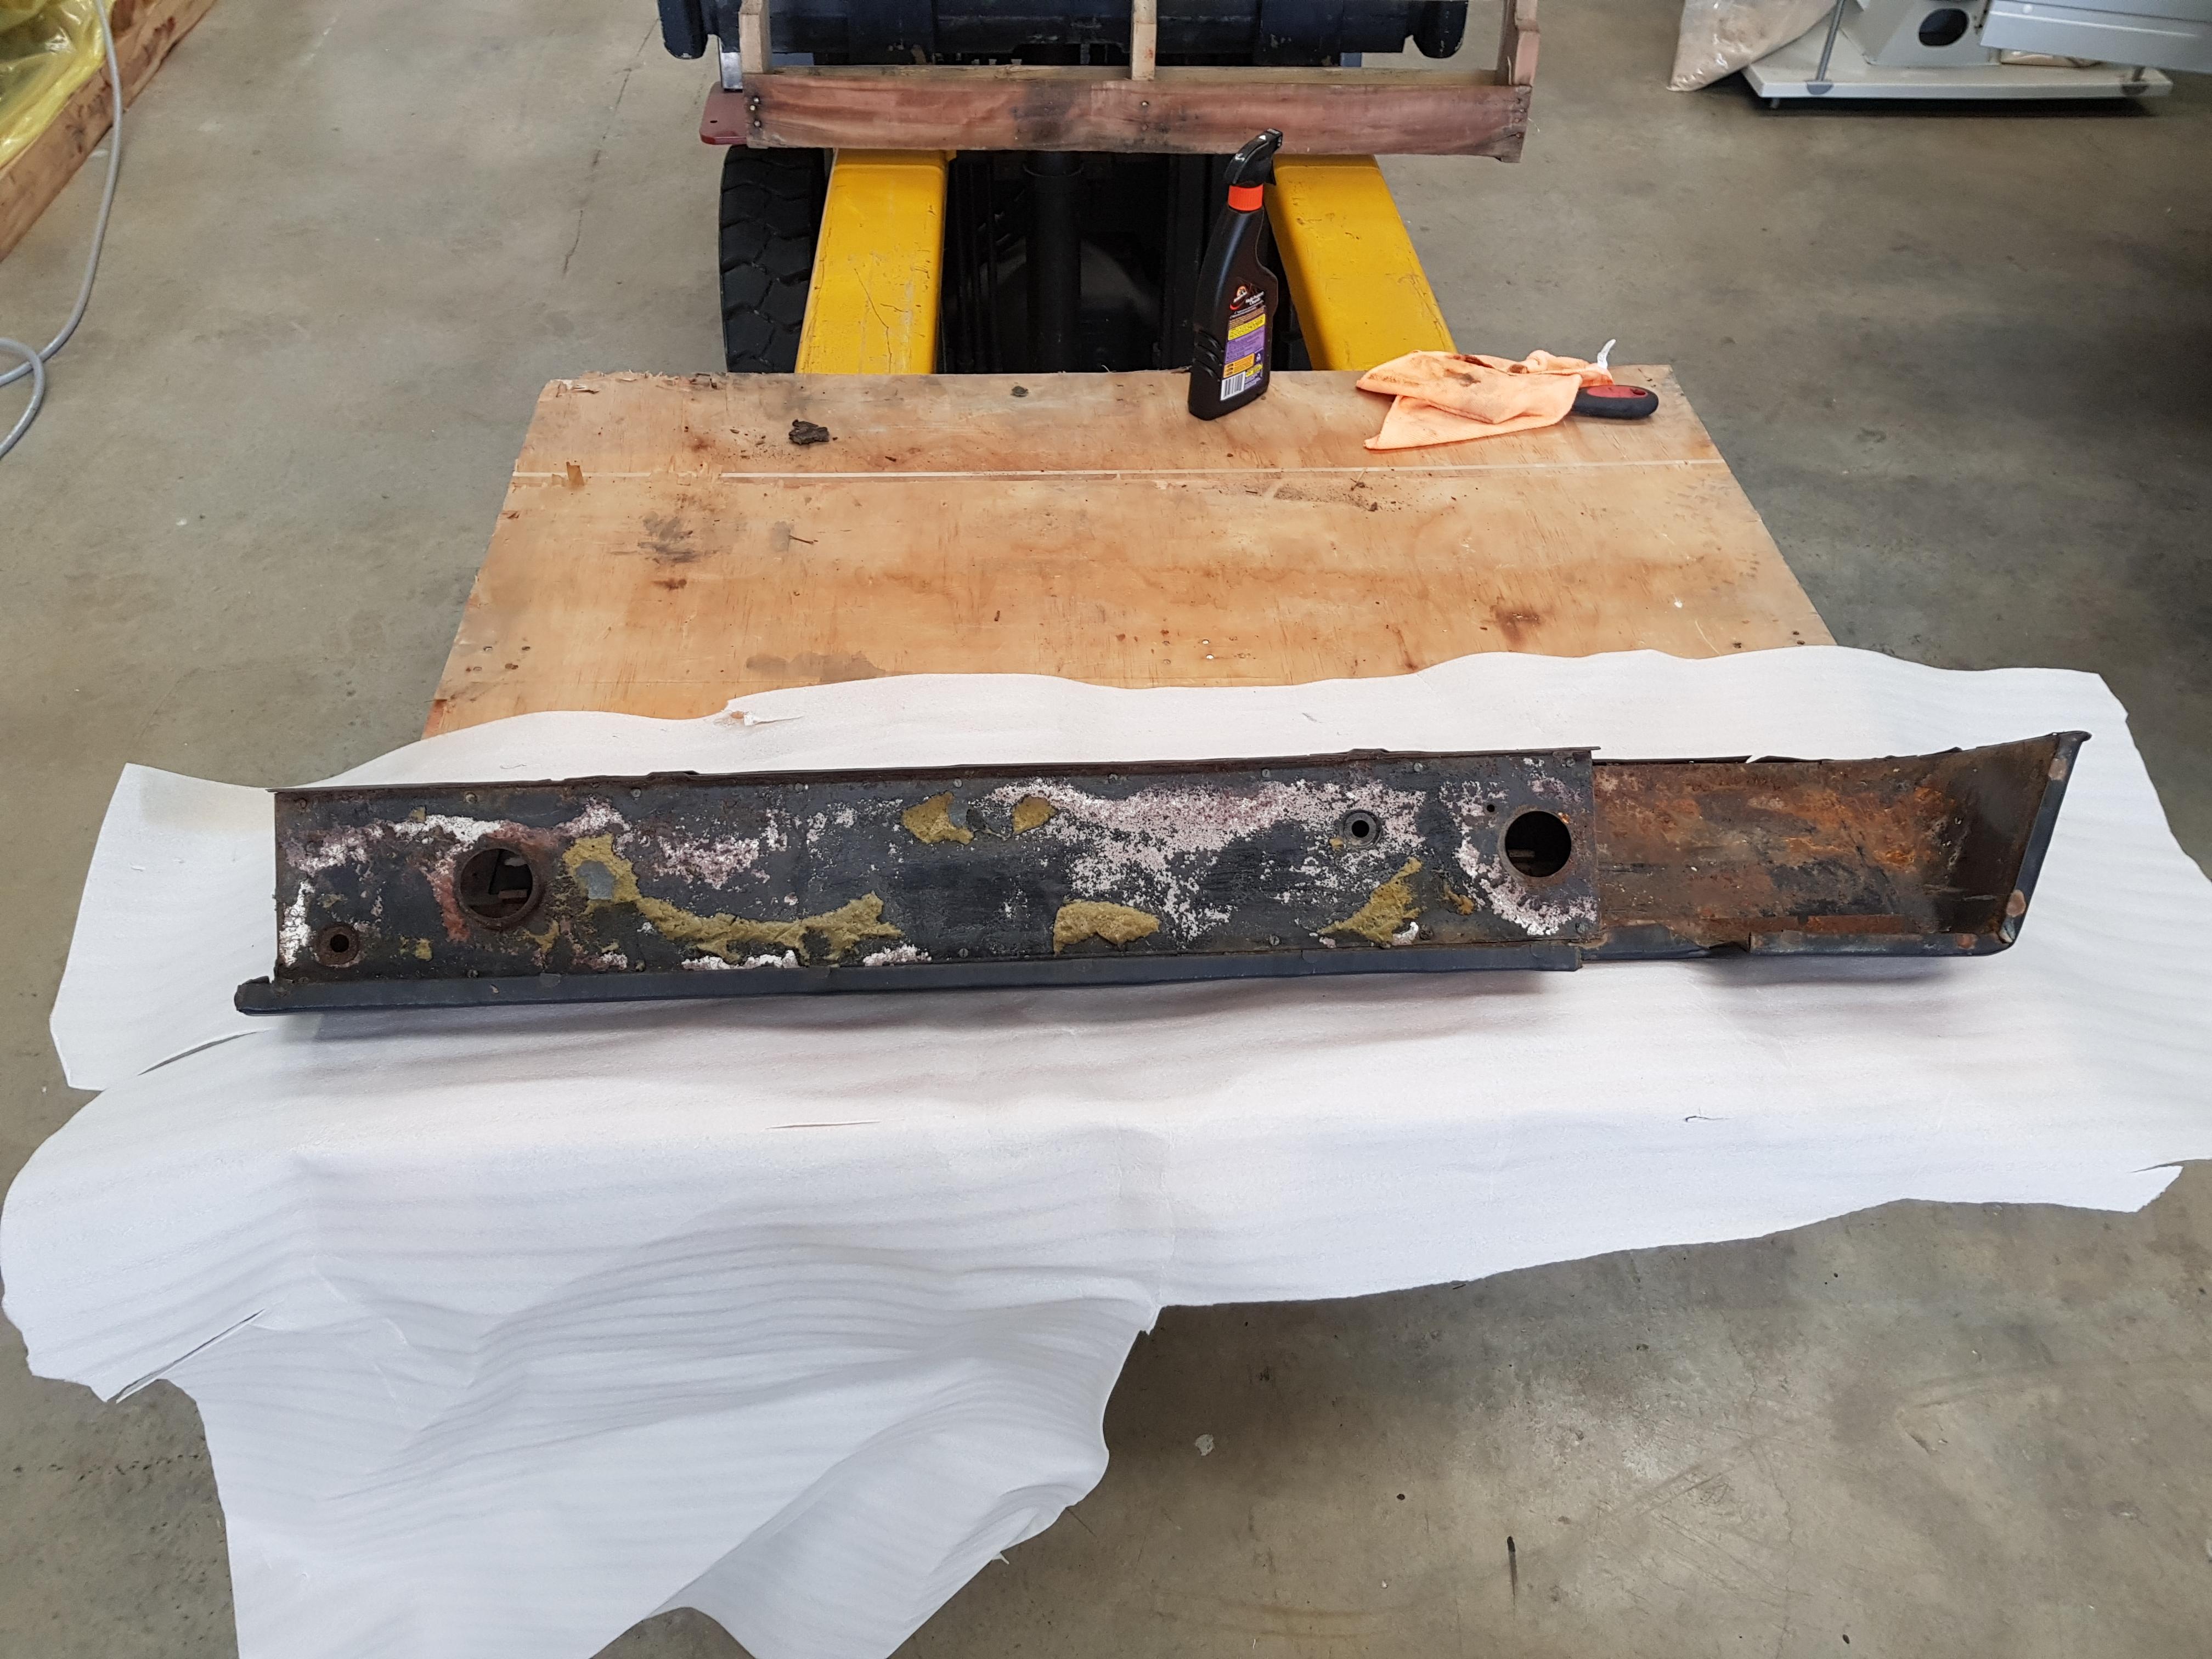
The vinyl on the dash bottom is 95% ok, and I can't find anyone who wants to tackle re-covering it. The steel frame inside is showing a bit of corrosion, and will be brushed with rust converter then repainted
Under the top panel is surprisingly good:
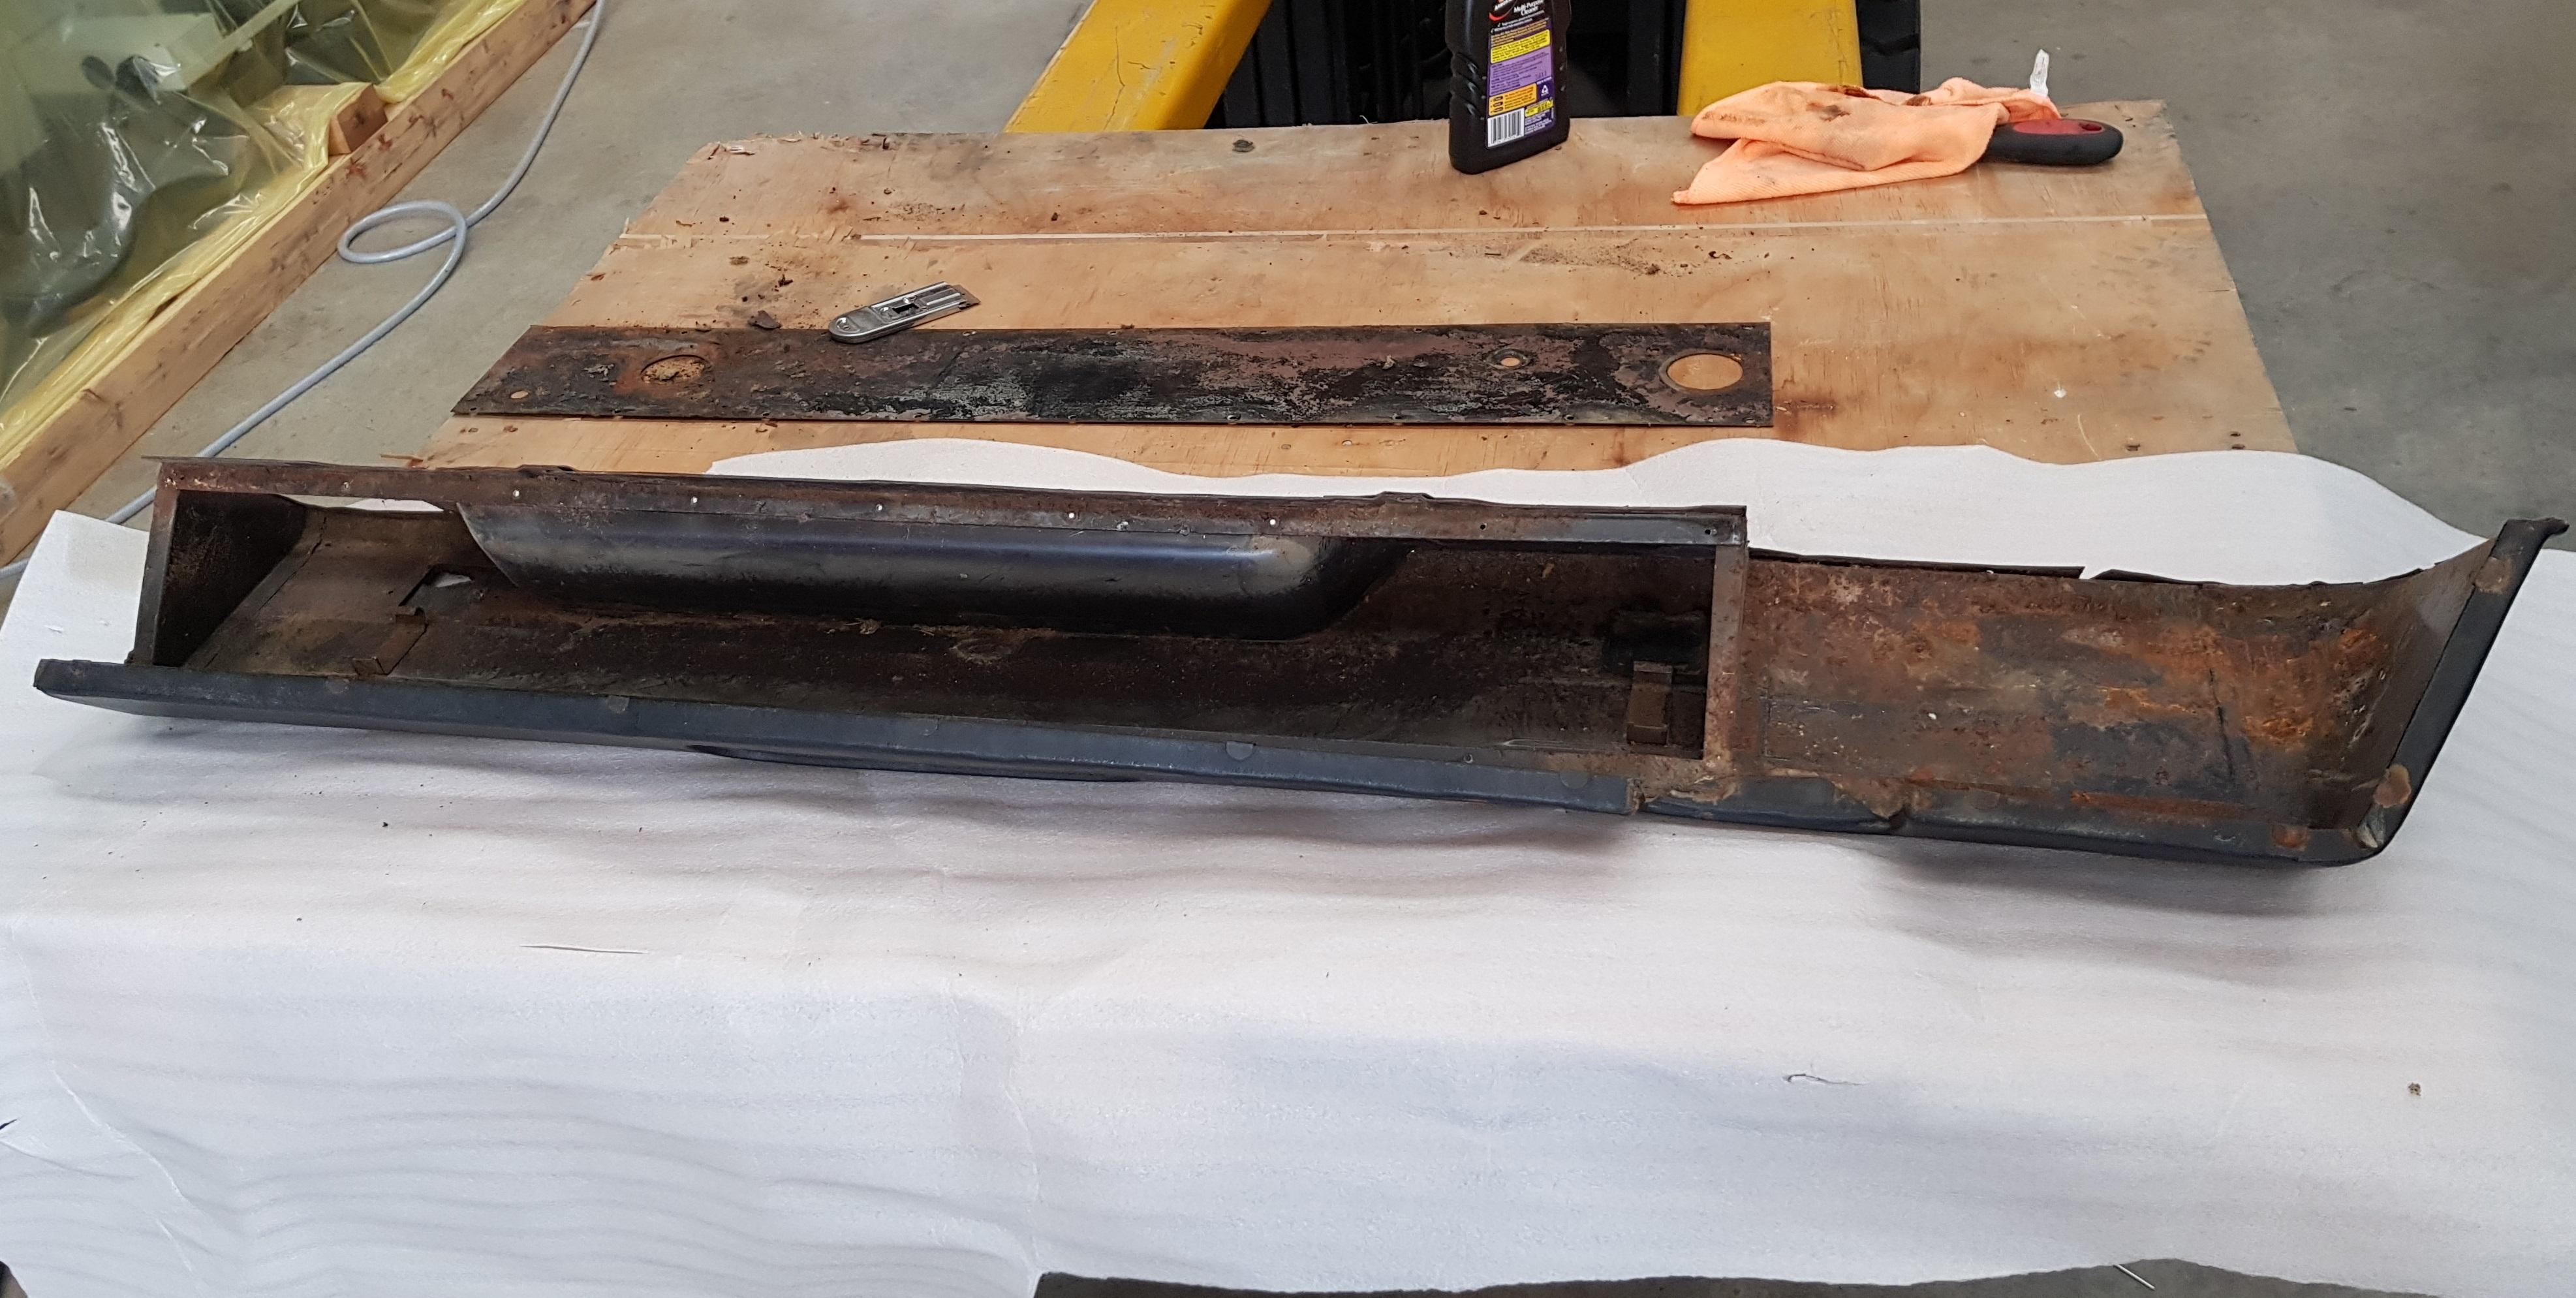
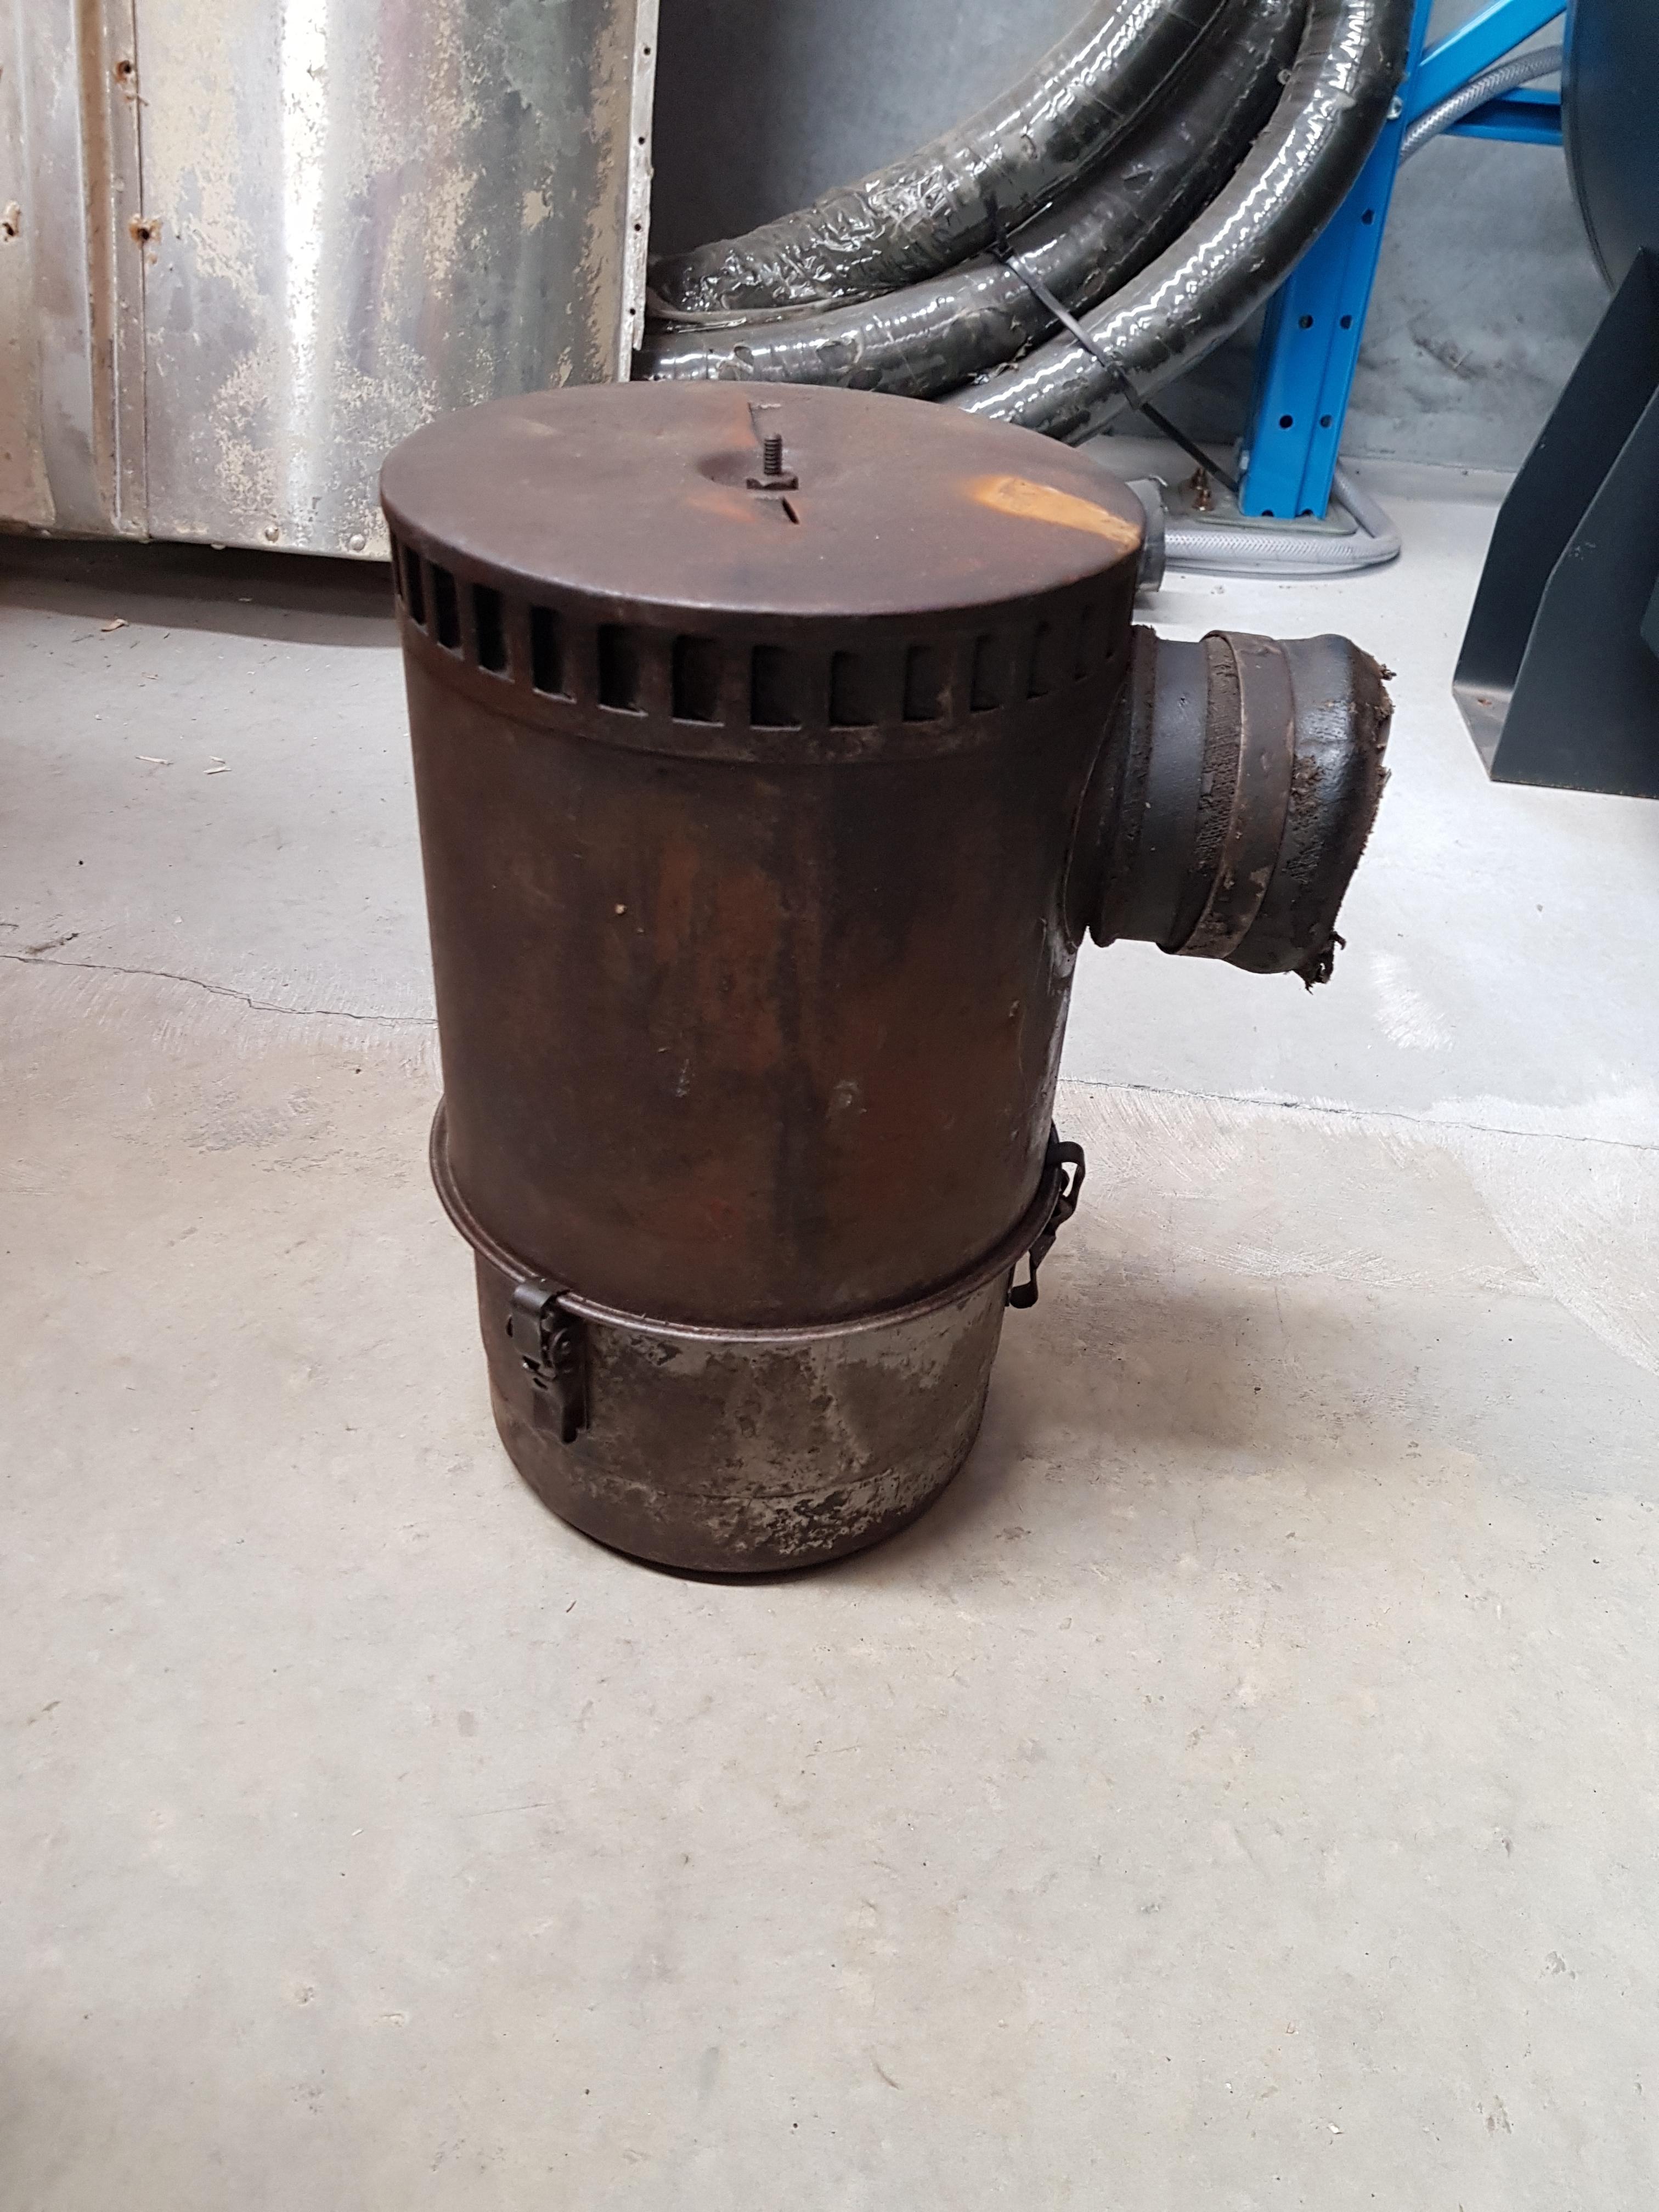
The air filter I sourced to replace the briggs and stratton looking paper type filter also needed a bit of work:
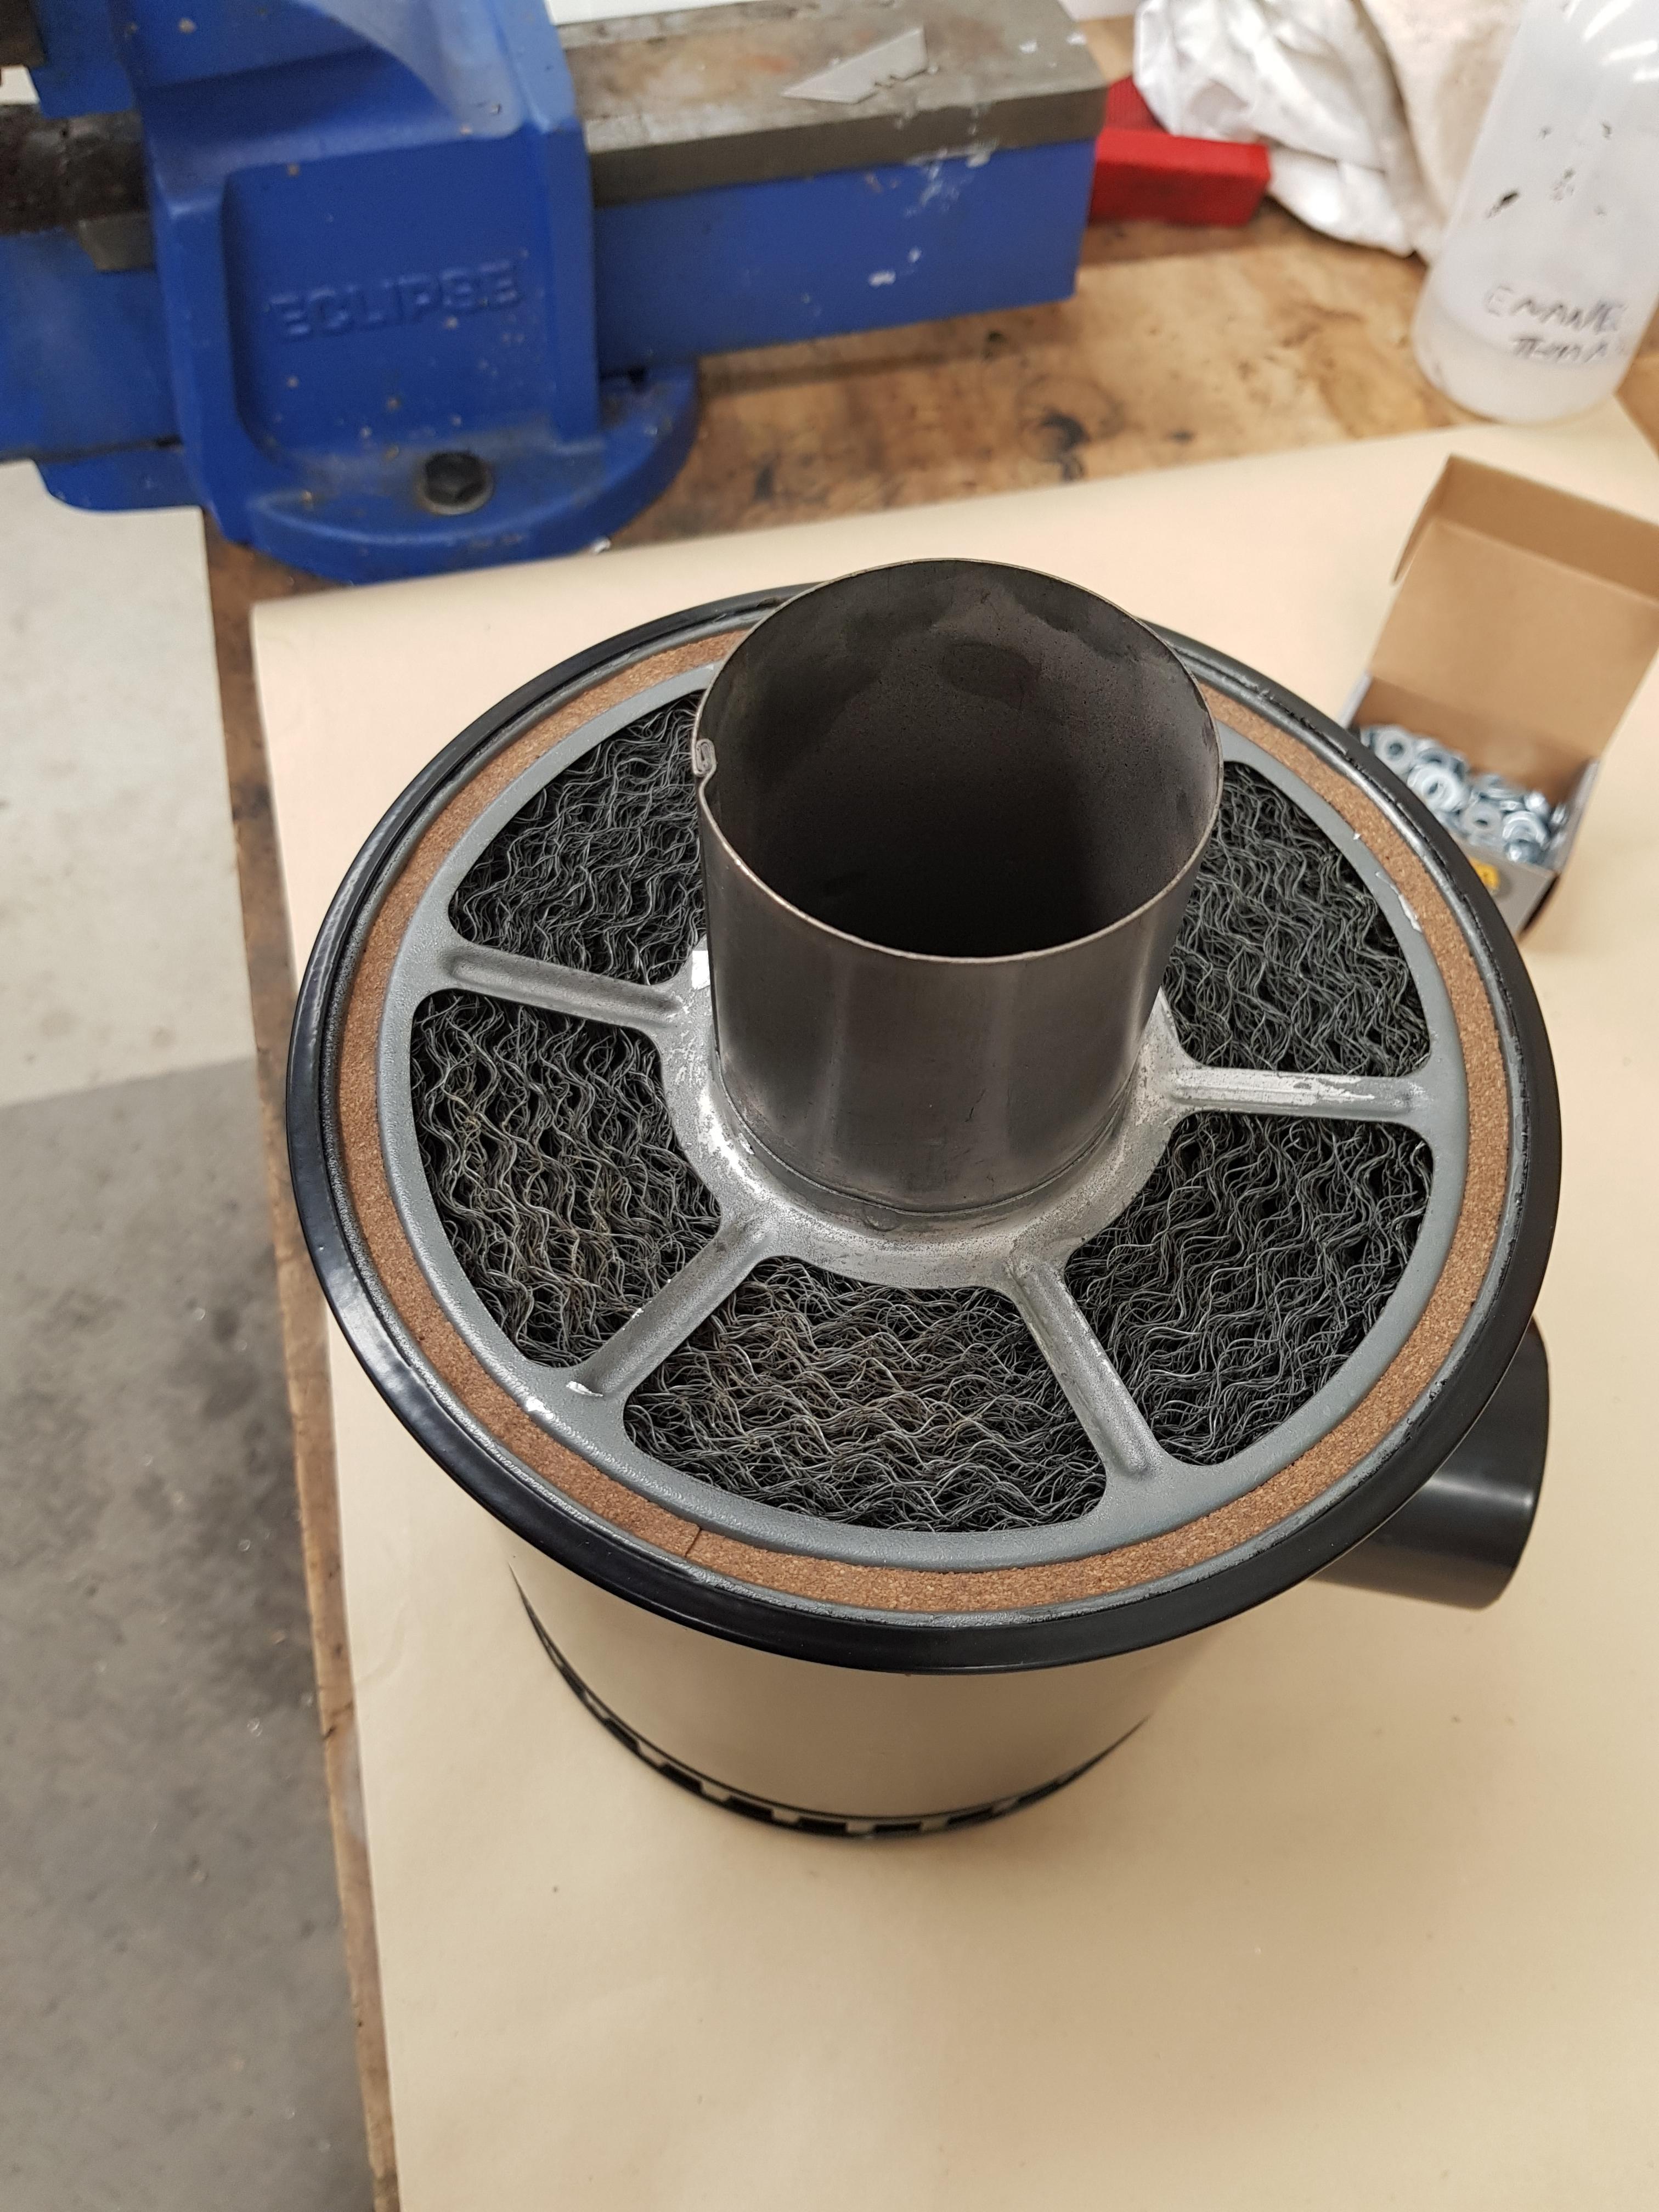
New cork seal in:
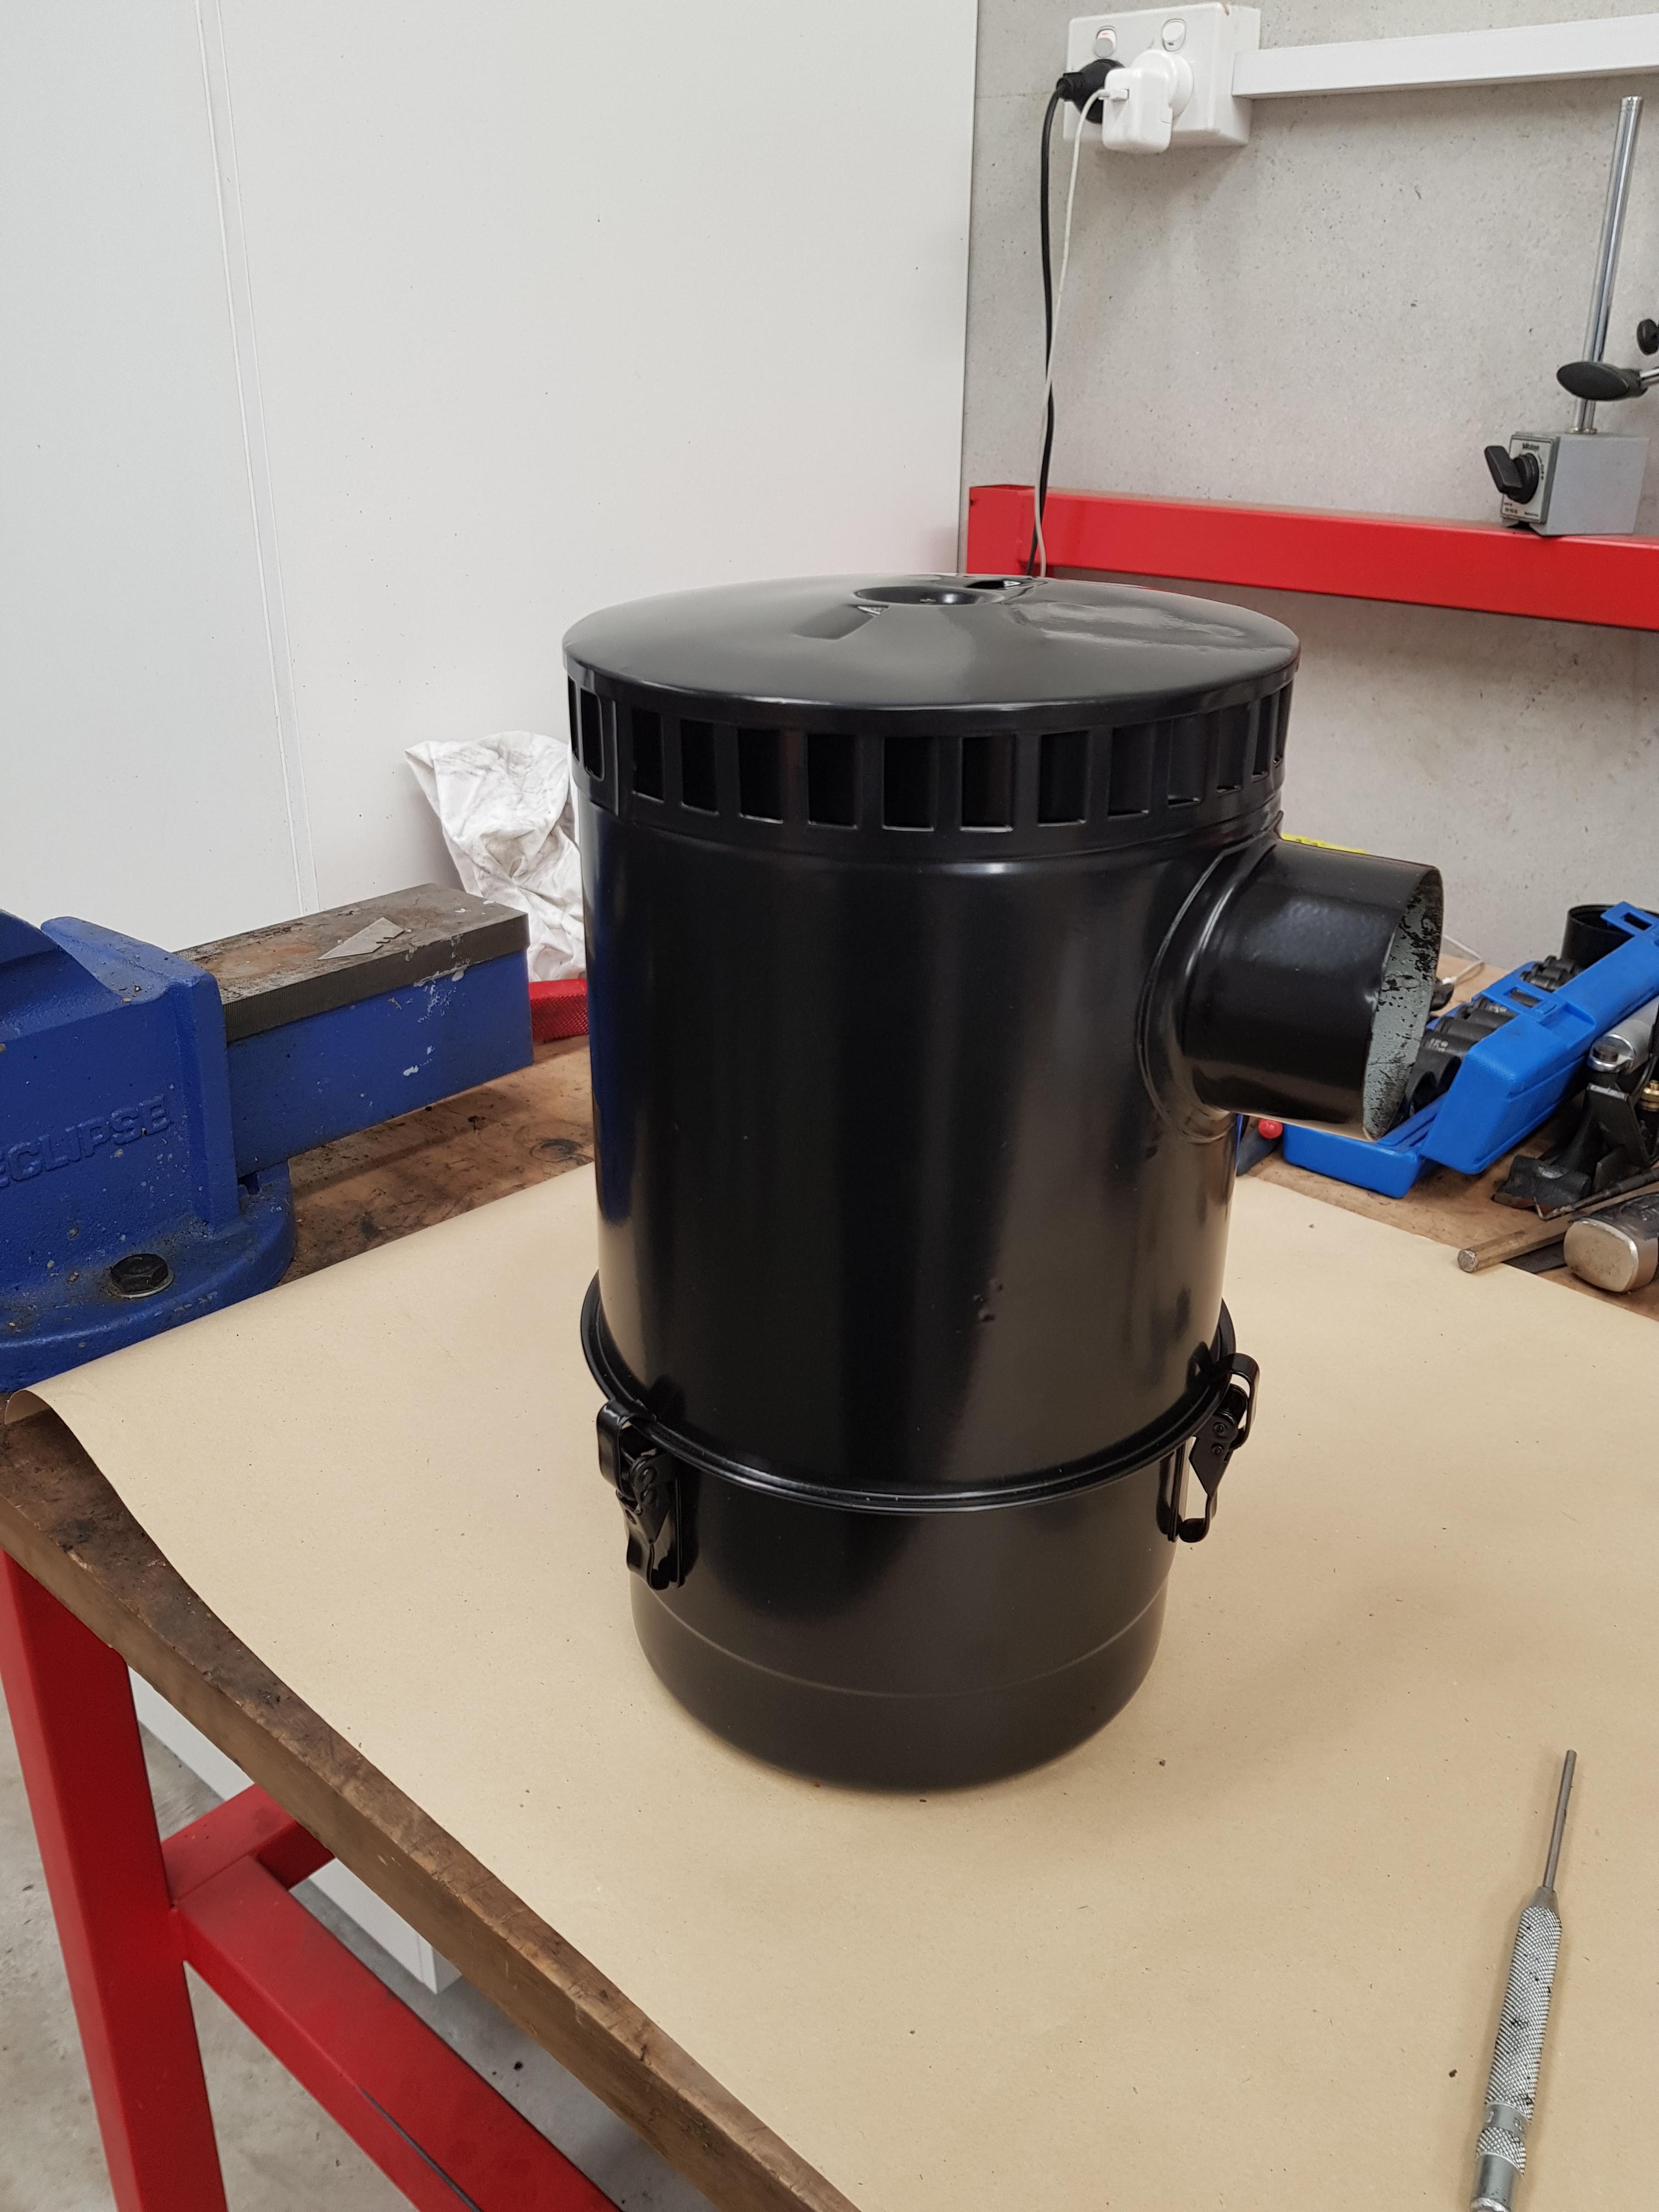
And all together, (the top panel is a bit dented, but will do until I find a better one, or get brave enough to panel beat it):
And in the car:
It will no doubt be in the way of something and have to come back out, but for now it can sit in it's new home(and I need one more hose clamp!)
Cheers,
Wizard
Well, Sunday turned out to be a bit of a bust. I wanted to get some sanding done, mainly on the bonnet and seat box, but my DA sander decided it didn't want to live any more
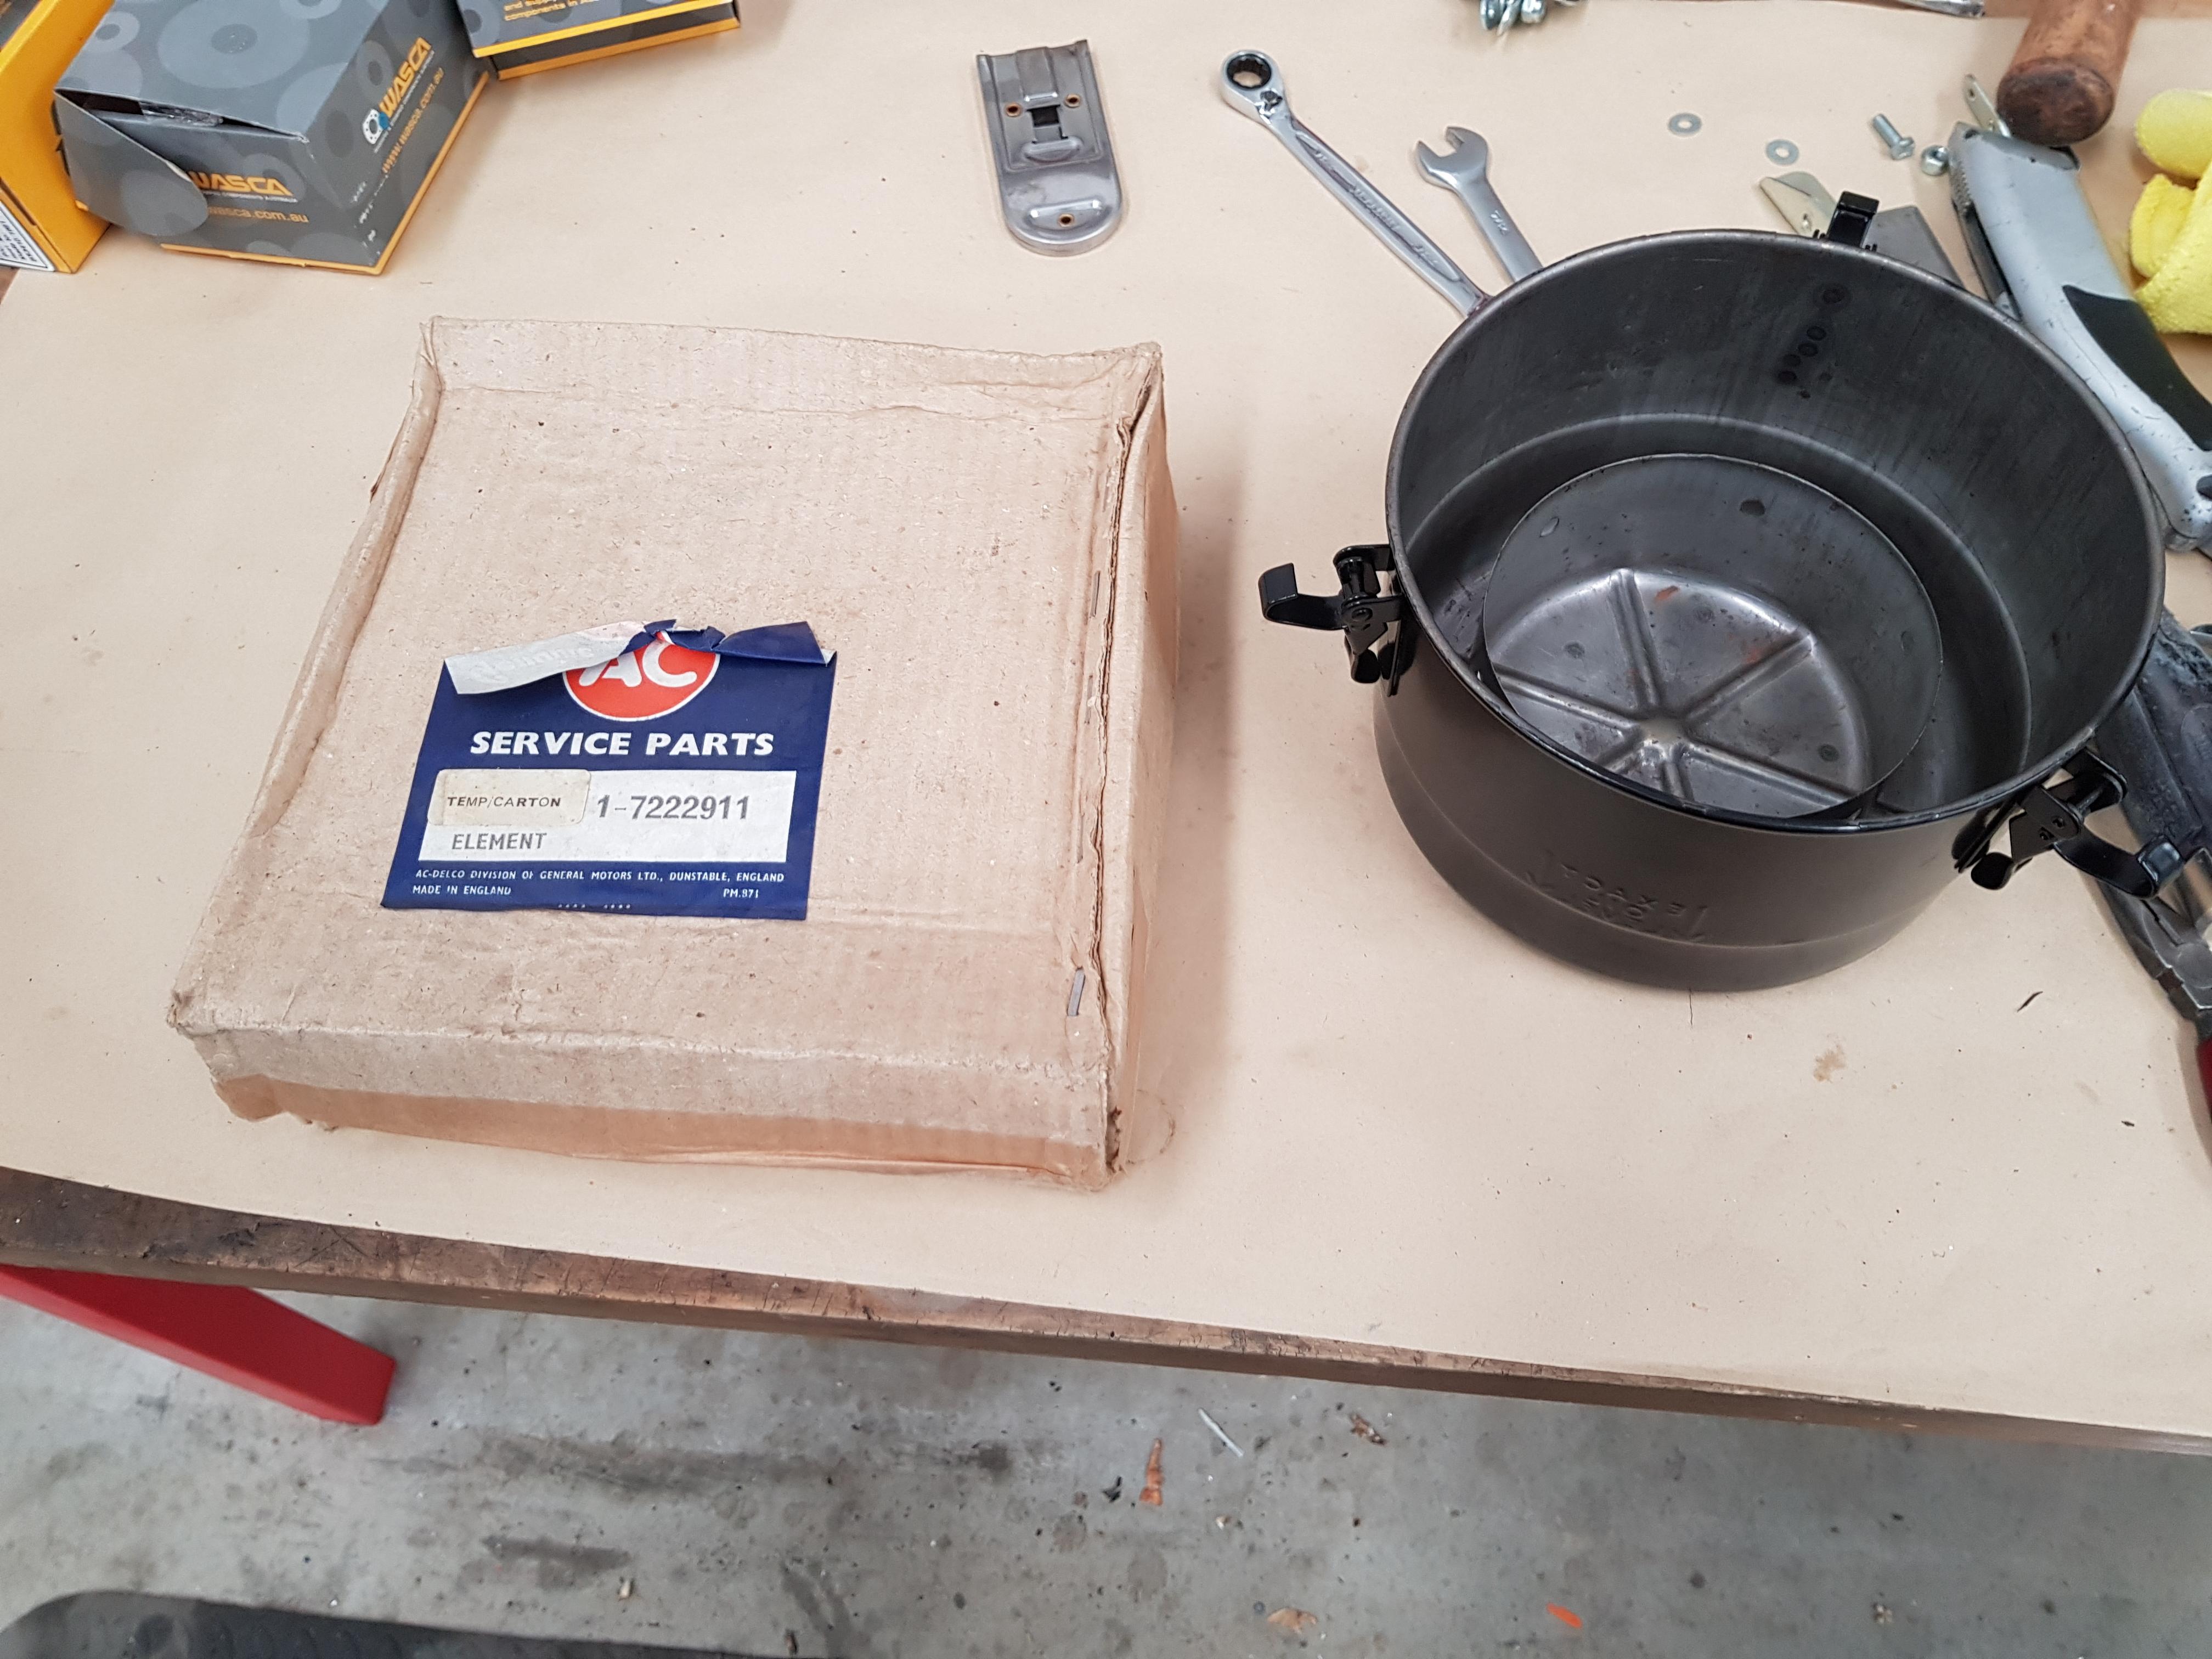
I got on with filling the air filter with oil, and fitting a new filter element. The bottom one looked like someone had got stuck into it with a screwdriver or something :/ I'd hate to think what the engine of the car the filter came from was like. Anyway, I'd found a NOS element, so that went in:
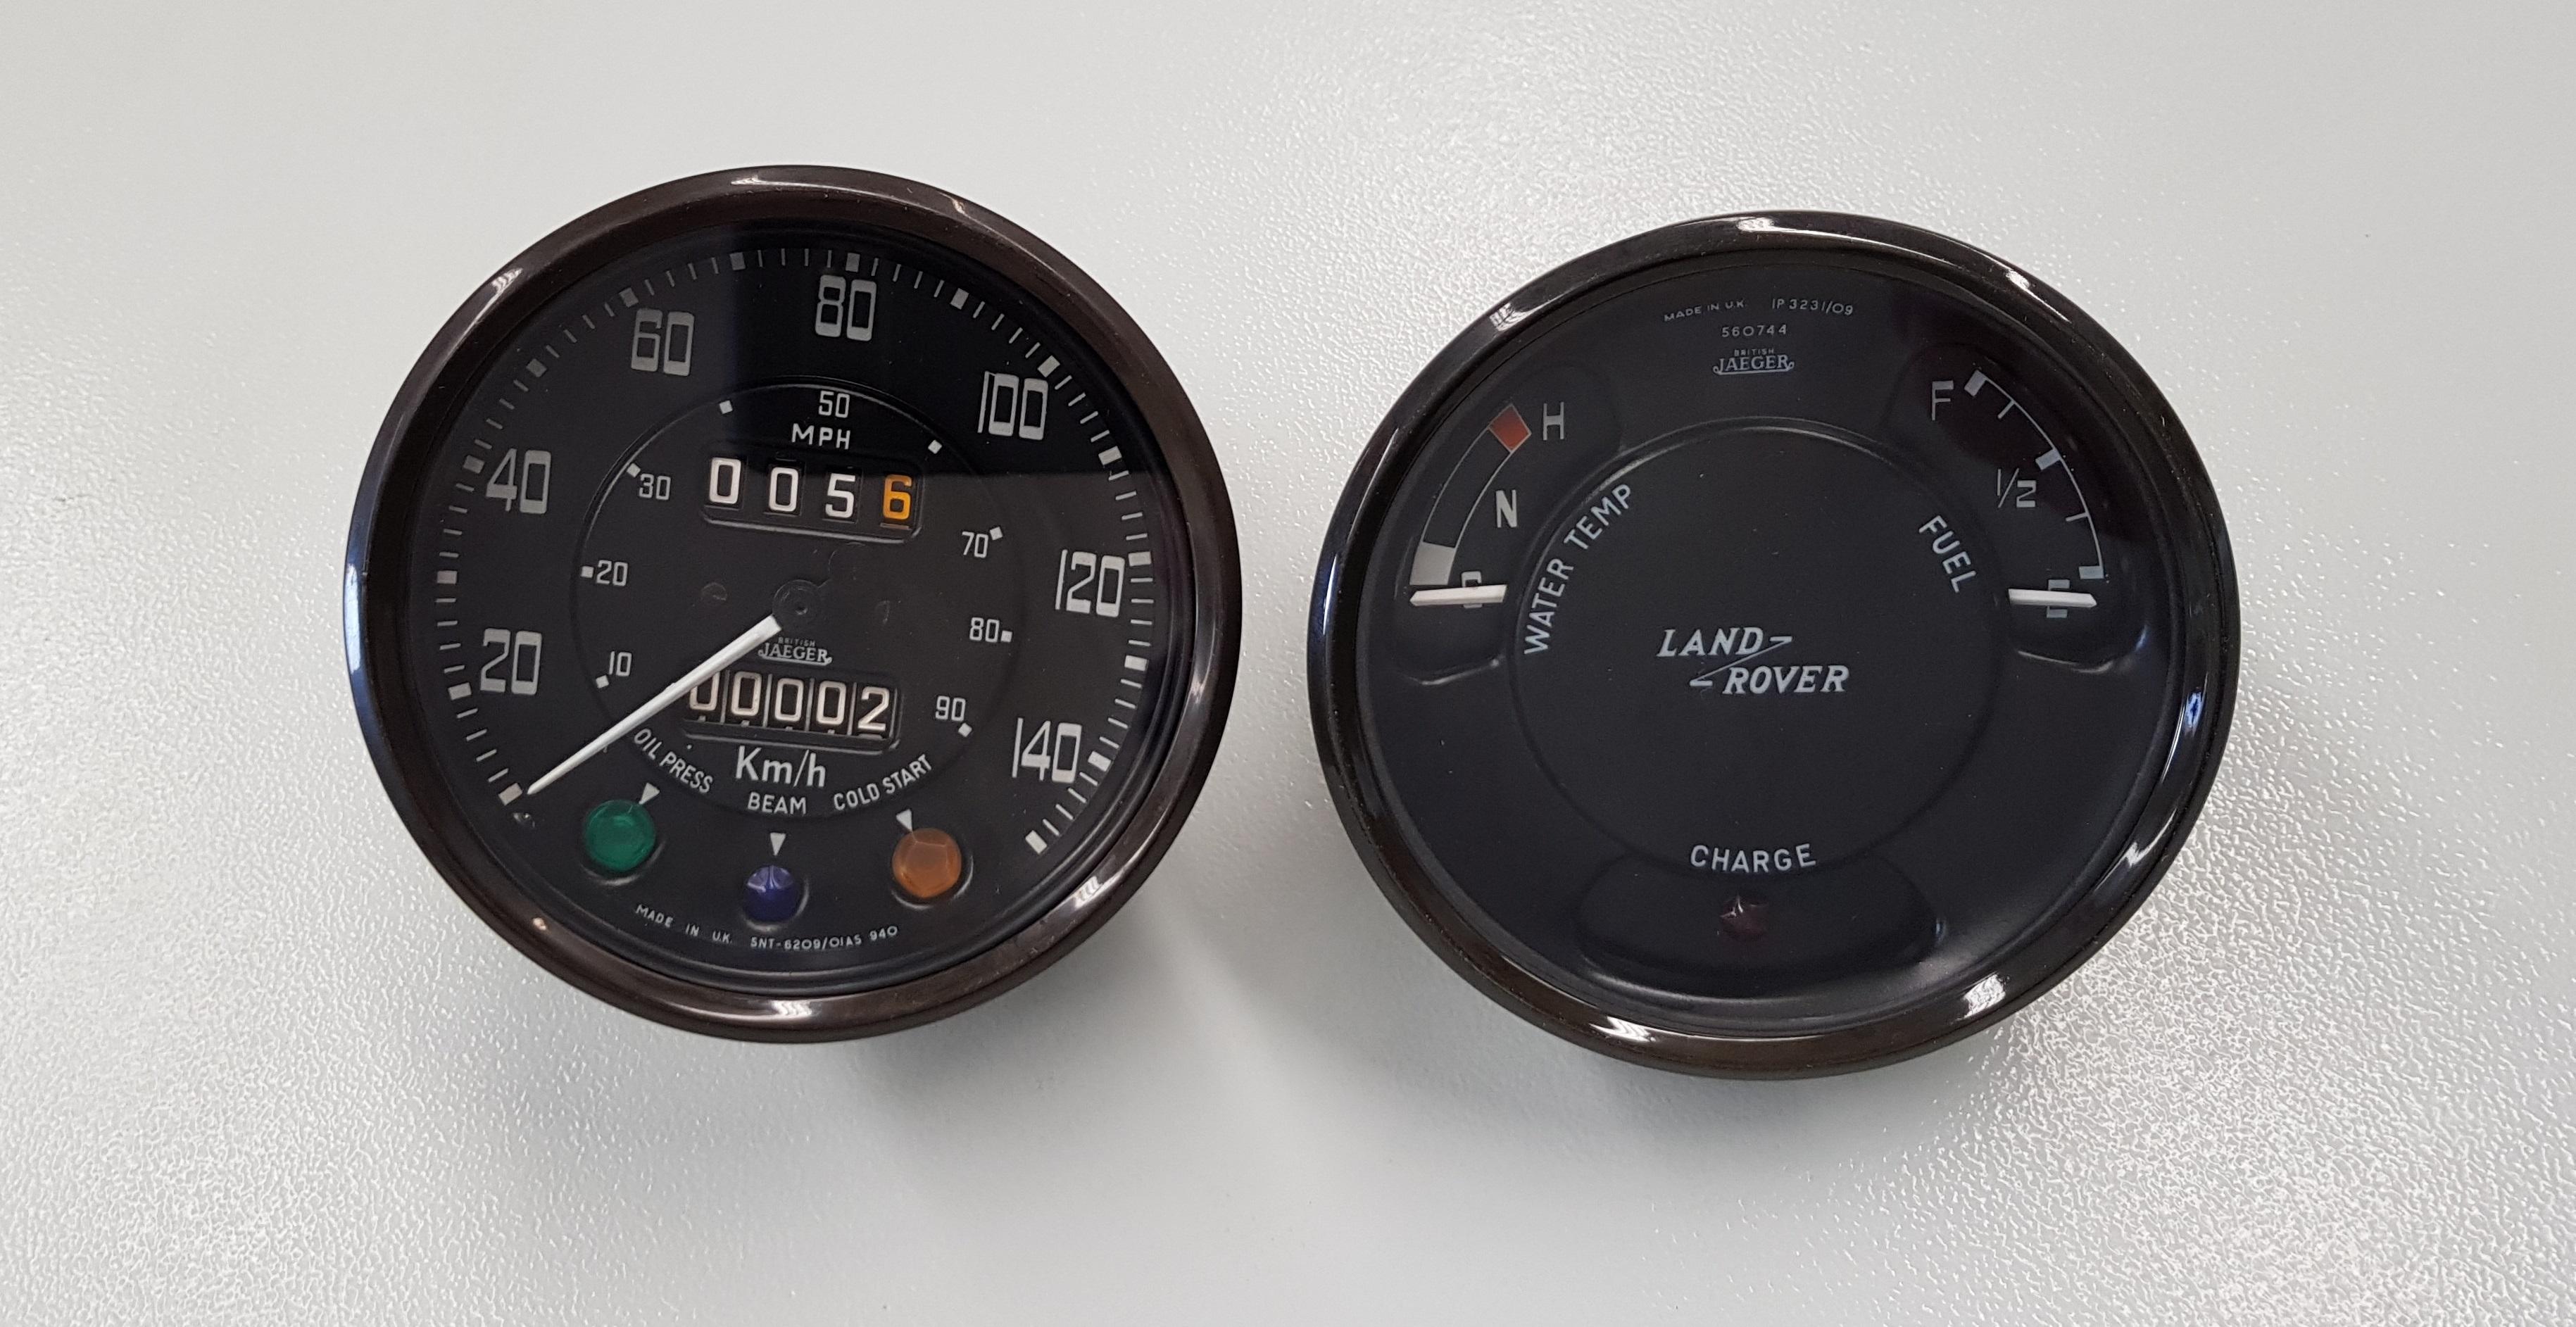
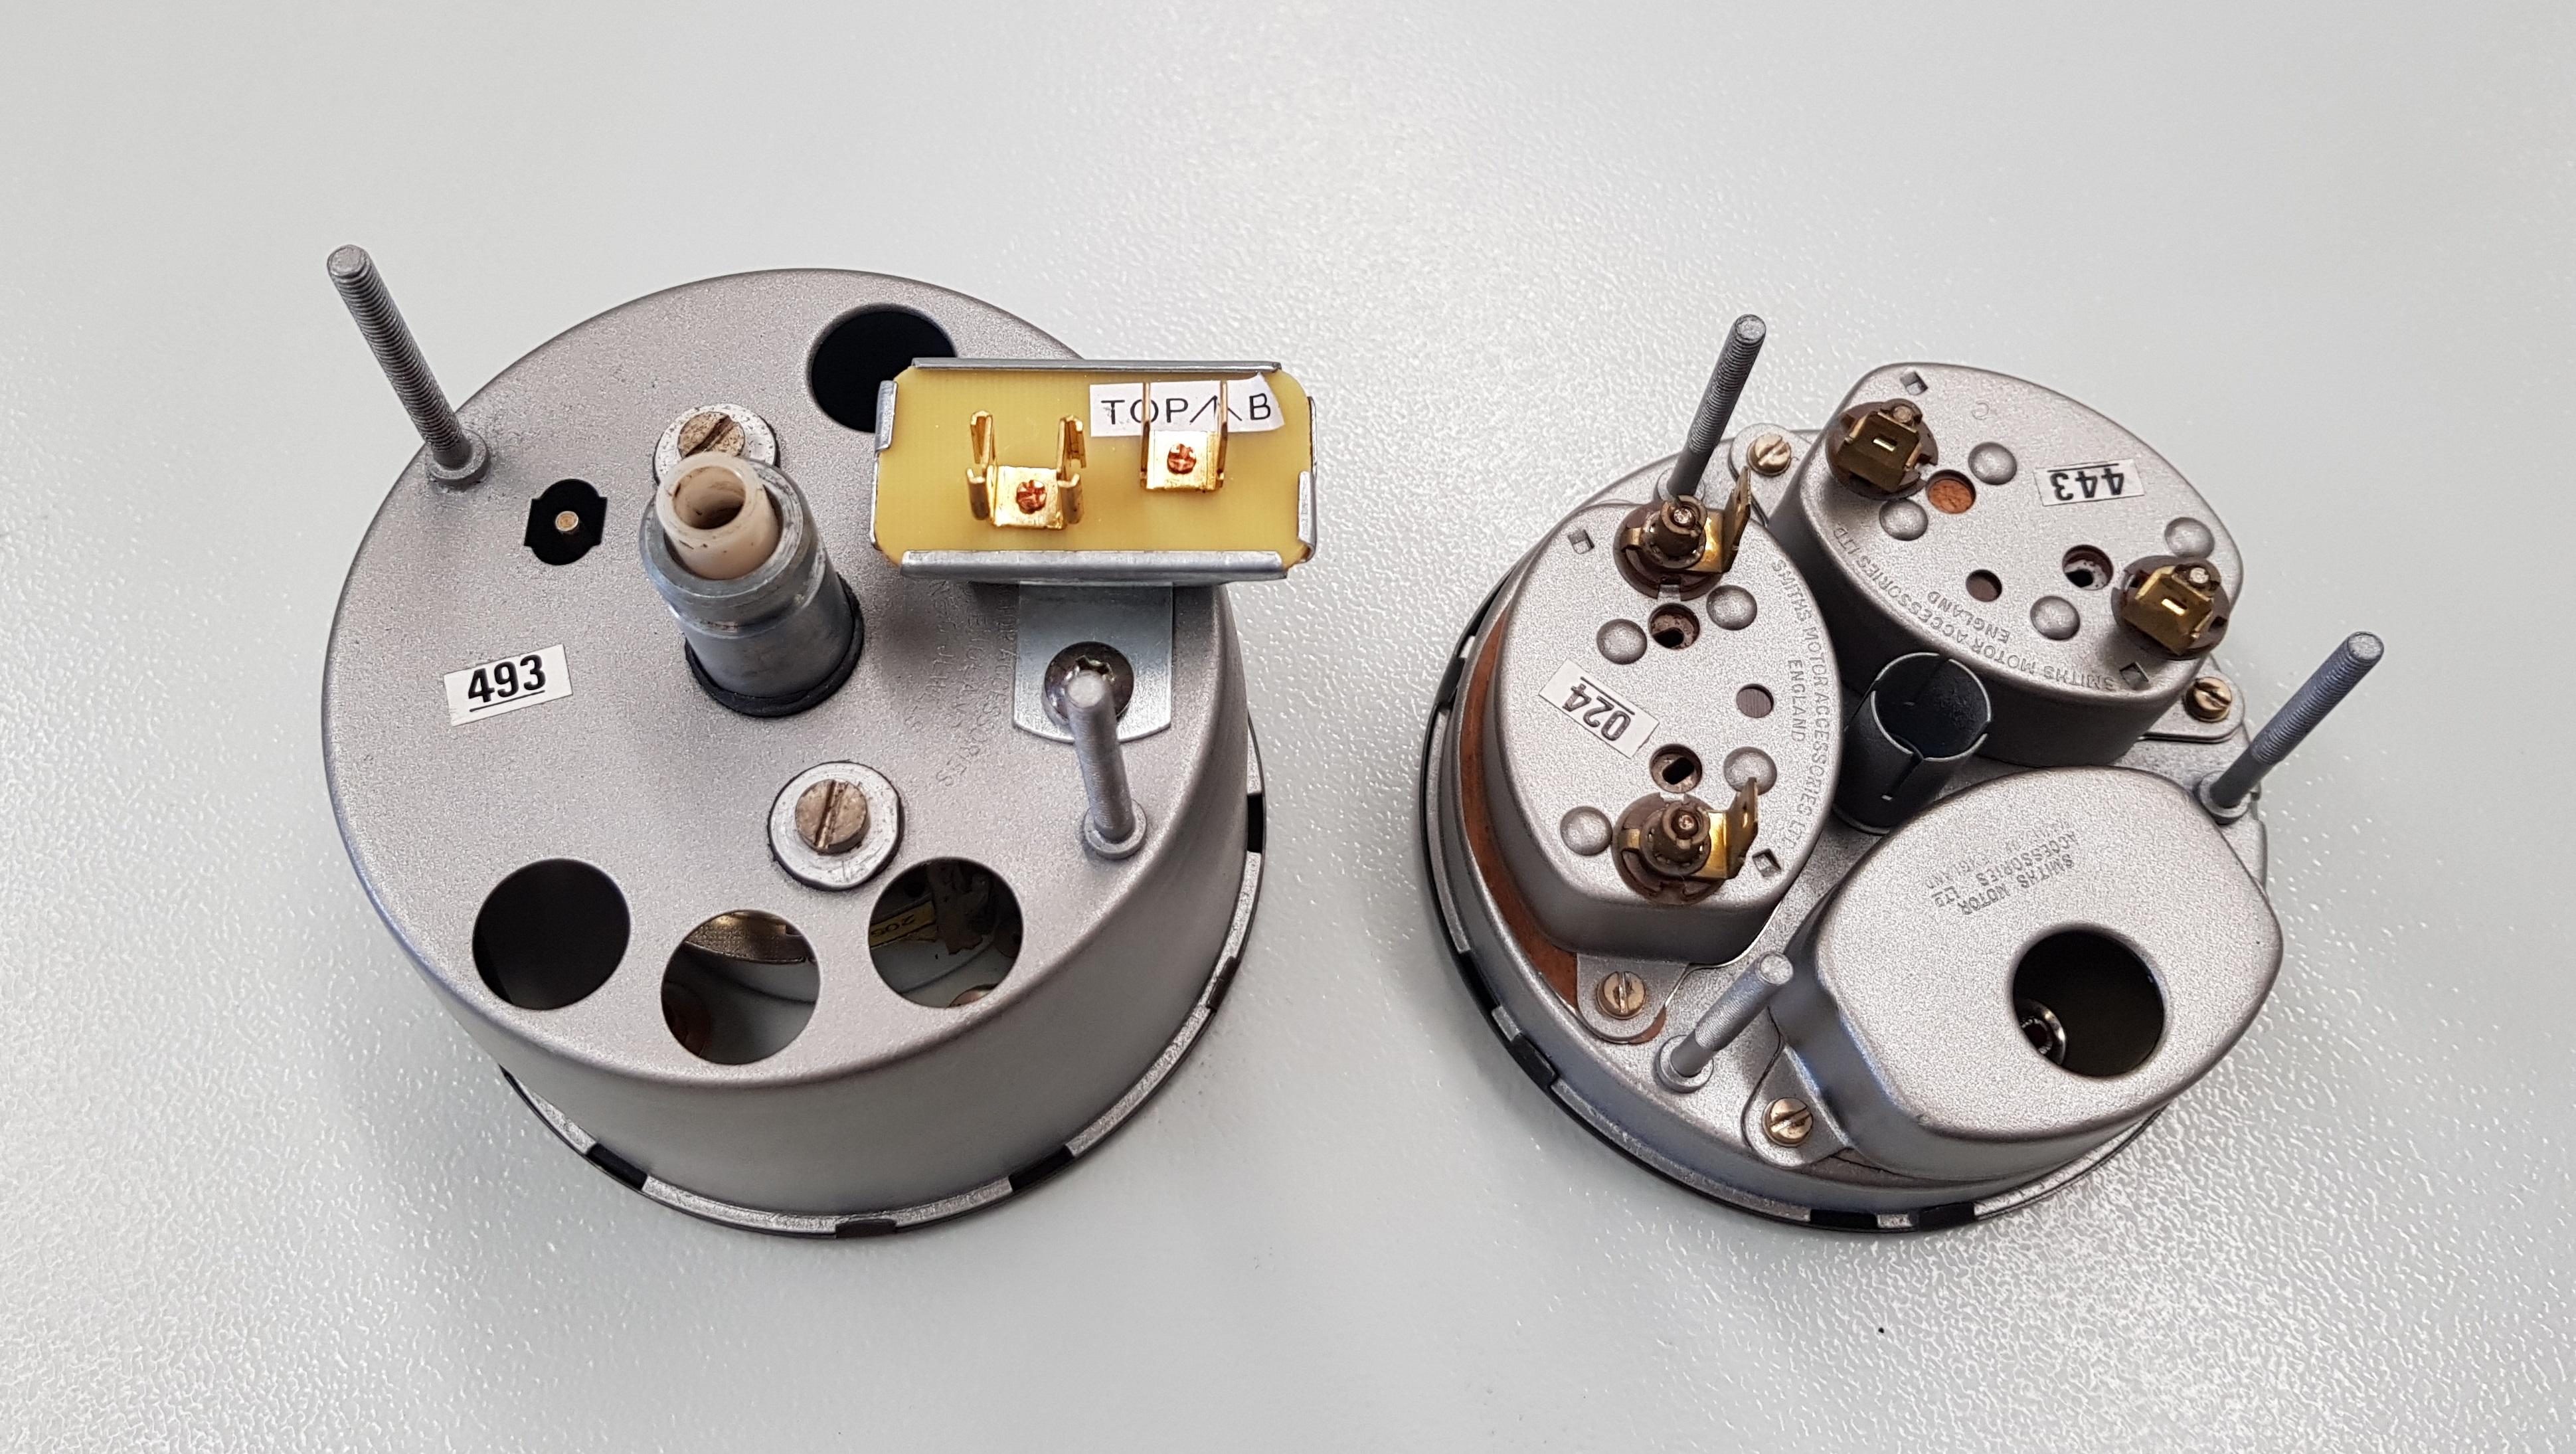
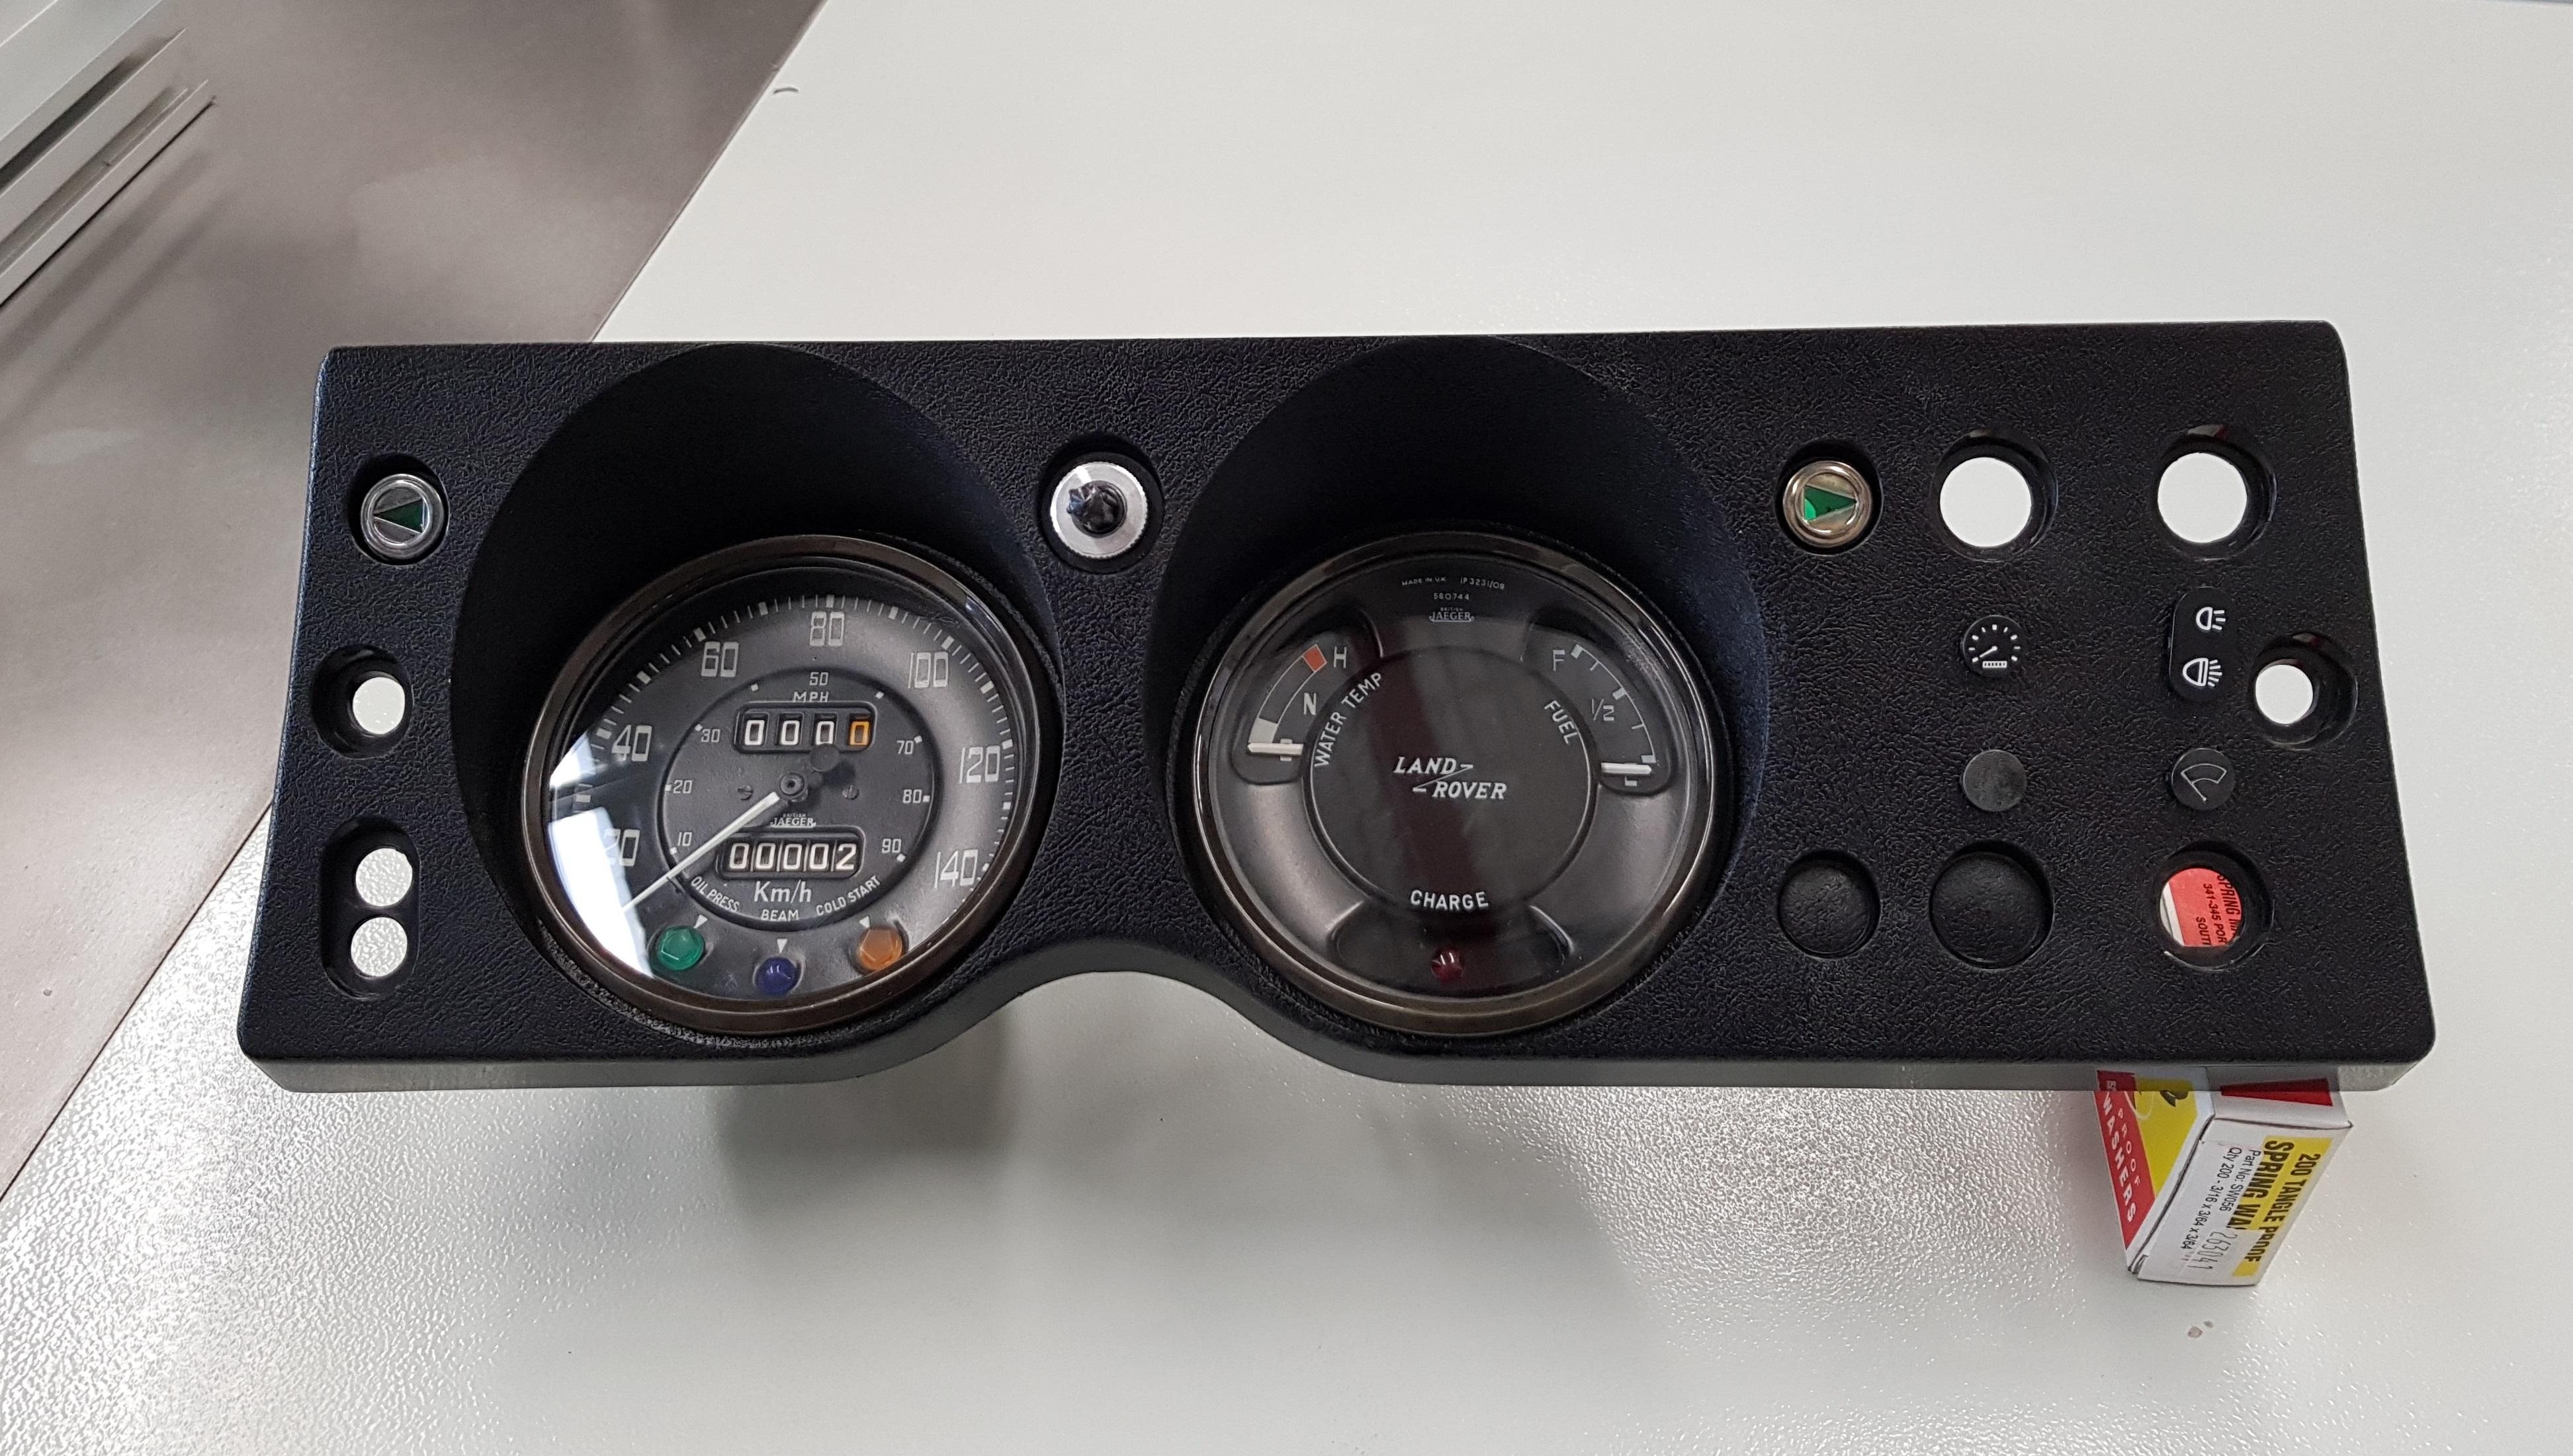
Today, however, I got the clocks/gauges back from being serviced. As you may recall I had started to strip them myself, but I wasn't quite confident in cleaning/servicing them myself so they were dropped off to a local specialist (Speedline instruments in Wangara WA). I must say, I'm very, very, happy with the work done. They look good as new!
All mounted up in the binnacle, which responded really well to a good scrub in hot soapy water.
Obligatory "before" shot
Cheers,
Master
SupporterYou need to write a book once finished. Thank you for the amazing write ups.
Wow that looks amazing
YarnMaster
SupporterFor what its worth, I used 'Boiled Linseed' oil to rejuvenate the plastic dash on my old RRC project and I think it came up very good. Takes a while to dry but does make a difference.
Originally Posted by TimNZ

Carlos
1994 Land Rover Discovery 300tdi
1963 Land Rover Series 2a 88
Youtube Channel: https://www.youtube.com/channel/UCu3...BtsNIuTyGkAo5w
Instagram: https://instagram.com/rover_tasmania/
ChatterBox
Good work Tim.
I got a thin large O ring to seal the upper and lower parts of the Air cleaner, instead of the cork gasket.
whitehillbilly
 Posting Permissions
| Search AULRO.com ONLY! |
Search All the Web! |
|---|
|
|
|


Bookmarks