Page 33 of 51 FirstFirst ... 23313233343543 ... LastLast
Results 321 to 330 of 510

Thread: My 88" Series 3

  1. #321
    Join Date
    Dec 2006
    Location
    Narrogin WA
    Posts
    3,092
    Total Downloaded
    0
    Quote Originally Posted by TimNZ View Post
    I've managed to find another cam gear wheel, (NOS genuine one). Given the wear on the original does anyone think it's worth changing?

    Cheers,
    Given that the rest of the engine looks so beautiful and you are doing such a good job; I say yes, put the new sprockets in with a new chain. The valve timing and distributor timing, are fairly important after all!

    Cheers Charlie

  2. #322
    Join Date
    Mar 2008
    Location
    Perth, WA
    Posts
    1,947
    Total Downloaded
    0
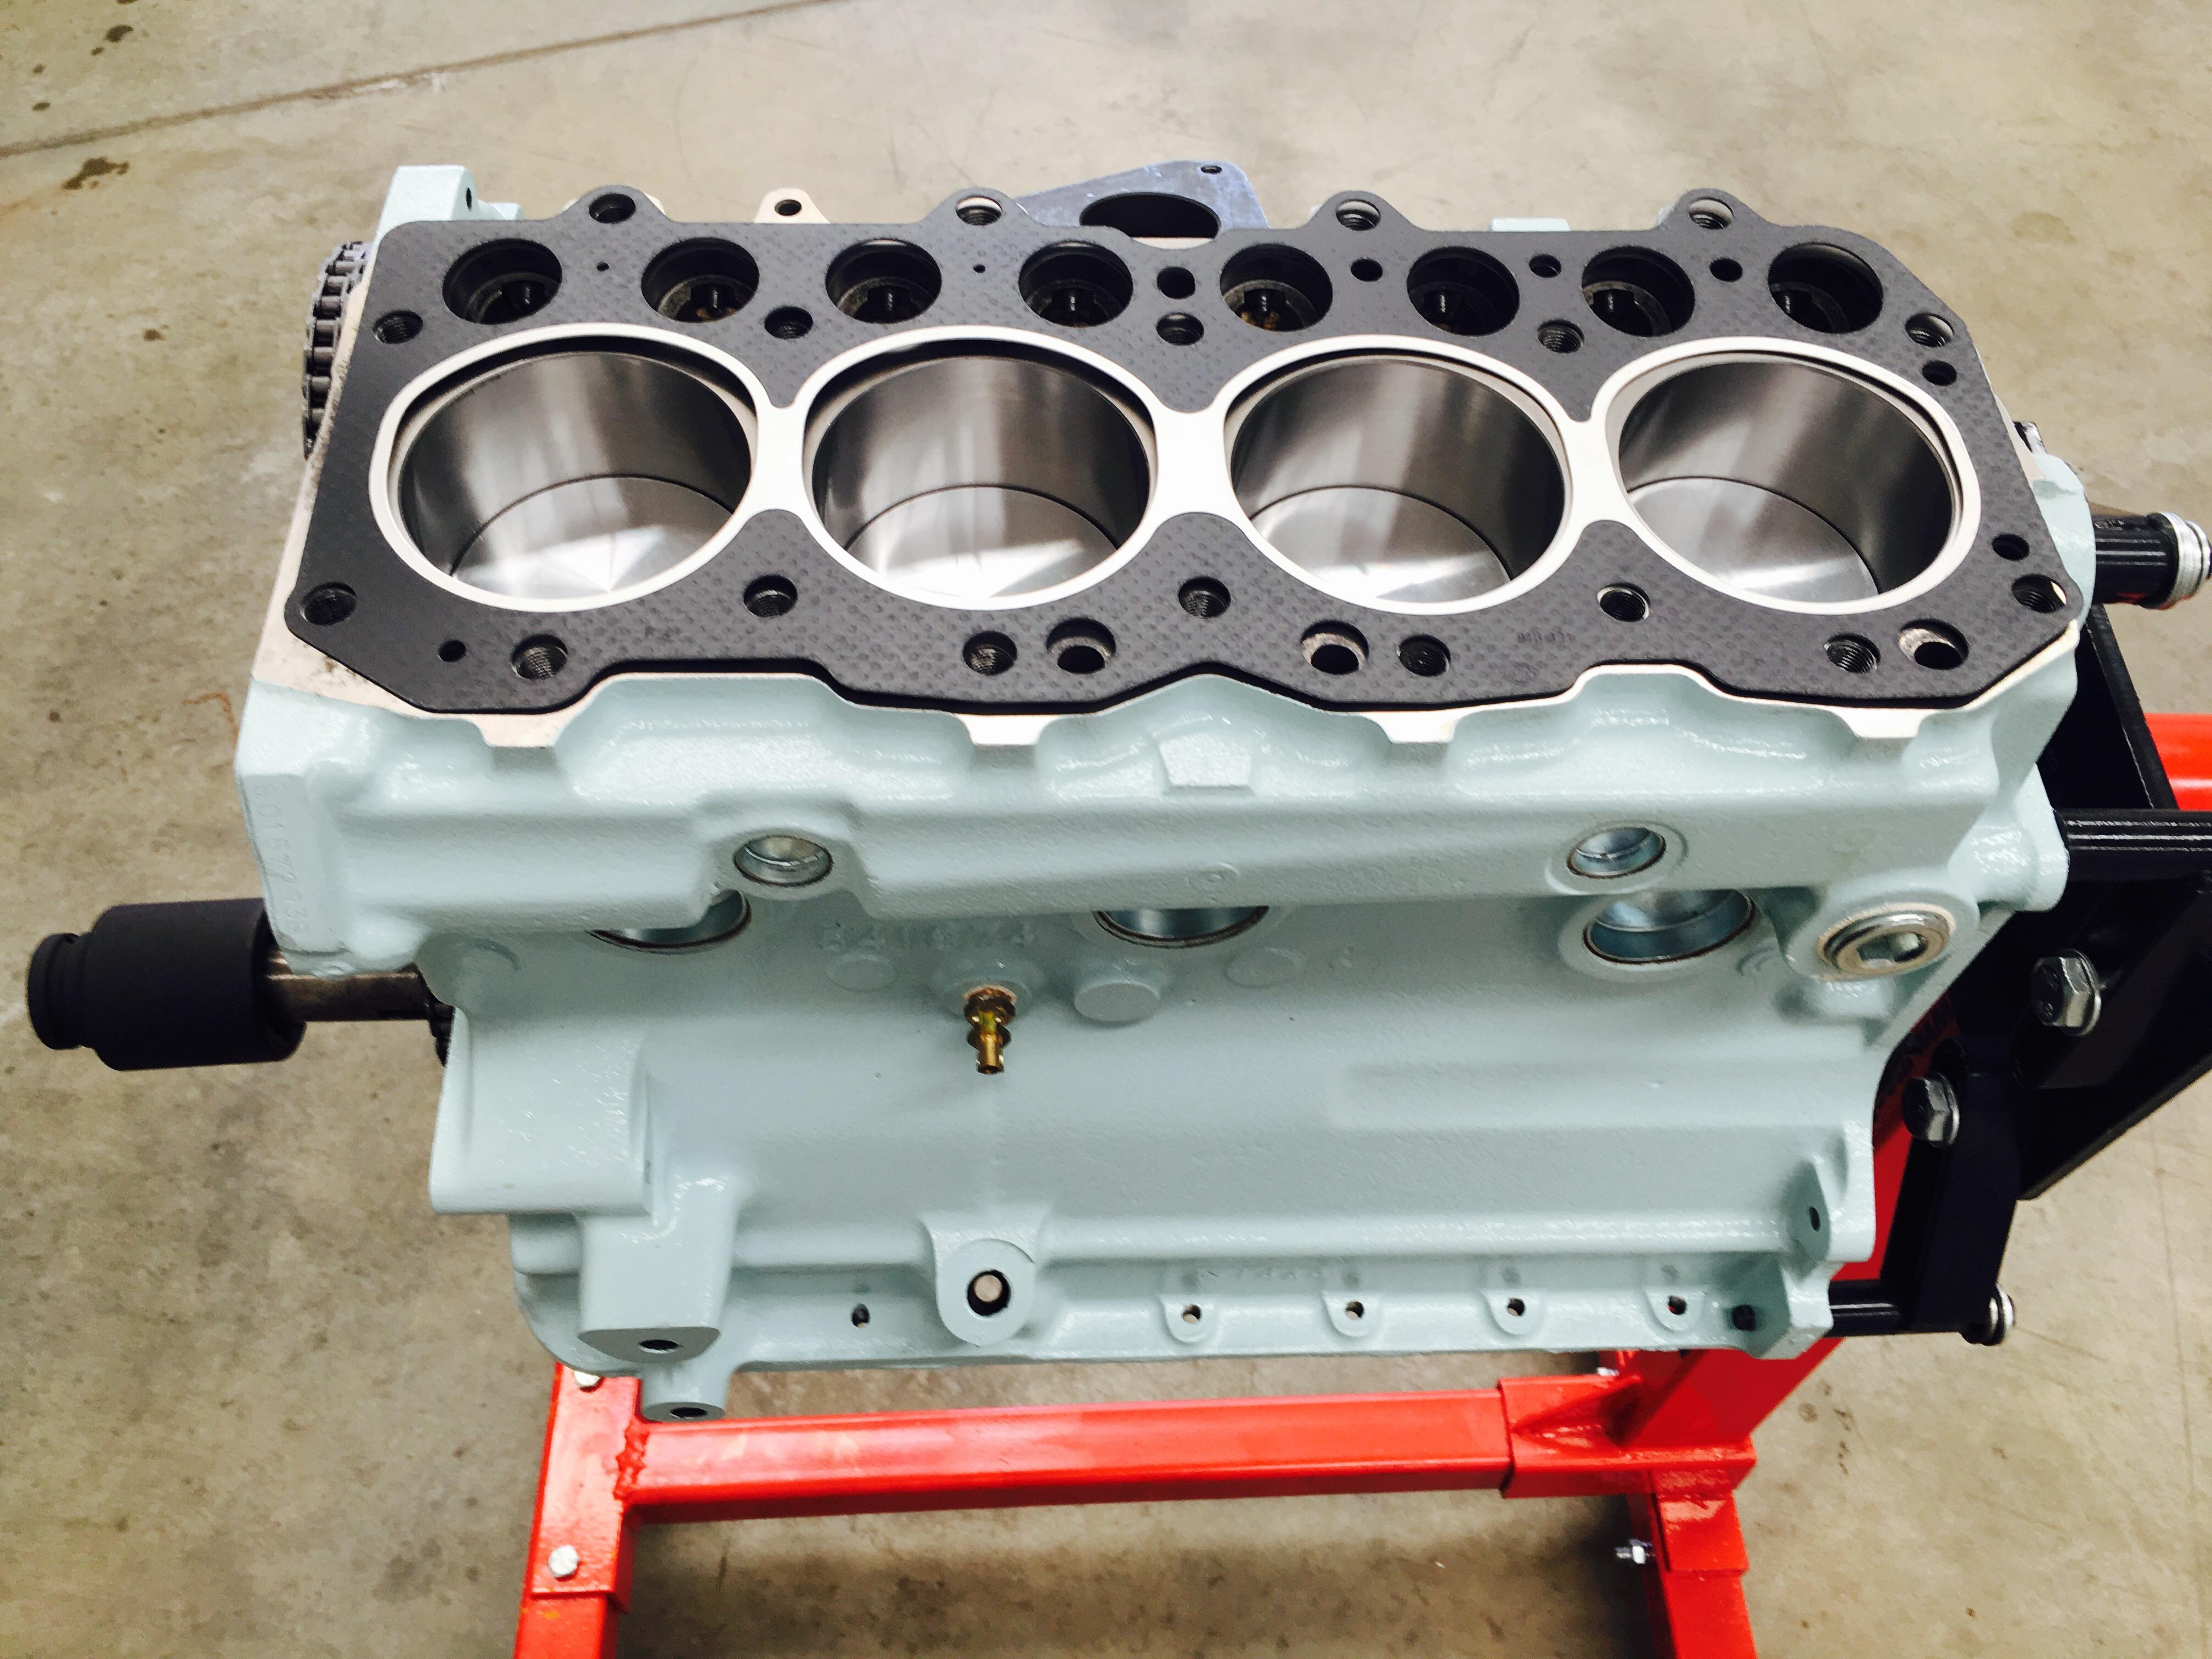
    Moved on to the timing cover today, the crank seal retainer had been torn off at some stage leaving the rivets behind:


    ,


    They'll all have to come out as they are only really sealing with the paint, they are all sitting proud on the inside of the cover:


    The parts book show small screws hold in the seal retainer, but these don't look like they can be used in place of the rivets, the screw diameter is the same as the rivet hole diameter. Not sure if I am going to try and find some replacement rivets, or thread the holes and use small screws.

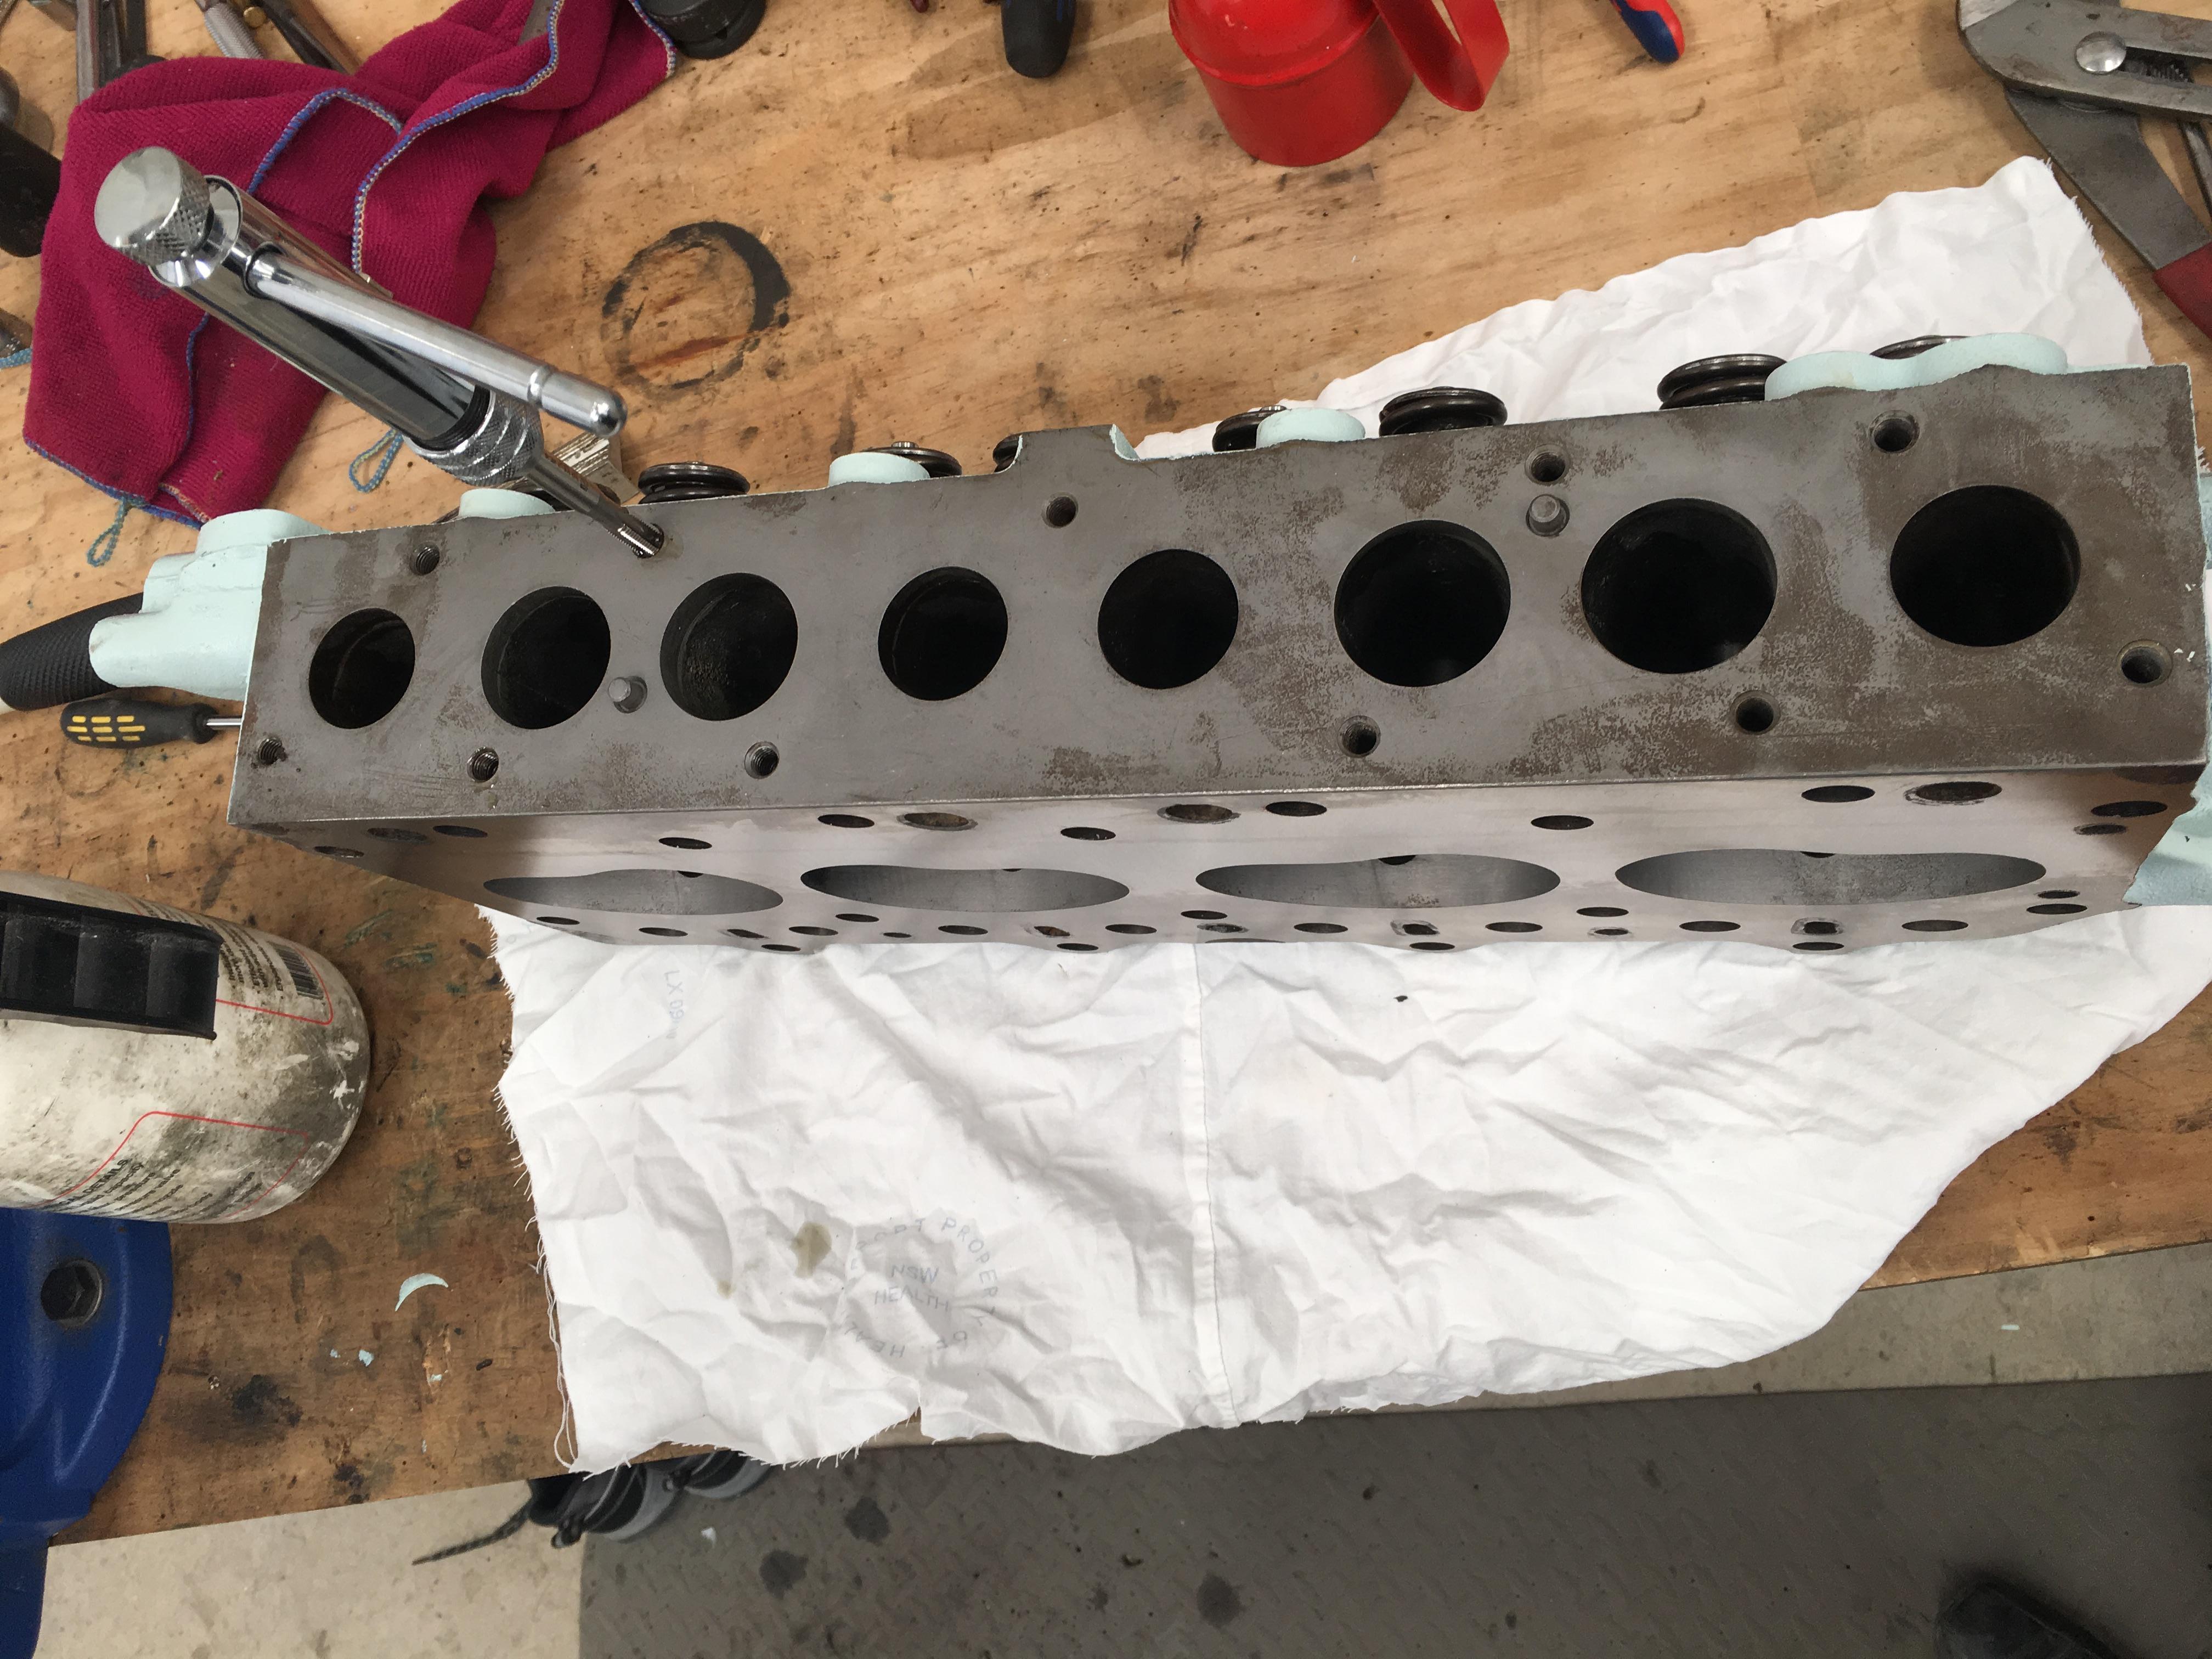
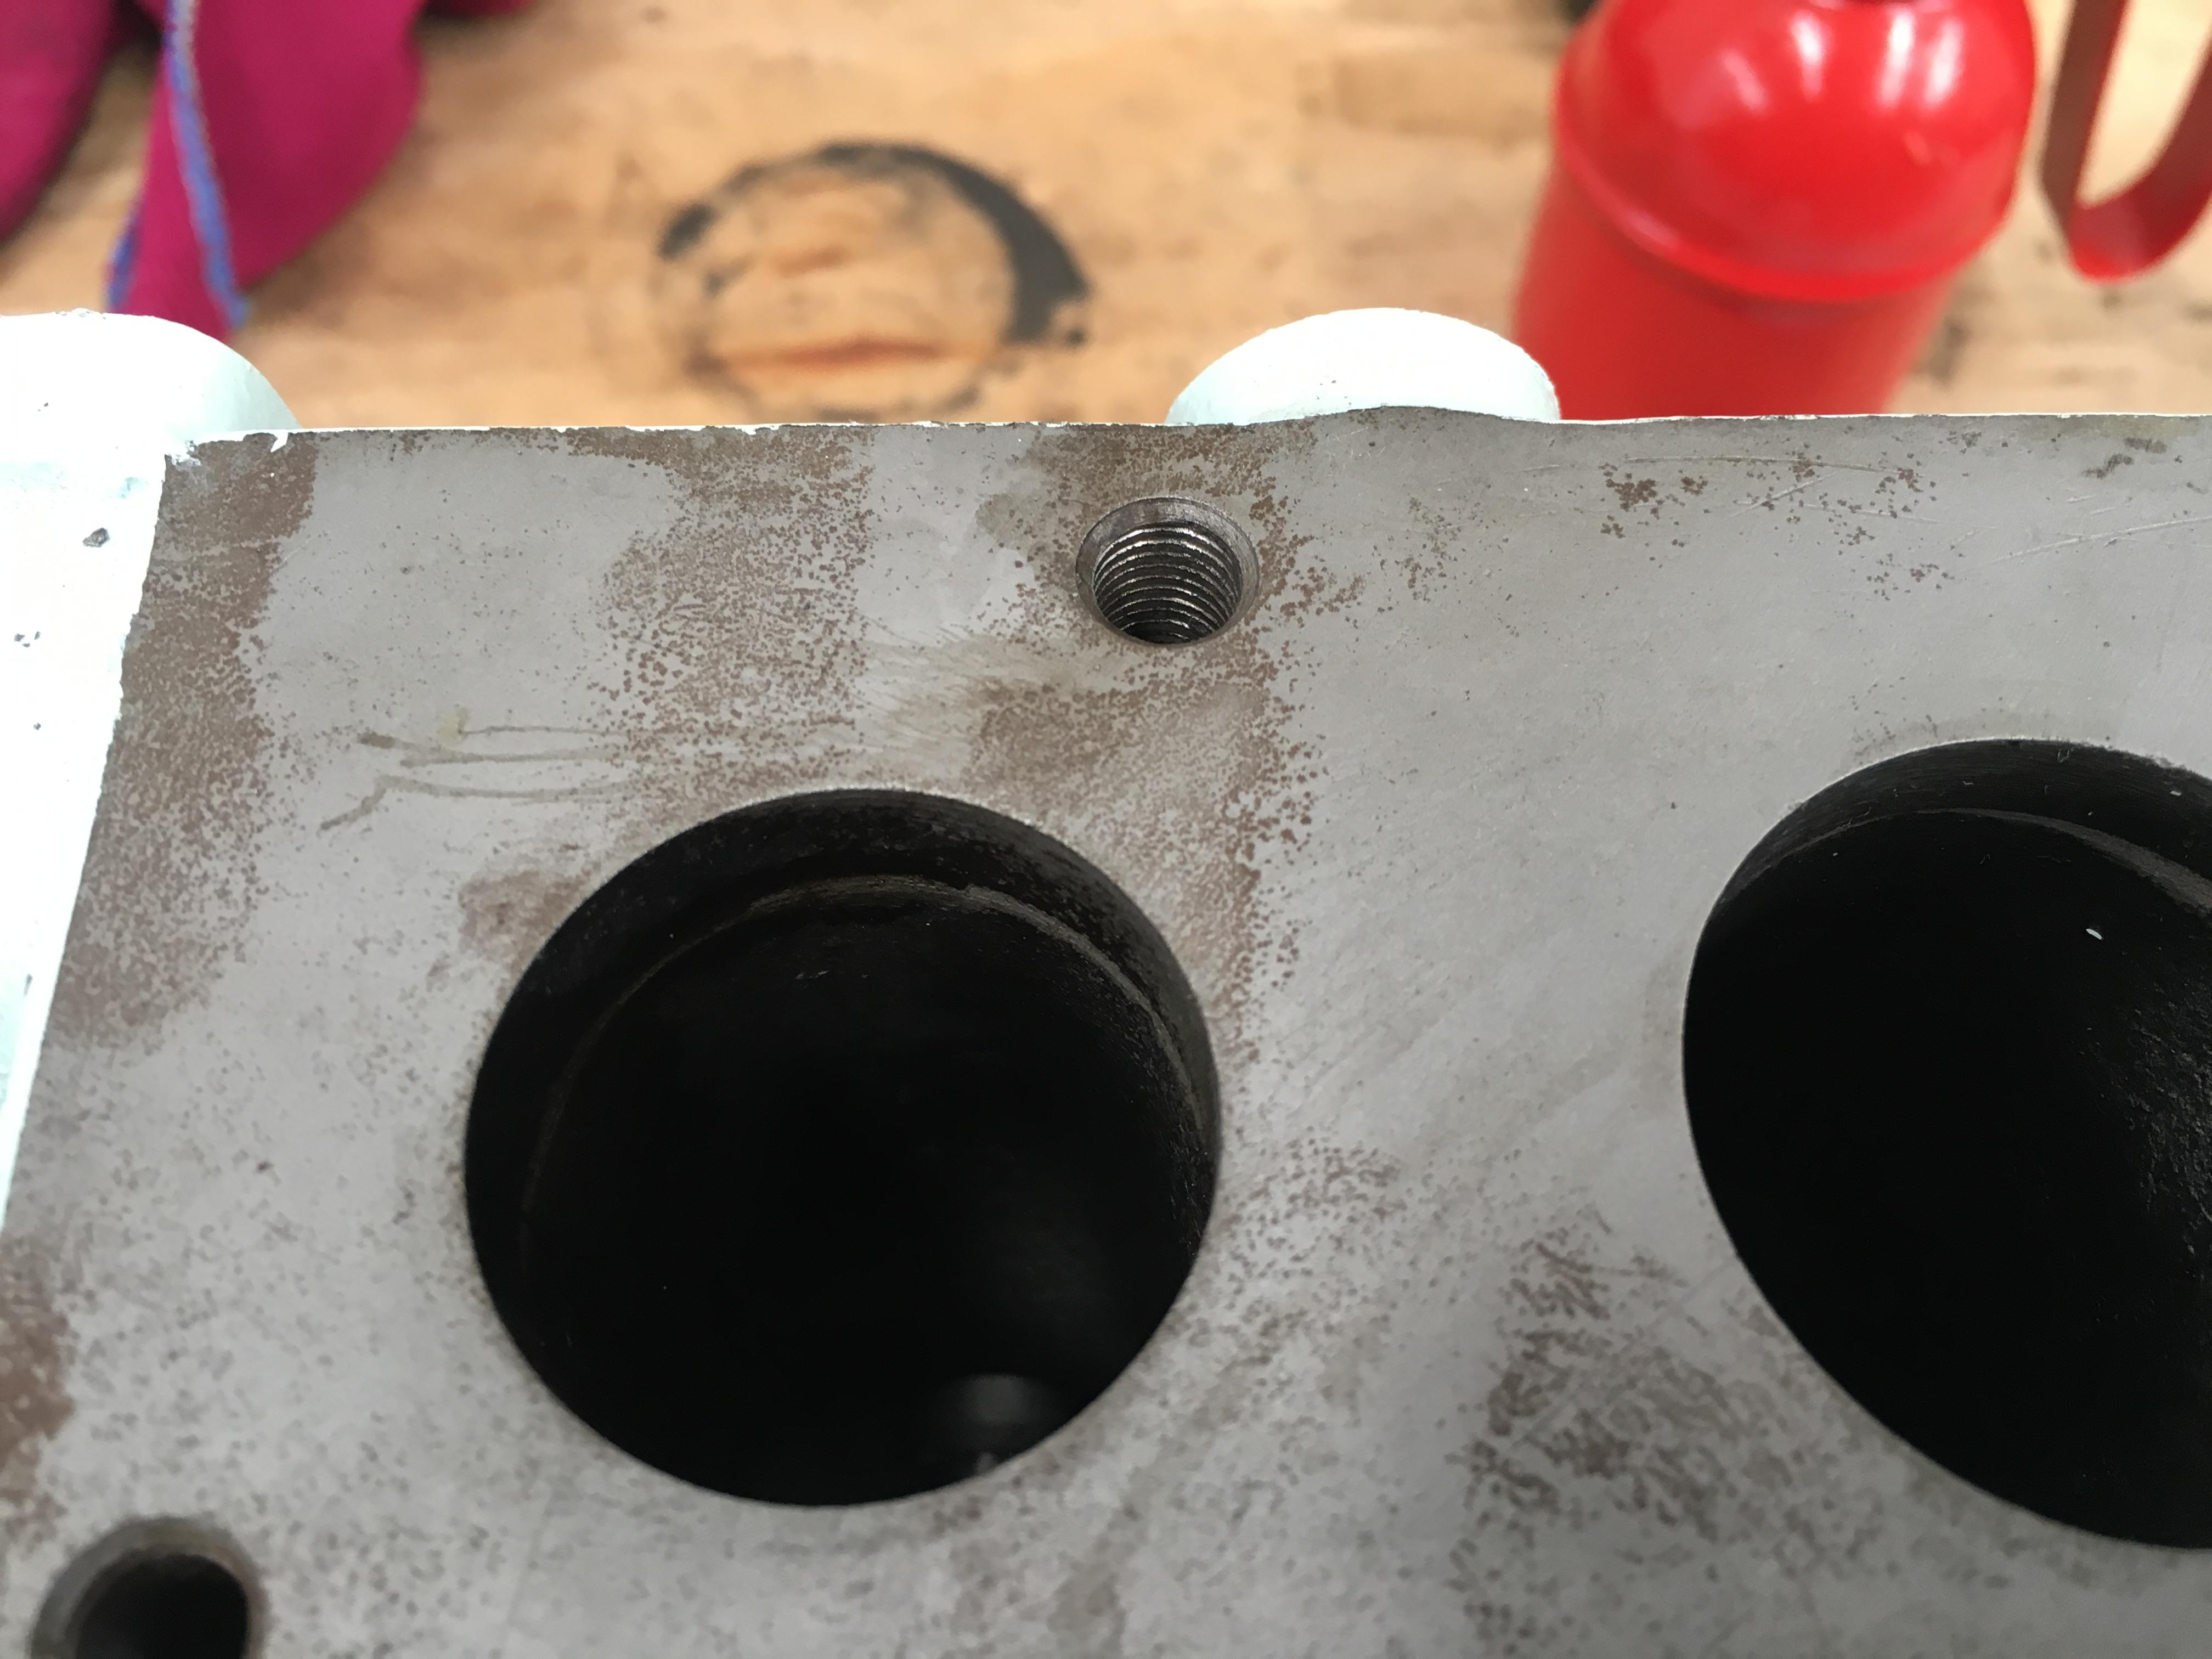
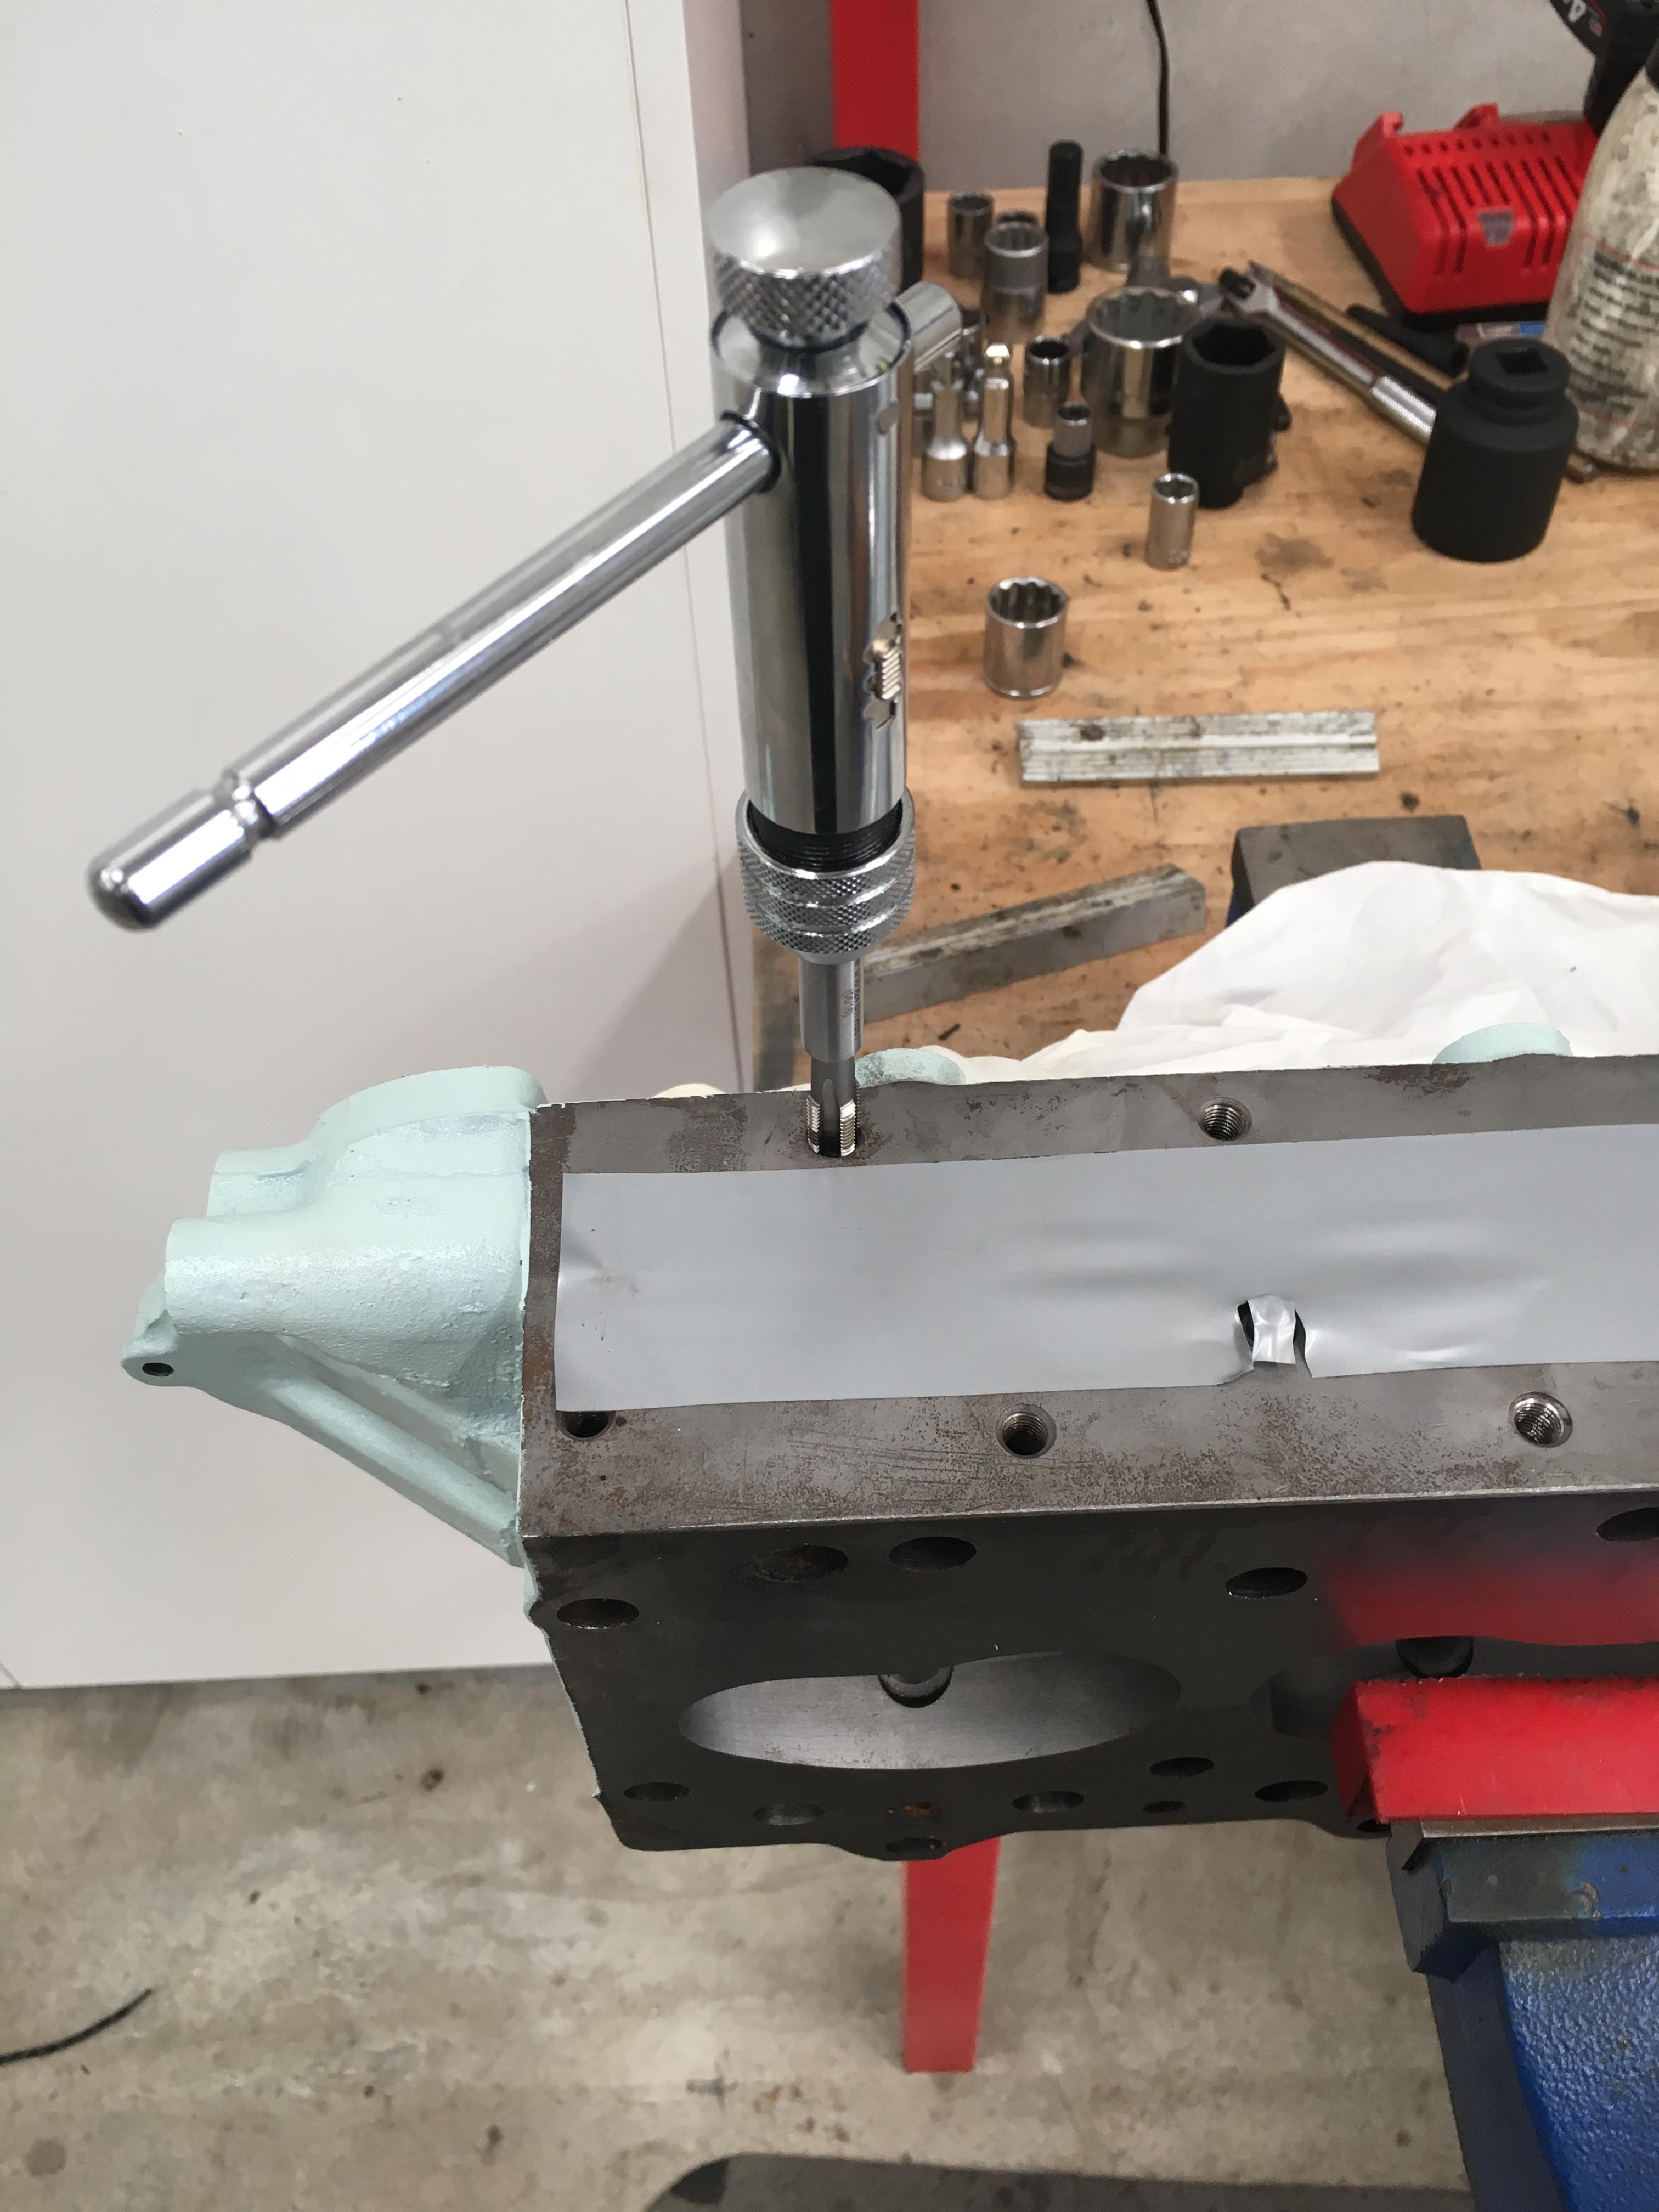
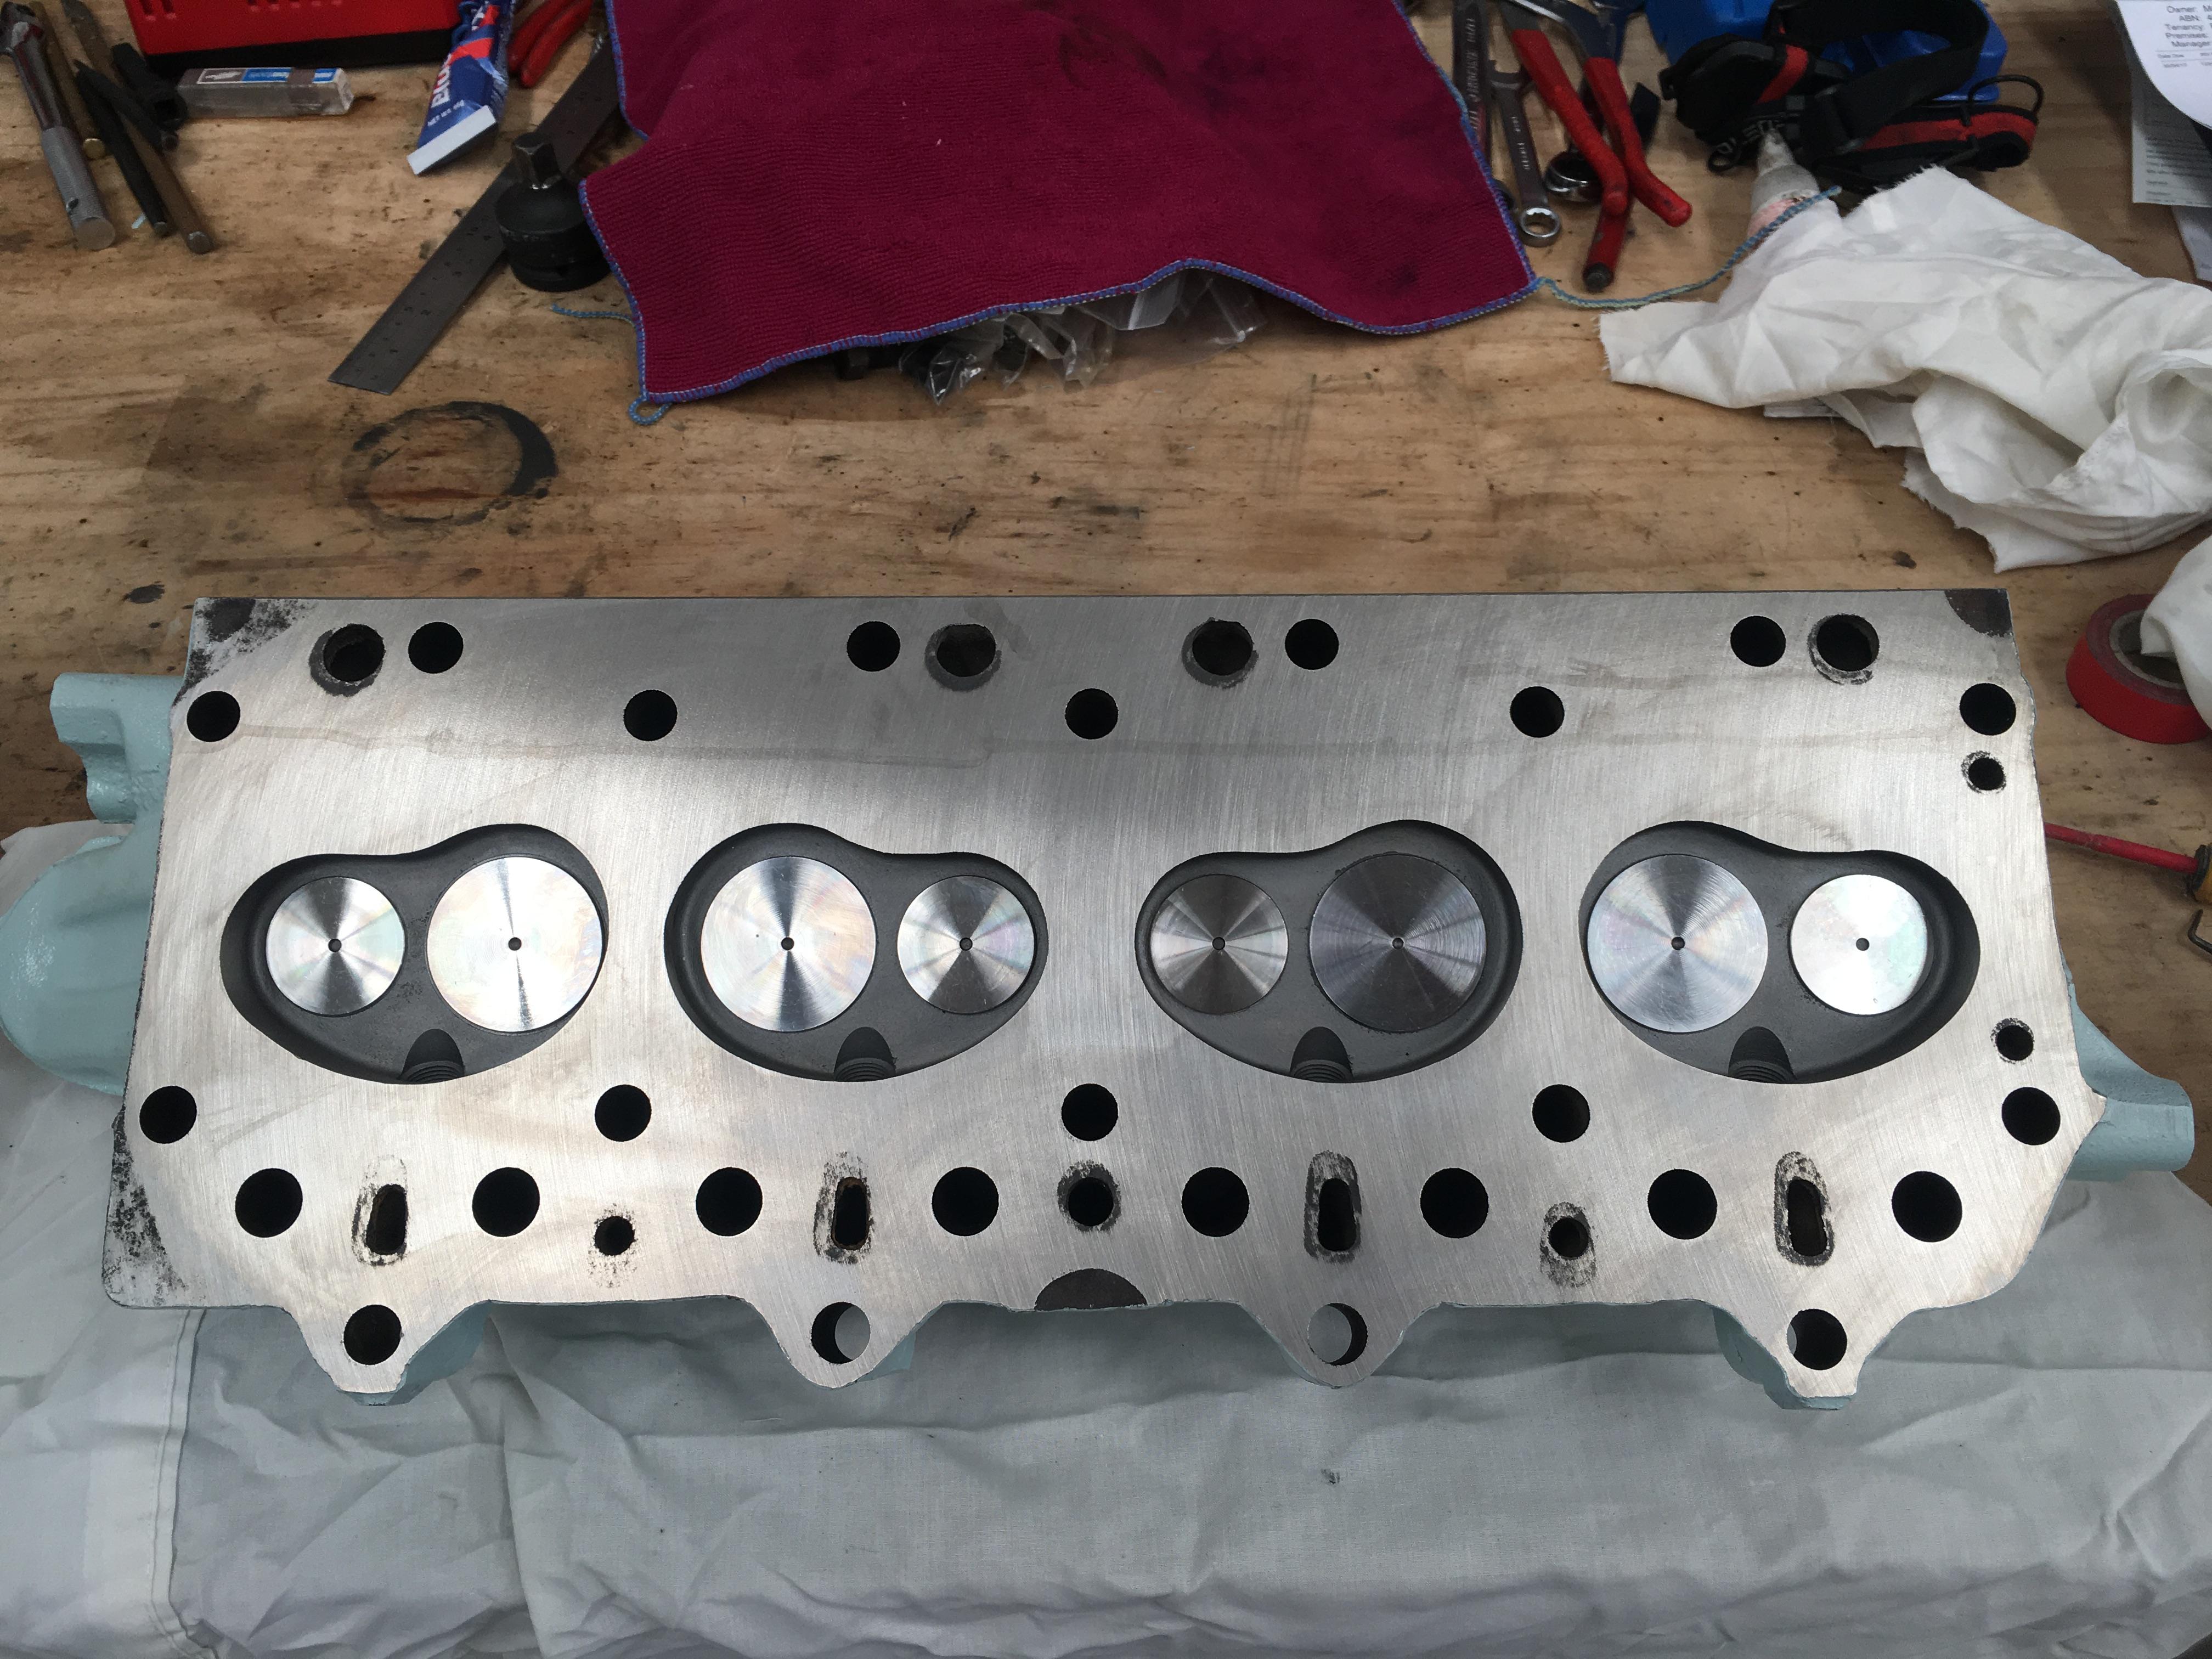
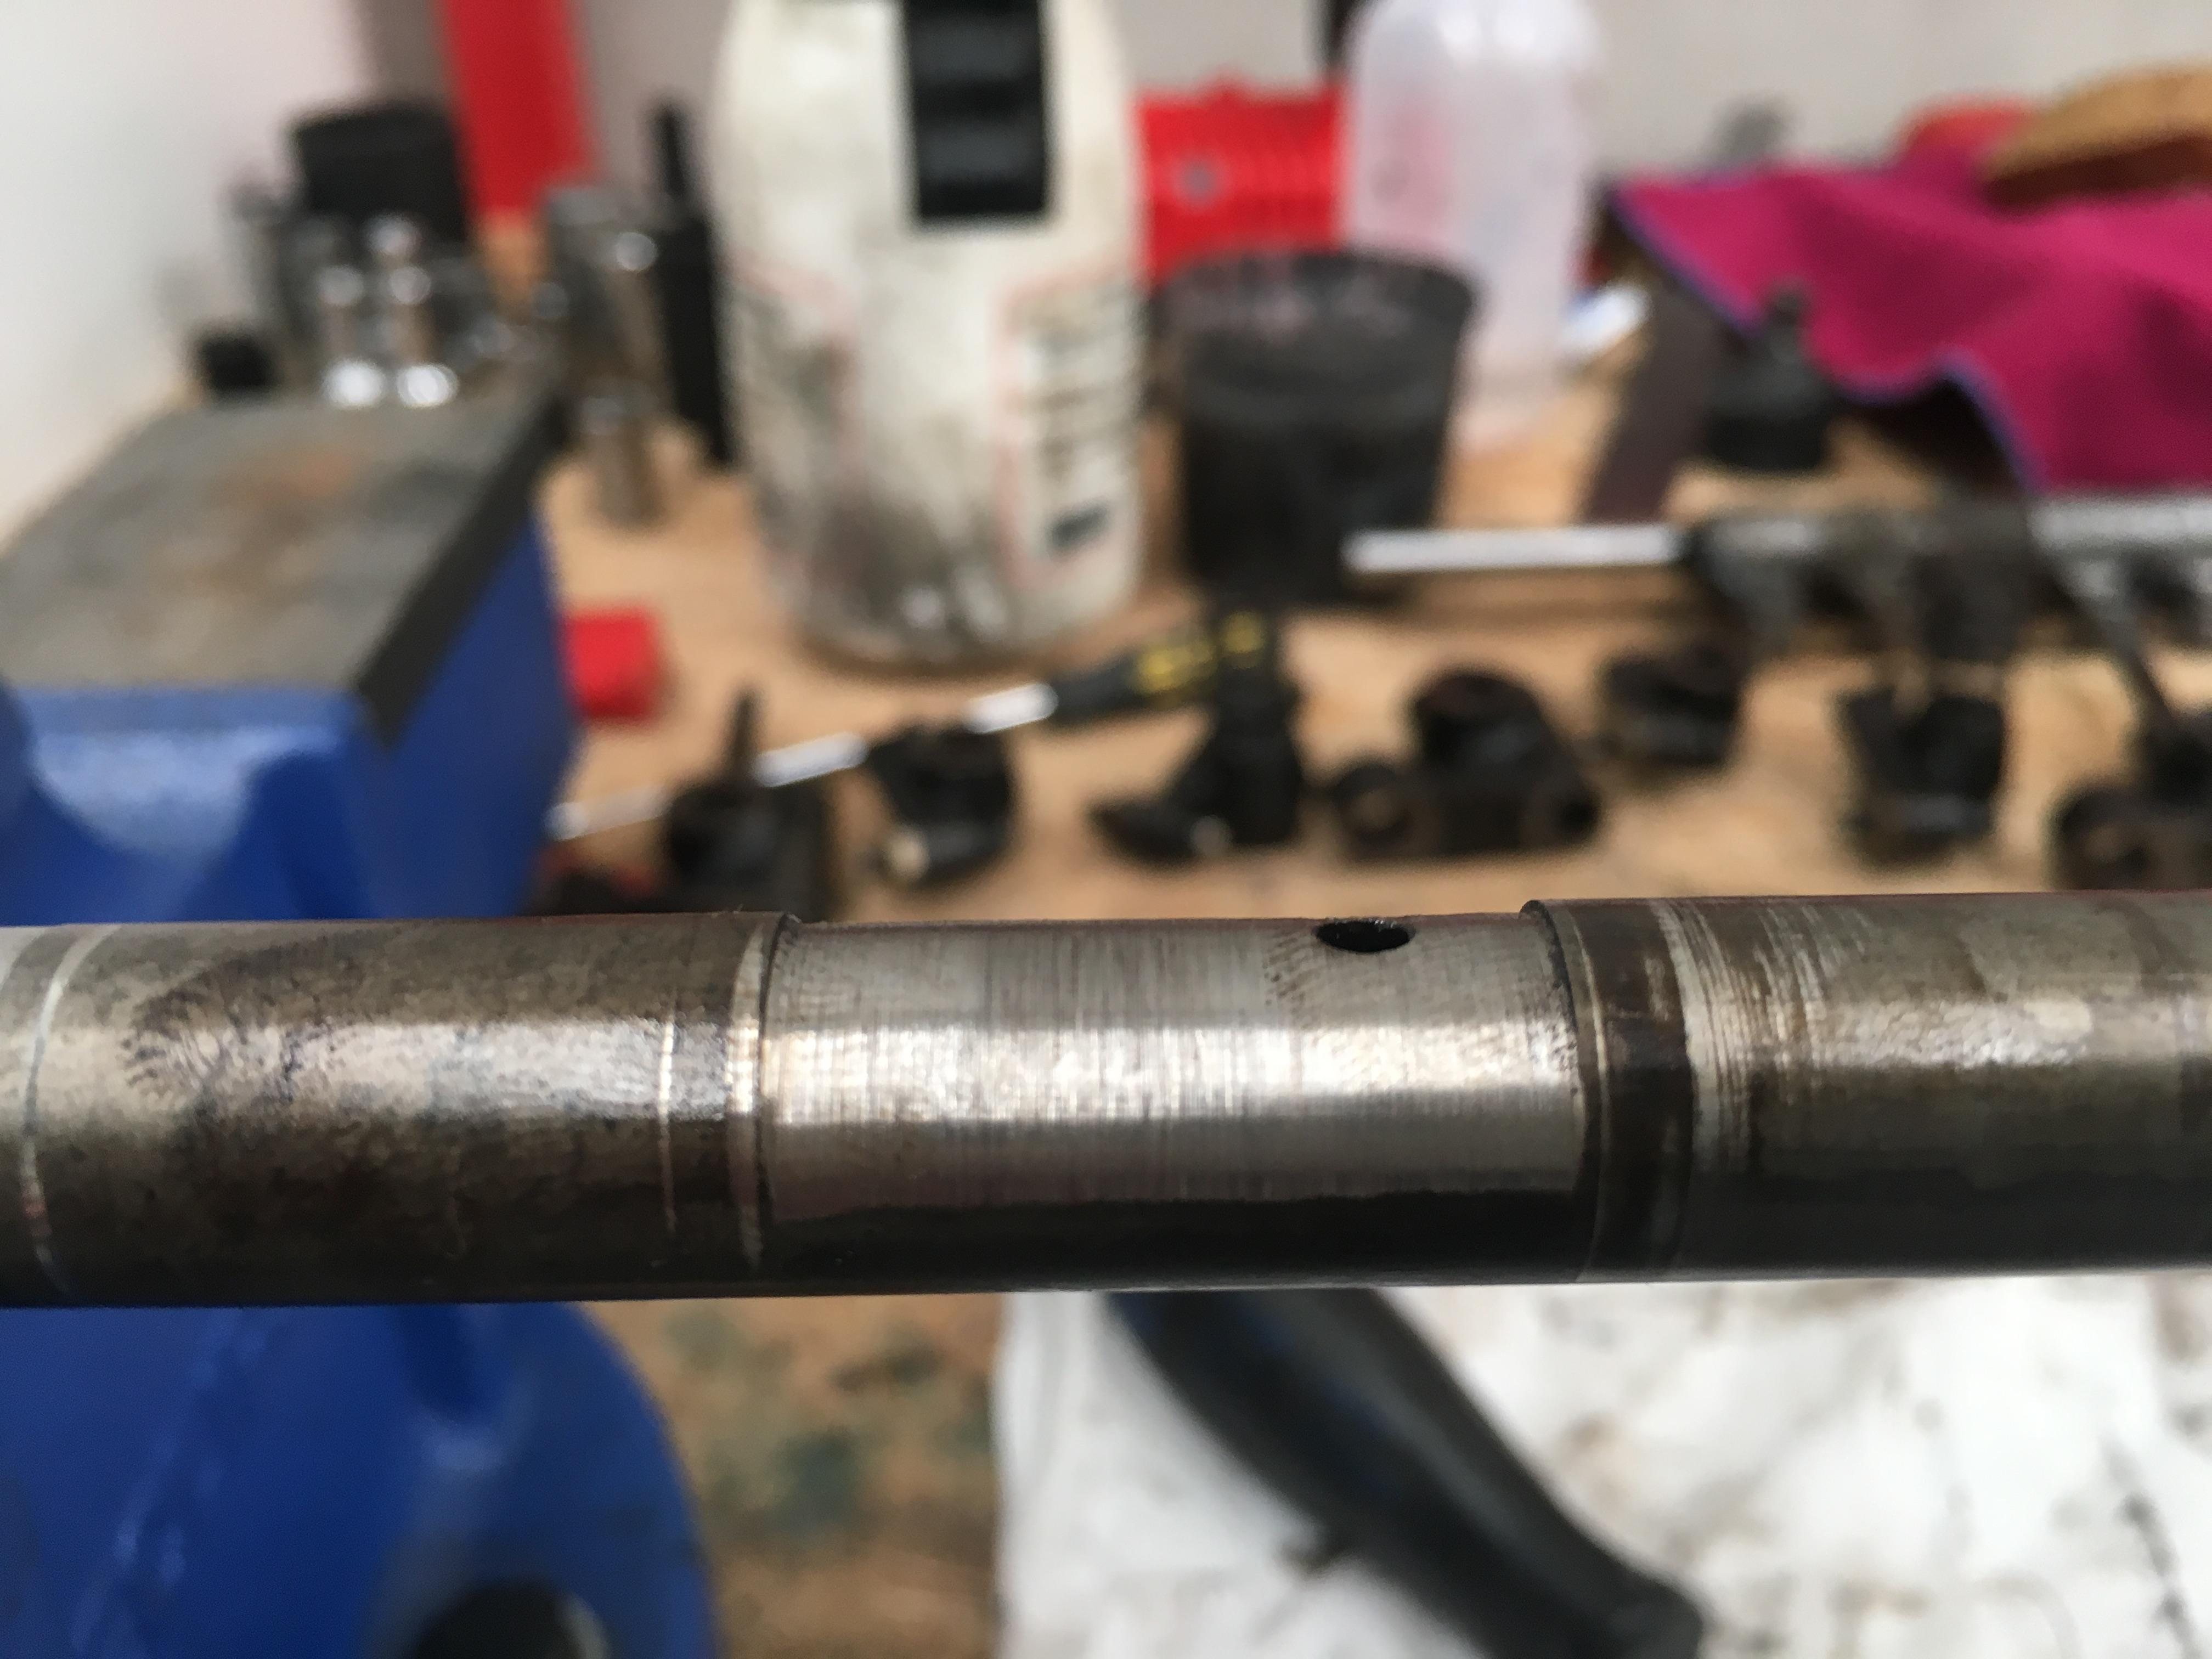
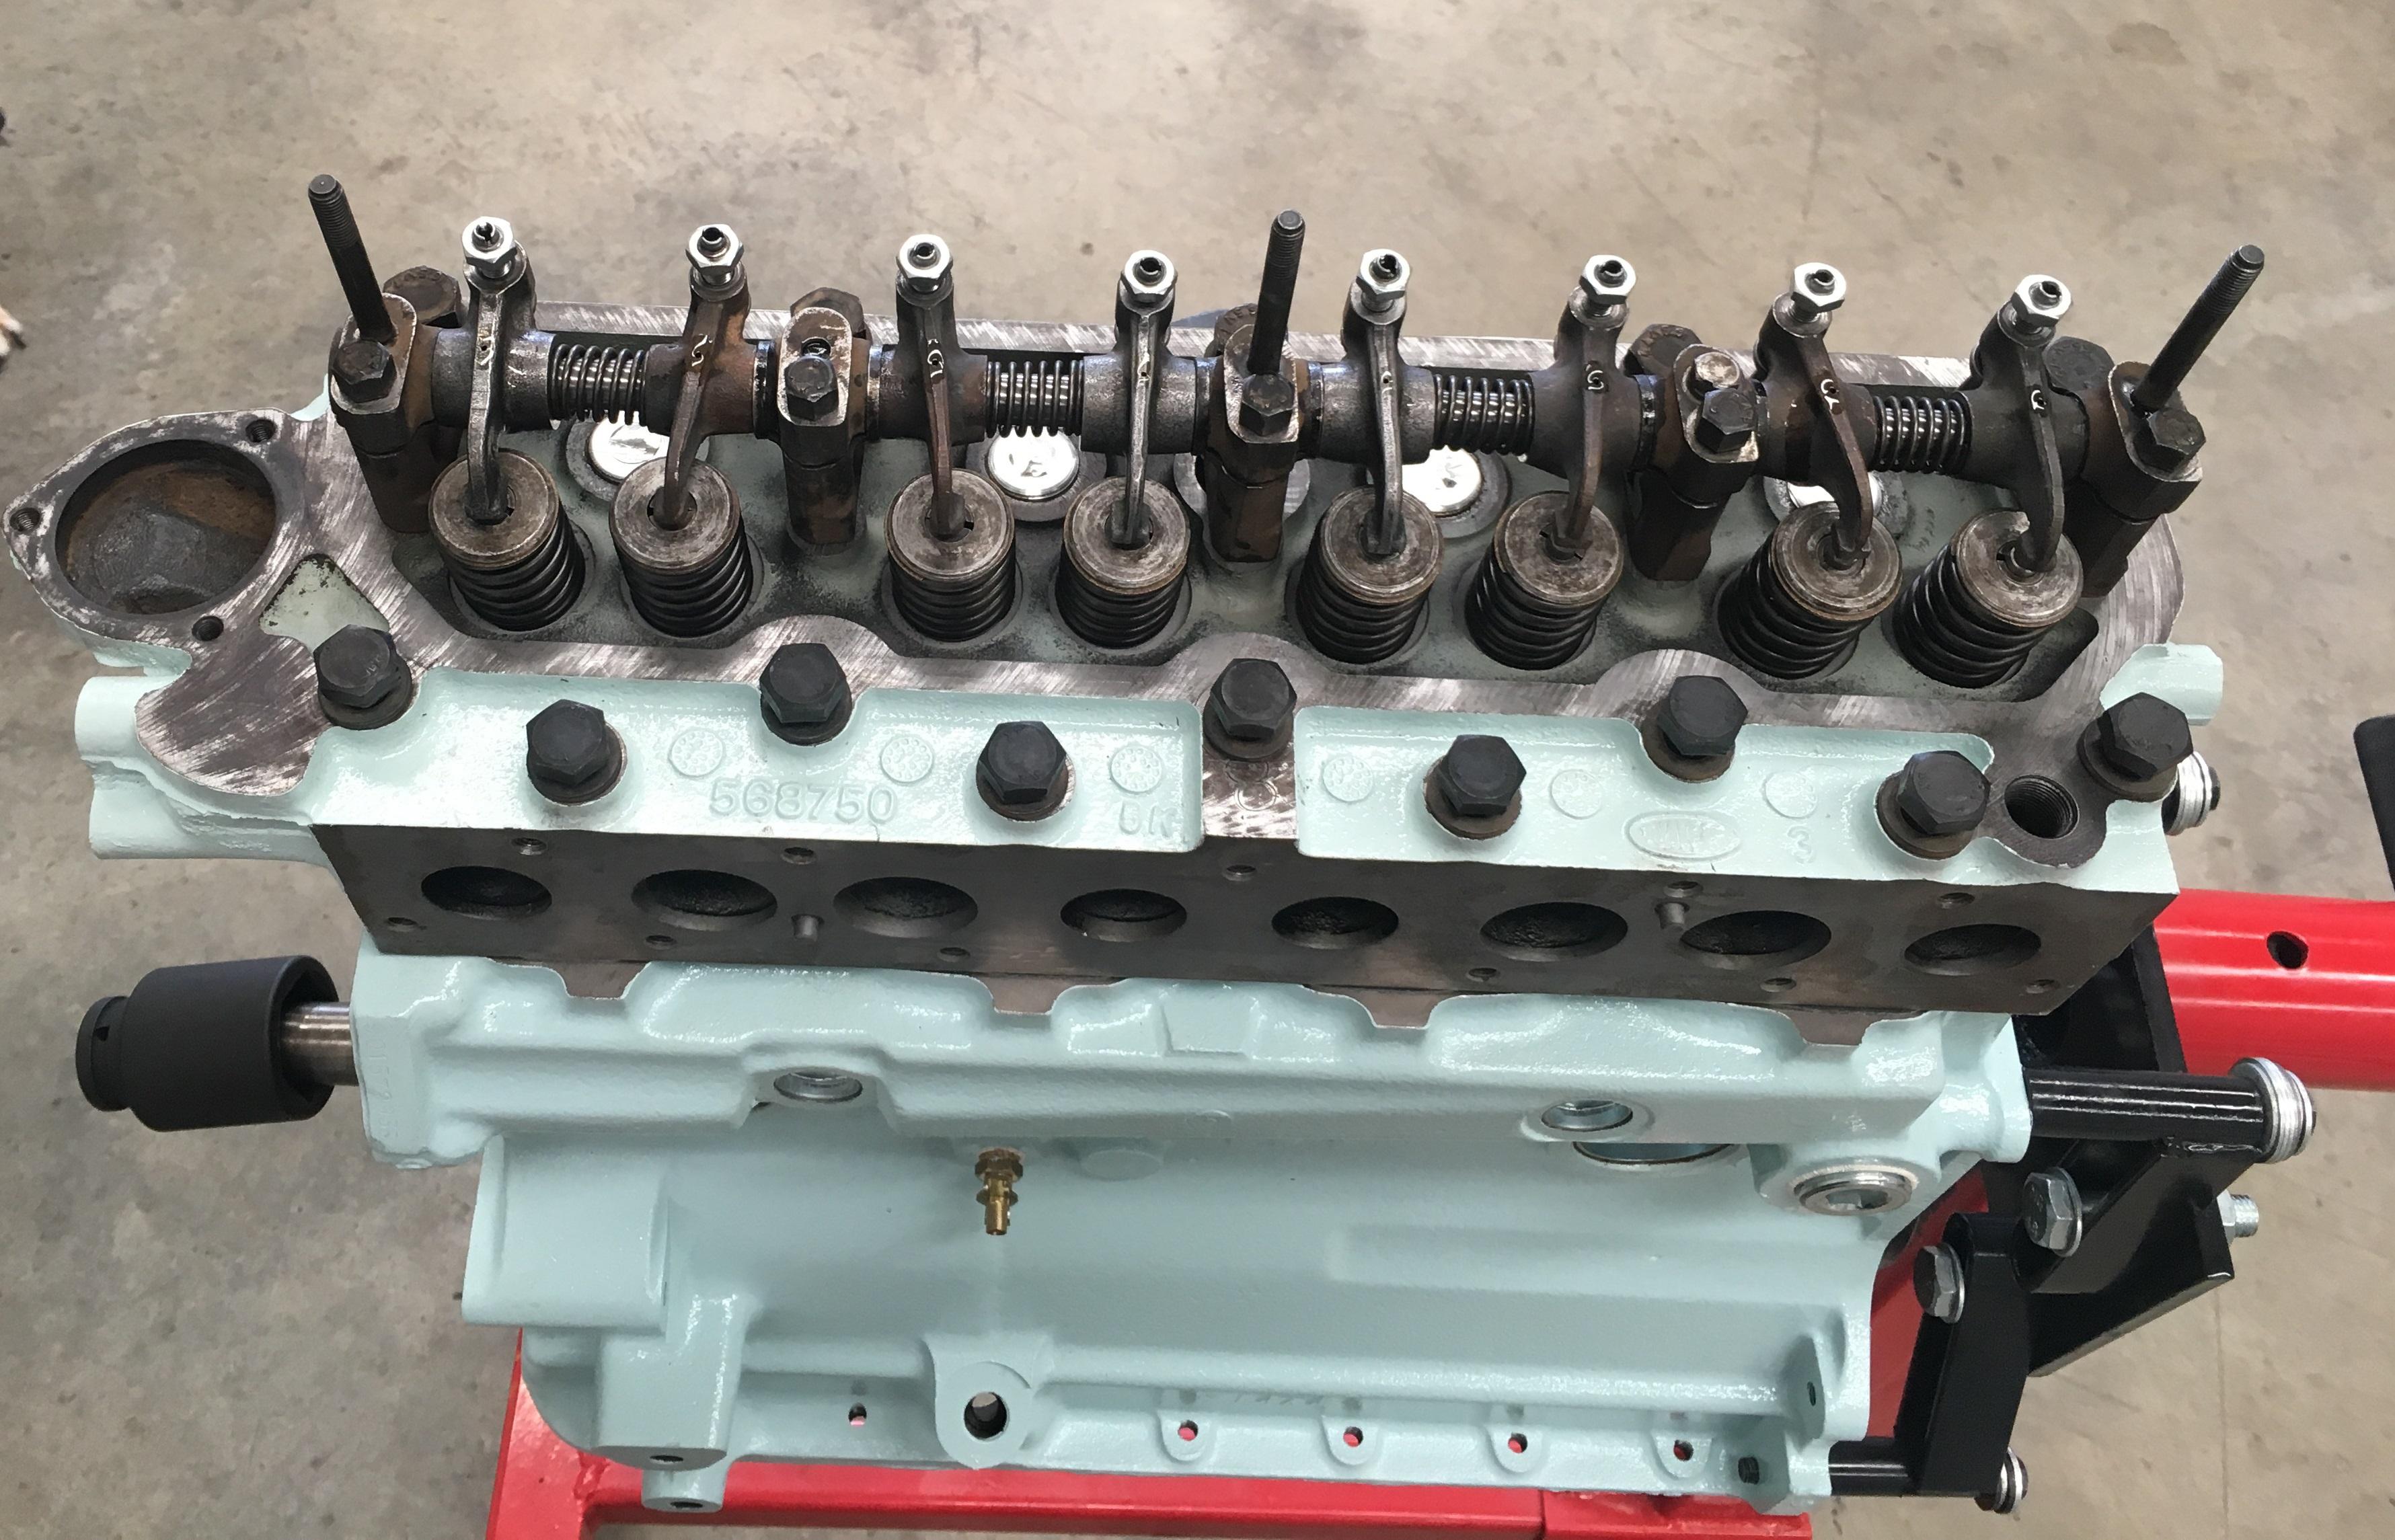
    All the threads in the head got chased with various sized taps, quite a time consuming job, but judging by the amount of rubbish it removes, well worth it.


    The top left manifold thread has been stripped at some stage, so that will need to be "helicoiled". This is a bugger because I was hoping to fit the head today, but I don't want to do this around the rest of the engine while it is being built. Last thing I need is some stray metal getting inside!


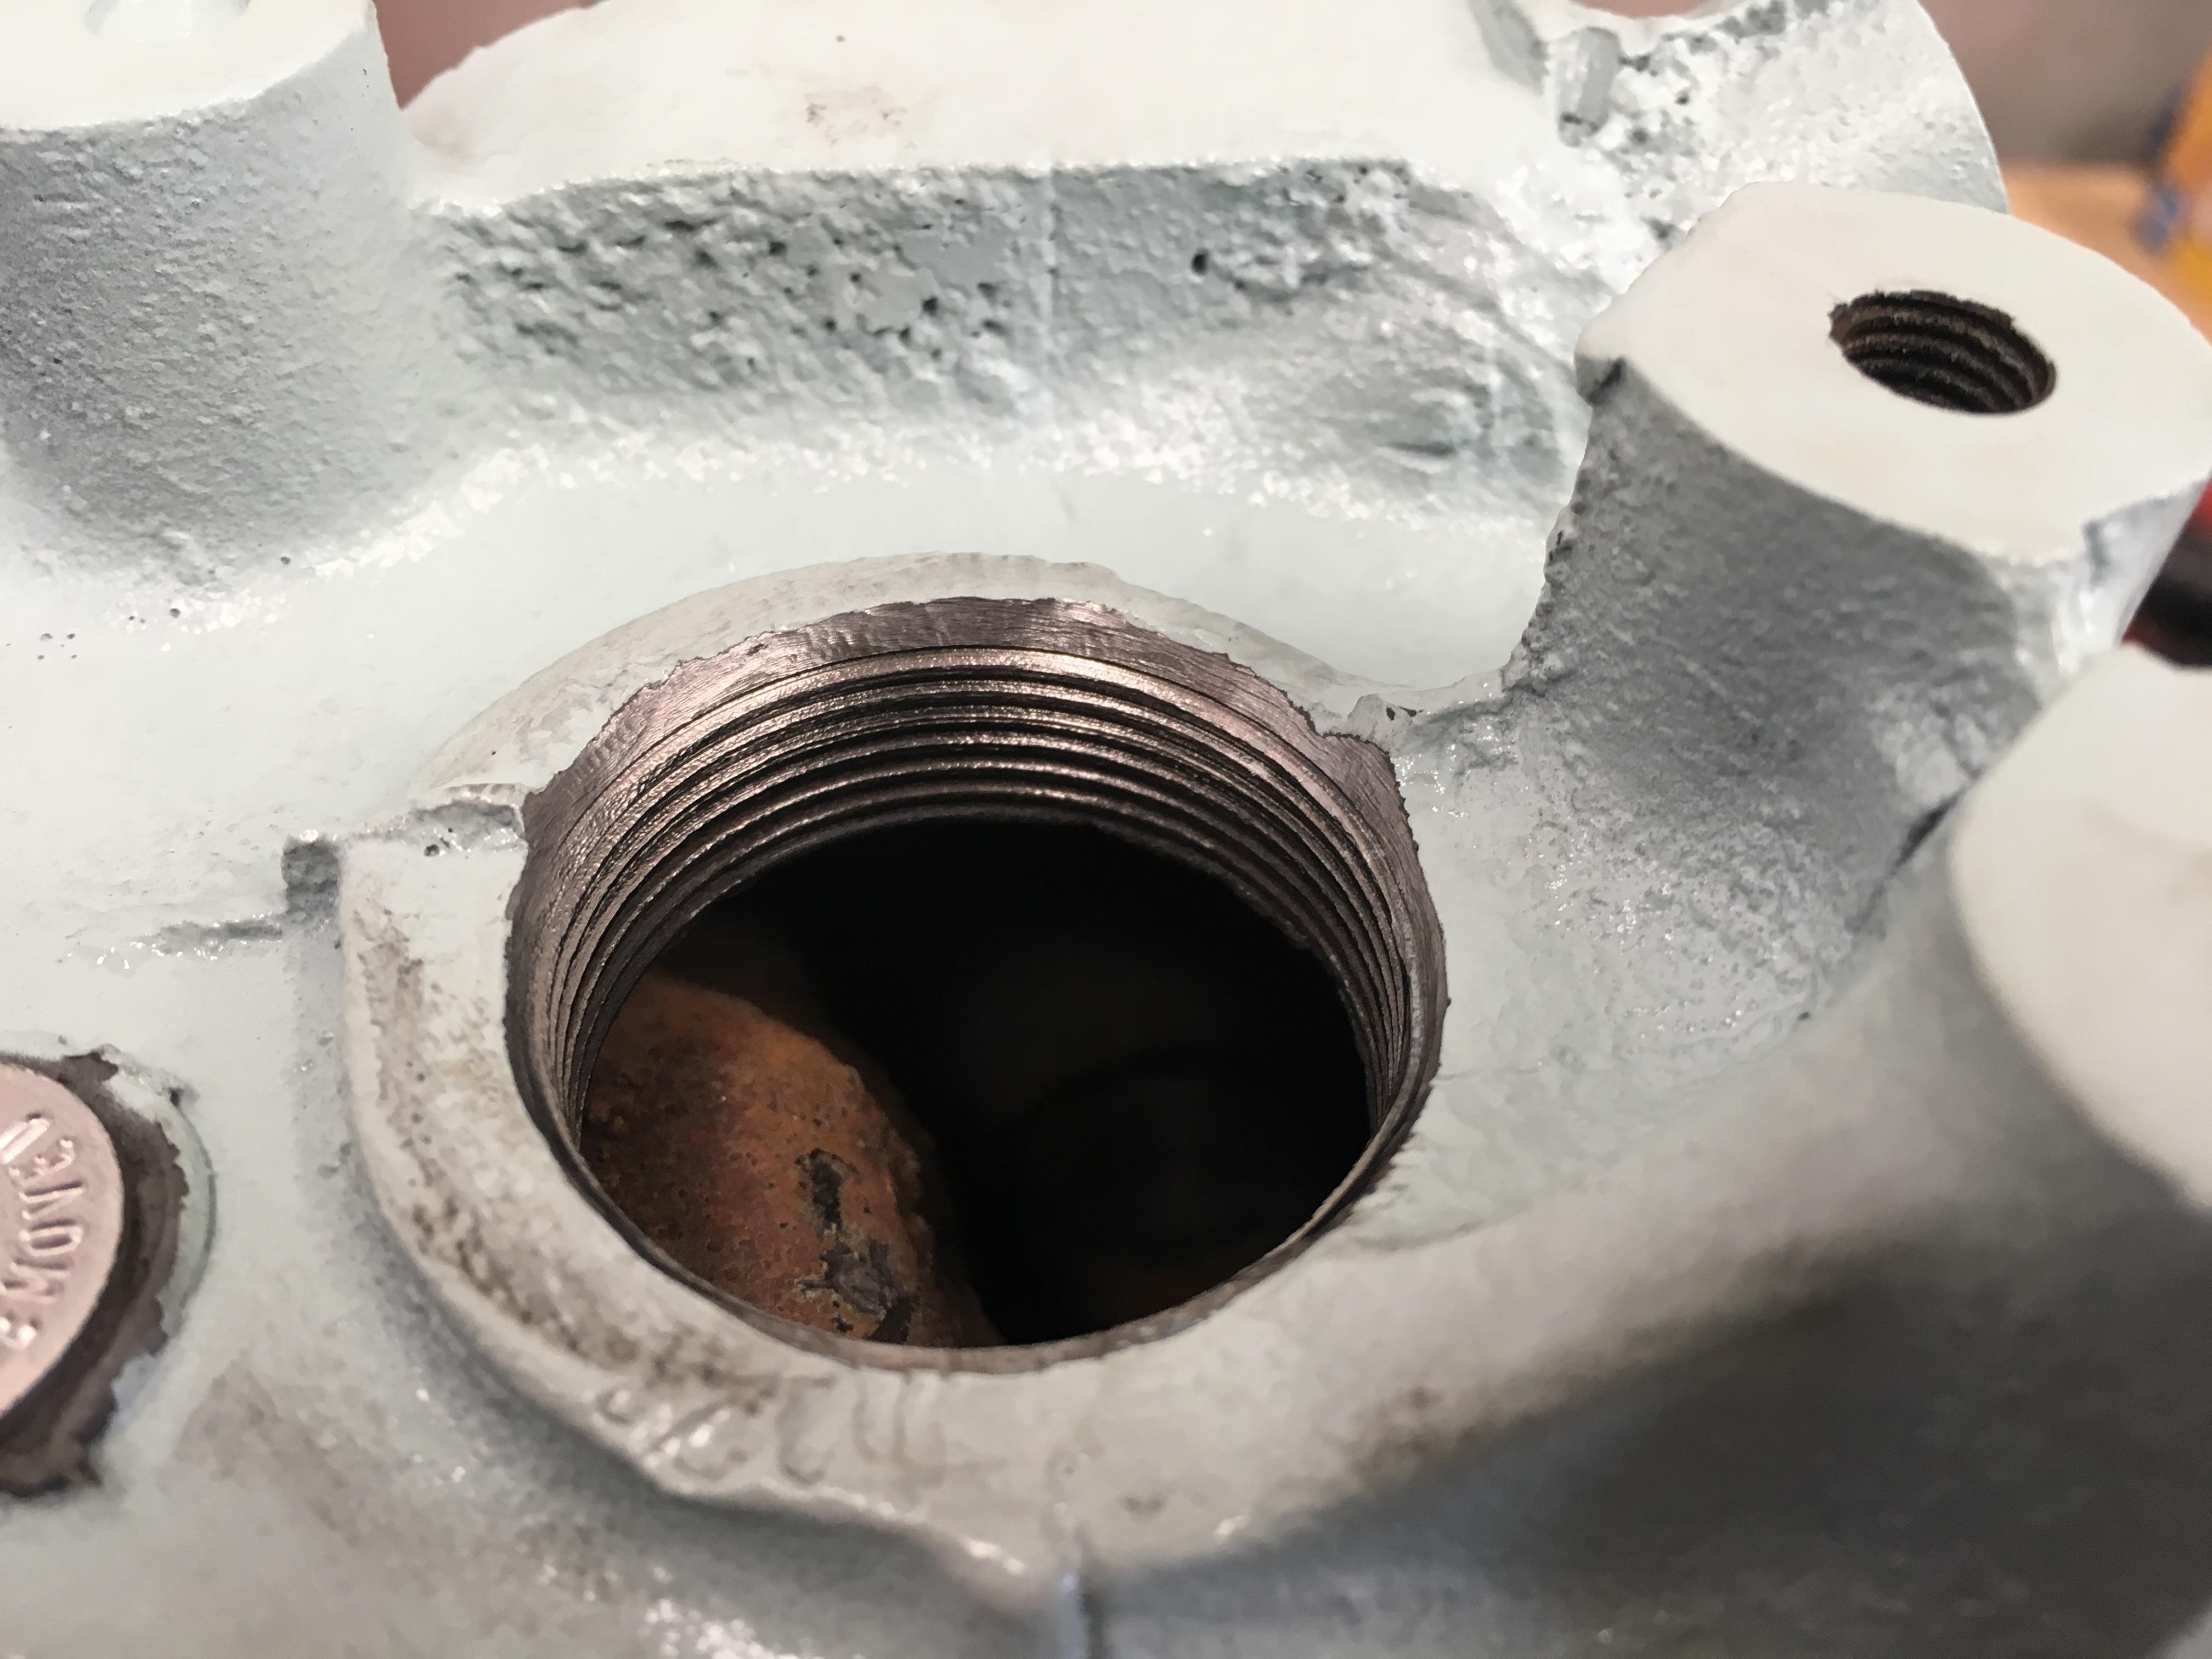
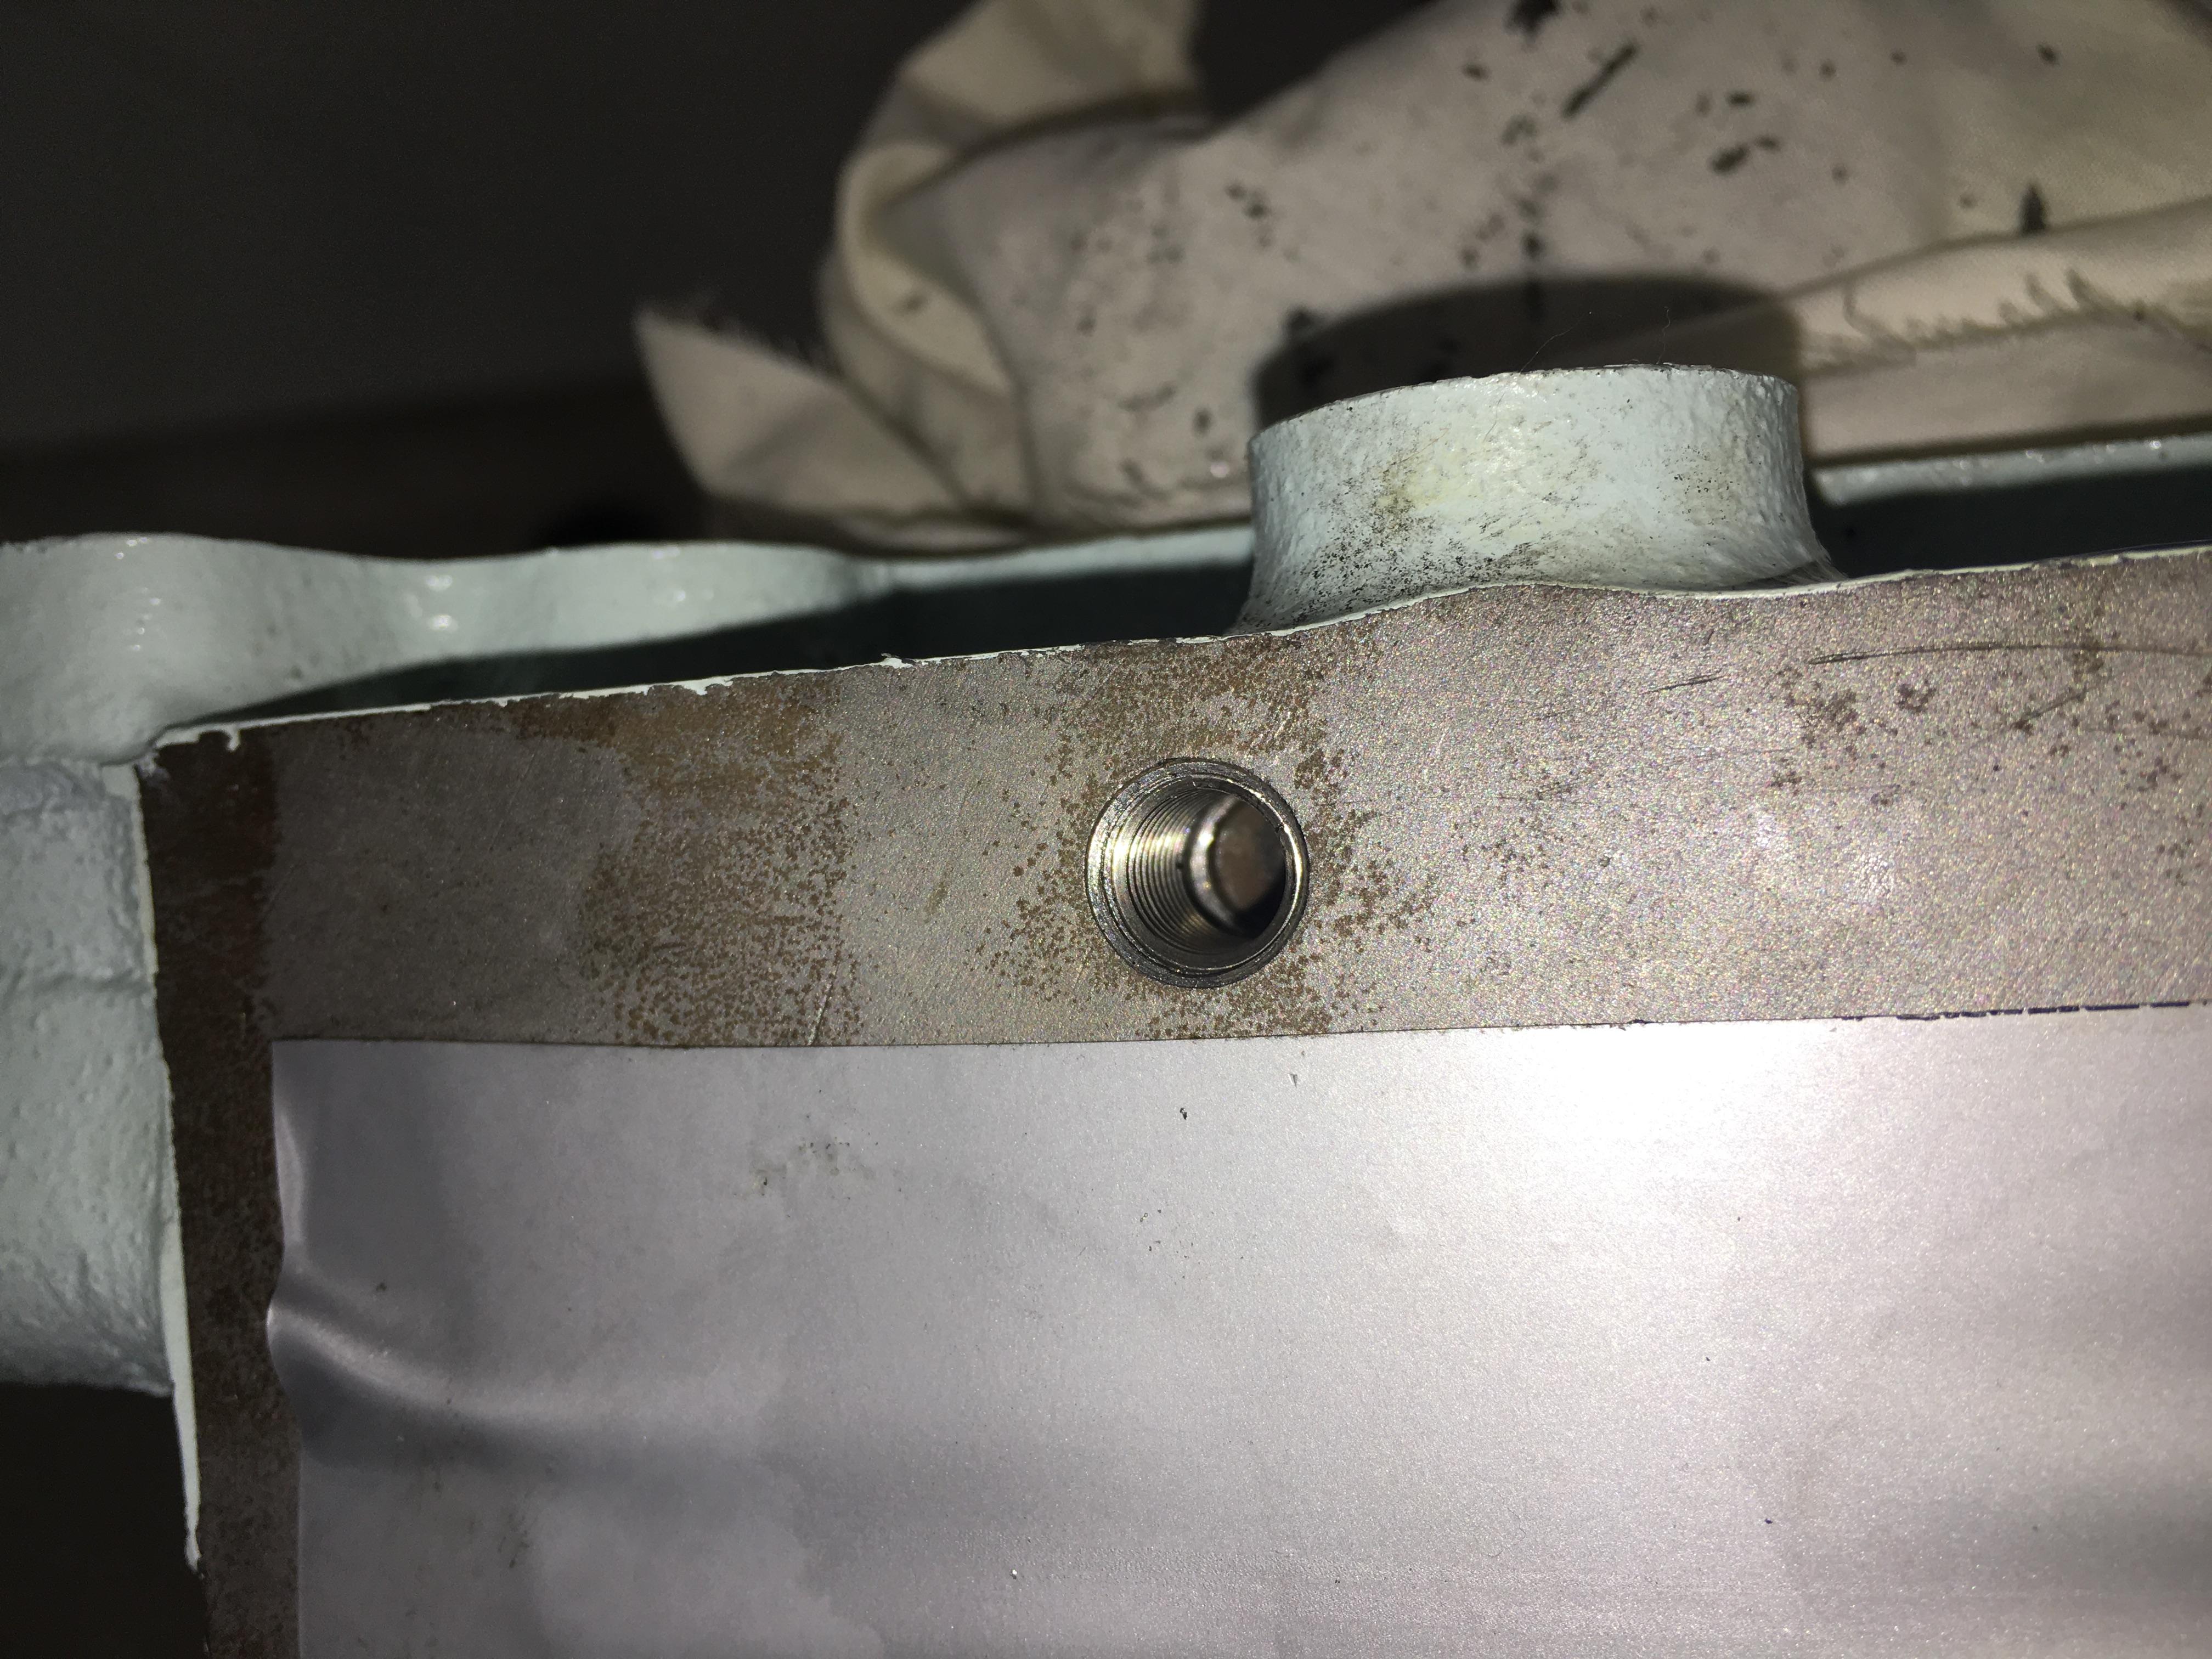
    Another job that needed doing on the head was fitting the screw in core plug. The first thread had been peened over at some stage making it impossible to thread the new plug in. So some very careful die grinding was in order to tidy up the first thread.
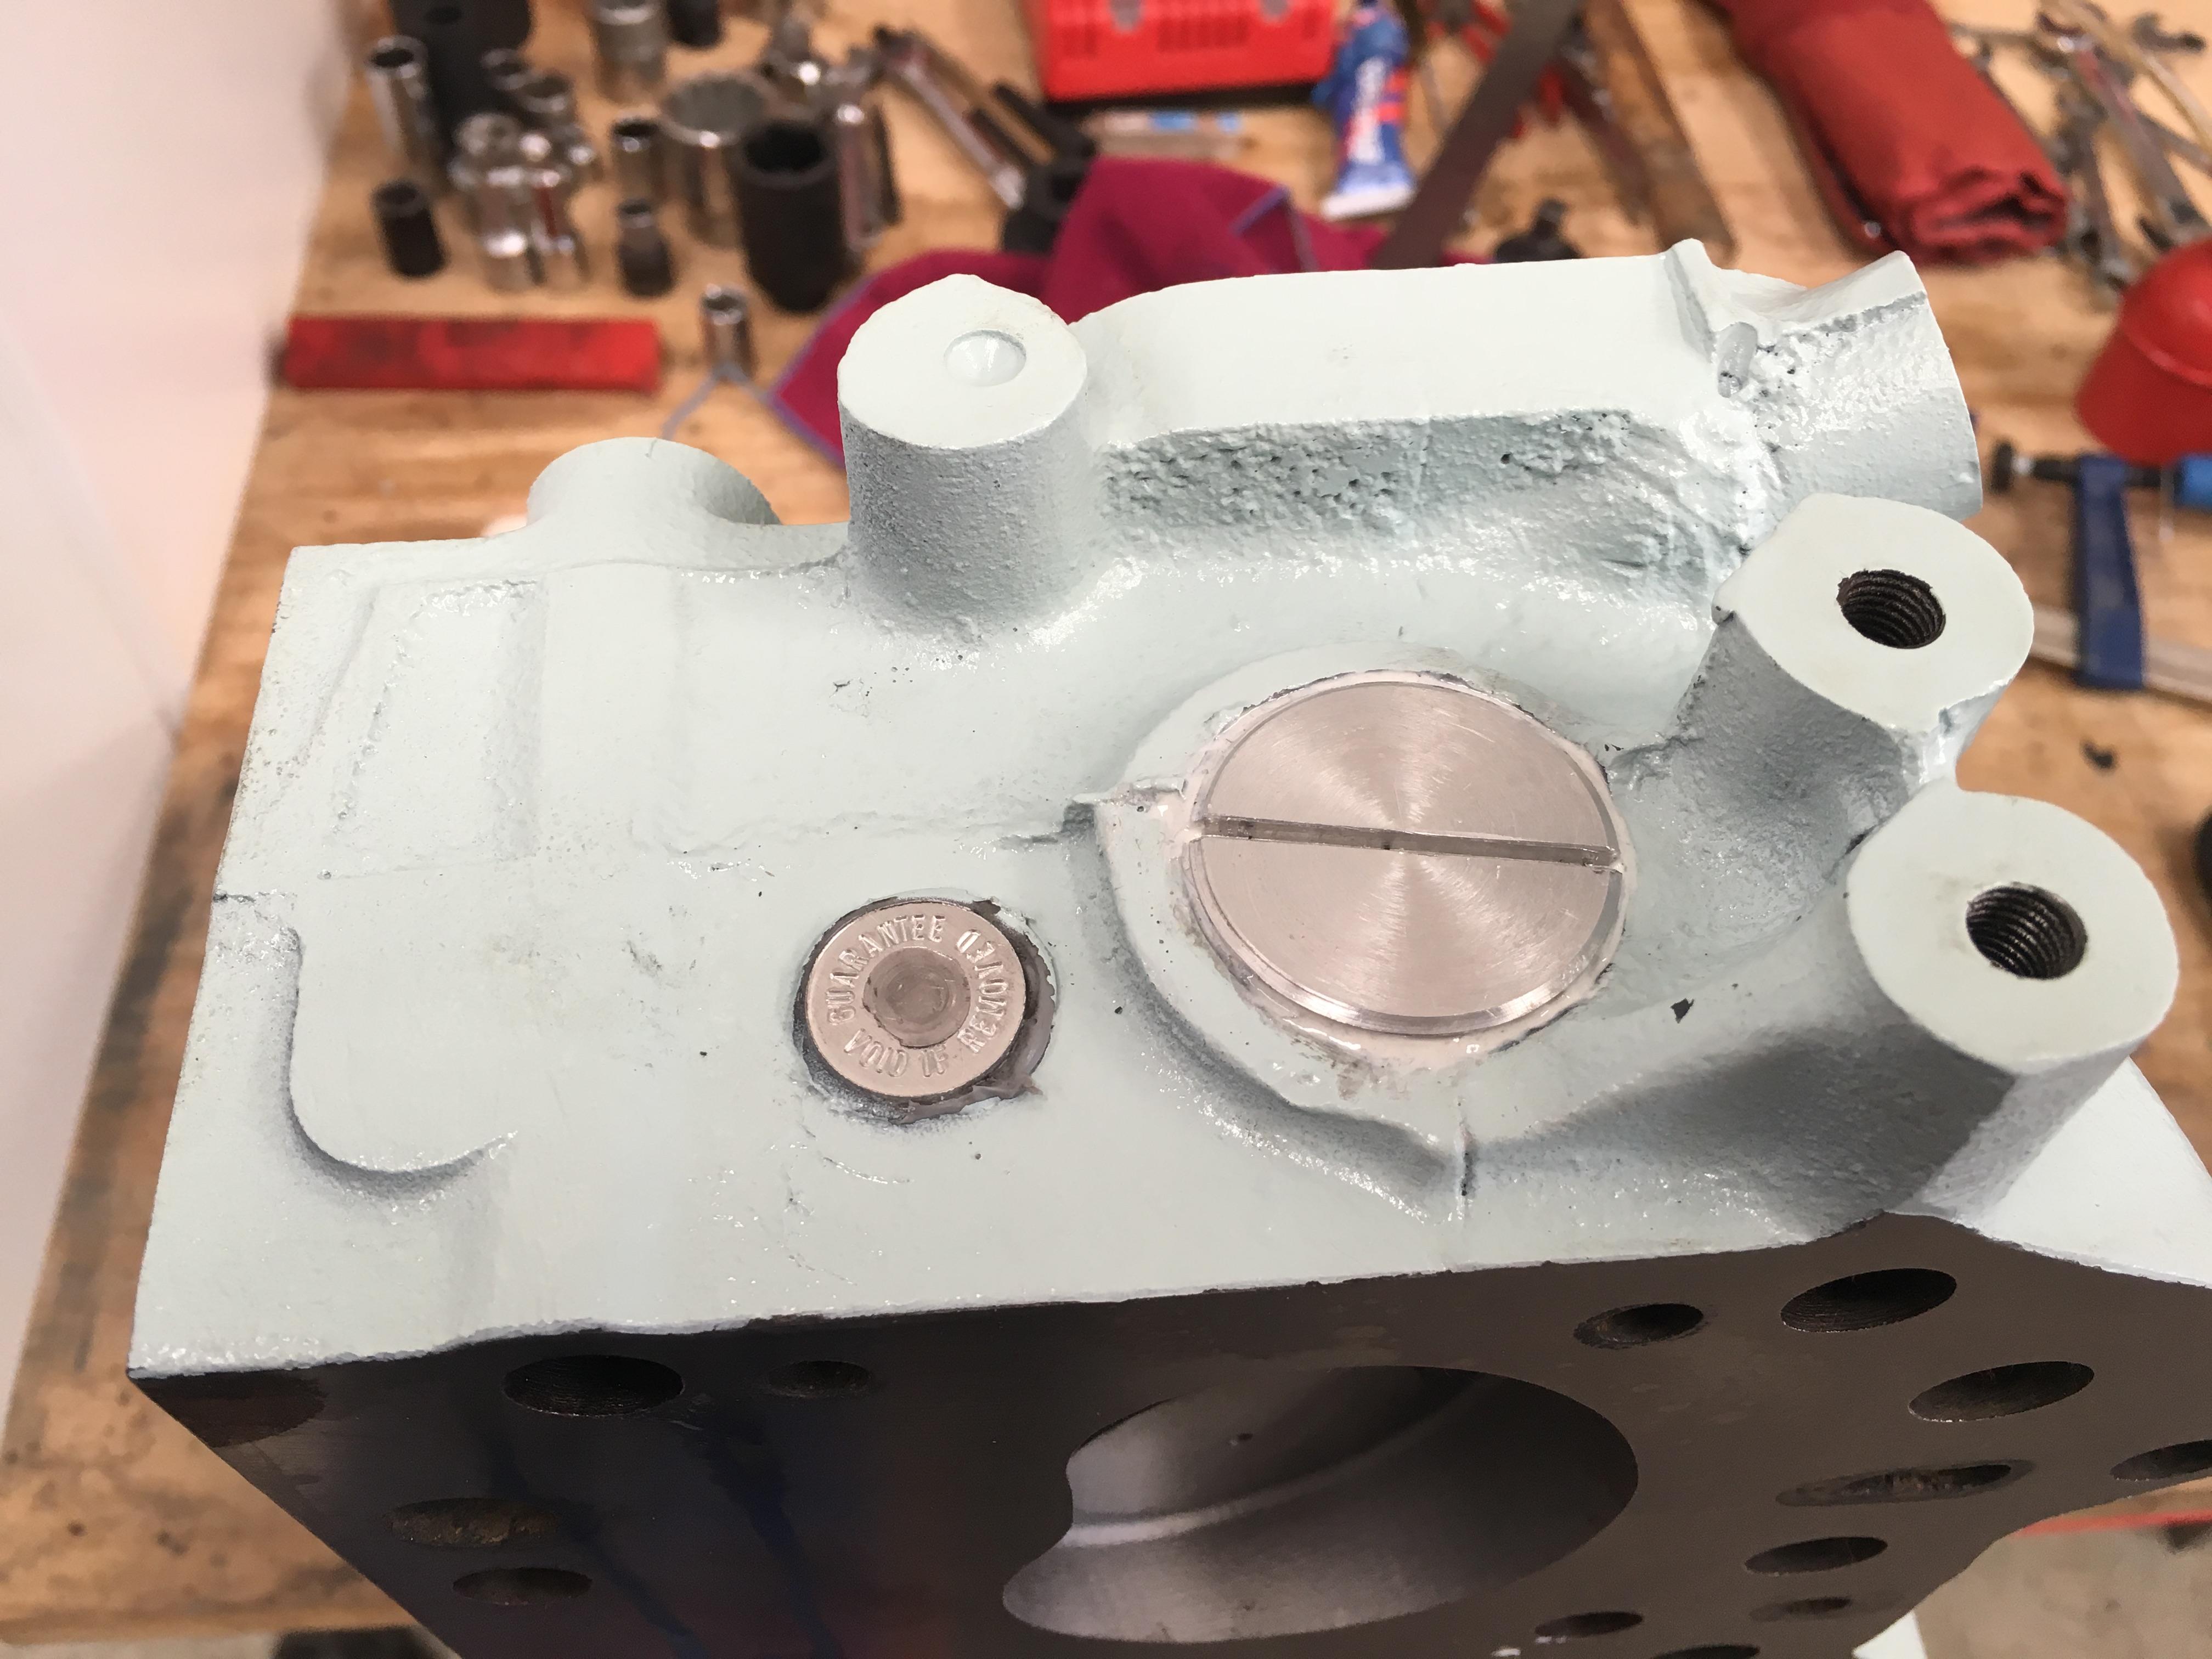


    And, core plug in :


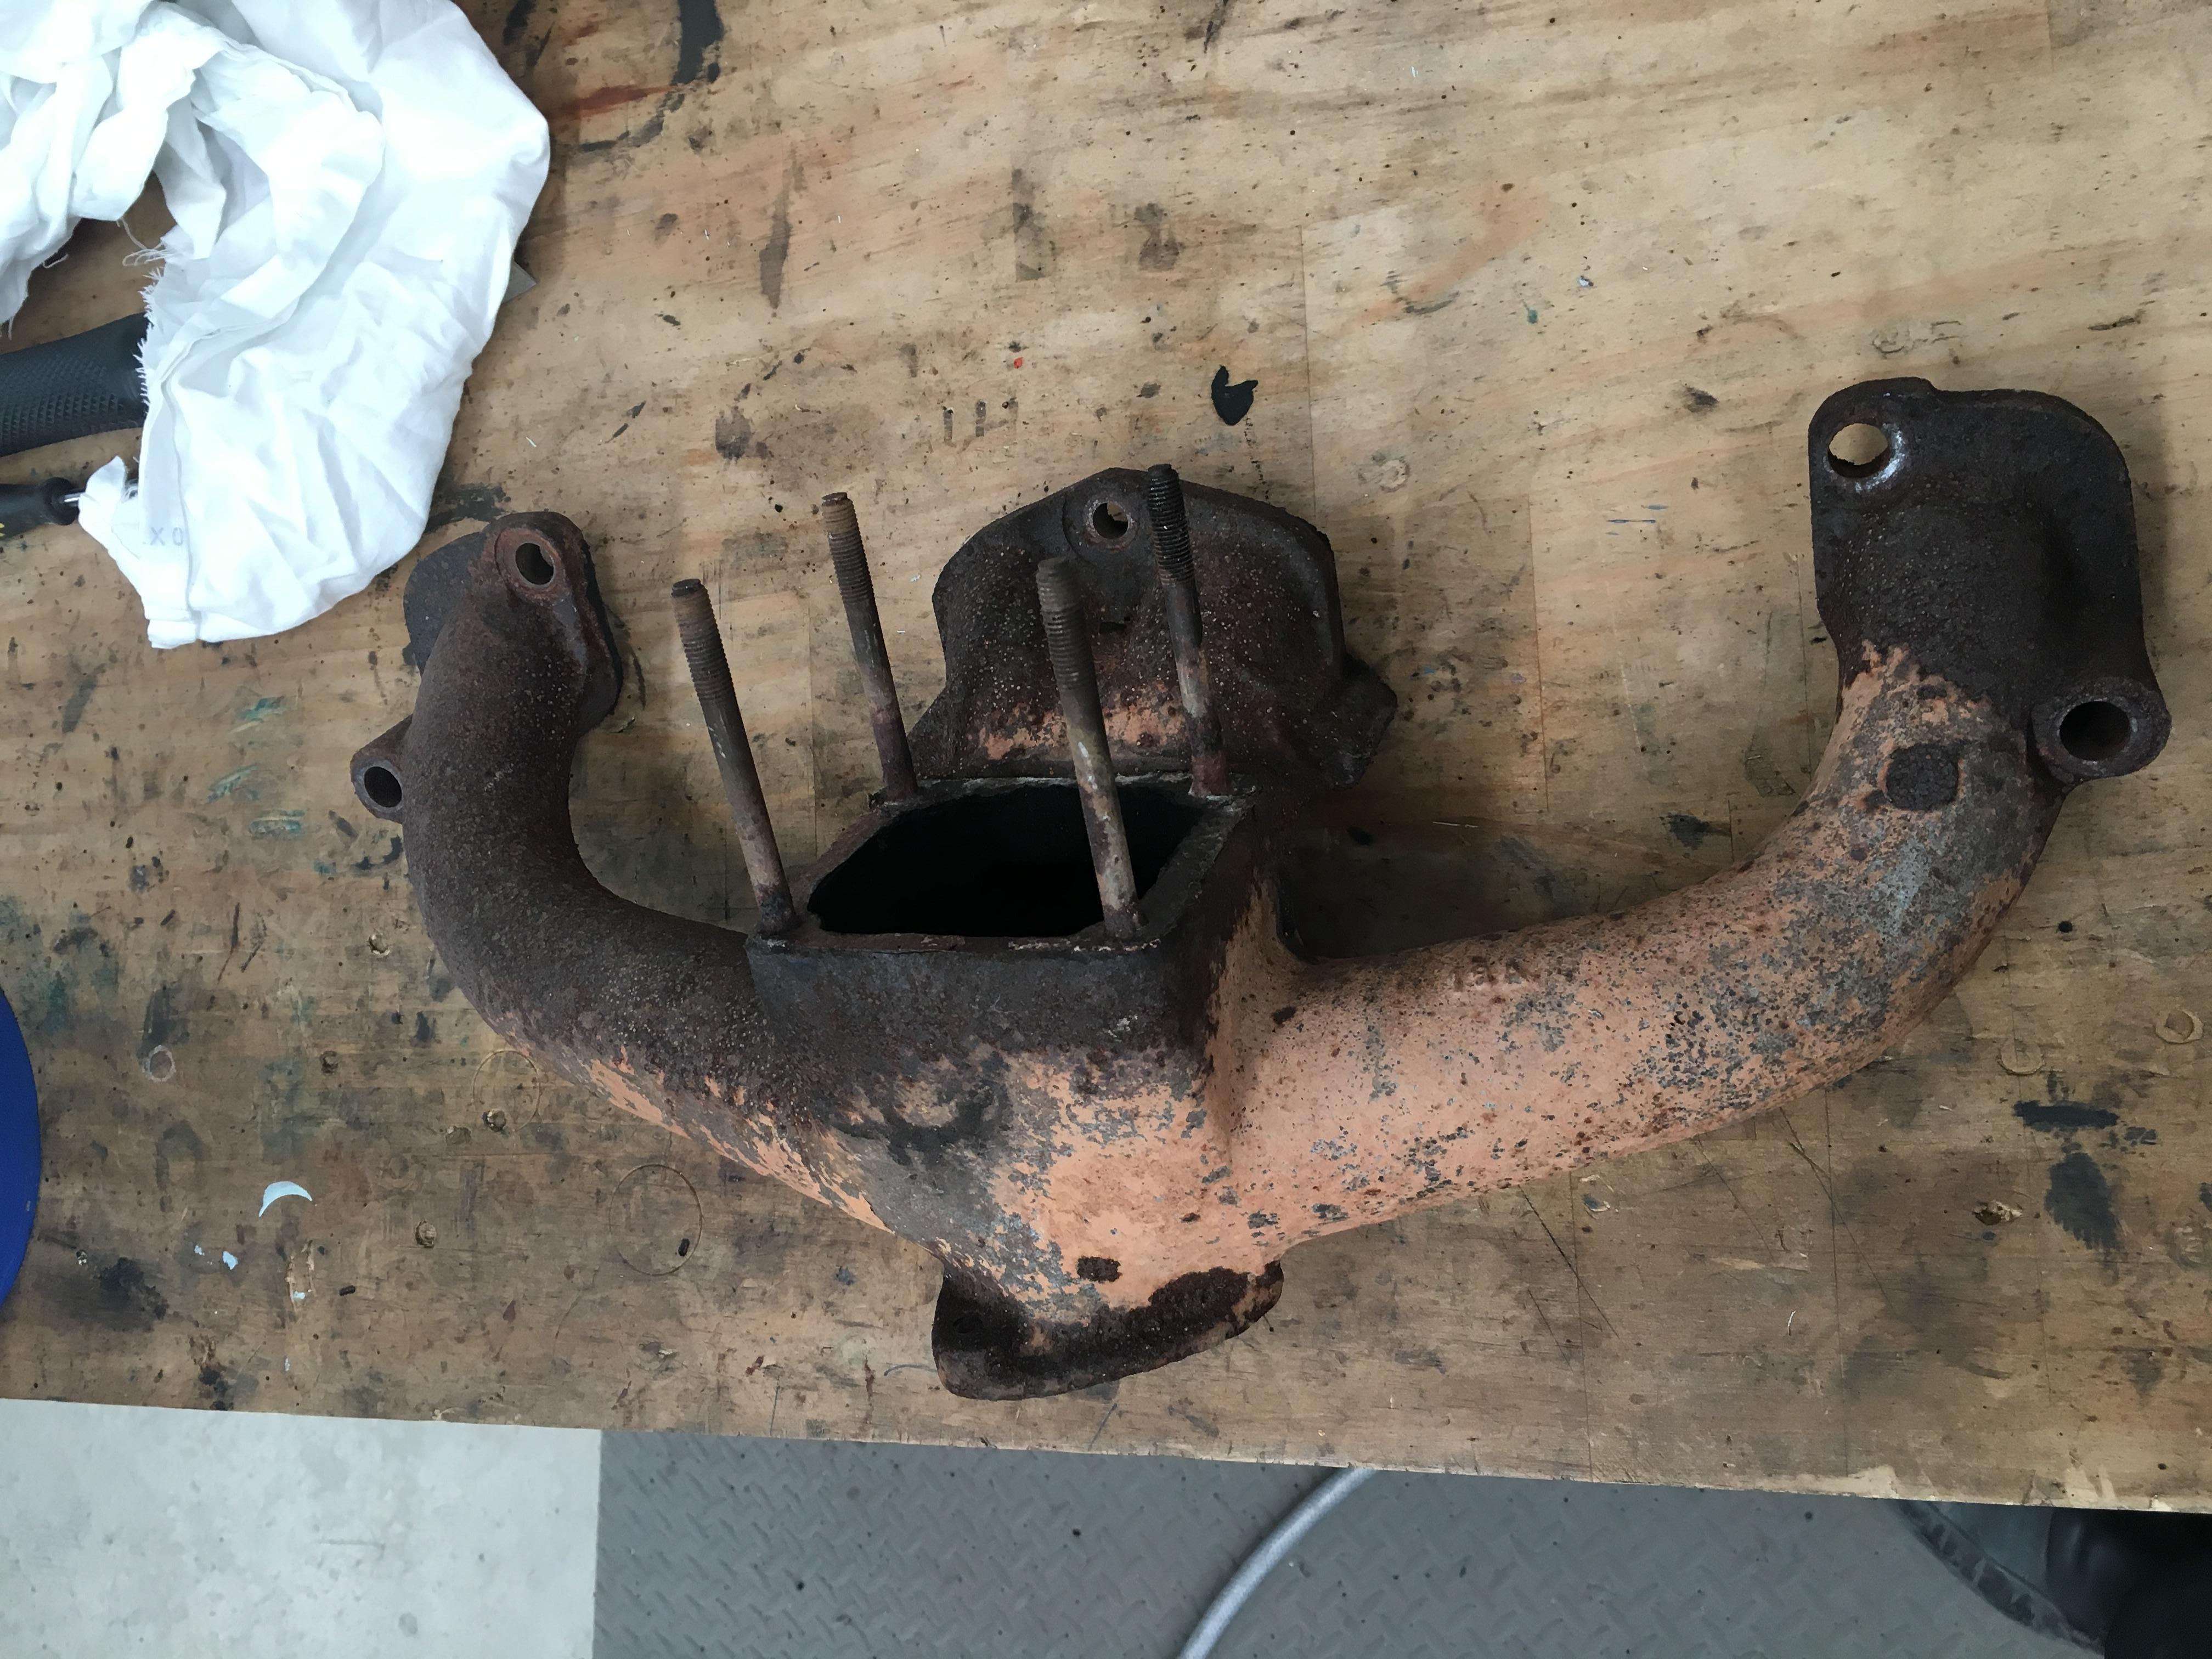
    I knew the exhaust manifold needed some work, it certainly looks to be in a sorry state!


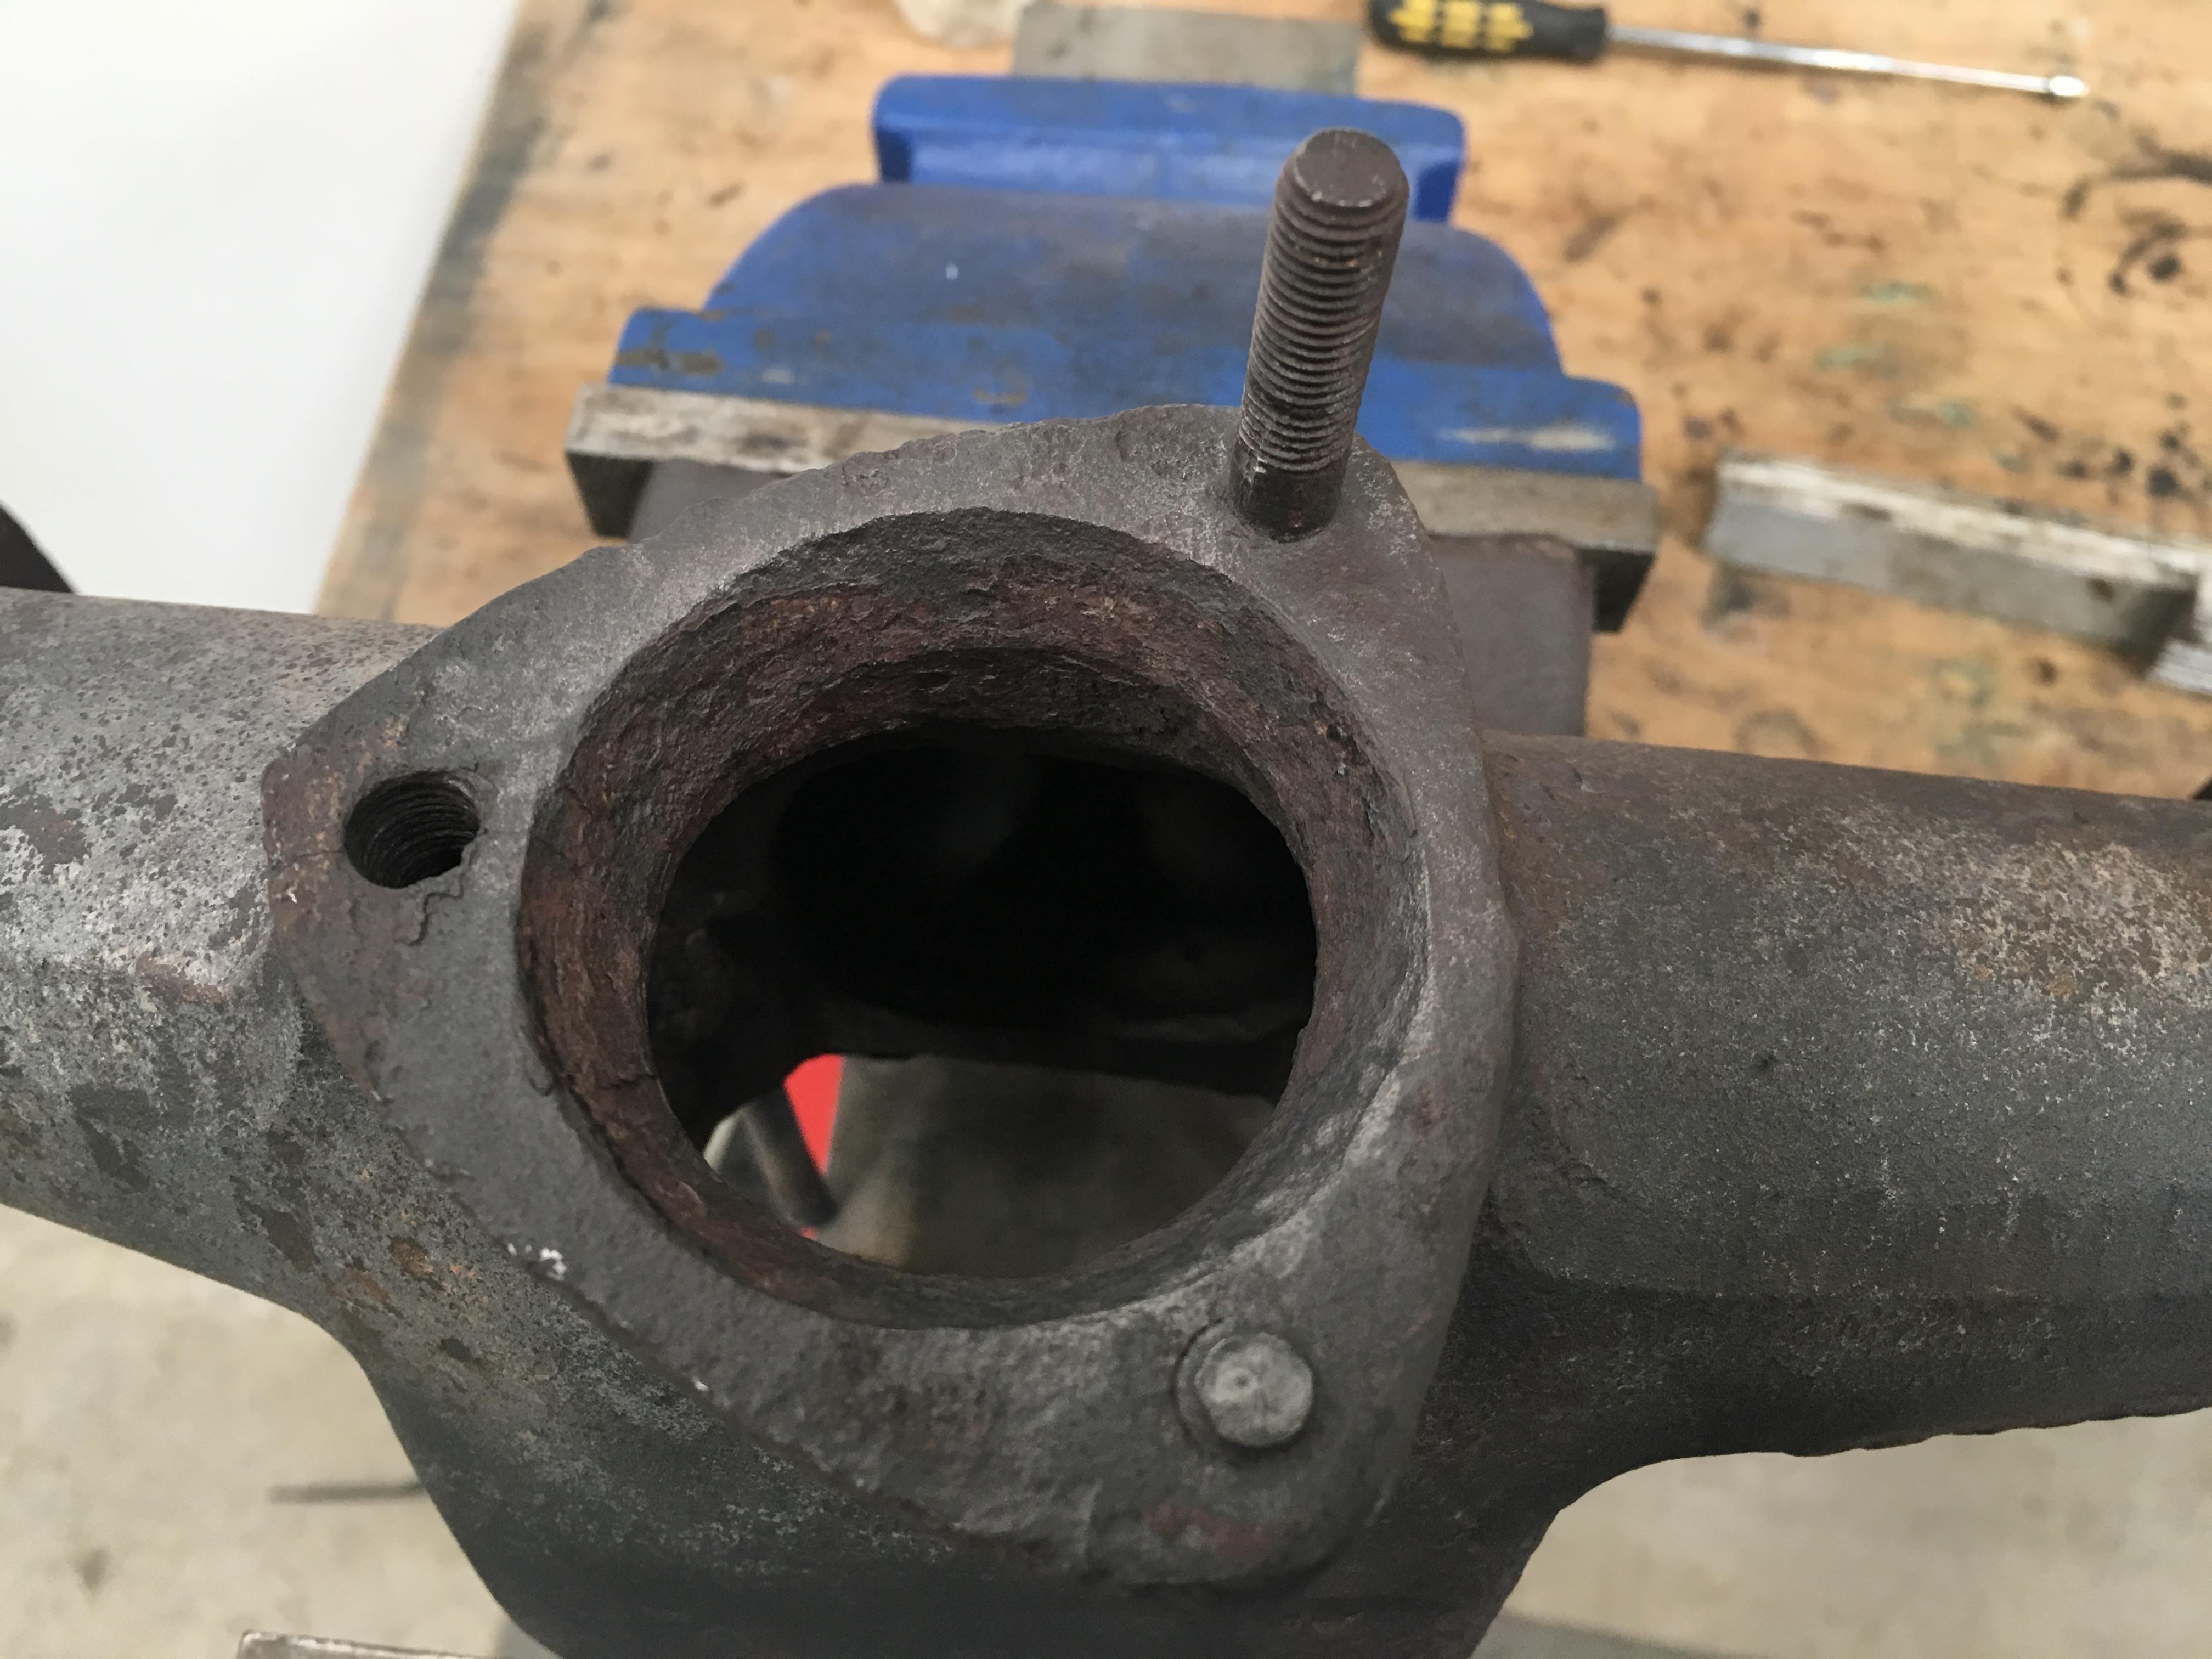
    It got a quick sand blast, more to make handling less messy than anything! The exhaust tube flange revealed a trifecta of sadness, one stripped thread, one broken stud, and one siezed stud!


    On closer inspection there is a crack either side of the stripped threaded hole, so I'm on the lookout for a replacement manifold. I'm a bit undecided on whether to fit extractors or not, so any info from the community on that front would be greatly appreciated!

    Cheers,

  3. #323
    Join Date
    Mar 2008
    Location
    Perth, WA
    Posts
    1,947
    Total Downloaded
    0
    Quote Originally Posted by chazza View Post
    Given that the rest of the engine looks so beautiful and you are doing such a good job; I say yes, put the new sprockets in with a new chain. The valve timing and distributor timing, are fairly important after all!

    Cheers Charlie
    You're right Charlie I need to resist the urge to be impatient with getting the engine back together. I've found a cam wheel for a 2.5 petrol that should be a compatible part. I'm going to confirm with Turners tomorrow when I call about the cam.

    Cheers,

  4. #324
    Join Date
    Oct 2014
    Location
    Northern NSW.Australia
    Posts
    2,023
    Total Downloaded
    0
    Hi Tim.
    I got hold of the oil seal mud shield from these Guys.
    John Richards Surplus Ex-Military and General Surplus
    As mine was missing.
    Drilled and used self tappers to secure.
    Now the seal can be replaced from the outside, with out removing Timing Cover.

    whitehillbilly
    Attached Images Attached Images

  5. #325
    Join Date
    May 2016
    Location
    Guanaba, QLD
    Posts
    462
    Total Downloaded
    0
    Good to see you back into it Tim.

    I wasn't confident enough to reassemble the engine myself, so I had the re-builders do it $$$$$$$.

    I only hope they were as fastidious as you.


    Peter.

  6. #326
    Join Date
    Mar 2008
    Location
    Perth, WA
    Posts
    1,947
    Total Downloaded
    0
    Well, new cam wheel is on it's way, and I picked up a helicoil set for the stripped manifold thread, so hopefully I'll get the head on this weekend. Also spoke to Turners about the cam run out and am happy with the advice given.

    Cheers,

  7. #327
    Join Date
    Feb 2004
    Location
    Williams West Aust
    Posts
    20,998
    Total Downloaded
    0
    All I can say is WOW!!!!!
    Great to see more reports.
    ENJOY
    Andrew
    DISCOVERY IS TO BE DISOWNED
    Midlife Crisis.Im going to get stuck into mine early and ENJOY it.
    Snow White MY14 TDV6 D4
    Alotta Fagina MY14 CAT 12M Motor Grader
    2003 Stacer 525 Sea Master Sport
    I made the 1 millionth AULRO post

  8. #328
    Join Date
    Sep 2008
    Location
    Serpentine WA
    Posts
    113
    Total Downloaded
    0
    Hi Tim,

    Great to see the engine going together, its a job i need to gather some courage to do some time in the near future. I've just bought a replacement front crank oil seal. It seems that the original factory fit was to use rivets. However a later engineering directive came out advising service agents to drill out the rivets when changing the seal and fit with self tapping screws rover part no.AB606021L. This mod allowed the seal to be changed with only the removal of the radiator, prior to that the front panel, radiator and water pump all had to come off. Apparently the mud shield also served as a clamp to ensure the seal went in flush to the housing.

    cheers Iancrank001.jpg

  9. #329
    Join Date
    Mar 2008
    Location
    Perth, WA
    Posts
    1,947
    Total Downloaded
    0
    Hi Ian,

    Thanks for the explanation, I have the screws but the hole size for the rivets is too big for the screws. At the moment I'm planning to tap them to something like 4BA, (or 4mm if I really have no other option), and use machine screws.

    Cheers,

  10. #330
    Join Date
    Mar 2008
    Location
    Perth, WA
    Posts
    1,947
    Total Downloaded
    0
    Got a bit more work on the engine done today, first up was repairing the stripped manifold thread, tapping the hole for the powercoil insert:


    and insert installed:


    Block and head got a final wipe down with thinners and supposedly lint free rags, in the end I used a painters tack cloth with thinners to get both surfaces clean. The holes in the castings, (particularly the threaded holes for the head bolts), had nice sharp edges on them that were great at pulling fibres out of cloth.


    Head gasket in place


    Next job that needed tackling before the head could be fitted was the rocker gear. I'd ordered a new shaft with rockers as a kit form Turners as it was more economical.


    Just needed to dismantle and then clean the bits from the old assembly that were being reused. The rocker pads all had deep groves worn into their pads:


    And the rocker shaft was in a real bad way:


    Finally the head and rocker gear were on the block.


    Unfortunately other commitments called and I didn't want to rush through torquing the head down, that'll have to wait till tomorrow

    Cheers,

Page 33 of 51 FirstFirst ... 23313233343543 ... LastLast

Bookmarks

Bookmarks

Posting Permissions

  • You may not post new threads
  • You may not post replies
  • You may not post attachments
  • You may not edit your posts
  •  
Search AULRO.com ONLY!
Search All the Web!