Page 37 of 51 FirstFirst ... 27353637383947 ... LastLast
Results 361 to 370 of 510

Thread: My 88" Series 3

  1. #361
    Join Date
    Sep 2012
    Location
    Westlake ,brisbane
    Posts
    3,922
    Total Downloaded
    0
    Tim , That motor looks too start. You could mount it in a glass case on the coffee table just to look at it. I had my old manifold zinc sprayed , it looks good until you start the motor then it got yellow tinge about it but never rusted. There are not too many companies zinc spraying any more it is very toxic ,you have to use a full space suit when doing it.

  2. #362
    Join Date
    Mar 2008
    Location
    Perth, WA
    Posts
    1,947
    Total Downloaded
    0
    Quote Originally Posted by OneOff View Post
    Tim,

    Have you treated the exhaust manifold to any sort of coating or is it raw metal?
    I was thinking of ceramic coating mine but it's hardly an original look.

    Peter.
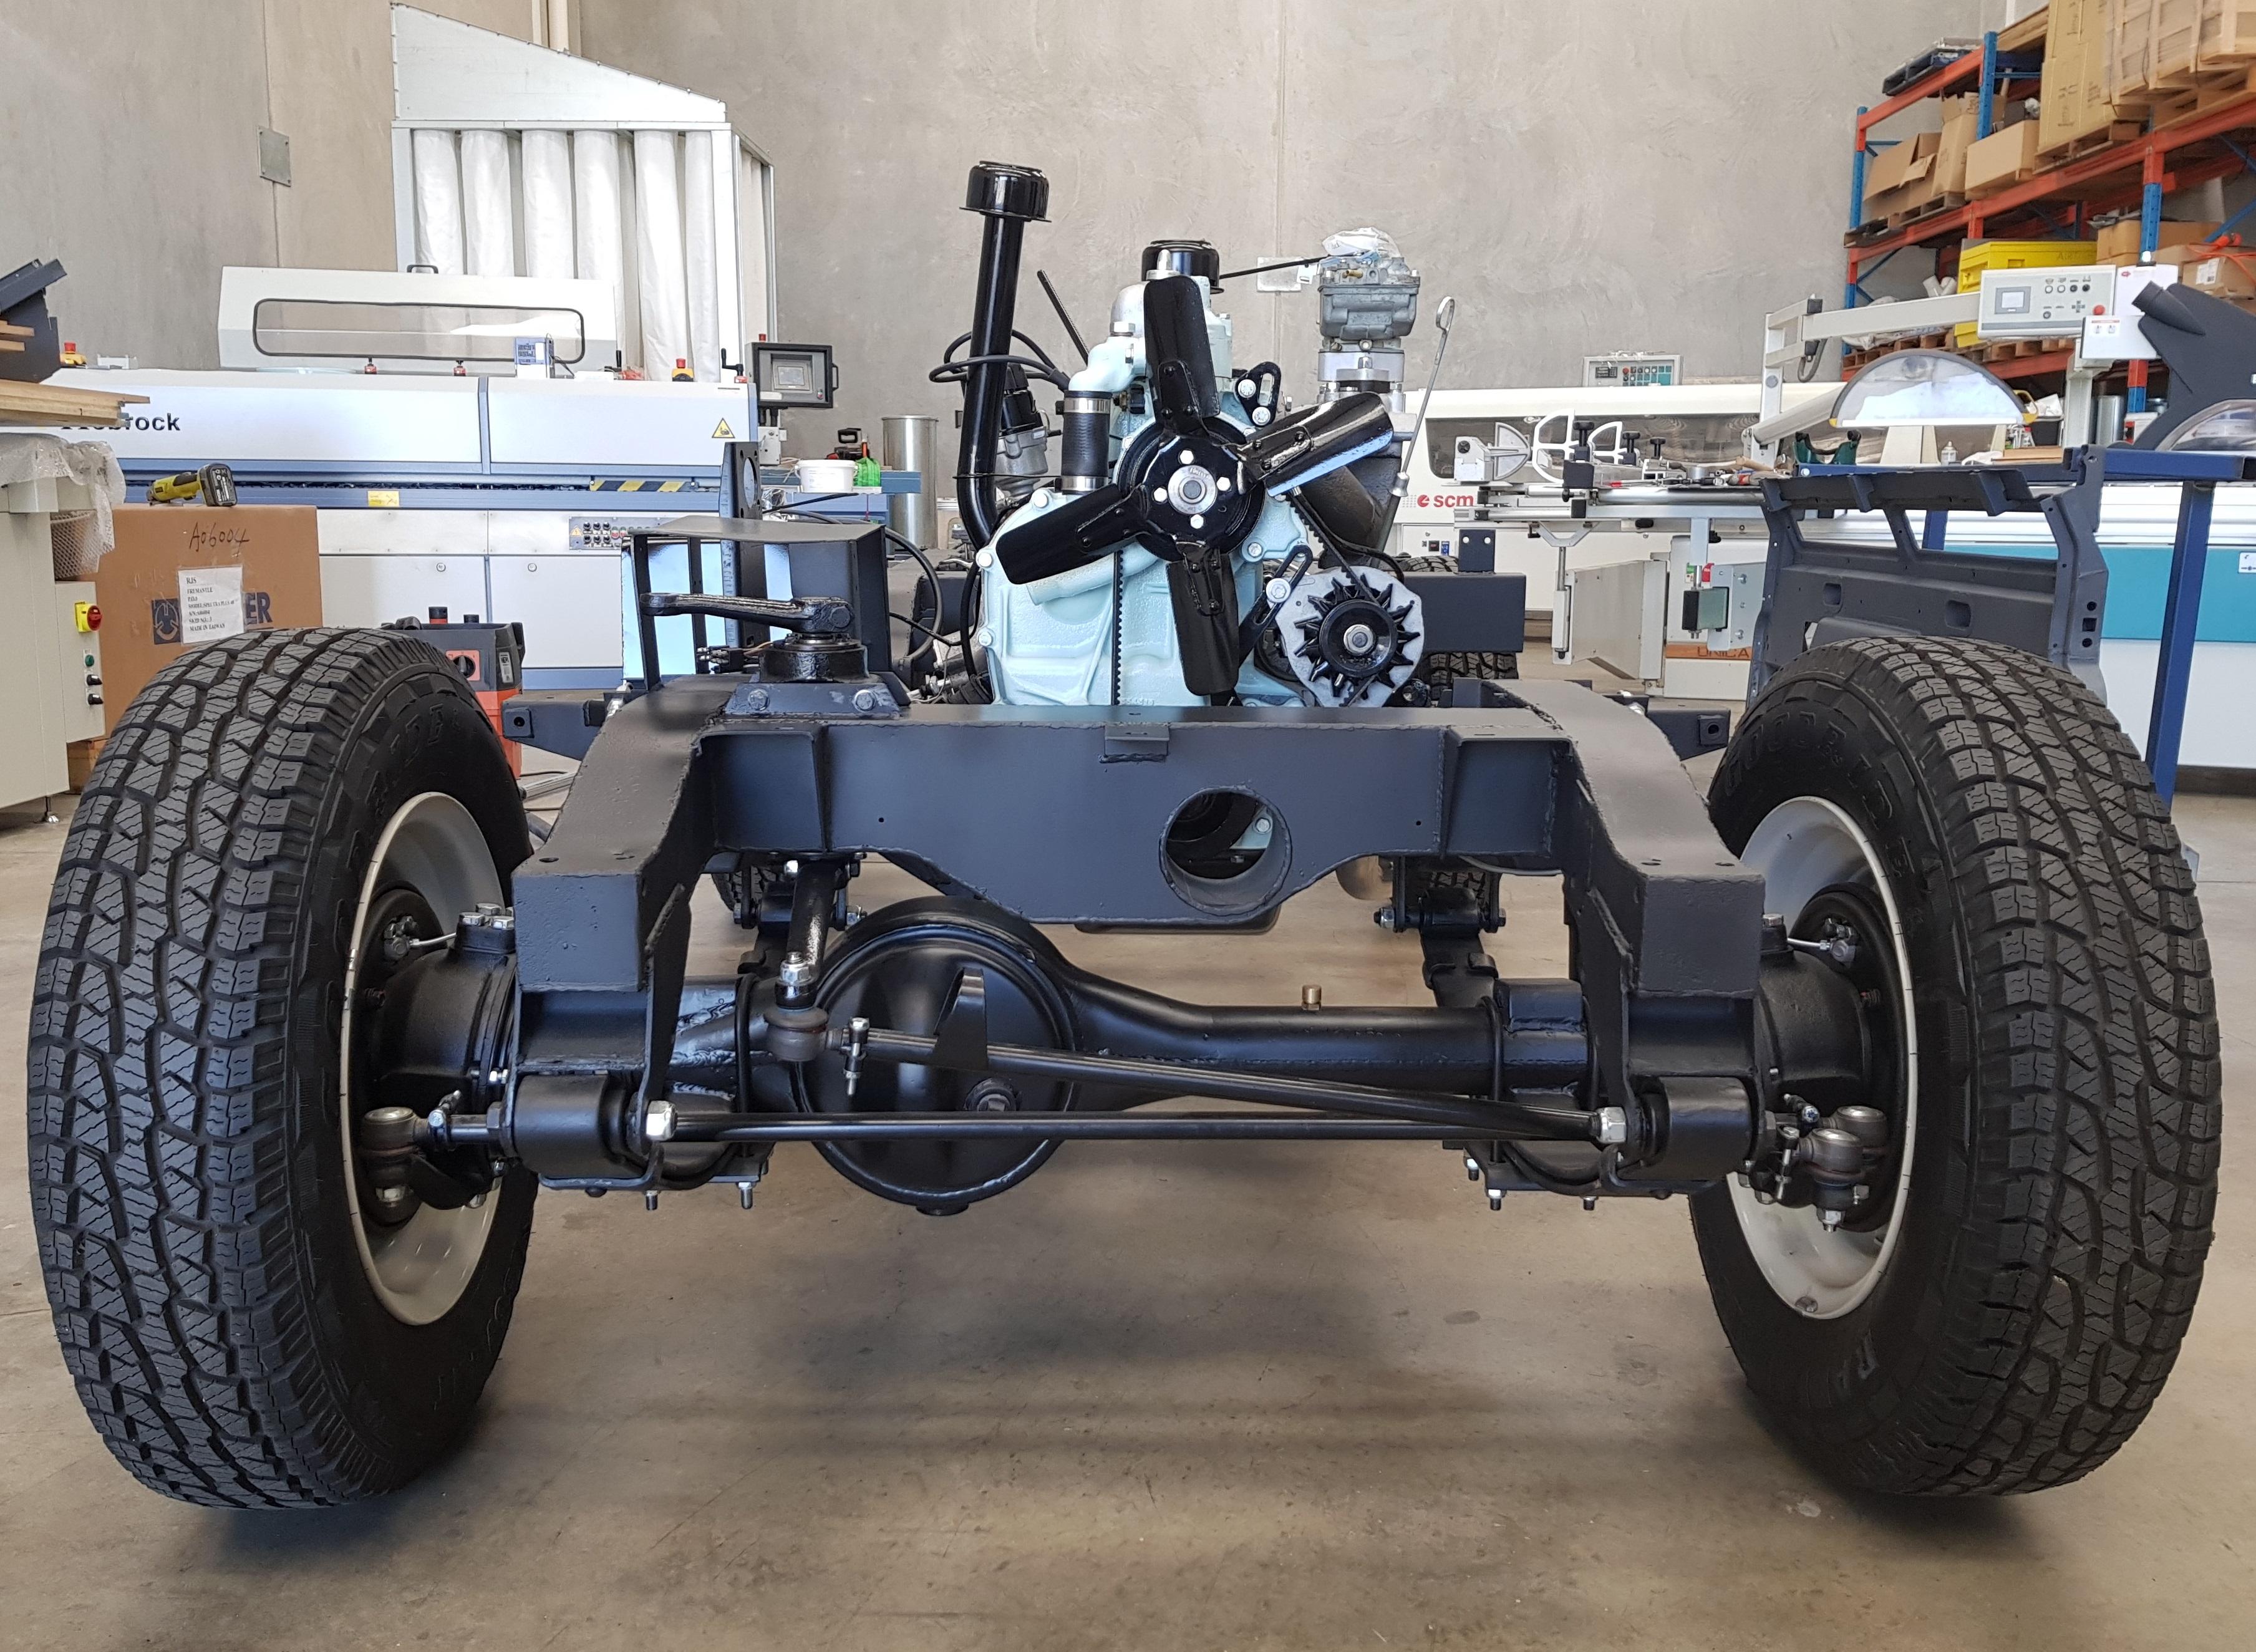
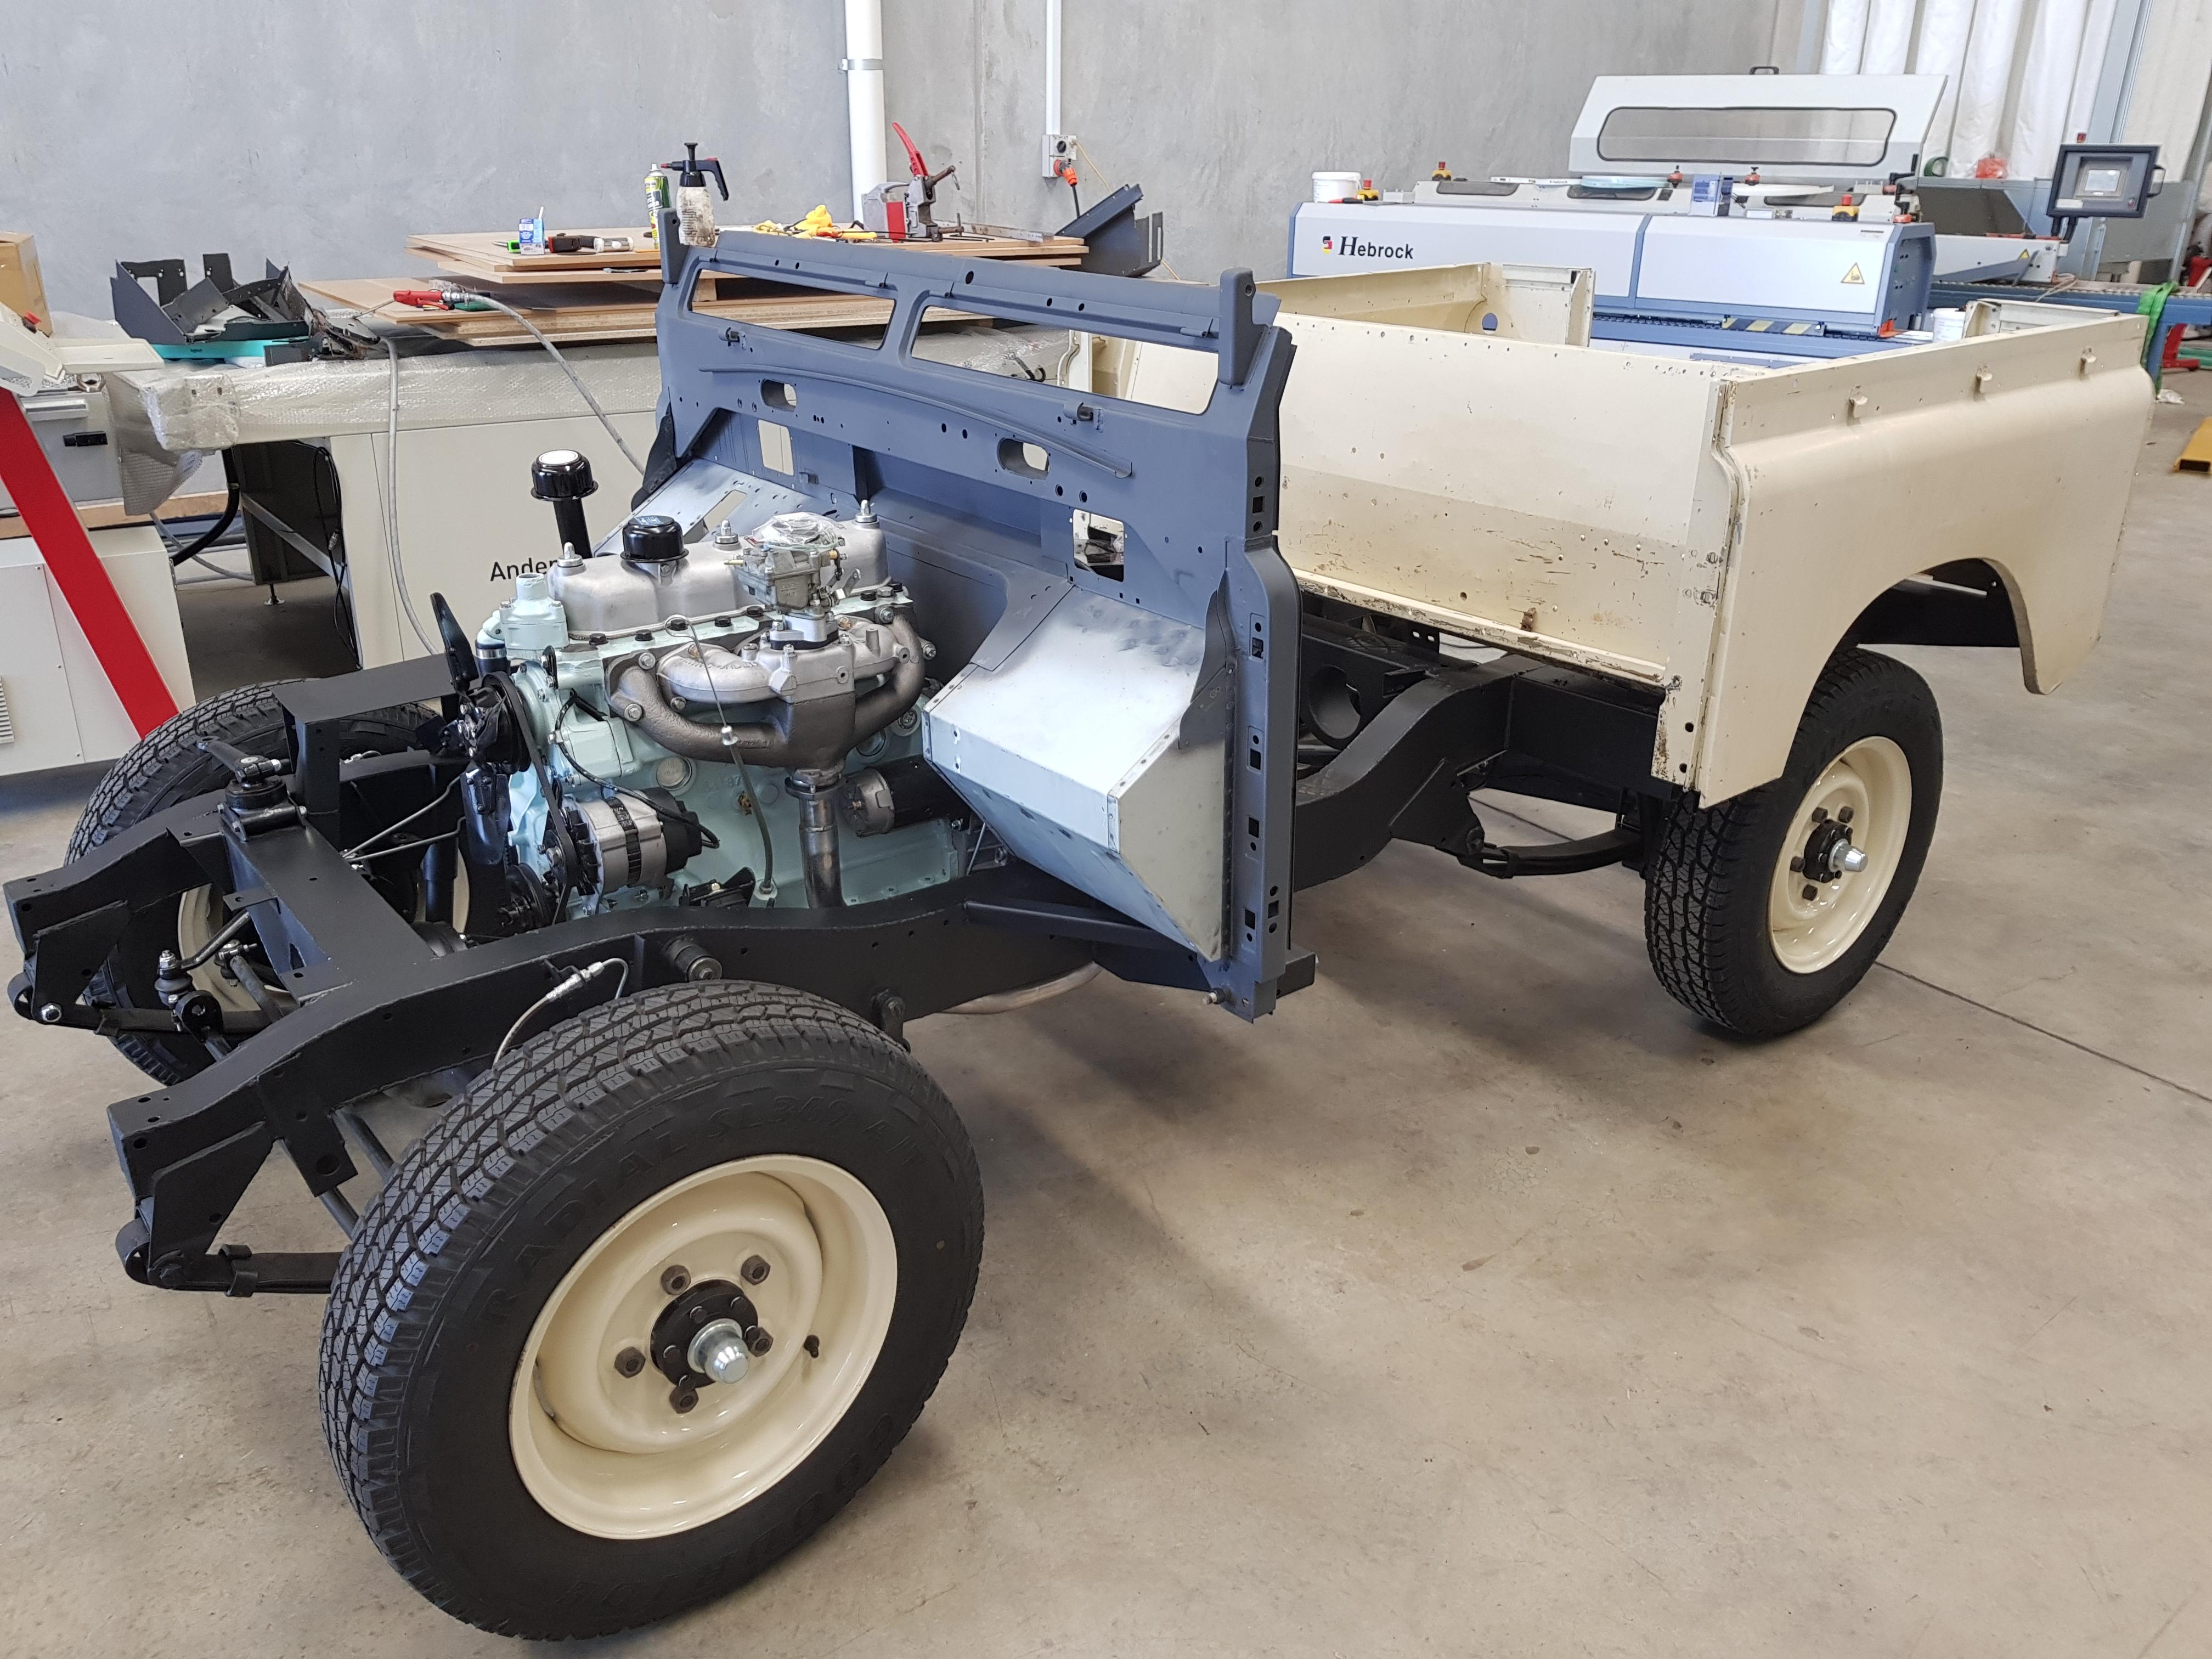
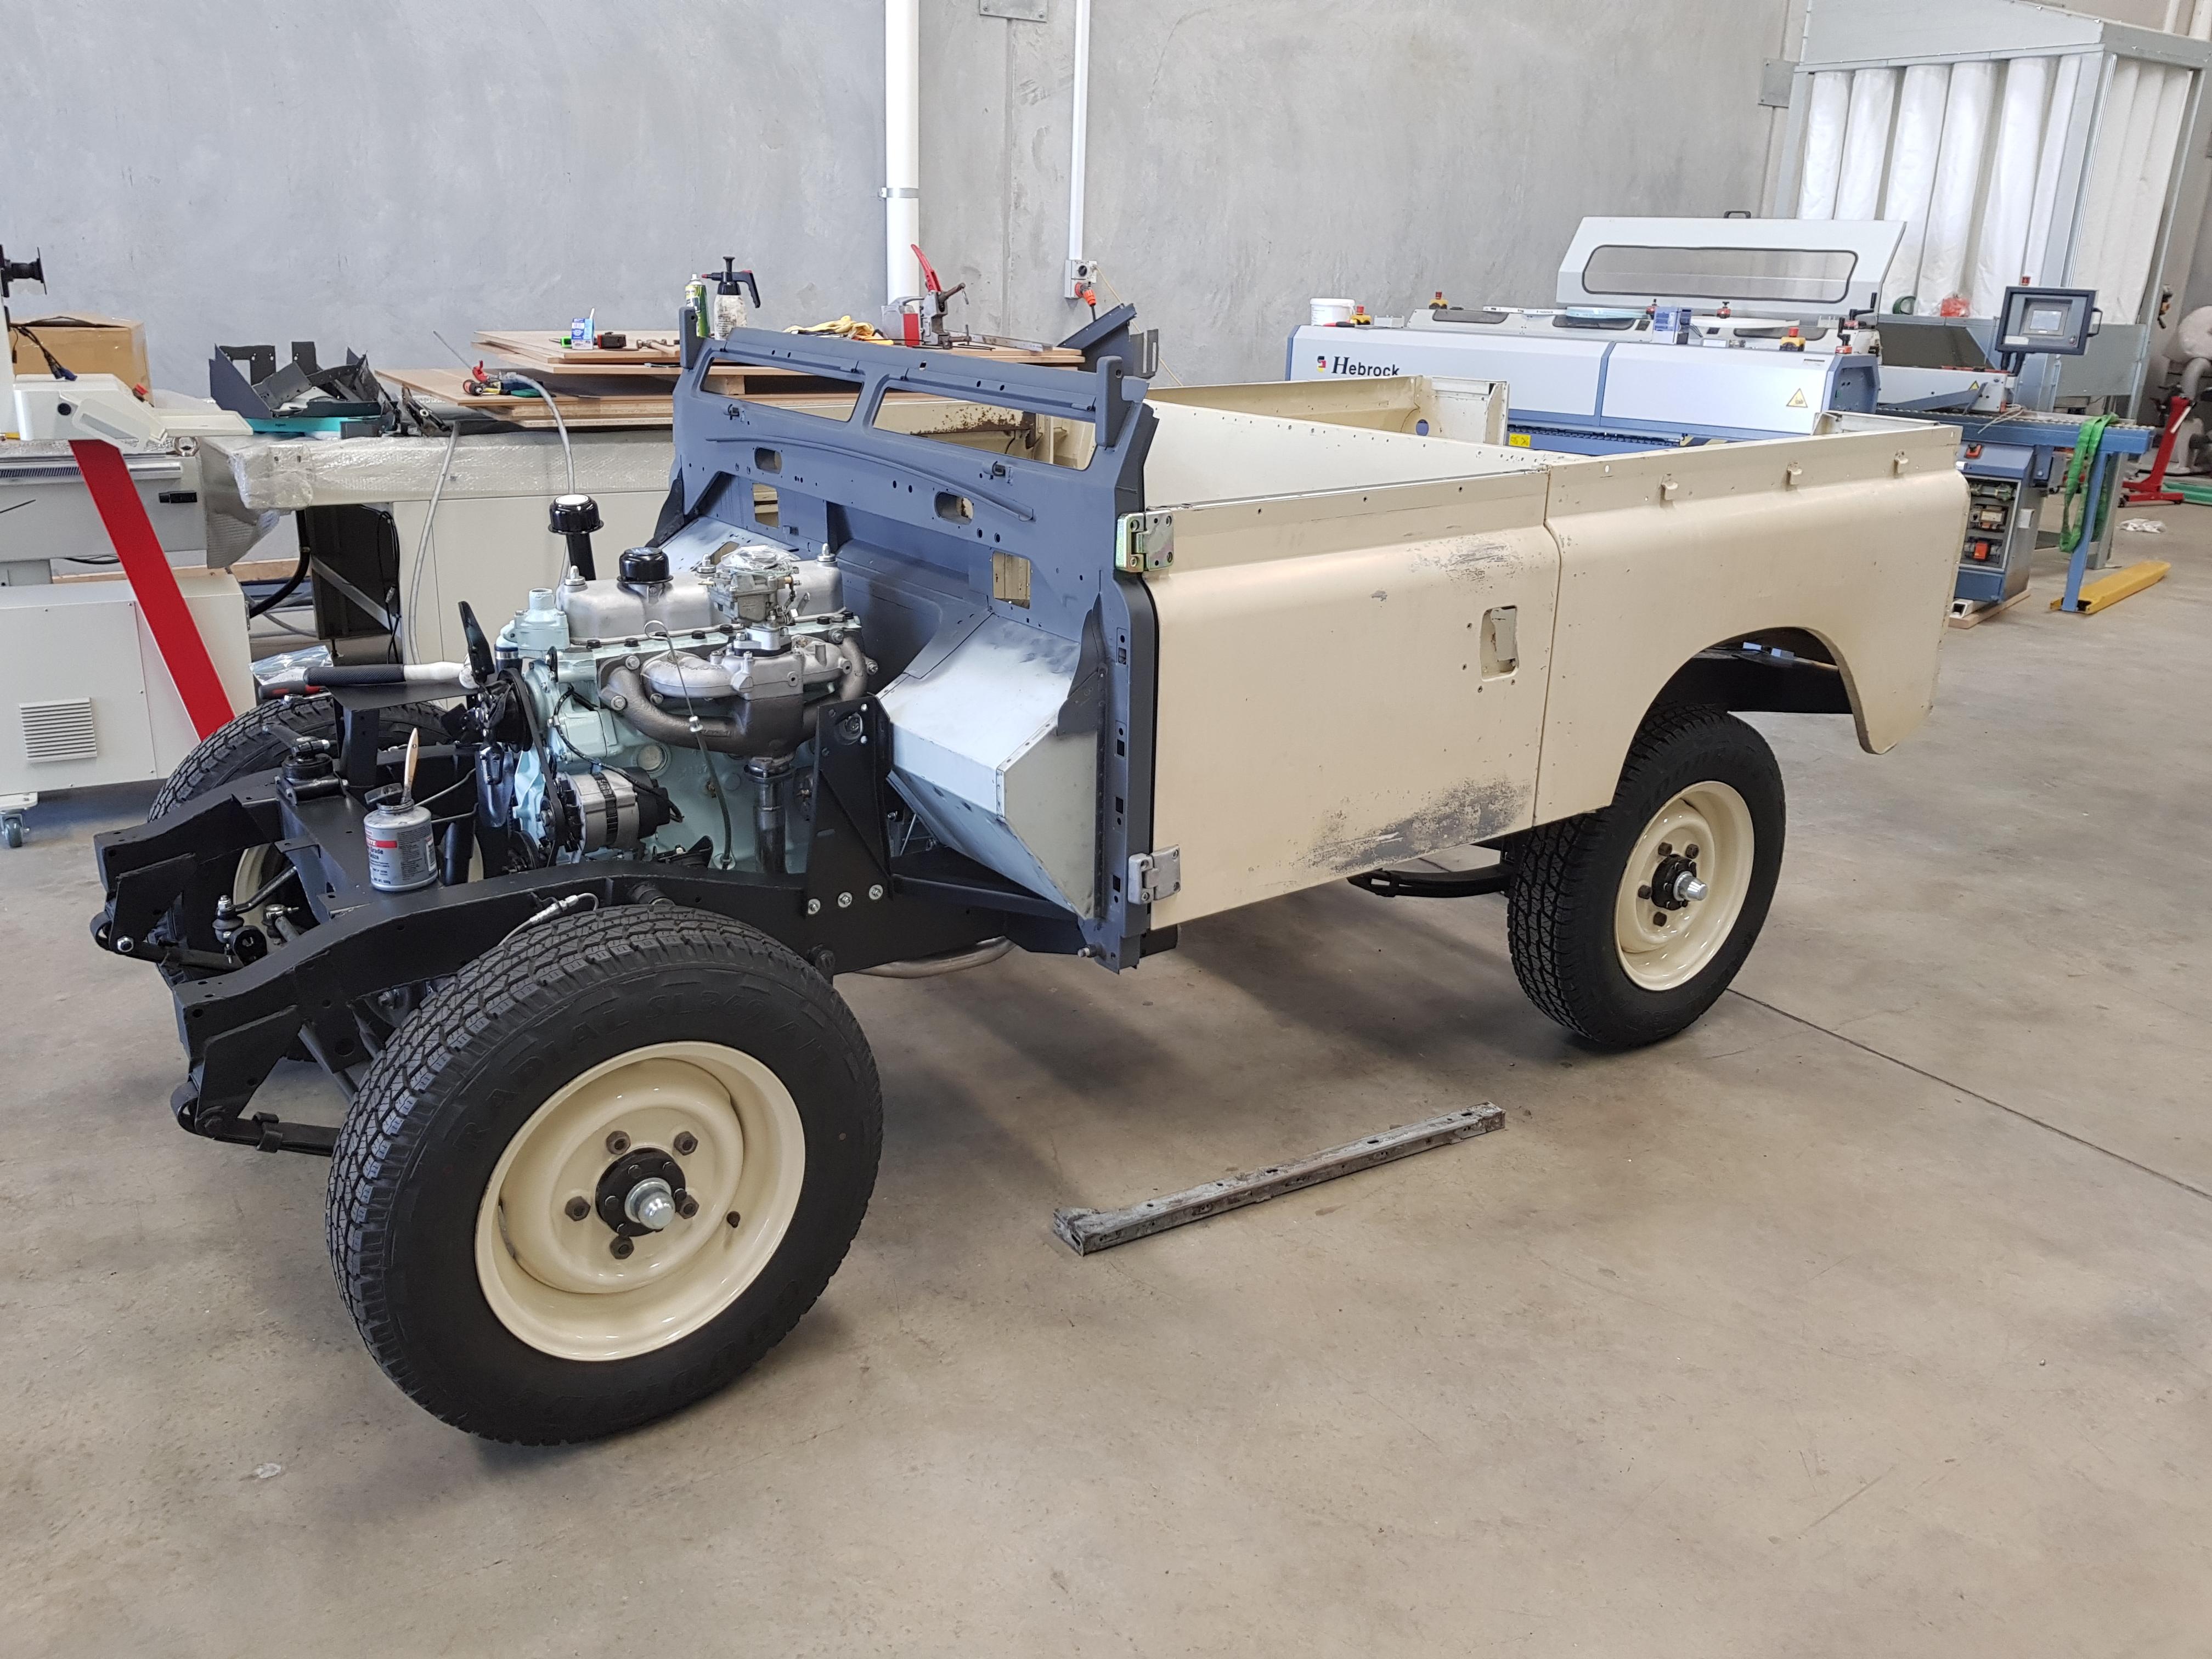
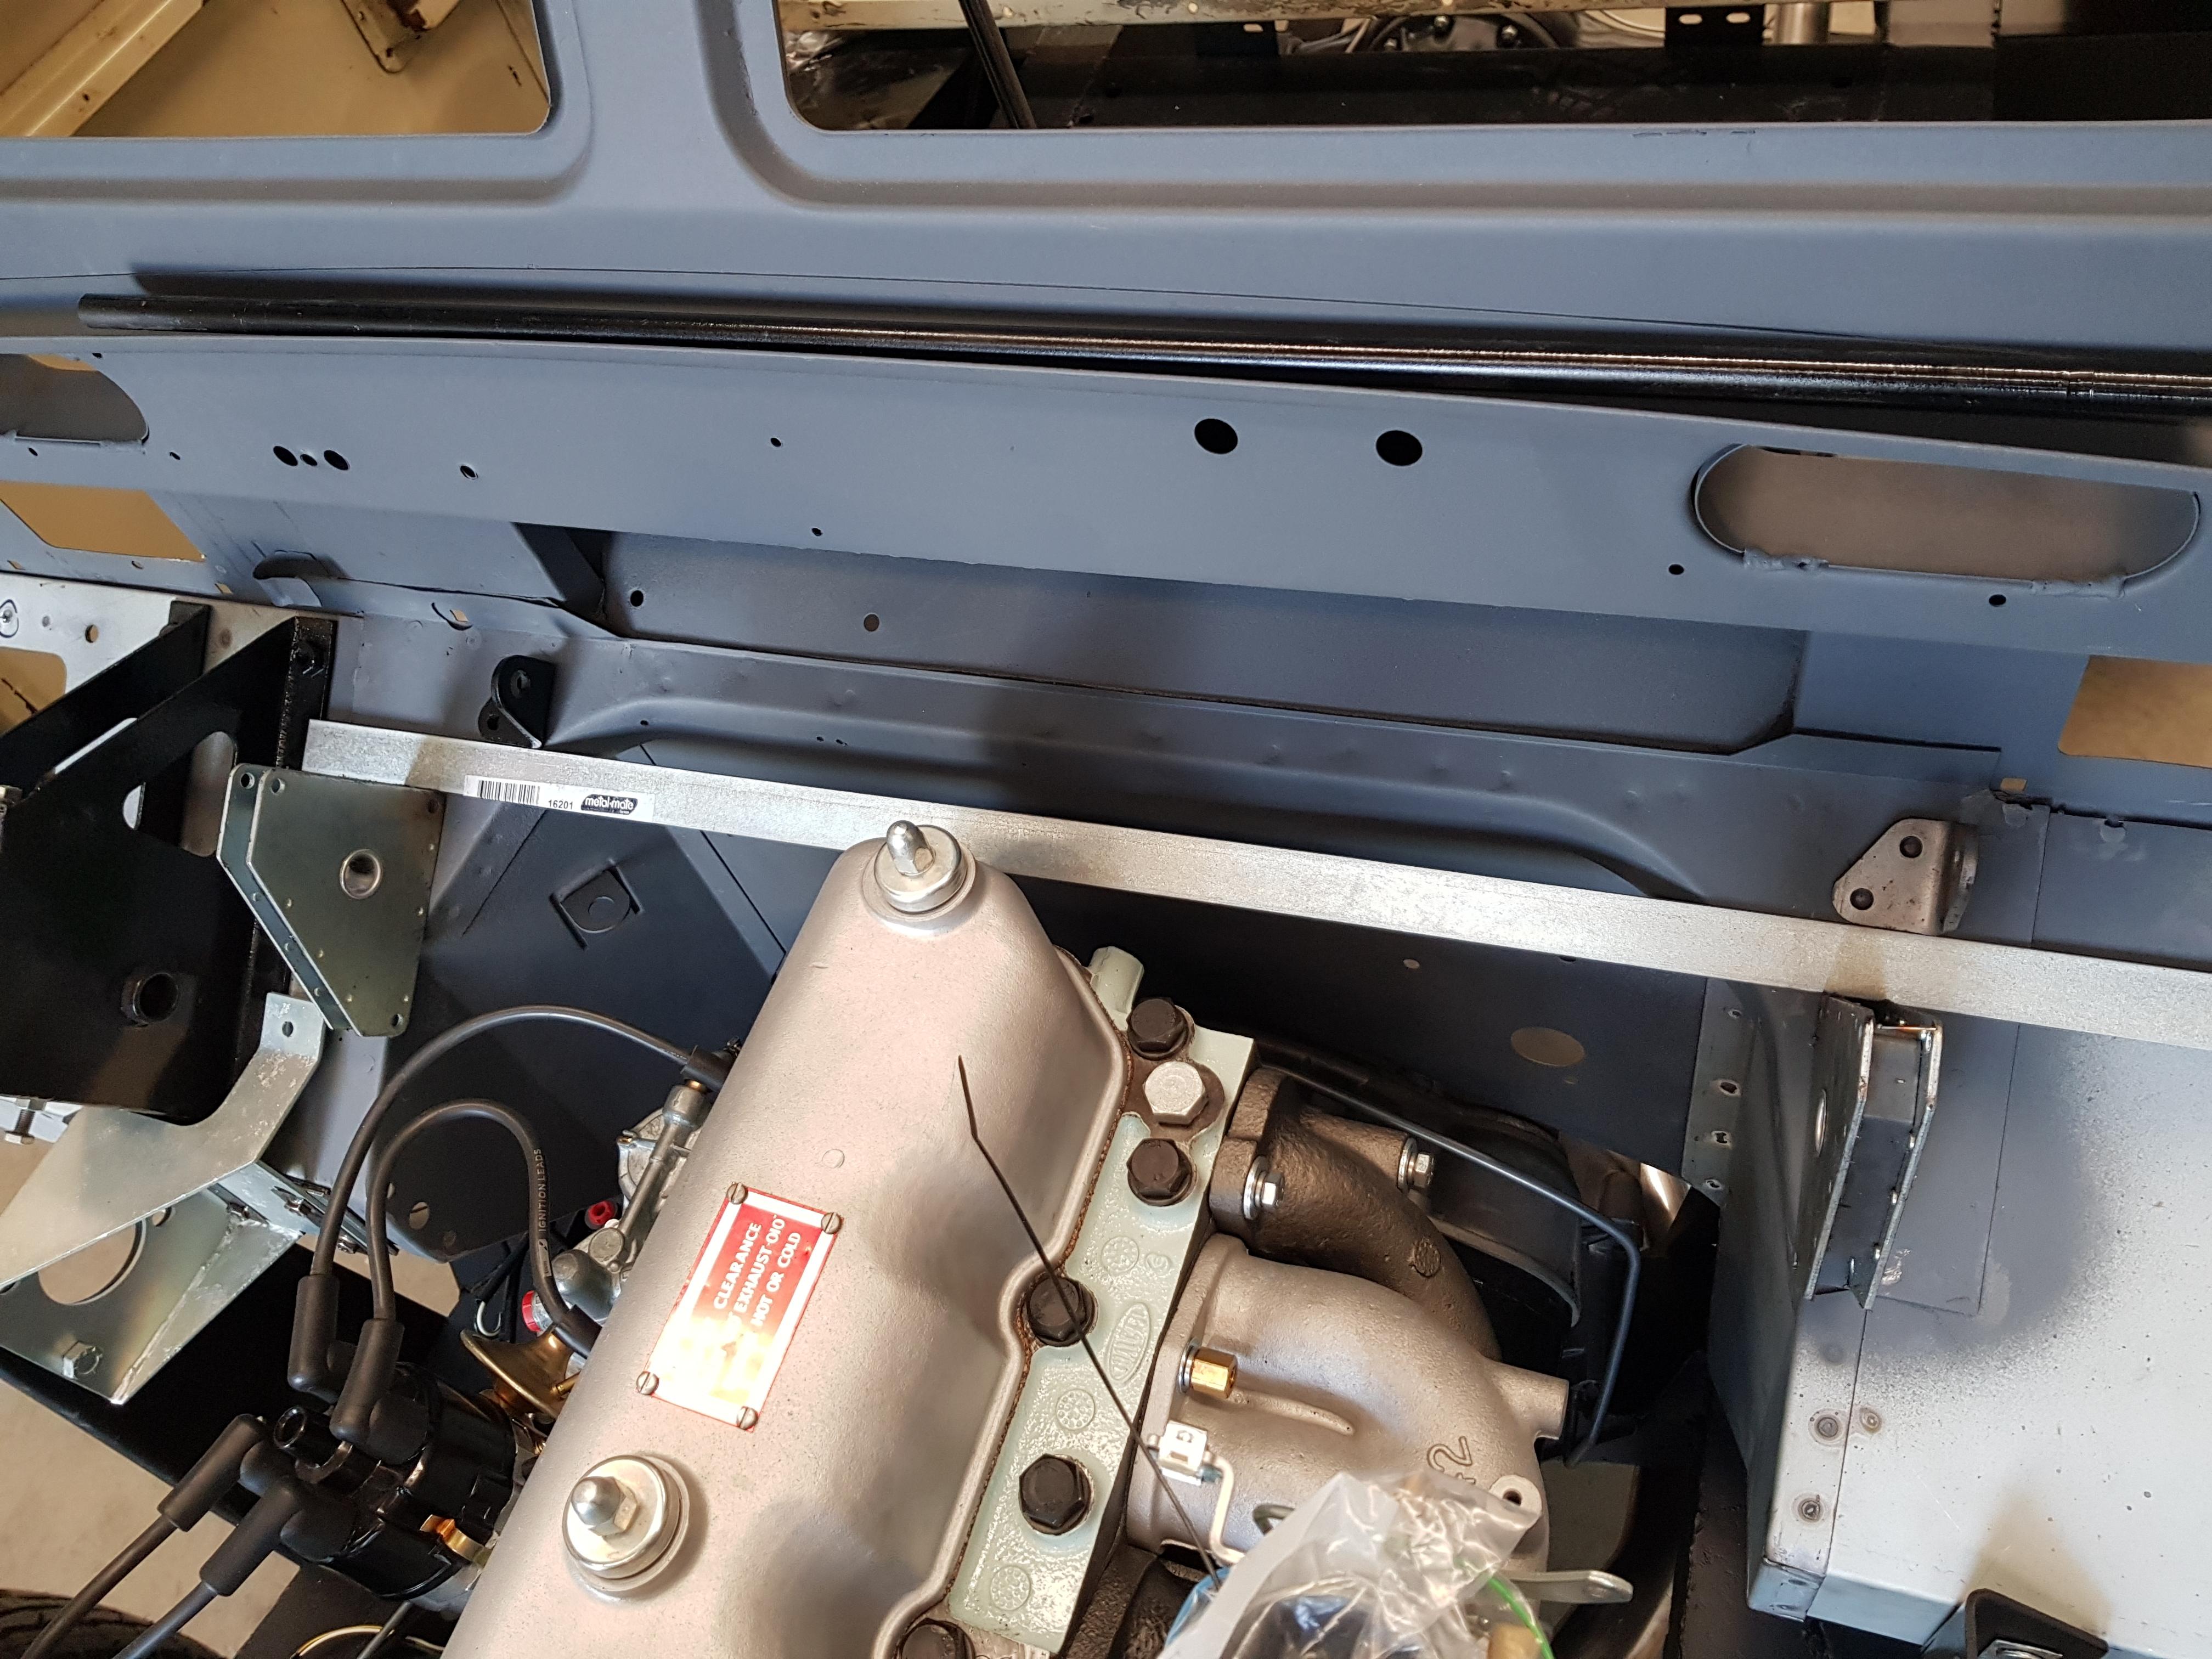
    Hi Peter, the exhaust manifold has just been painted with high temp "cast iron" coloured paint. I was going to ceramic coat it as well, but there is some serious pitting underneath, and there is a crack across one of the stud threads, (that I have helicoiled to try and save it for now). No doubt it will not go the distance and I can then use it's failure as an excuse to buy some extractors

    Cheers,

  3. #363
    Join Date
    Mar 2008
    Location
    Perth, WA
    Posts
    1,947
    Total Downloaded
    0
    So, its been 12 days since my last confession

    Went and picked this poor old girl up for parts on the weekend. The holden motor is going back to the seller, but it had a few good bits I needed, namely a front bumper, drivers side wing, and a proper oil bath air filter.


    Meanwhile, in a tale of four cam chain wheels...... A situation I am well and truly over! In the picture is:

    Top left - Aftermarket - garbage quality
    Bottom left - Aftermarket - better quality, but damaged in transit, (chipped tooth)
    Top right - Original part
    Bottom Right - NOS genuine part Cost more than I'm willing to admit!


    Front of the engine going back on:


    The water pump, fan, and alternator is now all mounted, I'll have to get some more pictures as the ones I took look terrible due to it being a bit dark, and me being lazy using the iphone instead of my proper camera.

    The exhaust arrived, and has been fitted in place, I do however need to get one of the hangers modified to go around the 2" system, (only has an 1.5" radius). Now the engine is together I've filled it with oil, and, (in no doubt what would have been quite hilarious to watch), have primed the system by spinning the engine over with the crank handle. Enough to fill the filter and activate the oil pressure switch anyway.

    Cheers,

  4. #364
    Join Date
    Mar 2008
    Location
    Perth, WA
    Posts
    1,947
    Total Downloaded
    0
    So, on to the firewall.... Started out by making up a jig/brace to stop stuff wobbling about too much.


    Cut the bulk of the foot well out with the plasma cutter


    I found giving the prime a light sand made the spot welds stand out better


    I think someone got a bit carried away with the spot welder here......


    Foot well panel completely removed, dog looks not so impressed thought :/


    I'm not 100% sure what I am going to do with regards to welding the new foot well in. I have removed all the spot welds I could with a spot weld drill bit, but as I don't have a spot welder I may have to drill them completely out so I can plug weld instead. Any thoughts/advice on this would be much appreciated!

    Cheers,

  5. #365
    Join Date
    Mar 2008
    Location
    Perth, WA
    Posts
    1,947
    Total Downloaded
    0
    And on to the passenger footwell...

    Replacement part in place and lined up:


    I would have preferred to have spot weld it, but I don't have one, and the sheet metal fabricator I know doesn't have one with enough reach/depth to get all the spots. I have tried to keep all the plug welds on the less seen side, so I think I can live with it!


    Plenty of penetration, (and they kinda look like spot welds.....)


    And time for a bit of a rant. In hind site I wish I'd taken Chazza up on his offer to make me some footwells, but I'd already made a decision of where to get the pieces from, (ex UK), largely due to recommendations online. The passenger side footwell was OK, (about 3mm shorter than the original, but there is enough adjustment in the mount for that), however the Driver side one is not so good, the inner footwell panel is not shaped correctly, resulting in the lower floor panel being warped:


    To solve this particular problem I've decided to keep the inner, (left), footwell panel that is on the car, there is no real corrosion in it, and it has the mount for the clutch pipe. It just means I need to cut the inner panel off the replacement part.

    Also the replacement A pillar, supposedly made with "original tooling for a perfect fit" looks like it is supposed to be fitted "on top" of the firewall sheet metal, not inside the end as the original part does.


    I really don't know what they expect you to do, weld it on then bog up the front of the firewall?

    And from the misalignment with the foot I'm really glad I made the jig!!


    Anyway, after a bit of cutting, hammering, swearing, and a large assortment of clamps the replacement A pillar end was re-shaped to fit inside the firewall as it should have:


    Cheers,

  6. #366
    Join Date
    Nov 2016
    Location
    Sydney
    Posts
    224
    Total Downloaded
    0
    Great progress as always Tim,

    I have to agree with you on the quality issue with after market parts, some items i have bought i simply didnt bother installing/ fitting, cleaning up the old/ original tends to be the better option (assuming its not rotten of course!)

    Regards,
    Tim

  7. #367
    Join Date
    Mar 2008
    Location
    Perth, WA
    Posts
    1,947
    Total Downloaded
    0
    Another weekend, more firewall.....

    The new foot well was "de-sided"


    Ready for the new bits to go in


    Many clamps later everything was as in place as it was going to get. The footwell didn't match up to the original inner side too well, but it was "manipulated" into place


    I managed to scrounge a hand held spot welder, which was used everywhere it could reach. After welding the A pillar in place the bottom of the foot well started to pull out of place, so the galv capping from behind the seats was temporarily re-purposed to try and keep the tunnel aligned


    About 90% done


    The not so accurate "accurate reproduction foot wells" did not have the flange running along the top edge of the outer side, so there was nothing to weld these braces to...


    So a filler piece was knocked up


    And welded in place


    One of the last things to do was to drill the holes for the door seal into the new A pillar/foot well. (Yes those are cleco's, I've been dying to find excuses to use them!)


    And finally, all done, (except for a few holes that need to be drilled, such as the holes for the throttle shaft mounts).


    Cheers,

  8. #368
    Join Date
    Mar 2008
    Location
    Perth, WA
    Posts
    1,947
    Total Downloaded
    0
    Also... I'm starting to have second thoughts about painting the car Marine Blue. Starting to lean towards Limestone body with white roof....

    Cheers,

  9. #369
    Join Date
    Mar 2008
    Location
    Perth, WA
    Posts
    1,947
    Total Downloaded
    0
    Onwards and, well, a bit sidewards....

    Totally unrelated to the SIII, but I've updated my phone, after probably a decade of iPhones I've moved to an Android phone, (Samsung), that's what happens when you take away my headphone jack Apple! The Samsung is not as polished as the iPhone, but I think I prefer it. Why am I dribbling on about this? Because it takes better pictures is why It handles the low light much better, and the autofocus is many, many, times quicker. So finally a decent picture of the engine with the front on:


    Anyway, back to the bodywork. Dropped the tub and firewall onto the chassis:


    And test fitted the doors:


    Everything lines up ok, (the gaps and alignment is better than the Puma, but that's not hard). The tub is sitting a bit high, and thats because it's fouling on the filler and vent pipes from the fuel tank. As you may remember I went to a bit of trouble to move the filler pipe earlier, but I didn't move it far enough, on the plus side the tub is now sitting straight, (left to right), on the chassis.


    Fitted the steering box mount to check the alignment of everything, glad I dropped the clutch pedal box on, because the holes in the totally accurate reproduction foot well don't line up :C


    Brake pedal box isn't much better as you can see by the gasket:


    The mount holes for the accelerator cross shaft needed to be marked. Couple of magnets and a bit of flat bar for alignment and all done:


    Cheers,

  10. #370
    Join Date
    Mar 2008
    Location
    Perth, WA
    Posts
    1,947
    Total Downloaded
    0
    Nut's and bolts etc....

    In my new found fever to re-use as many nuts/bolts/brackets I can, (as I have mentioned before), I have been taking said bits to be re-zinc'd at the electroplaters. Whilst on the whole they have been pretty good, some times the cleaning doesn't get done as well as it could, (probably due to me rushing them, and Friday's etc).

    So, in a bid to get a better result I've endeavoured to supplying the electroplater with parts in better nick, and due to my crippling laziness I wanted to find an automated(ish) way of doing this. So, I purchased a rock tumbler:


    These are designed mainly for hobbyists who want to polish up rocks, gems, coins etc. However, (with the stainless steel "media") they seem to do a good job of nuts and bolts.

    In go the dirty ones:


    or:


    The bowl then gets filled with straight white vinegar, (the cheapest stuff the supermarket has), until it covers the parts. The acid from the vinegar eats away at the rust quite nicely.

    After about 4 hours, (seems to be the sweet spot), they come out looking like this:


    When they come out of the rock tumbler bowl they need to go immediately into a solution of water and ammonia, (I think bicarb would also work), to neutralise the acid in the vinegar. If you don't do this the parts will start rusting as you watch. Once neutralised the parts then get dried and lightly oiled, from here they can go off to the electroplater, hopefully with a more consistent result.

    Cheers,

Page 37 of 51 FirstFirst ... 27353637383947 ... LastLast

Bookmarks

Bookmarks

Posting Permissions

  • You may not post new threads
  • You may not post replies
  • You may not post attachments
  • You may not edit your posts
  •  
Search AULRO.com ONLY!
Search All the Web!