Also better add to title "within a budget and time frame!"
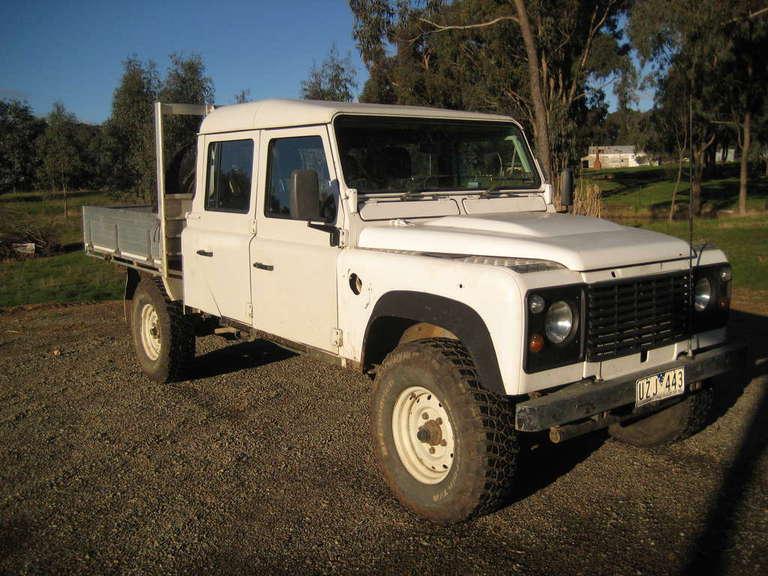
In a nutshell I'm going to build and set up an Isuzu 130 dual cab for long distance touring with an easily detached slide on camper with plenty of room for our family of five. We will be leaving July 2015 for a few month trip so have just under a year to finish the build.
What I'm starting with;
I've already began the project by turning an 84 isuzu 120 (which already had a new 130 chassis) single cab into a dual cab by fitting the cab off a 2002 Td5130 (I did write this up on here somewhere). Kelvin (my wife thinks it looks like a boxy fridge on wheels, so short for Kelvinator) already has a good turbo and intercooler set up thanks to rovercare, lockers front and back (need to fix both!), some sound proofing, BFG KM2 255/85 on wolf rims X 6, overhead console with UHF, six seats, full air suspension with koni raid shocks.
 Basic TO DO list;
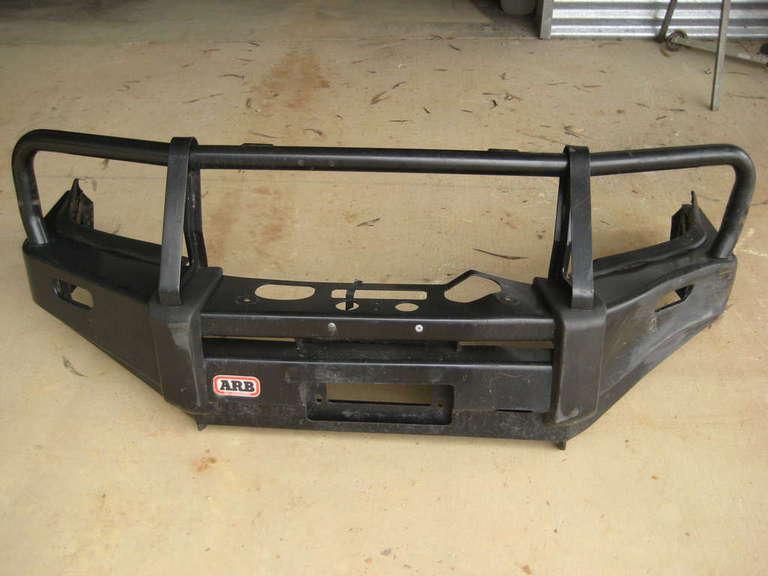
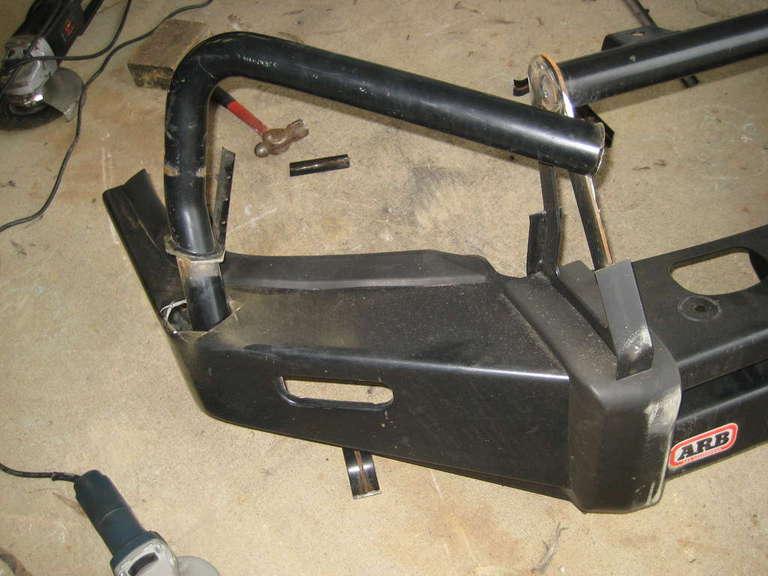
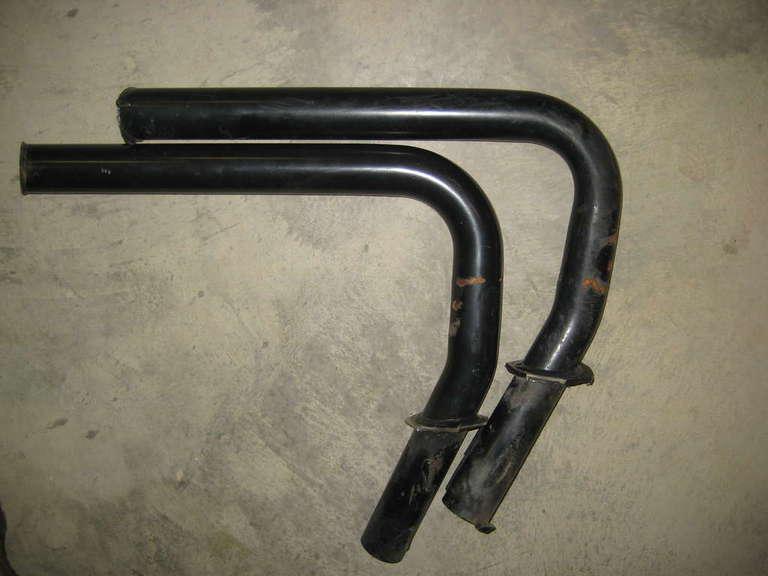
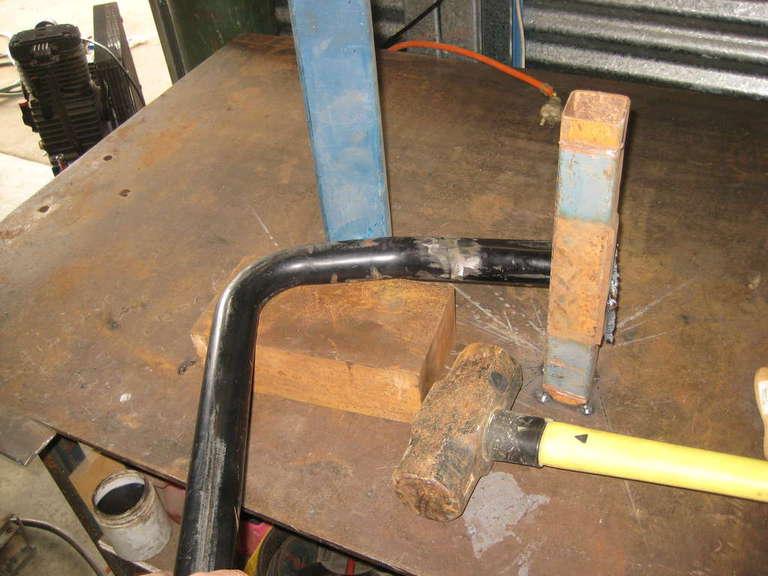
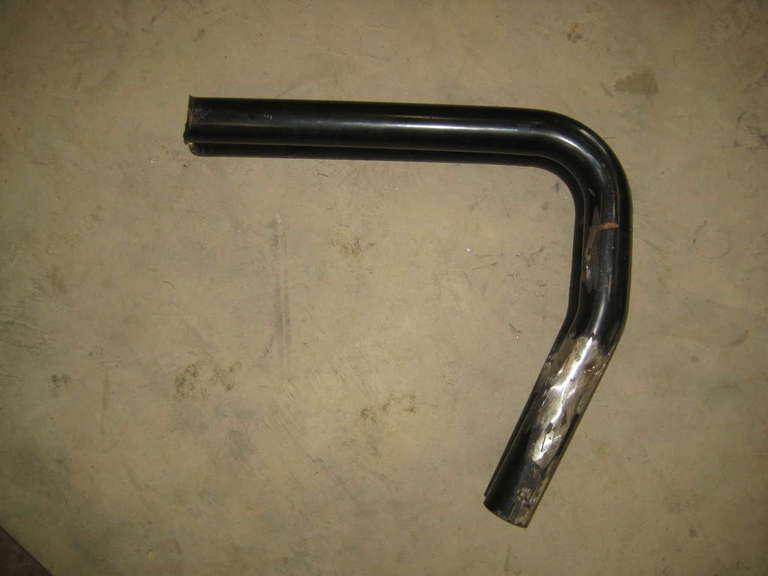
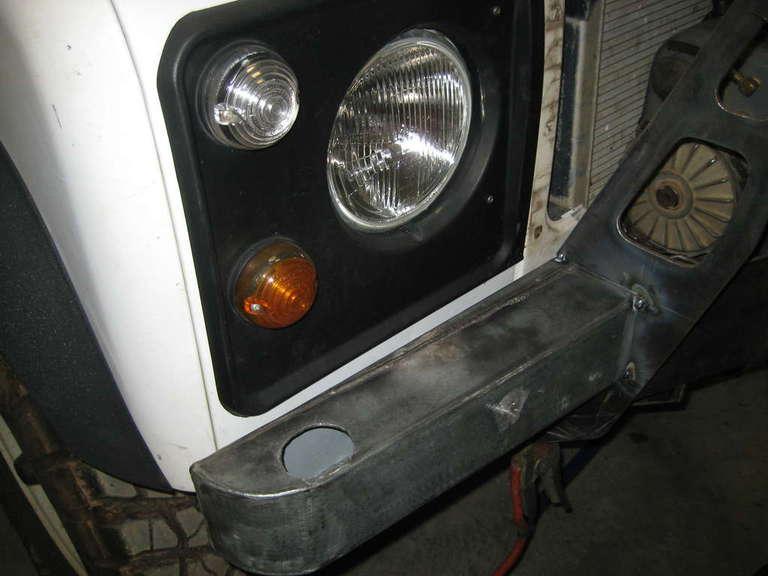
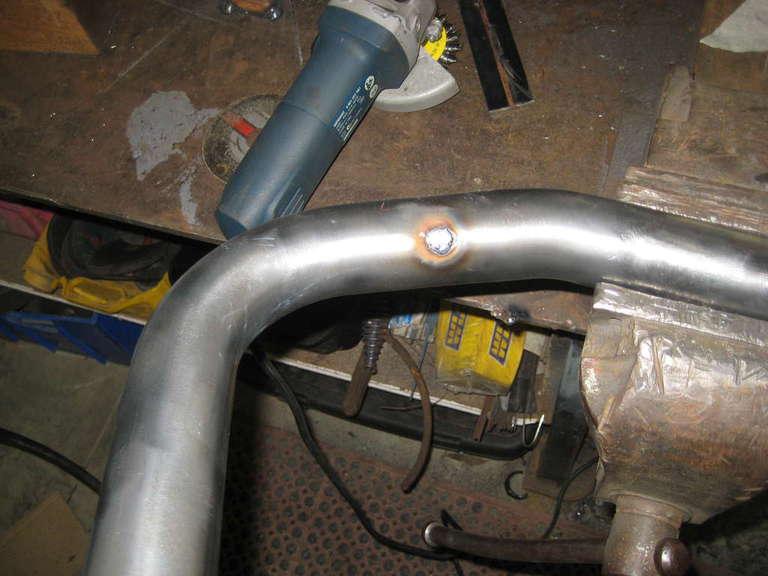
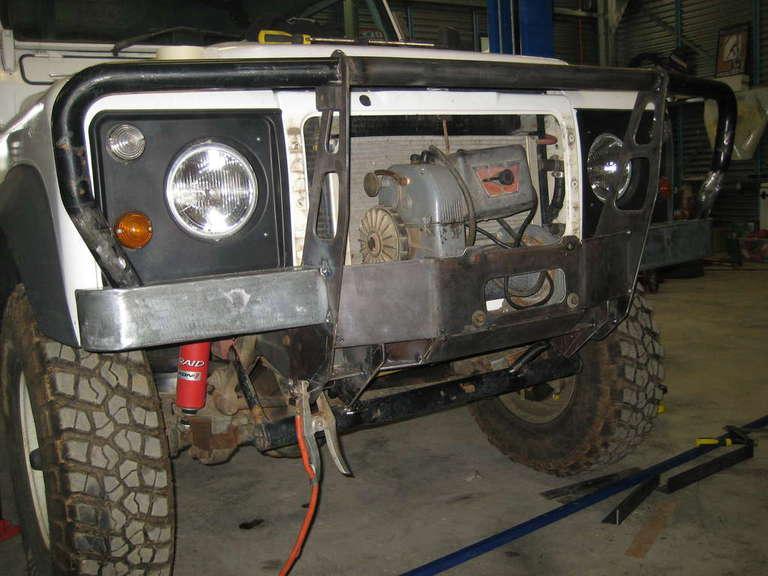
make bull bar,
fit hi mount winch,
modify front diff housing to fix a few issues,
fix both lockers,
instal AC,
modify tray including trundle draw and tool boxs,
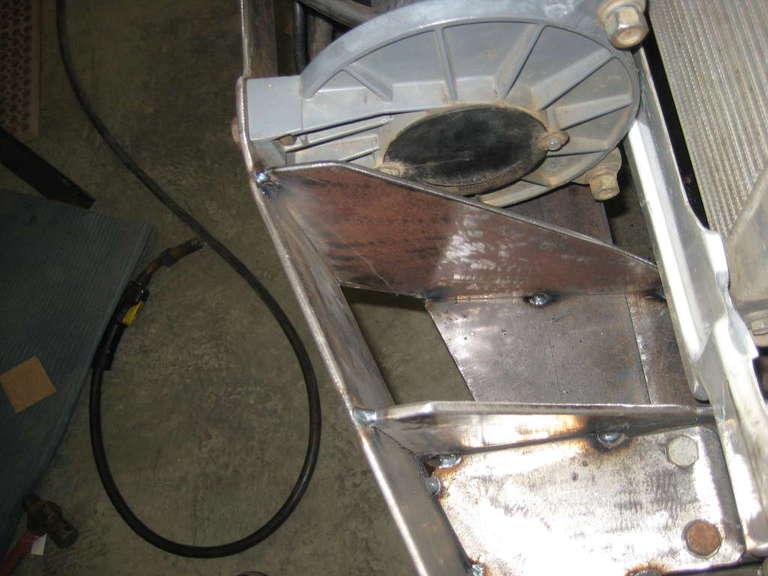
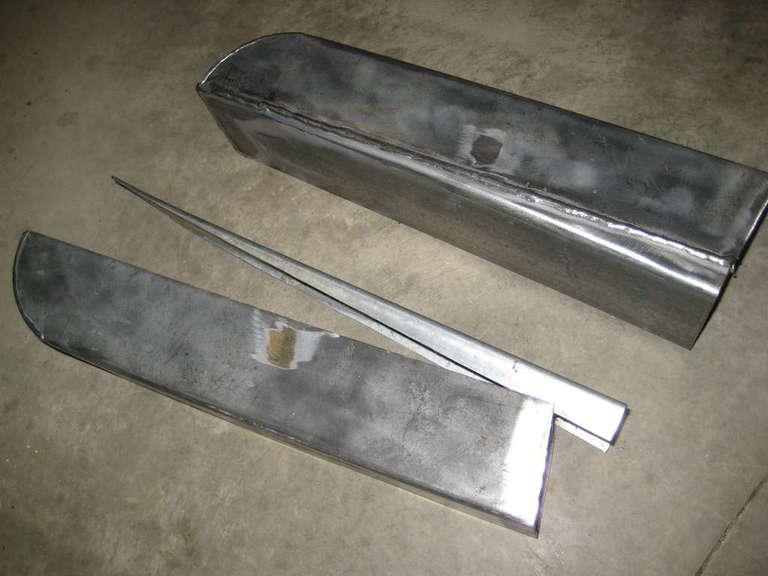
sill tanks (have new idea),
finish soundproofing,
finish interior, fix door locks seals etc,
mabey roll cage,
roof rack,
tint windows,
fit the cruise control I have in a box,
Driving lights,
snorkel,
The Slide ON;
Being a family of five we have the old problem of less room with the dual cab sized tray, with more people and gear to sleep and cary. I've decided to make my own as all the ones I've looked at don't suit our needs. For example the trayon is a well built camper, but their dual cab model eventhough they say it will sleep five, is simply way too small inside, and at $30K out of our budget anyway.
The camper must be easily removed as I don't like holding the vehicle hostage when set up. The pop top expedition vehicles sure look good and are quick to set up but realistically there isn't enough room for a family of five to sit around a table and move. So if you then set up awnings etc to create more room you then have to pack the whole show up if you need to go some where.
I believe what I'm planning will be unique and will address some of the common complaints people have about slide on's being;
*they are a hasstle to remove. Solution; use the air bag suspension combined with a different leg design.
*once removed they are wobbly. Solution; the new leg idea should solve this.
*the ladder to access the bed isn't ideal. Solution; will have a platform and wide step set up.
This thread will be a bit of a diary of my journy towards creating my version of the ultimate touring 130. I have a fair idea of what I'm going to do but are not a mechanic or engineer, I am a boilermaker and will have a crack at most things and welcome any suggestions or construstive critism along the way.
Wish me luck!


 Reply With Quote


")

Bookmarks