

 Reply With Quote
Good spotting, yes it is part of the slide on. Will go into more detail when I get closer to starting the buildOriginally Posted by roverjack

")

 Member
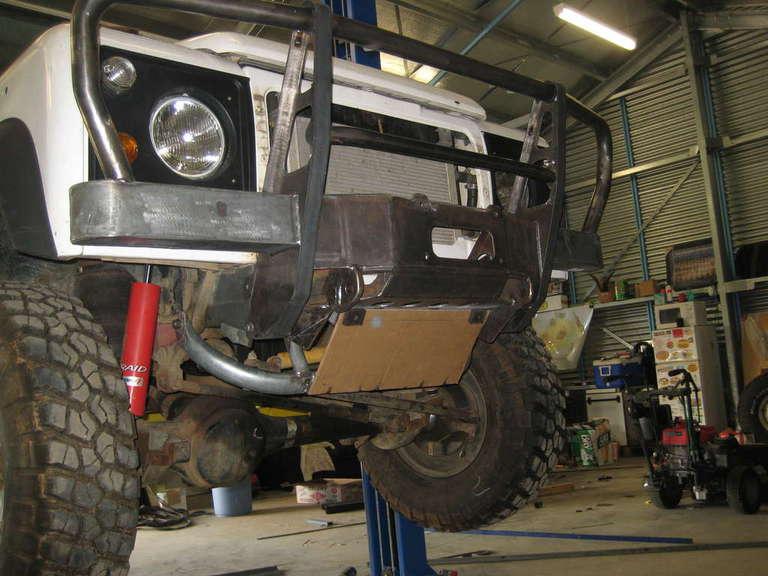
Great project, especially interested in the slide-on build. I notice what looks like a hard-shell rooftop tent in the background of one of your photos. Is that planned to be part of the slide-on?
Master
SupporterGood spotting, yes it is part of the slide on. Will go into more detail when I get closer to starting the build
Master
Taylorslandy,
Great job on the bar.
Have you past your design past ADR?
The forward protruding vertical wings would not go down that well I'm thinking!
Just saying……
David
Master
SupporterUm, yep
I mentioned earlier about the forward posts, have a look at Tuff bullbars and even some TJM bars and others still have forward facing posts. Too many bloody rules these days! Nearly finished, photos coming.
Master
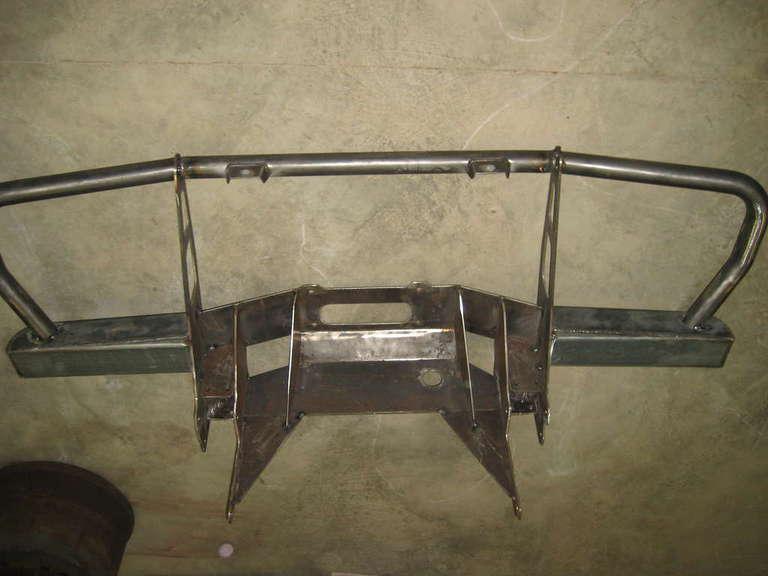
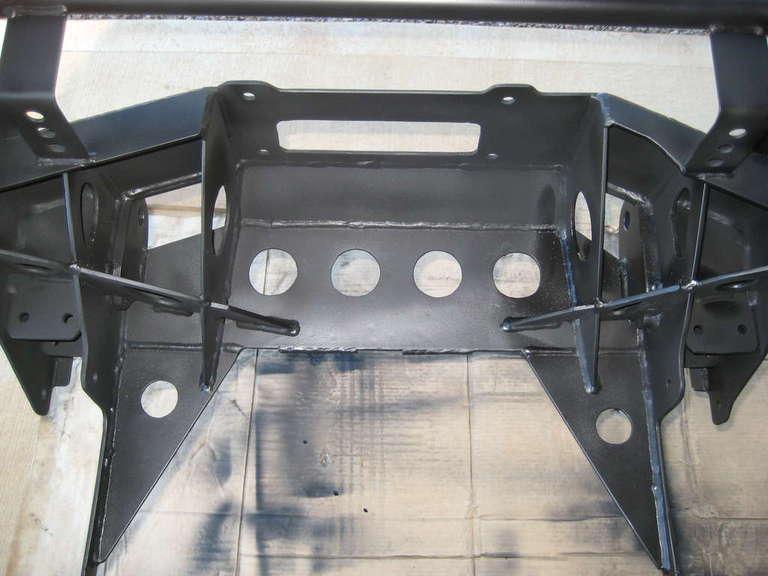
SupporterYou can see how the winch cradel is braced right back to to the chassis. I have since added a few more gussests, and a bit smaller center tube.
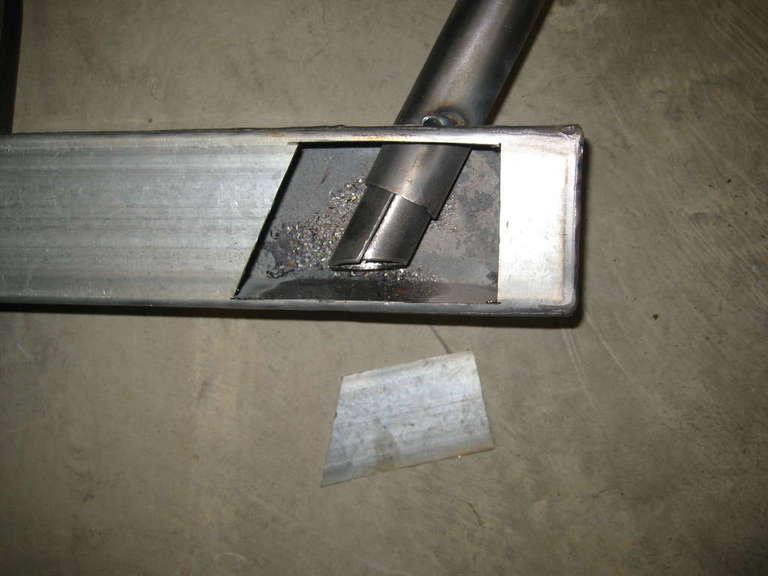
It was easier to set up the tubes on the vehicle to get the position right, but I couldn't access the inside of the bumper wing section until I pulled it off. The tubes wern't long enough anyway so I split a bit of 3mm pipe so it would be a nice tight fit, pre cut the angle on the end, and inserted it up the end of the bull bar tube. Then when the bull bar was off I could cut an access hole in the back of the bumper, pull the bit of pipe down with some vice grips so it meets the bottom of the bumper and can then weld it all up.
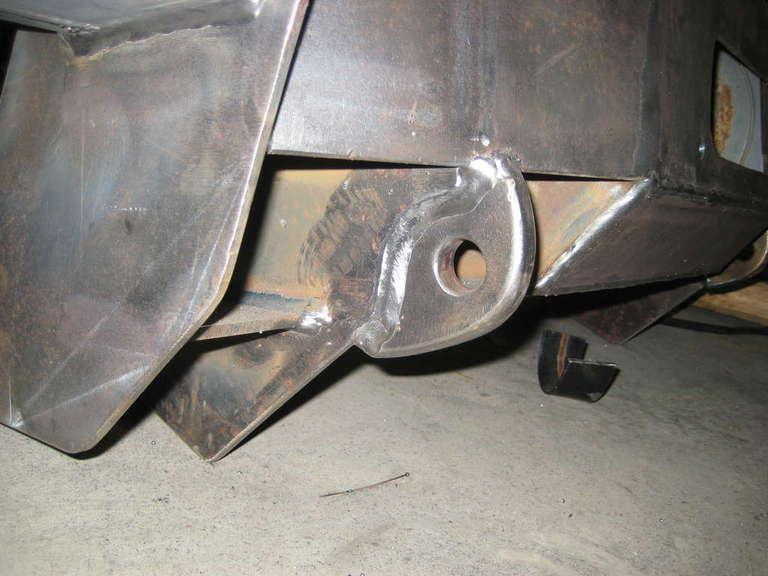
I happened to have a bit of 16mm plate with a couple of holes to suit a bow shackel so I made a couple of recovery points and welded them direct to the 6mm plate thats bolts to the chassis. The recovery lugs are about 200mm long and are fully welded.
Been a bit hard to get it finished but getting there!
Master
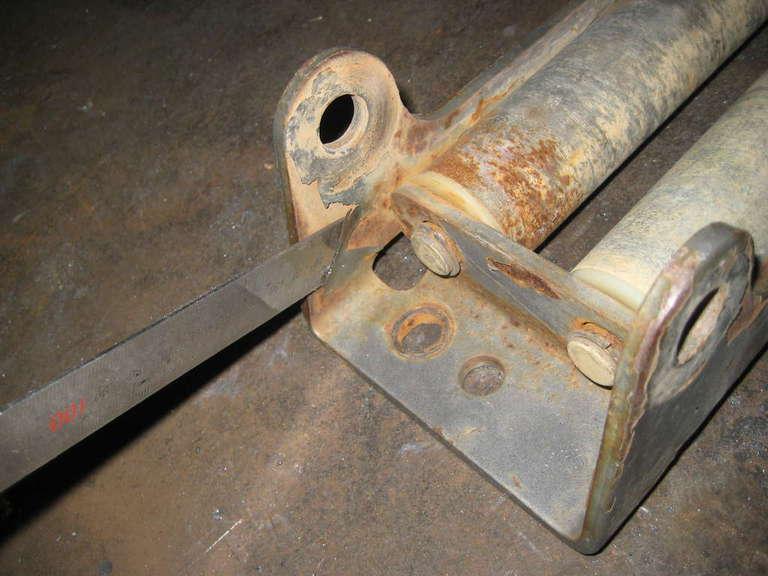
SupporterThanks to Steve I ended up making a better steering guard to replace the standard builders trestle. I made it from gal pipe about 3mm wall thickness and is a similar design to the army perentie ones. I flatterned the ends with a sledge hammer which worked out better than welding tags on. I will bolt an ally plate to fill in between the steering guard and bottom of bull bar.
Master
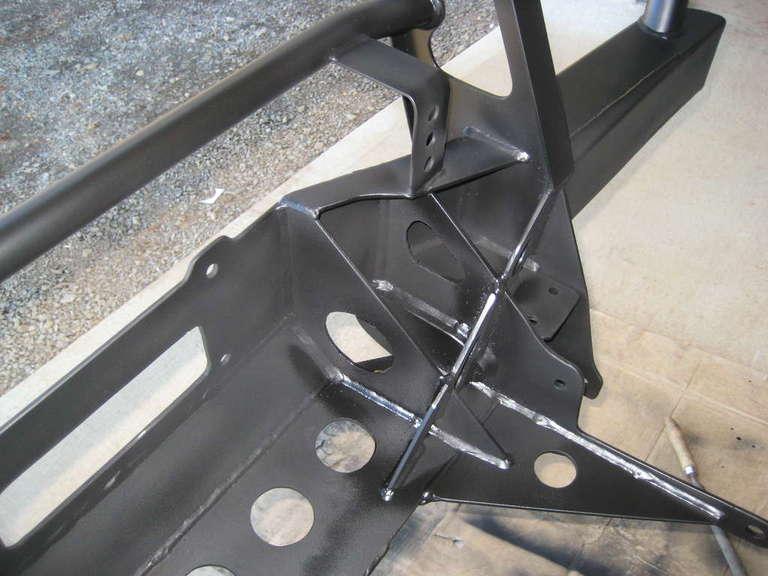
SupporterYou can see I've added a few extra gussests and cut a few holes here and there in an attempt to make it a bit lighter. So far I've painted it in black etch primer, will get top coat soon. I'm not a big fan of powder coating on anything you plan to keep for a few years, sure it looks nice when new but not once a stone chip lets rust under its skin and it starts to flake off. I can see why powder coating is popular though, it is quick and easy saving labour, covers the whole item and looks flash as it leaves the shop!
An example of powder coating flaking off my fairlead, will clean it up and paint it.
Master
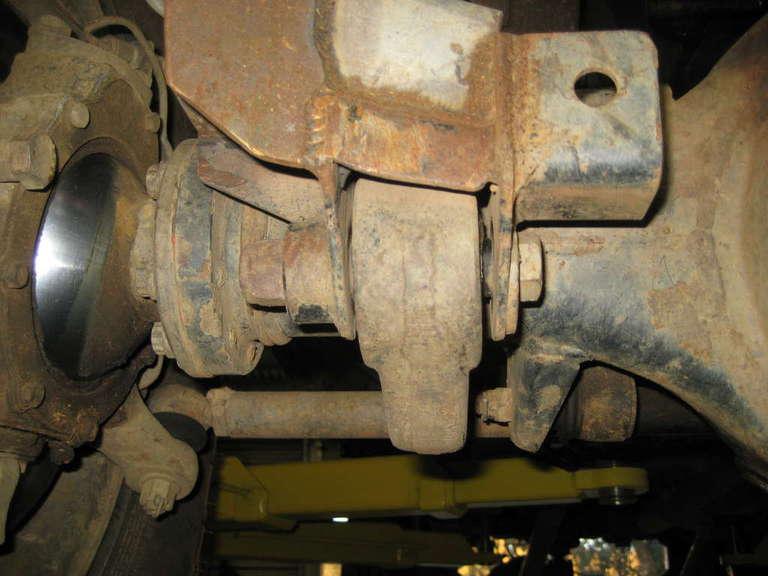
SupporterStarting to think about my front diff issues. Pretty sure the castor is way out as it has very vauge steering and you have to concerntrate to keep it in a straight line at speed. I think the whole diff needs to be rotated backwards forcing the pinion down to correct a few issues. Firstly, to fill people in, the front diff is from a classic range rover with factory air suspension to give the shock mount infront of the air bag. I'm thinking the rangie must have a bit different radius arms or mountings for the radius arms on the diff housing? Since I've bought the vehicle there has been nylon wedges under the airbags to help correct the angle of the air bag. When fitting the koni raids I had to modify the shock mounts as they were too low and wrong angle. The pinion points too high for ideal uni angle. So if the whole diff is rotated back it may fix a few issues. I'm starting to wonder if I'd be better off getting a county diff or similar if it will solve the castor/diff rotation issues, and then weld on the shock mounts.
I'm also going to brace the diff housing up and weld the maxi drive actuator on while it's all out.
I'm also lead to believe the rangie has wider radius arm mounts on the diff? My options to modify my current diff are to get modified radius arms or modify the mounts on the diff. Slotting the swivel hub flange wont work here as that will not solve the spring angle or pinion angle. I'm also going to have to re modify the shock mounts once it all rotates back!
So what do you think, modify what I have or get a county (or defender mabey?) diff and add the shock mounts?
Wizard
Hi,
I would be surprised if the Rangie axle had different geometry to a Defender/County one.
There was a change in radius arm width at some stage, I'm sure it's a date thing not a Rangie/County thing.
I would get it on a wheel alinement machine, at standard ride height and find out what the caster is.
The caster will reduce as the ride height comes up.
What ride height are you running at?
I have a county housing you can have if that solves your problem, and I'm just down the hill from you.
I would also love to have a look at the air suspension set up, if your willing.
Tony
OldBushie
The front RR housing is the same dimensionally, the arms everything, the shock mounts are factory EAS top and bottom, again factory rover location, but the EAS models were a bit of a hack job
Ride height governs castor angle, it wont be vague with a lower running height on road, it will however be firmer as the spring rate increases the further the bag is over the piston
Good to see my "temporary" teflon packers are still workingthat's how Brett from airbag man came about making offset lower pistons for what is now I believe there rover kits as I was doing that first letting him know the issues
So pinion angle is factory rover, should not be an issue
I'm not sure how well the Raids will work with airbags, from what I gathered air springs need a far lower comp/rebound rate than coils, its why the shocks it had in made it a very harsh ride, far to firm, they were good with coils however
The bushes, both chassis and diff end should all be correct match, the panhard I cant remember what I used or if I welded washer on housing to suit smaller bolt ID or drilled chassis end mount to go larger
I'd be inclined to see if you can get lower pistons that bolt in from Brett and if you prefer to run higher height on road rotate the swivels
With swaybar in the back, low ride height you could drive it around corners till the rear wheels lifted, like driving with ACE
 Posting Permissions
| Search AULRO.com ONLY! |
Search All the Web! |
|---|
|
AULRO.com Copyright 2001 - 2025 Independently Owned and Operated by Dave Blears Computing - DavecandoIT - AULRO.com LAND ROVER and its logo are the registered trademarks of Land Rover. Land Rover is not affiliated with AULRO.com. |
|

Bookmarks