
Originally Posted by
whitehillbilly64

Slow weekend.
Second S3 being restored by 3rd party. So getting in the way of what I need to do, and tool usage.

Picked up a hoop set, has the bits I need and a fully enclosed front bumper bar.
I fitted the firewall, just to get it out the way. Nuts face the rear ???? Does it need washers, or just nut and bolt ????
Thanks.
whitehillbilly
Nuts to the rear - washer under the nut, but more importantly, washers between the firewall and the chassis to adjust the position of the firewall.
The tub, bolted front and back, has no adjustment, so the firewall needs to be adjusted to fit the doors. Hence you need to have the tub at least temporarily mounted before finalising the firewall position. You can either temporarily fit doors or just use a tape. (You could probably use a tape for the tub too, measuring from the tabs it bolts to at the back.)
As others have commented, the bolts must be covered in anti-seize grease so that it is possible to remove them in the future!
John
JDNSW
1986 110 County 3.9 diesel
1970 2a 109 2.25 petrol


 Reply With Quote
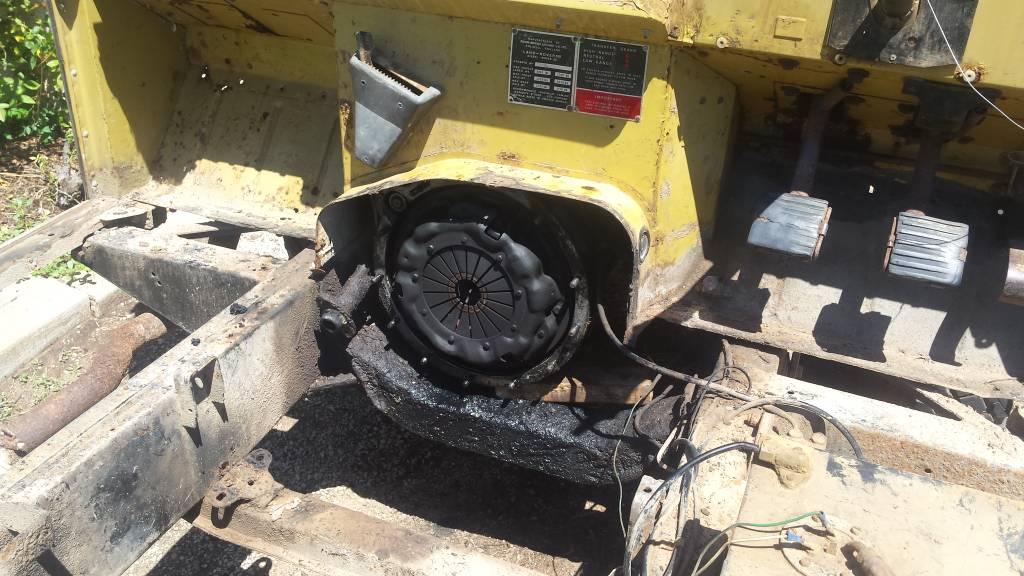

Bookmarks