Warrick, thanks for the kind words! I'm not a mechanic, if thats what you're asking
")
I'm actually supposed to be an electrician, but I've only ever done industrial work. I spent a bit over 7 years in the defence force as a technician, then the last 13 years supplying and servicing industrial machinery for the cabinet making industry.
With regards to the confidence on pulling it all apart and then putting it back together again, I have the aid of the parts and service manual, many hundreds of photos, and of course the wealth of knowledge on this forum!
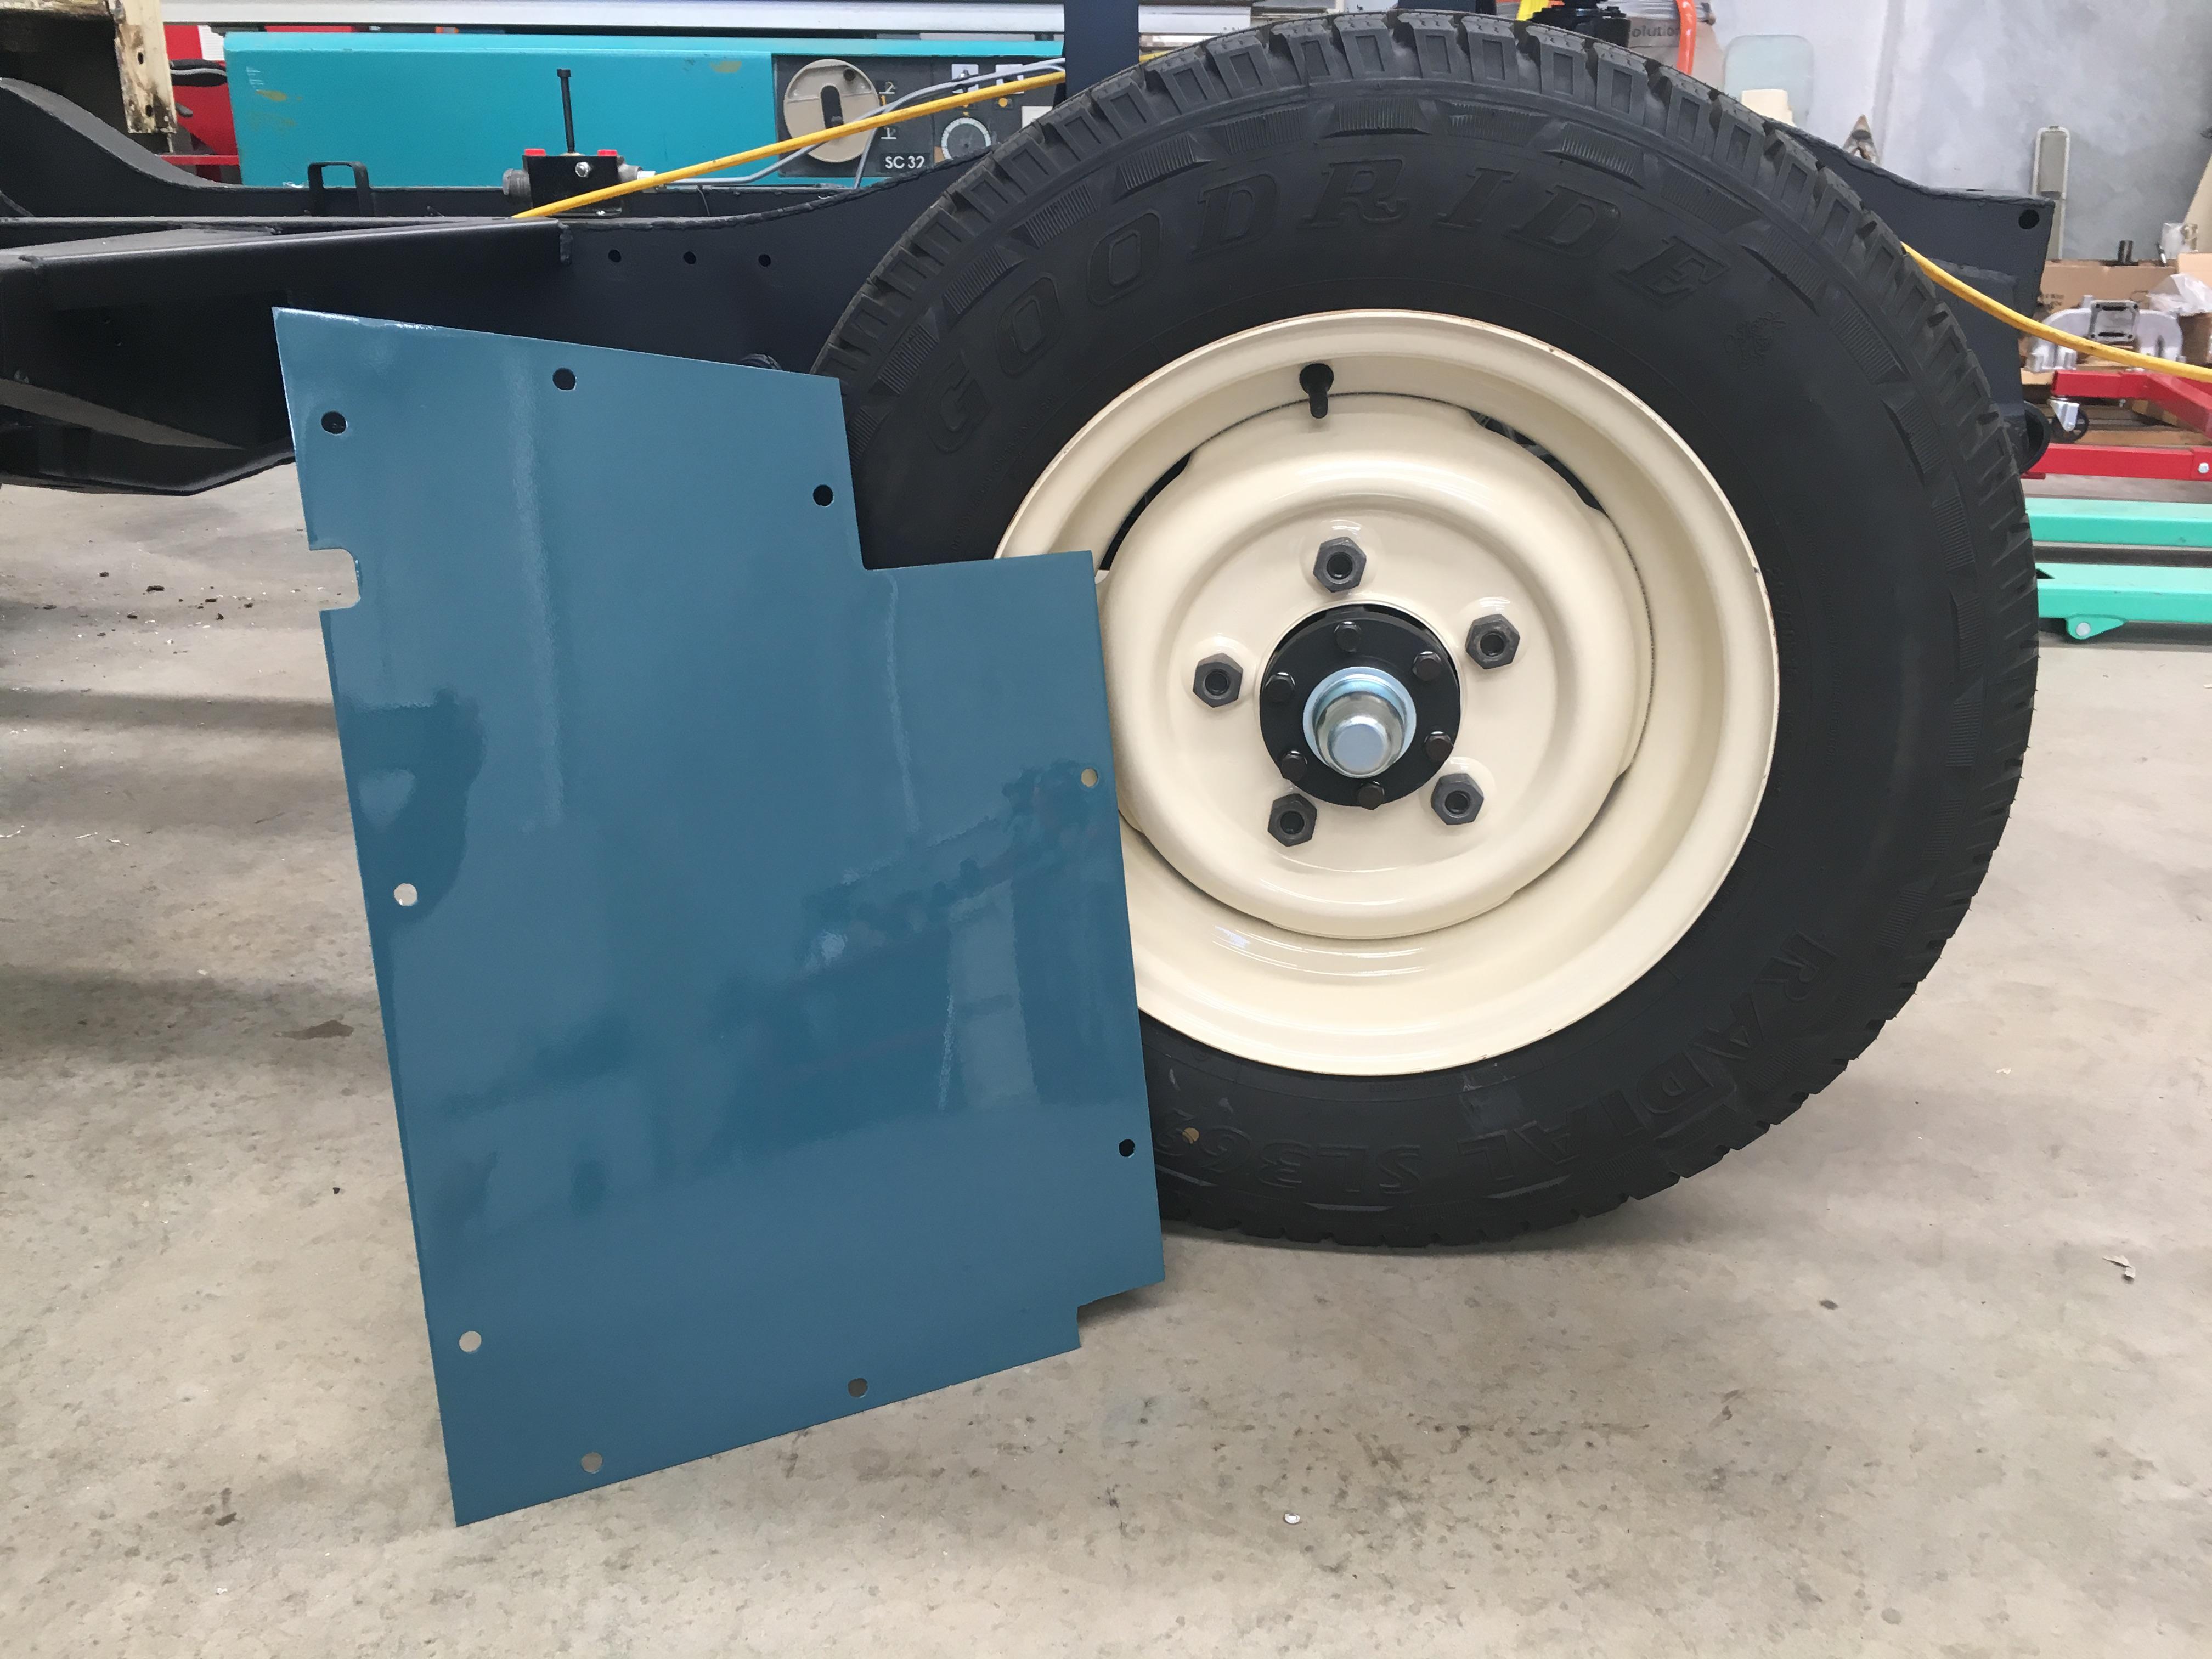
The parabolics came from Paddock Spares in the UK, and are GME branded. Just a note with the springs, it looks like the stock shocks will be too short, I might get away with the front ones, but the rear shocks and axle straps will most likely be too short. There are aftermarket longer ones available.
Cheers,


 Reply With Quote

 )
)


Bookmarks