

 Reply With Quote
Seconded,
more please....

 Master
Missing your updates Tim - what's going on??
Master
Seconded,
more please....
Wizard
I'm still alive!Work has taken over my life again, but a bit of an update is coming shortly.
Cheers,
RoverLord
Perhaps the real world caught up and he had to do some real work.
Looking forward to more updates too!!!!!
Andrew
DISCOVERY IS TO BE DISOWNED
Midlife Crisis.Im going to get stuck into mine early and ENJOY it.
Snow White MY14 TDV6 D4
Alotta Fagina MY14 CAT 12M Motor Grader
2003 Stacer 525 Sea Master Sport
I made the 1 millionth AULRO post
Wizard
If it weren't for them meddling banks, and their darn mortgages.....
(I'd be renting I guess)
Cheers,
RoverLord
Tim.
There is a canvas frame for an 88" on West Oz Series(facebook if you aren't a member) $500.
Andrew
DISCOVERY IS TO BE DISOWNED
Midlife Crisis.Im going to get stuck into mine early and ENJOY it.
Snow White MY14 TDV6 D4
Alotta Fagina MY14 CAT 12M Motor Grader
2003 Stacer 525 Sea Master Sport
I made the 1 millionth AULRO post
Wizard
So, a bit of an update.....
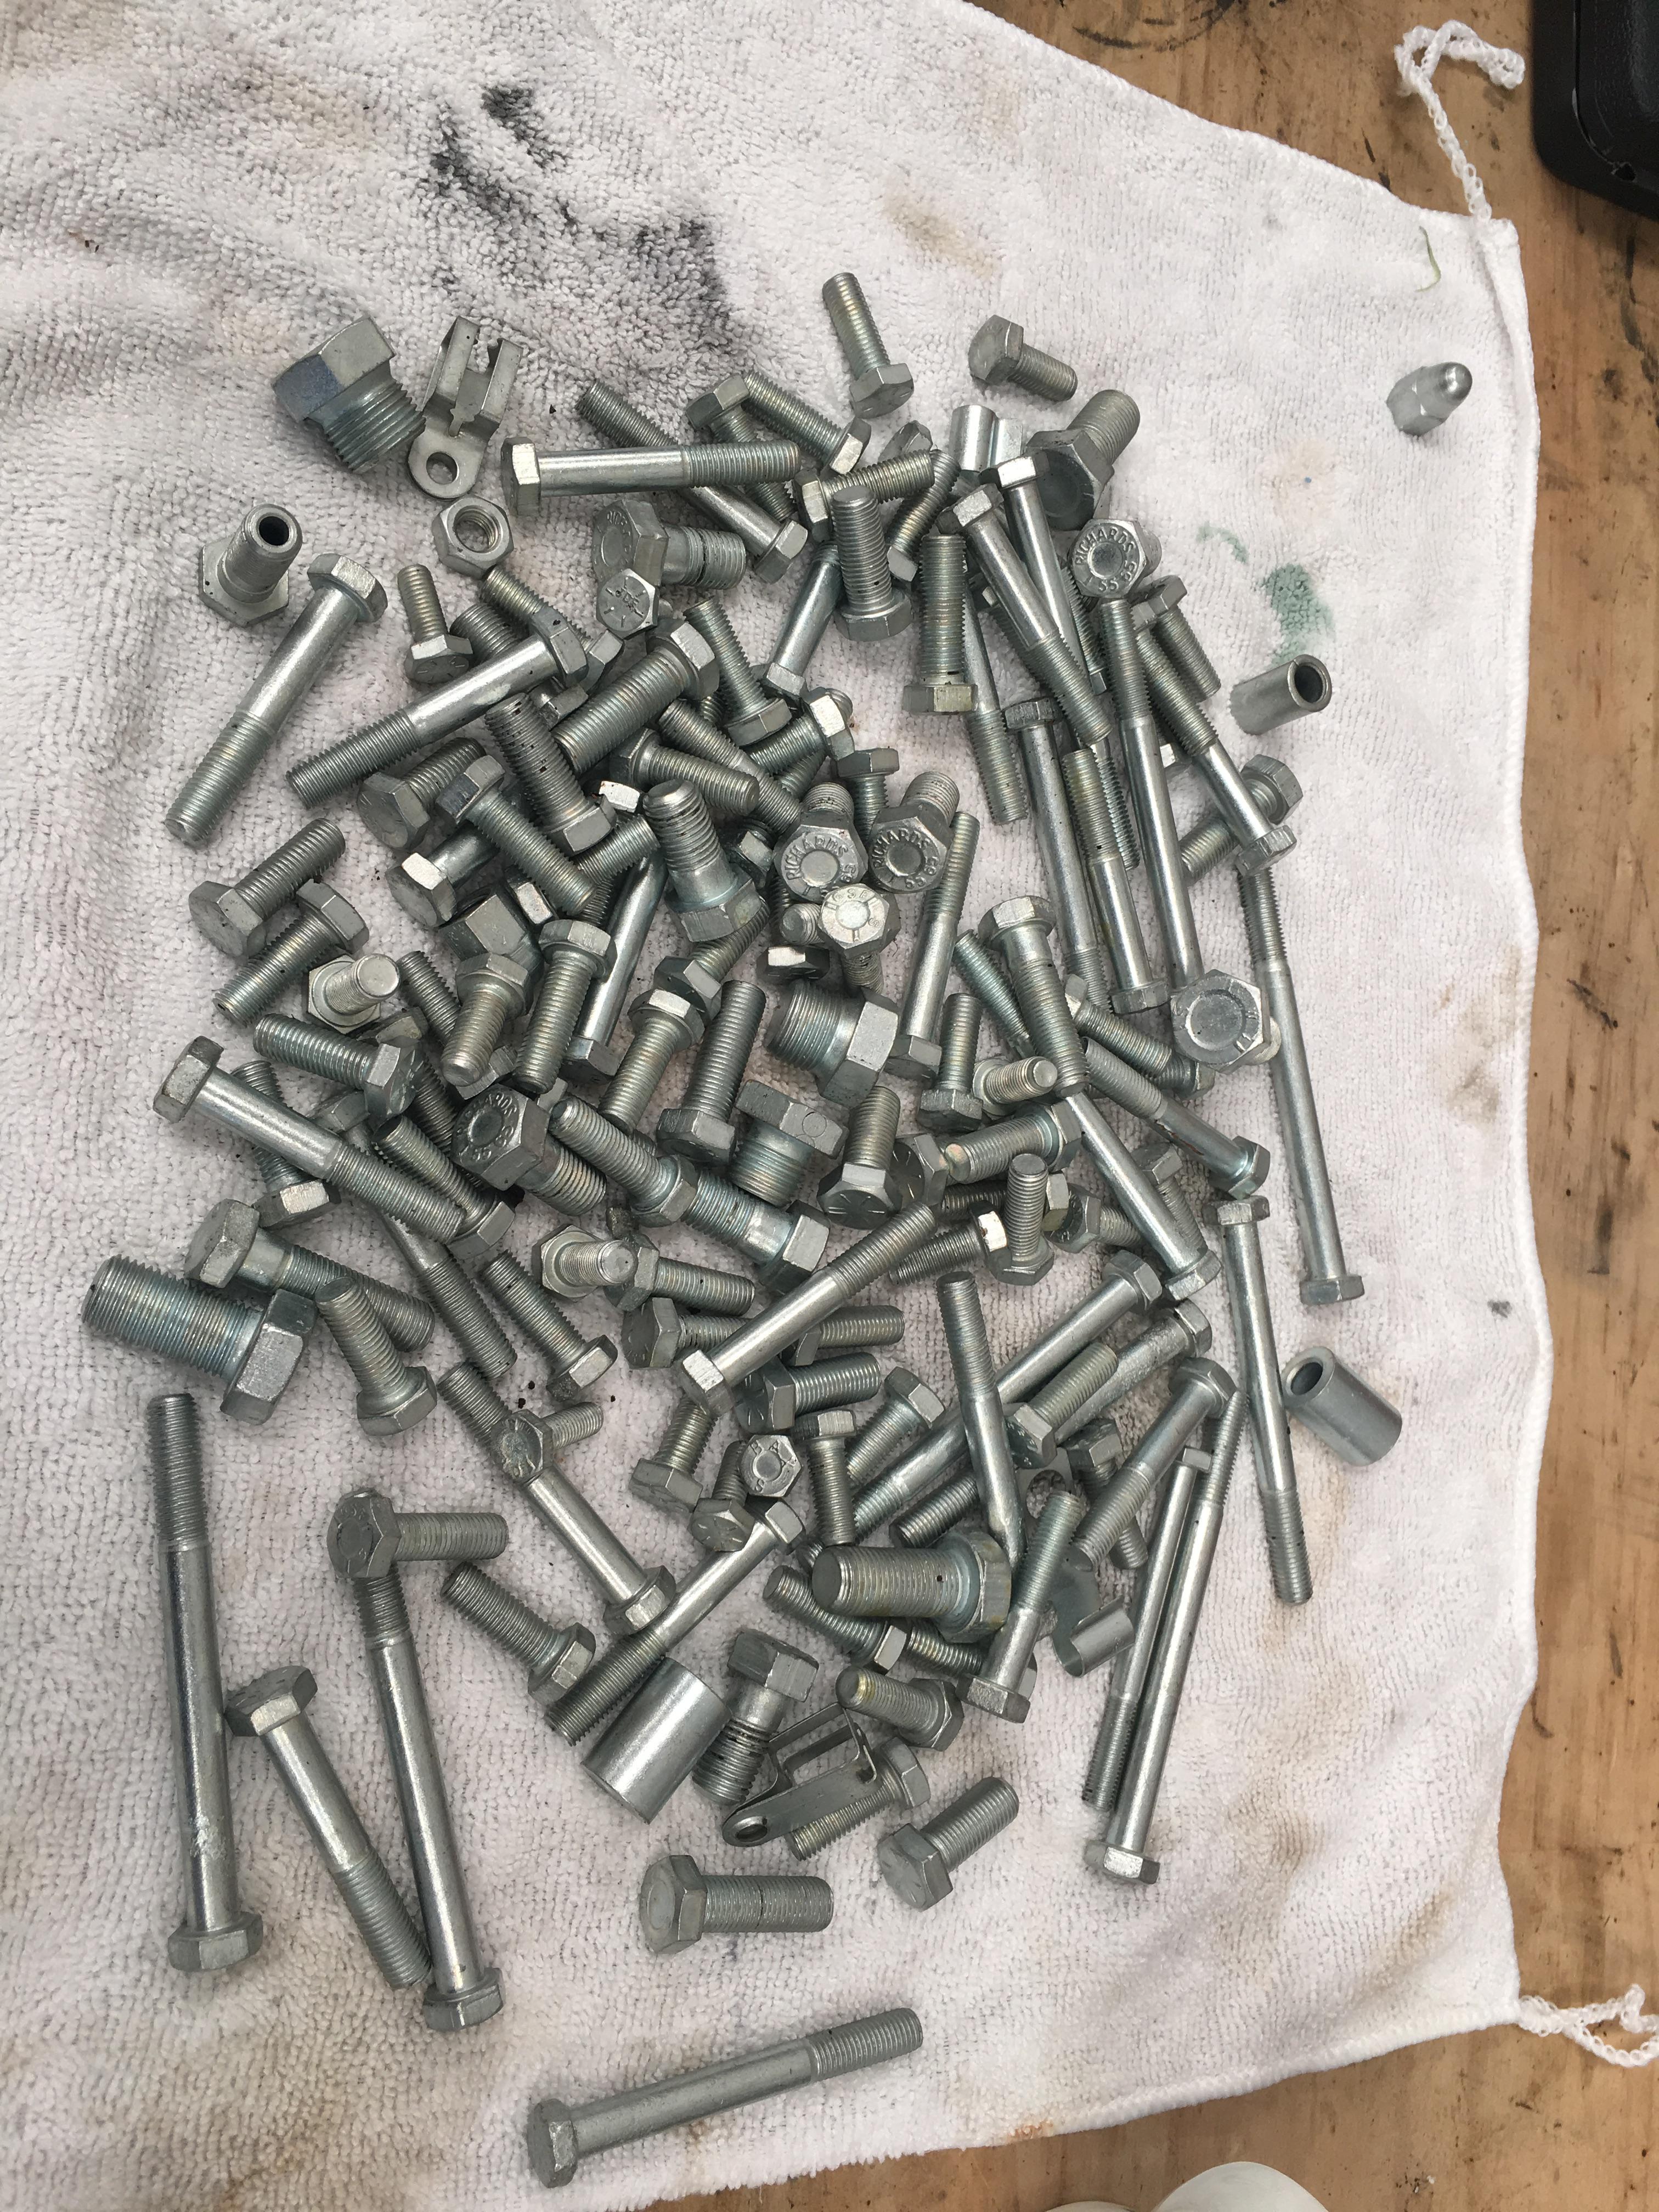
One of the things I wish I'd know in hindsight is to gather up all those nuts, bolts, and fixings, then drop them off at the local electroplater. Saves buying new pieces in some cases, and hours of frigging about trying to clean old fasteners. I also gave him a few new bits that were supplied with the gold coloured plating on them, (looks wrong on a series in my opinion). Initially I had the electroplater re-plate the bolts, then black them, but the old bolts looked terrible, so they were redone in plain zinc.
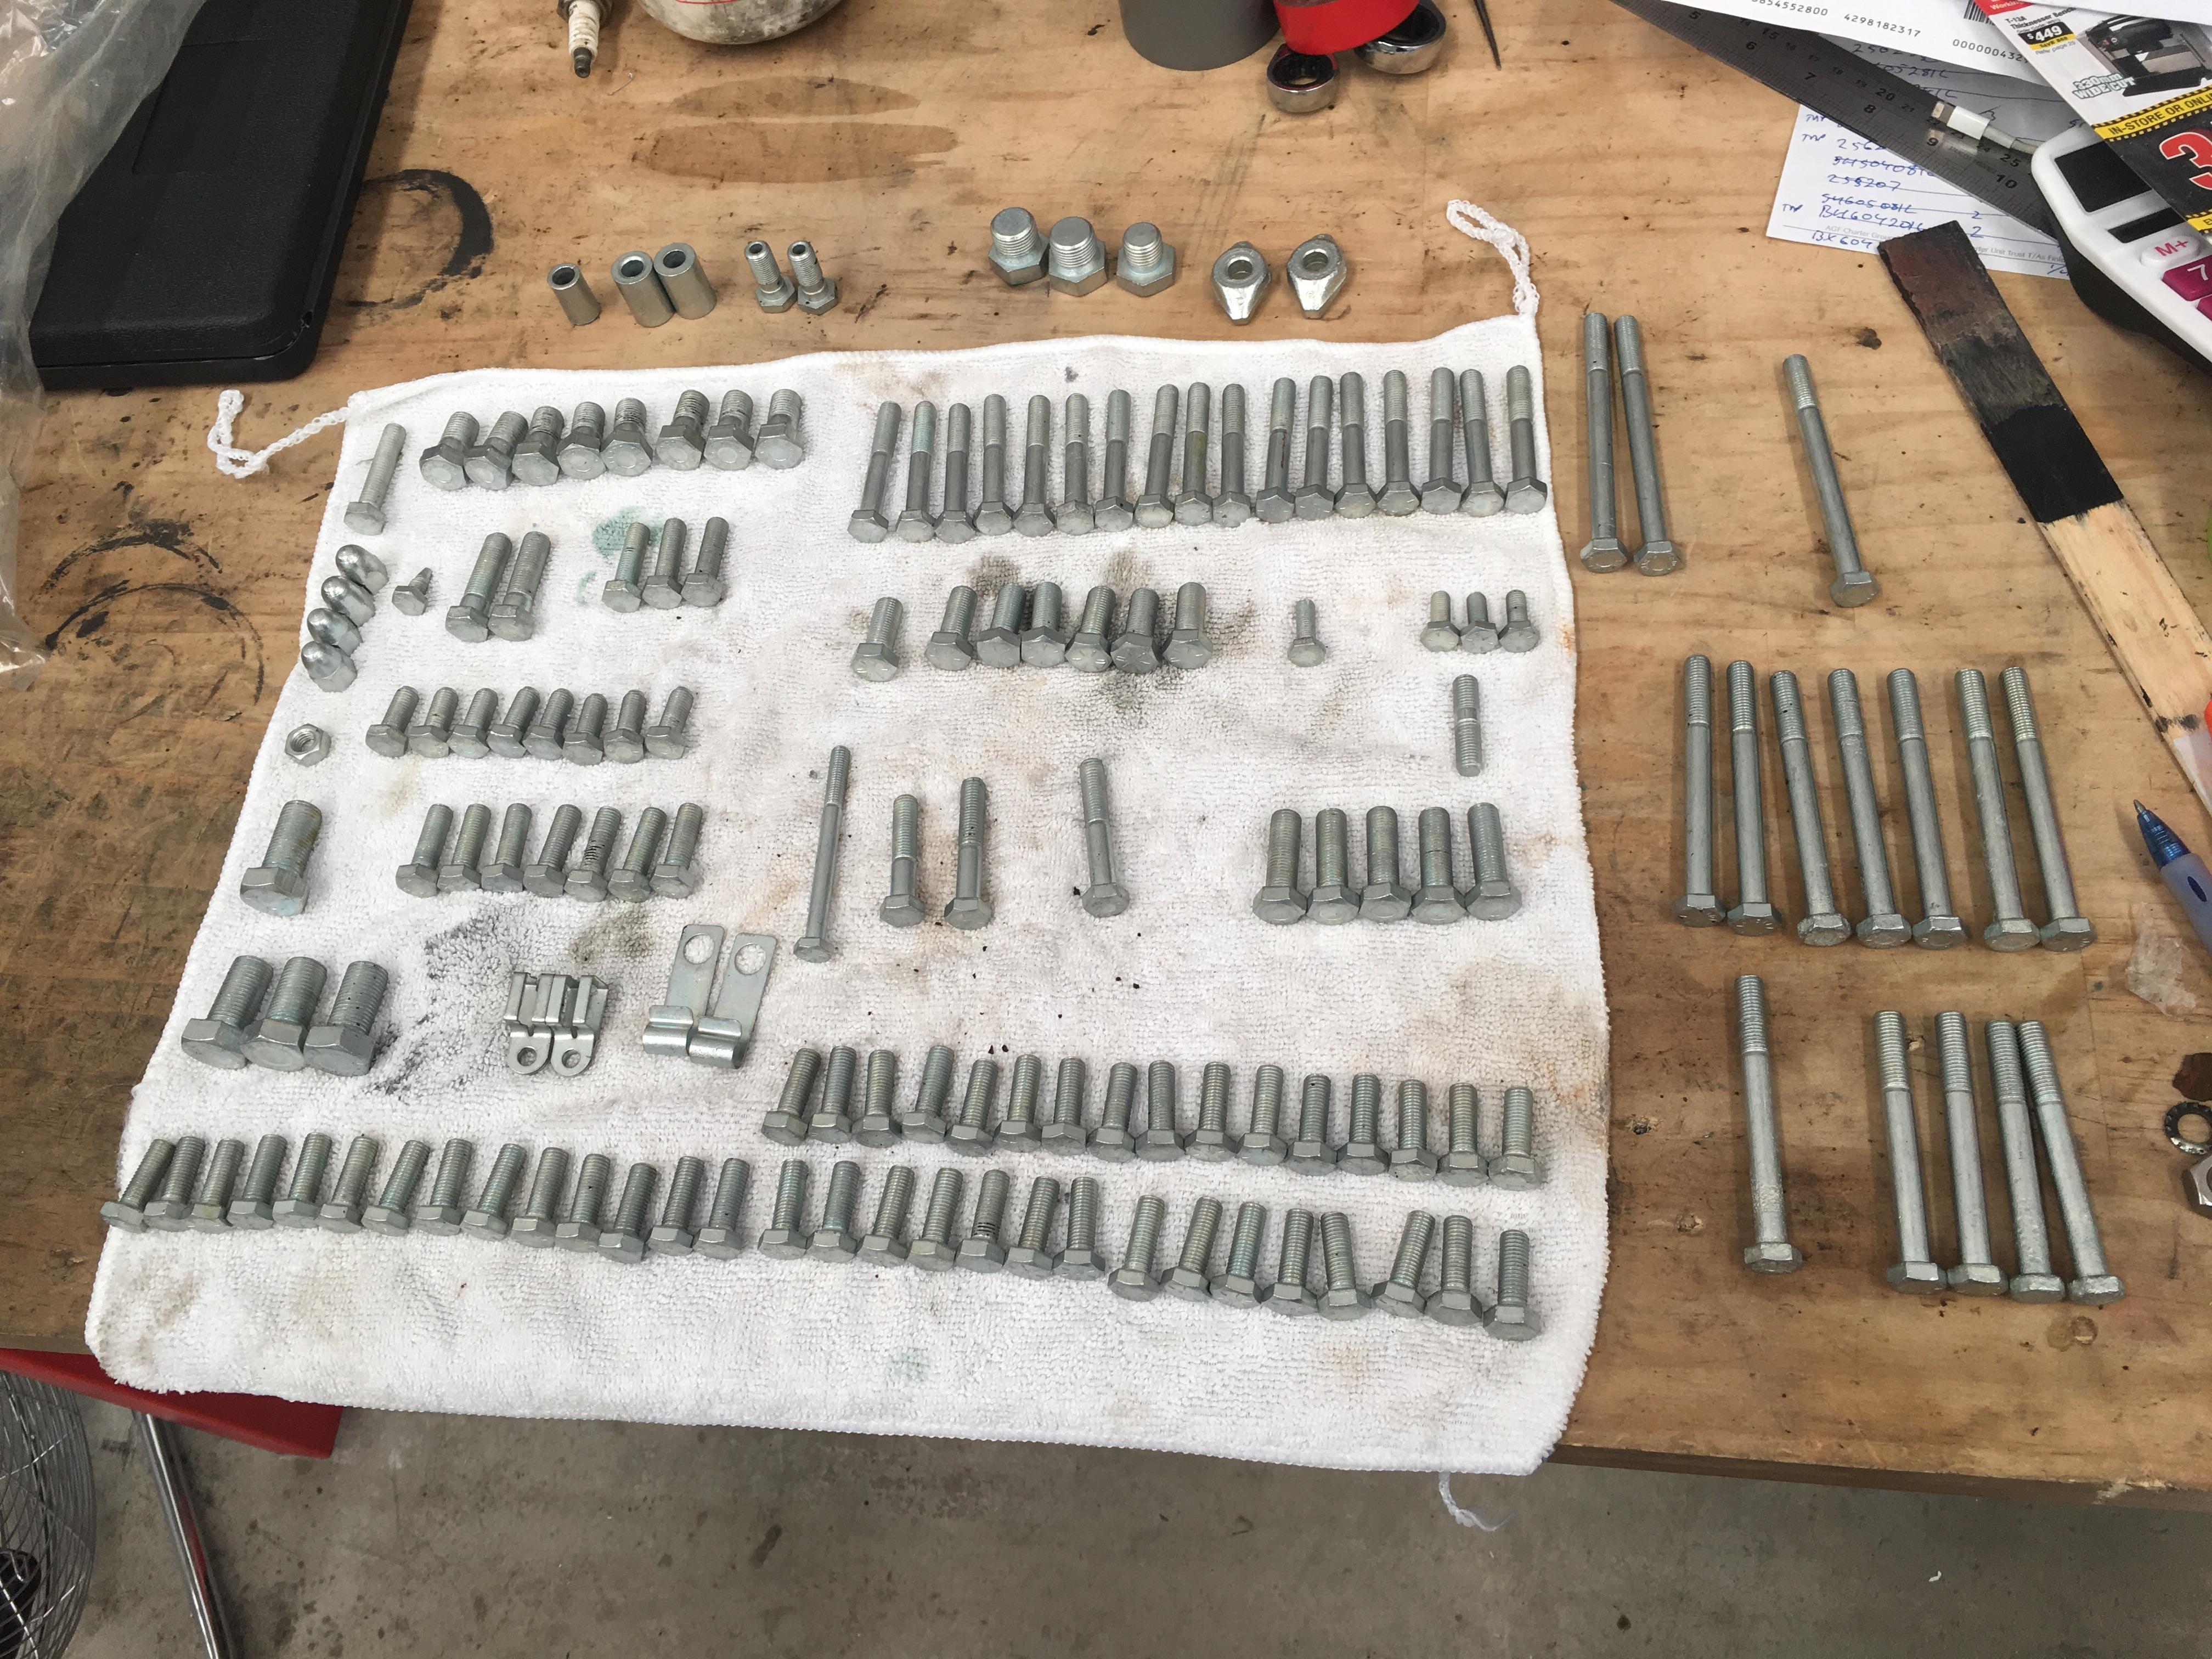
All kind of organised:
The water pump bolts were the only ones that were unusable. I did not get the head bolts done as I didn't want to run into any issues with "hydrogen embrittlement", Hydrogen embrittlement - Wikipedia
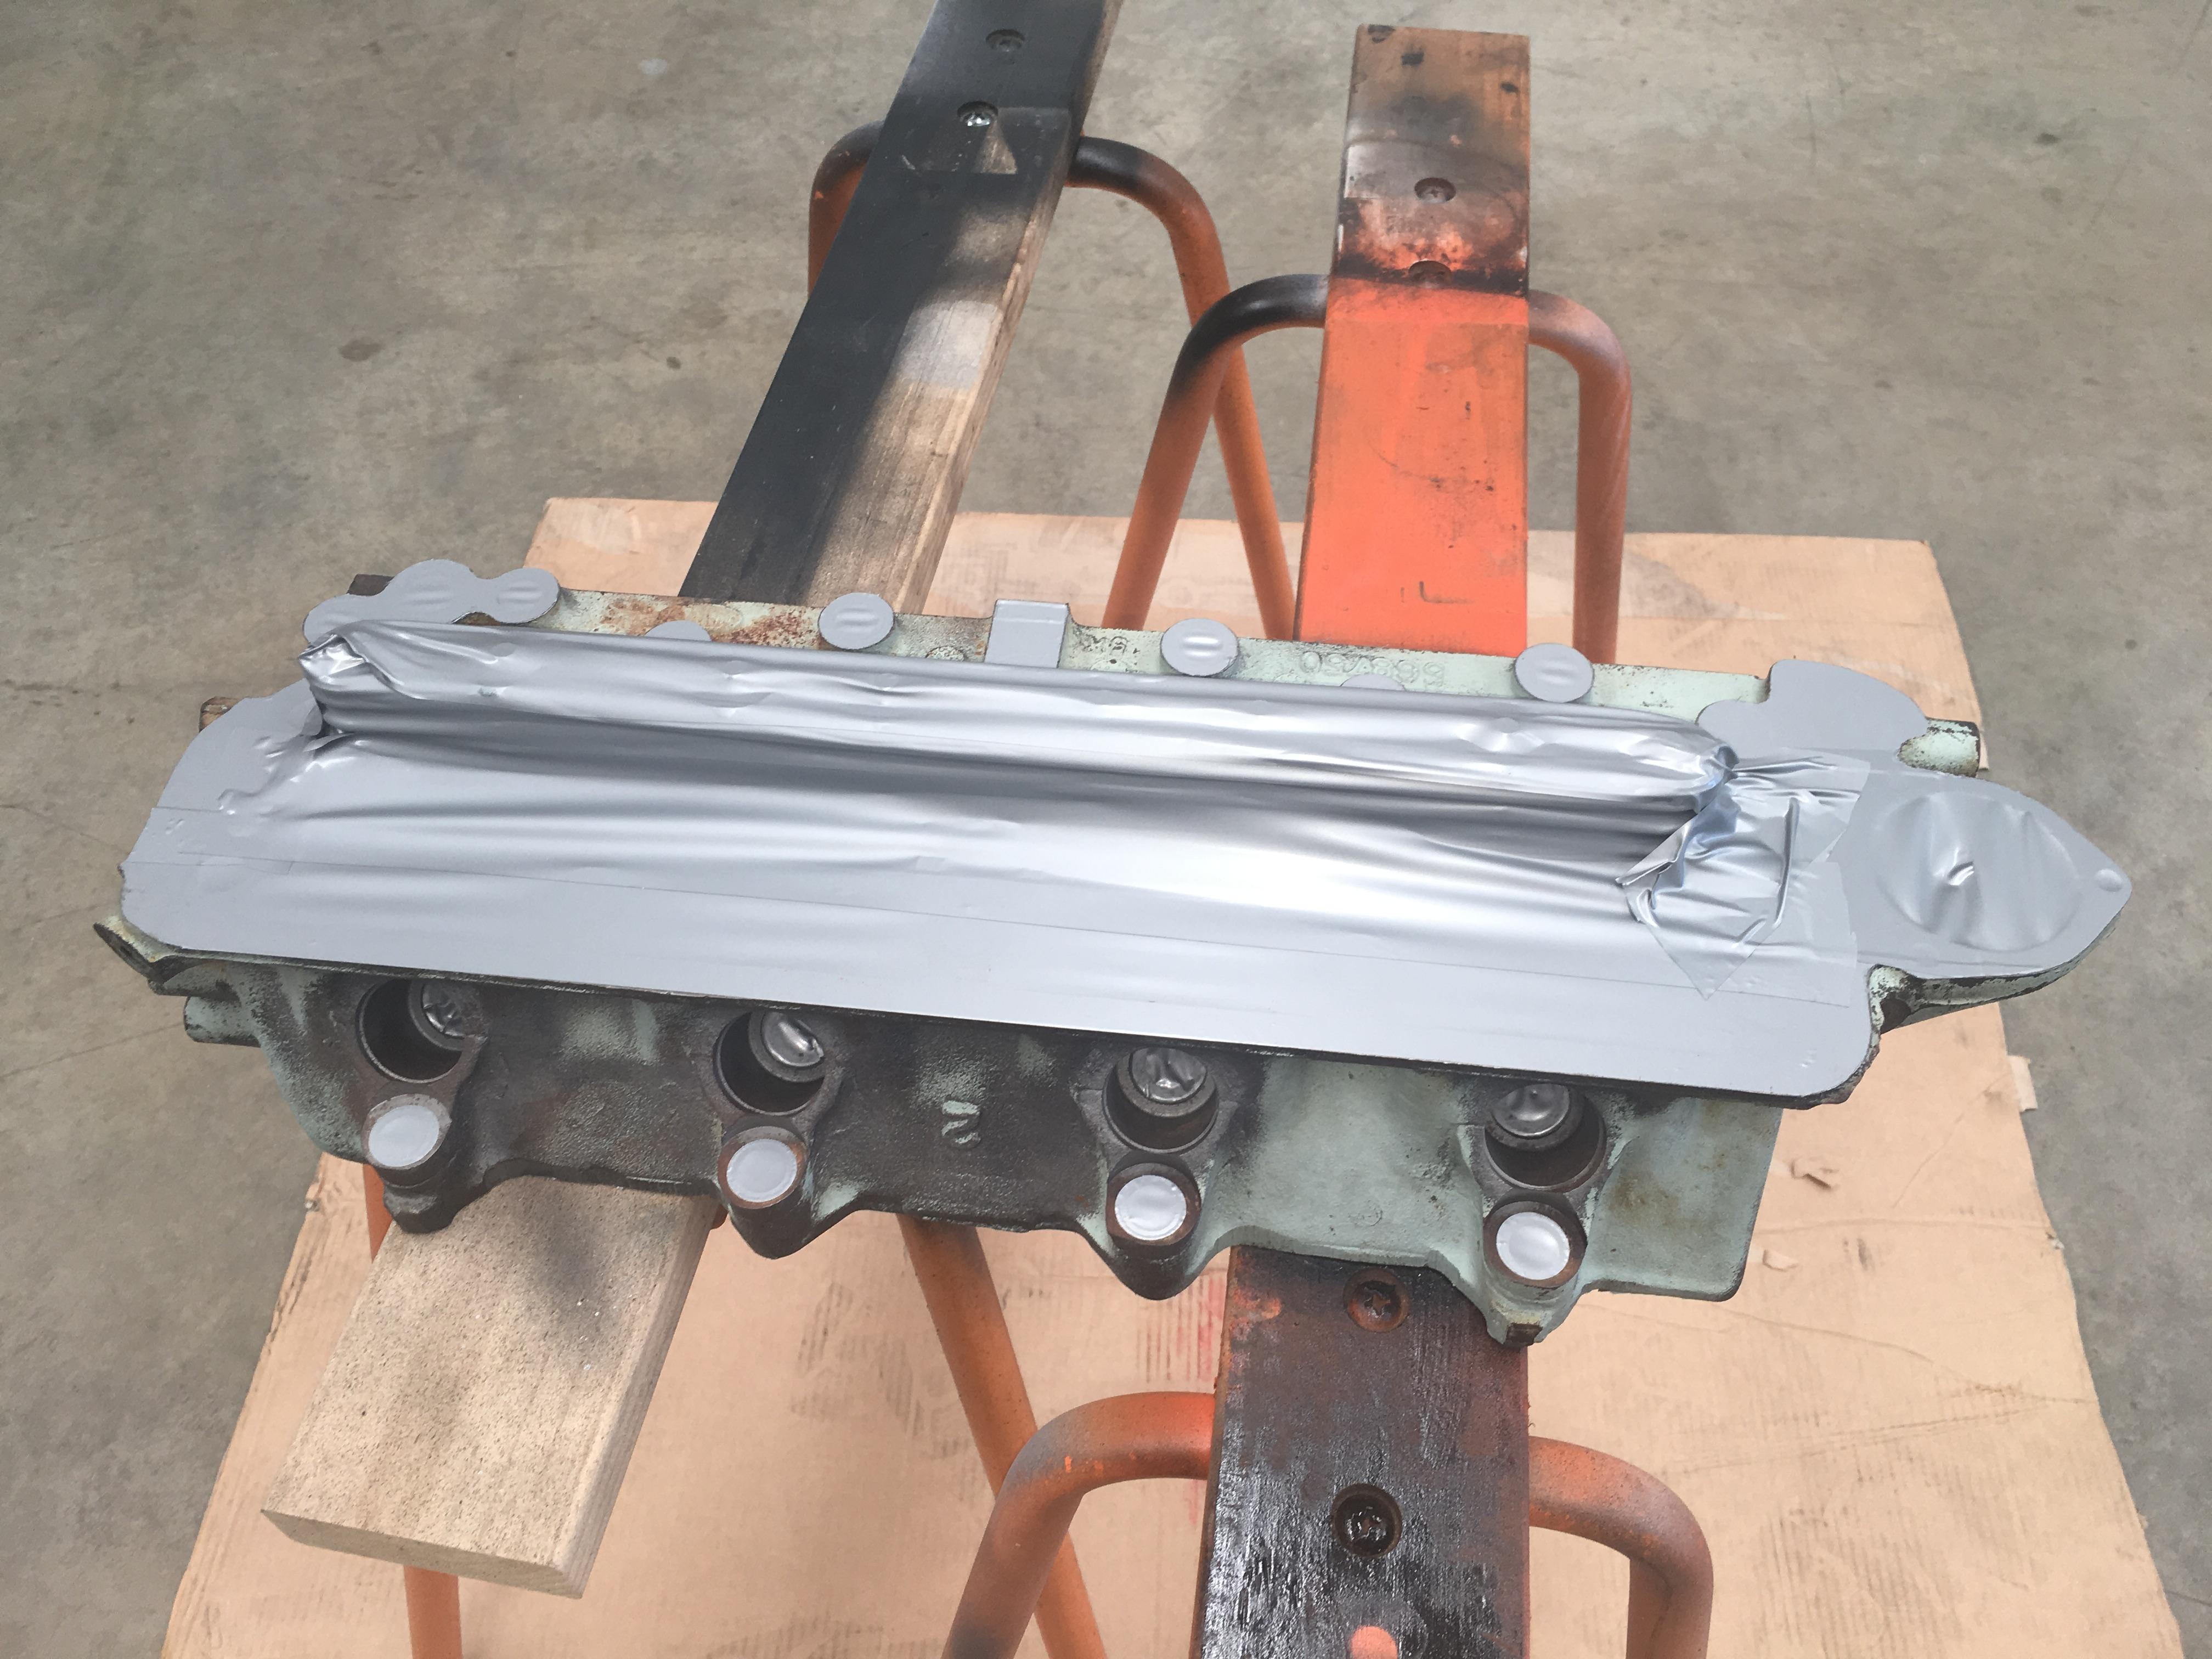
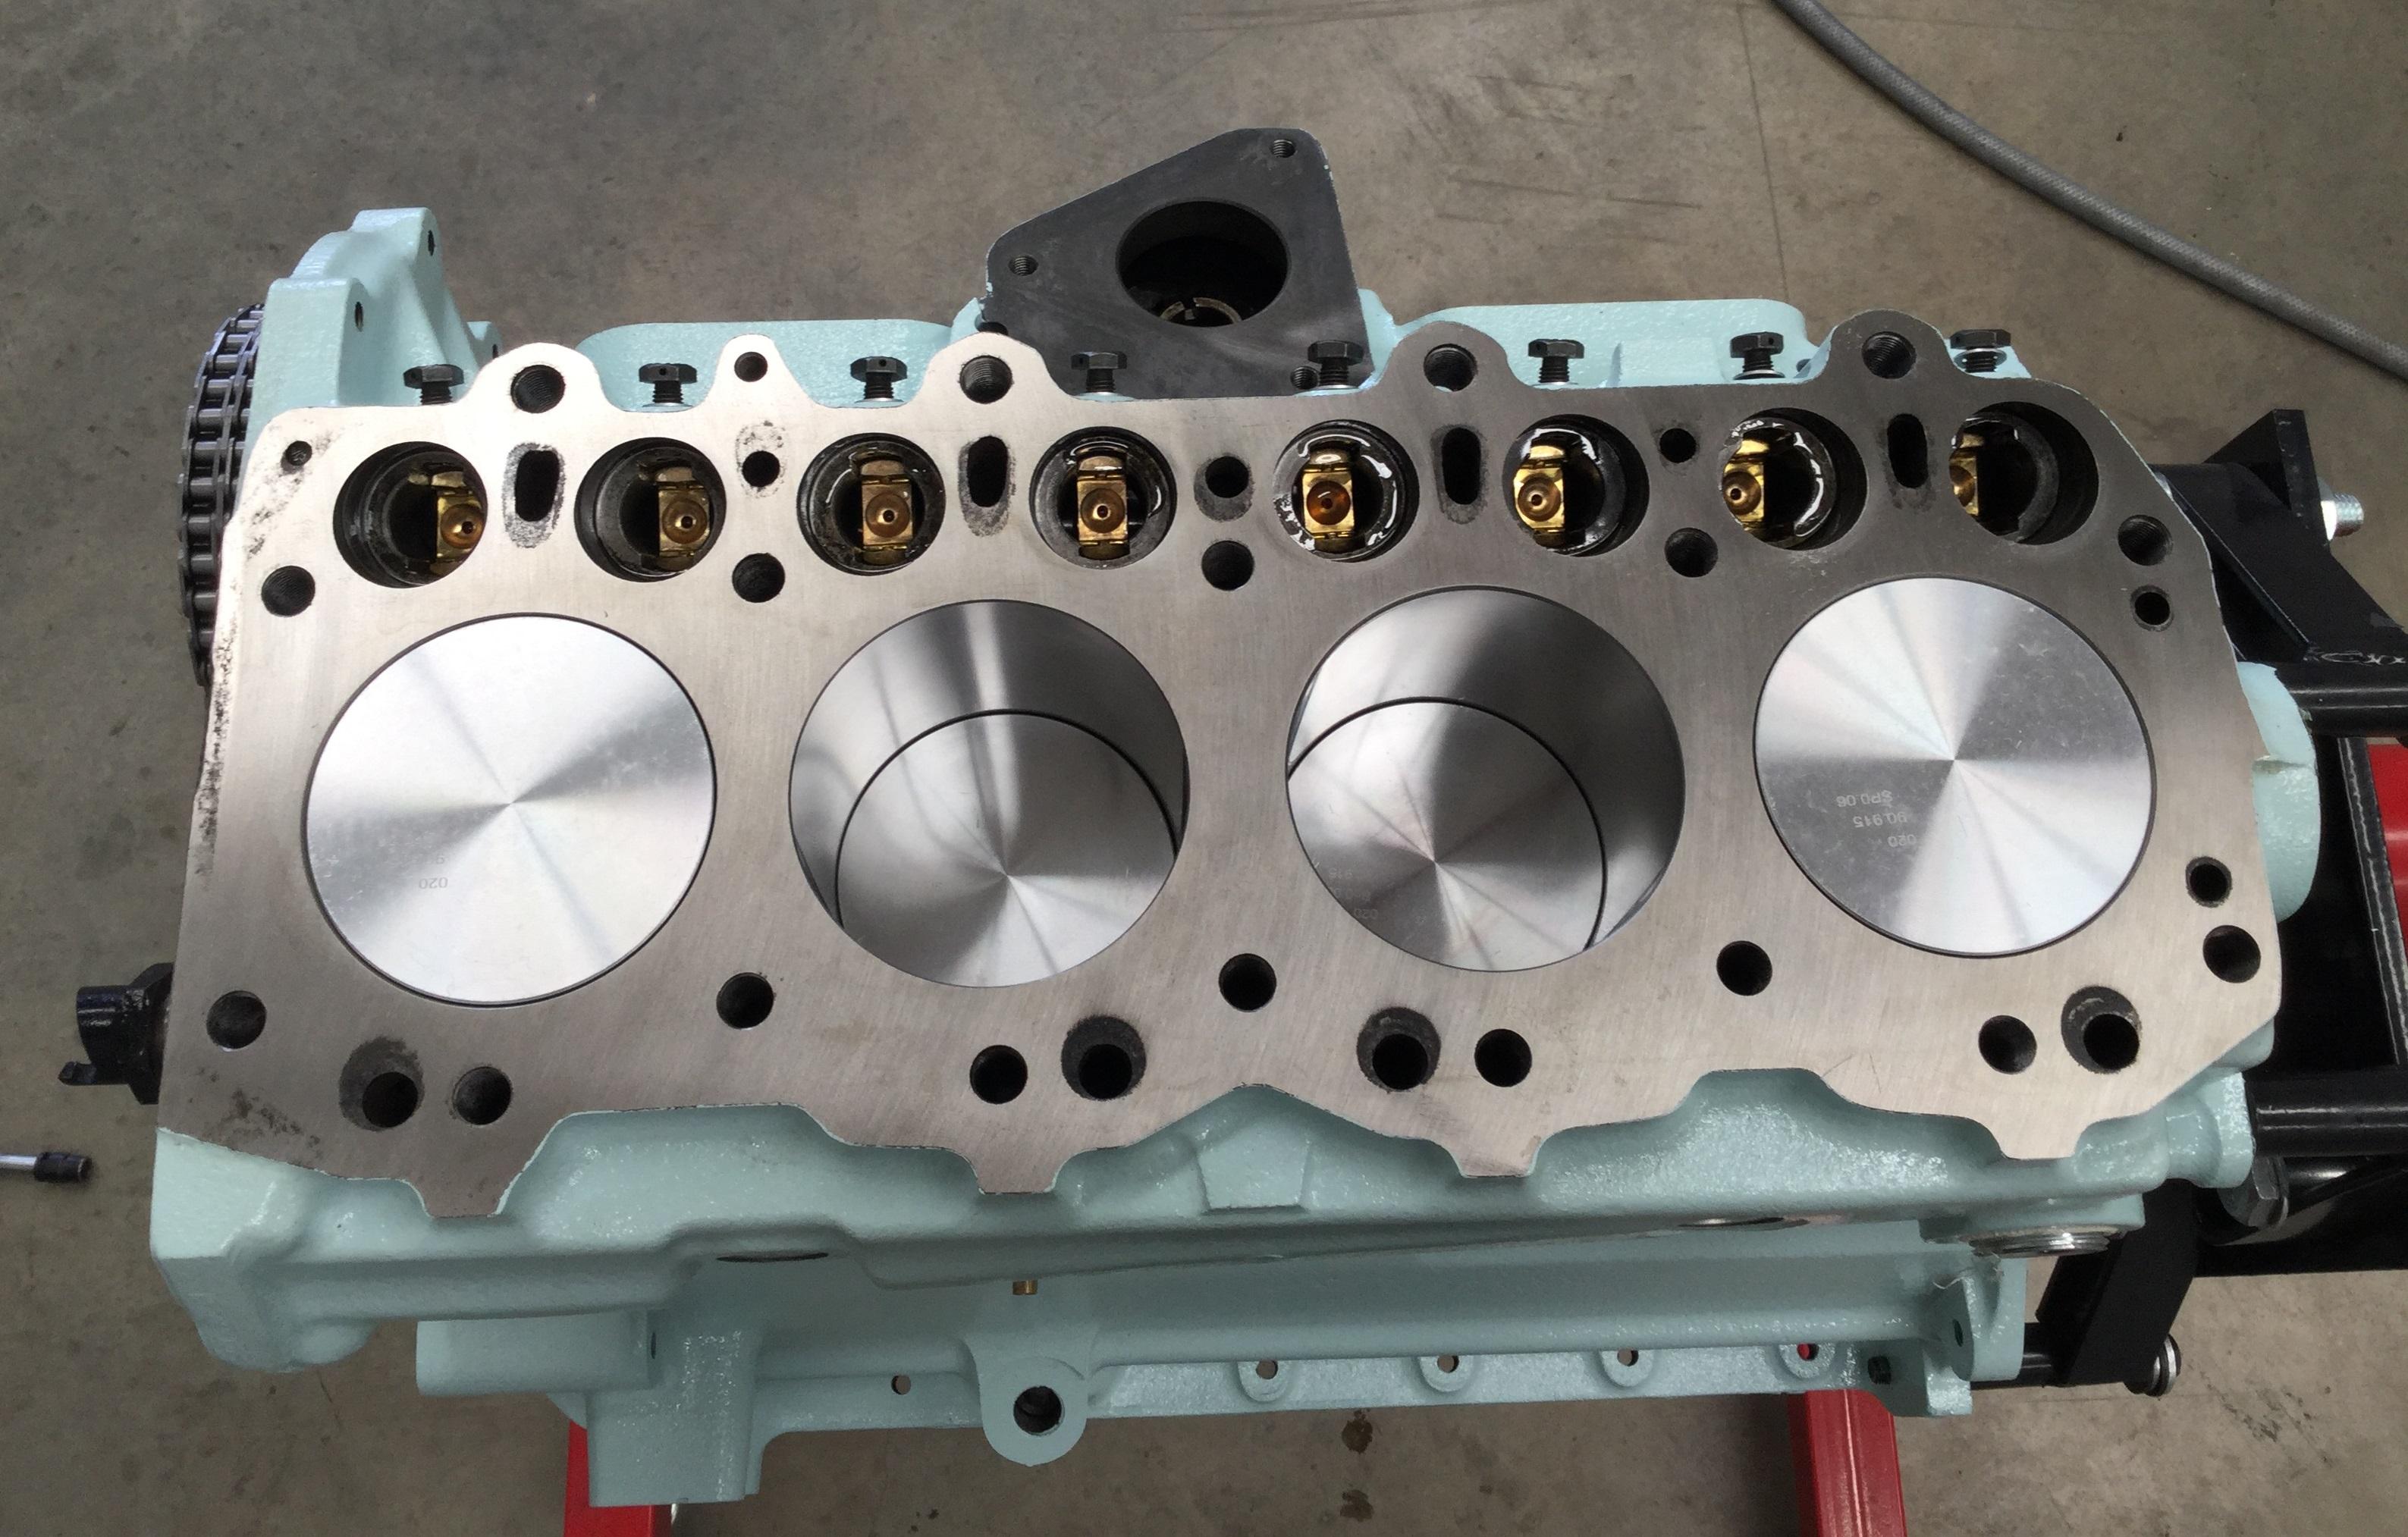
In the mean time the head got painted. It's all masked up here, (I was a bit concerned about tightening the head bolts down onto paint, so punched out some tape circles to mask of where the washers will be, and down where the sparkplugs seal).
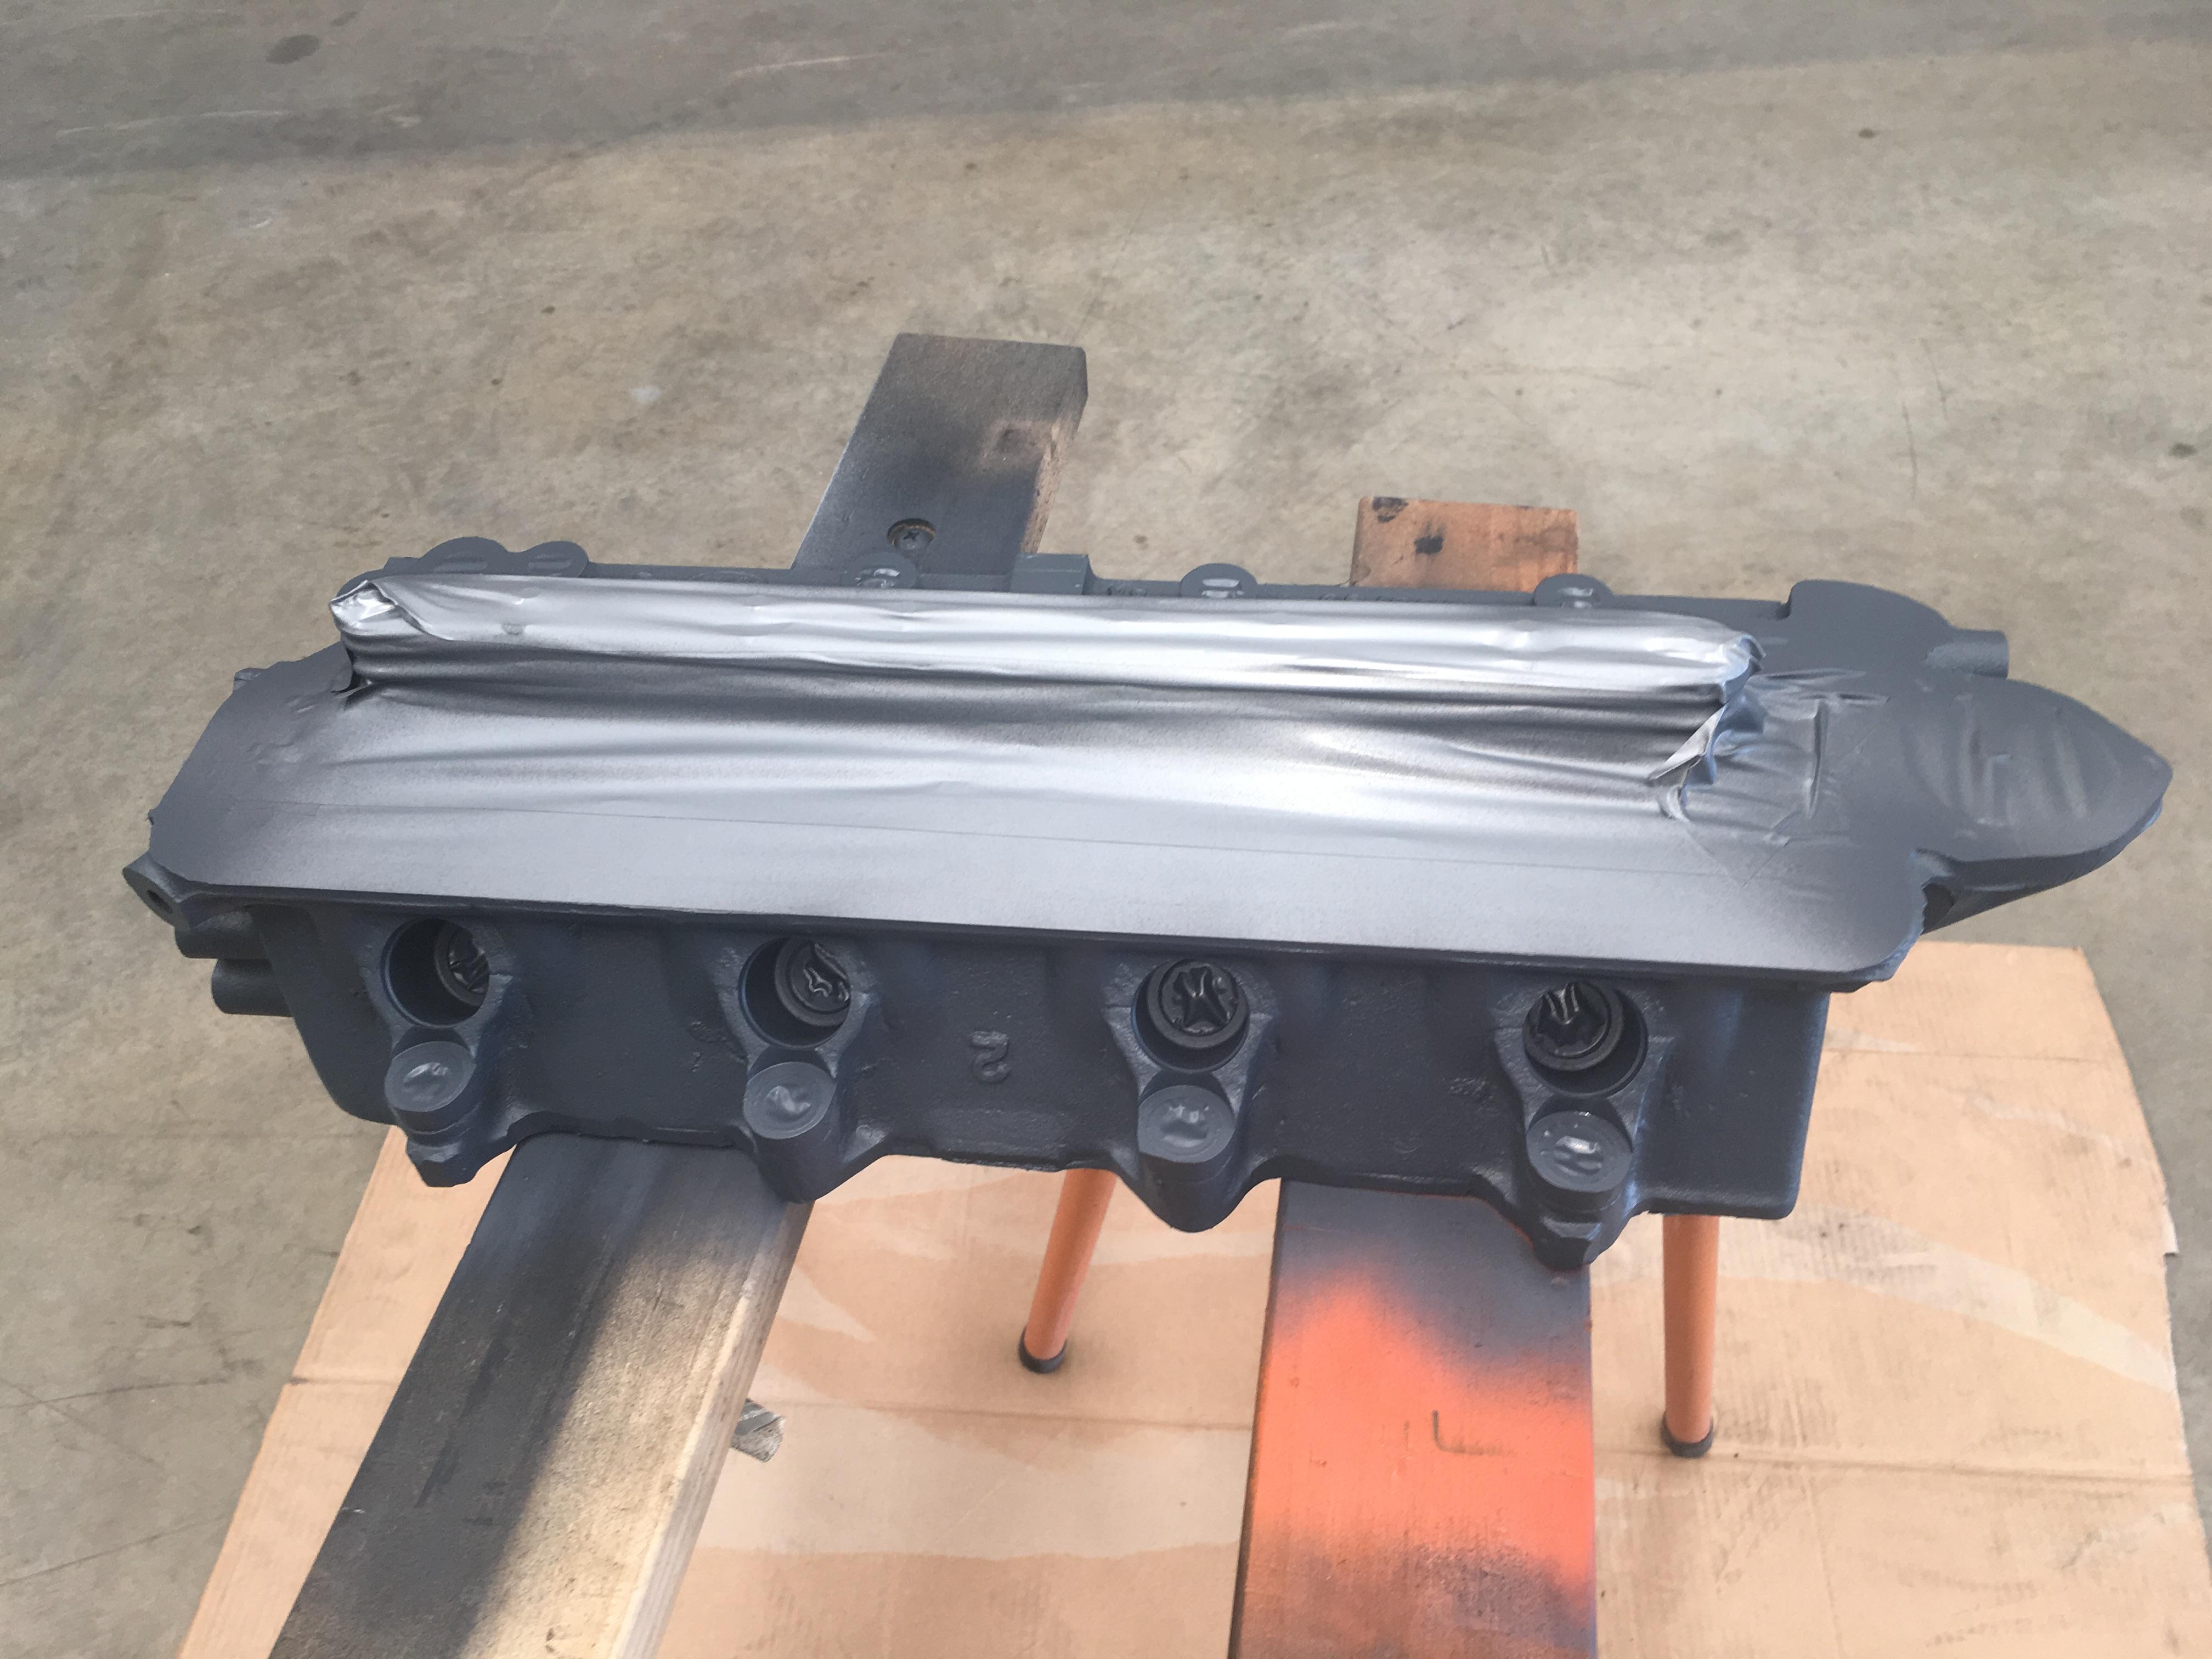
In primer:
I haven't got a picture of the head topcoated for some reason, but that will show itself soon enough
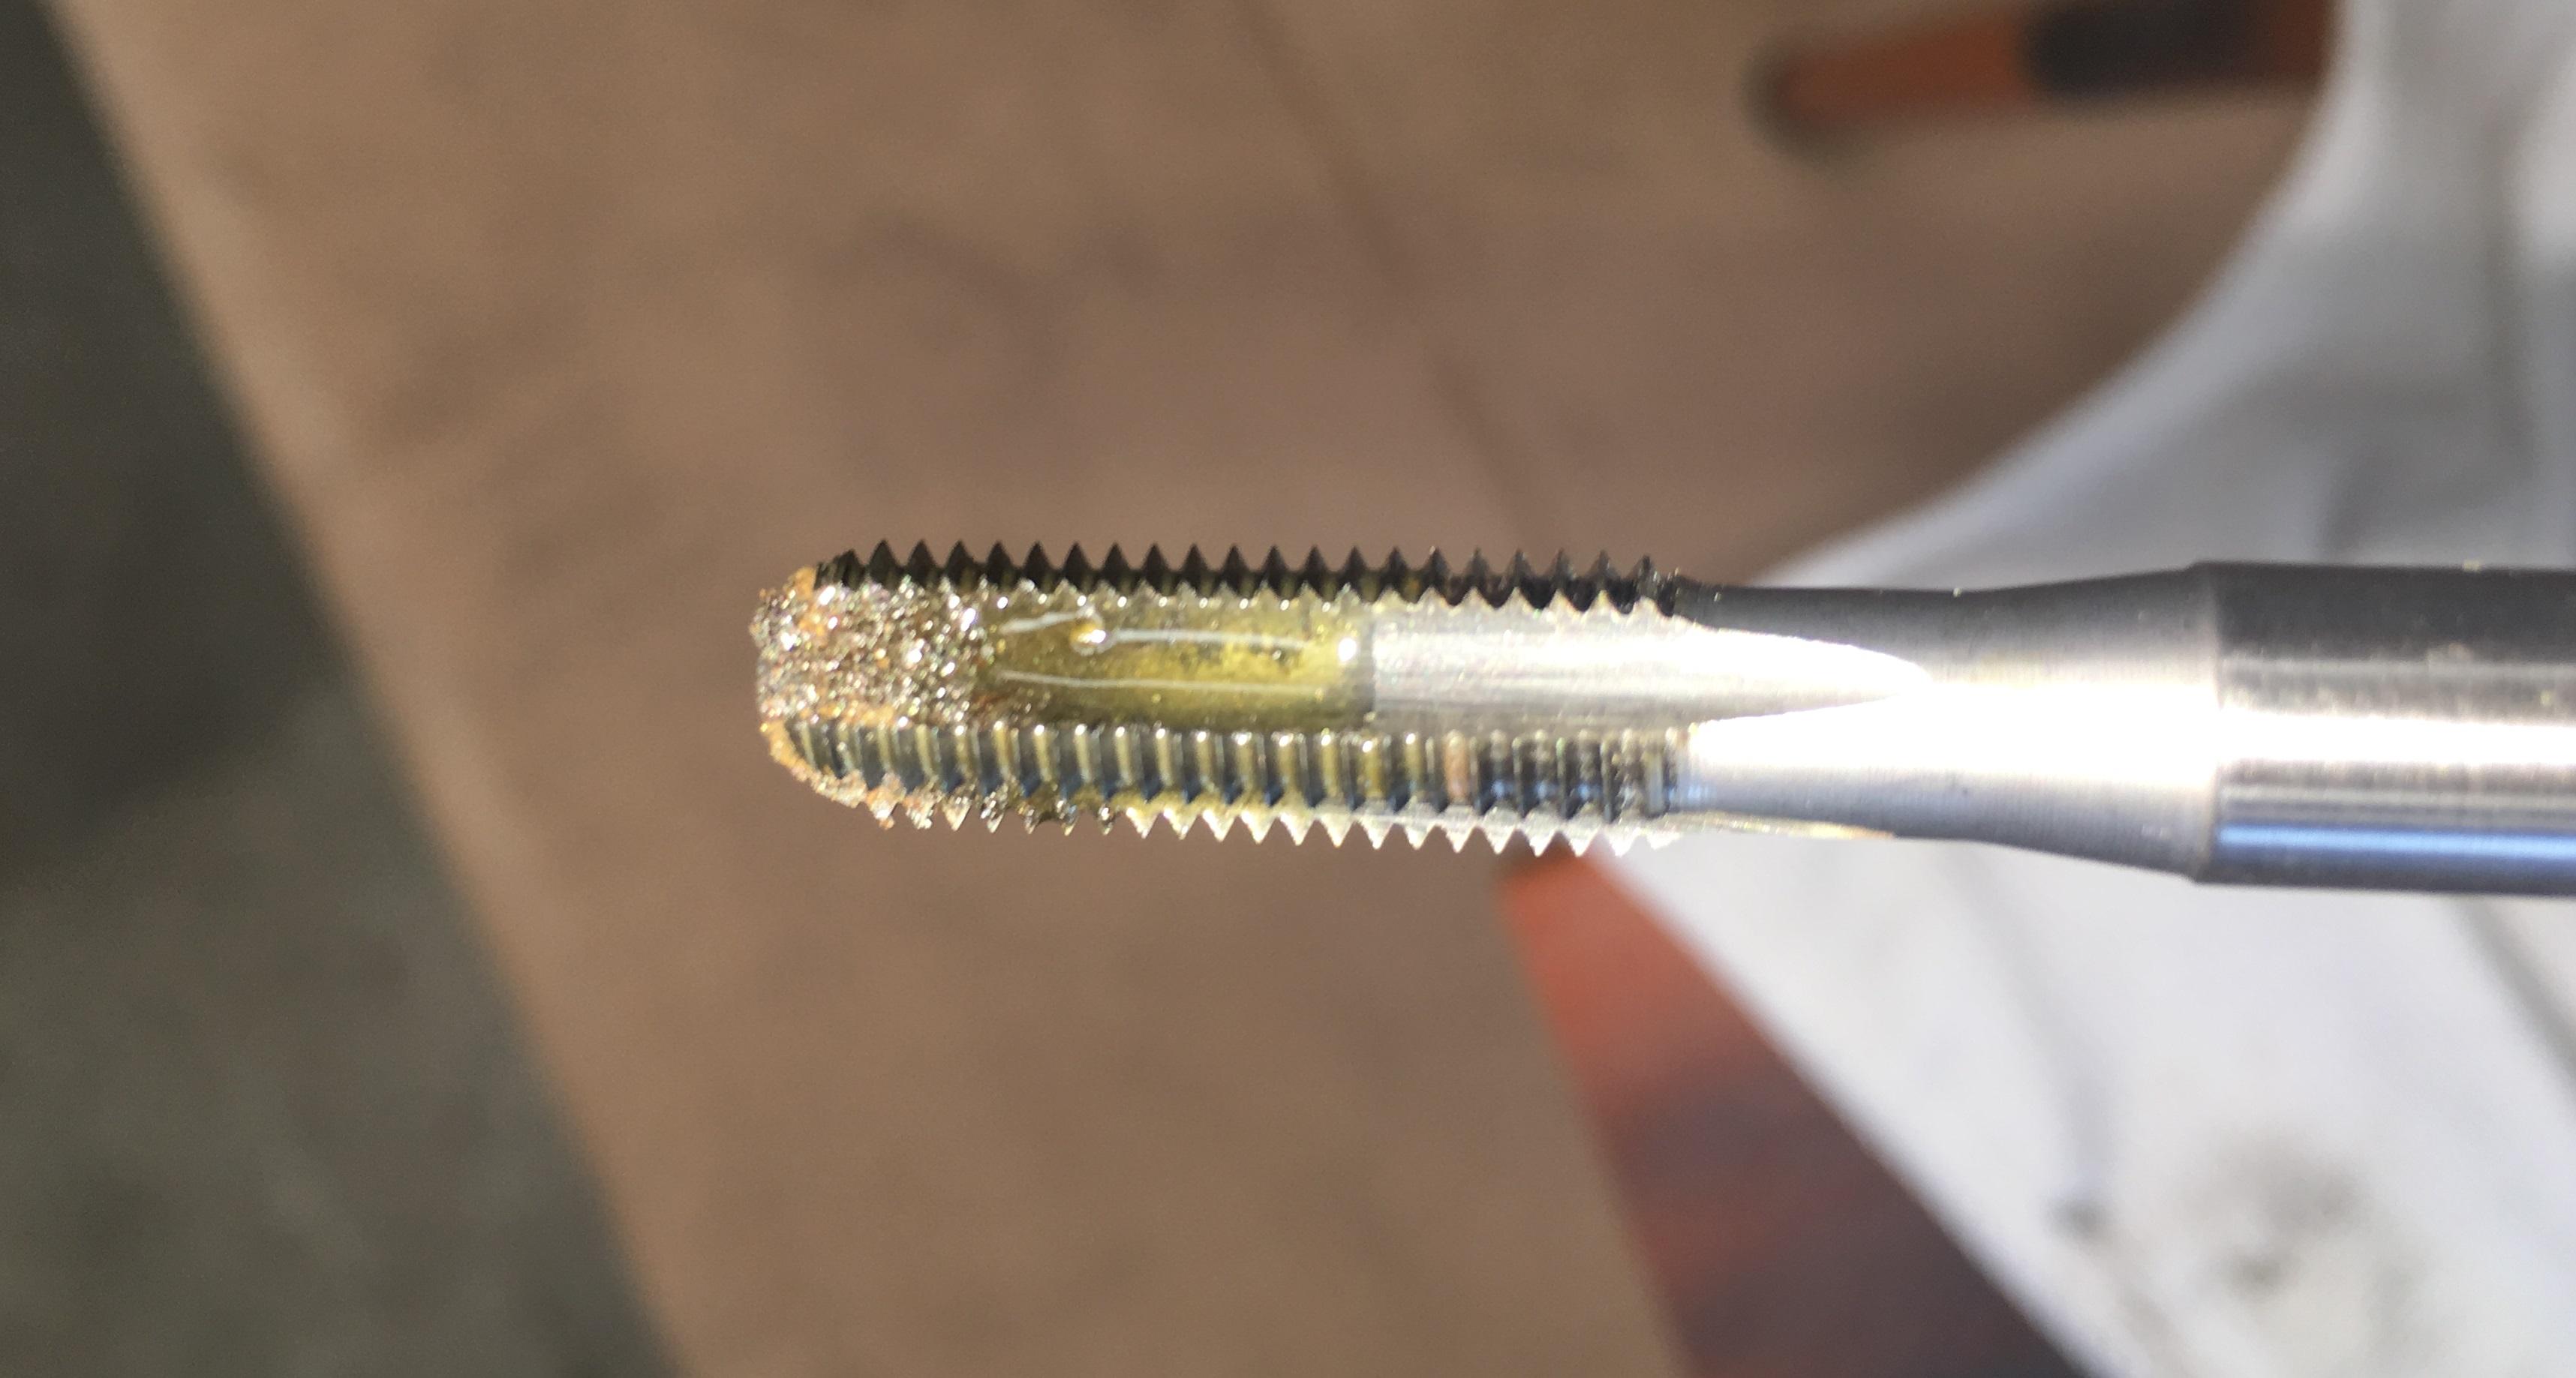
Before the engine could go back together all the threads got chased, this was pretty typical for each thread:
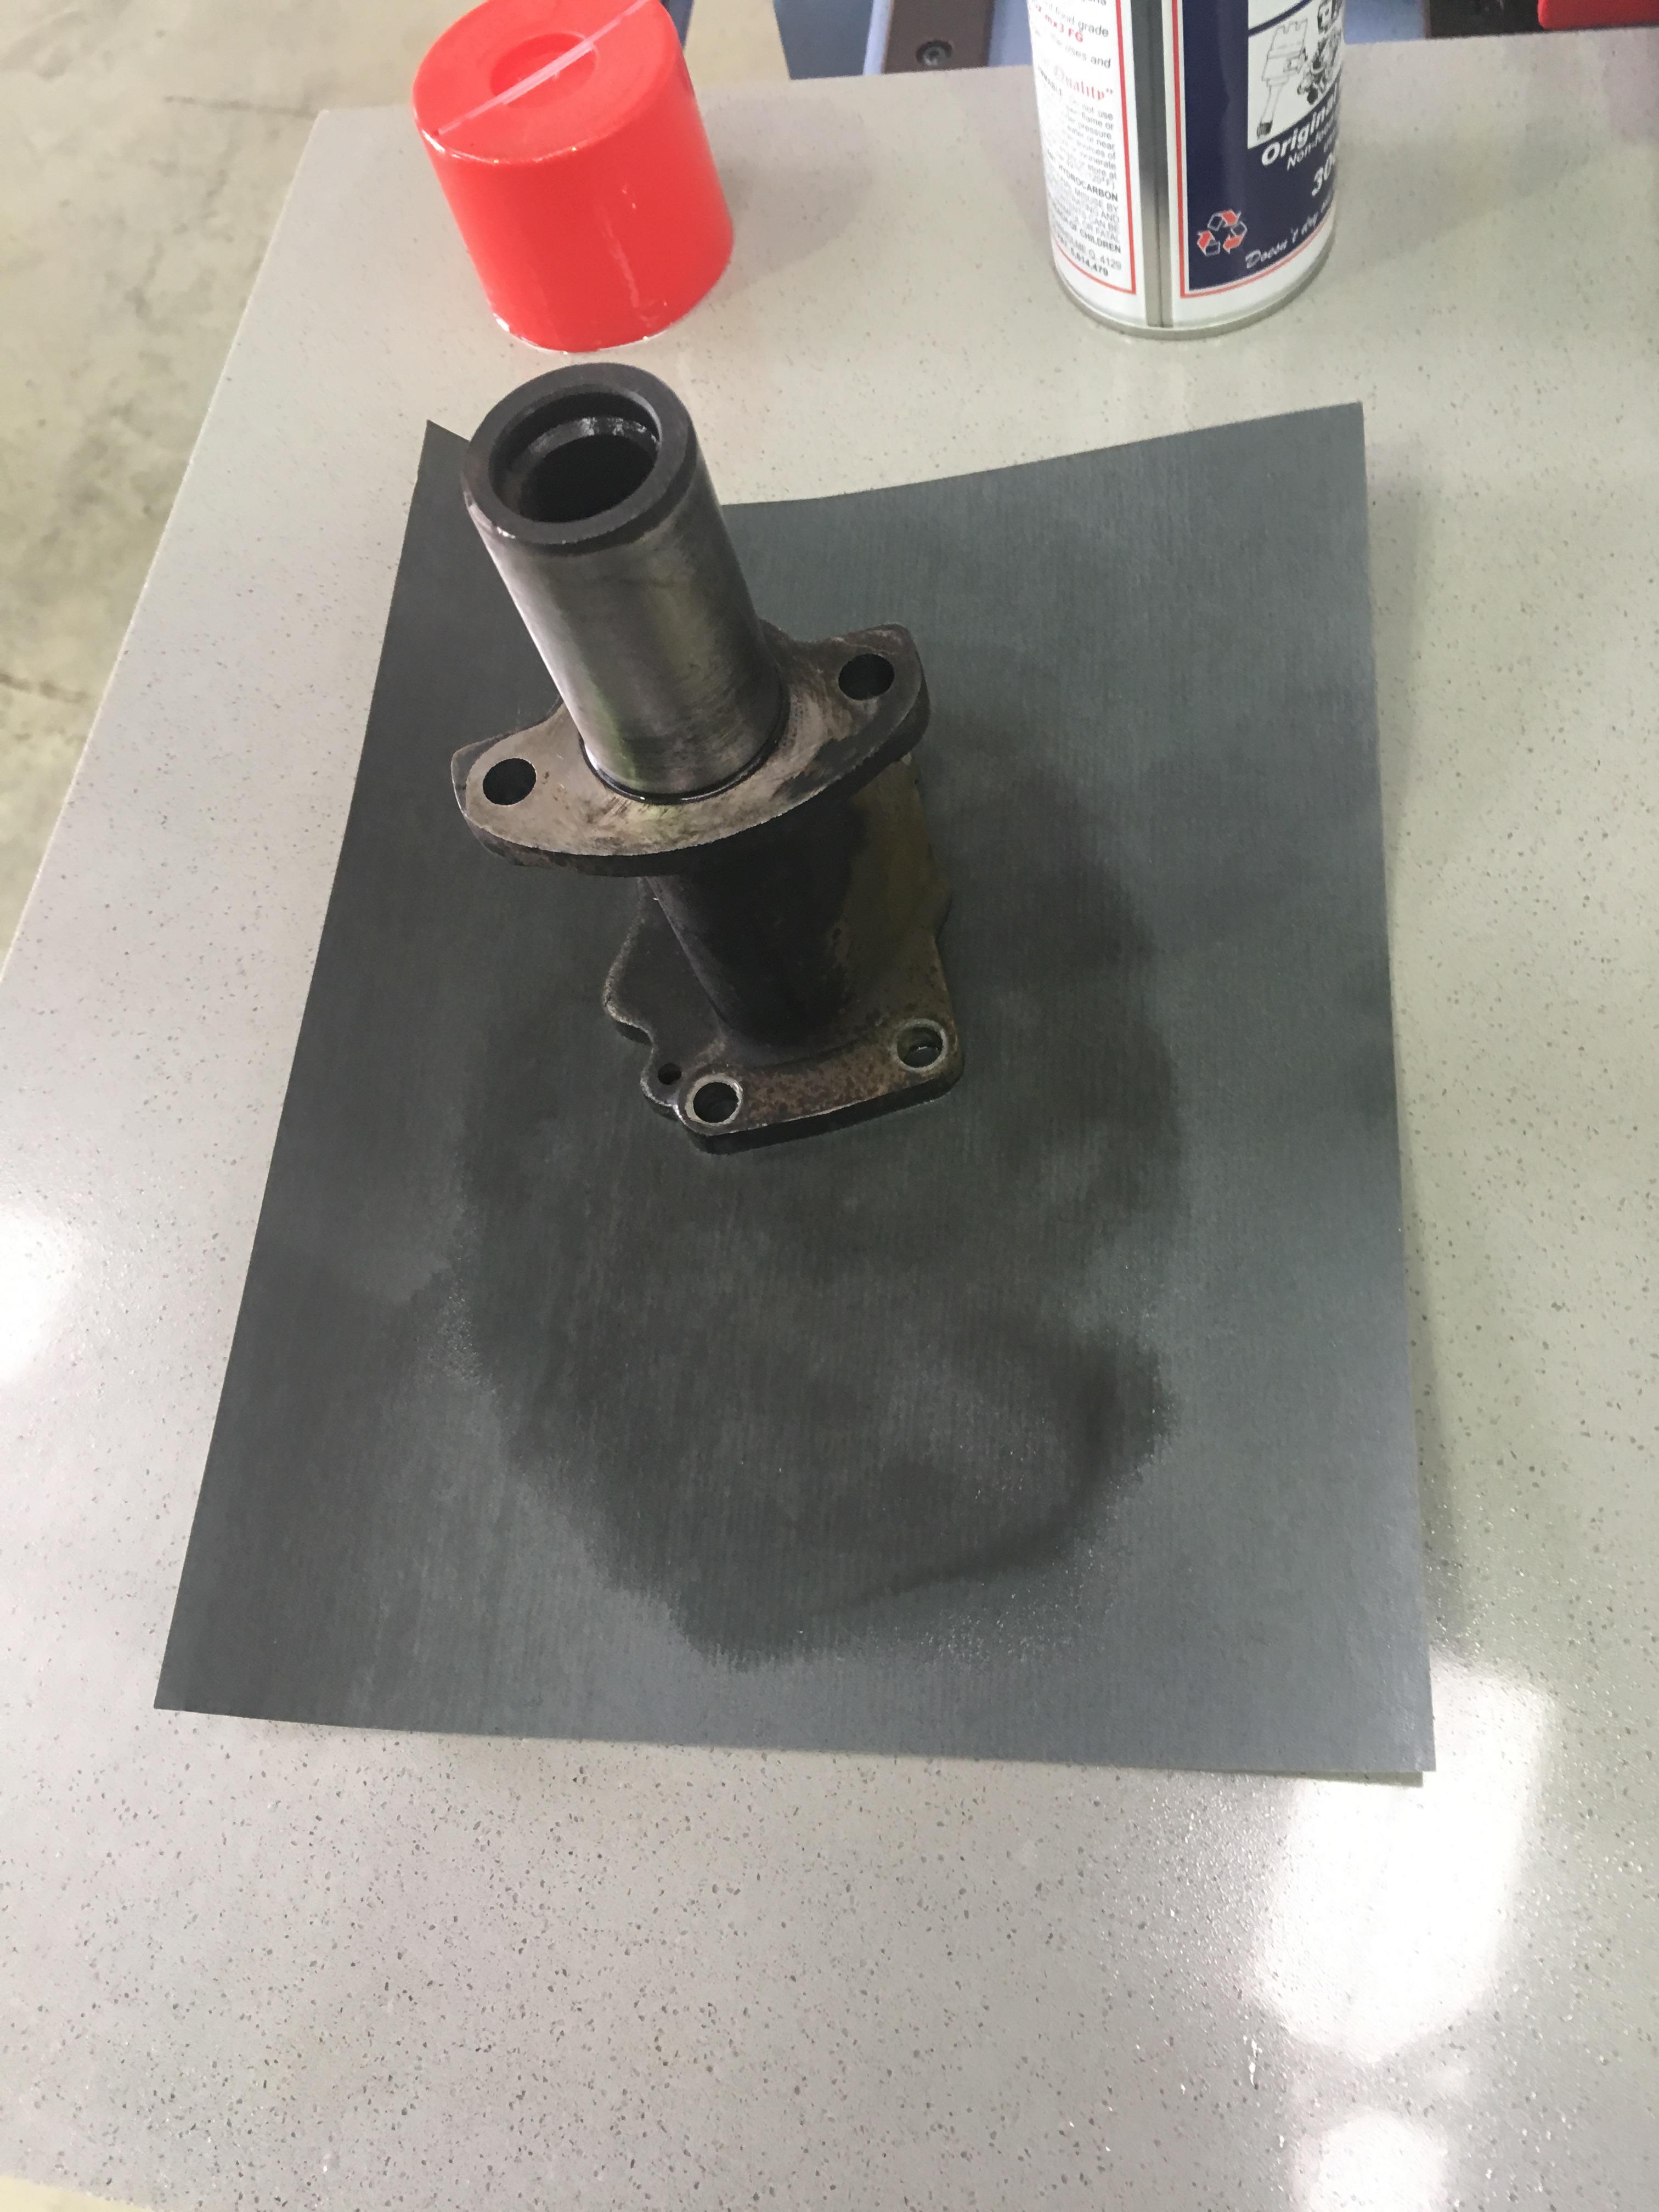
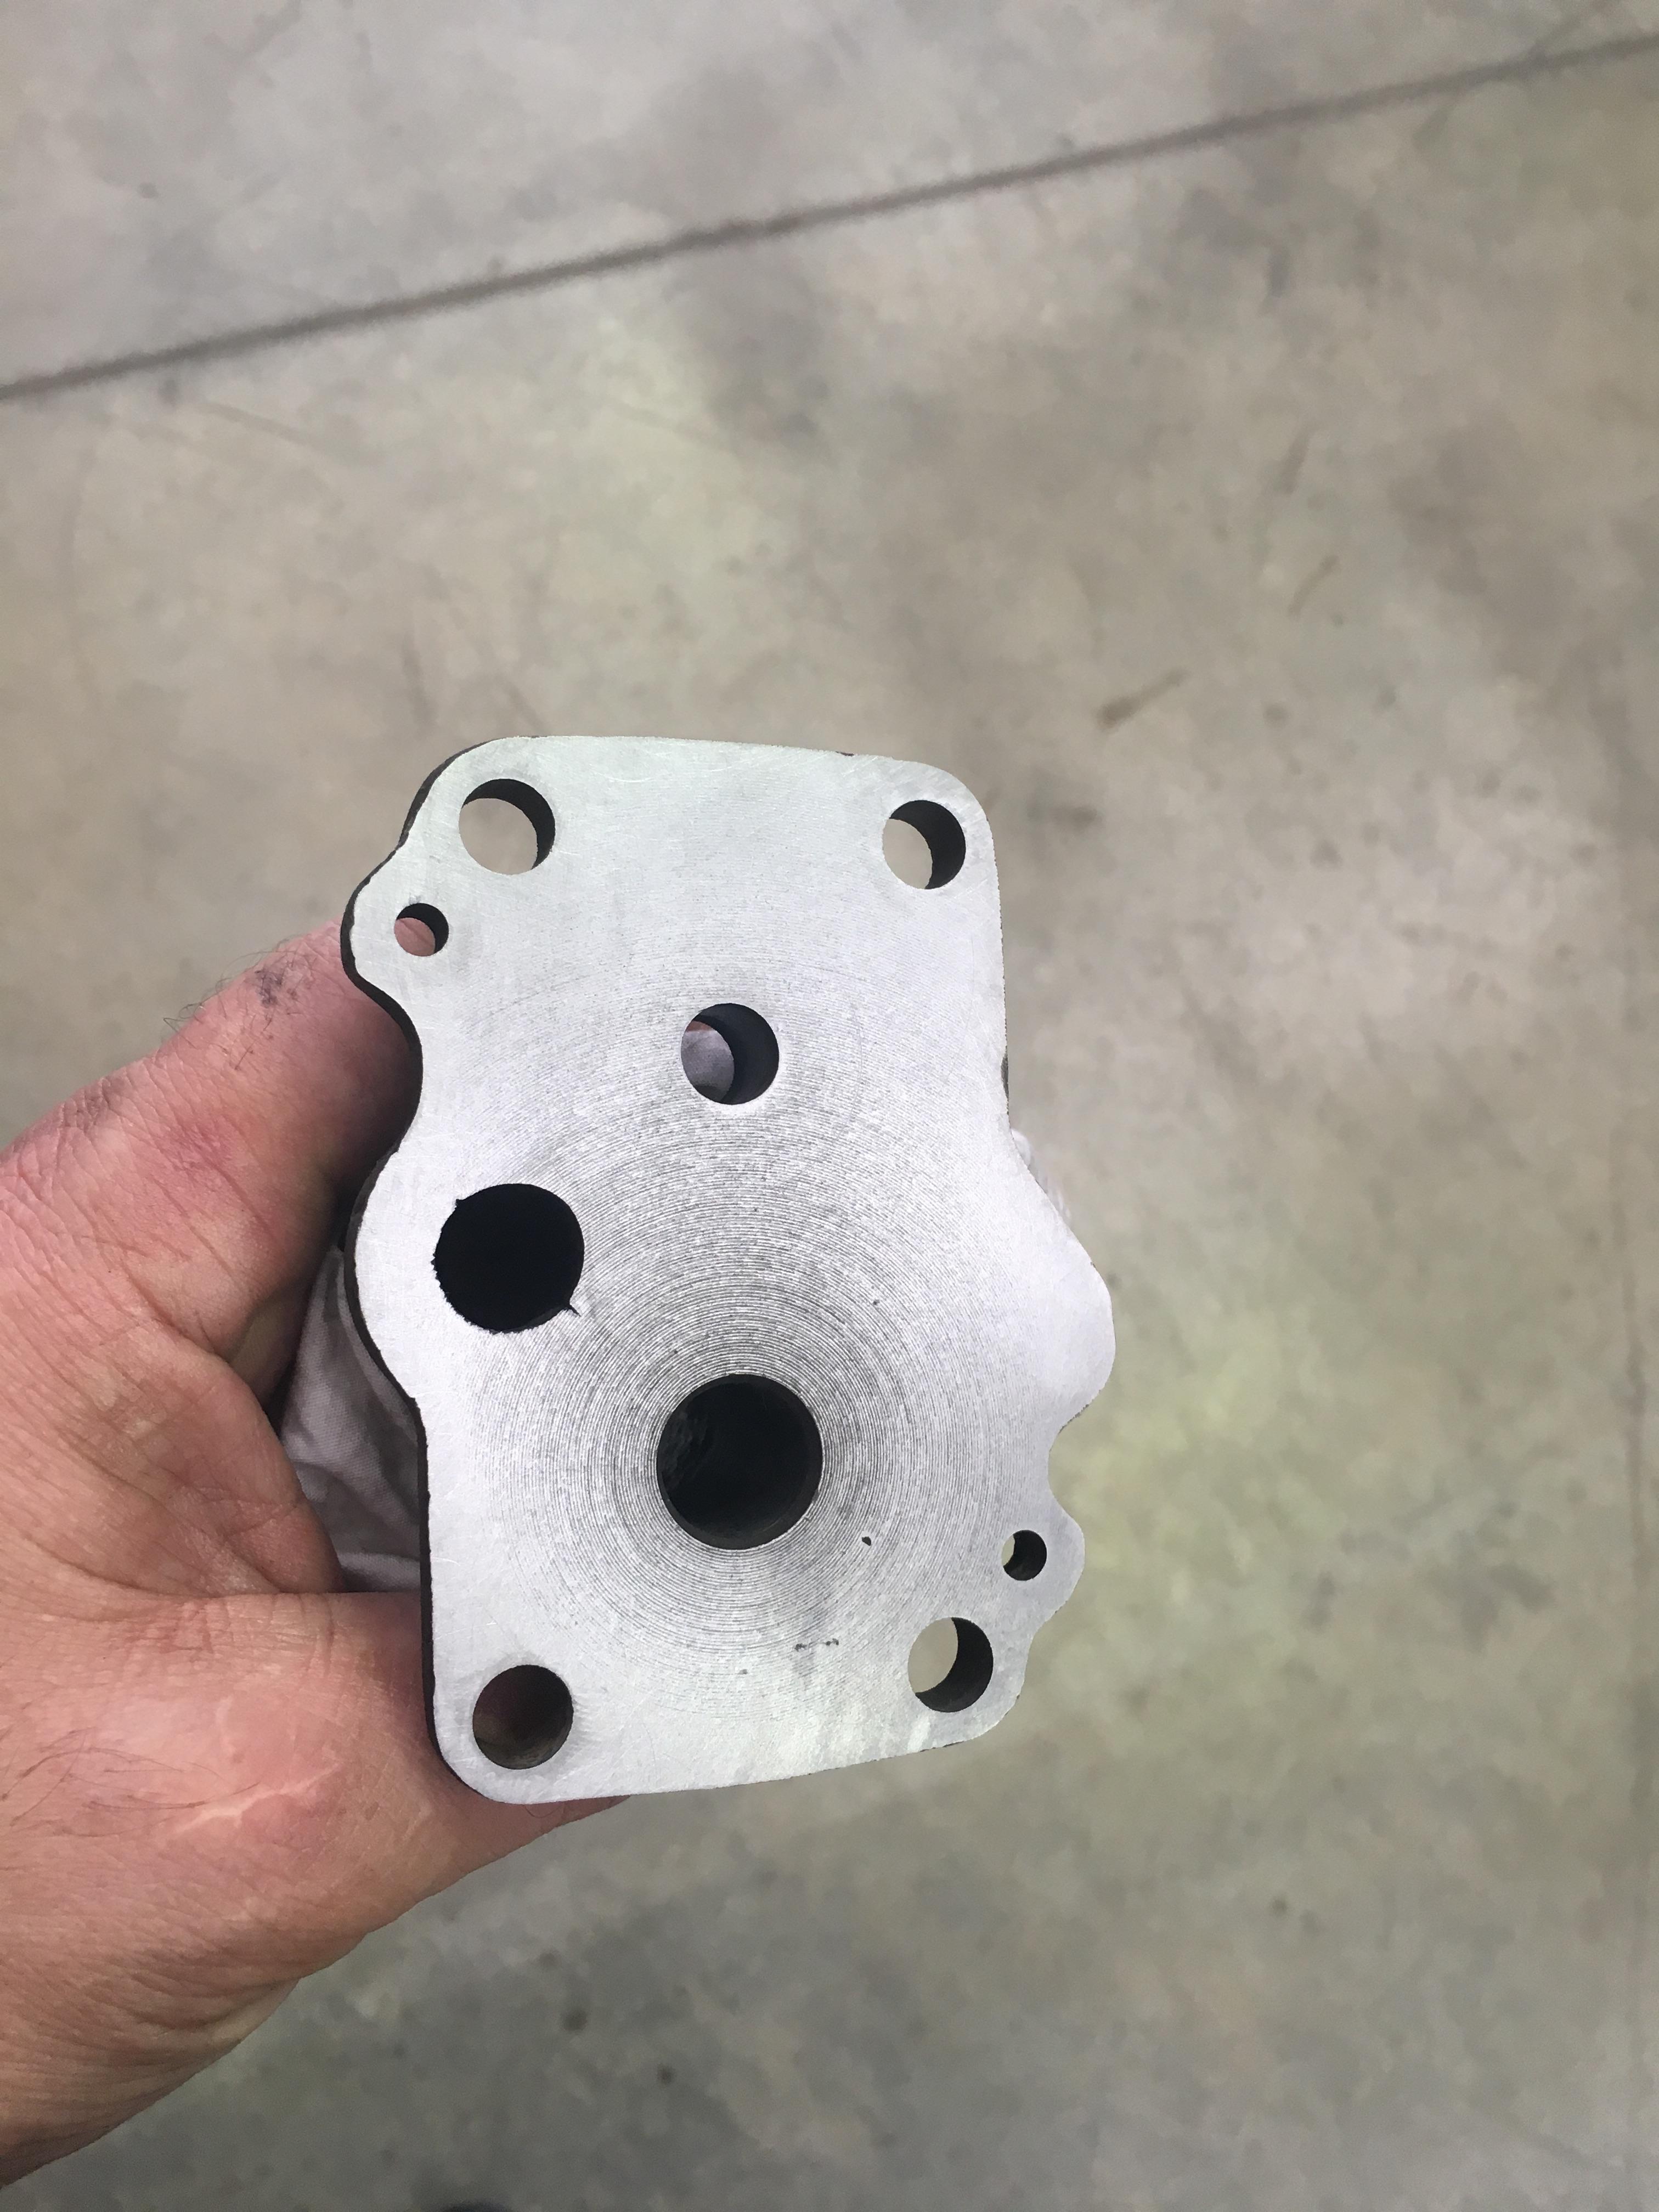
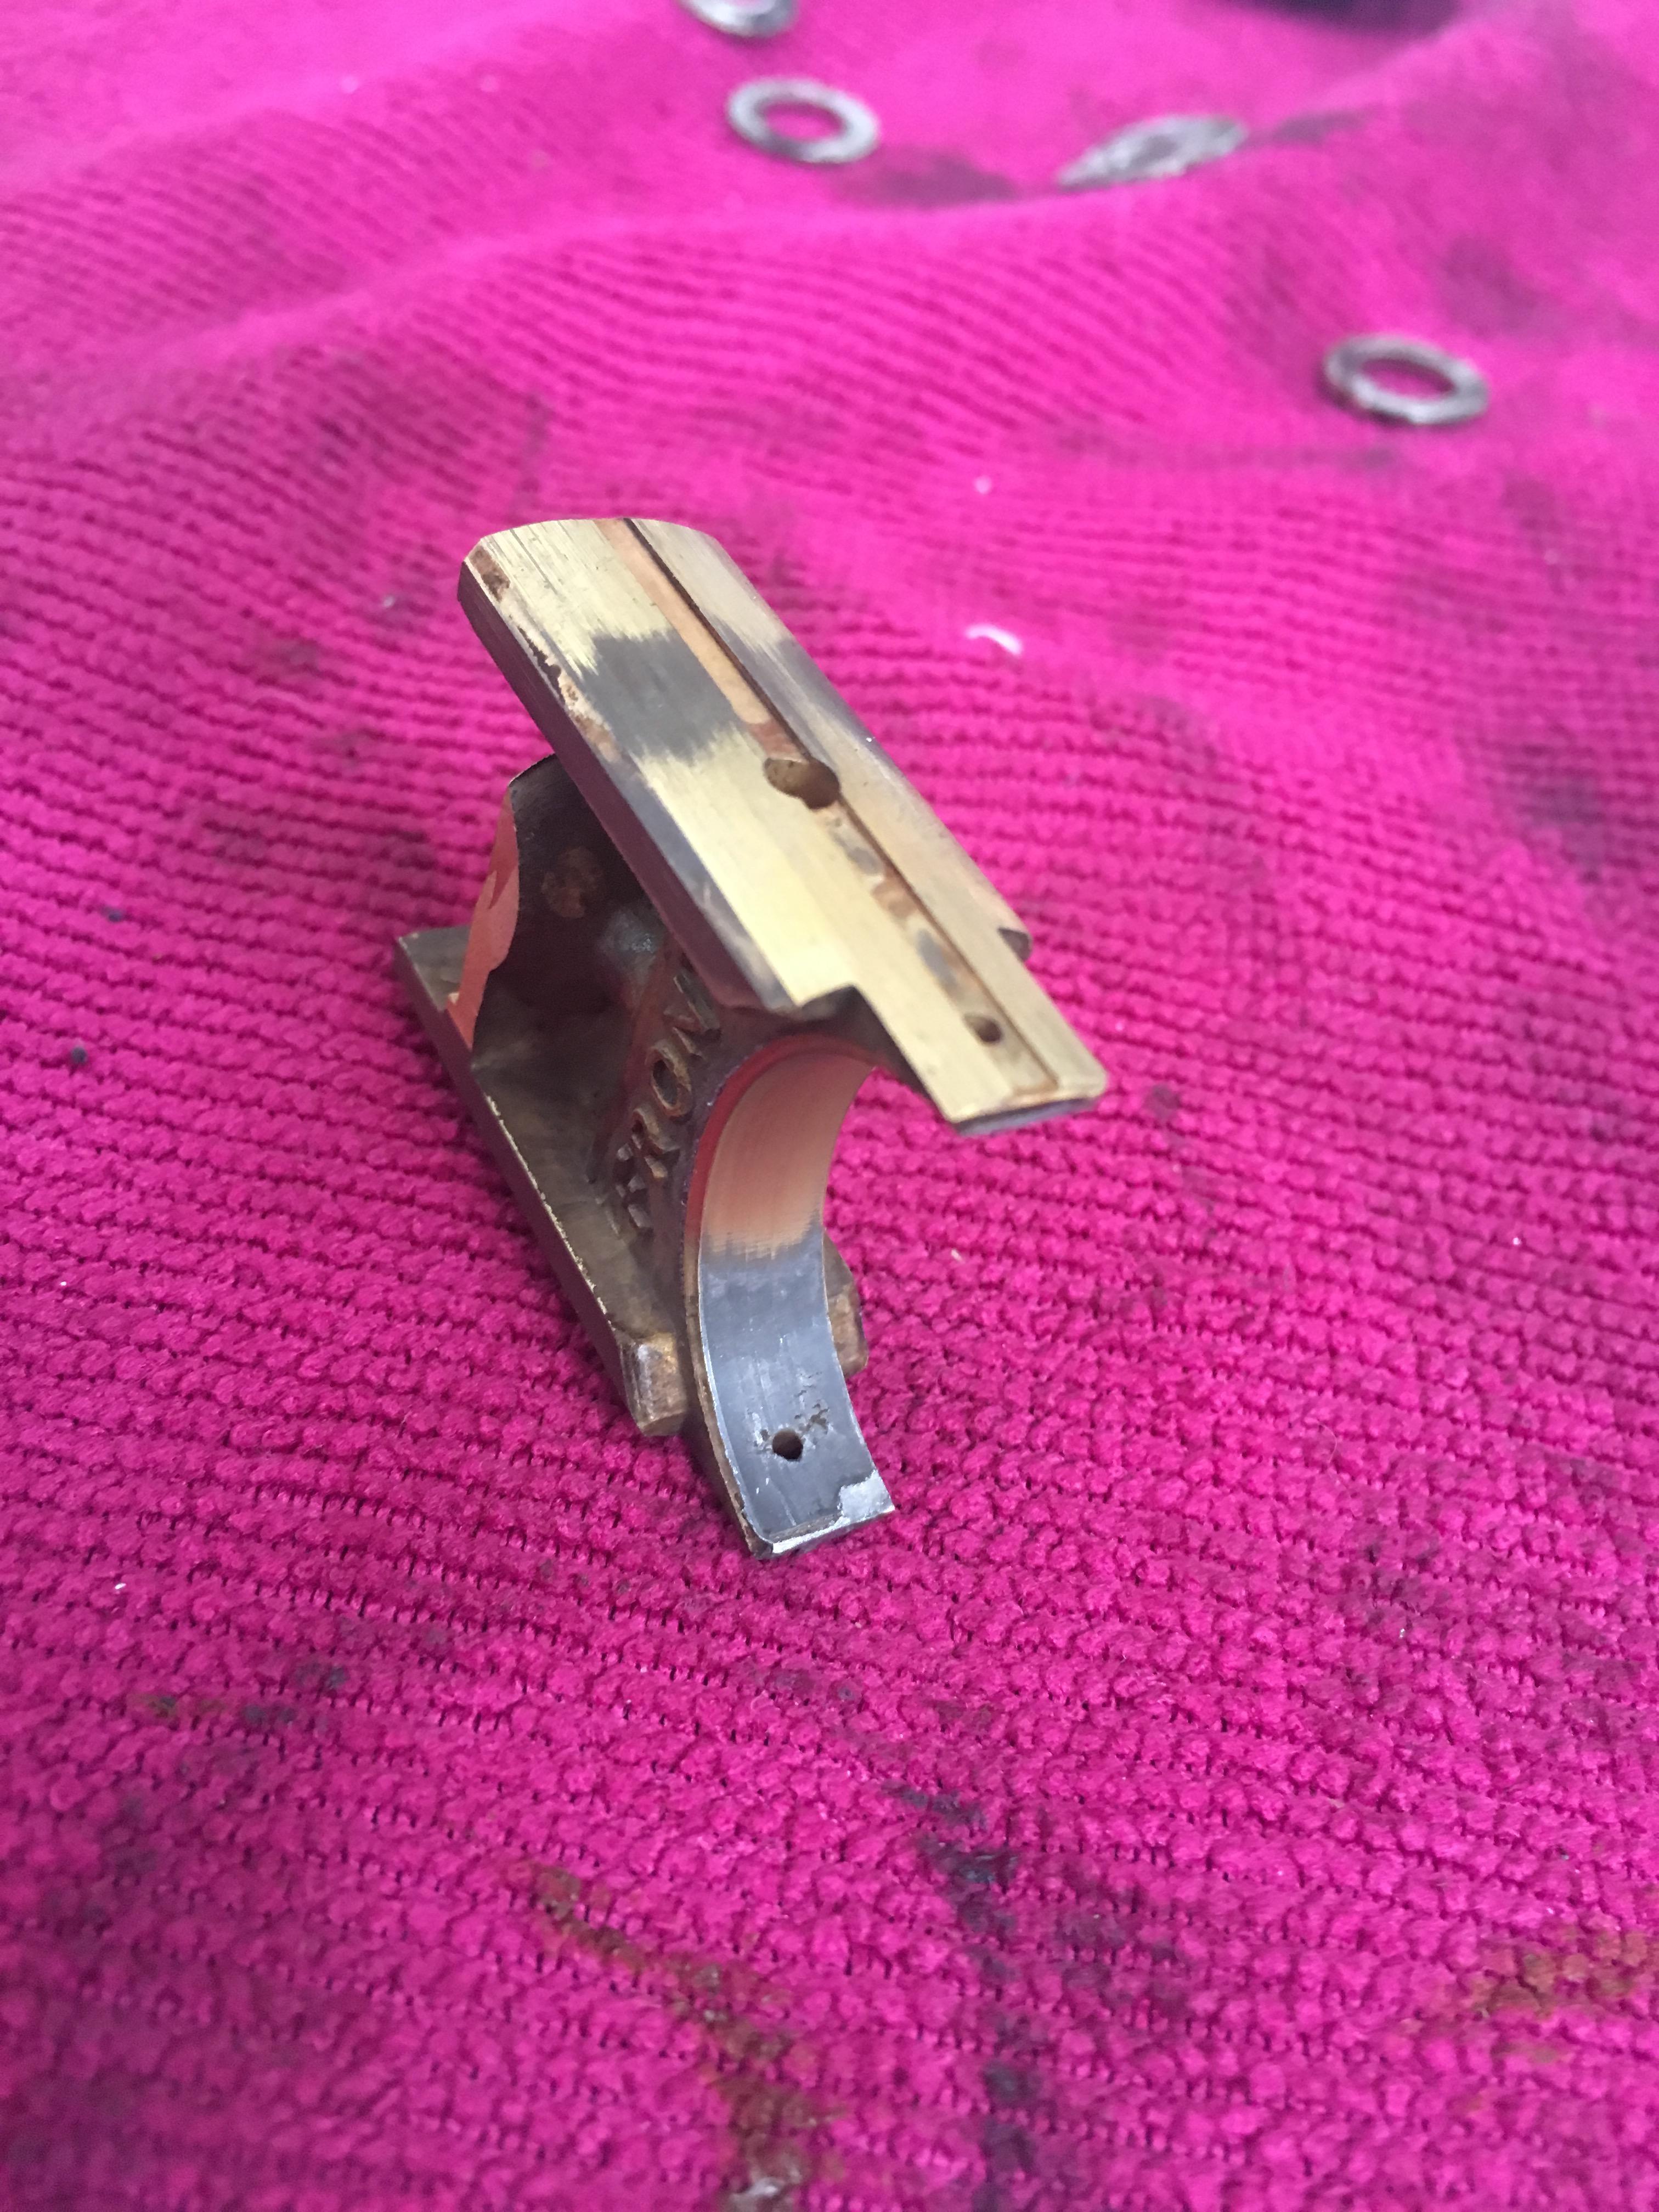
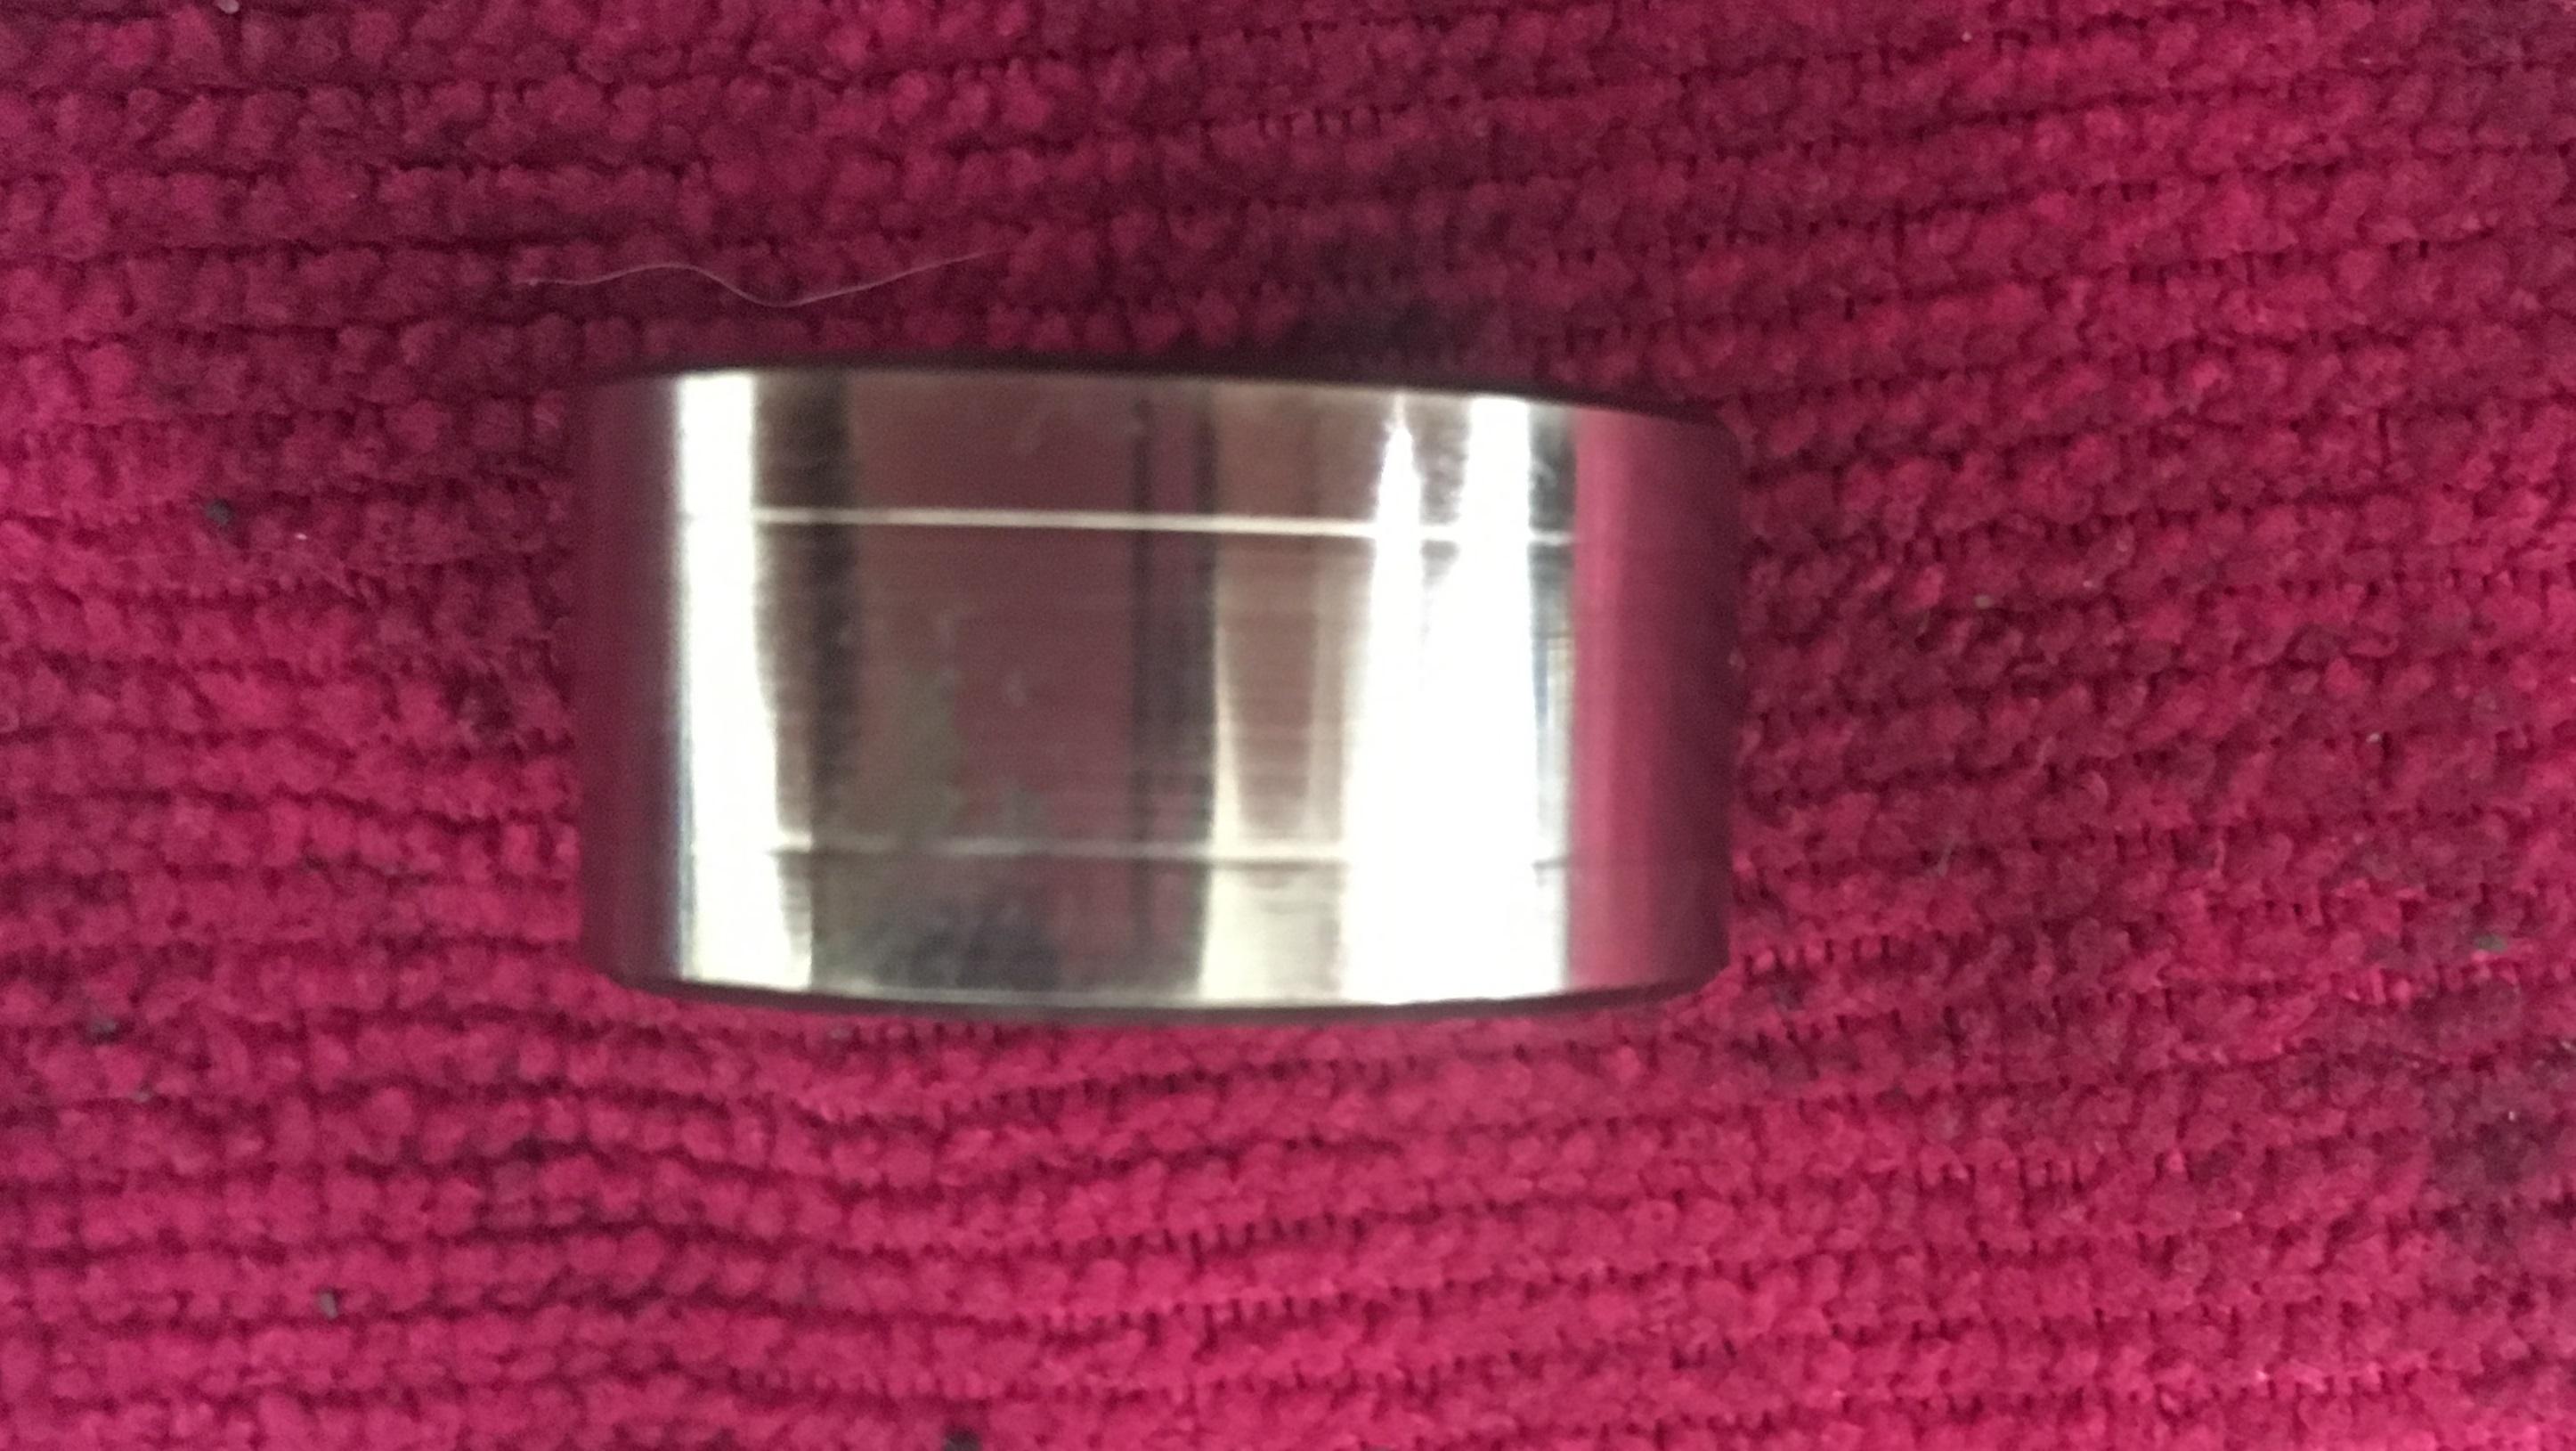
The only part of the engine yet to be looked at, (in terms of teardown), was the oil pump. The gears were in pretty good nick, and were within tolerance for wear.
The top plate of the oil pump was a bit ropey, no real scoring, but not the best finish from the factory:
So, after about an hour of this:
It cleaned up pretty well, (the marks on either side of the hole look like they are from the casting, and are quite deep, a cosmetic issue at worst):
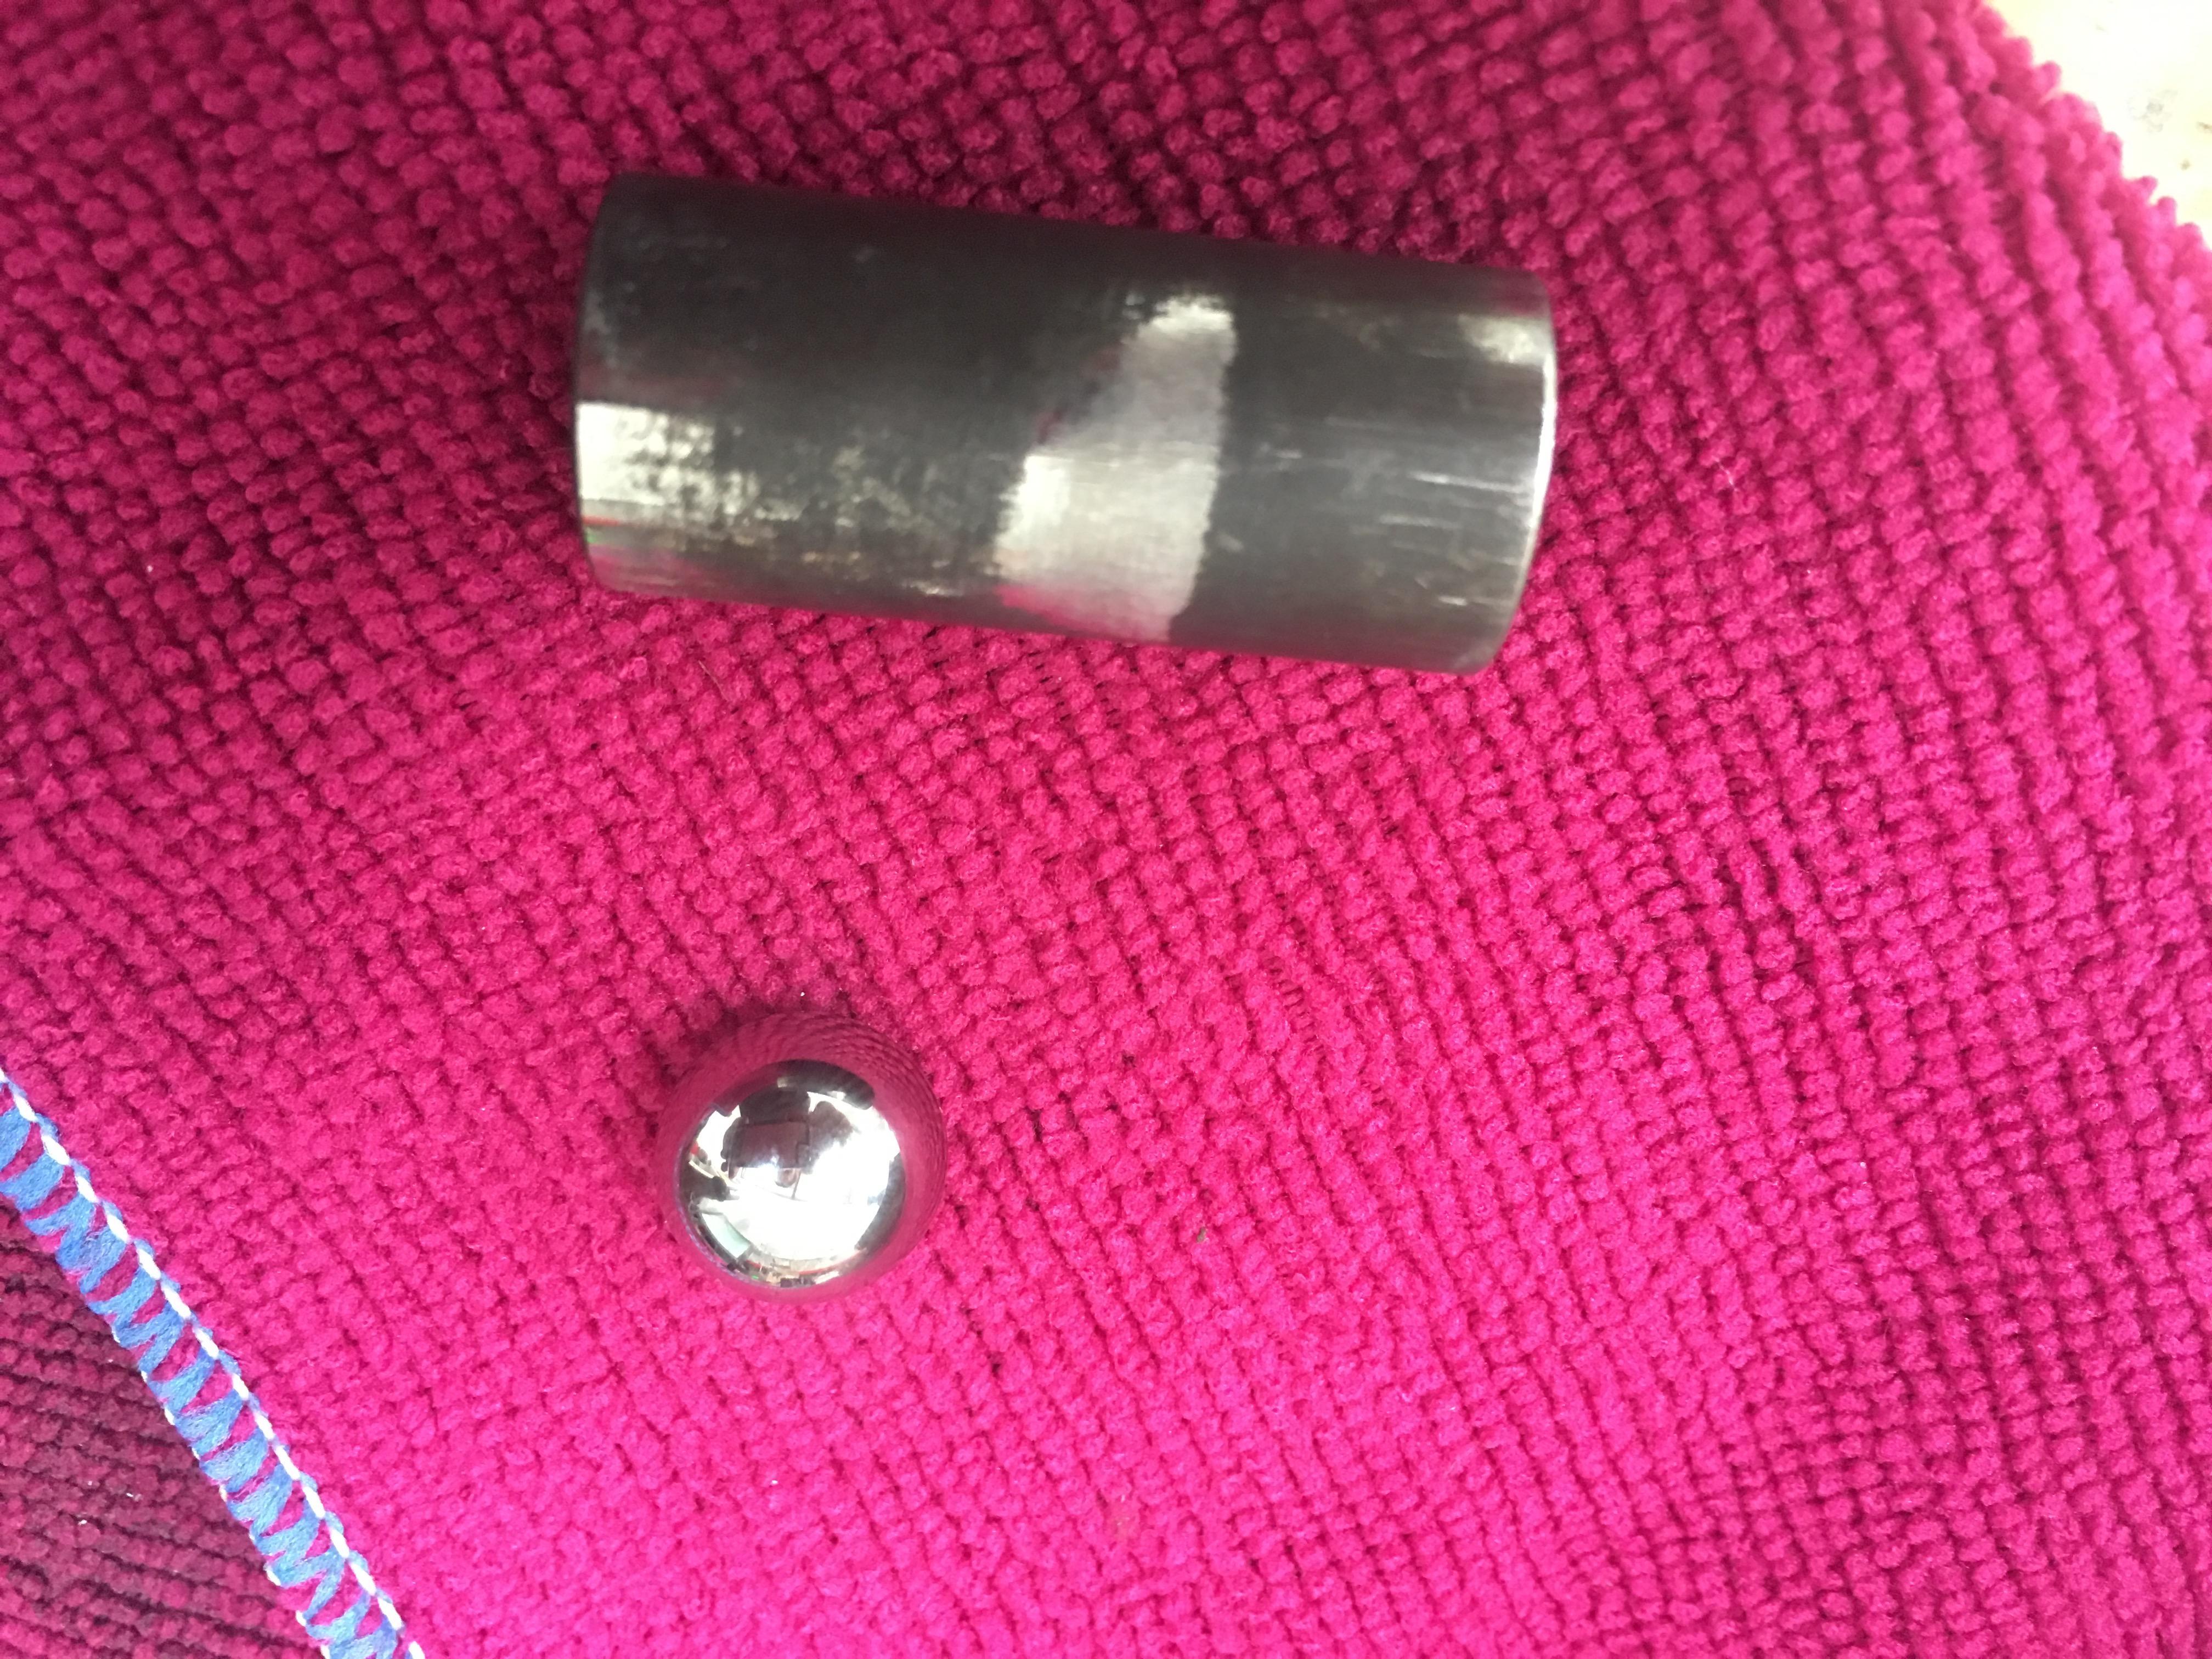
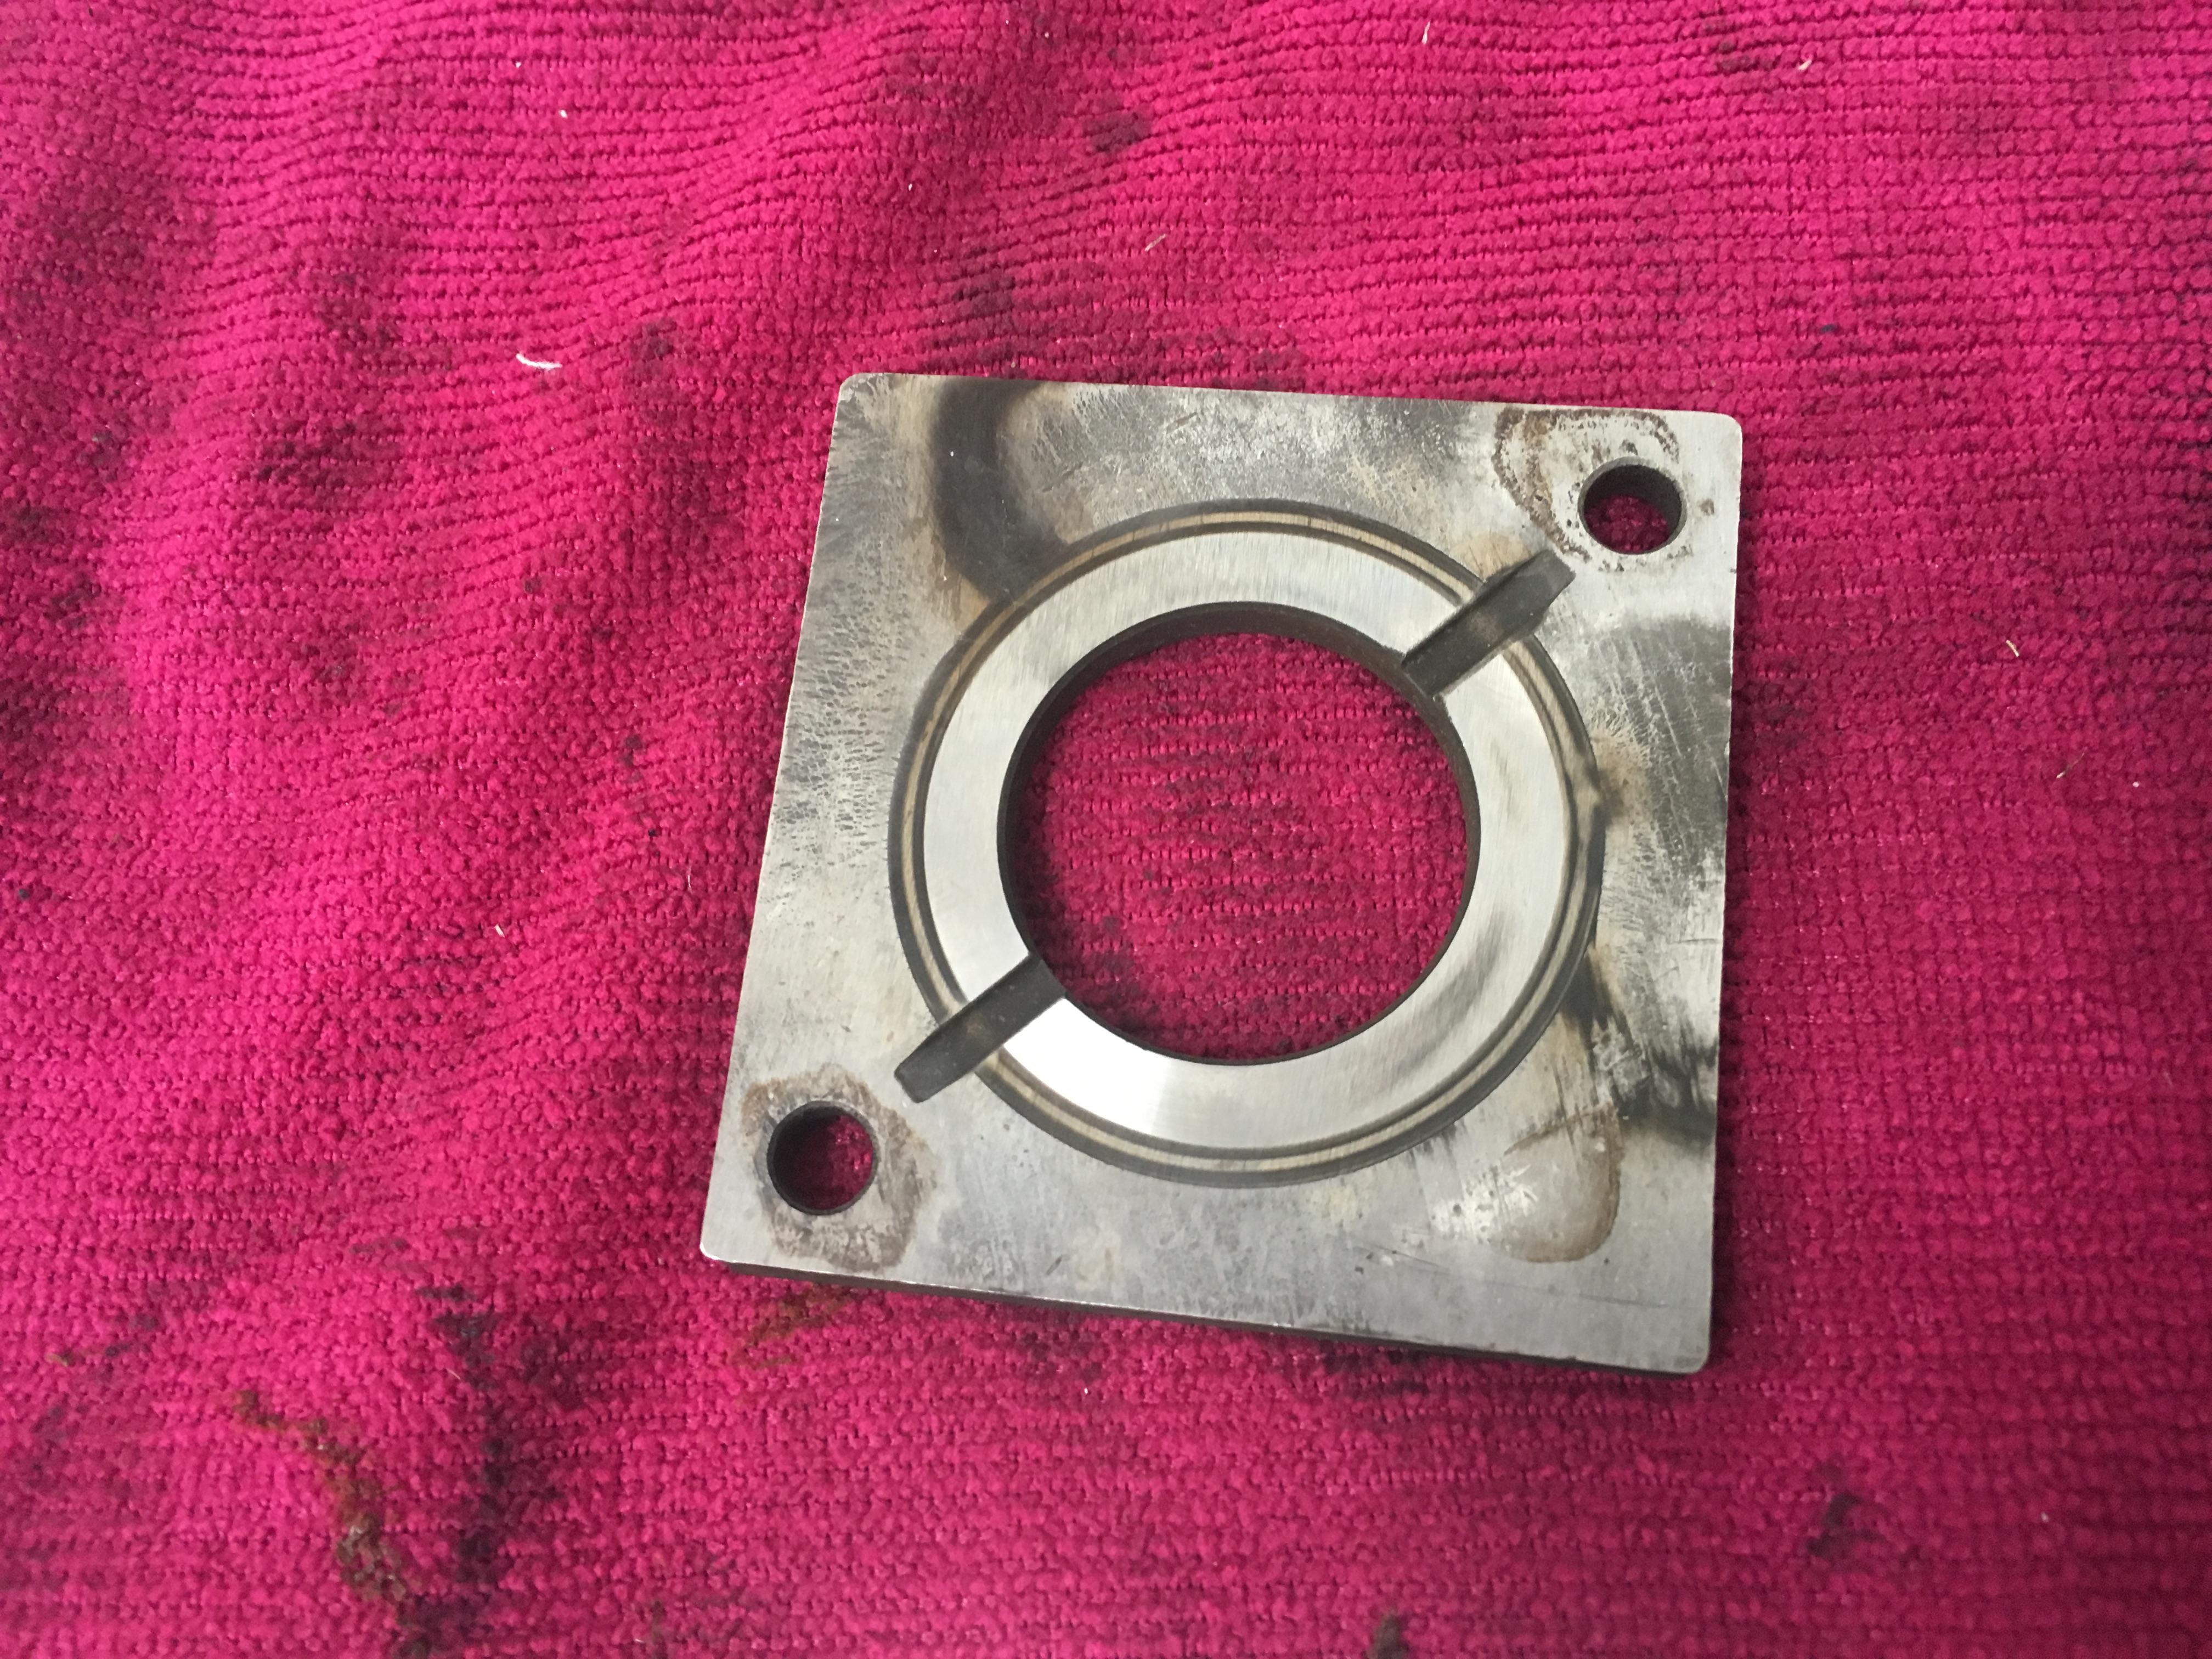
The relief valve plunger however is quite worn, and feels notchy in the bore, so must be replaced:
Wizard
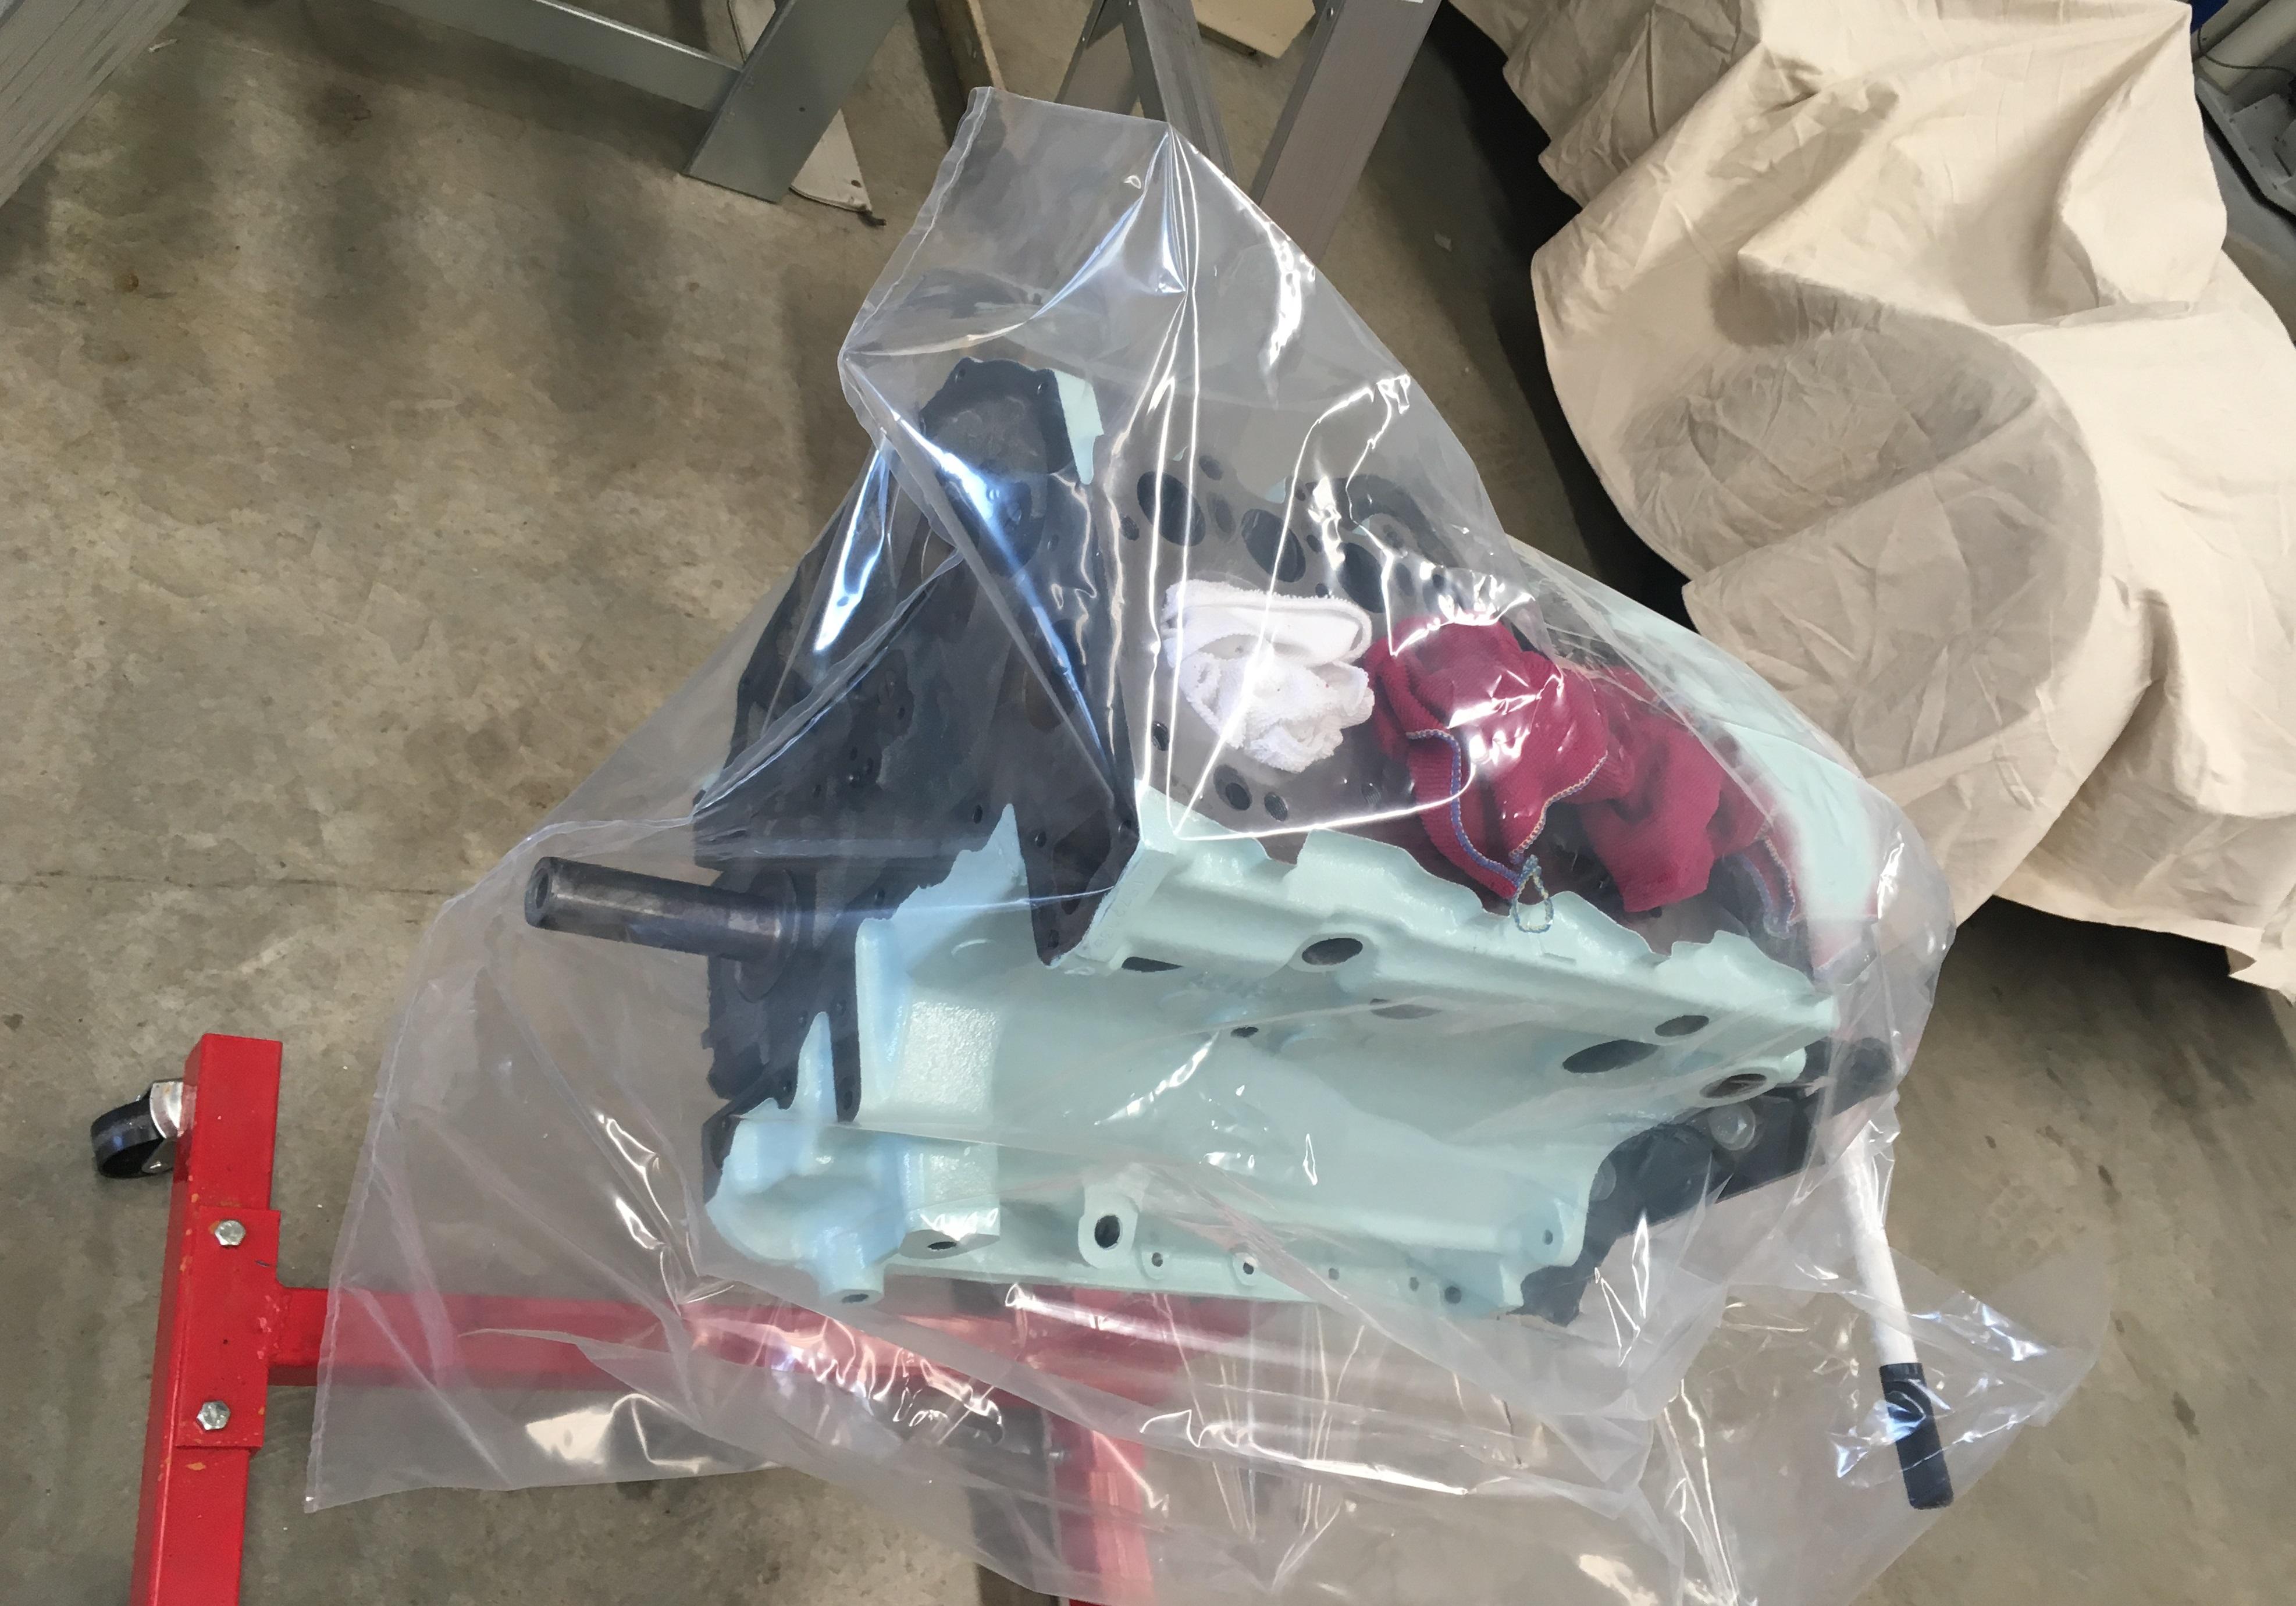
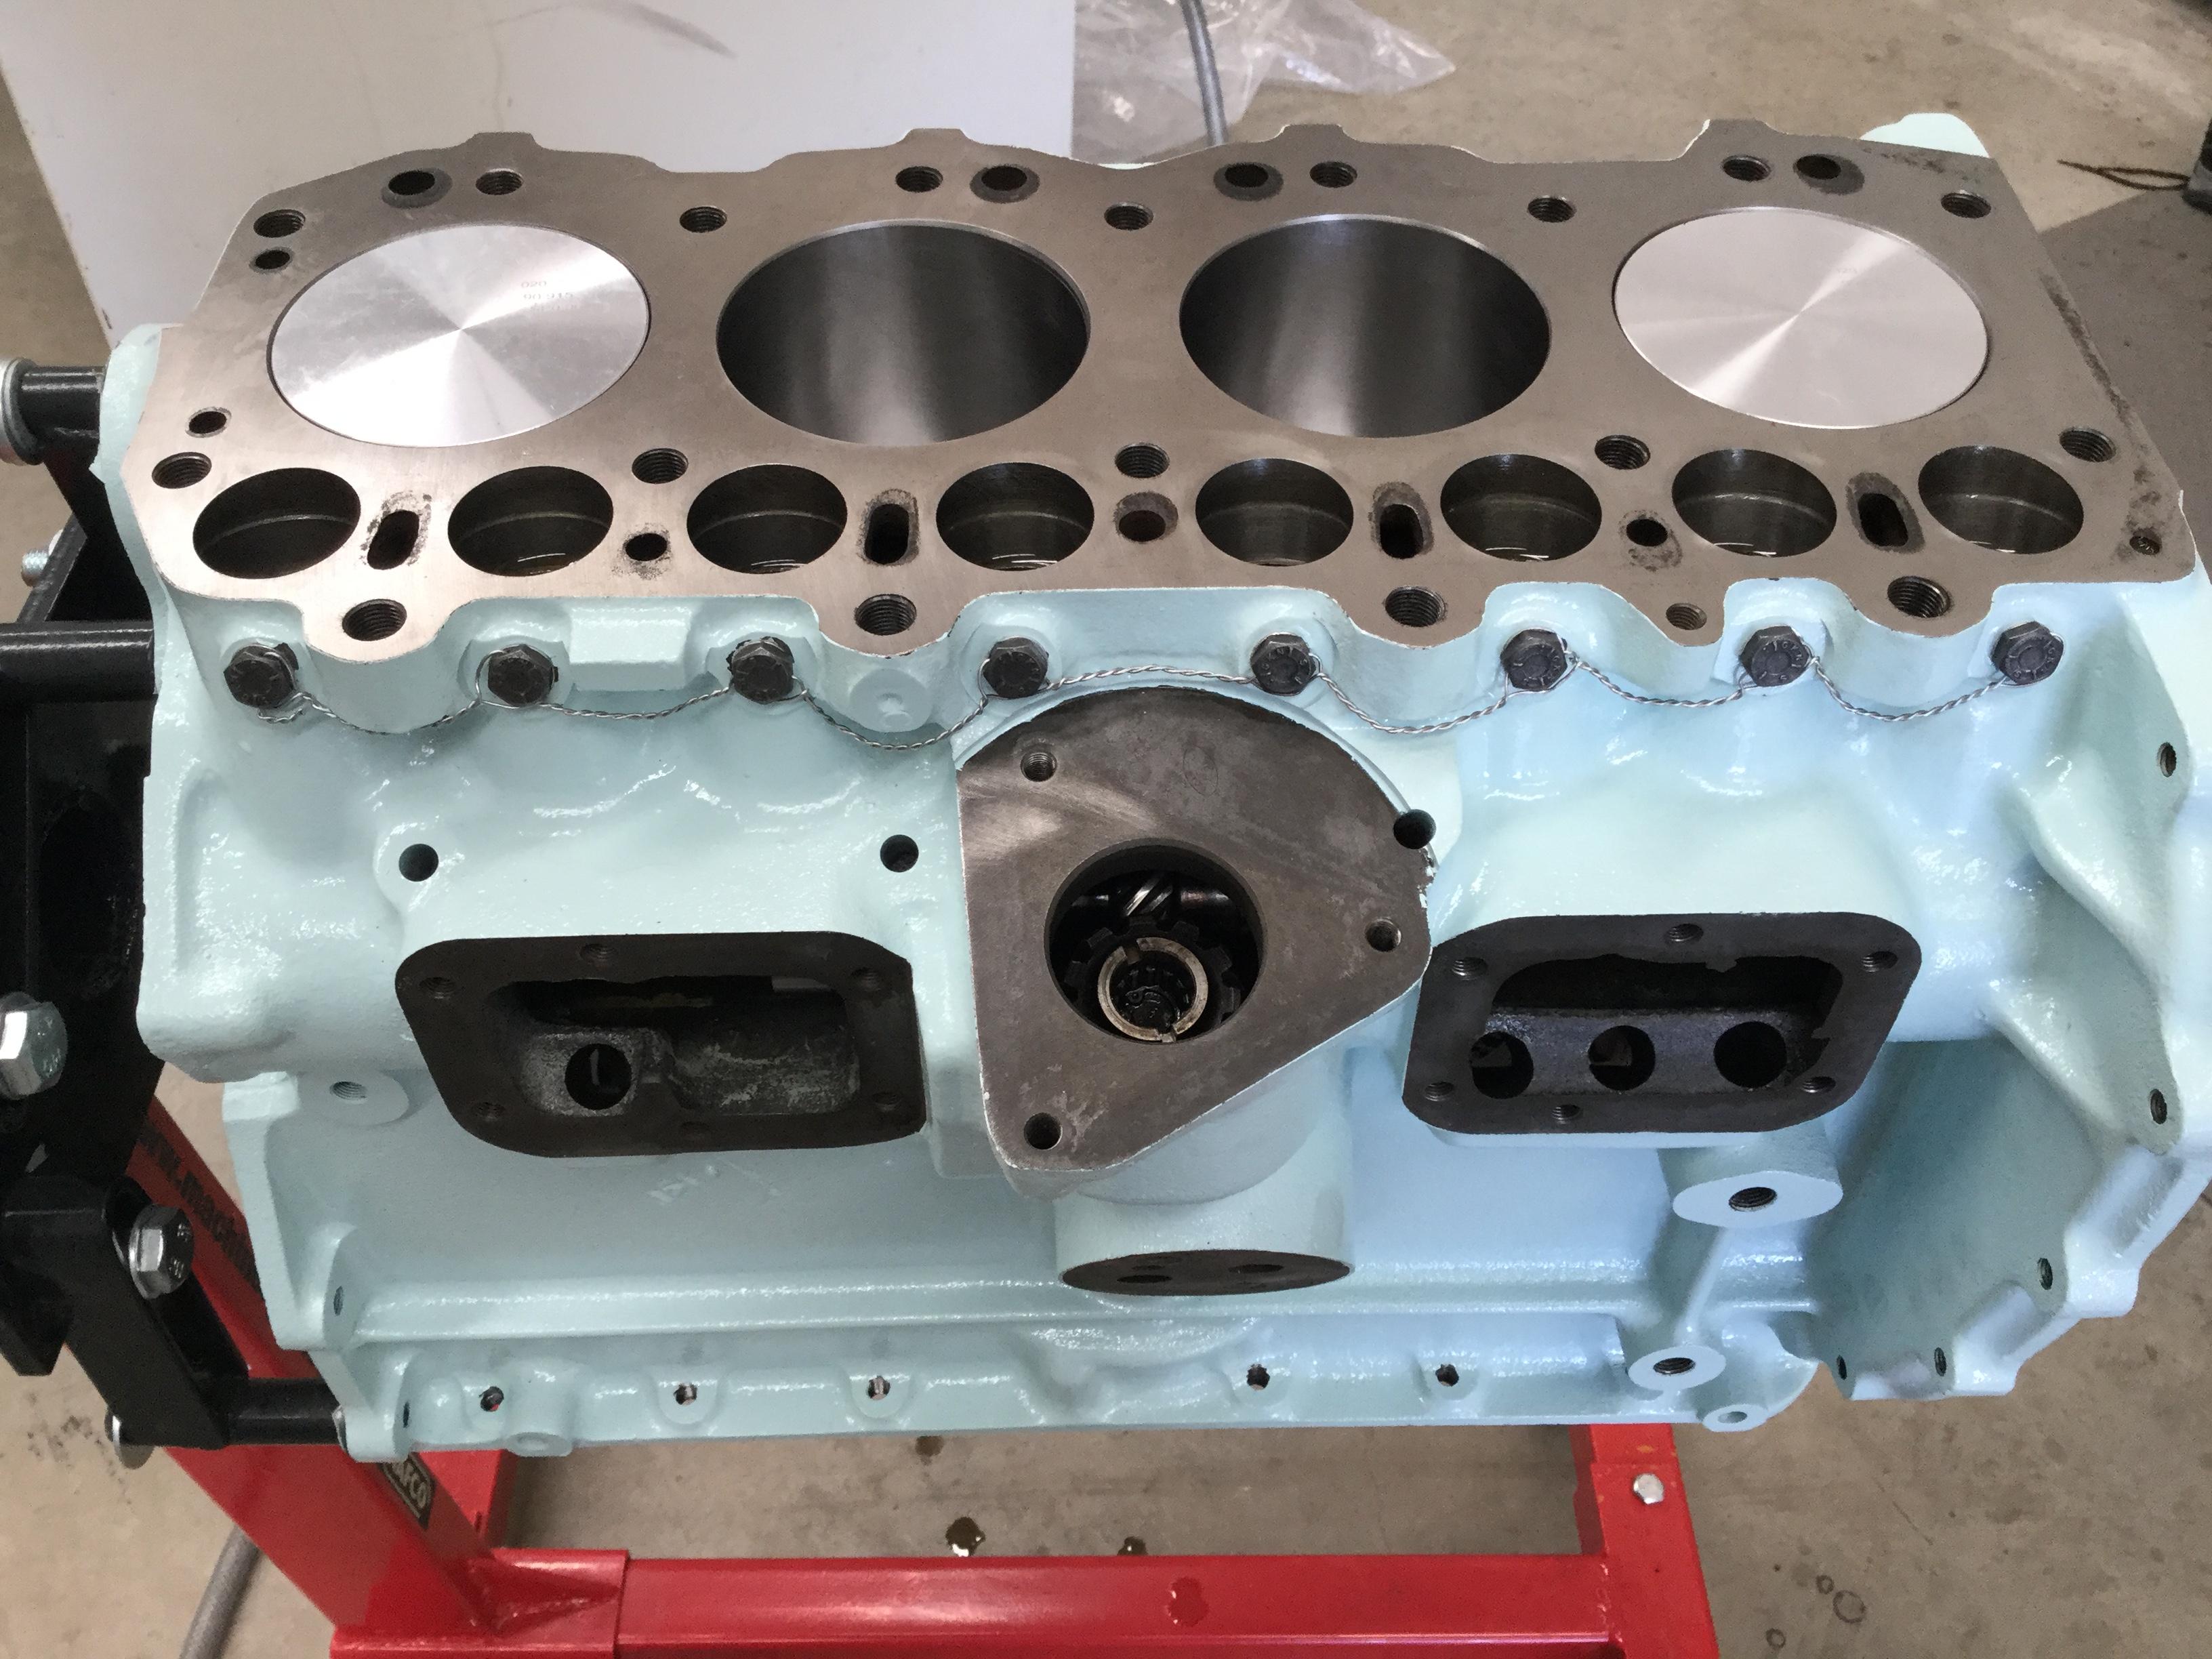
Now that everything was cleaned up, the block could come out of its plastic cage:
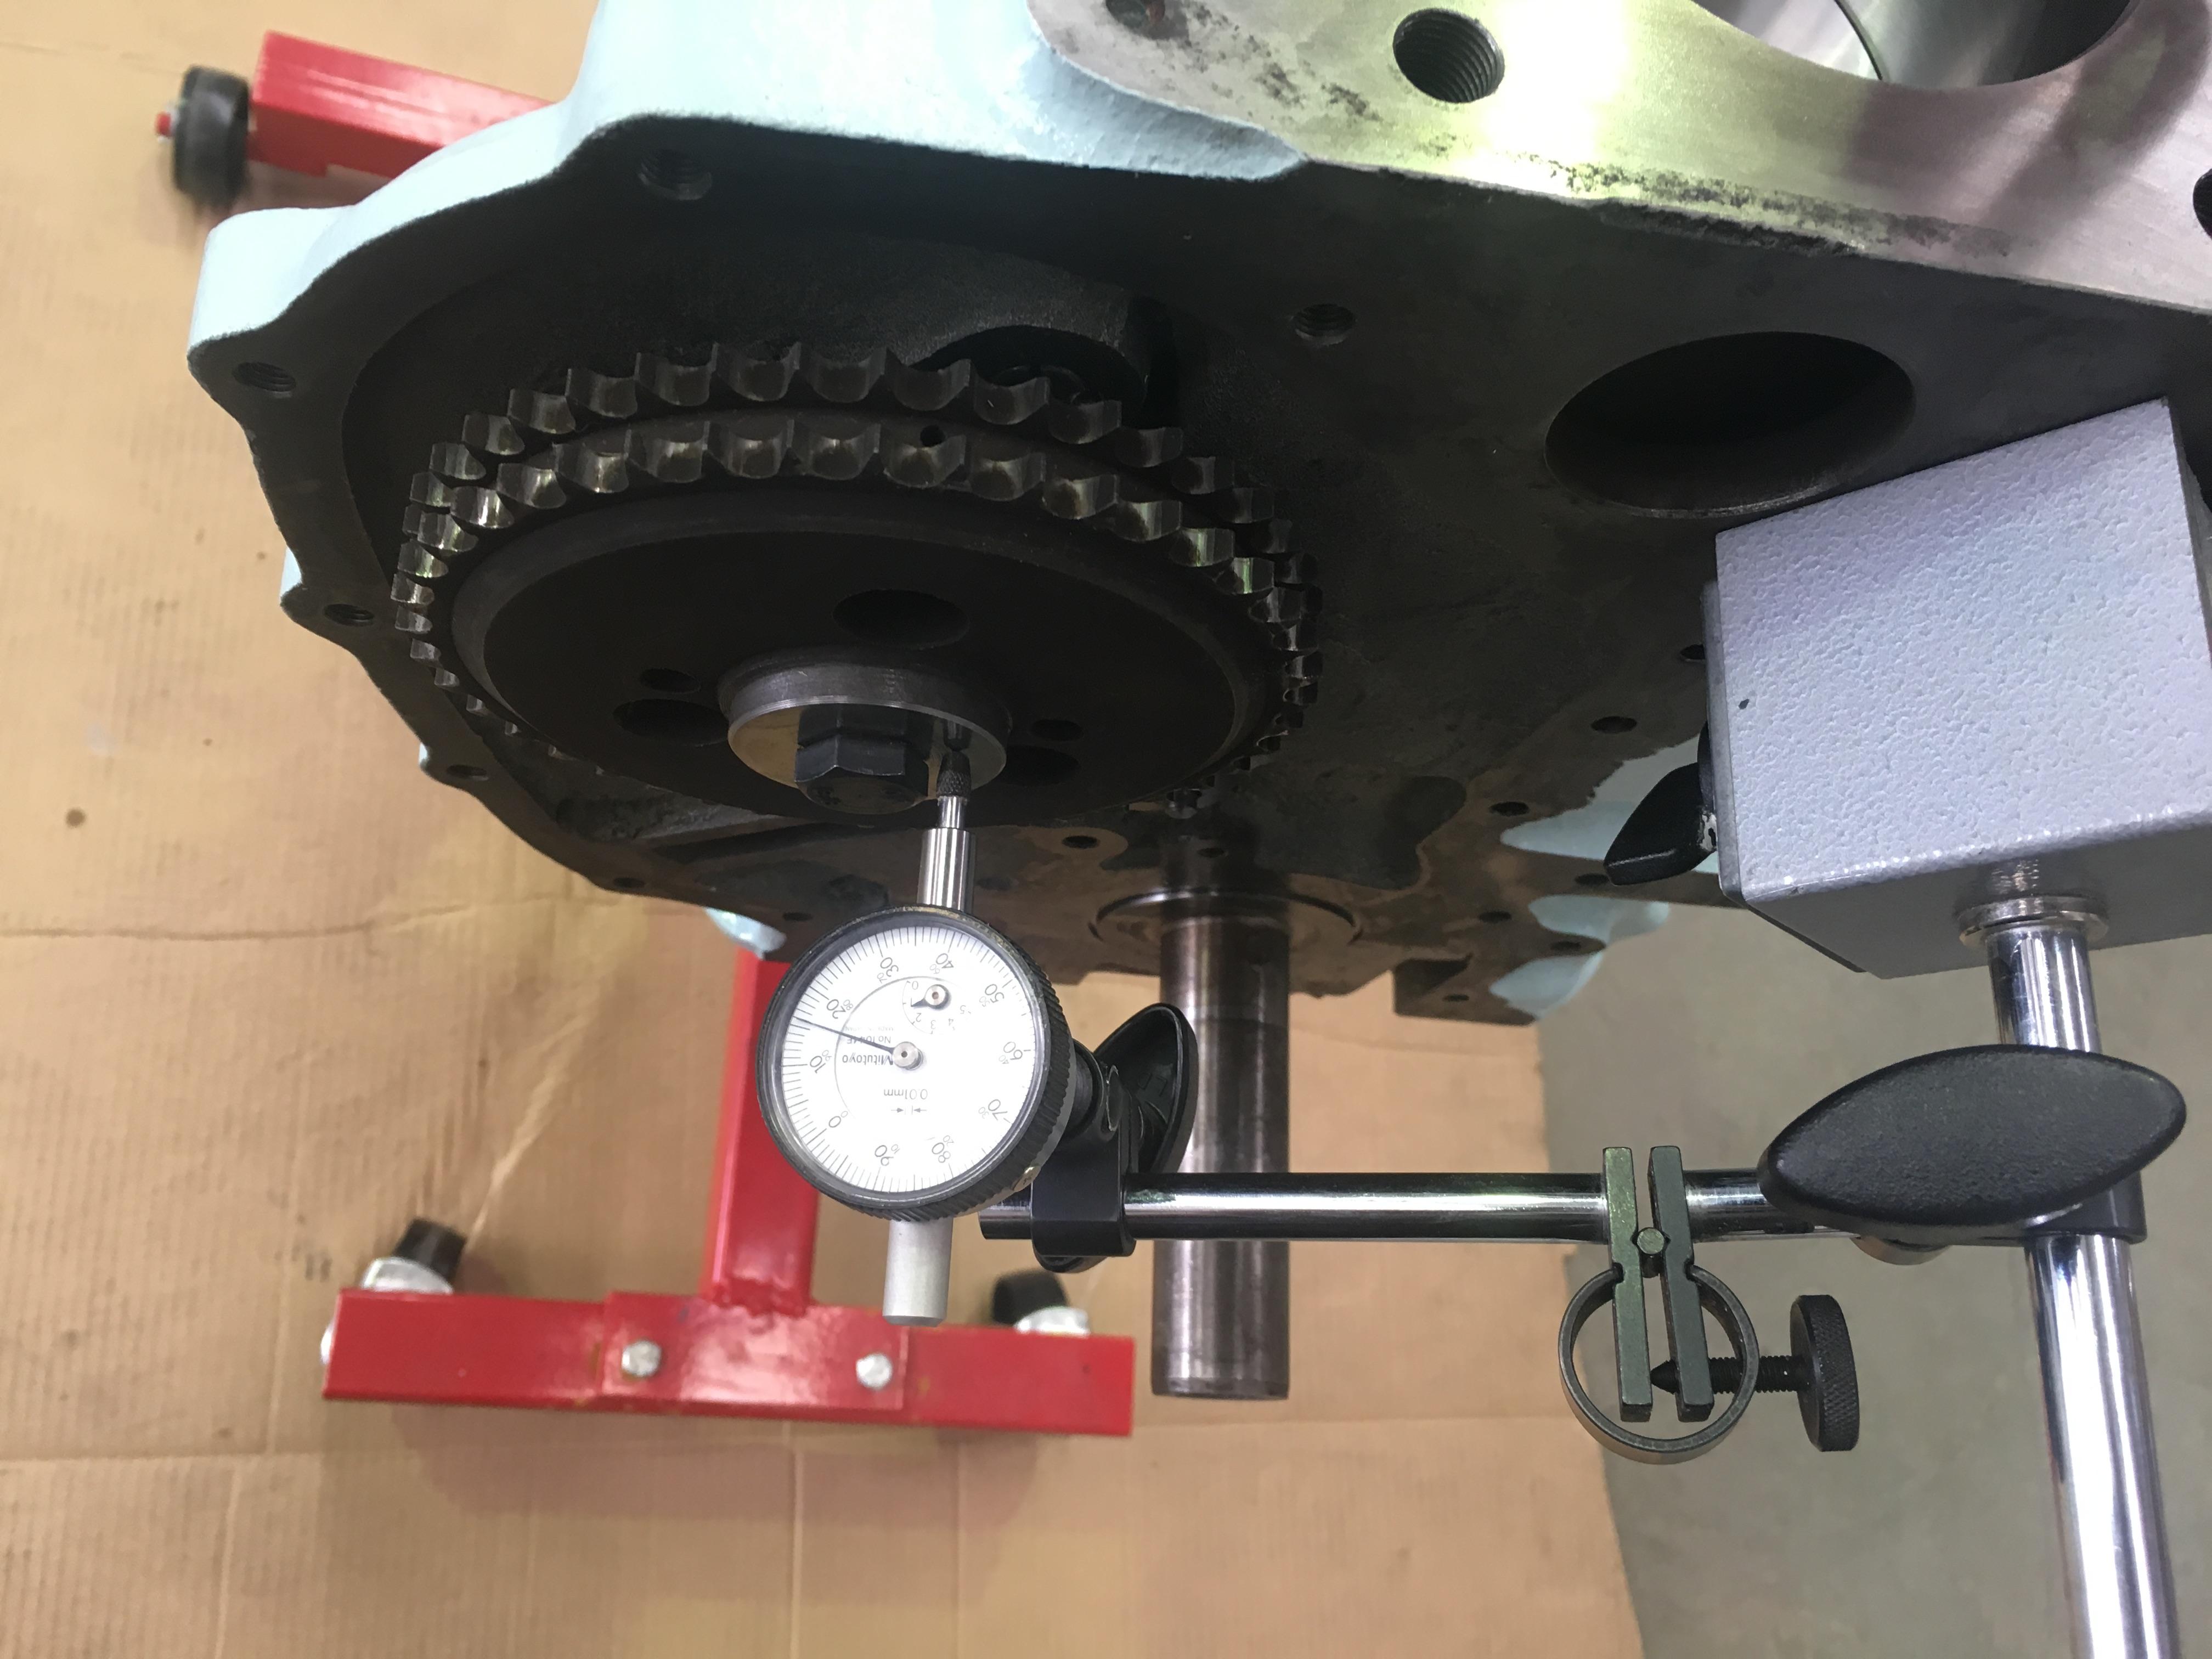
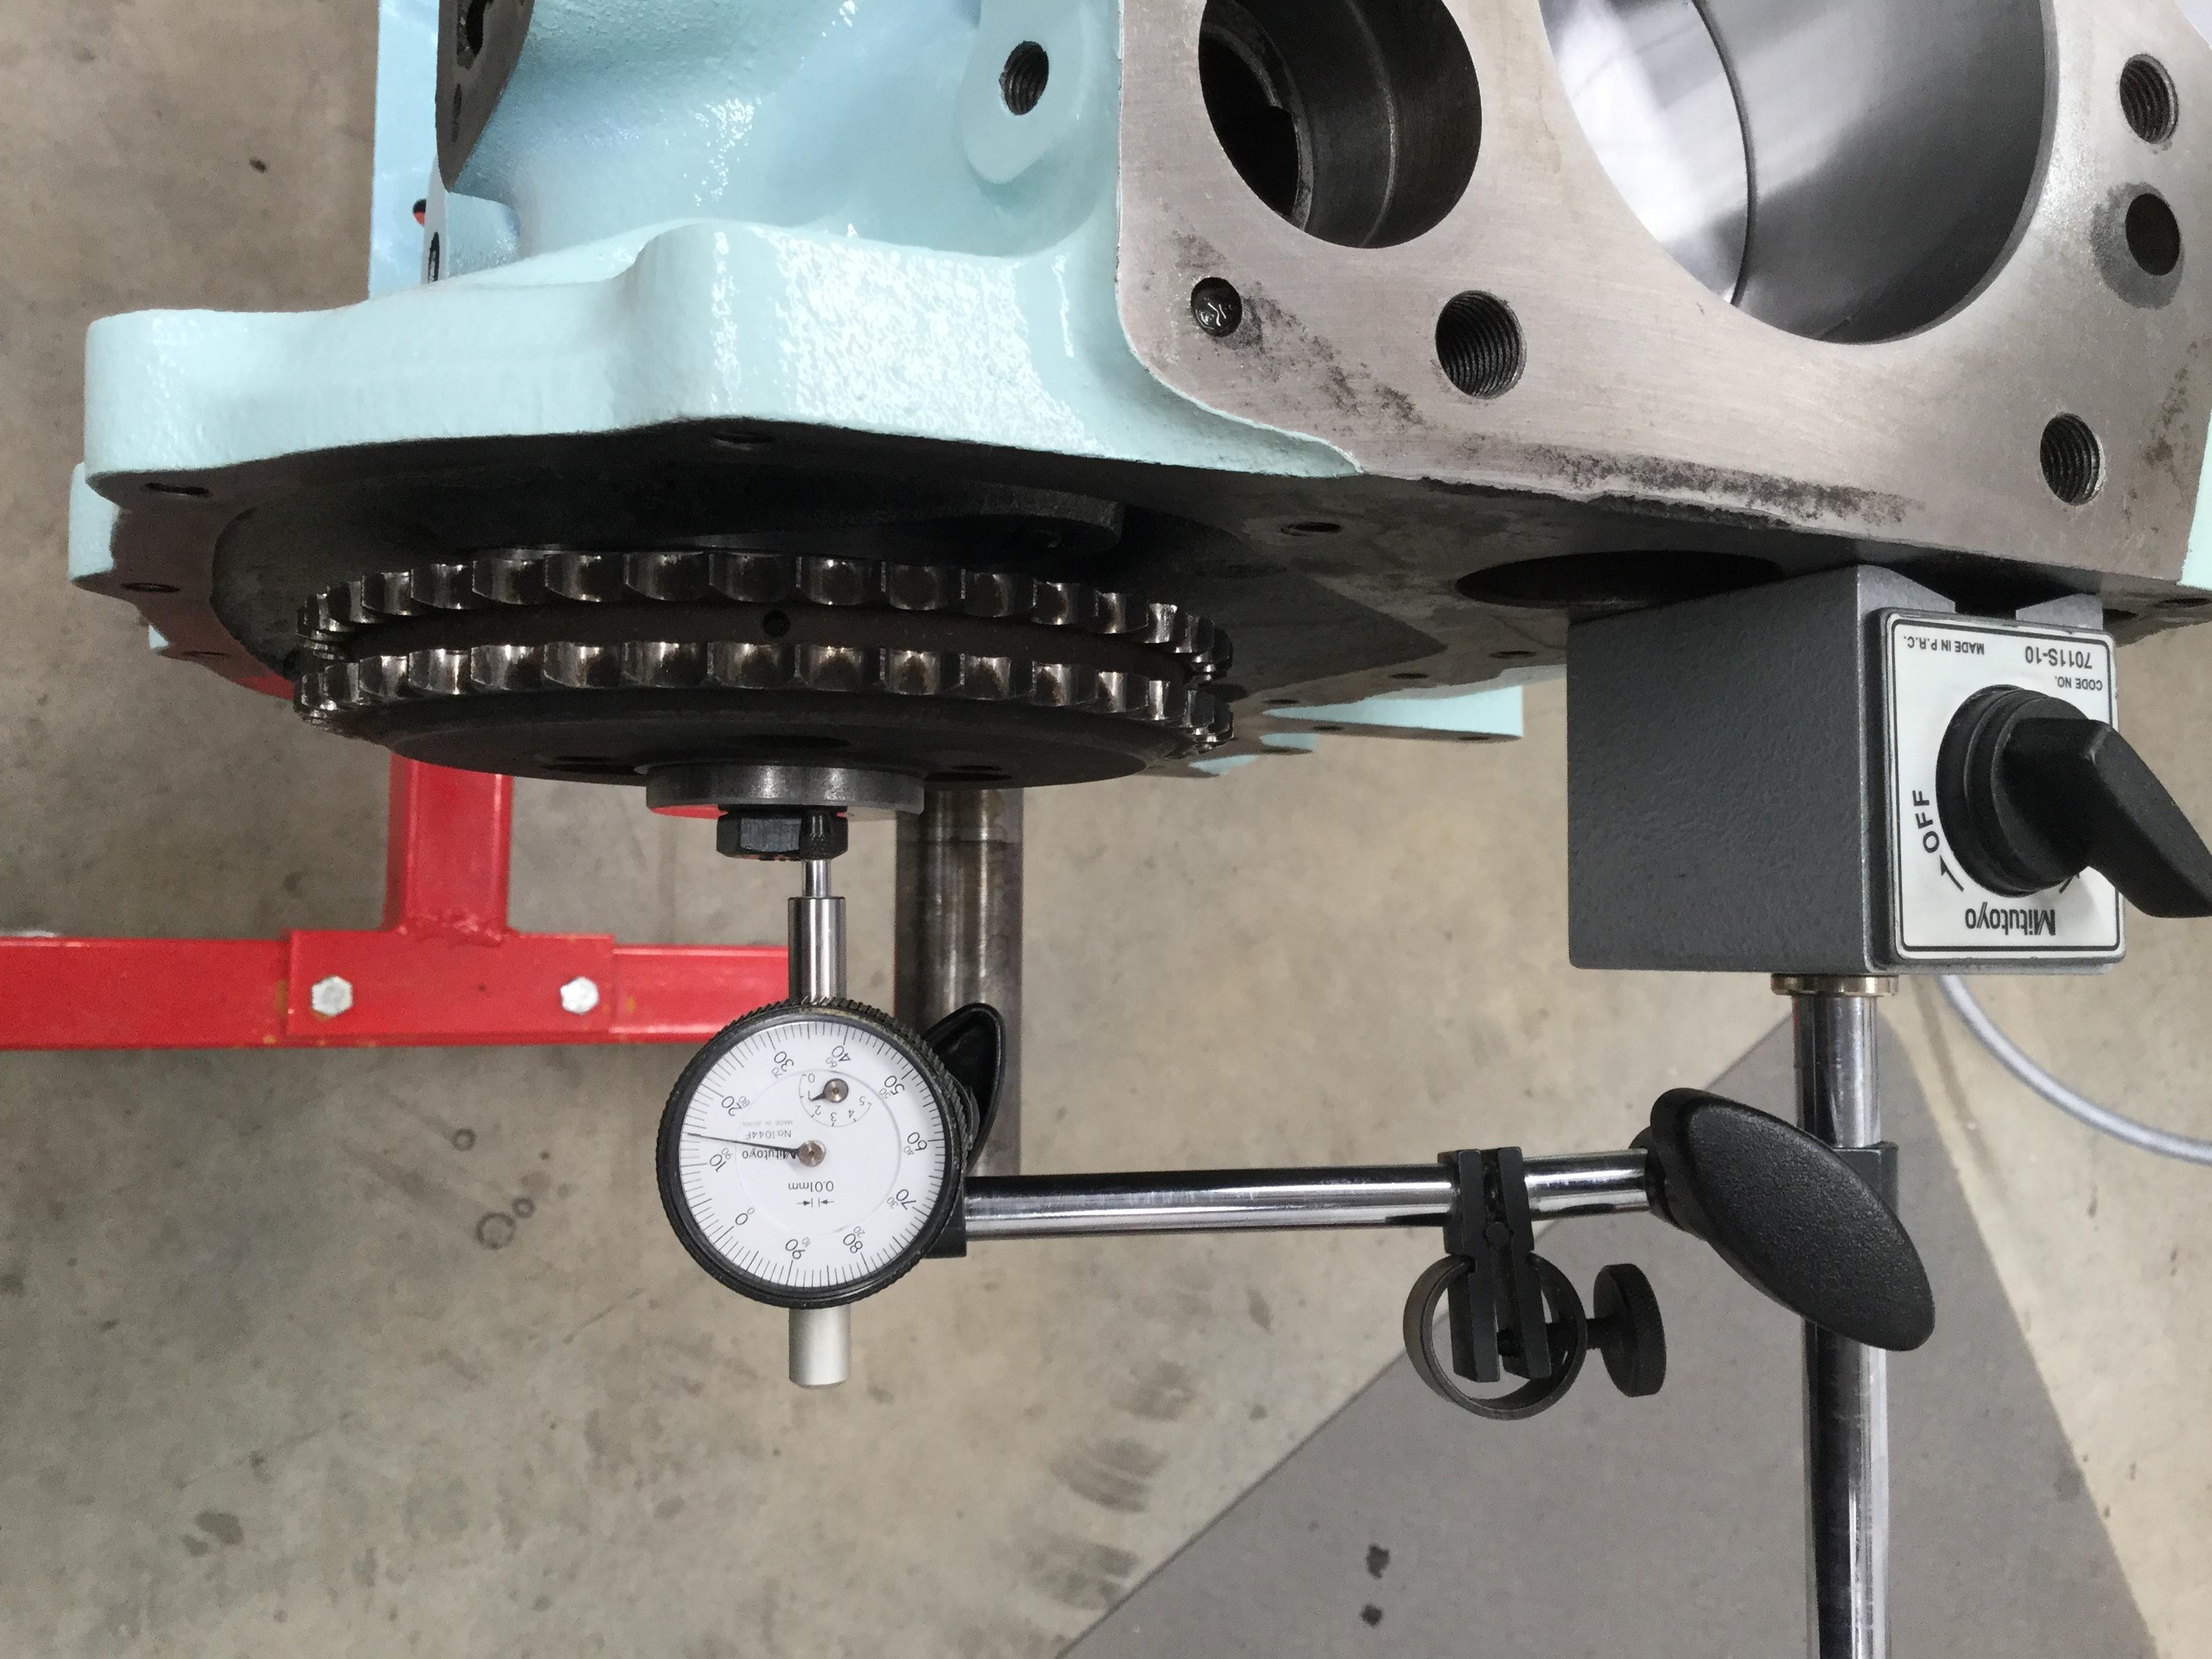
First part to go in is the (new) cam, and the end float needs to be checked:
And..... its out of spec0.16mm, (max is 0.13 according to the book). The cam is new, to the thrust plate needs to be replaced. There is some discolouration, but no wear can be felt....
Fast forward 3 or 4 weeks and I have the new thrust plate, (and time to actually do some work on the series!!!). New (style) part on the left:
So, in with the new thrust plate, and out with the DTI. Disappointingly the end float is 0.14mm, 0.01mm out of spec.
Despite it being (just) out of spec I've decide to carry on with building the engine. 0.01mm is really bugger all considering, if Turners want to send me a new cam I'll think about fitting it.
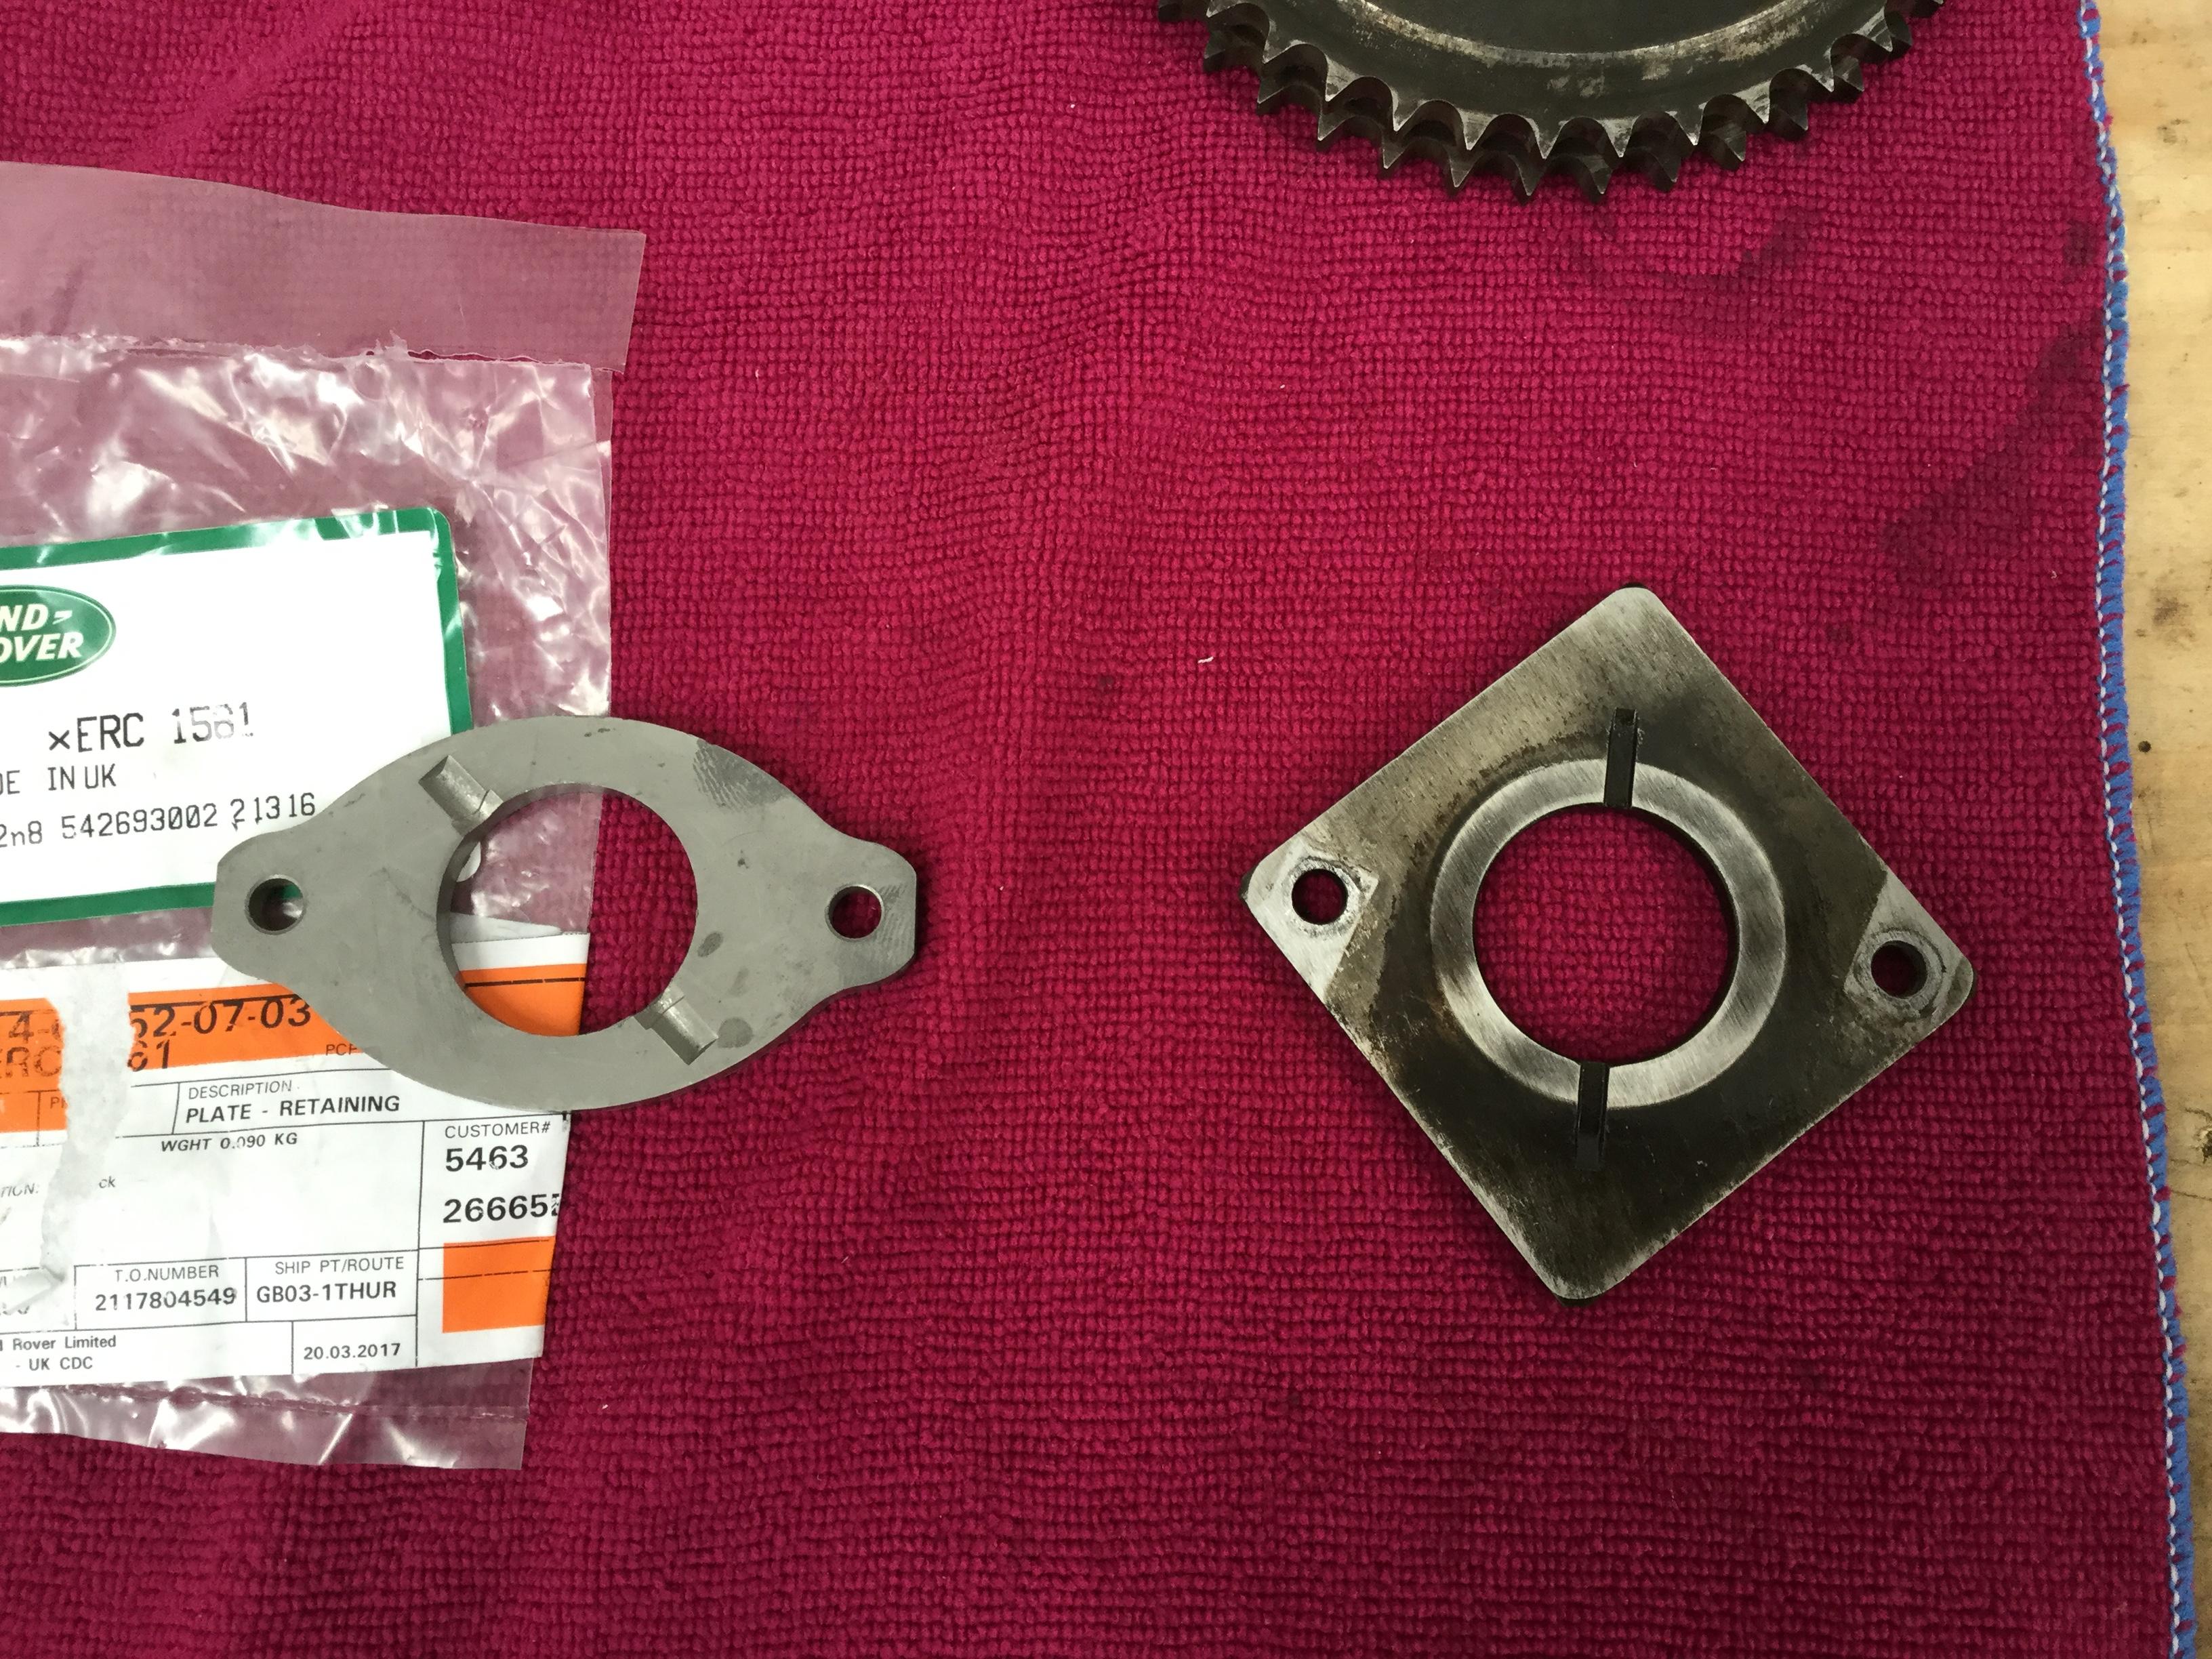
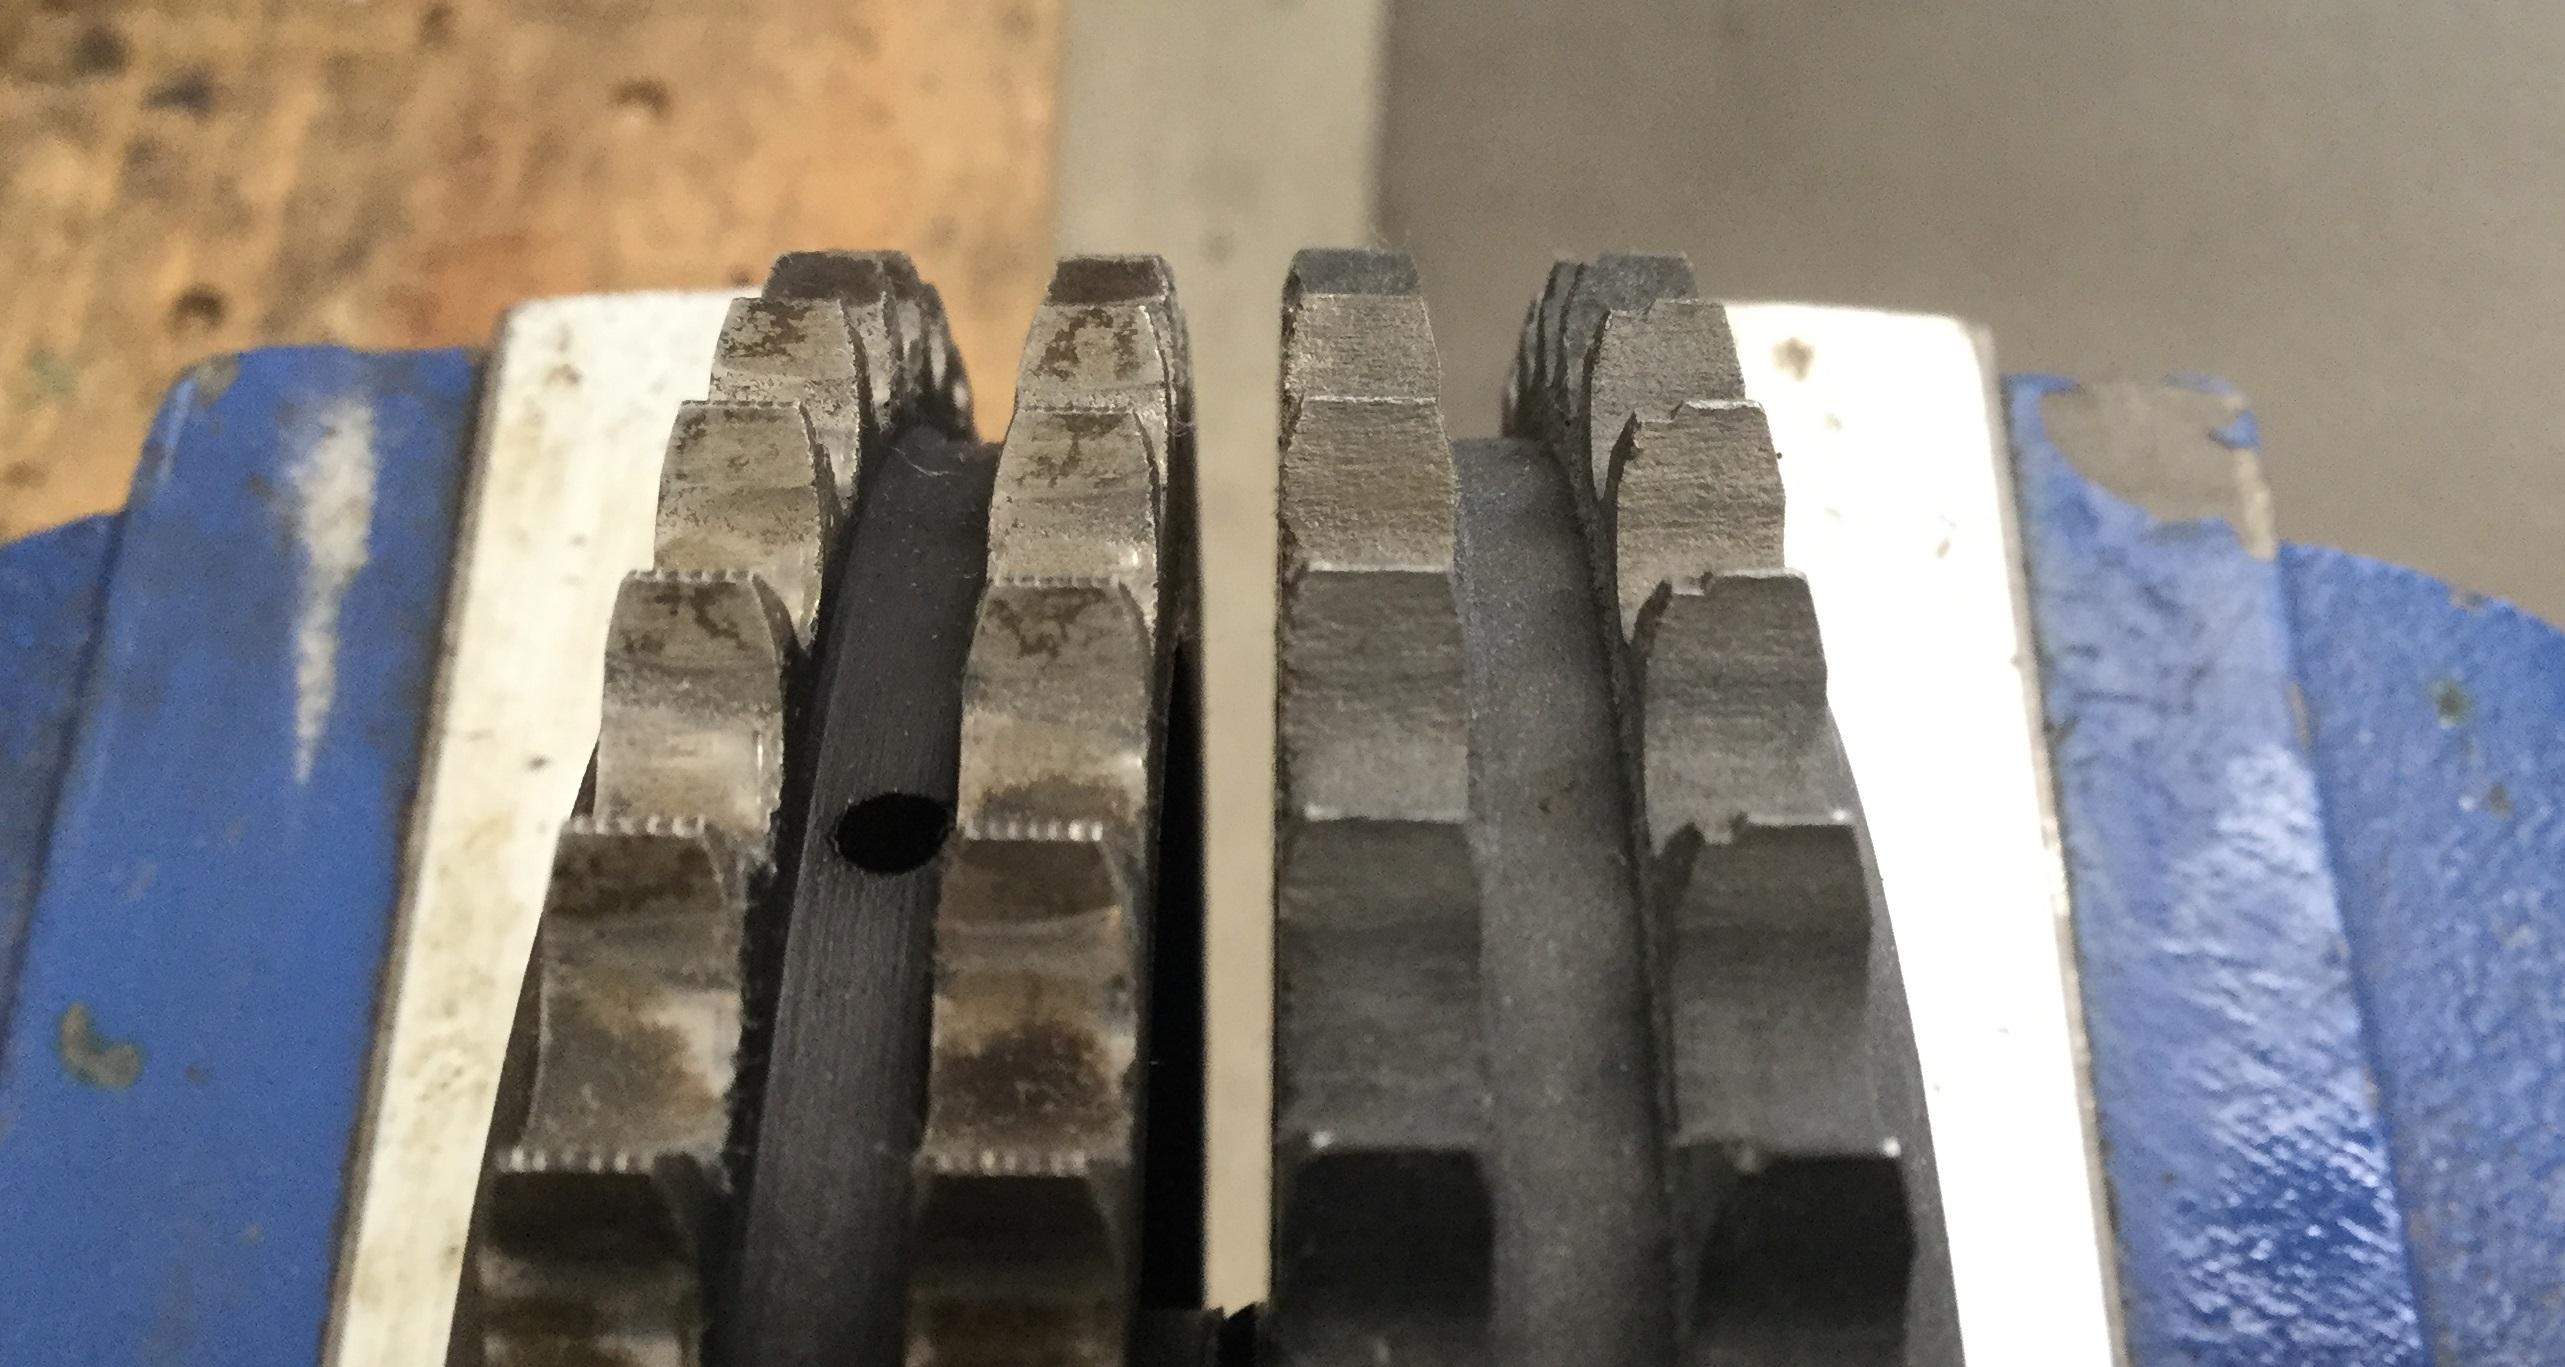
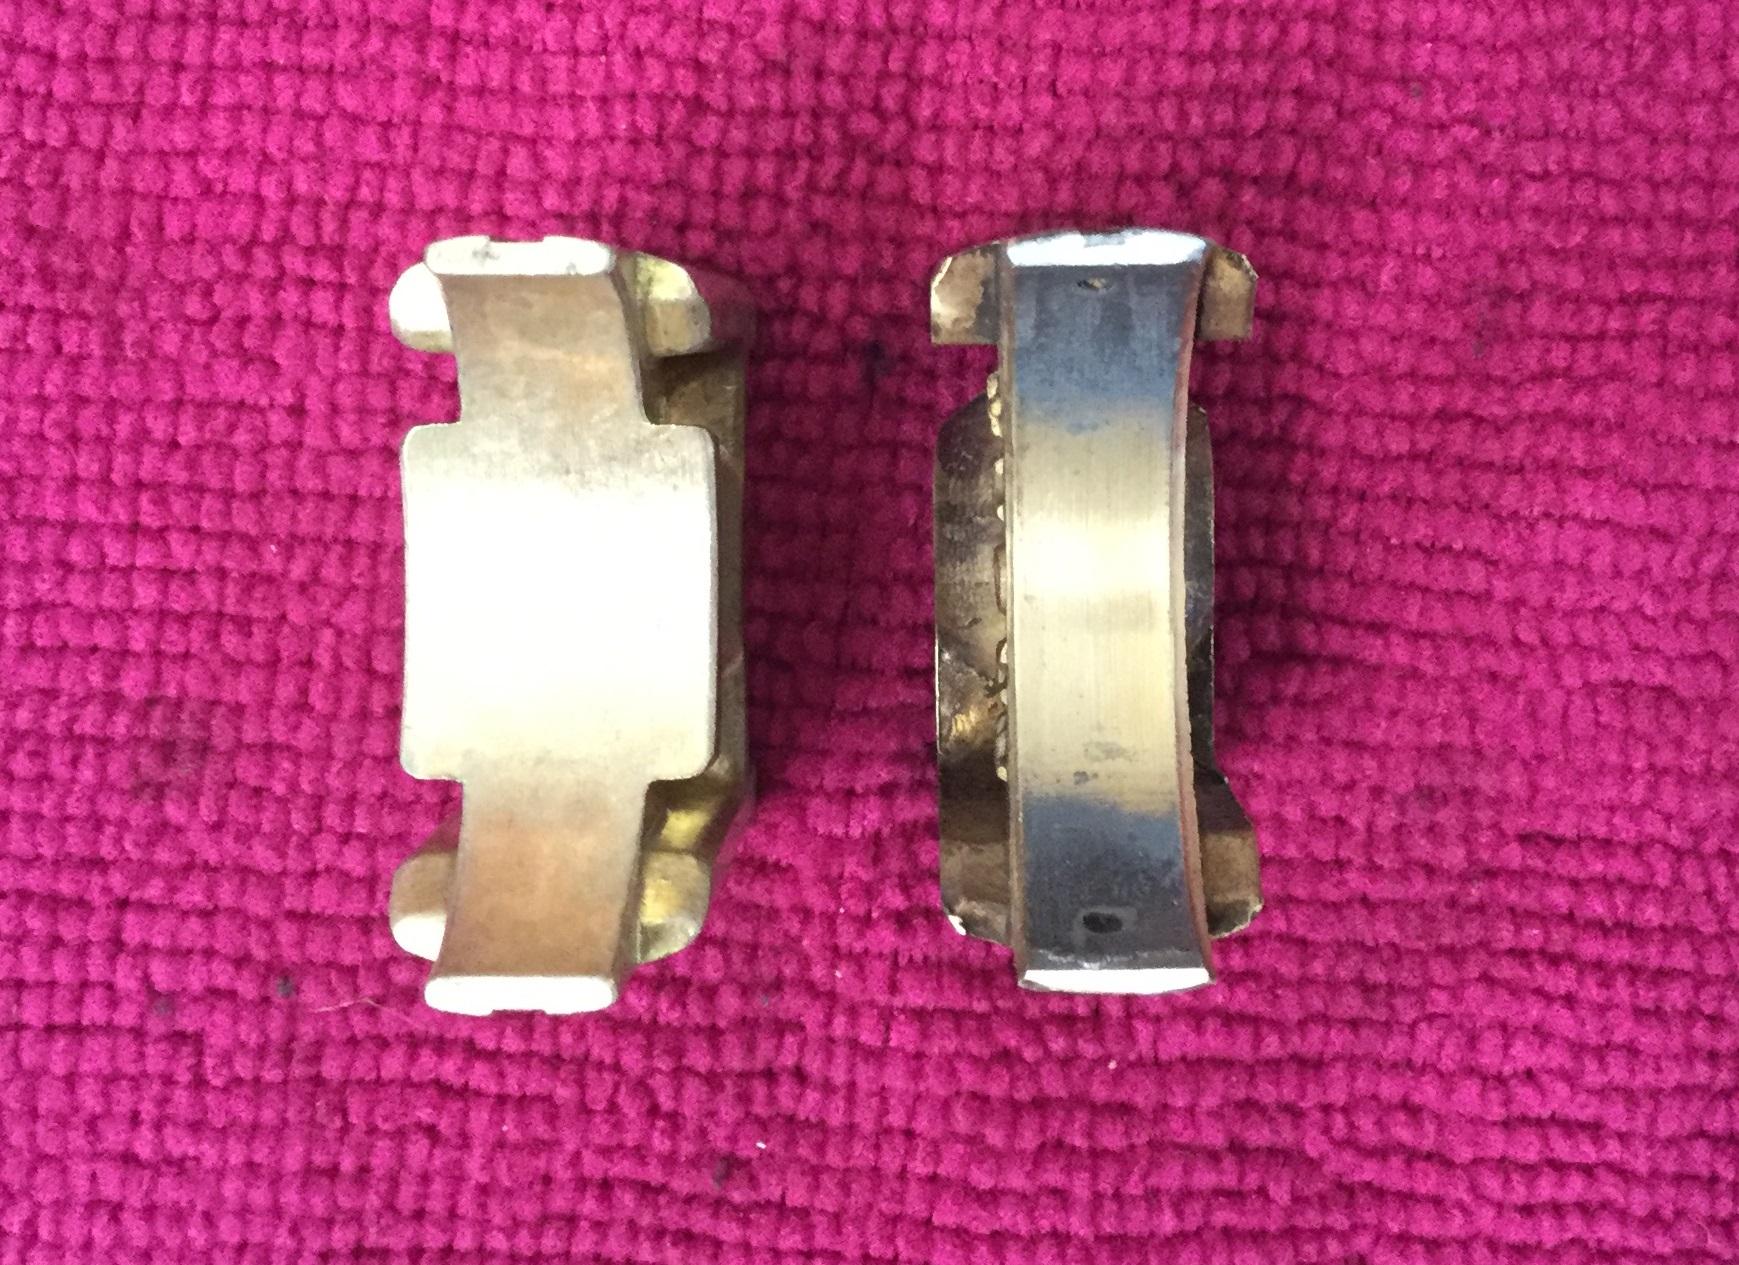
Next bit to go on was the timing chain and sprockets. OEM (AE) bottom and idler sprockets were available from Turners, however the cam sprocket is NLA in genuin/OEM. I ordered a aftermarket one from another supplier, but It's not the best made part to be honest, (no it's not ****part). The original is on the left, the aftermarket on the right, there is a bit of wear on the original, but the finish of the aftermarket is terrible, so I'll be refitting the original part.
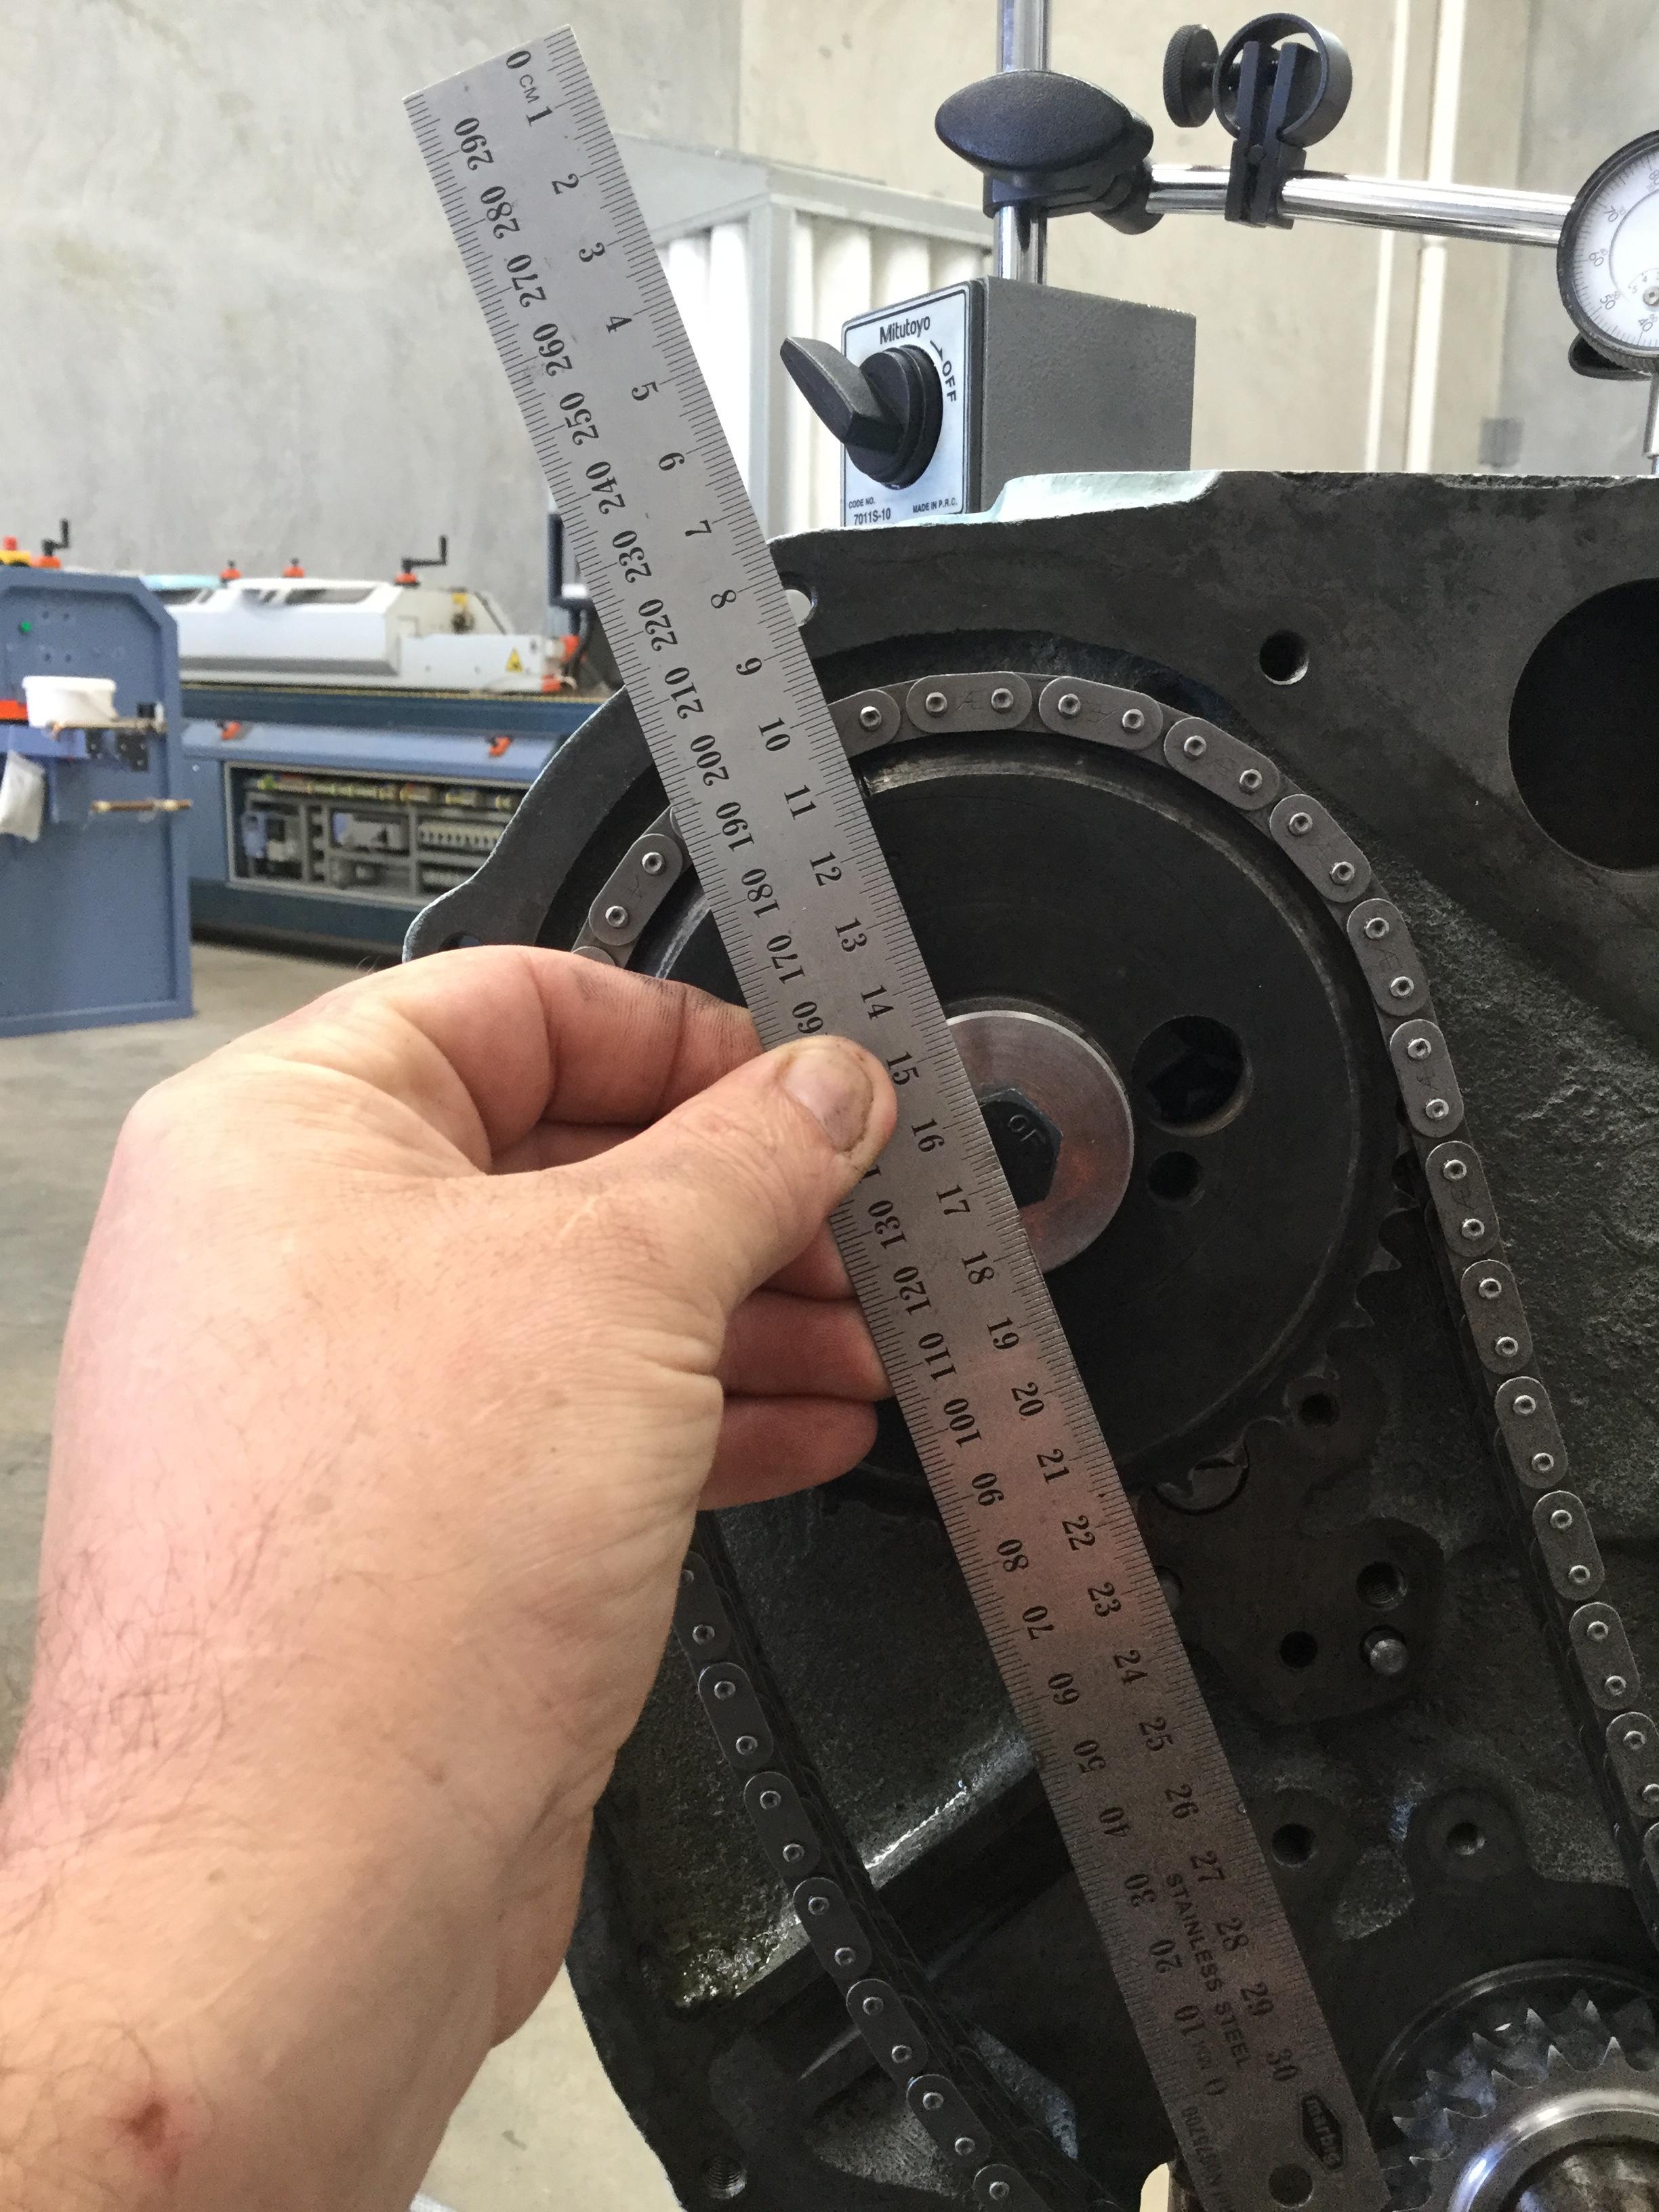
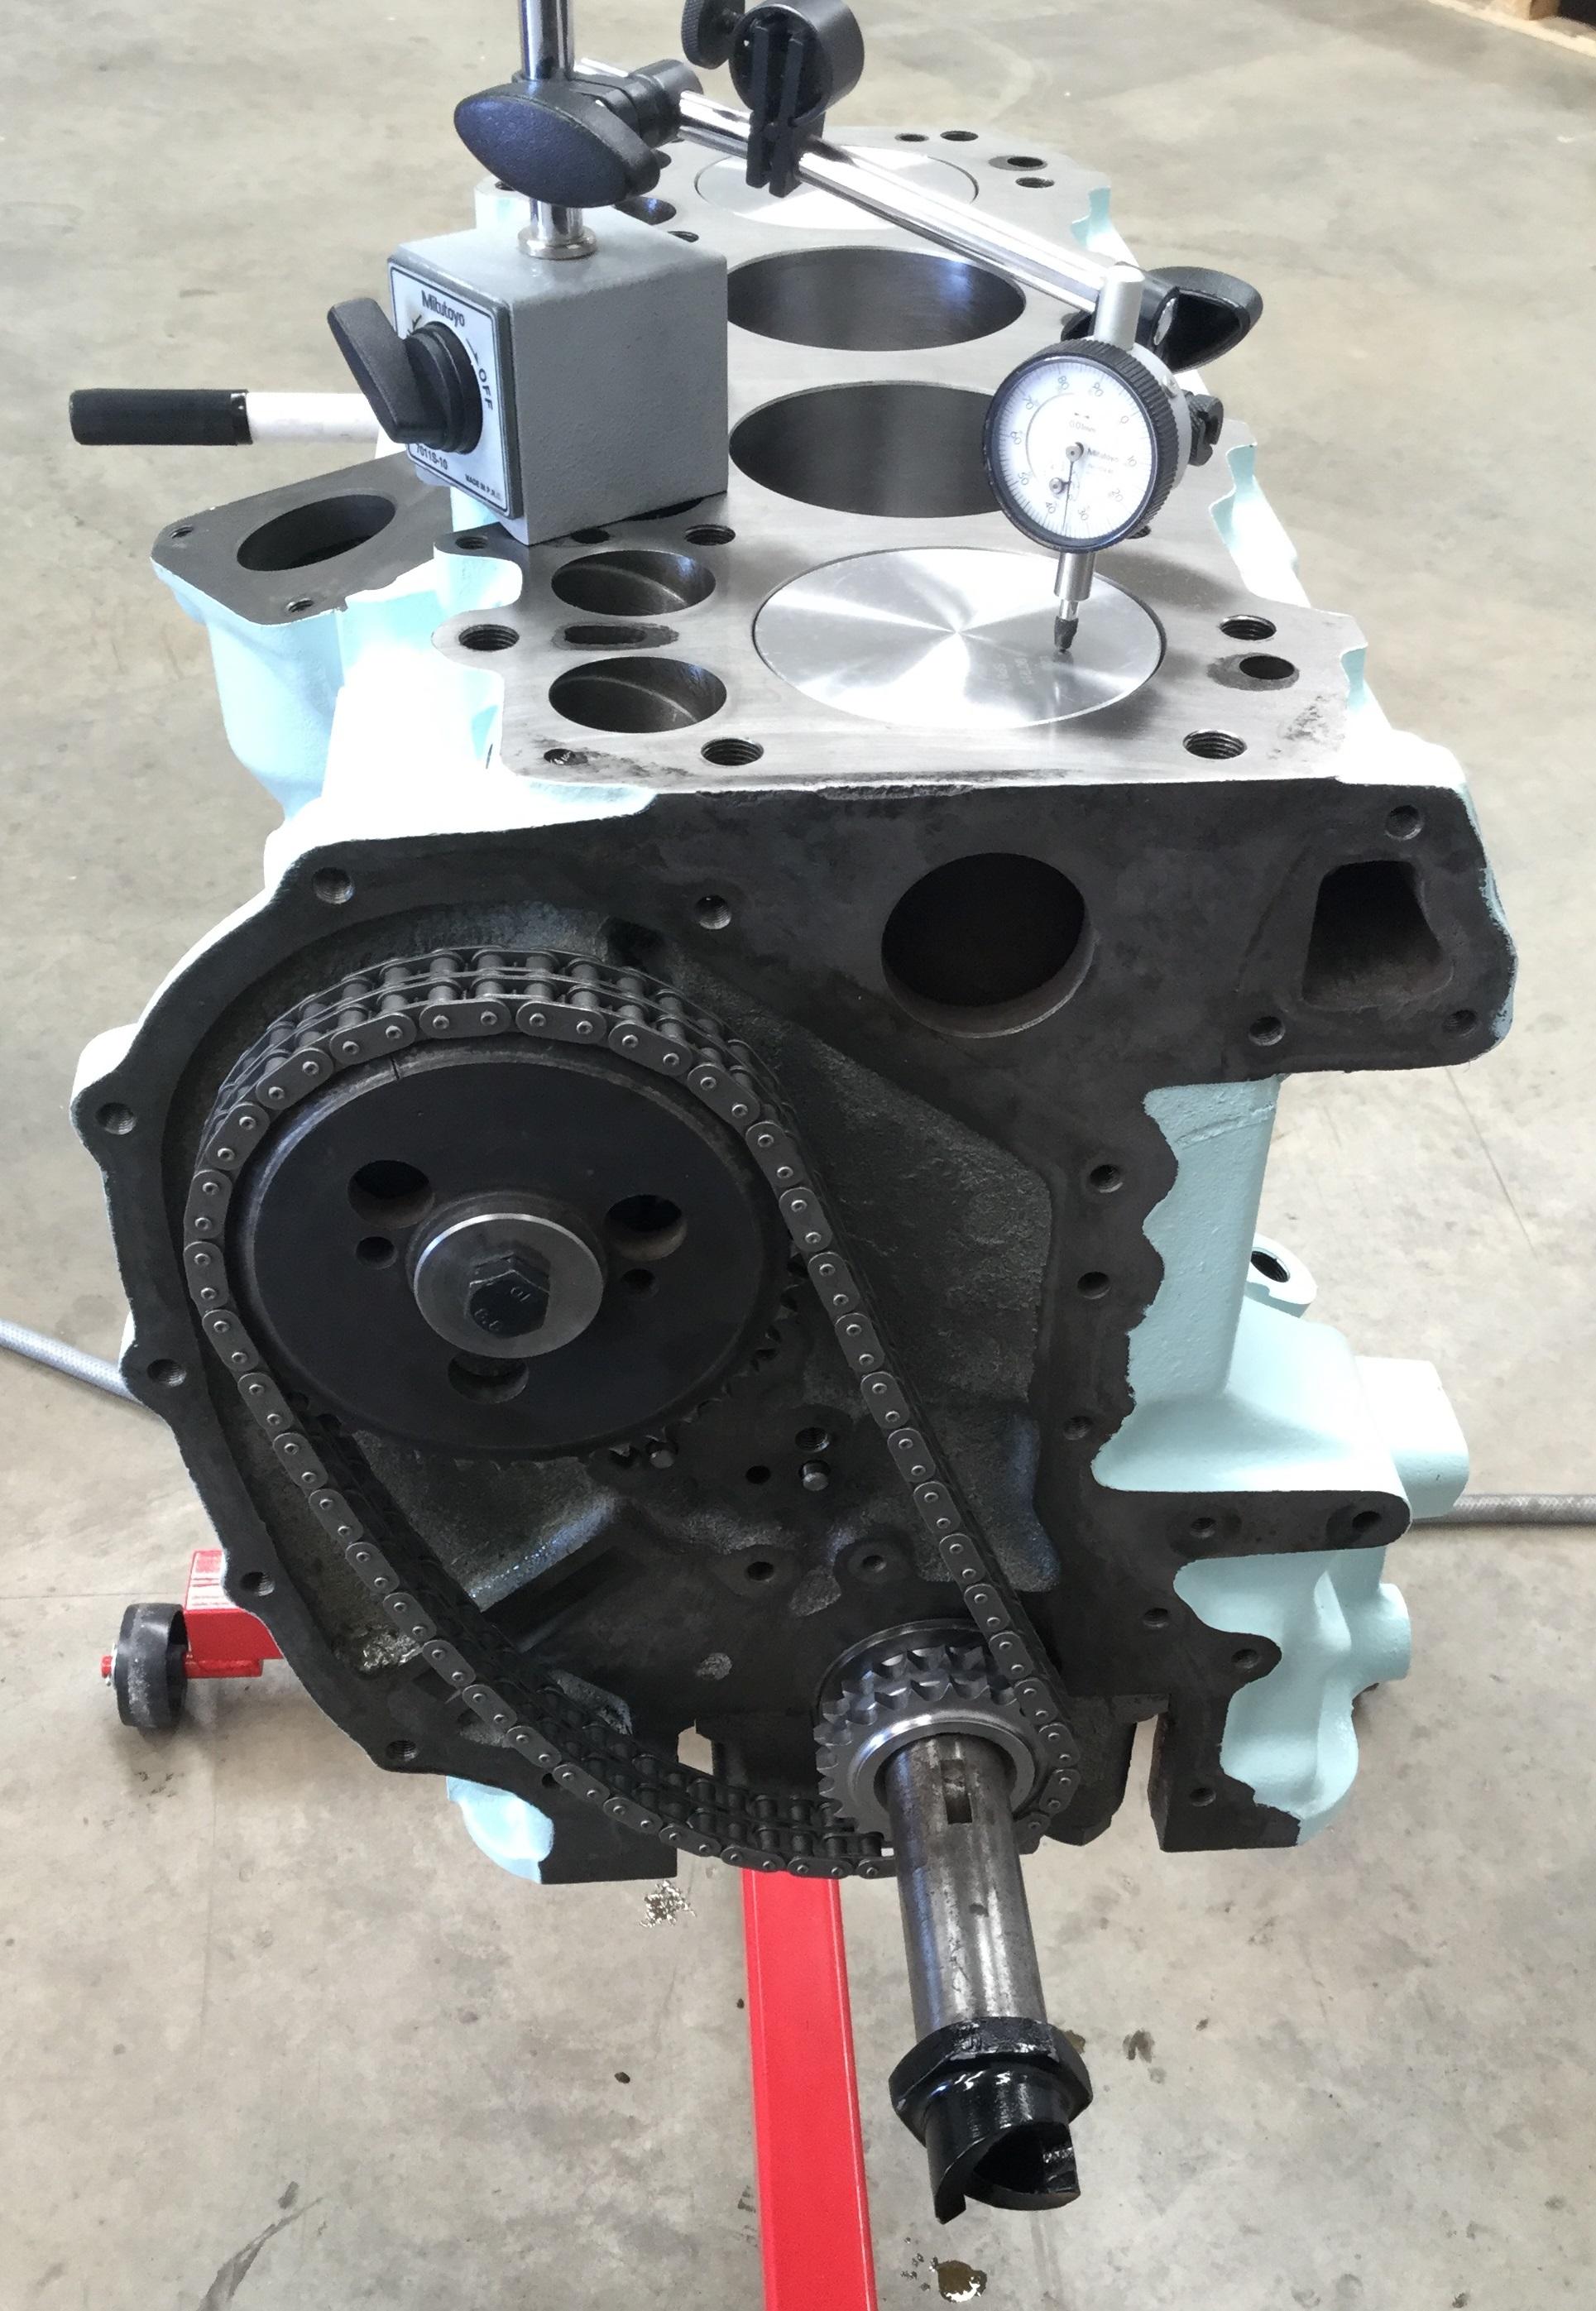
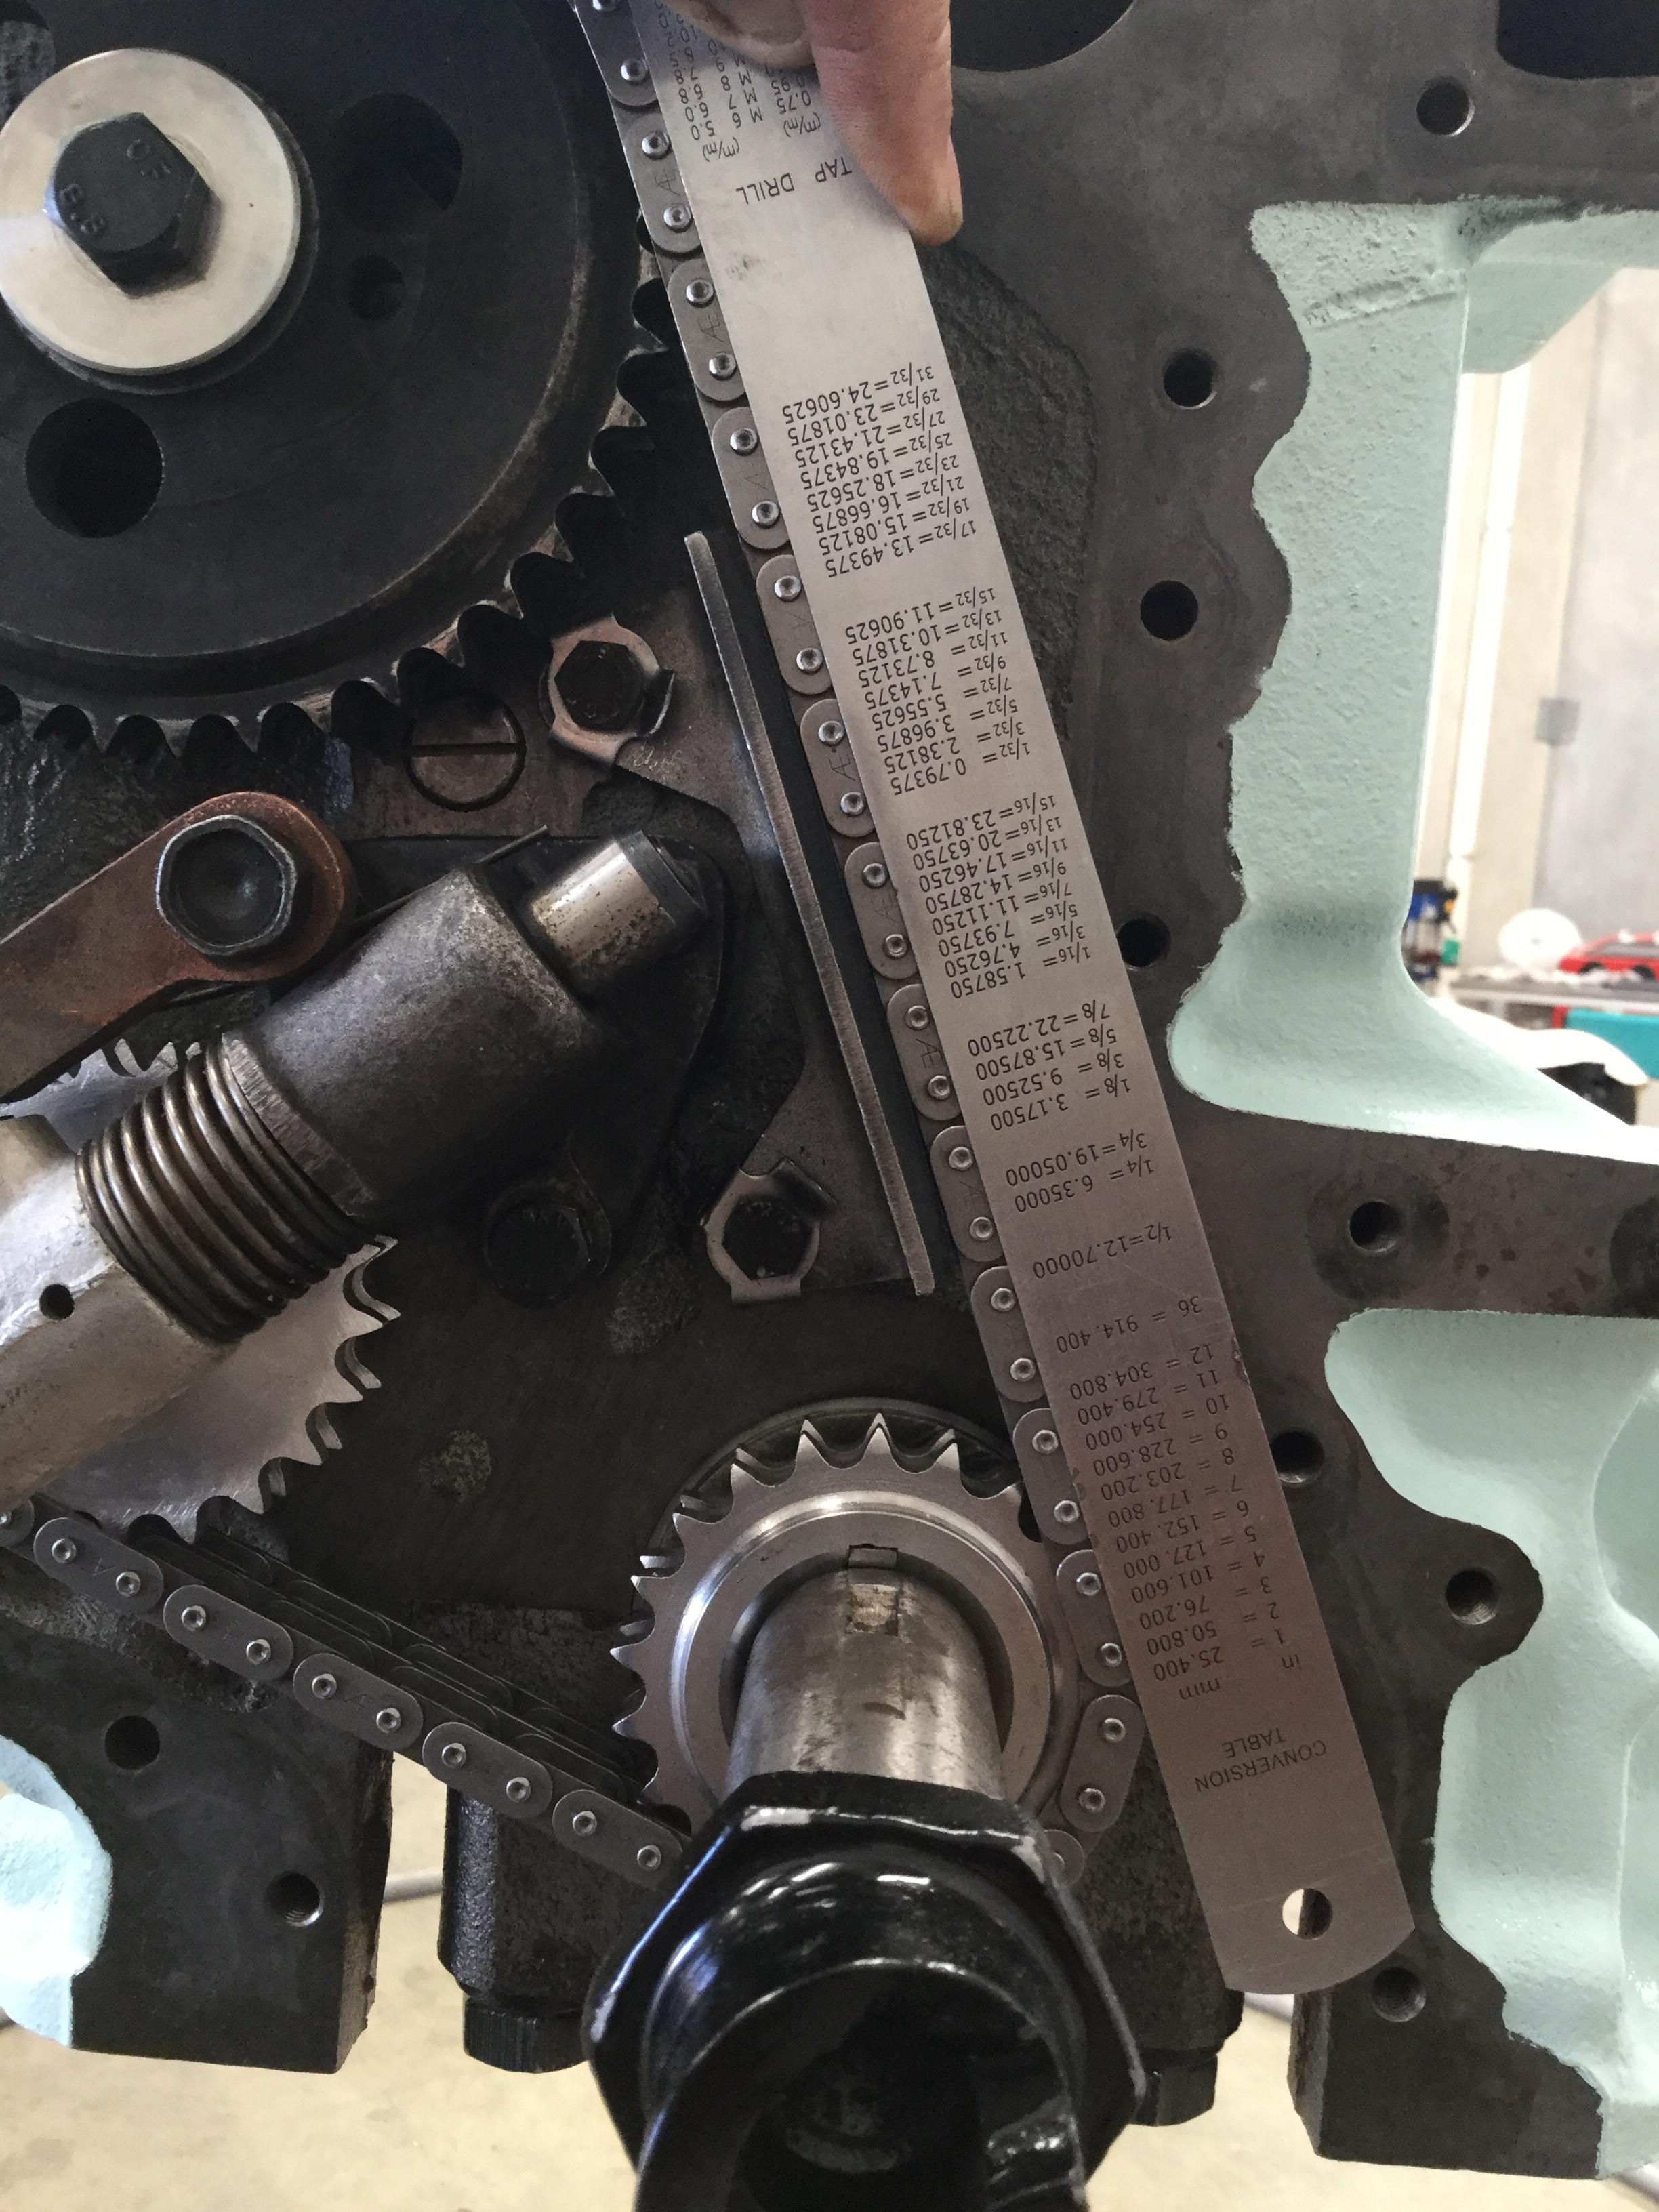
TDC was set with the DTI, bit of an overkill, but made fitting the chain really easy.
Timing lined up spot on
Wizard
Tensioner was installed, and the chain vibration dampener needed to be set. There is supposed to be a max 0.25mm, (10 thou), clearance between the chain and the pad, this turned out to be a bit of a pig to set. In the end I ran a 5 thou feeler gauge between the chain and the pad while holding a straight edge against the chain, as it tended to flex out of the way, and stay there, giving a false reading. (I have the straight edge against the chain rivets for the photo as it shows what I am on about better, hopefully
Next to go in are the tappets. The original followers have had the white metal worn off them, which has transferred onto rollers, and onto the cam.
The replacement followers are a slightly different style, (these are "OE" ones from the company that makes the HS2.8 in Brazil, via Turners). They don't have the white metal coating, but have a larger following "pad" for the roller. The oil holes are also about twice the diameter. (No that's not carpet in the pic! It's a microfibre cloth).
All the rollers and followers in:
The bolts locating the follower housing need to be lockwired, been quite some time since I've done any lockwiring, and I really wished I had some lockwiring pliers! There is no direct route to keep the wire between bolts tight, but they would have to back right out about half a dozen turns before any issues would occour.
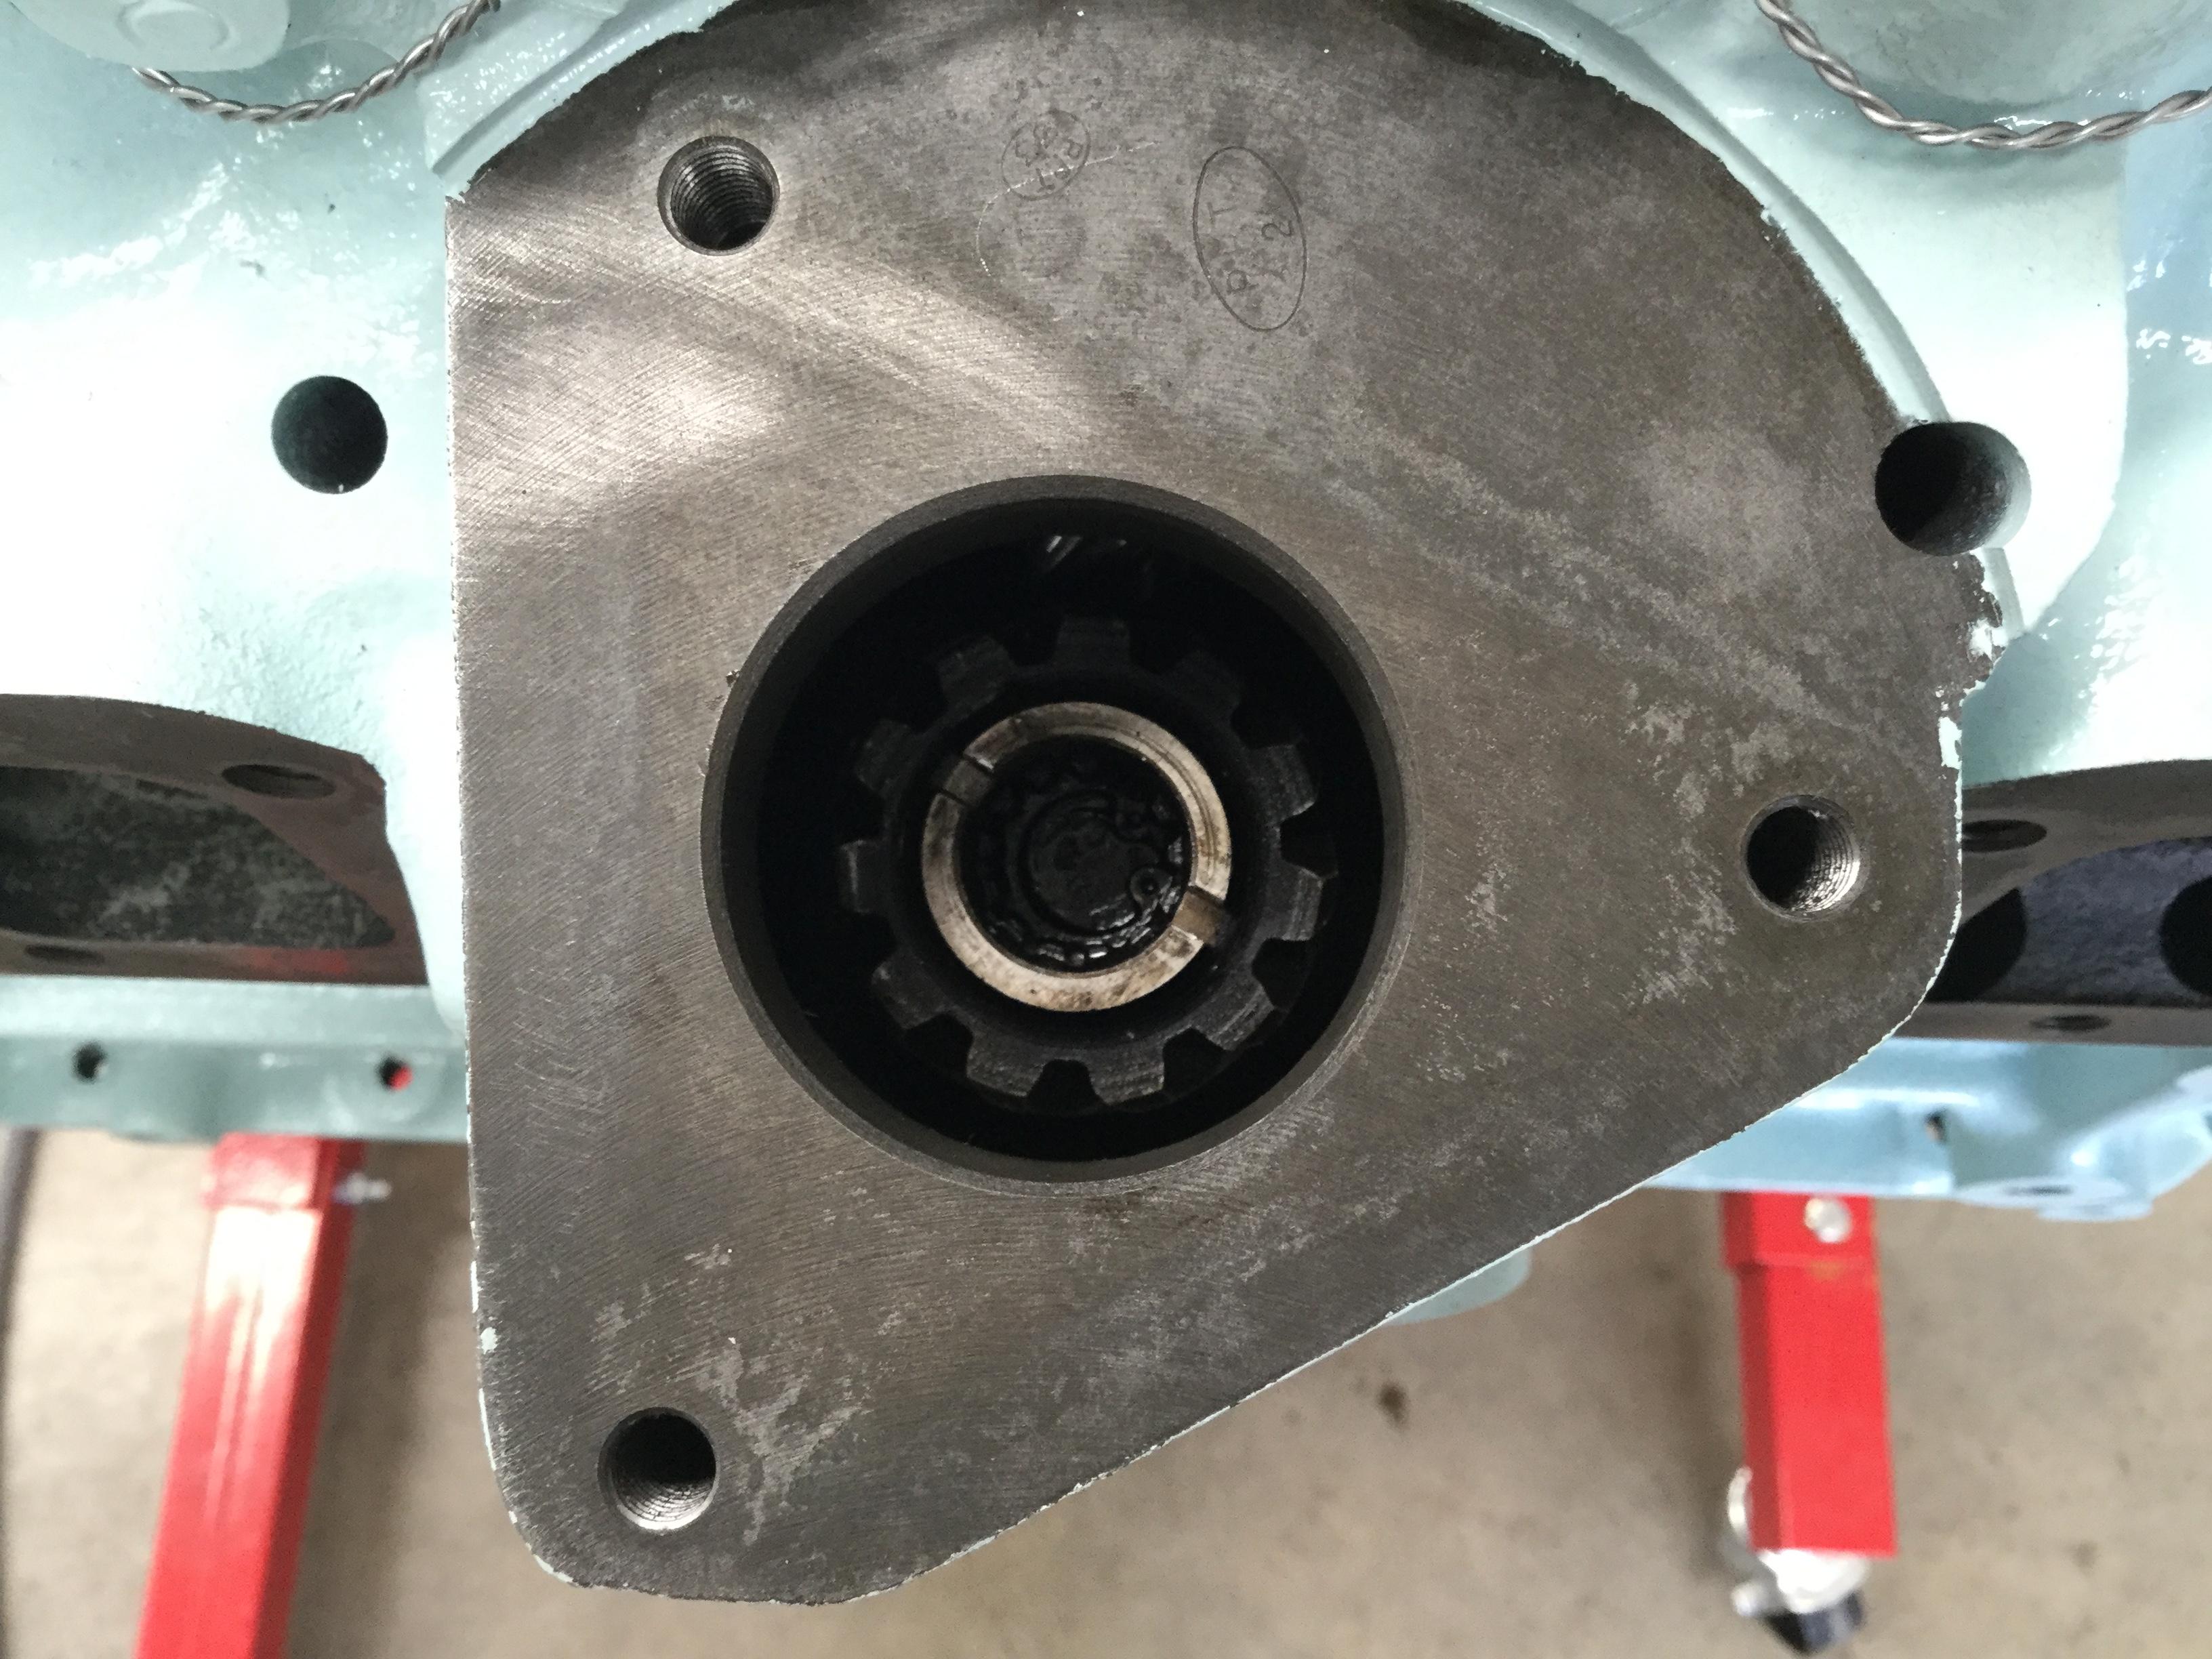
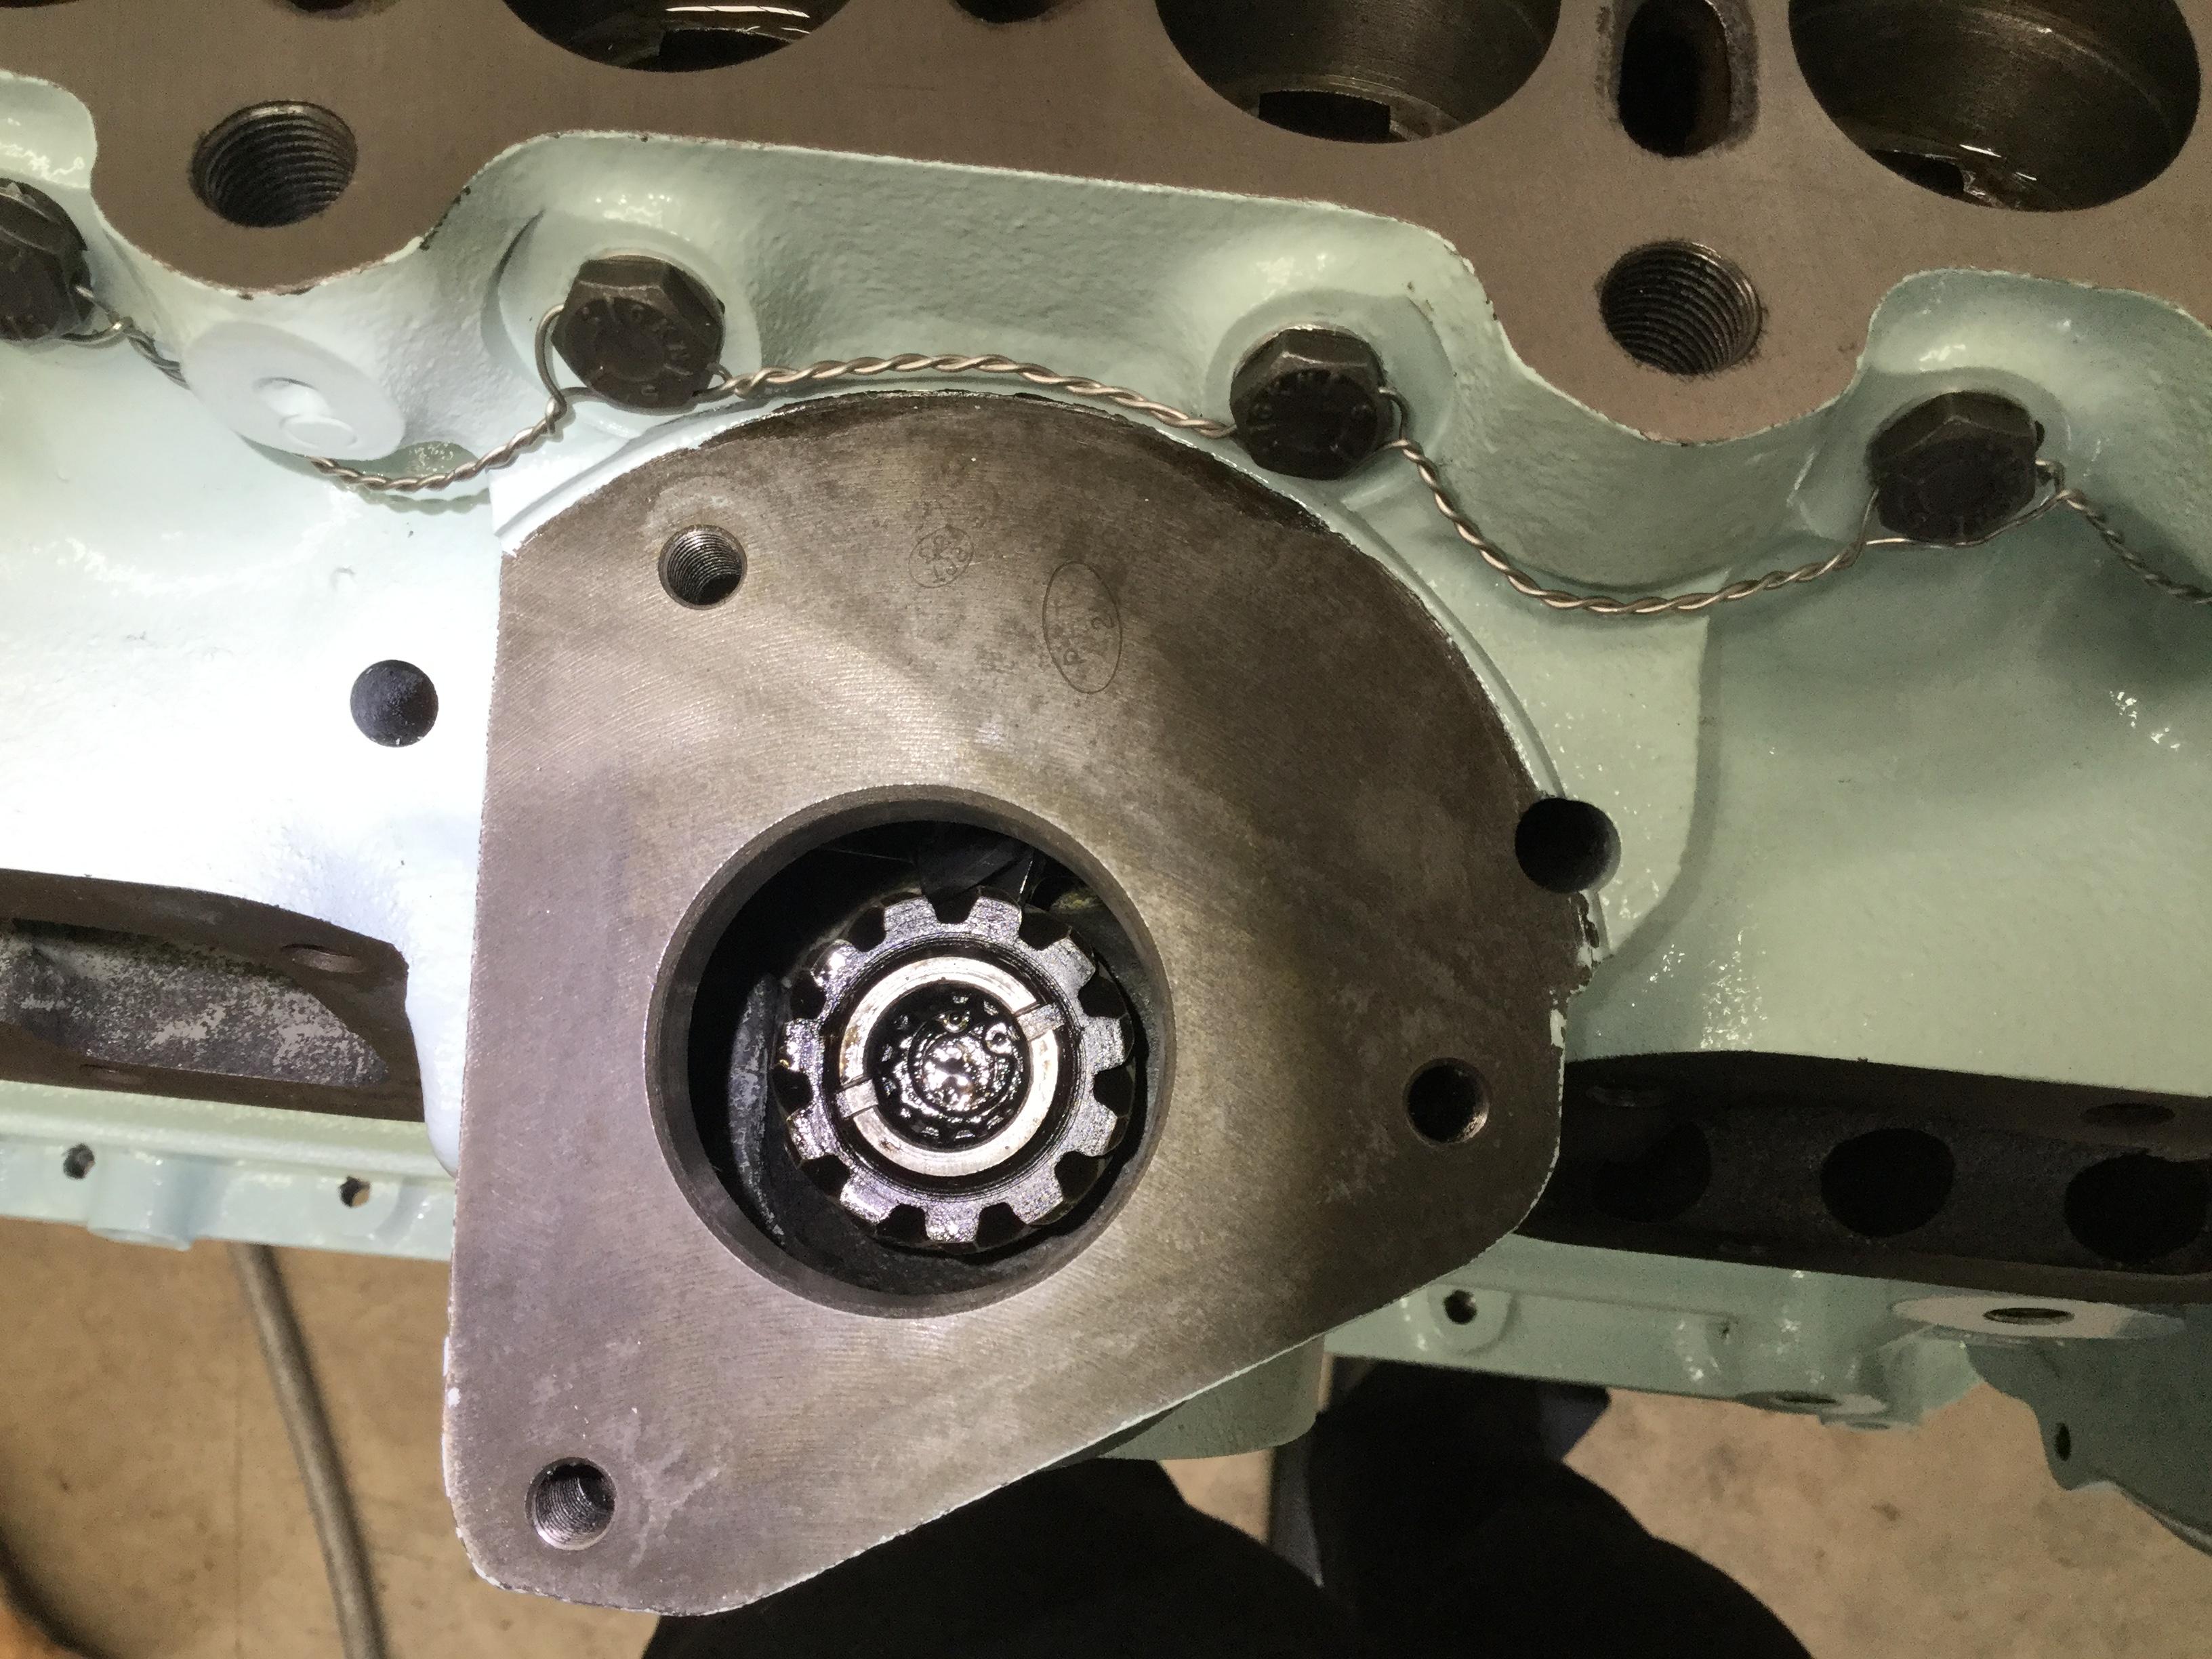
Last bit of the timed gear to go in is the oil pump/distributor drive. I found starting 2 teeth off got it in the correct position, once it had wound its way around when moving down into position.
Distributor drive pointing at the reference hole with no1 at TDC
Cheers,
Tim
PS if anyone spots any errors I've made please let me know!
Wizard
I've managed to find another cam gear wheel, (NOS genuine one). Given the wear on the original does anyone think it's worth changing?
Cheers,
 Posting Permissions
| Search AULRO.com ONLY! |
Search All the Web! |
|---|
|
|
|


Bookmarks