


 Reply With Quote
Great progress Tim.
I've got all that scarey stuff coming up next...
...got no bloody idea.

 RoverLord
The word PERFECTIONIST comes to mind.
Great work,keep it up.
Andrew
DISCOVERY IS TO BE DISOWNED
Midlife Crisis.Im going to get stuck into mine early and ENJOY it.
Snow White MY14 TDV6 D4
Alotta Fagina MY14 CAT 12M Motor Grader
2003 Stacer 525 Sea Master Sport
I made the 1 millionth AULRO post
Master
Great progress Tim.
I've got all that scarey stuff coming up next...
...got no bloody idea.
Wizard
Thanks Andrew, remember I'm only posting the pictures I want people to see!Originally Posted by LandyAndy


Cheers,
Wizard
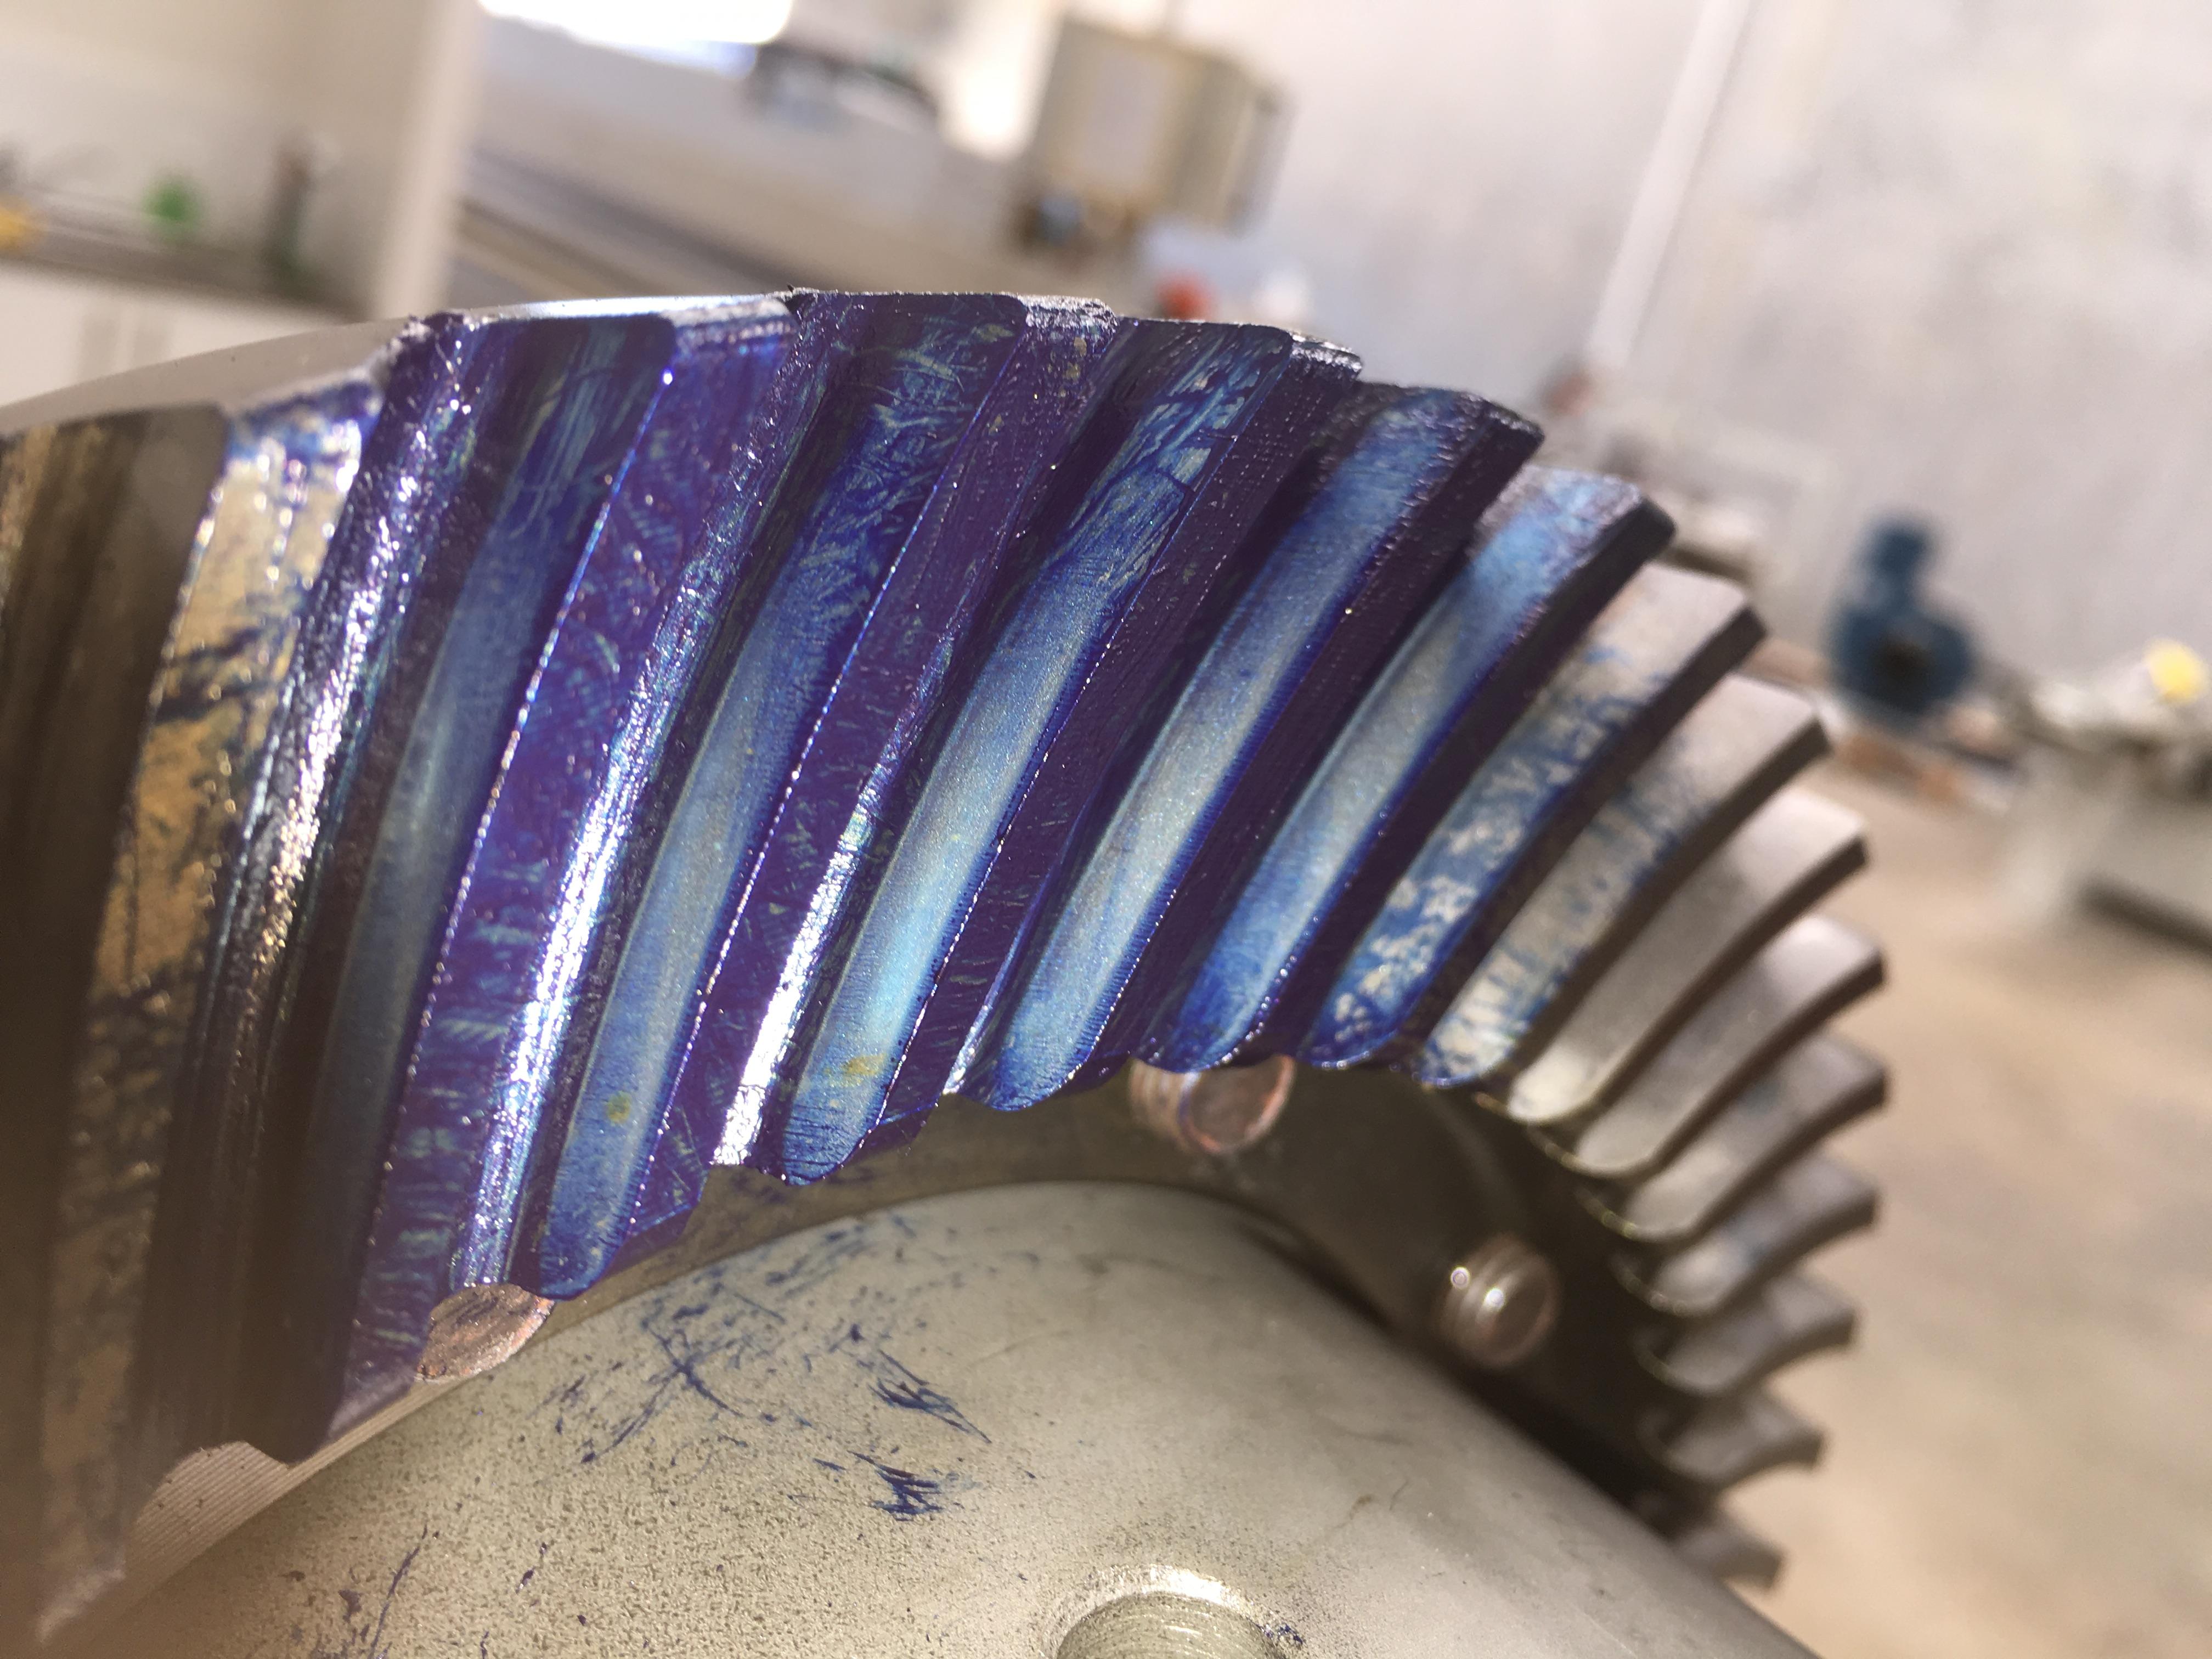
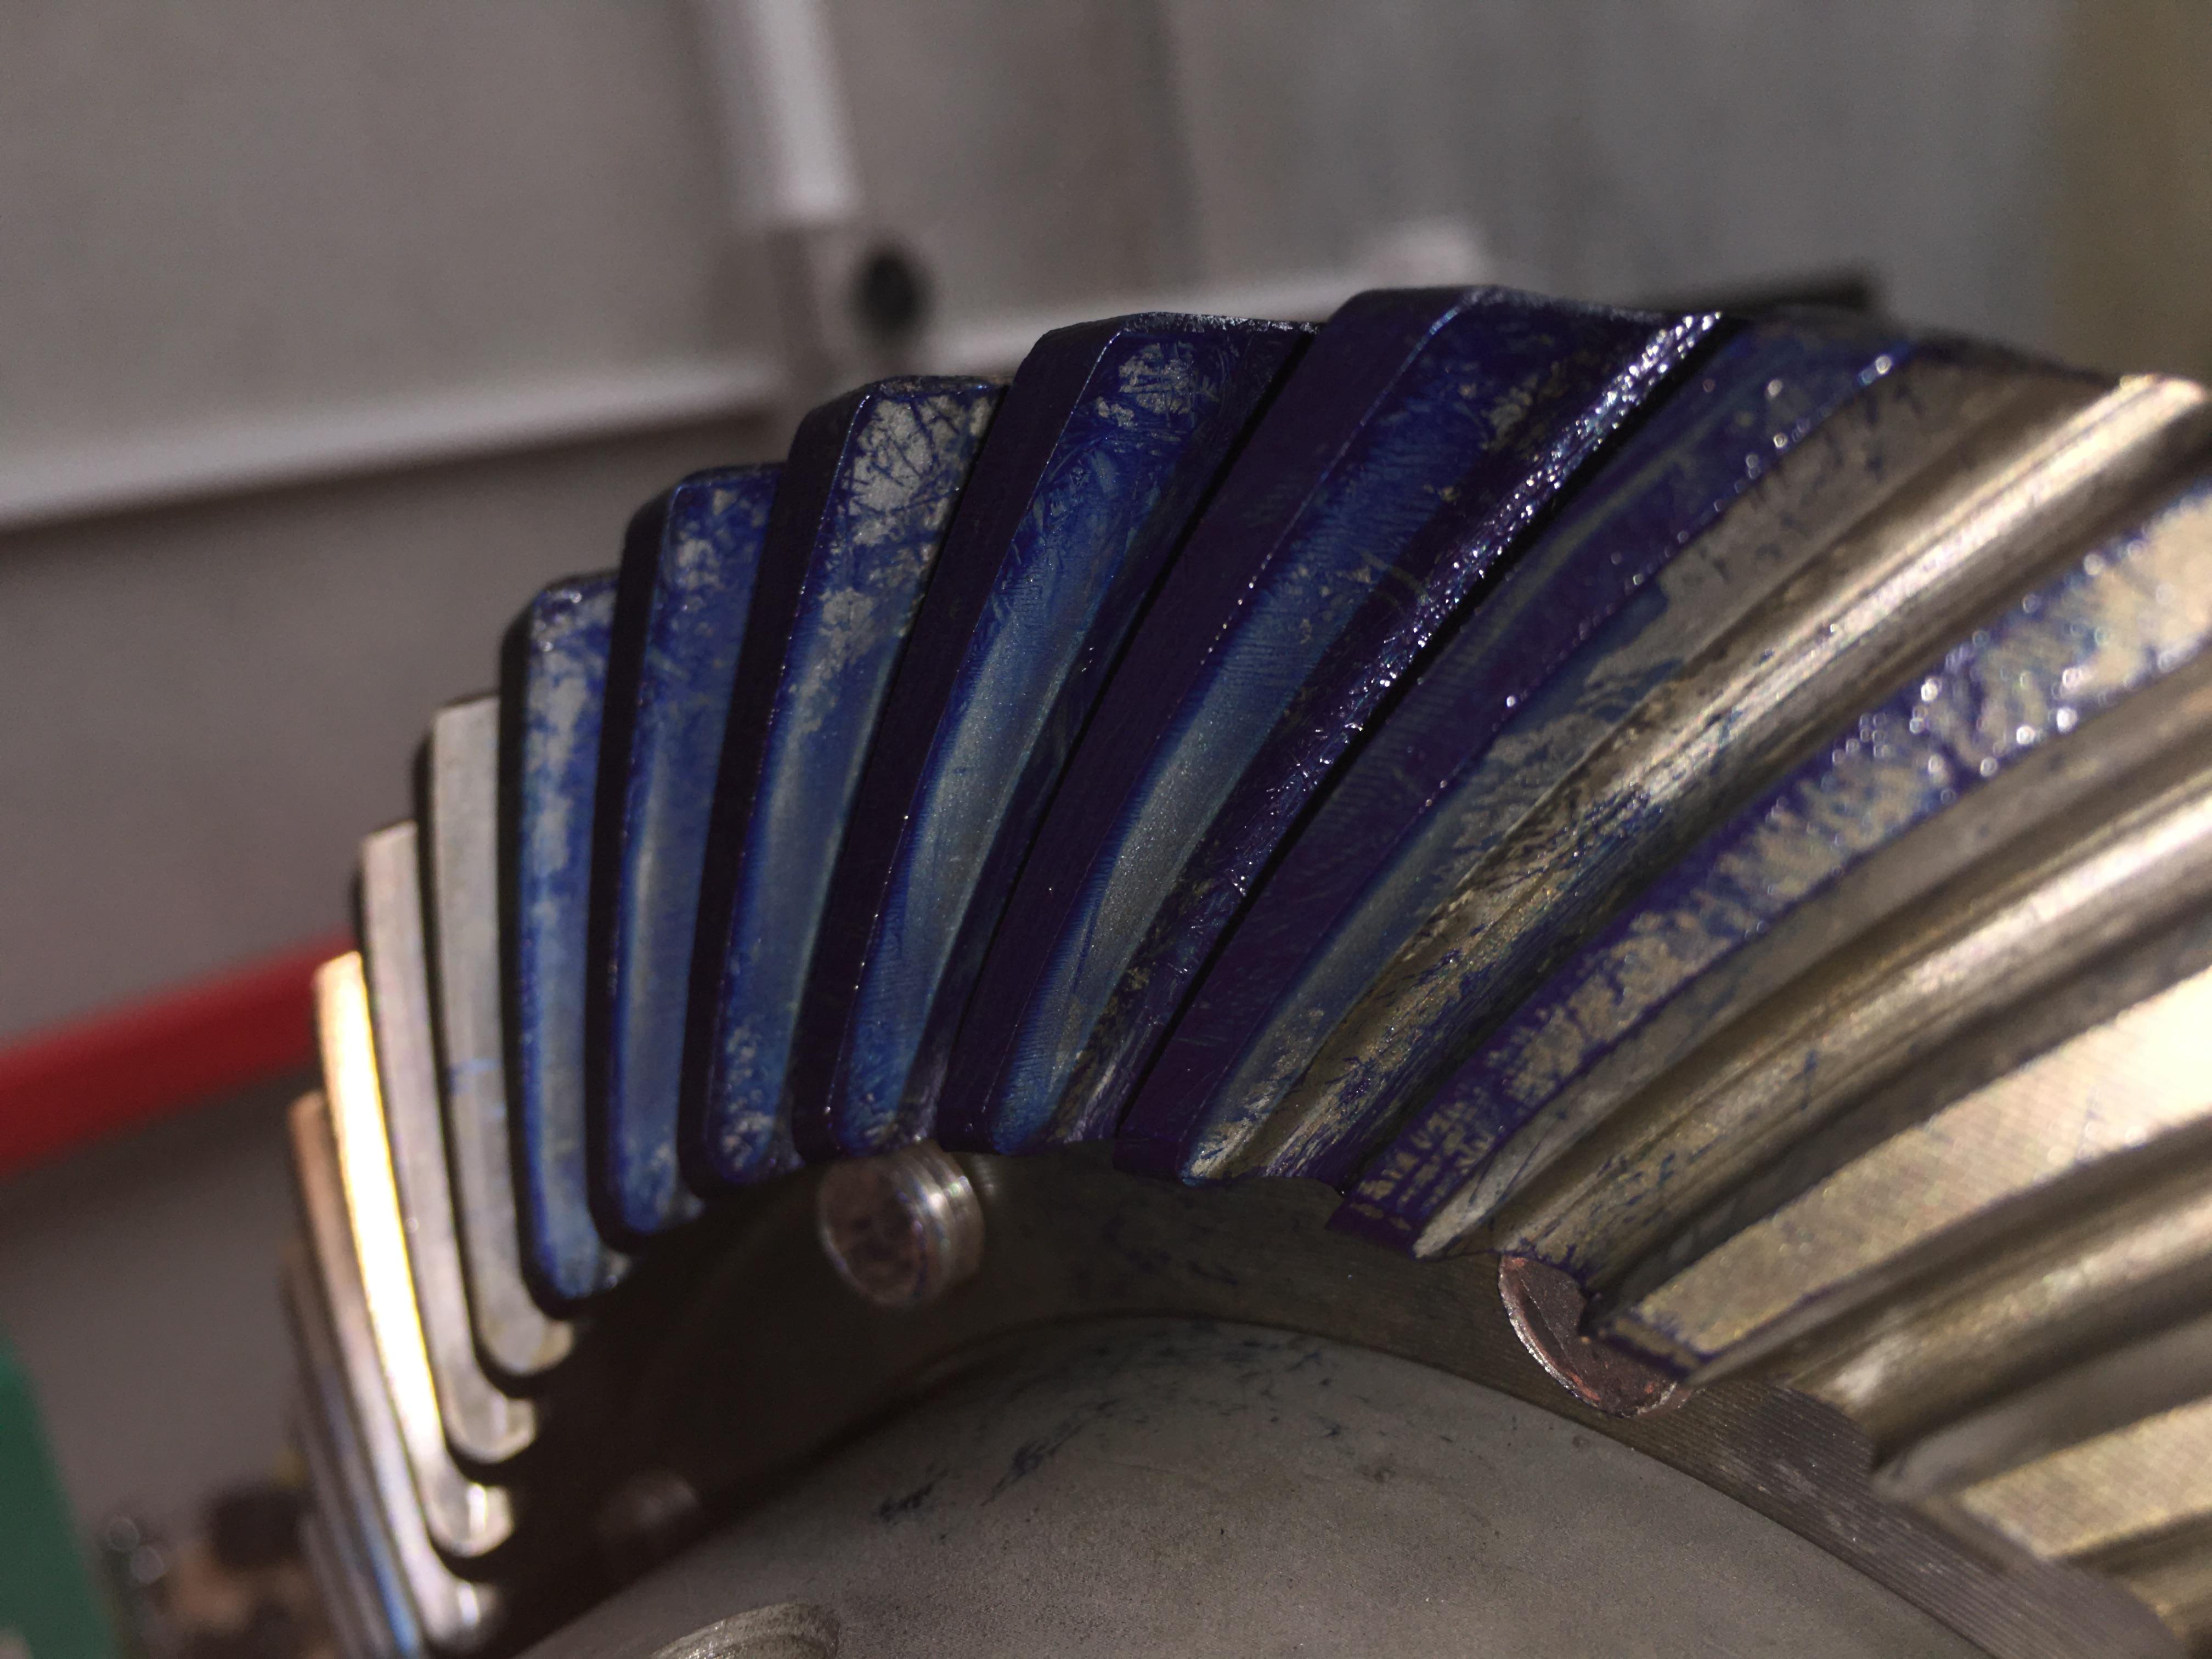
Well, in between bouts of painting today I faffed about trying to get the diff right. The tooth pattern is "OK", and it sounds alright, but the backlash has to be set a bit too high to get a decent pattern, so I think I'll get a proper diff builder to take a look at it.
It had SKF bearings in it, and the big bearing shell is 1mm taller than the Timken that is replacing it, this is where most of my problems are coming from, that and I've run right out of skill on this one.
Things I've noted;
The Ashcroft shim kit is not really enough, (maybe OK if the bearings are like for like). Nothing against Ashcroft, just be aware you might need some "in between" shims
A vernier is not really good enough for measuring the shims, I need to get a micrometer.
Bearing blue gets everywhere, looks like I've been interfering with Smurfs in the workshop.
Get a depth micrometer and measure the pinion height before you start.
Get an extra set of bearings you can grind the diameter down on one a bit so you don't have to press the shells in and out all the time.
Rover diffs are an absolute pain to hold in a vice, get used to picking your soft jaws up off the floor.
Cheers,
Wizard
So, update? Got a bit of spare time this afternoon, I was supposed to be moving a factory worth of machinery, (well the recommissioning part today), but an AWOL electrician meant I had a few hours up my sleeve.
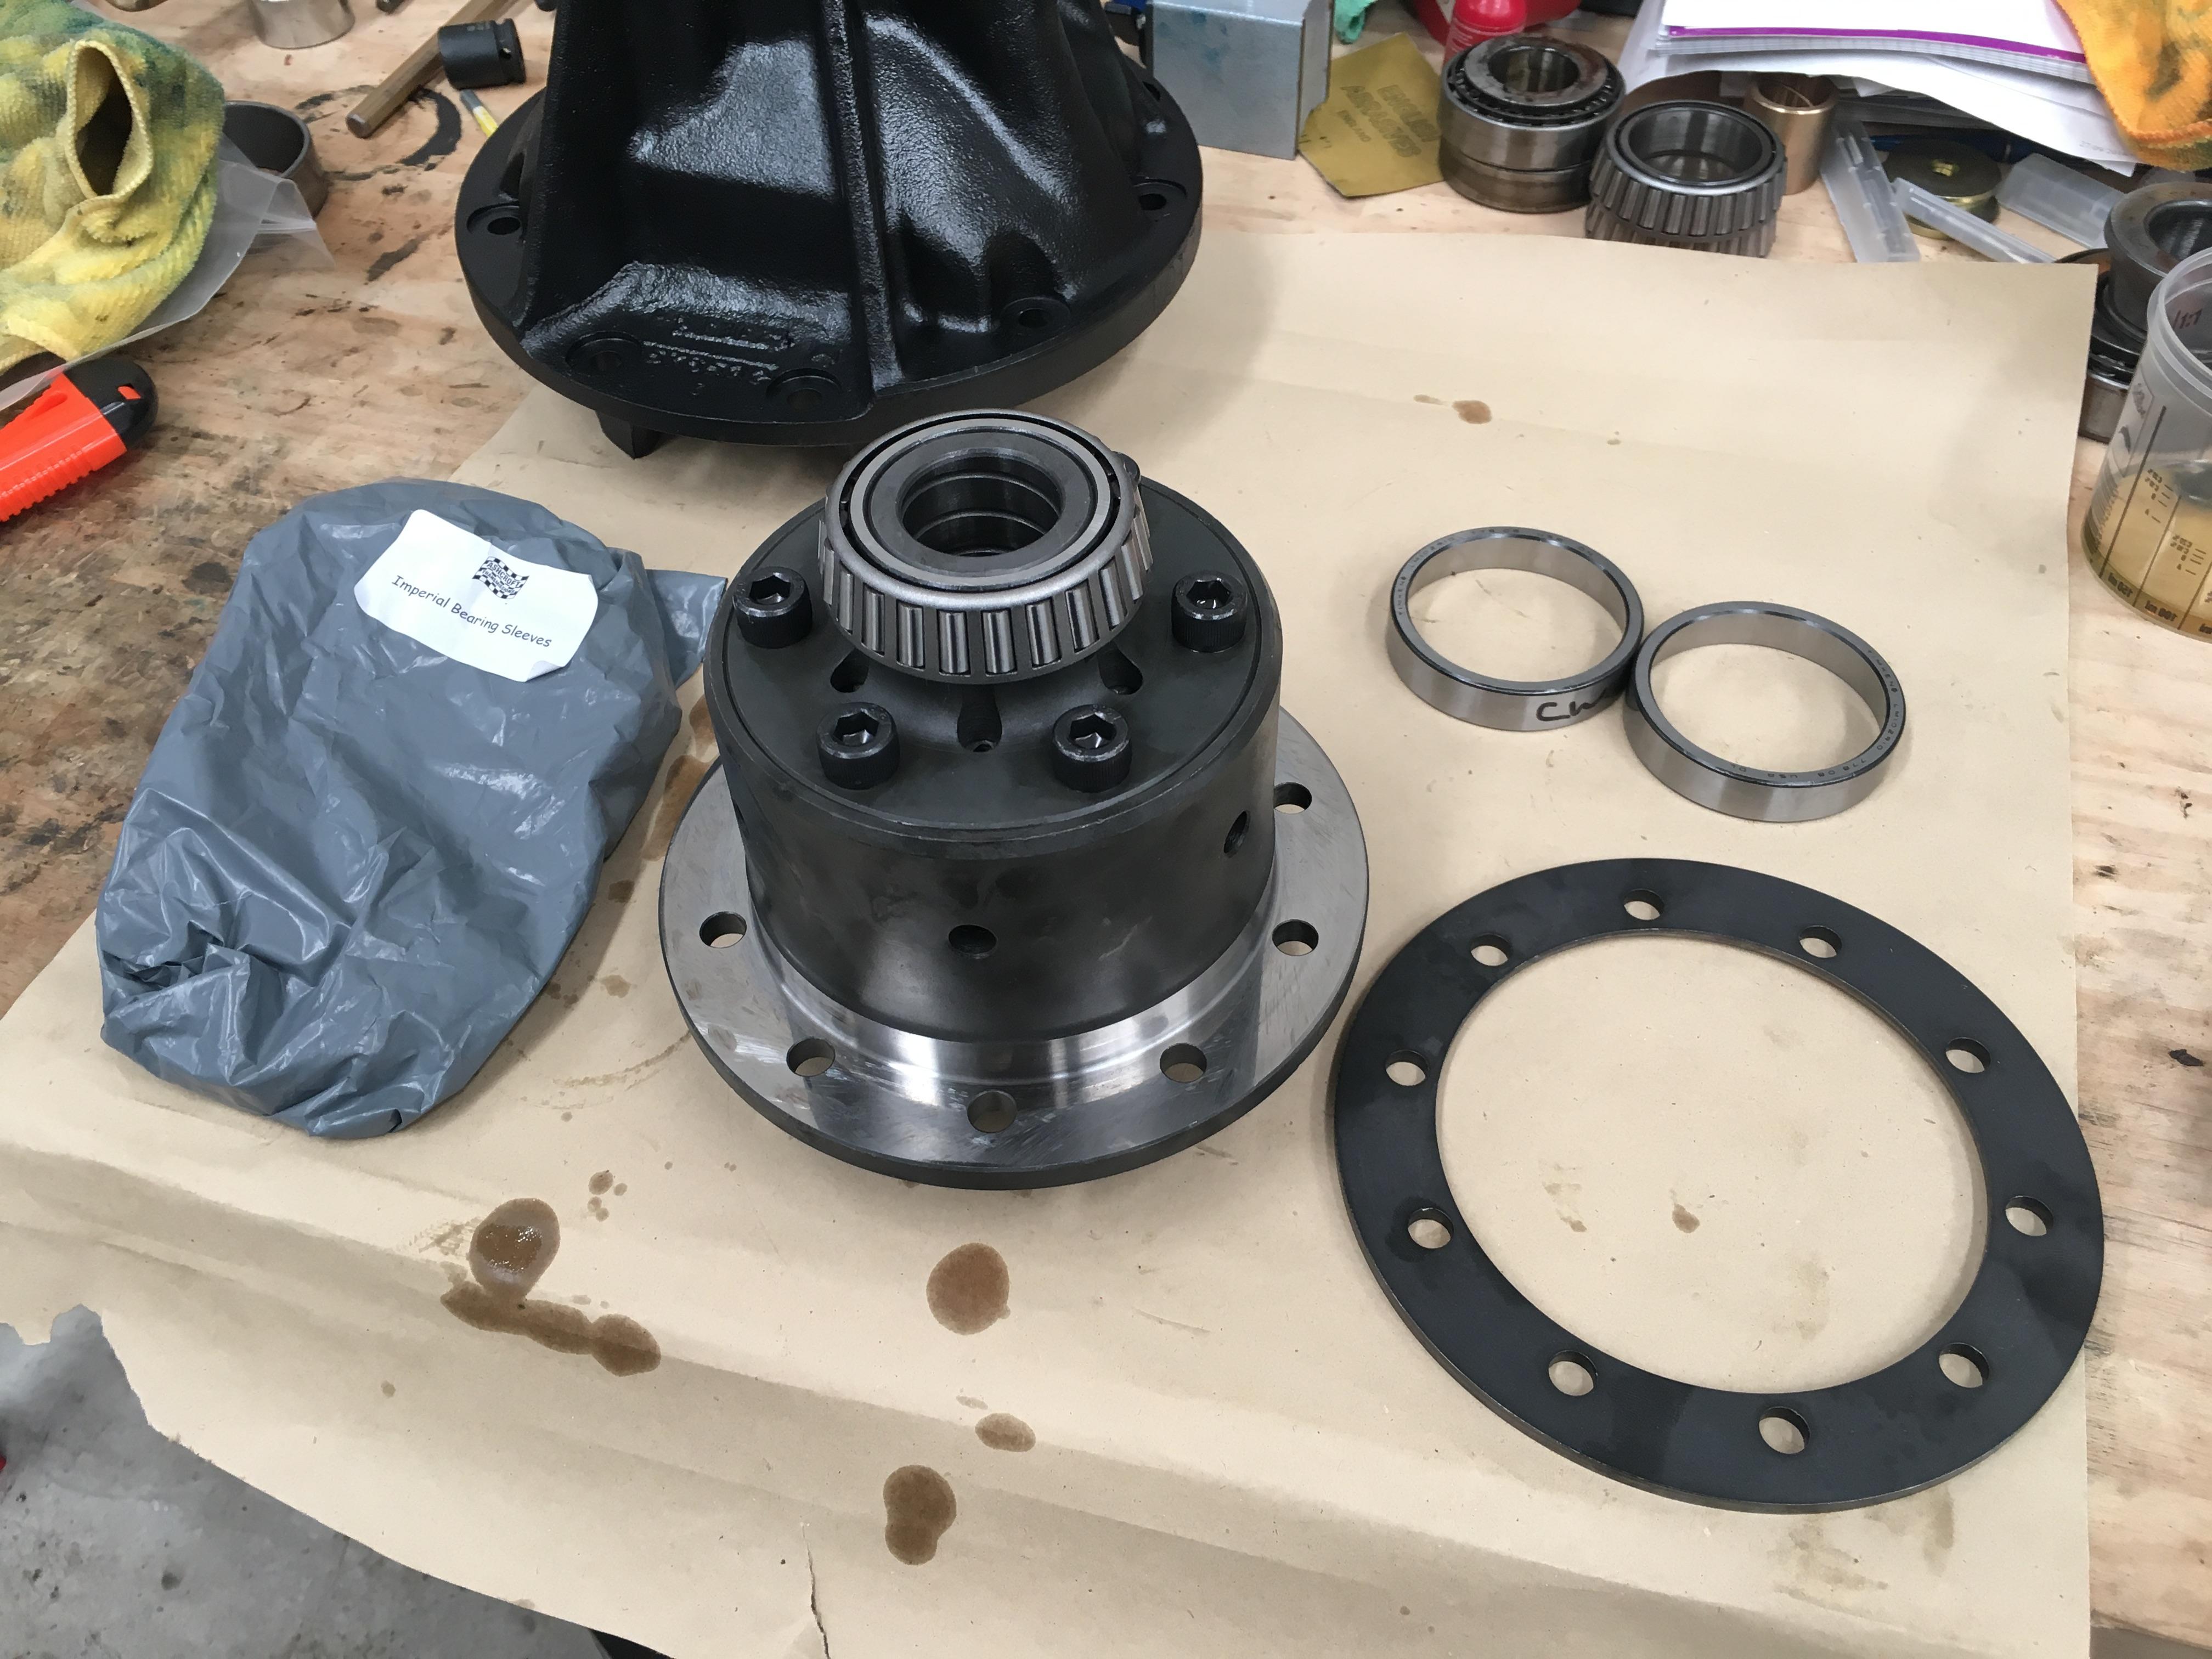
Continuing on with the diff saga, I decided to put the rear diff together so the specialist can have both of them on Thursday. The rear diff, (AKA project RoverKill), is going to be made up of this lot:
I picked up a set of 24 spline HD series shafts from Ashcrofts since they had done another run of them, (don't drink and online shop y'all). This meant I needed a 24 spline center, and while I could have sourced that easily enough I had an ATB that I'd purchased for the 110. Because of "past experiences" I'm not too keen to touch that drive train whilst it's under warranty, so lets put the ATB in the Series 3.
(If you weren't aware) To fit a metric center in a imperial housing you need shims for the carrier bearings, and to fit a 4.7 crown wheel to an ATB you need a spacer, all available from Ashcrofts.
I had to order in the BSF 3/8" x 1 1/4" bolts for the crown wheel, the standard ones are 1" long, and whilst you'd probably get away with it, I'd prefer not to test my luck:
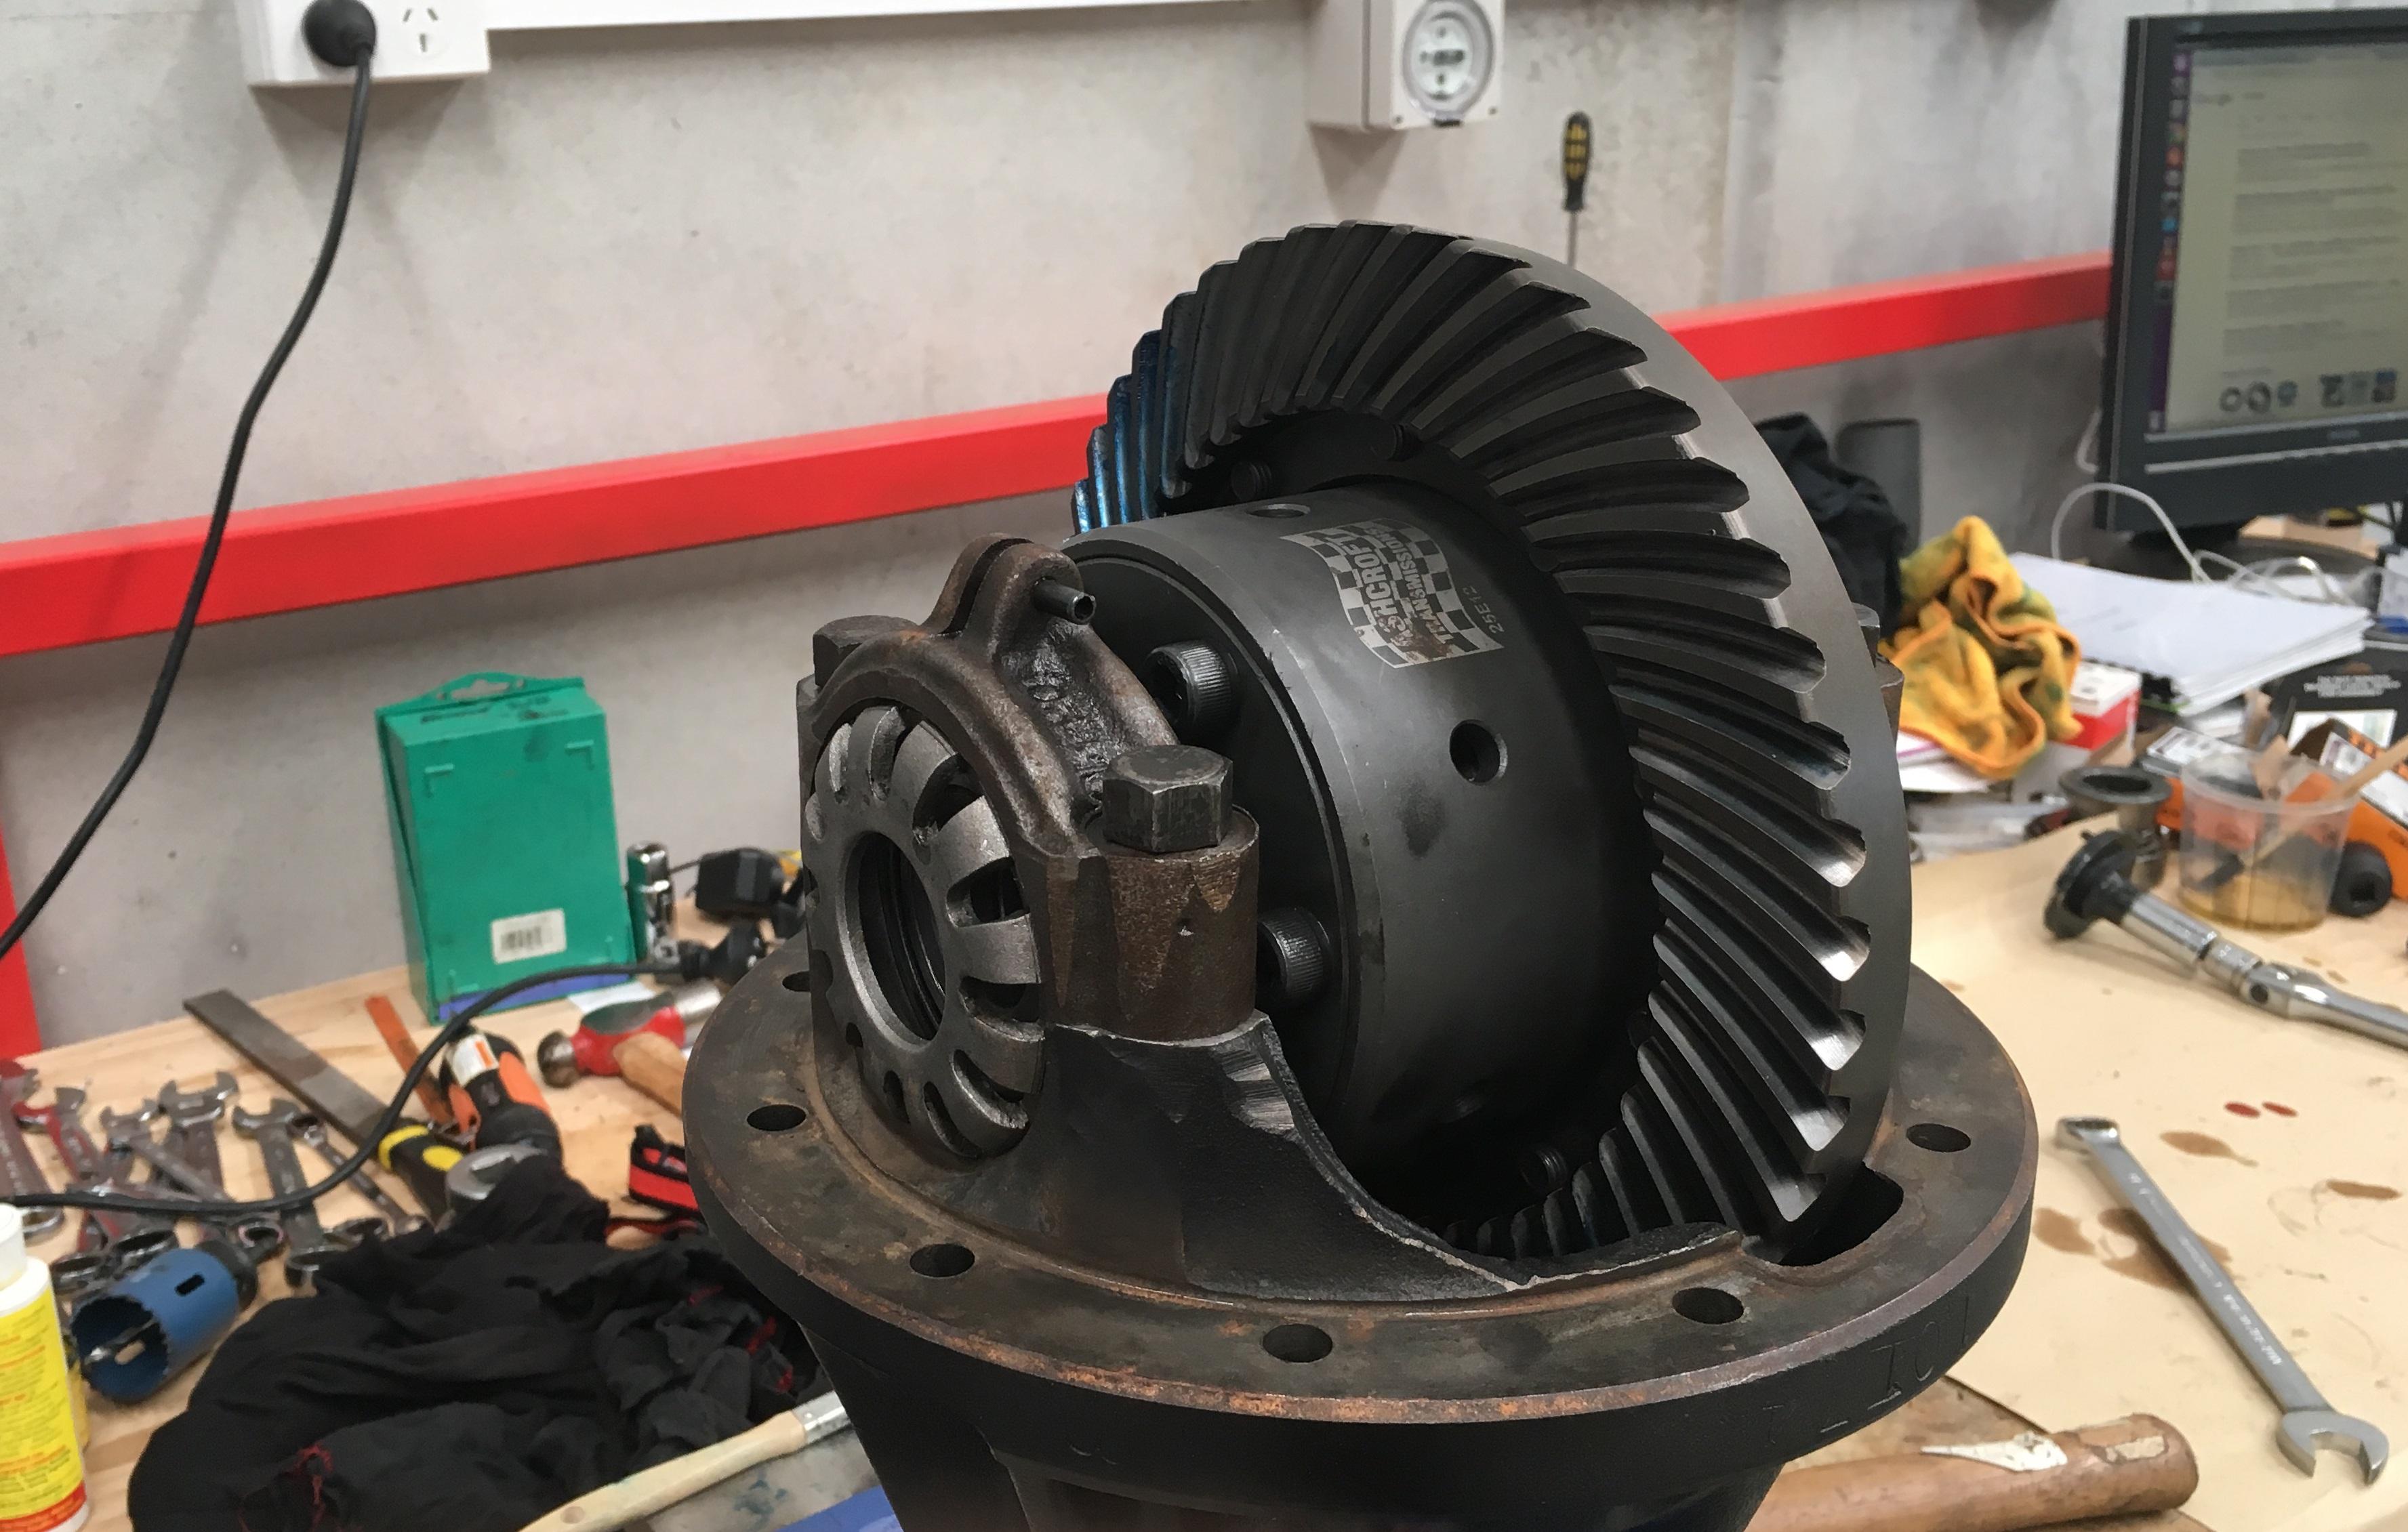
Even though the pinion bearings were changed the pattern came up fine first go. This diff had Timken's in it, so they were replaced like for like. On that note, I thought I'd grab the old SKF bearing out of the front one so I could take it in to get a replacement if I had to, (I.E. I couldn't get a shim the right size for the Timkens), and found the inner part of the bearing was SKF, and the outer cone was Timken..... WTF.
I'll still drop this diff off at the specialist with the front one to get looked at.
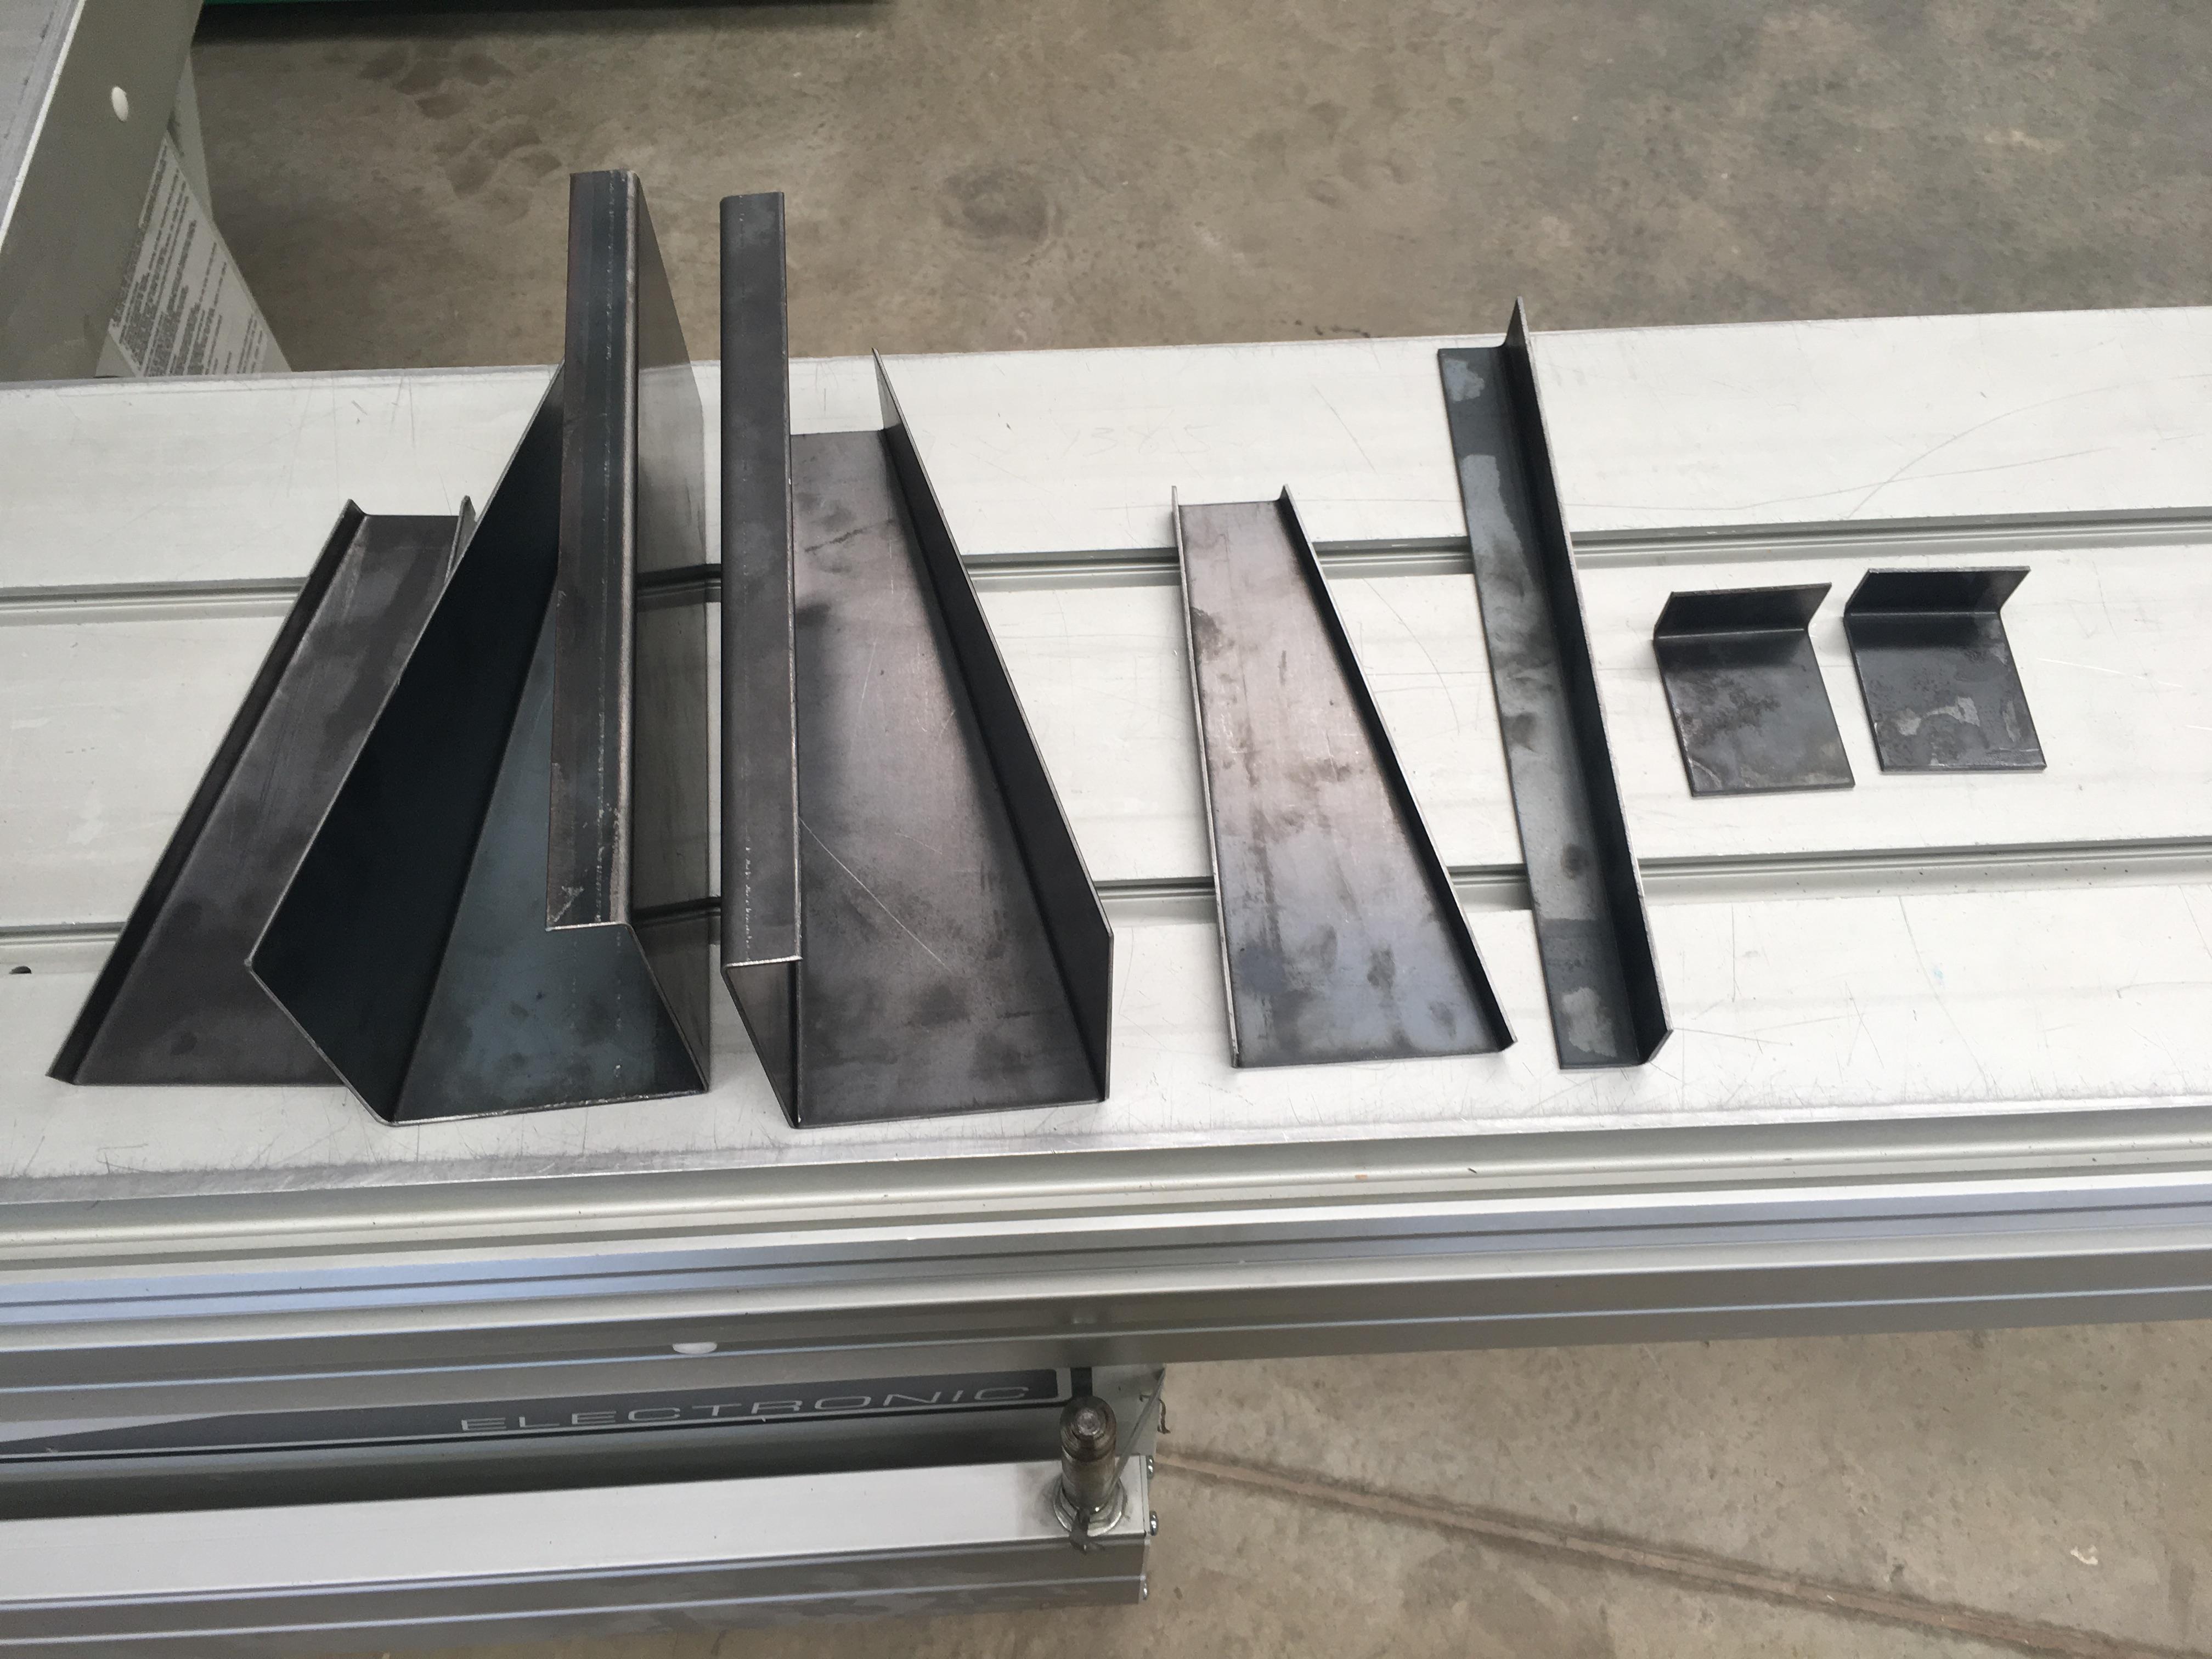
The sheet metal people got the chassis part finished, so they got stuck on with the welder:
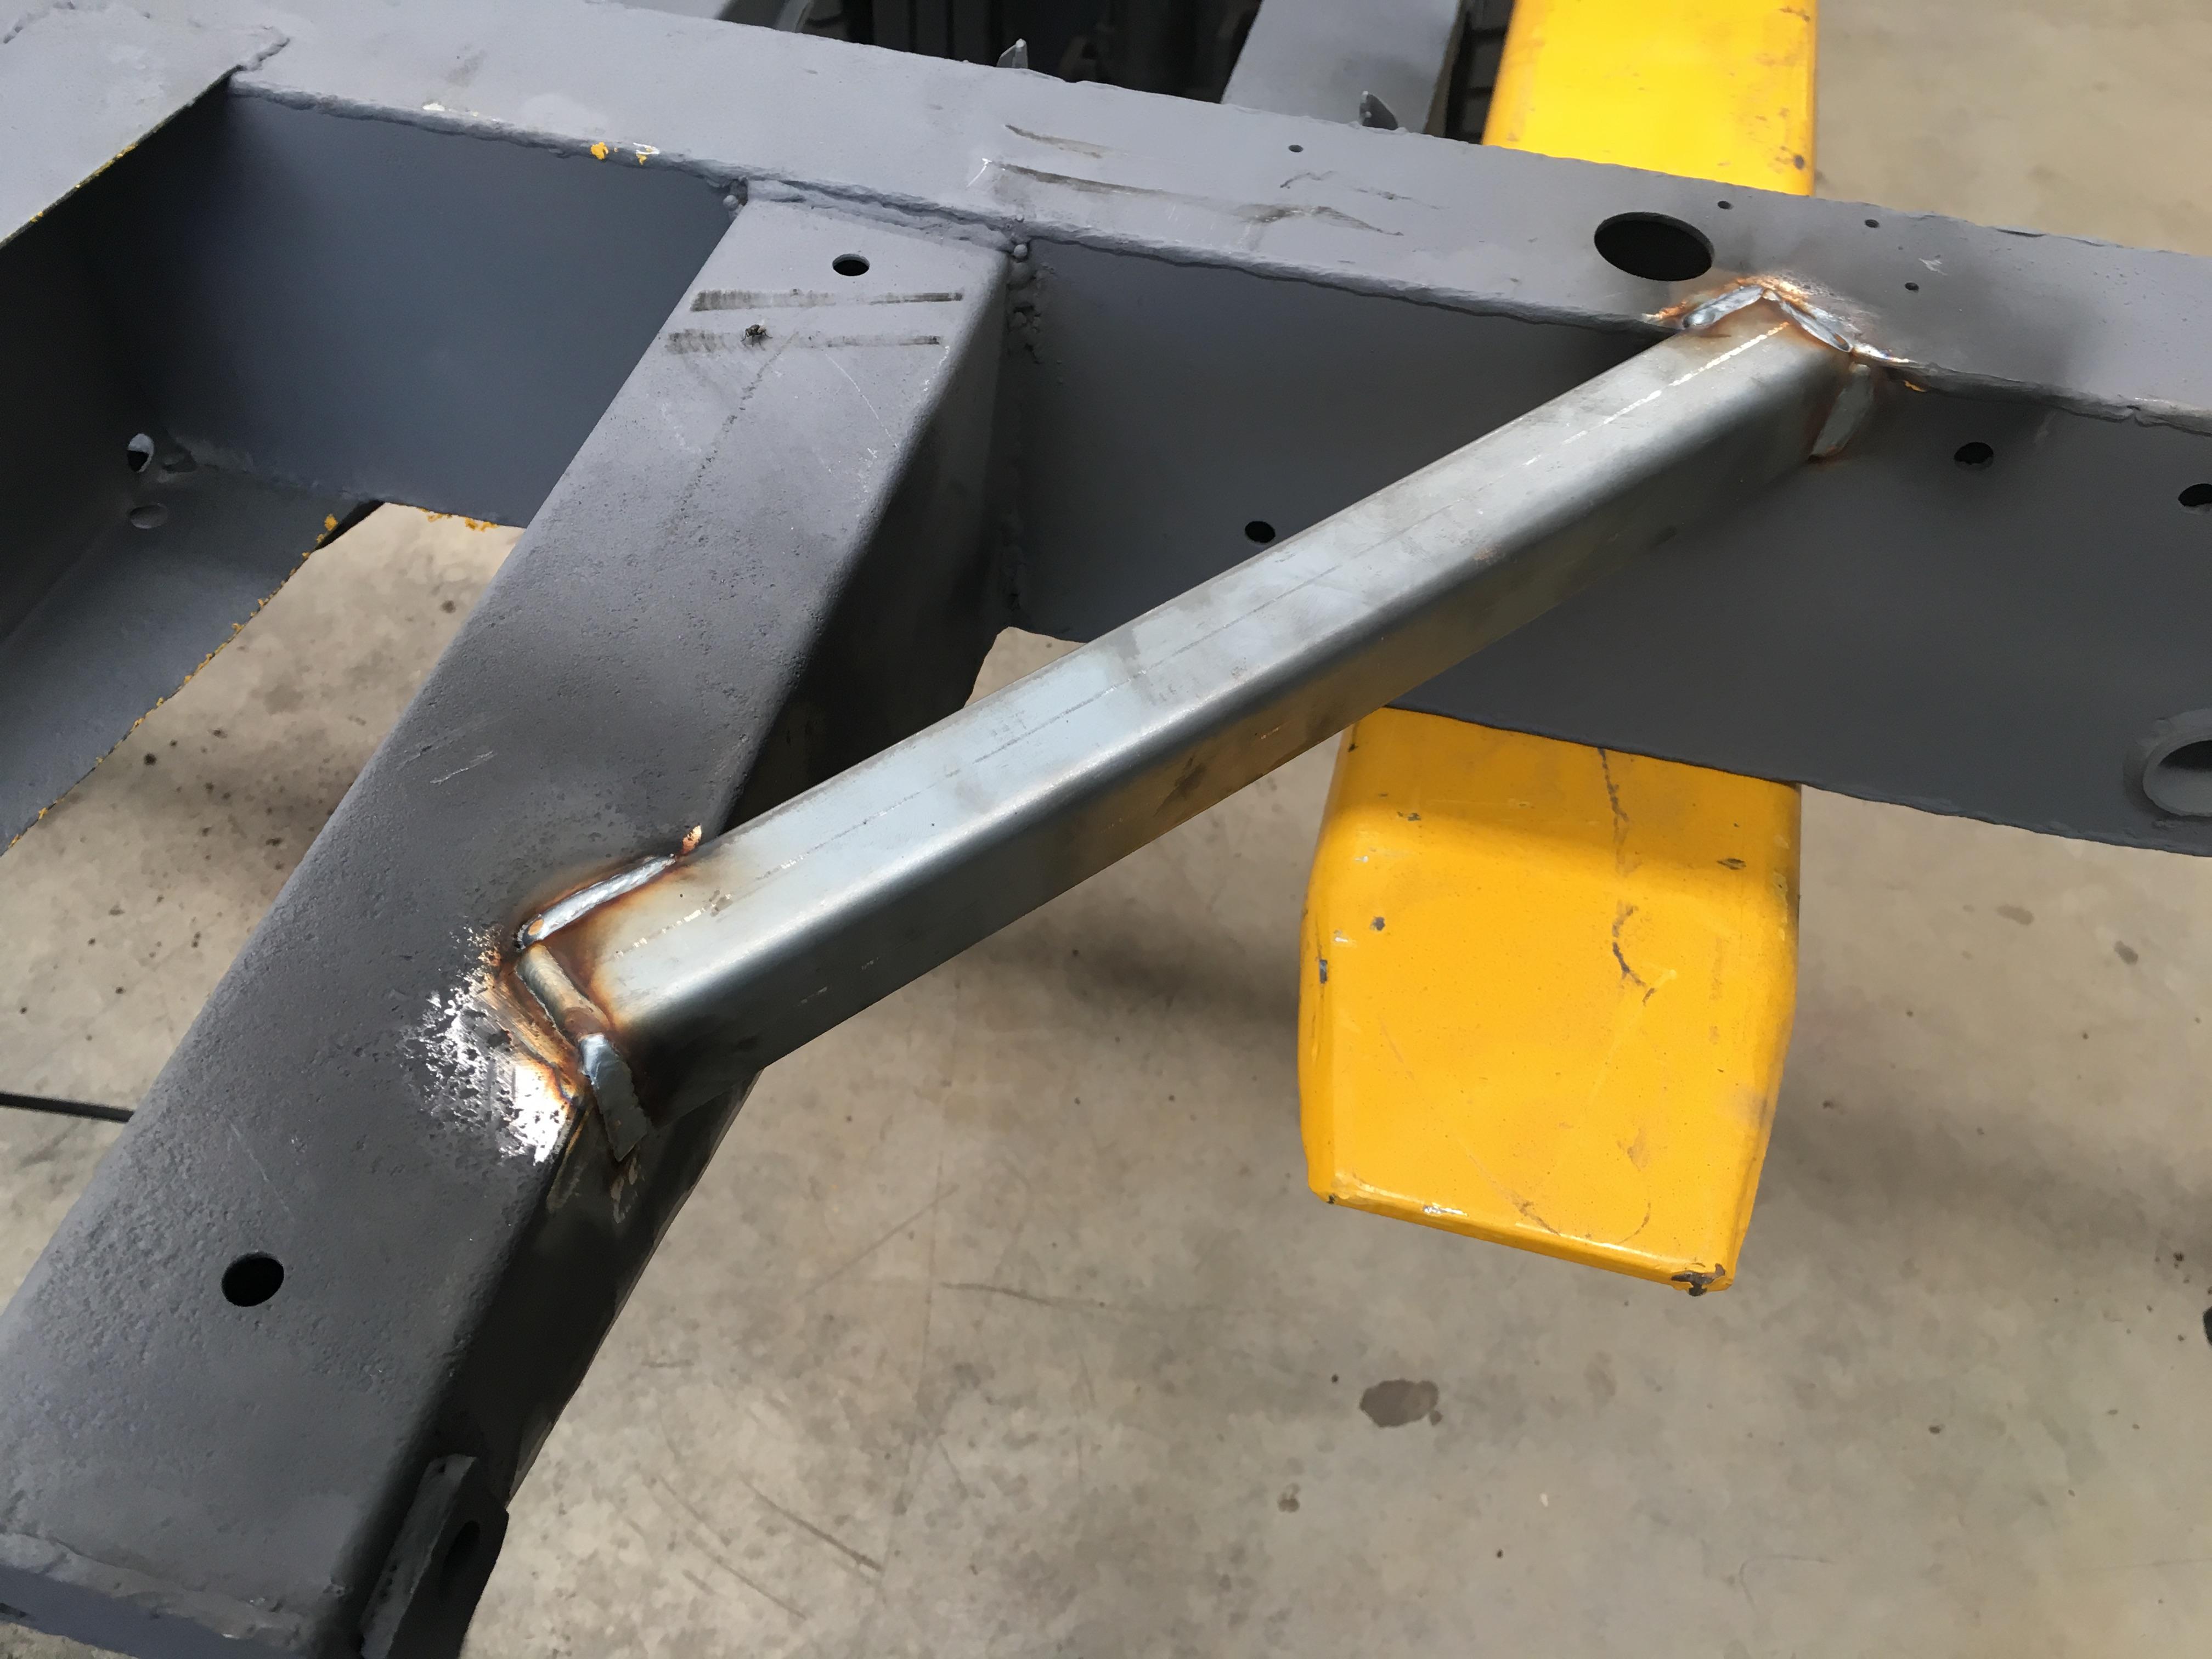
Outrigger brace:
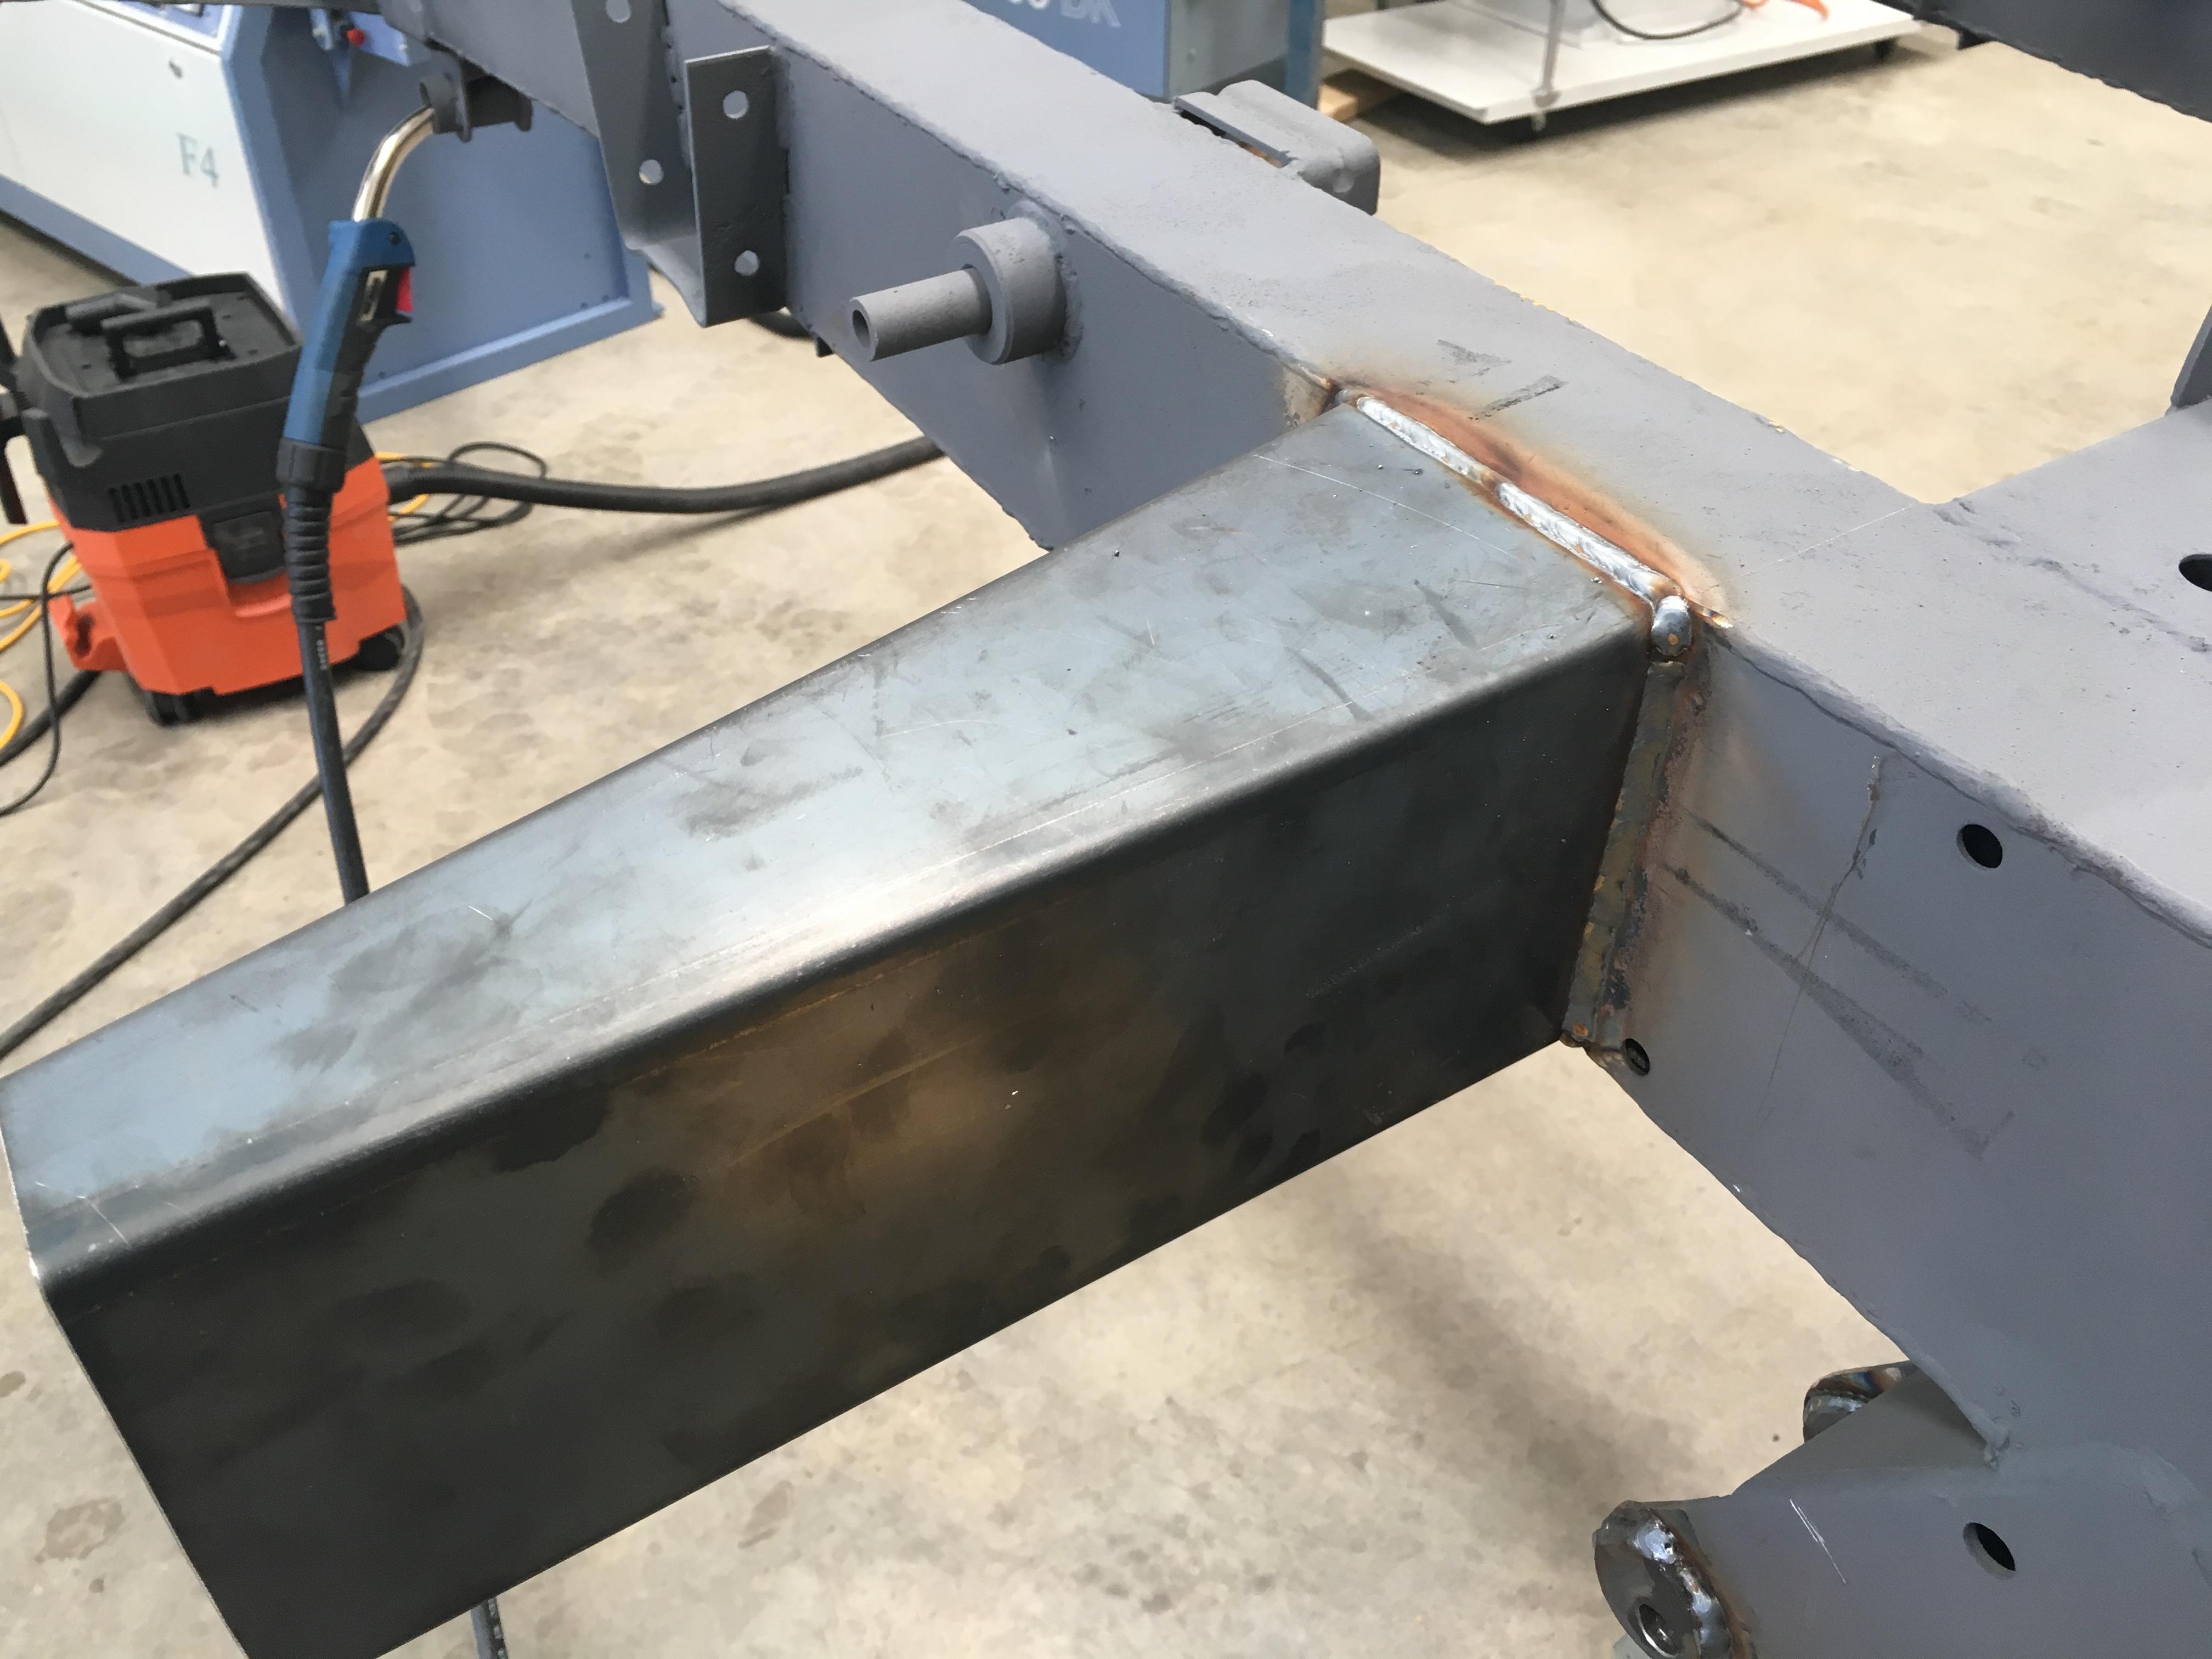
Drivers side outrigger, (spring mounts make a great mig gun holder):
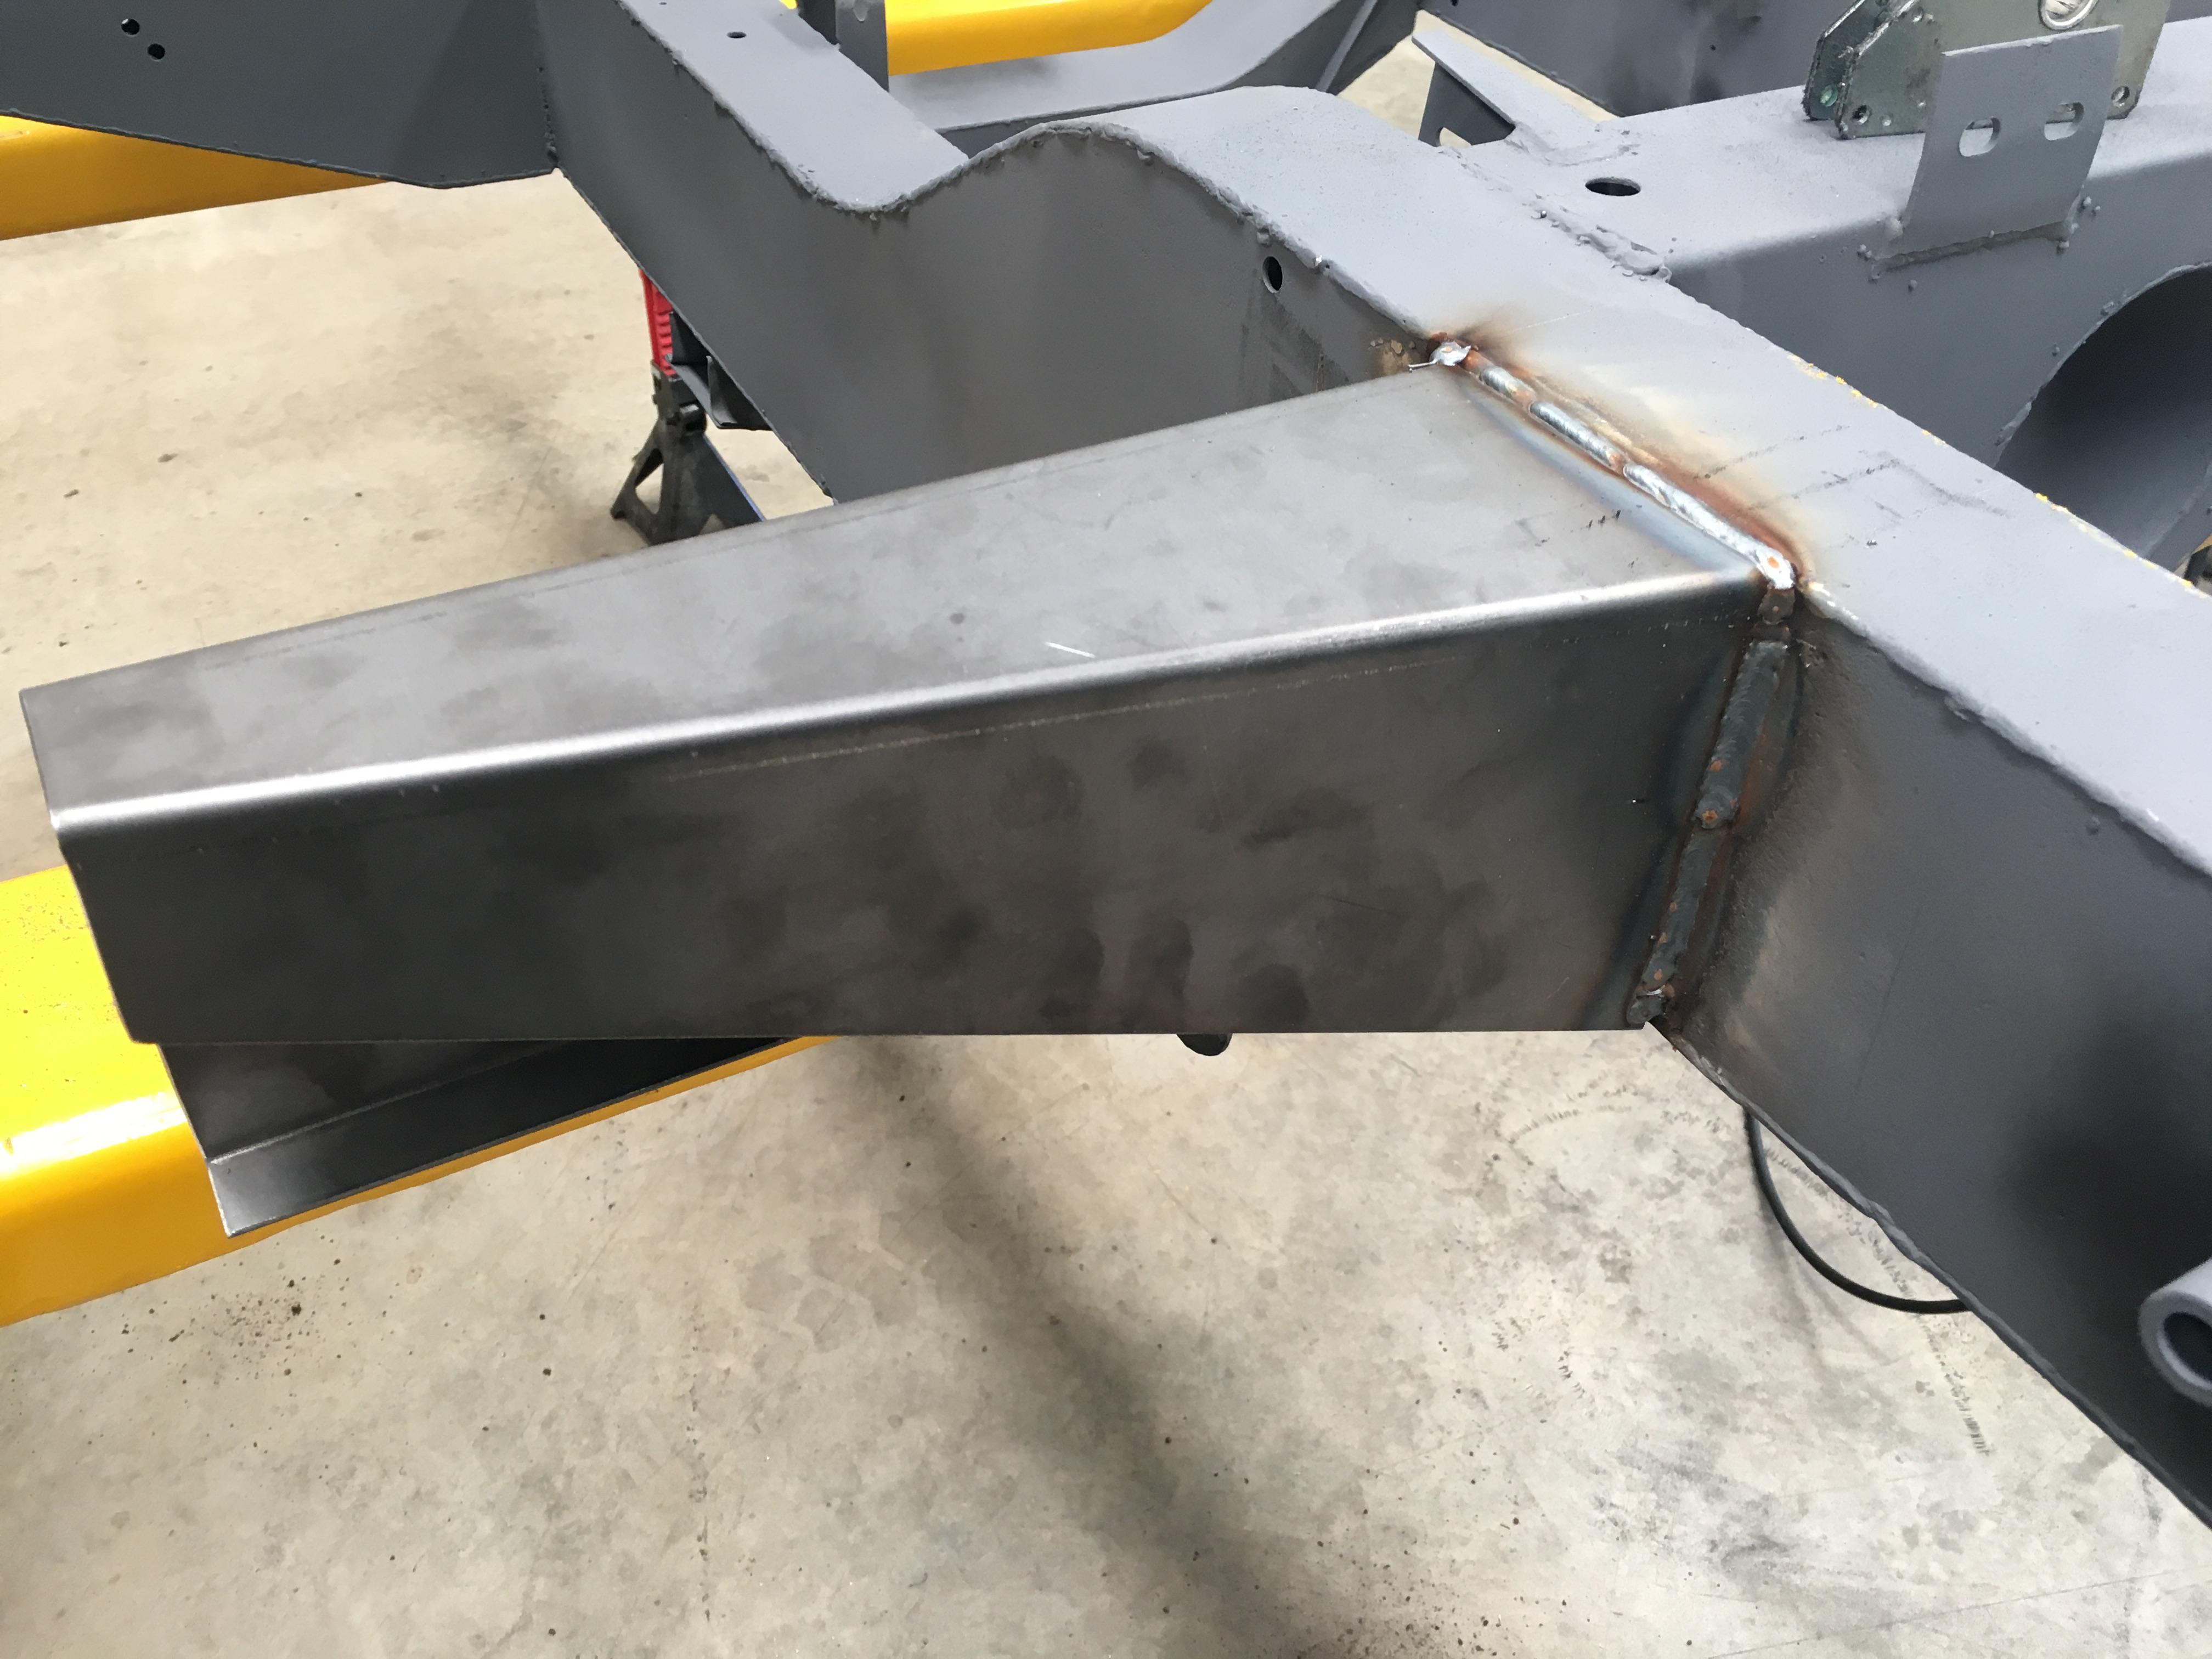
Passenger side:
I've still got to mount the tub supports on the outriggers, but to do this I'll have to temporarily refit the tub. Also the infill pieces on the rear cross member need to go in, then the chassis can get it's first coat of proper paint!!!
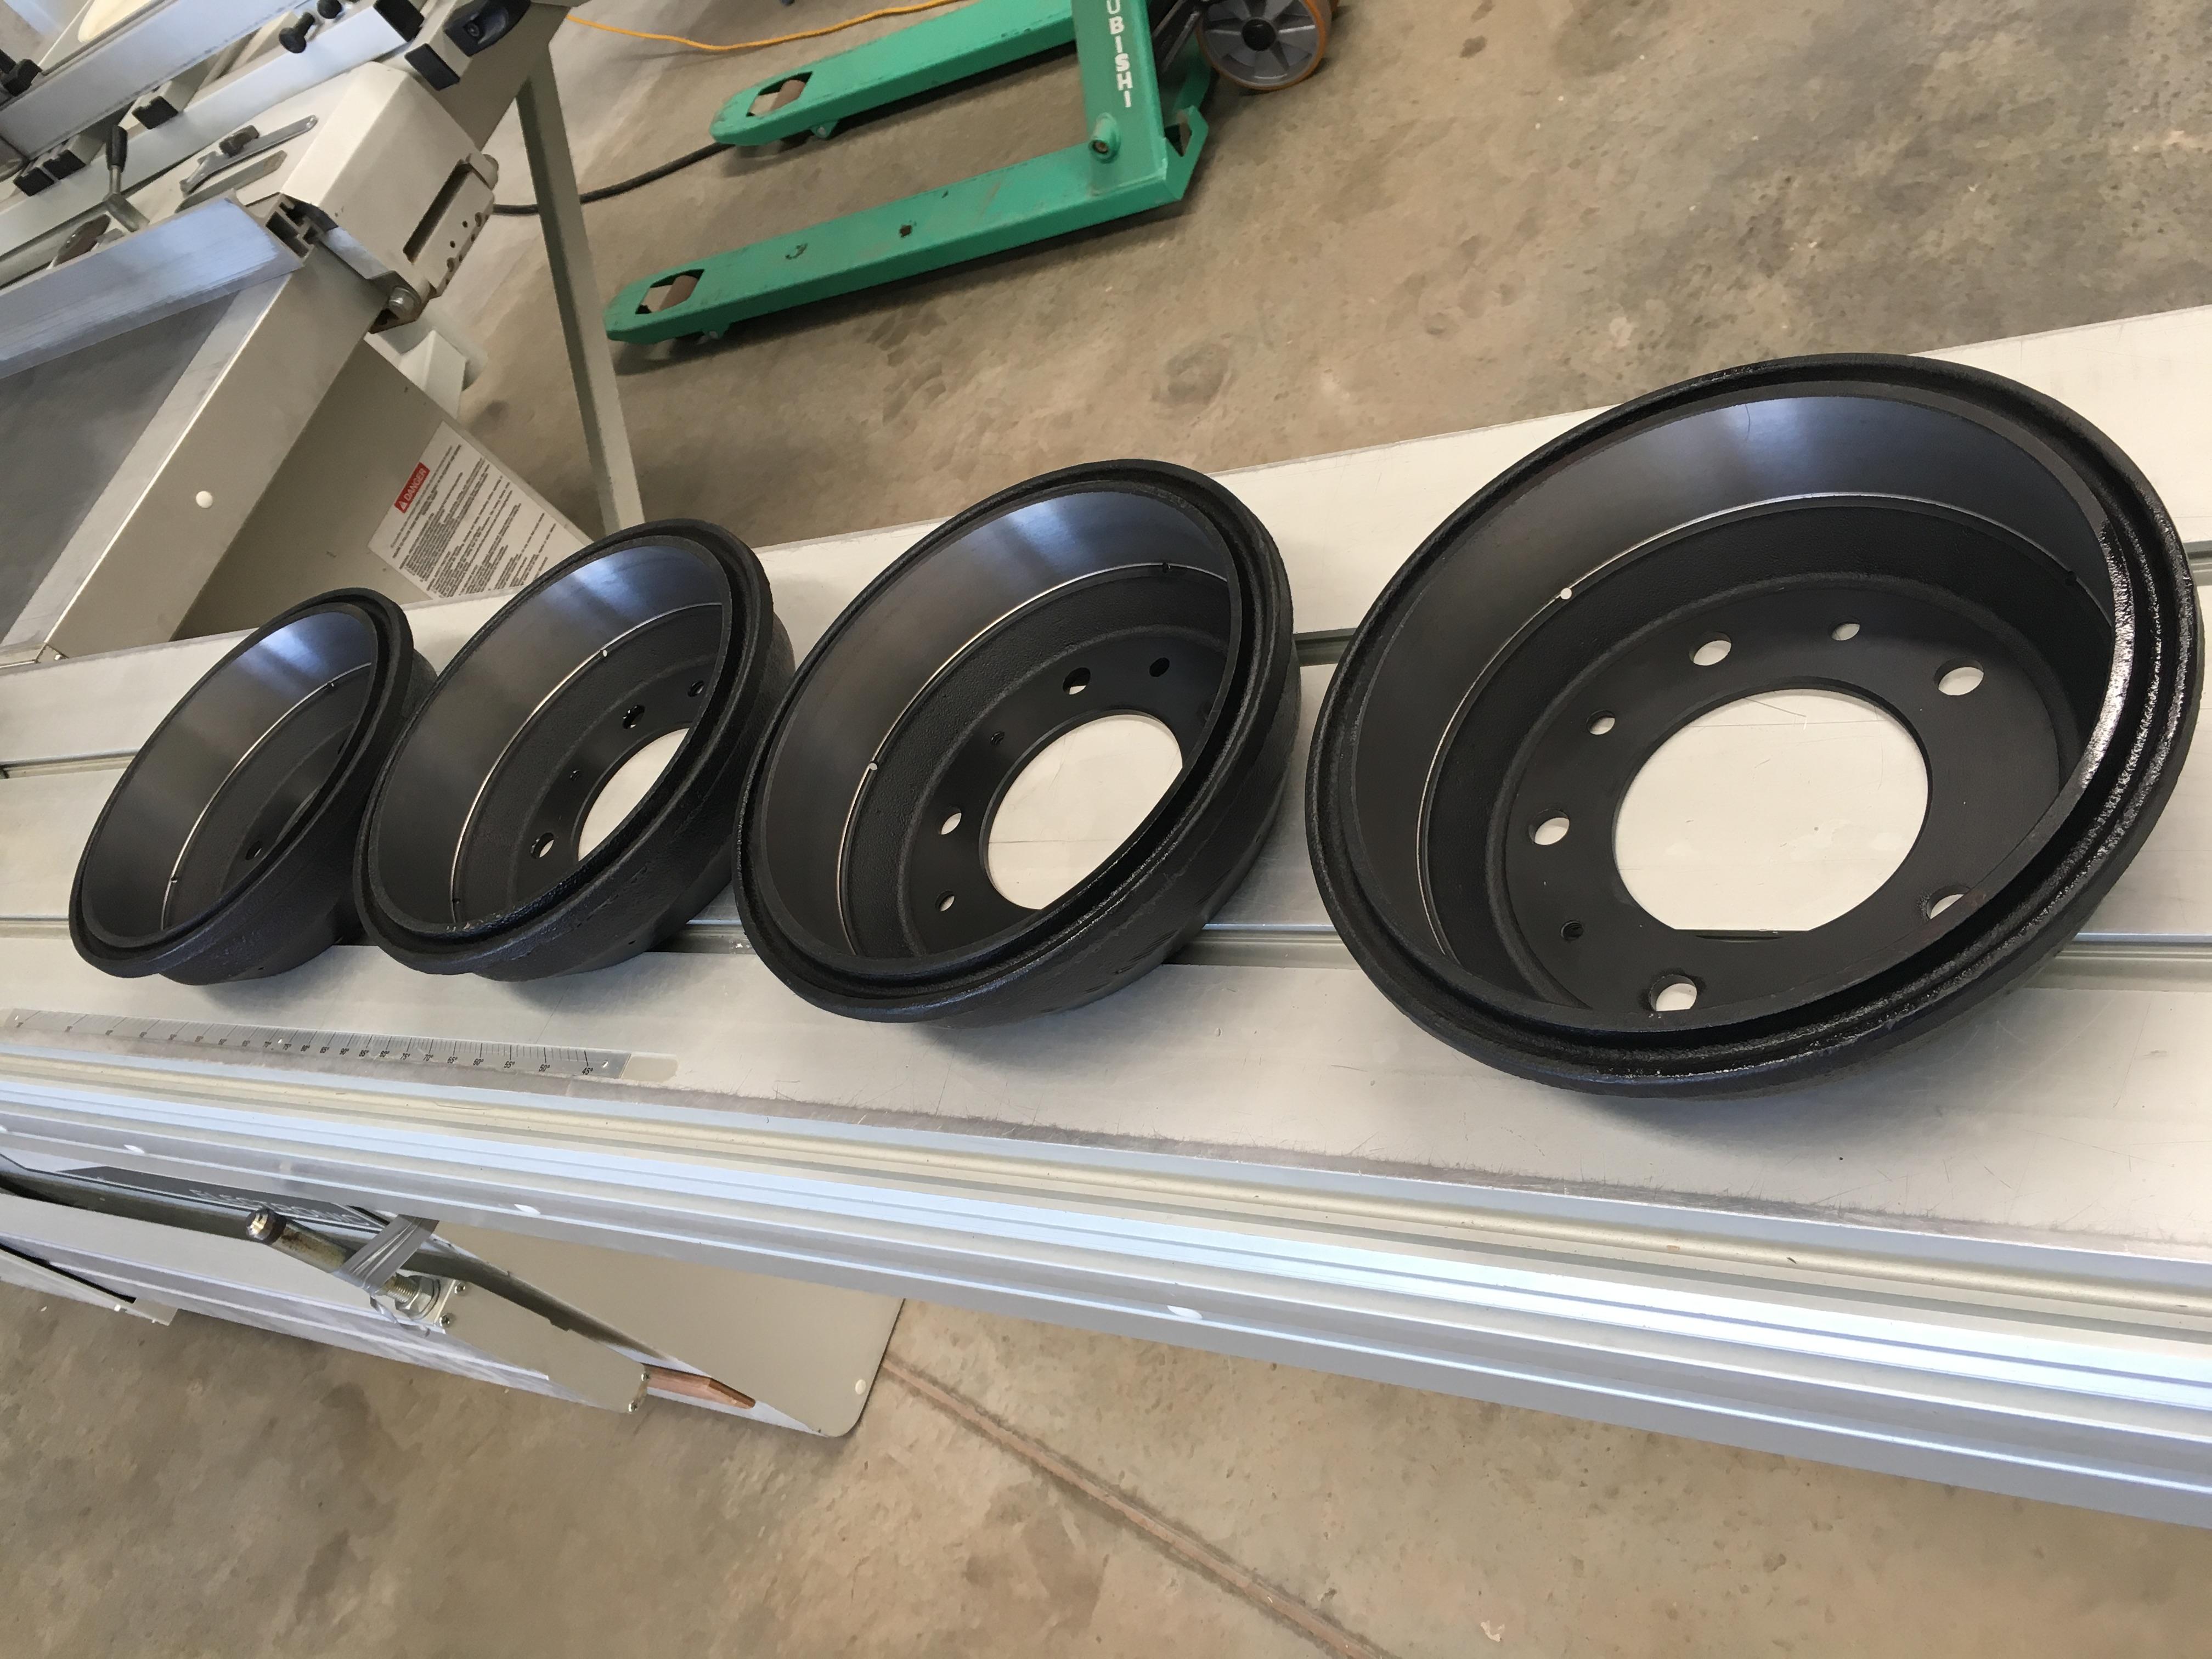
And finally, the drums were finished getting skimmed, so they were also collected. Pretty happy with how they look, (even though they'll never be seen)
Cheers,
Super Moderator & CA manager
SubscriberWatch out, your welds are far better than the factory ones - it may be a give away to the guys doing the road worthy.
You need to turn your feed up so you get more splatter...")
If you need to contact me please email homestarrunnerau@gmail.com - thanks - Gav.
Wizard
When I forget to turn the gas on the welding starts to look very "authentic"
Cheers,
Wizard
Well, I've offically finished work for the year!
Visited the diff builder today, as suspected the front diff was a disaster, but he managed to sort it out in pretty short order. Rear diff just needed the pinion preload adjusting, (was too loose). I still need to remove the pinion drive flanges, paint them and fit the mud shields, and fit the pinion seals. Then they can go in the axle tubes
The chassis is pretty close to where it can be painted, there are a couple of welds that need finishing, the cross member infill panels need to go in, the front tub mounts, and the center tub mount also need to get stuck on with the welder.
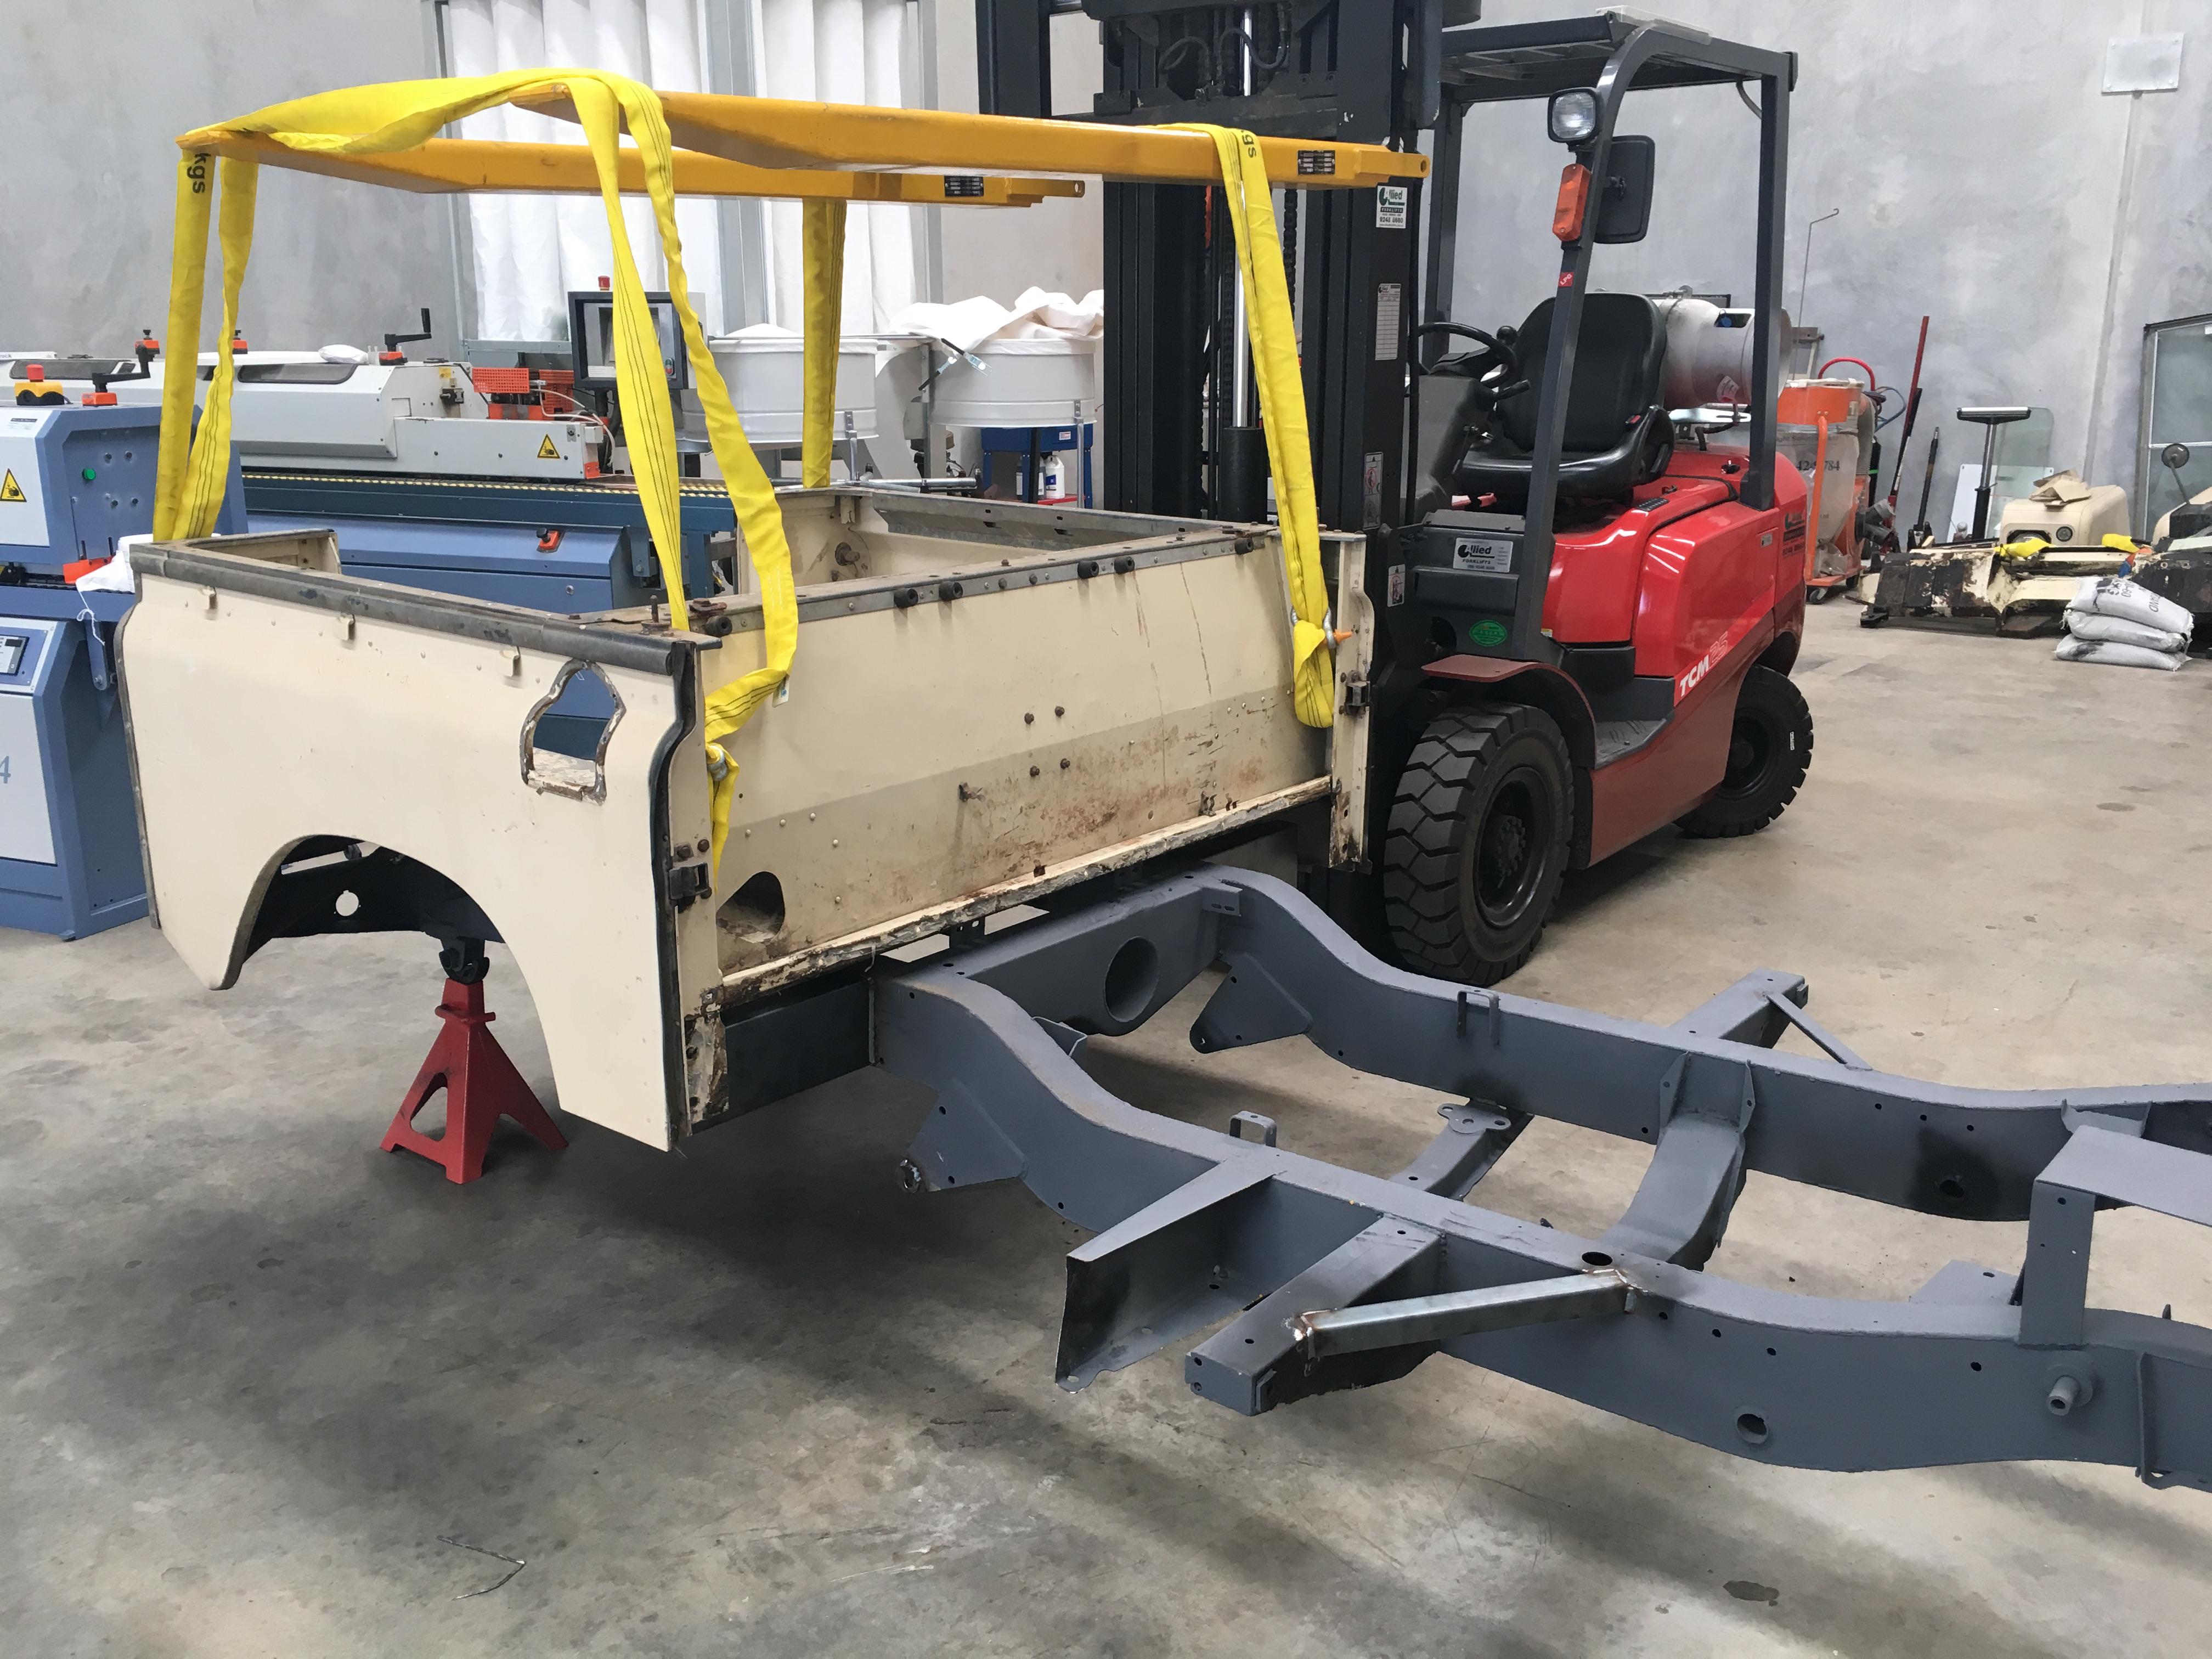
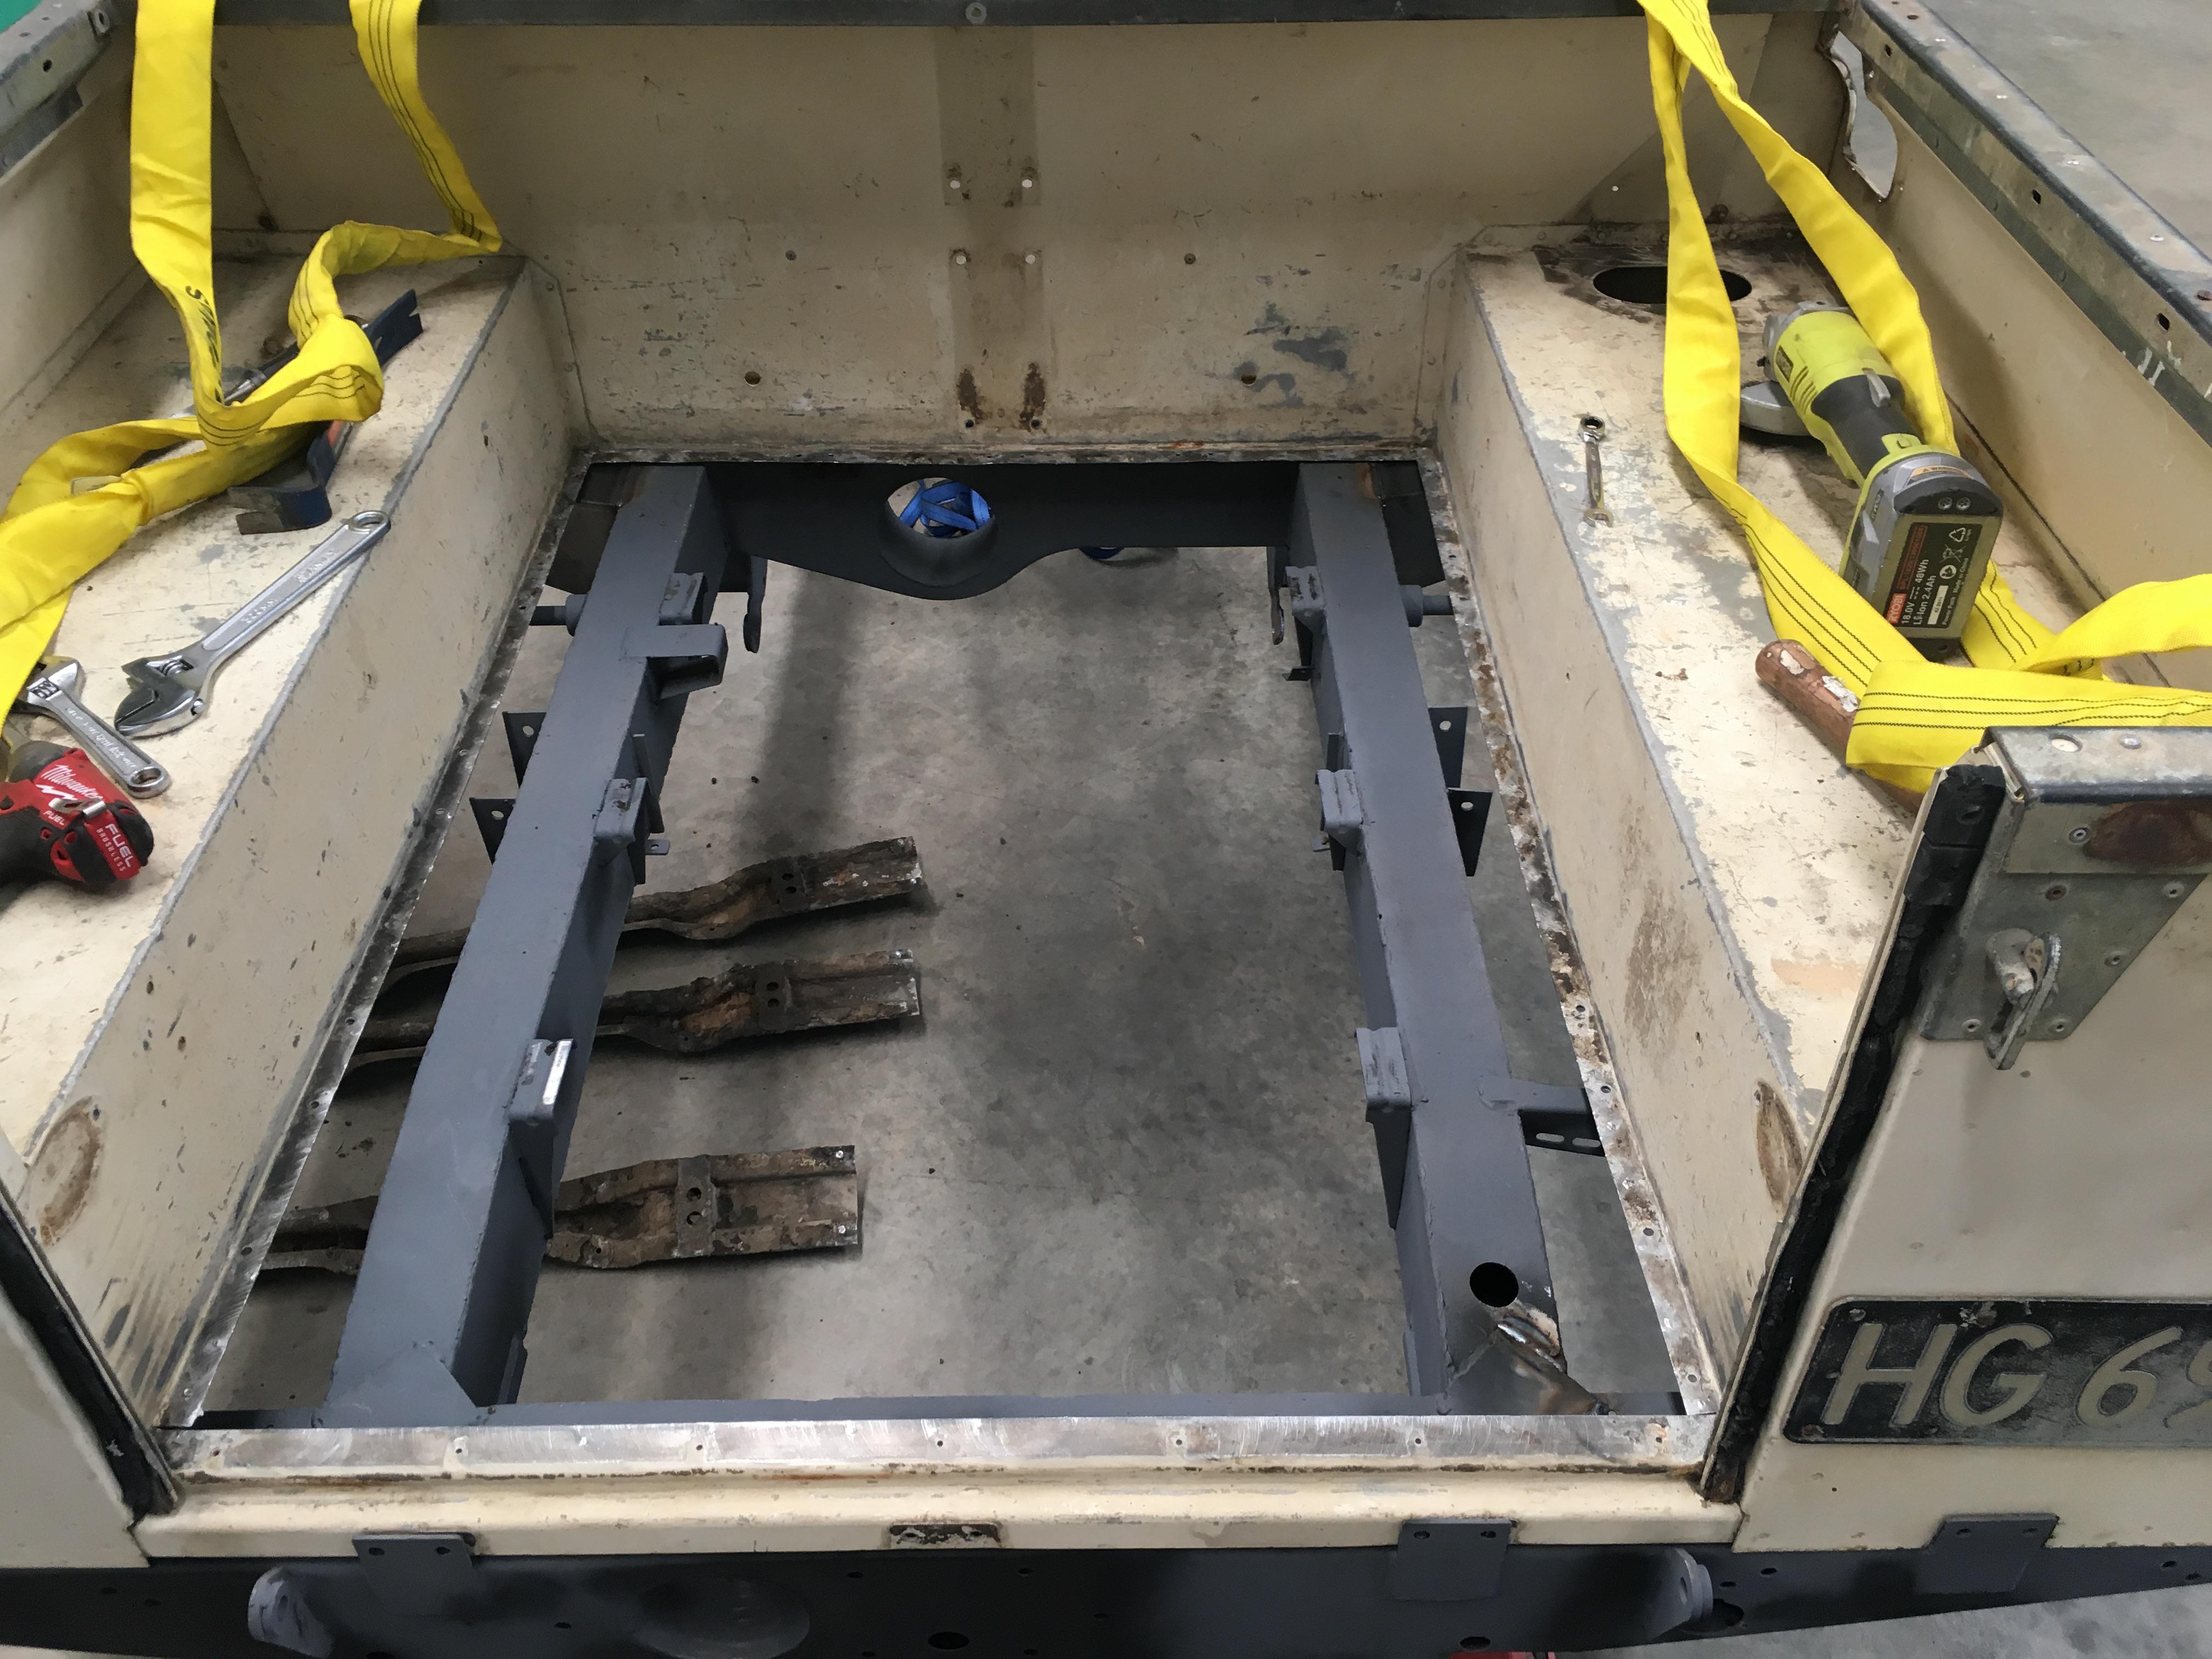
The tub had to go on temporarily so I could get the front mounts in the right place:
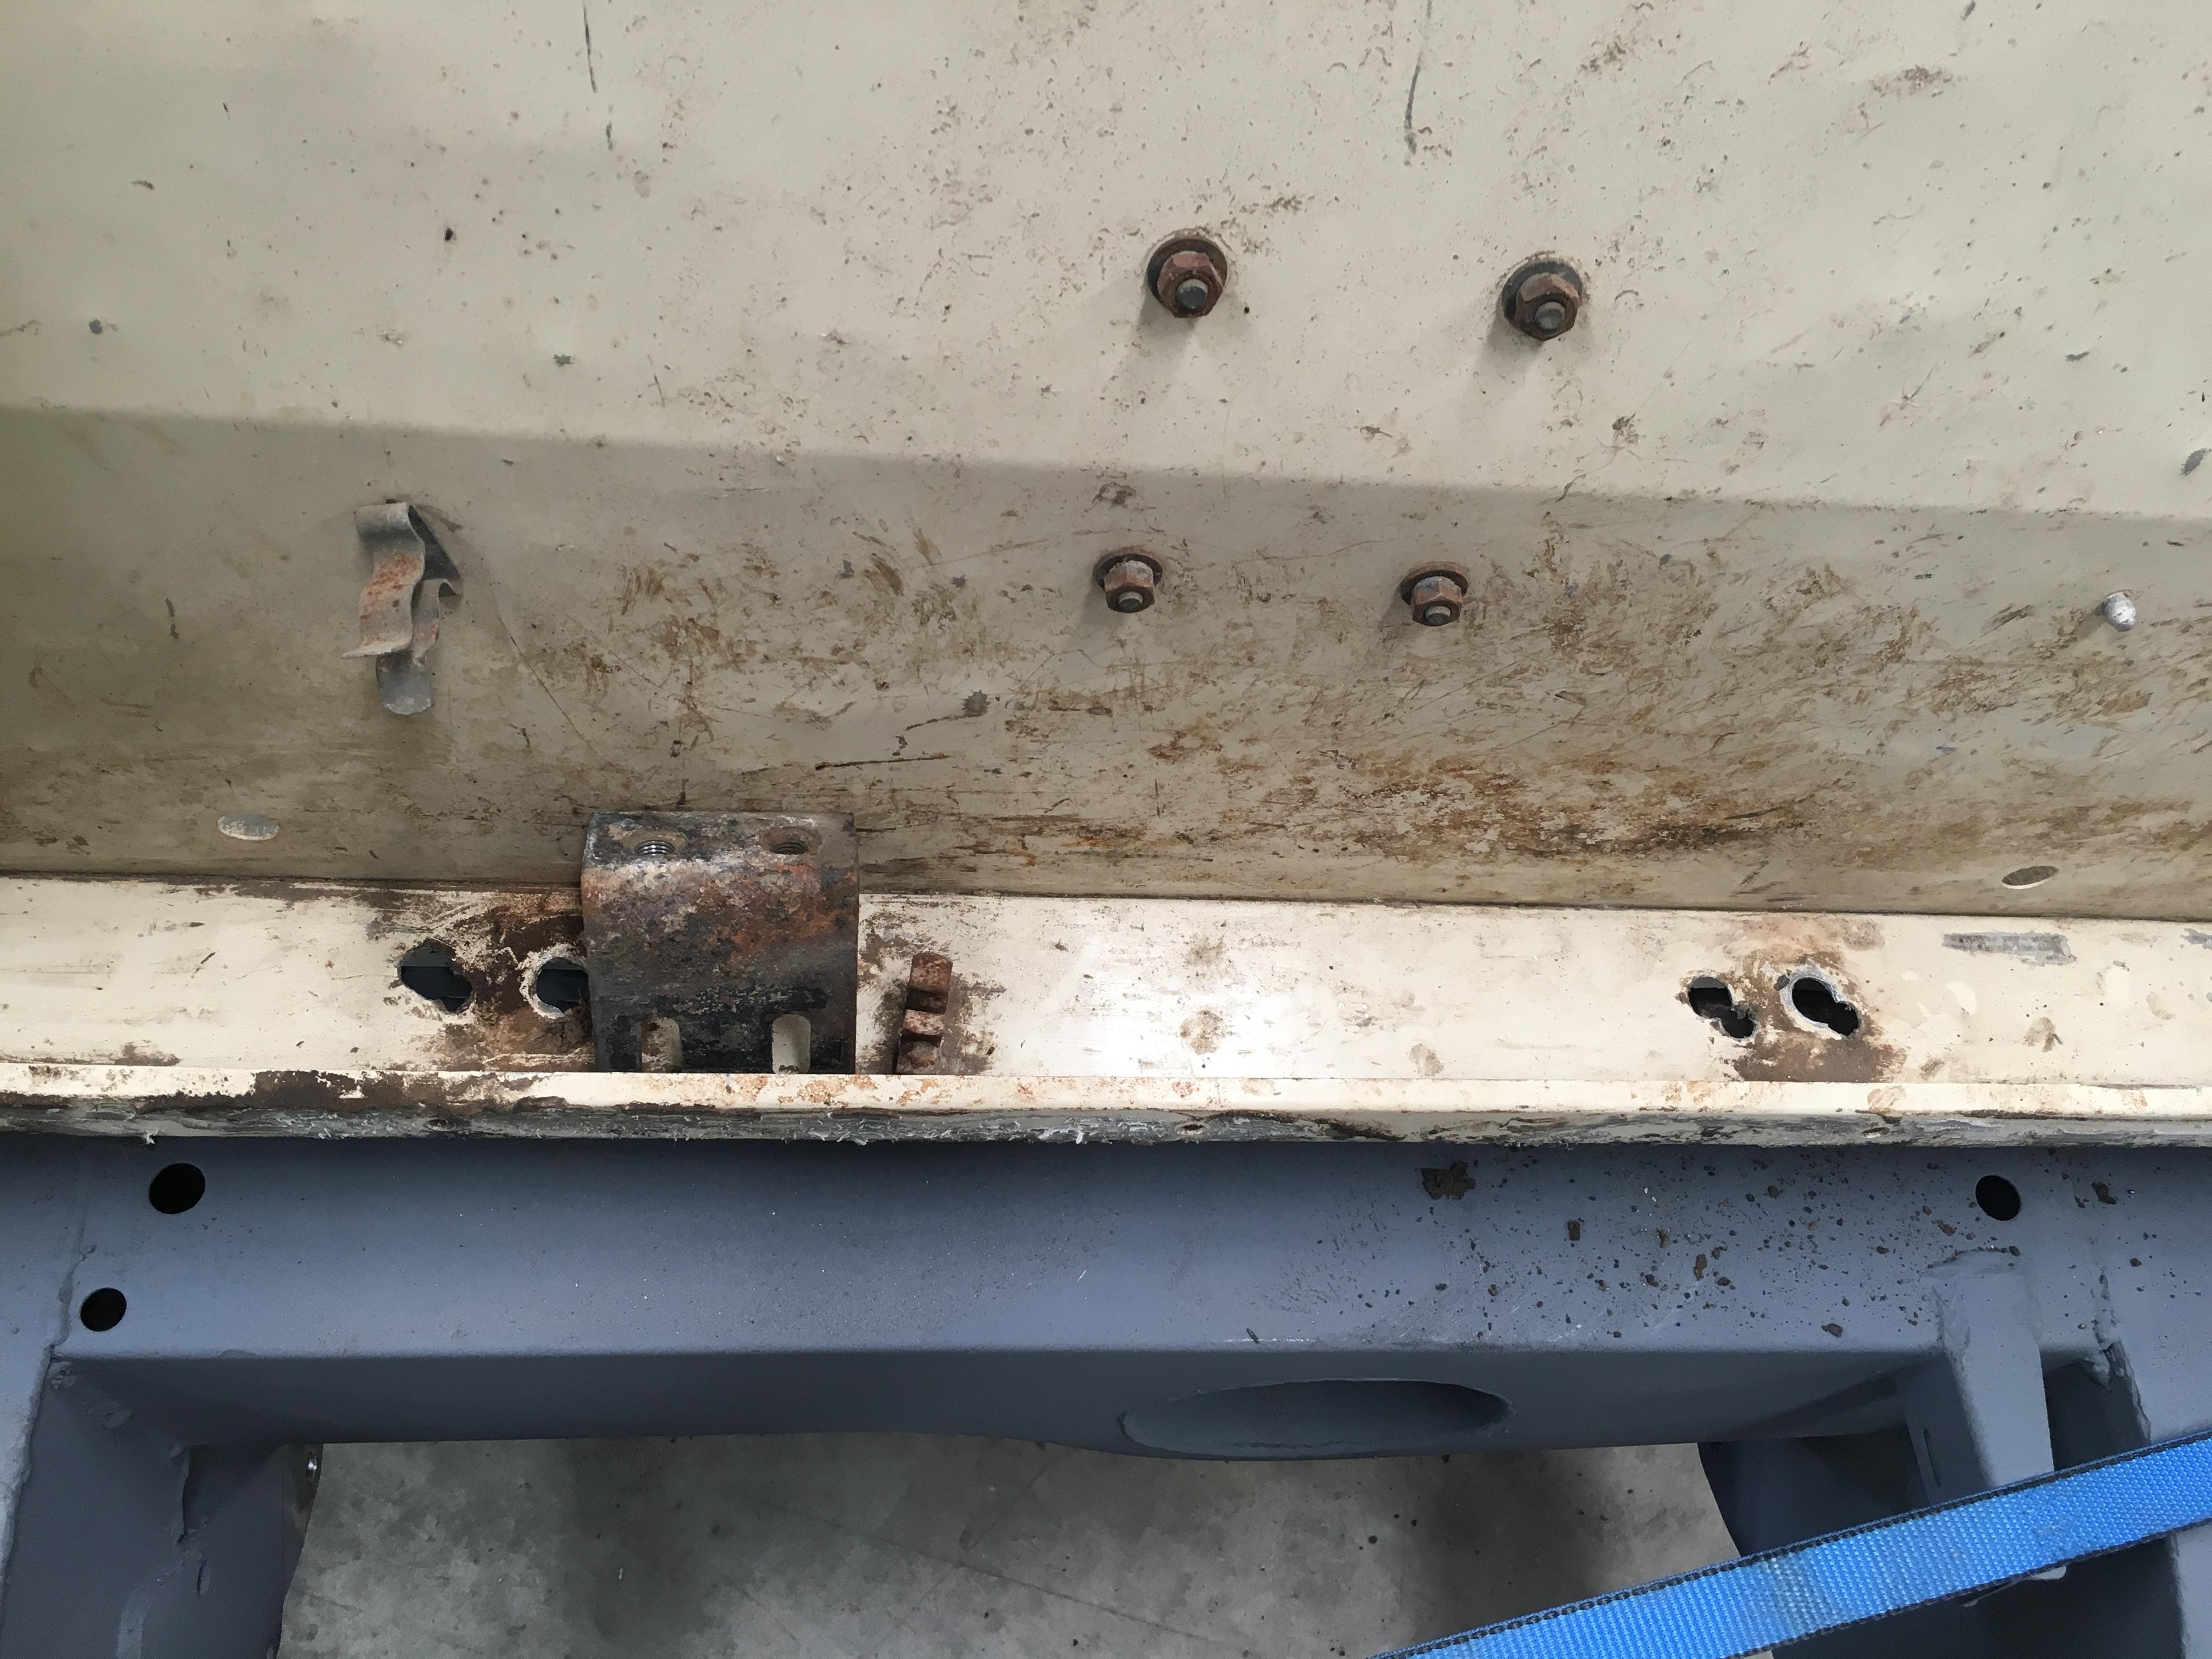
However when I got the tub on I noticed the front of it was not centred on the chassis, according the the measuring stick it was 10mm over to the passenger side. Probably explains these butchered seat belt and tub mounting holes:
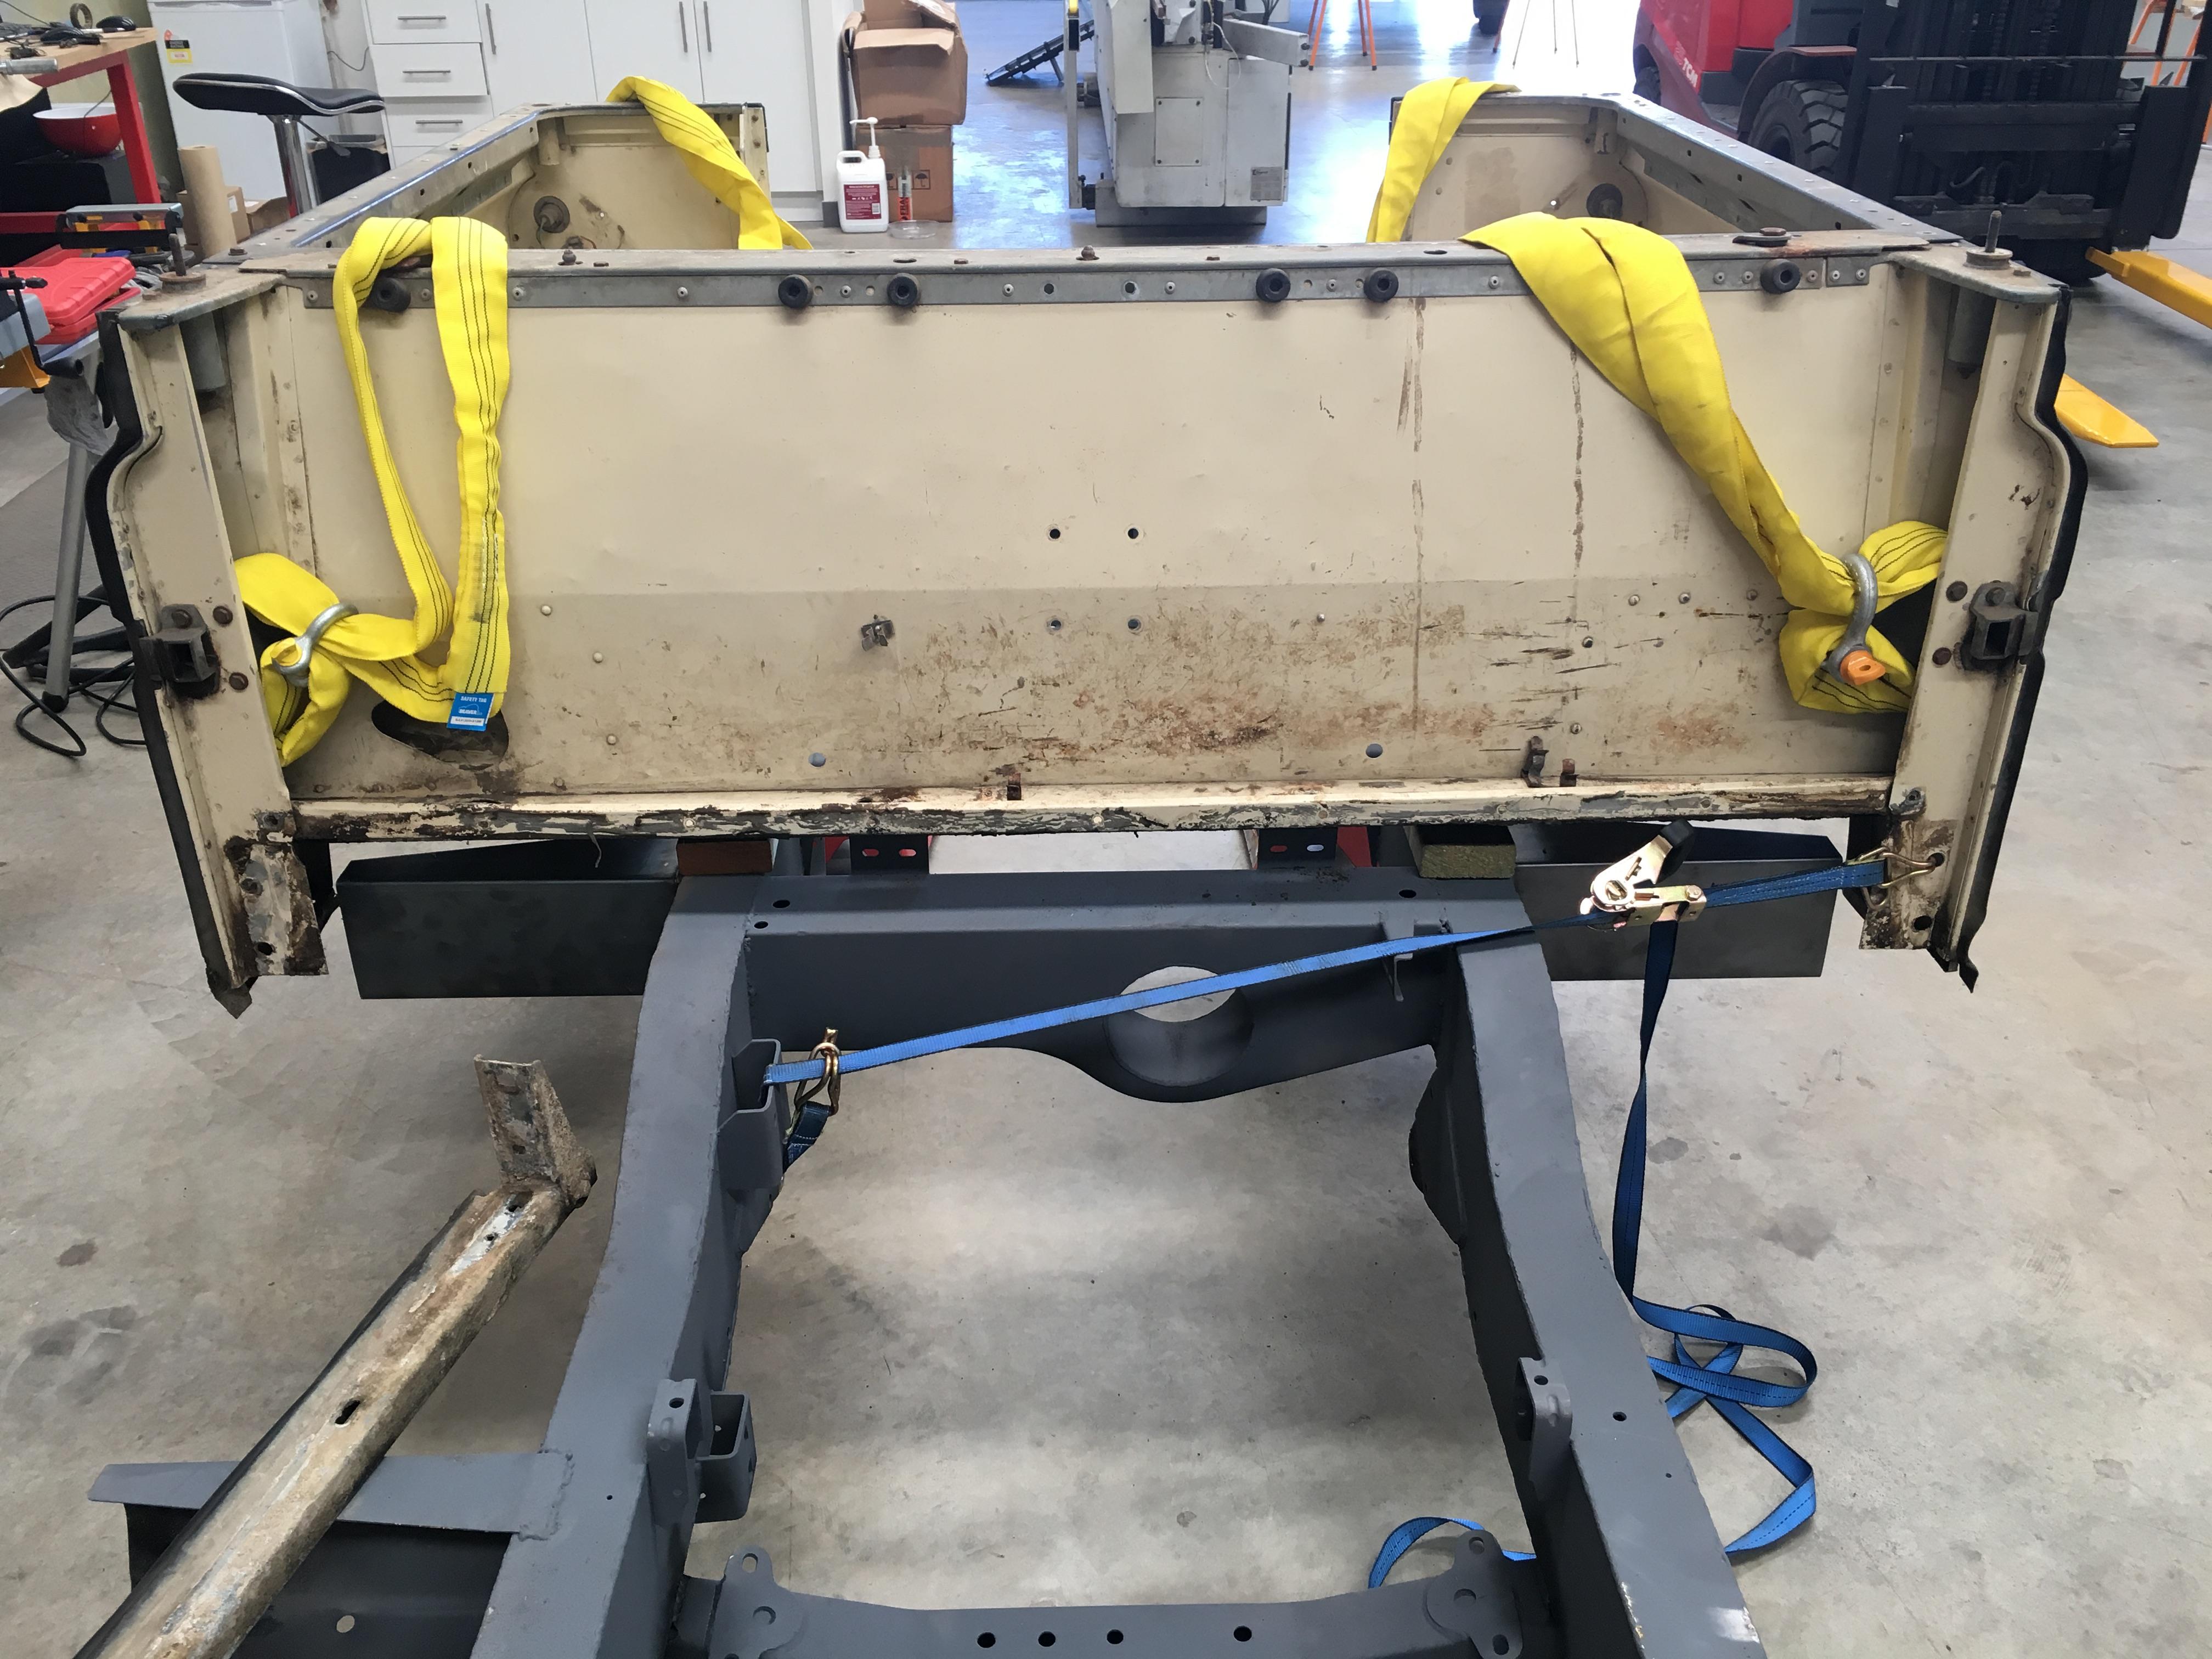
I put a strap accross the front of it to see if it would flex over, but all that happened was it pulled away from the rear crossmember.
So, out with the drill, and out with the floor!
I was wondering if I was going to get away without removing the floor, buy there are a couple of heavy dents in it, and the braces underneath have corroded where they contact the galvanised cross braces. After removing the floor the tub had relaxed/unsprung itself and was now centred on the chassis again.
Cheers,
Wizard
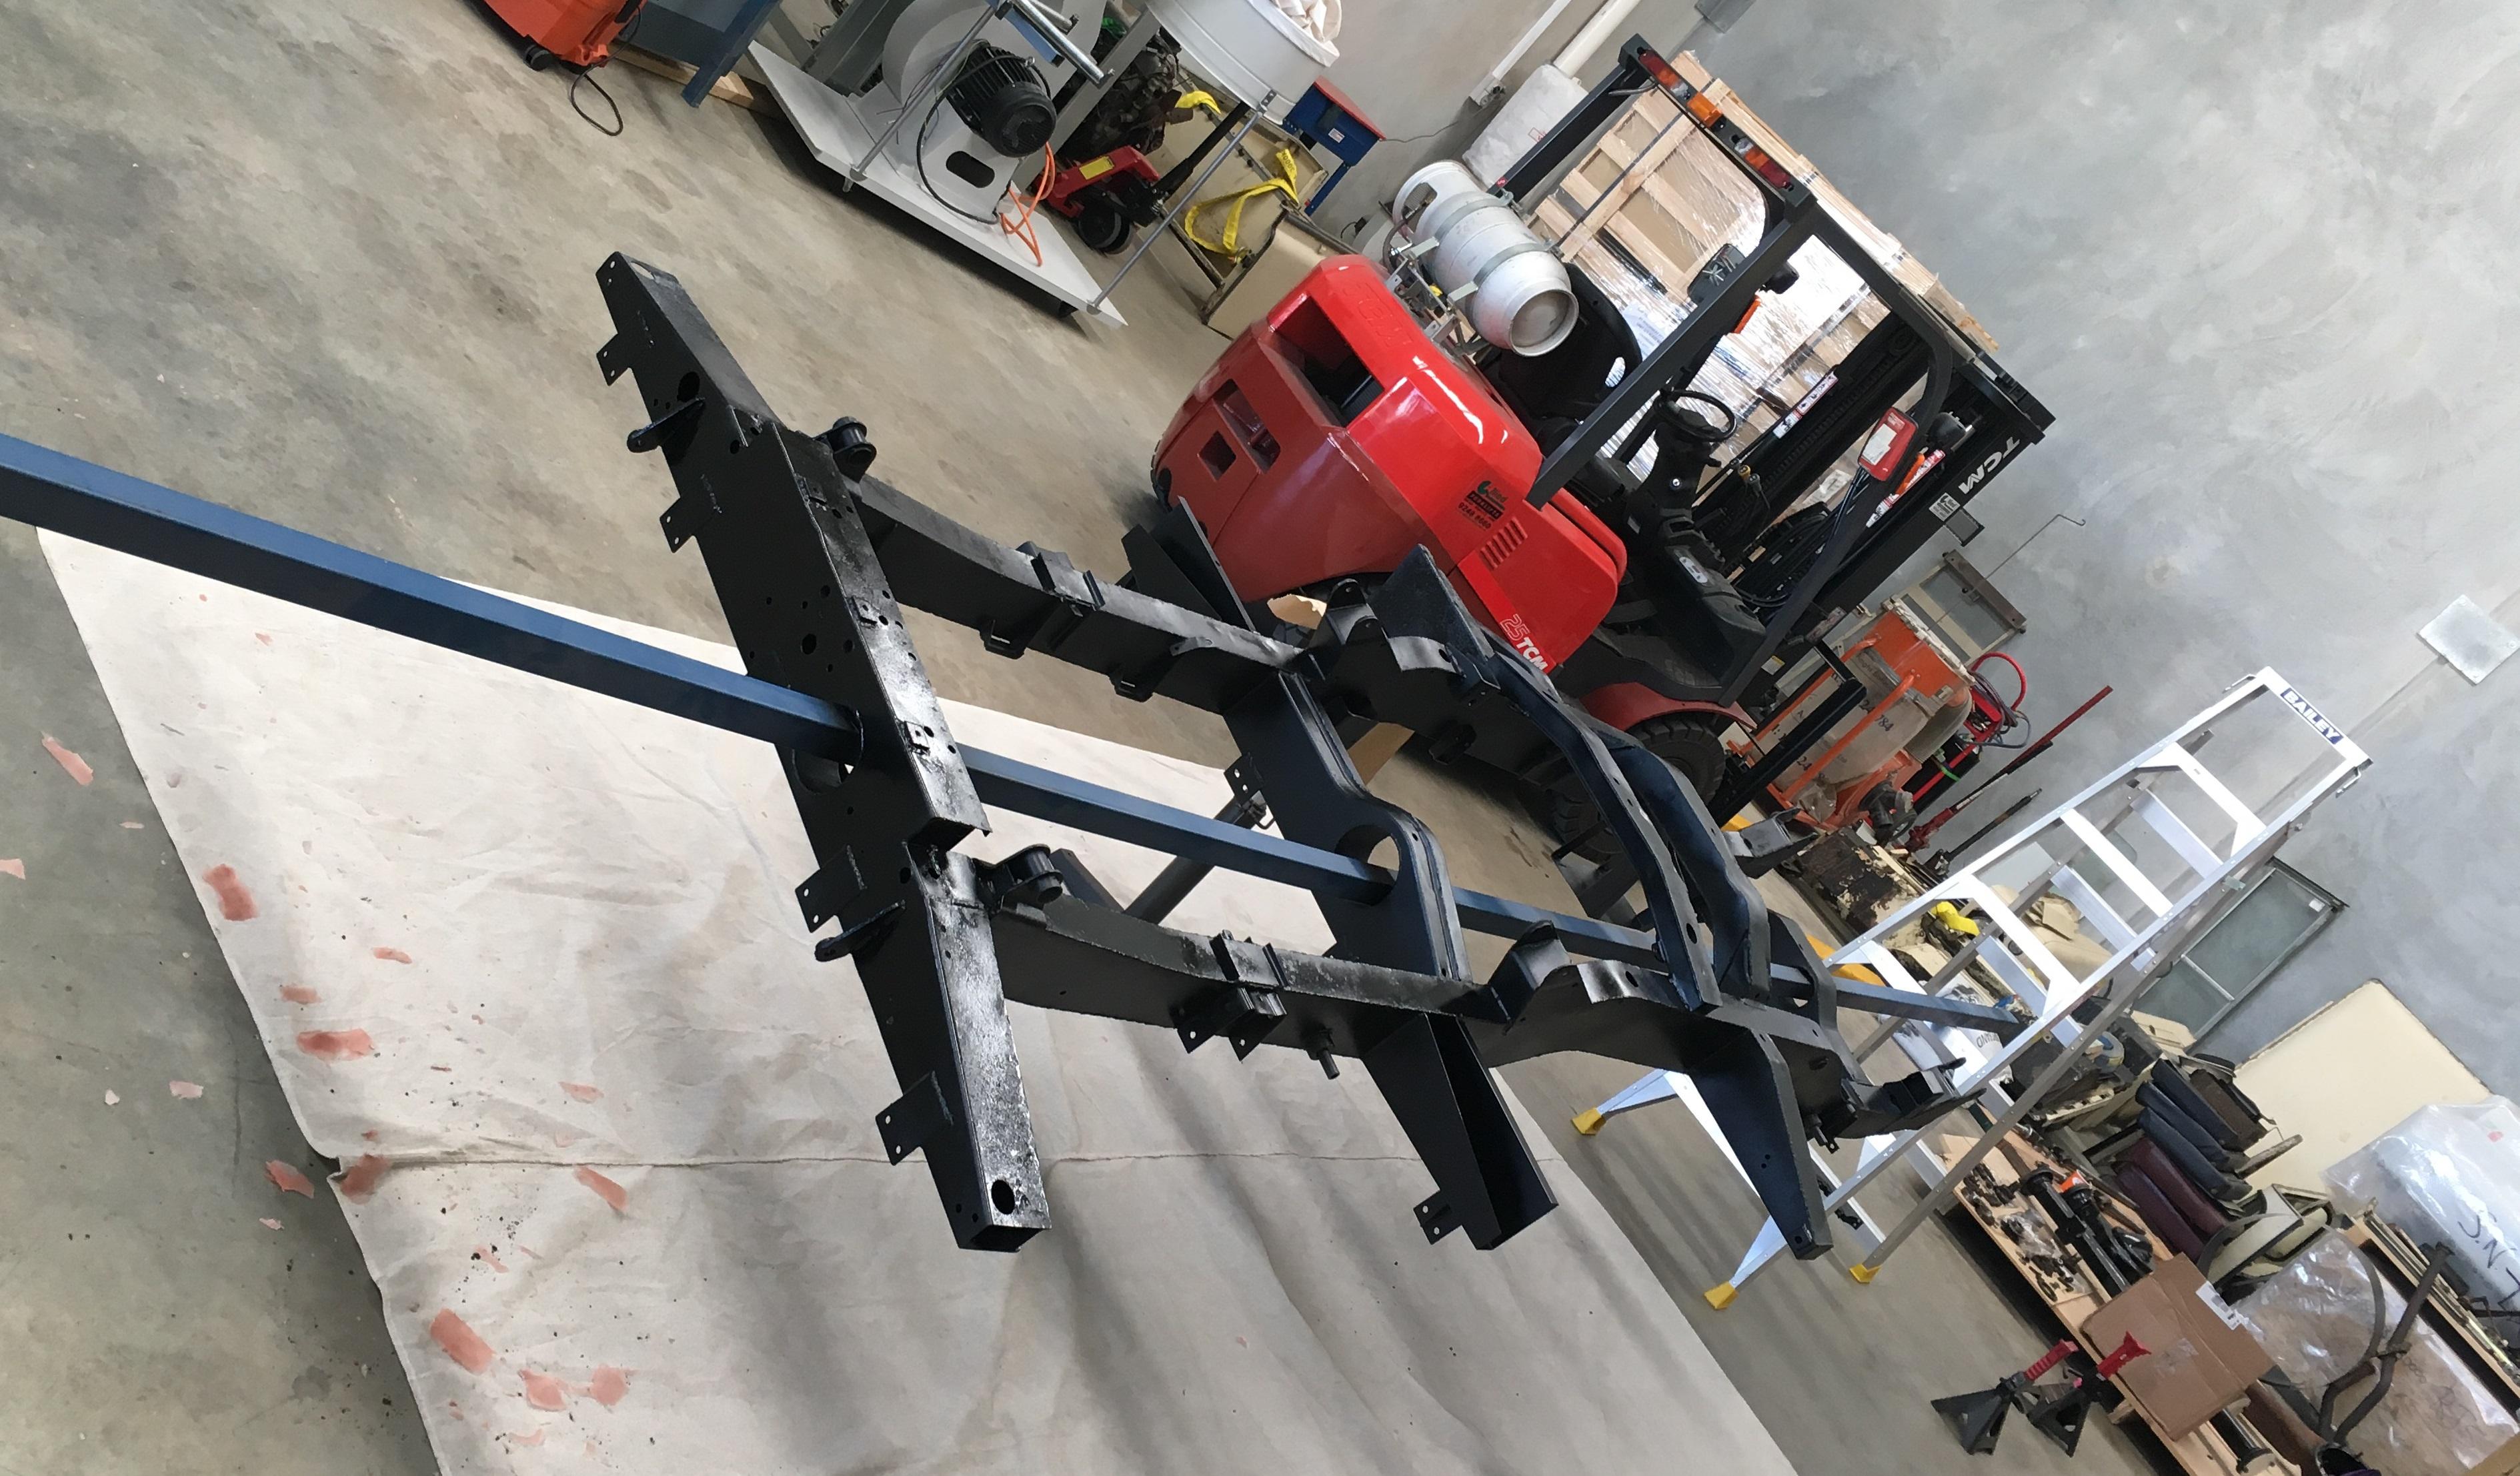
Spent a lot of time today doing bits and pieces in between starting on painting the chassis
Chassis up on the "rotisserie" (which I promptly had to move because I needed to unload a truck, and of course the forklift was behind it)
After a couple of coats of paint, (still a bit glossy because the paint is still wet)
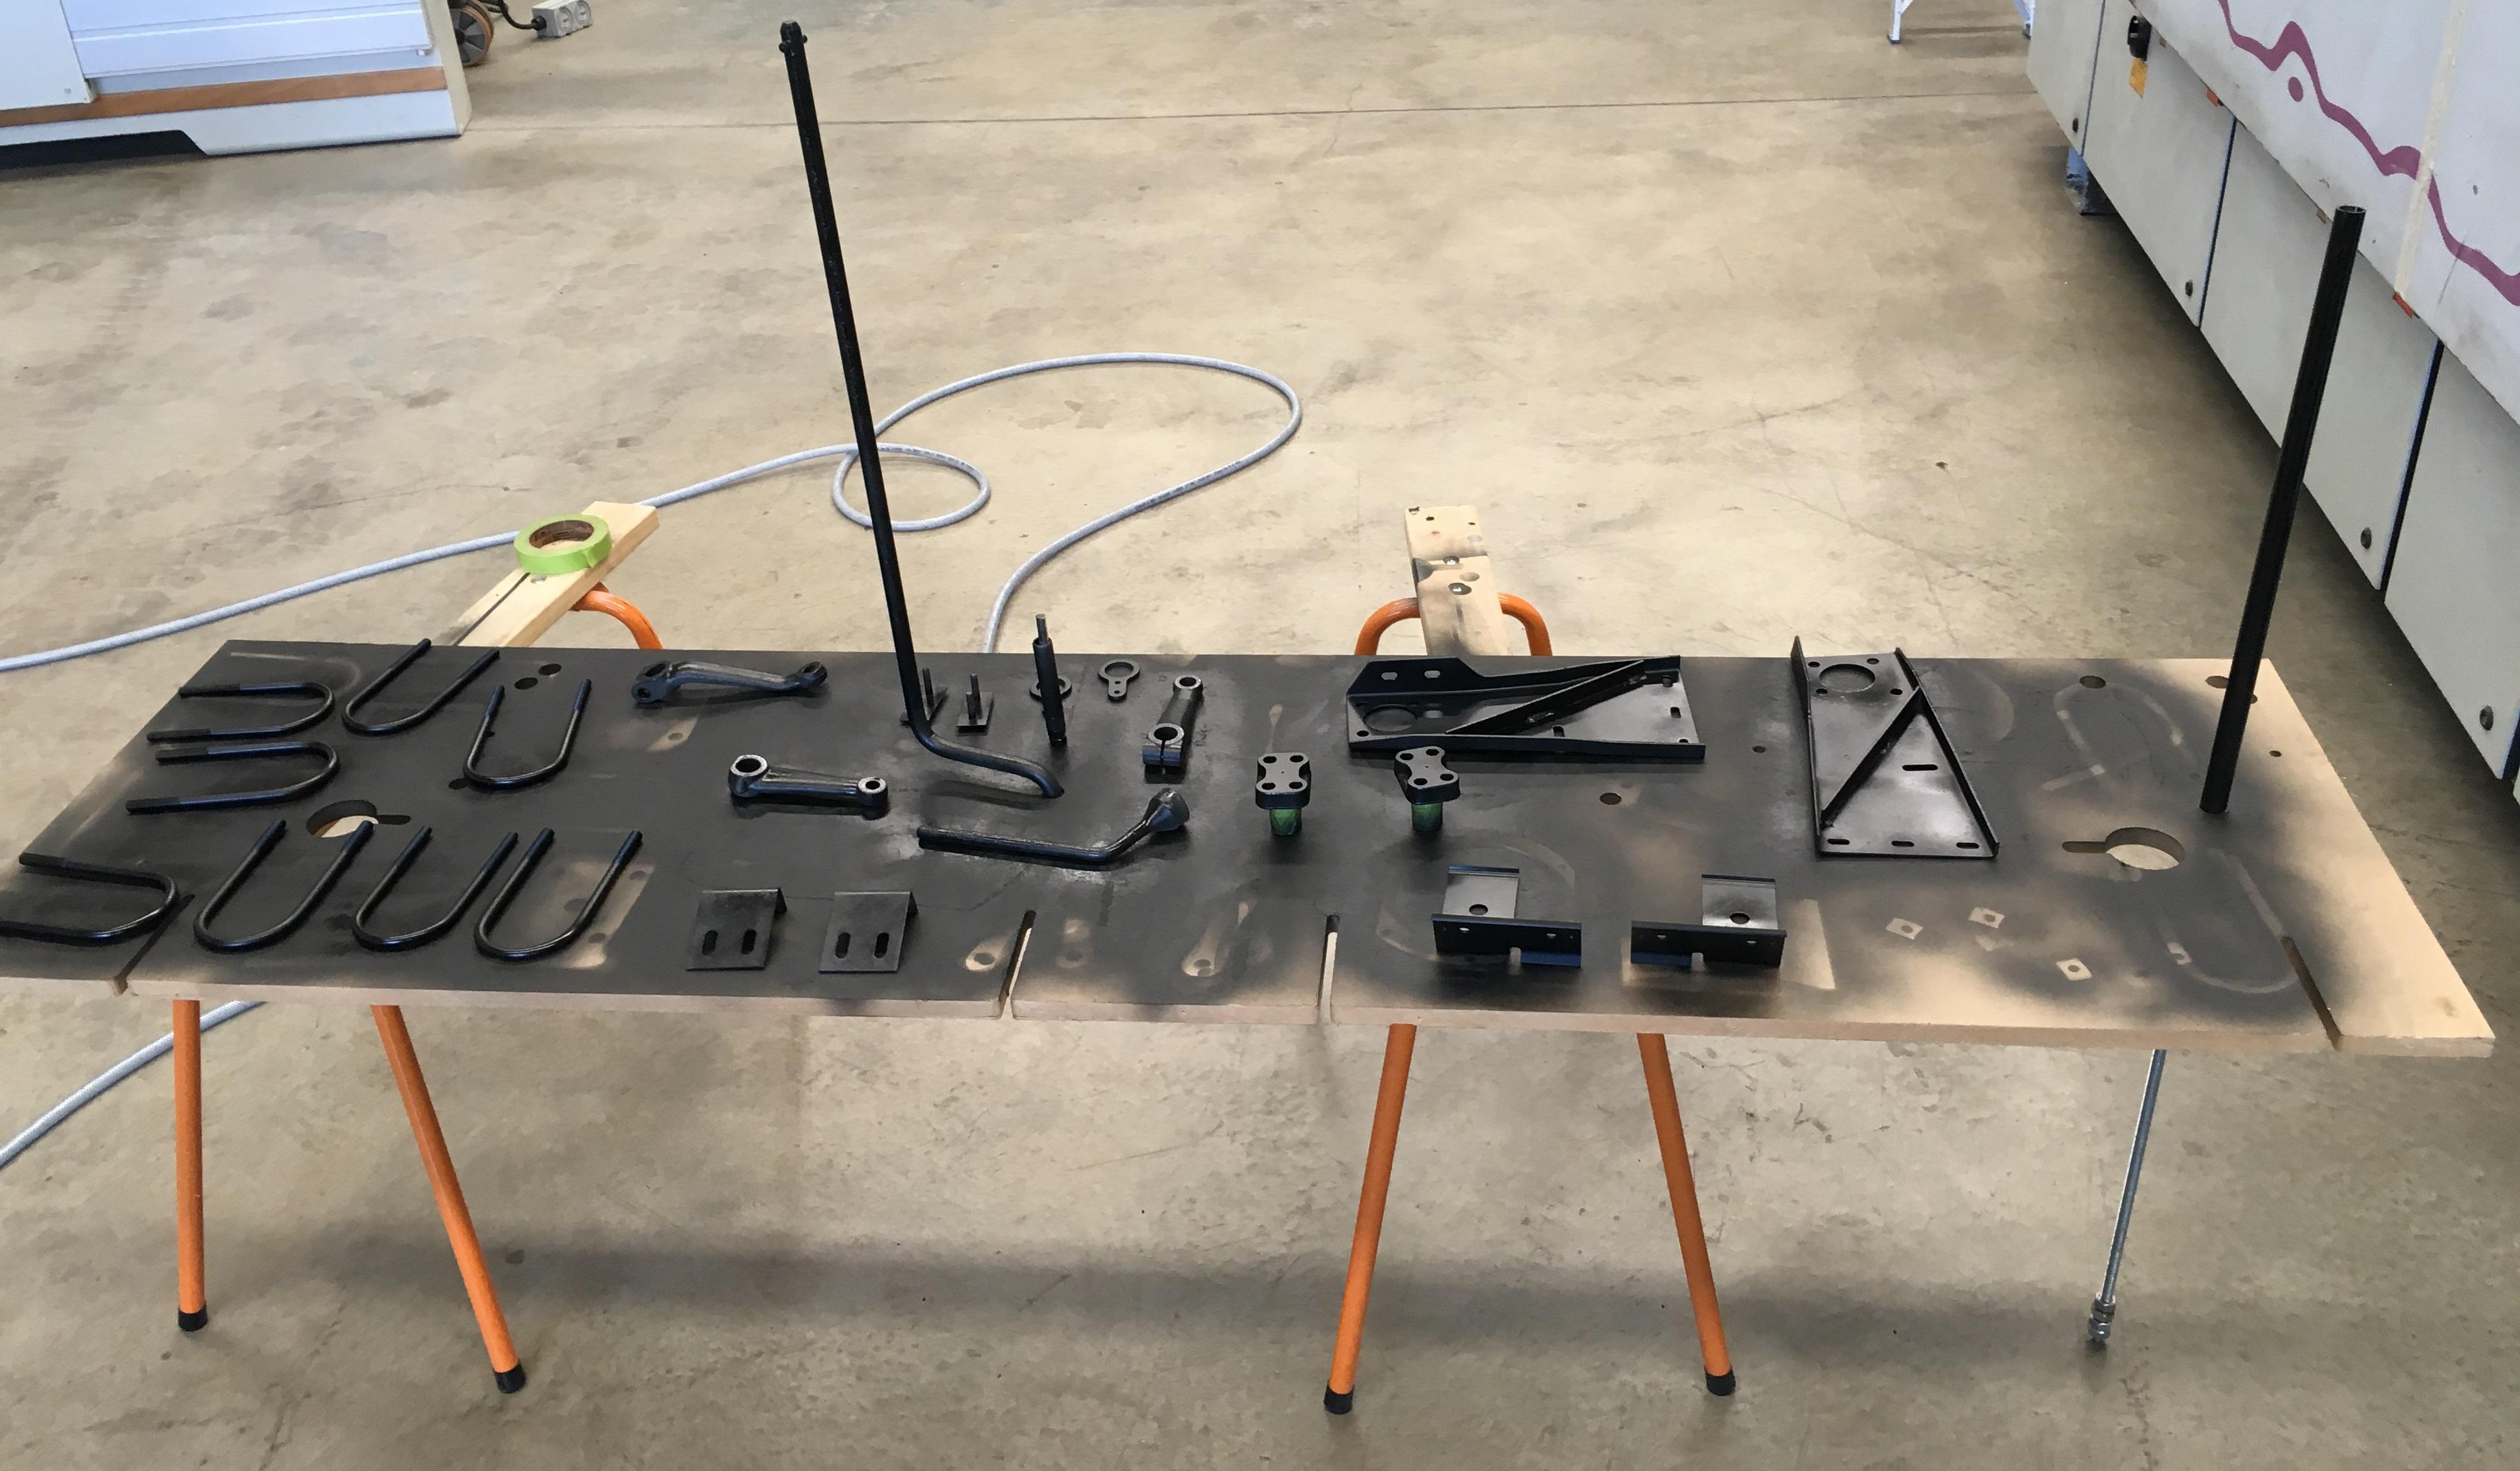
And the ever changing table of odds and ends that need to be painted. U bolts are a ***** to paint by the way
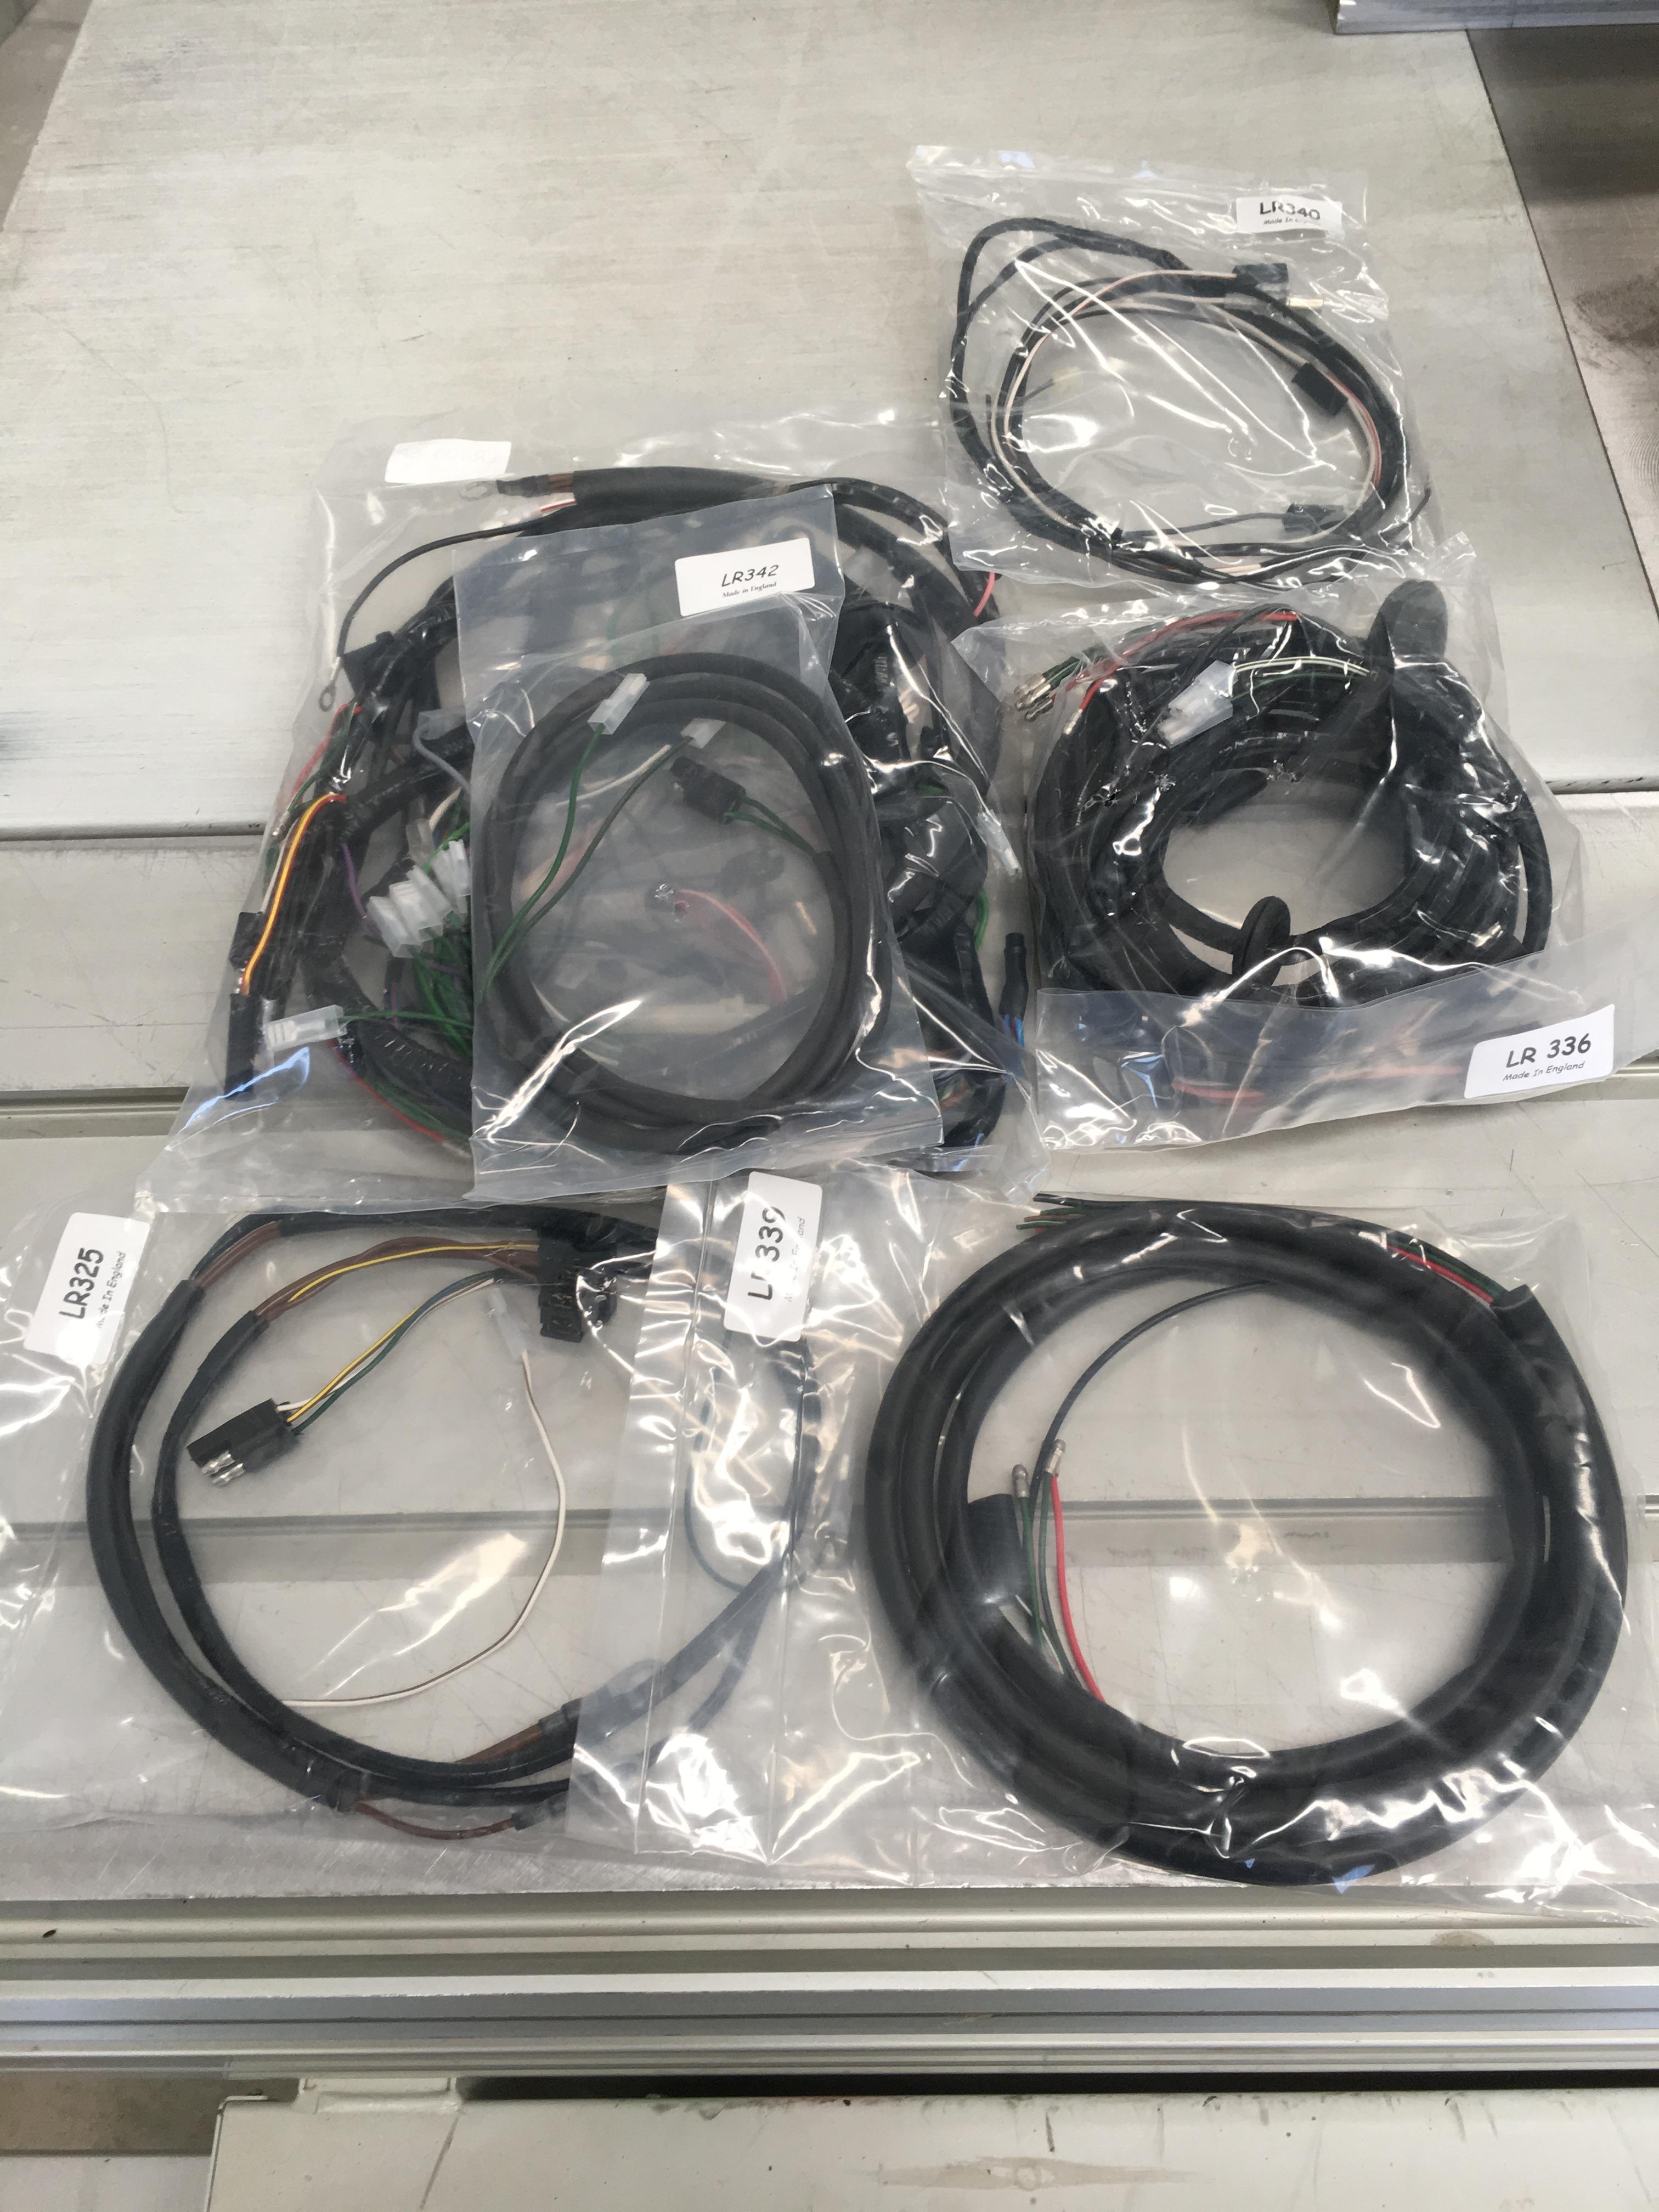
And finally an early Christmas present, the new wiring loom arrived early, (wasn't expecting it till mid Jan)
Cheers,
Wizard
Got the undercoating of the chassis finished today, just the top coat to go
Also finished the diff centers, everything is all torqued up, loctited, drive flanges painted, and pinion seals in. I'm going to give the axle tubes a top coat when I do the chassis, then I can start building them back up.
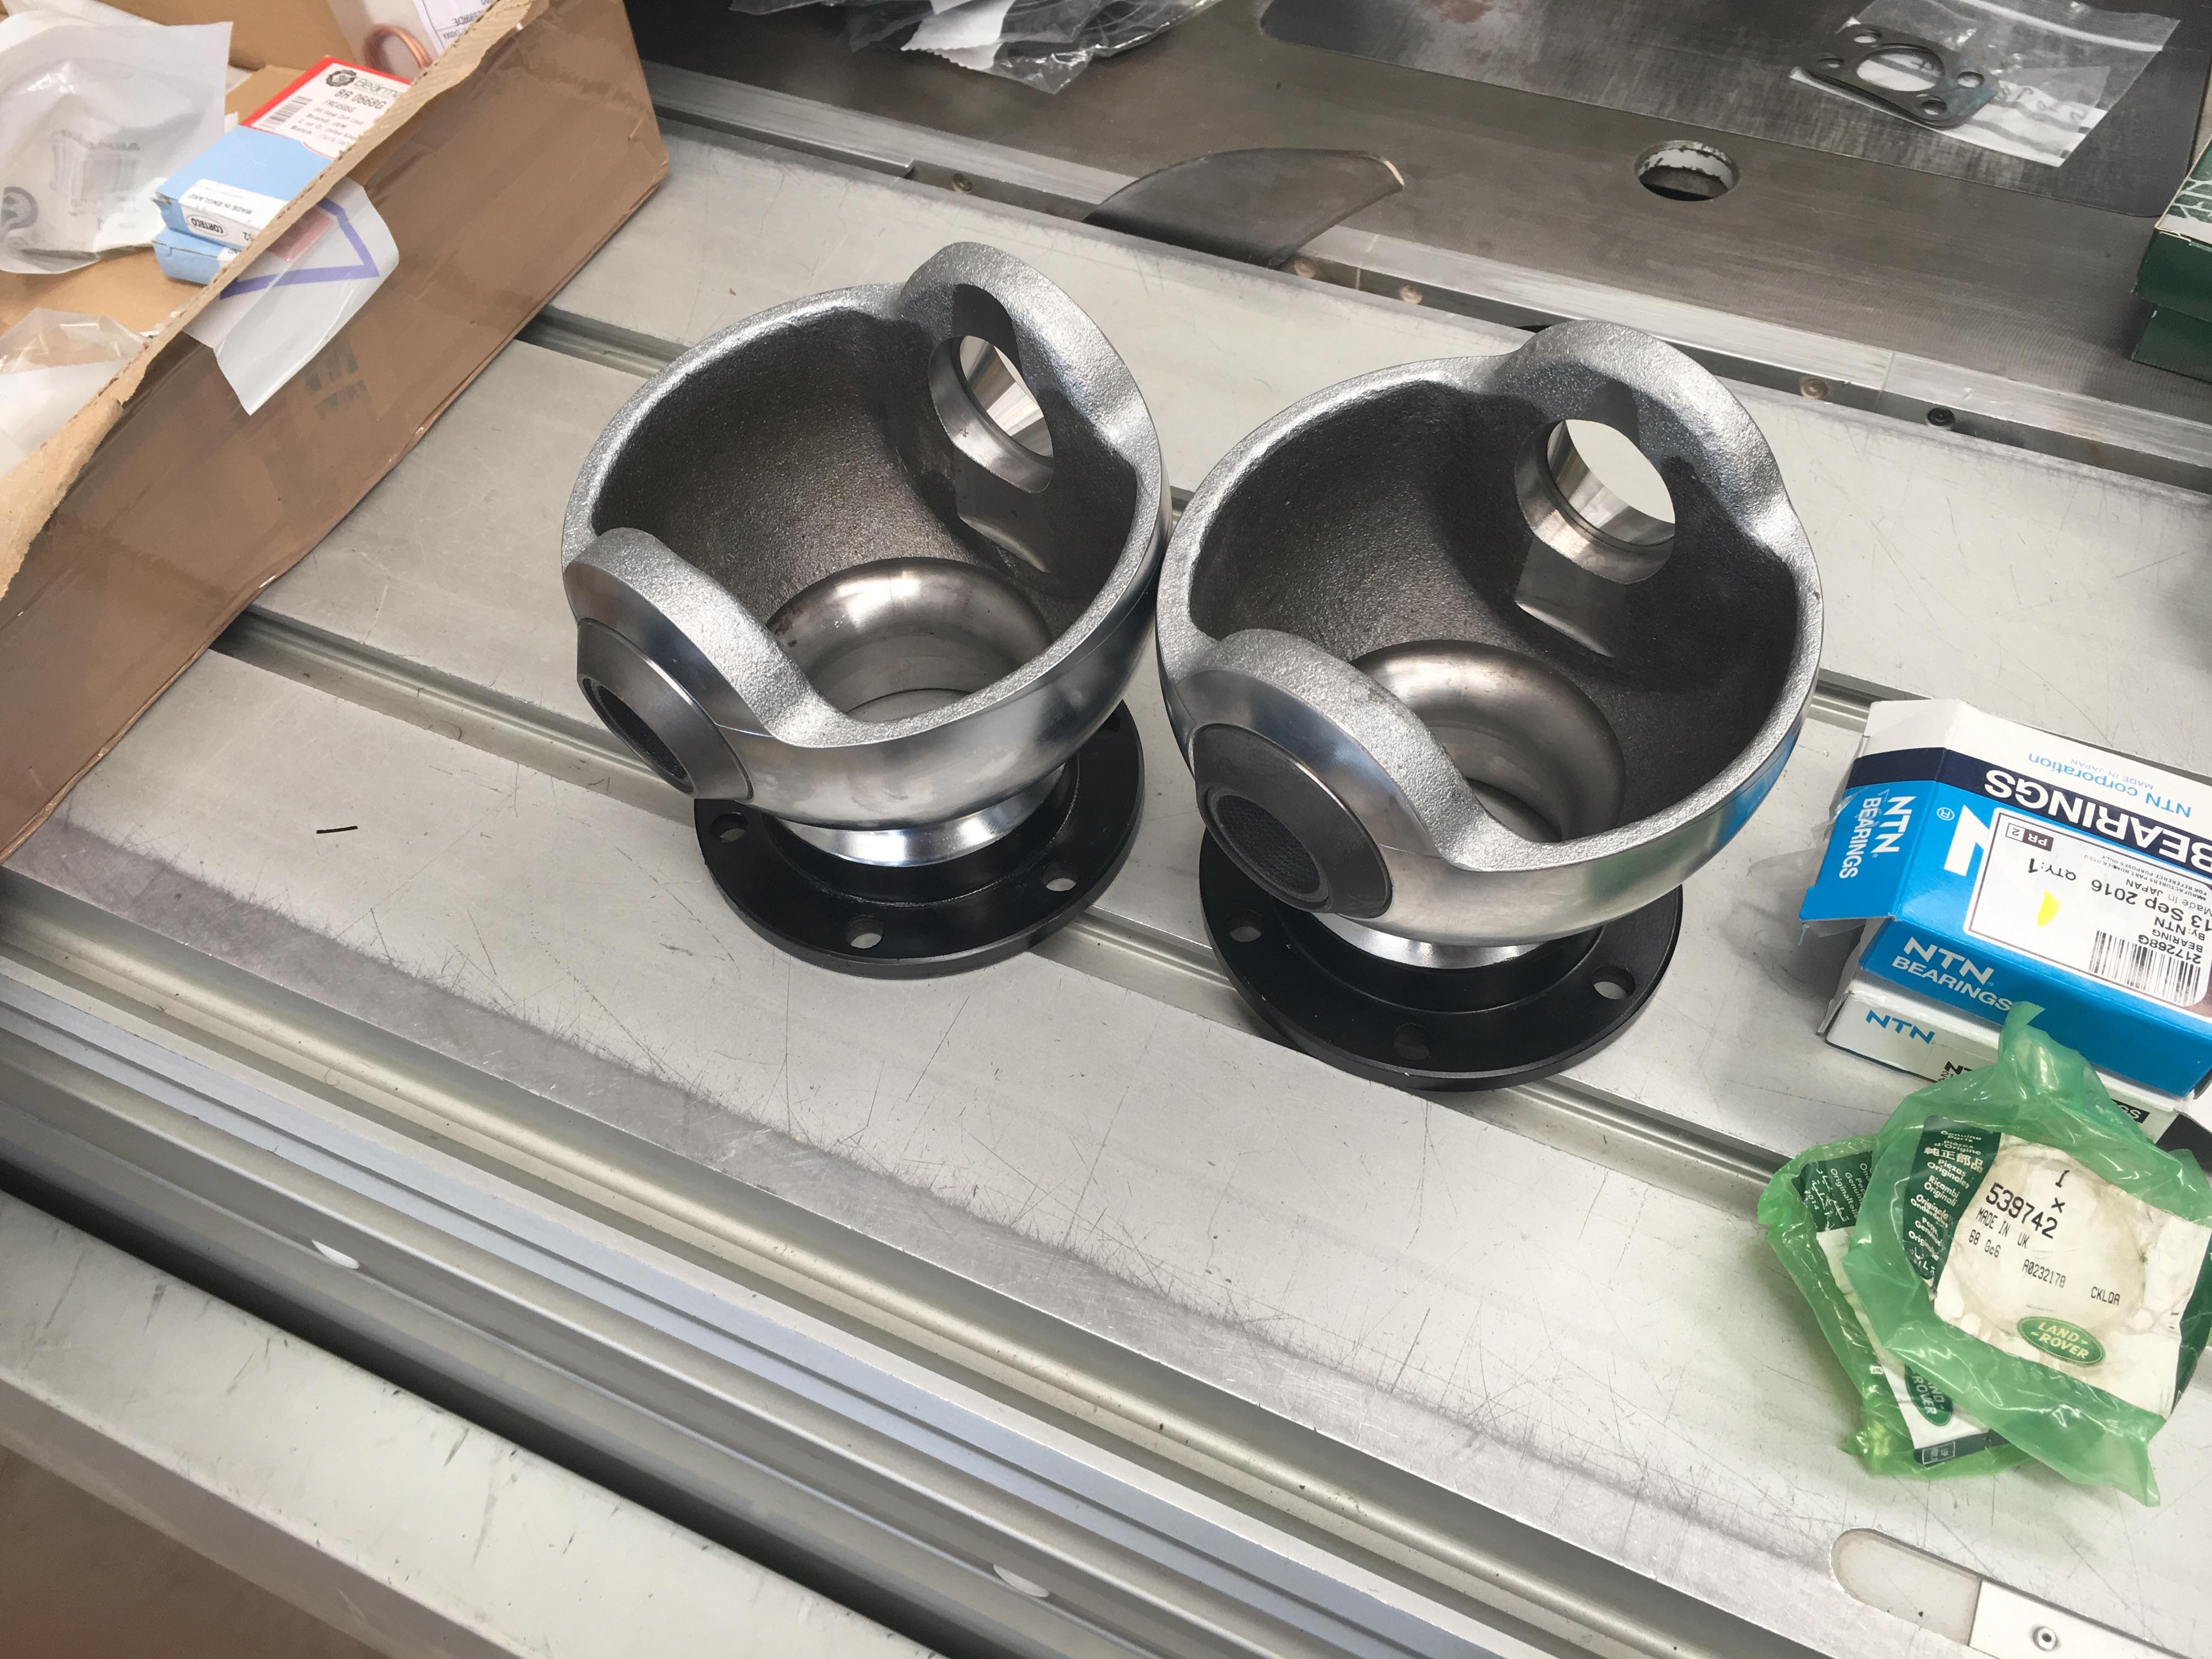
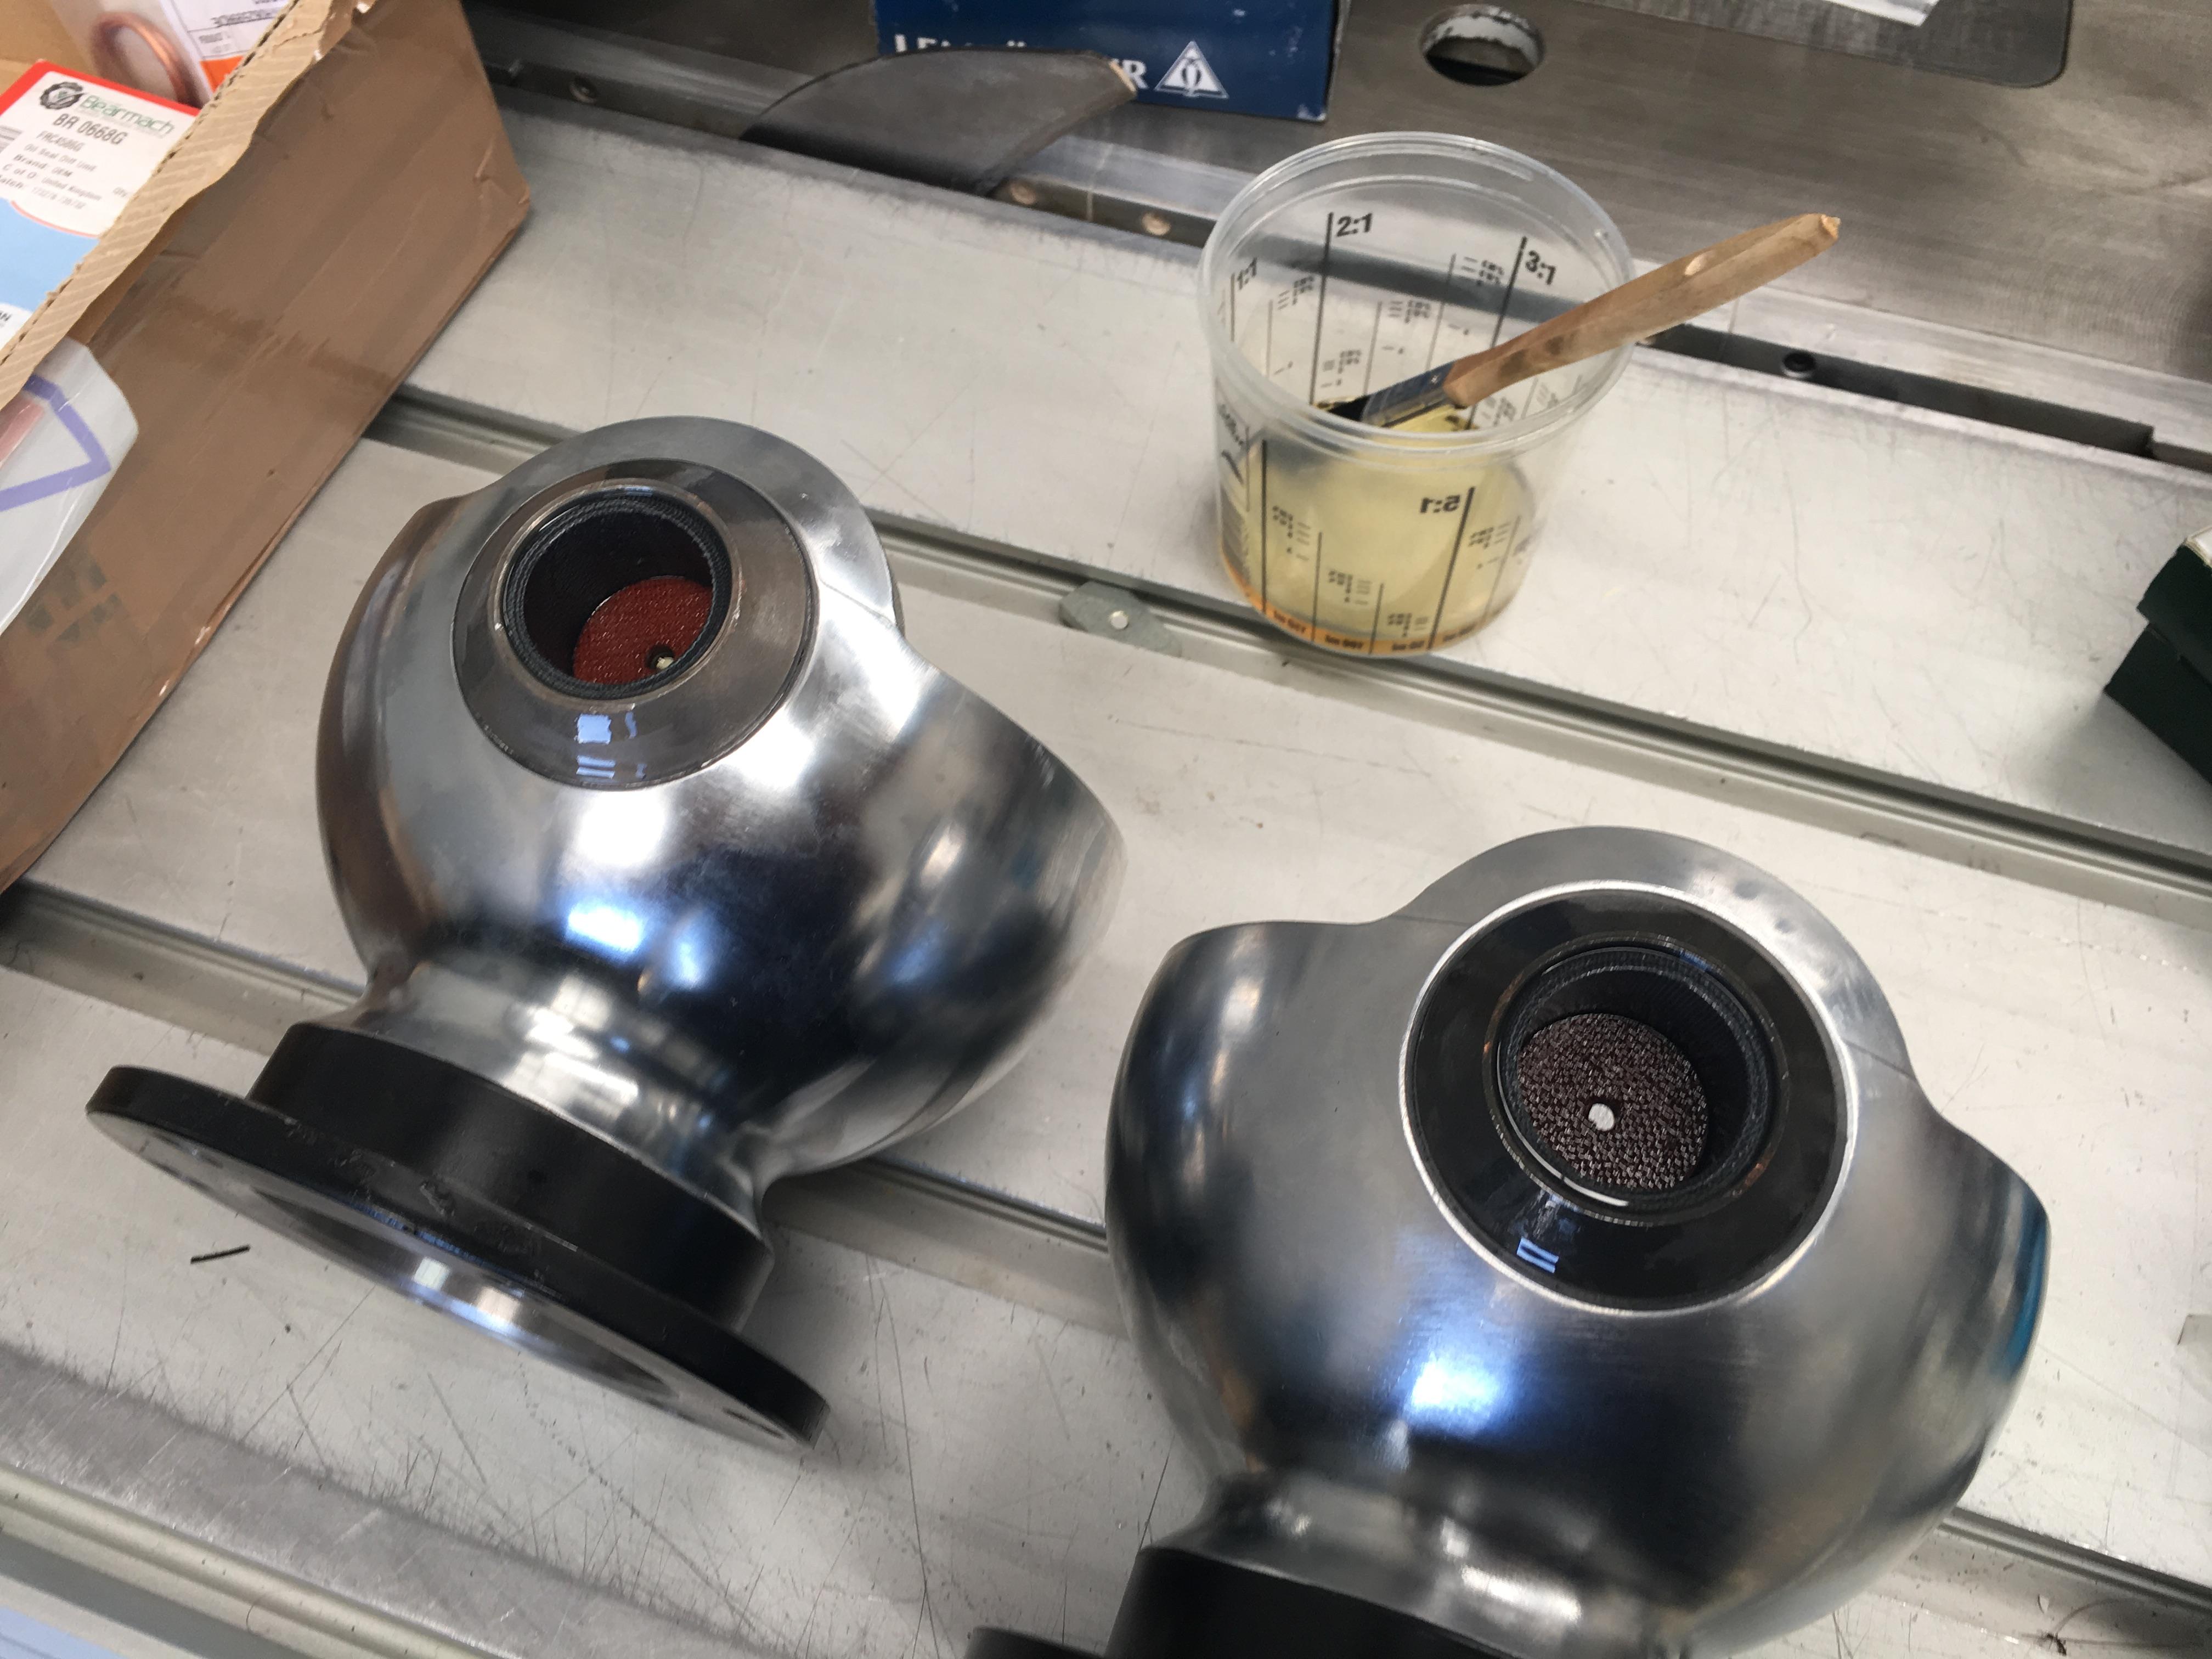
Also got busy with the press, the new swivel balls got the bearings shells and railko bushes installed. The swivel balls are aftermarket Allmakes brand, the finish on them is "OK", and I had to clean the chrome out of the recess for the railko bushes. They were about half the price of genuine, but if they leak I will be very sad.
Both railko bush's and thrust washers are genuine, yet both are different colours.... they did come in LR bags, so I hope there's no shenanigans going on. Started soaking them in EP90 while they're waiting to get bolted to the axle tube.
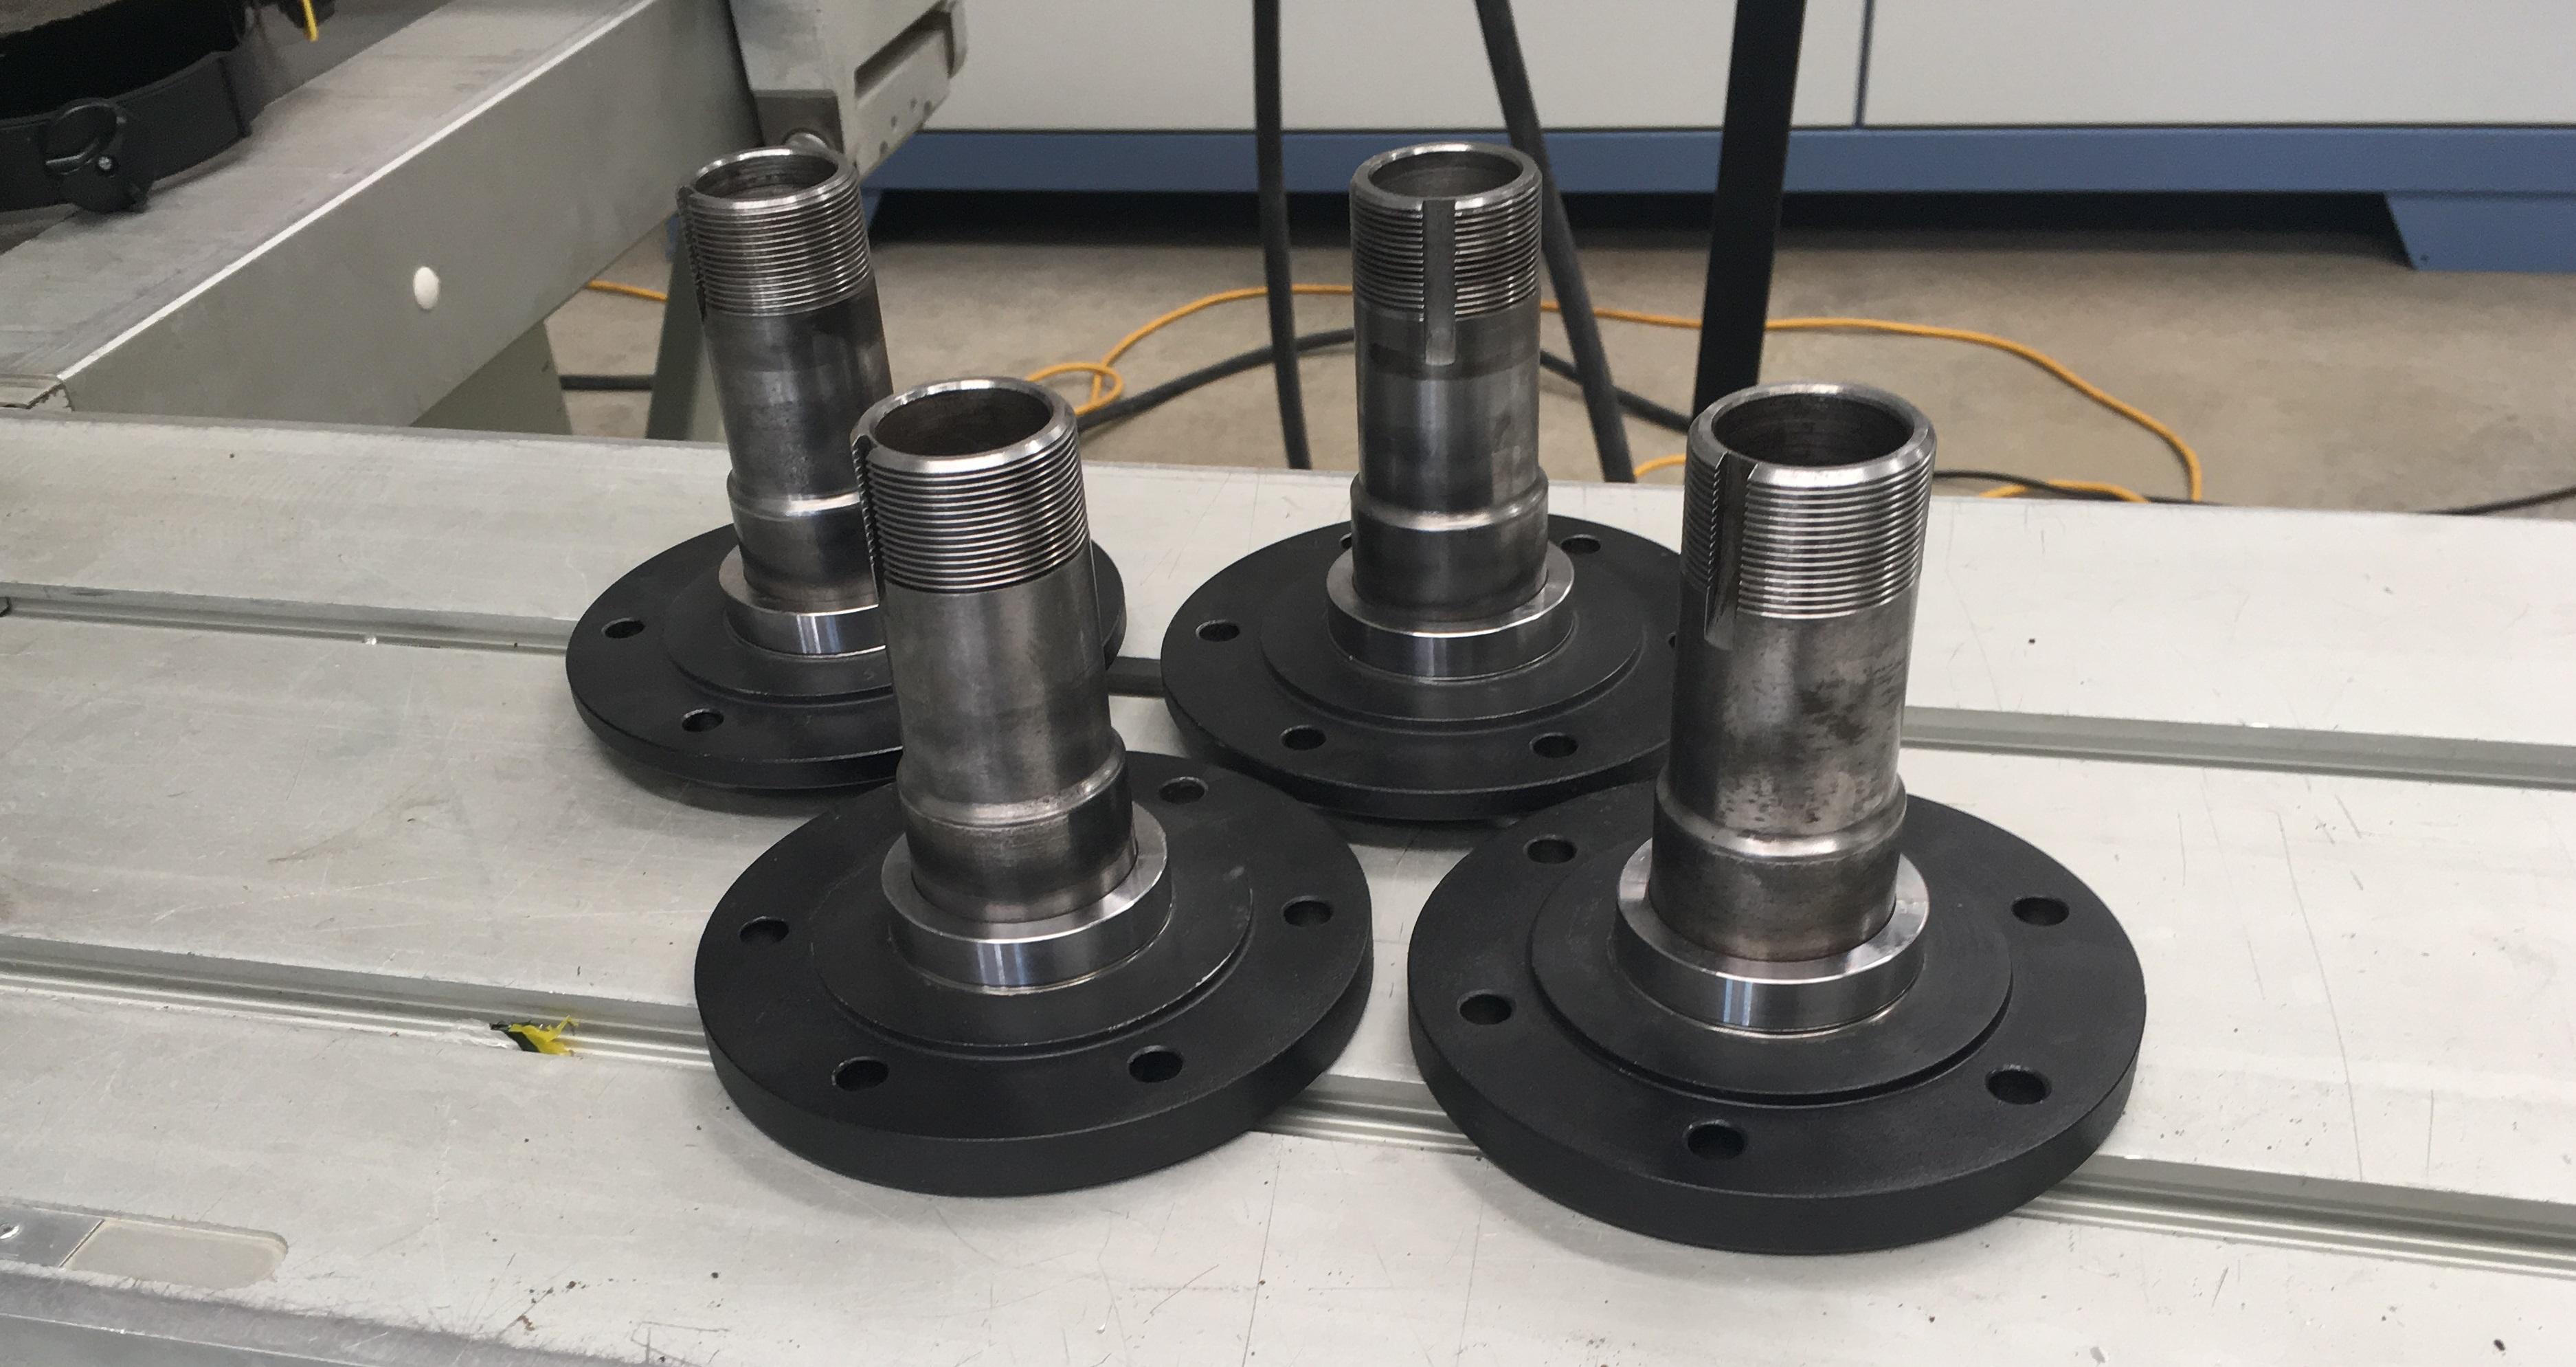
Seal rings got pressed onto the stub axles also
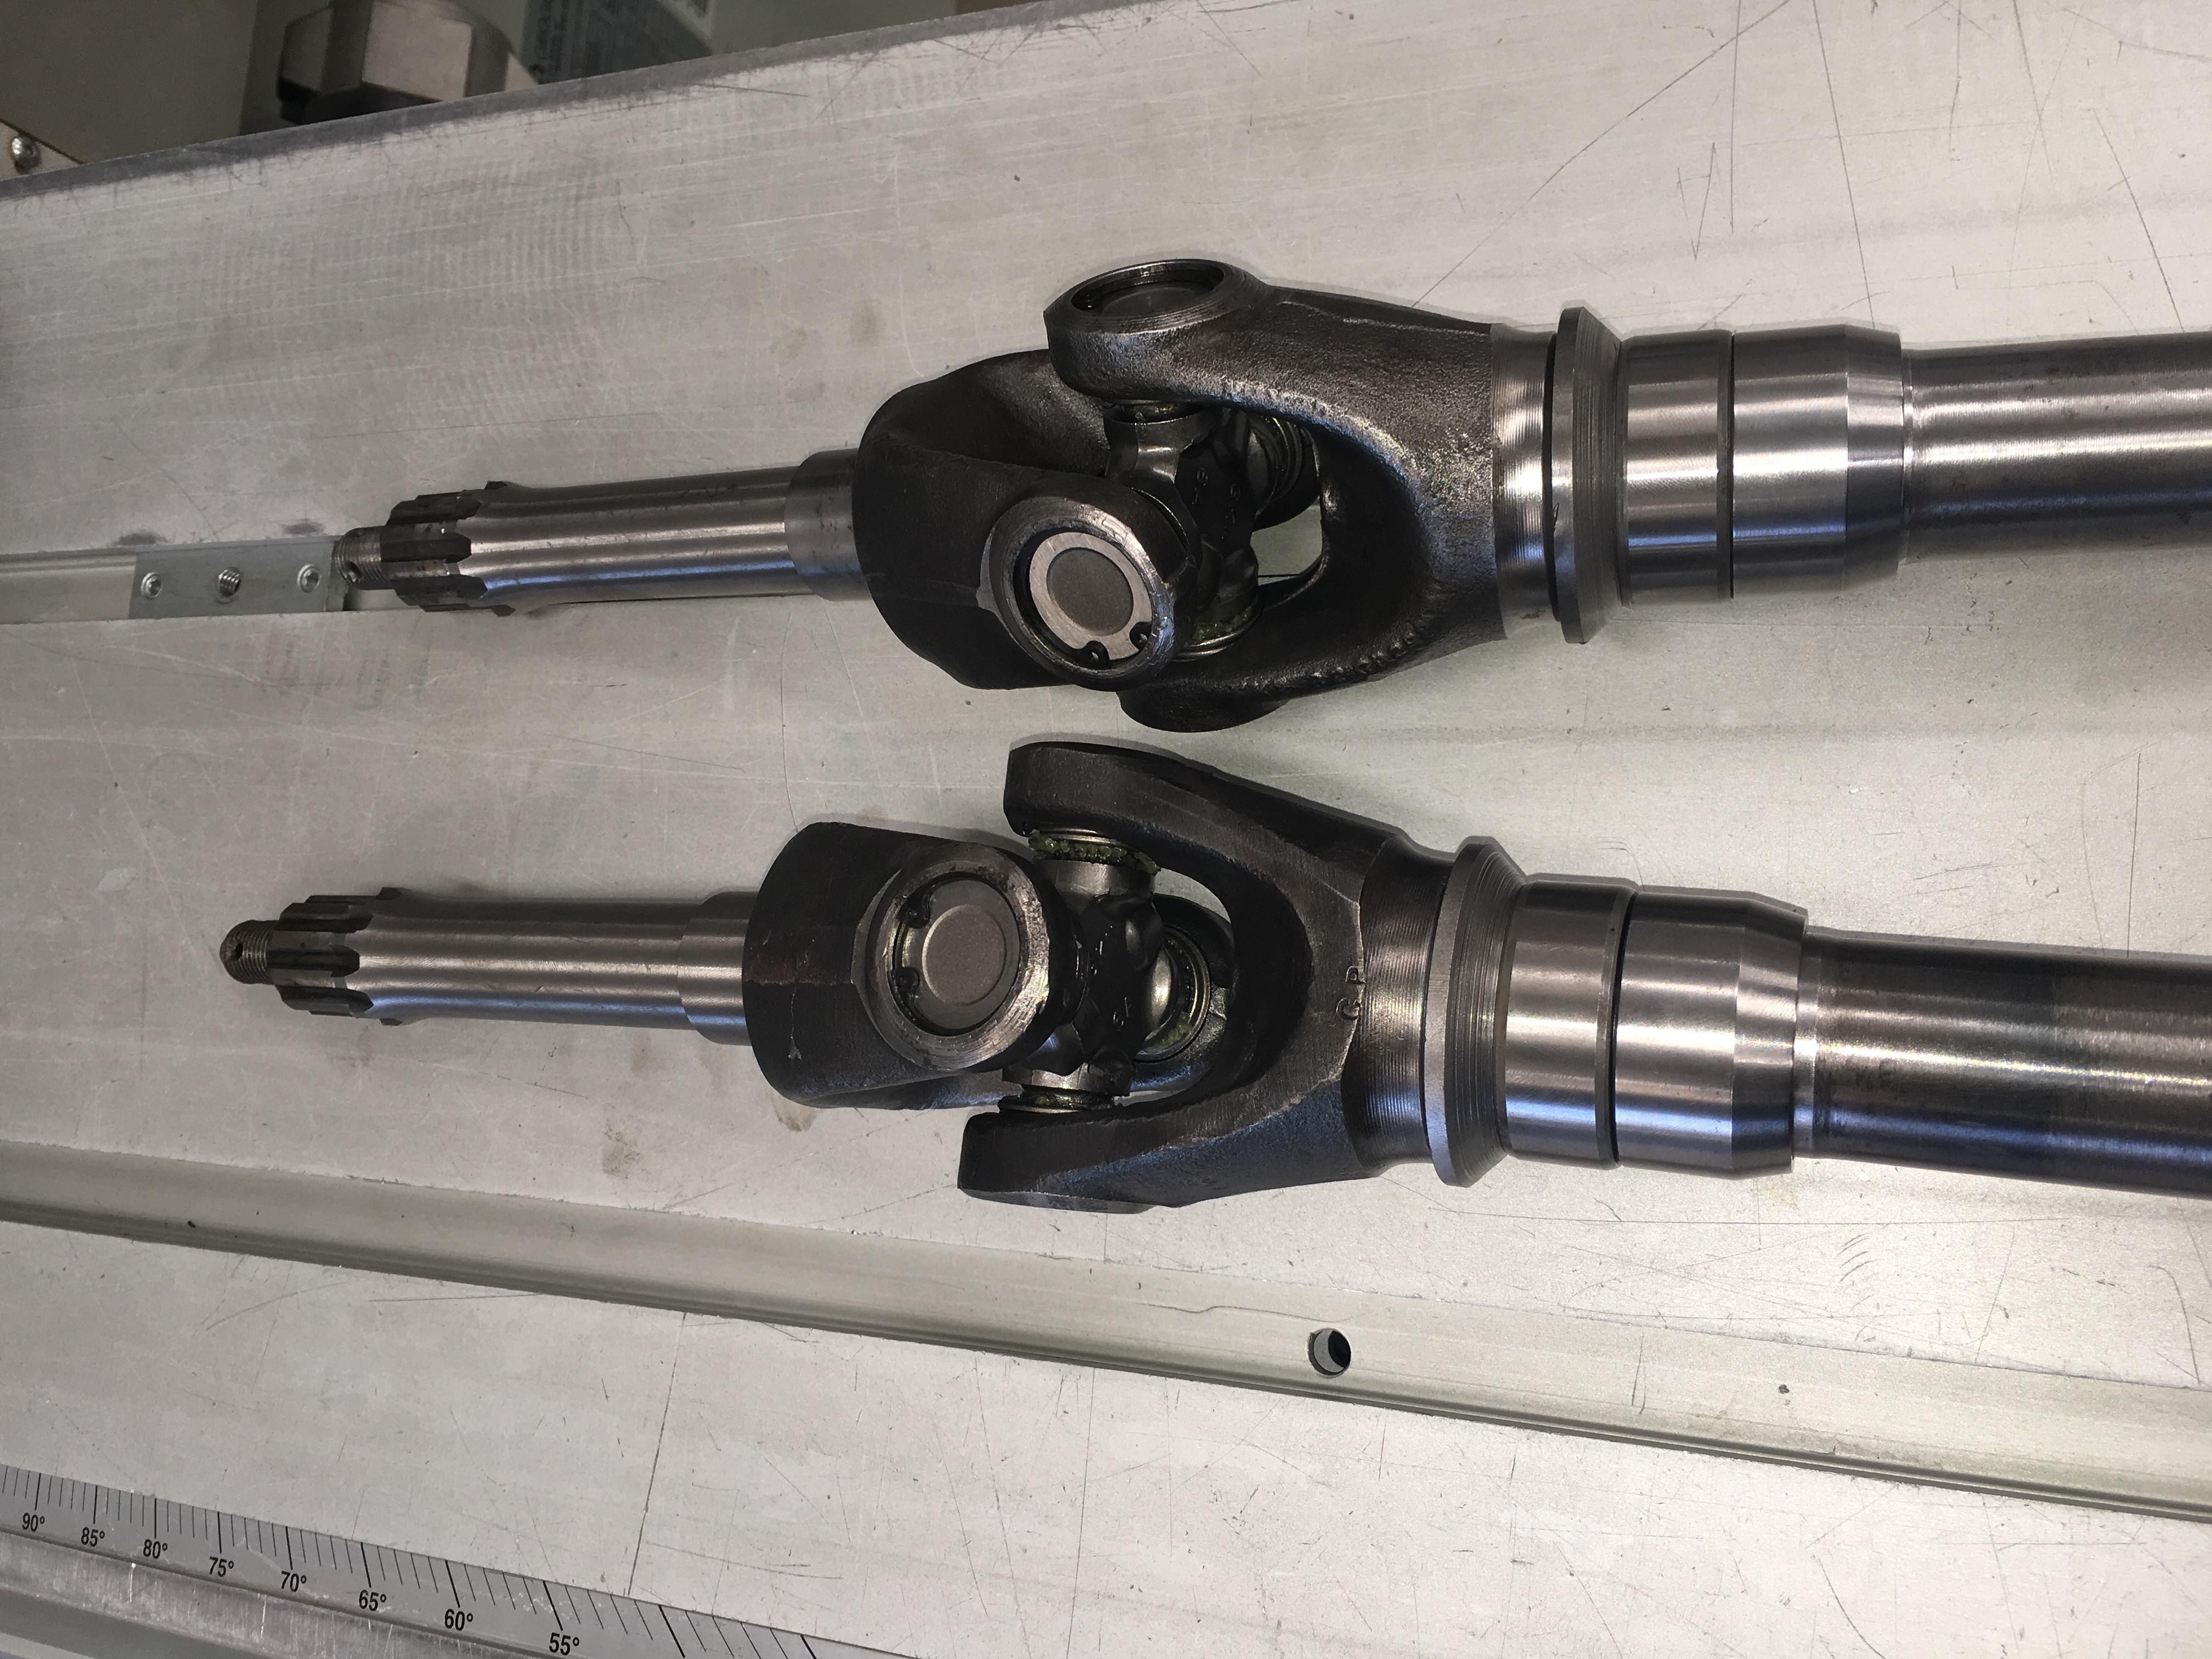
And the front axles got rebuilt with new universal joints, bearings, and the seal rings were also changed.
Cheeers, and have a good Christmas everyone! Thanks again for the advise and kind words, it all helps with the motivation!
 Posting Permissions
| Search AULRO.com ONLY! |
Search All the Web! |
|---|
|
|
|


Bookmarks